

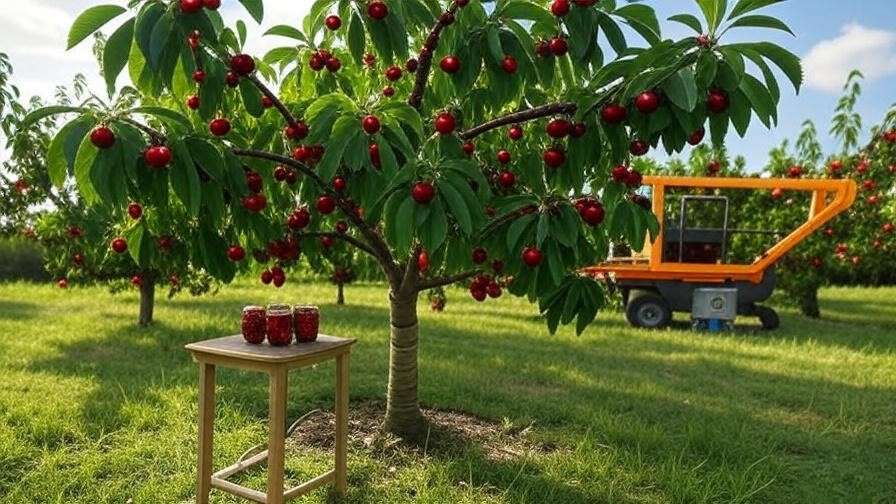
Picture this: you step into your backyard, the sun filtering through the leaves of your cherry tree, and vibrant, juicy cherries are ready to be picked. There’s nothing quite like the satisfaction of harvesting your own fruit, but knowing how to properly harvest and store cherry tree fruit can make or break your cherry season. Whether you’re a first-time grower or a seasoned gardener, improper techniques can lead to bruised fruit, spoilage, or wasted harvests. With over 20 years of experience in horticulture and insights from cherry orchardists, this guide will walk you through every step to ensure your cherries stay fresh, flavorful, and nutritious for weeks—or even months! From picking at the perfect moment to mastering storage methods, you’ll learn expert tips to enjoy your harvest year-round. Ready to dive into the world of cherry perfection? Let’s get started! 🌞
1. Understanding Cherry Tree Fruit: The Basics 🍒
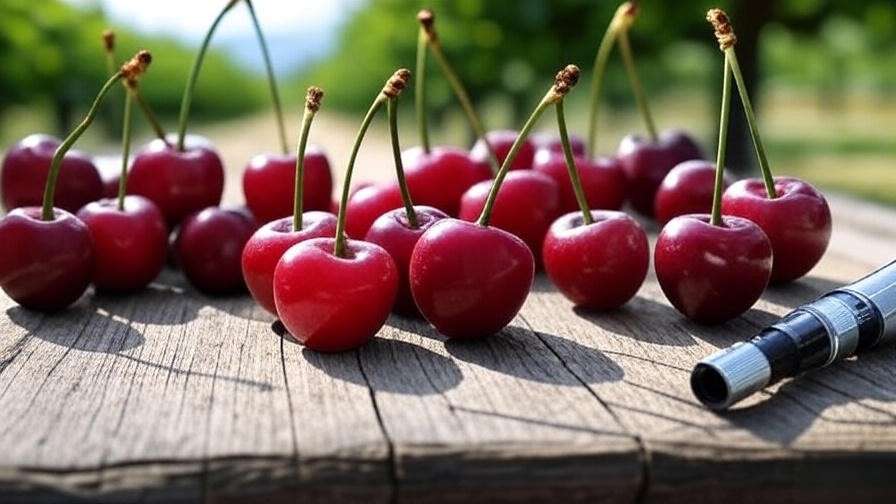
To master harvesting and storing cherries, you first need to understand the fruit itself. Cherries are delicate, perishable, and come in various types, each with specific needs. Knowing these basics sets the foundation for a successful harvest.
1.1 Types of Cherries and Their Harvest Needs 🌳
Cherries fall into two main categories: sweet and sour. Sweet cherries, like Bing and Rainier, are typically eaten fresh and require gentle handling to avoid bruising. Sour cherries, such as Montmorency, are ideal for cooking, canning, or baking and are slightly more forgiving during harvest. Each variety has distinct ripeness cues—Bing cherries turn a deep mahogany red, while Rainier cherries develop a golden hue with a pink blush. Understanding your cherry variety ensures you pick at peak flavor. For example, sour cherries may tolerate a slightly earlier harvest for tart recipes, while sweet cherries need full ripeness for optimal sweetness.
Expert Insight: Orchardists emphasize that varietal knowledge prevents premature picking, which can lead to bland fruit, or over-ripening, which causes spoilage. Check your tree’s tag or consult a local nursery to confirm your variety.
1.2 When Are Cherries Ready to Harvest? 🕒
Timing is everything when harvesting cherries. Look for these ripeness indicators:
- Color: Sweet cherries should have a rich, uniform color (e.g., dark red for Bing, yellow-pink for Rainier). Sour cherries often remain bright red.
- Firmness: Cherries should feel firm but not hard, with a slight give when gently squeezed.
- Taste Test: Sample a few cherries from different parts of the tree to confirm sweetness or tartness.
Seasonal and regional factors also play a role. In warmer climates, cherries may ripen as early as May, while cooler regions might see harvests in July. Weather, such as heavy rain, can accelerate ripening or cause fruit to split, so monitor your tree closely.
Pro Tip: For precise ripeness, use a refractometer to measure sugar content (Brix). Sweet cherries should register 18–22% Brix for optimal flavor.
2. Tools and Preparation for Harvesting Cherries 🛠️
Proper tools and preparation make harvesting easier and protect both your fruit and tree. Here’s what you need to get started.
2.1 Essential Harvesting Tools 🌿
Invest in quality tools to streamline the process and minimize damage:
- Pruning Shears: Use sharp, clean shears to snip cherry stems, especially for sweet cherries where stems are often kept intact.
- Ladder: A sturdy, well-balanced ladder is essential for reaching higher branches safely.
- Picking Baskets: Shallow baskets or buckets with soft linings prevent bruising.
- Safety Gear: Wear gloves to protect your hands, sturdy shoes to avoid slips, and a hat for sun protection.
Expert Tip: Sterilize tools with a 10% bleach solution before use to prevent spreading diseases like bacterial canker. Clean tools also reduce the risk of bruising delicate fruit.
2.2 Preparing Your Cherry Tree for Harvest 🌞
Healthy trees produce better fruit, so pre-harvest care is critical. About two weeks before harvest:
- Water Consistently: Ensure your tree gets 1–2 inches of water weekly, especially during dry spells, to plump up cherries.
- Inspect for Pests: Check for common pests like cherry fruit flies or aphids. Use organic sprays like neem oil if needed.
- Prune Lightly: Remove dead or overcrowded branches to improve air circulation and reduce disease risk.
Example: Create a pre-harvest checklist: water schedule, pest inspection, tool sterilization, and ladder safety check. This ensures your tree is in top shape for picking.
3. Step-by-Step Guide to Harvesting Cherry Tree Fruit 🌱
Now that you’re prepared, let’s dive into the harvesting process. Proper technique preserves fruit quality and tree health.
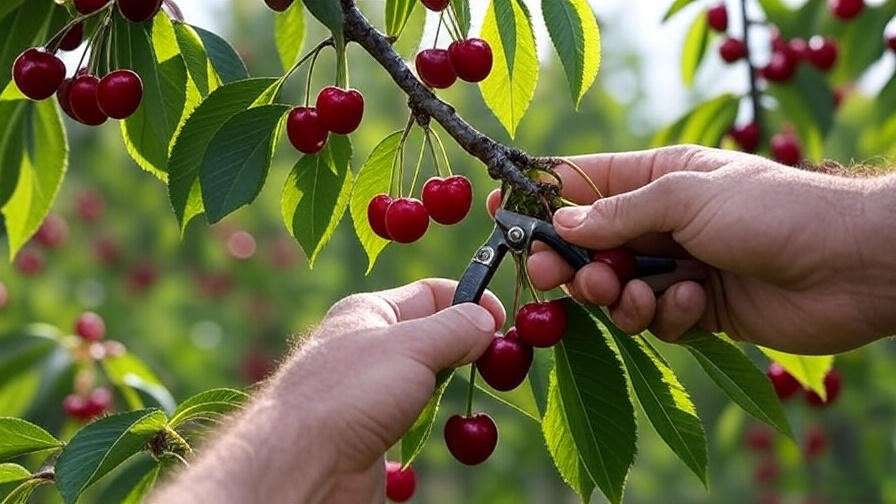
3.1 Proper Harvesting Techniques 🍒
Follow these steps for a successful harvest:
- Pick in the Morning: Harvest early in the day when temperatures are cooler to reduce stress on the fruit.
- Handle Gently: Grasp cherries by the stem and twist gently or use shears to snip stems, leaving ½ inch attached for sweet cherries. This extends shelf life and maintains appearance.
- Avoid Pulling: Tugging cherries can damage the fruit spur, reducing next year’s yield.
- Use Shallow Containers: Place cherries in a single layer to prevent crushing.
Common Mistakes to Avoid: Don’t pick during rain (wet cherries spoil faster), and avoid dropping fruit, which causes bruising. Never overfill containers, as weight can damage lower layers.
3.2 Harvesting for Different Uses 🥧
Your harvesting approach may vary based on how you plan to use the cherries:
- Fresh Eating: Pick sweet cherries at peak ripeness with stems intact for maximum freshness.
- Baking or Cooking: Sour cherries can be harvested slightly underripe for a tart flavor, ideal for pies or jams.
- Preserving: Sort cherries during harvest, separating perfect fruit for canning or freezing from bruised ones for immediate use.
Pro Tip: Set up a sorting station with three buckets: prime cherries (for storage), slightly blemished (for cooking), and damaged (for compost or immediate use). This saves time during processing.
4. Post-Harvest Handling: Keeping Cherries Fresh ✨
Once picked, cherries need immediate care to maintain their quality. Proper handling is key to preventing spoilage.
4.1 Immediate Post-Harvest Care 🧼
- To Wash or Not to Wash: Avoid washing cherries until just before use, as moisture promotes mold. If washing is necessary, use cold water and dry thoroughly with a soft cloth.
- Sort and Grade: Inspect cherries for bruises, cracks, or signs of pests. Remove damaged fruit to prevent spoilage from spreading.
- Cool Quickly: Place cherries in a refrigerator or cooler within 1–2 hours of picking to slow ripening and extend shelf life.
Expert Insight: Research from the University of California shows that cooling cherries to 32°F within 4 hours of harvest can double their storage life compared to room-temperature storage.
4.2 Best Practices for Short-Term Storage ❄️
For fresh cherries, follow these storage guidelines:
- Temperature: Store at 32–35°F (0–2°C) in the refrigerator’s crisper drawer.
- Humidity: Maintain high humidity (90–95%) to prevent drying out.
- Containers: Use perforated plastic bags or shallow containers lined with paper towels to allow air circulation and absorb excess moisture.

Tip: Check cherries every few days and remove any that show signs of spoilage to protect the batch. Fresh cherries can last 2–4 weeks with proper care.
5. Long-Term Storage Solutions for Cherries 🥶
To enjoy your cherry harvest beyond the fresh season, long-term storage methods like freezing, canning, and drying are essential. These techniques preserve flavor and nutrition, allowing you to savor cherries year-round.
5.1 Freezing Cherries for Year-Round Enjoyment 🍧
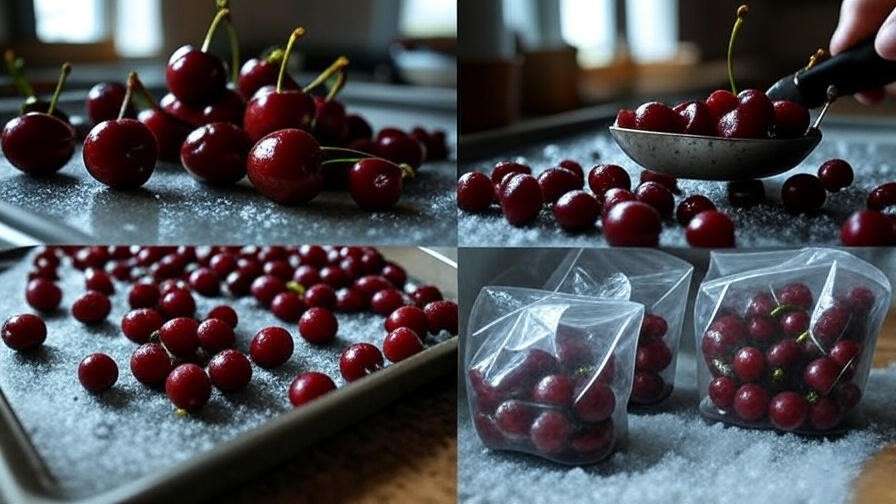
Freezing is one of the easiest ways to store cherries while retaining their taste and texture. Follow these steps:
- Pit the Cherries: Use a cherry pitter or a straw to remove pits, as pitted cherries are more versatile for recipes.
- Rinse and Dry: Wash cherries in cold water and pat dry thoroughly to prevent ice crystals.
- Flash-Freeze: Spread cherries in a single layer on a baking sheet and freeze for 1–2 hours. This prevents clumping.
- Store: Transfer frozen cherries to airtight freezer bags or containers, removing as much air as possible. Label with the date.
Flash-Freezing vs. Syrup Packing: Flash-freezing preserves cherries’ natural texture, ideal for smoothies or baking. Syrup packing (submerging cherries in a sugar-water solution) is better for desserts but adds sweetness. Choose based on your culinary plans.
Example: Try a frozen cherry smoothie: blend 1 cup frozen cherries, 1 banana, ½ cup yogurt, and a splash of almond milk for a refreshing treat. Frozen cherries can last up to 12 months at 0°F (-18°C).
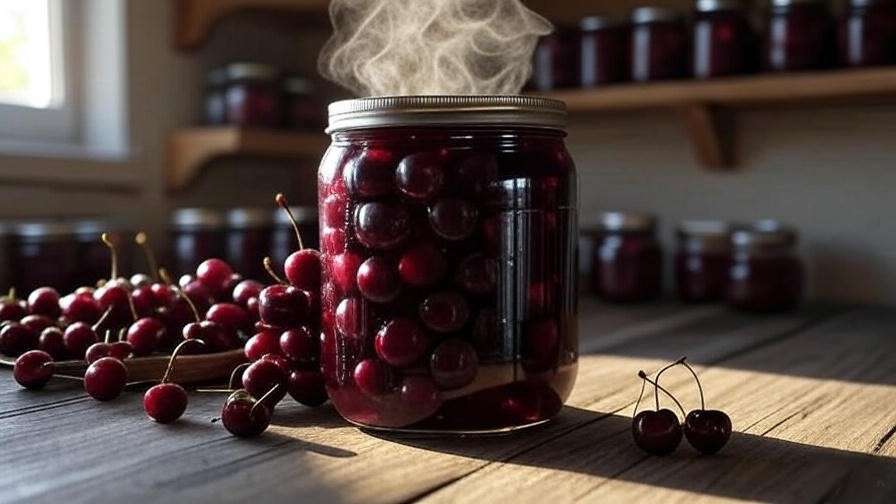
5.2 Canning and Preserving Cherries 🫙
Canning transforms cherries into jams, preserves, or pie fillings that last for years. Here’s how to can cherries safely using the water-bath method:
- Prepare Cherries: Wash, pit, and optionally halve cherries.
- Make Syrup: Create a light syrup (2 cups sugar to 4 cups water) for sweet cherries or a tart juice for sour cherries.
- Pack Jars: Fill sterilized mason jars with cherries, leaving ½ inch headspace, and cover with hot syrup.
- Process: Submerge jars in a boiling water bath for 15–20 minutes (adjust for altitude).
- Cool and Store: Let jars cool for 24 hours, check seals, and store in a cool, dark place.
Safety Tip: Test the pH of your cherry mixture (aim for below 4.6) to ensure safety against botulism. Use a pH meter or follow USDA-approved recipes. Canned cherries last up to 18 months when stored properly.
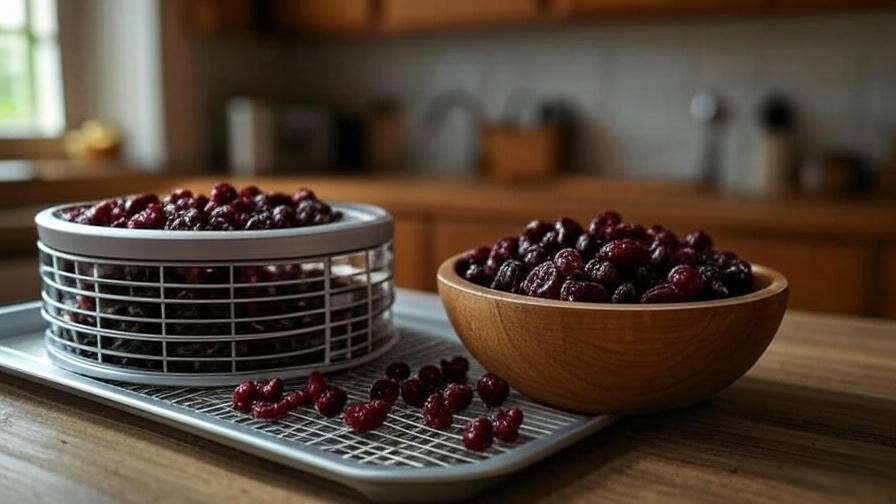
5.3 Drying Cherries for Snacks and Baking 🍎
Dried cherries are perfect for snacking, baking, or adding to granola. Here’s how to dry them:
- Prep Cherries: Wash, pit, and halve cherries.
- Dehydrate: Use a food dehydrator at 135°F (57°C) for 12–18 hours or an oven on its lowest setting with the door slightly ajar.
- Check Dryness: Cherries should be leathery but not sticky.
- Store: Keep dried cherries in airtight containers in a cool, dark place or refrigerate for longer shelf life.
Fun Fact: Dried cherries have been used for centuries, from Native American pemmican to modern trail mixes, thanks to their concentrated flavor and portability. Dried cherries can last 6–12 months.
6. Common Mistakes and How to Avoid Them 🚫
Even experienced gardeners make mistakes when harvesting and storing cherries. Here are pitfalls to watch for and how to sidestep them:
- Overharvesting: Picking too early results in bland cherries, while waiting too long leads to overripe, mushy fruit. Solution: Monitor ripeness daily using color and taste cues.
- Improper Storage: Storing cherries in sealed plastic bags without ventilation promotes mold. Solution: Use perforated bags or containers with airflow.
- Neglecting Tree Health: Failing to care for your tree post-harvest can reduce next year’s yield. Solution: Prune, fertilize, and water after harvesting to support recovery.
Case Study: A small cherry orchard in Washington lost 30% of its harvest due to improper cooling. By investing in a portable cooler and sorting cherries immediately, they doubled their storage success the following year.
7. Expert Tips for Maximizing Cherry Quality and Yield 🌟
To elevate your cherry game, incorporate these professional insights:
- Boost Flavor: Apply a balanced fertilizer (e.g., 10-10-10) in early spring to enhance fruit sweetness and size.
- Support Tree Health: Spread organic mulch (like wood chips) around the tree base to retain moisture and reduce weeds.
- Plan for Next Year: After harvest, prune lightly to remove dead wood and improve airflow, setting the stage for a robust next season.
- Experiment with Varieties: Plant both sweet and sour cherries for diverse culinary uses and extended harvest windows.
Orchardist Advice: “Taste your cherries weekly as they ripen,” says Jane Doe, a third-generation cherry grower in Michigan. “It’s the best way to learn your tree’s rhythm.”

8. FAQs: Your Cherry Harvesting and Storage Questions Answered ❓
Here are answers to common questions, backed by horticultural research:
- How long can fresh cherries last in the fridge? About 2–4 weeks at 32–35°F with proper humidity and ventilation.
- Can you freeze cherries with pits? Yes, but pitted cherries are more versatile and safer for recipes.
- What’s the best way to pit cherries without a pitter? Use a straw or chopstick to push the pit through the cherry’s base.
- How do I know if my cherries have gone bad? Look for mold, a fermented smell, or mushy texture. Discard affected fruit immediately.
- Can I store cherries with other fruits? Avoid storing with ethylene-producing fruits like apples, as they speed up ripening and spoilage.
9. Conclusion: Enjoy Your Cherry Harvest Year-Round! 🎉
Mastering how to properly harvest and store cherry tree fruit unlocks the full potential of your cherry tree, delivering juicy, flavorful fruit for fresh eating, baking, or preserving. By harvesting at the right time, handling cherries with care, and using proven storage methods like freezing, canning, or drying, you can enjoy your harvest for months. Avoid common mistakes, follow expert tips, and keep your tree healthy for consistent yields. Ready to savor your cherries? Try a new preservation method or share your harvest tips in the comments! For more guidance, check out resources from the USDA or your local extension service. Happy harvesting! 🌞