
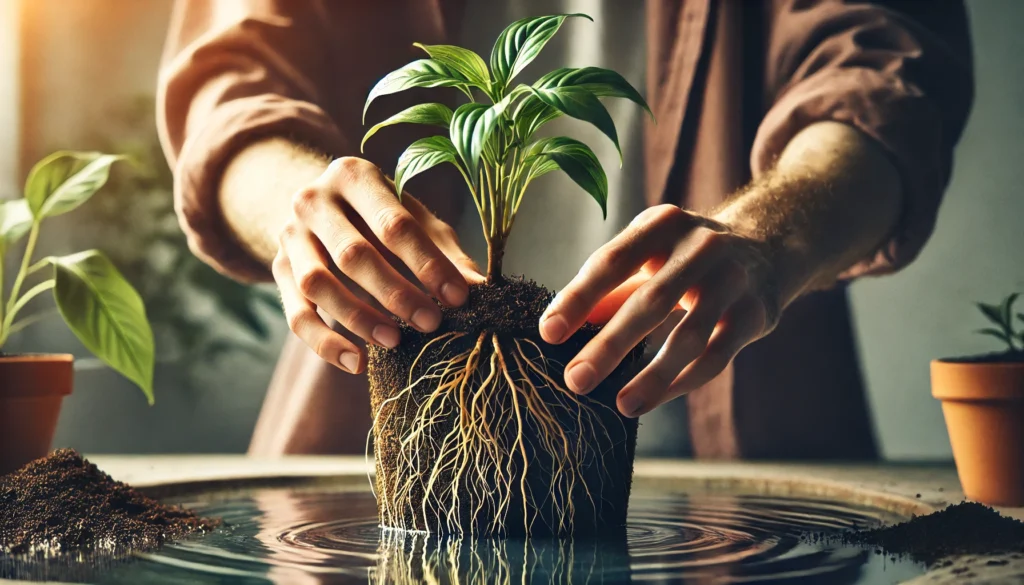
Transferring water-propagated plants to soil can be a rewarding yet tricky process—one that can make or break the health of your new plant. While watching roots grow in water is exciting, the real challenge begins when it’s time to make the switch to soil. If done incorrectly, your plant may struggle to adjust, leading to stunted growth or even root rot. In this guide, we’ll share essential tips for transferring water-propagated plants to soil, ensuring they thrive and grow strong in their new environment.
Why Transferring Water-Propagated Plants to Soil Is Important 
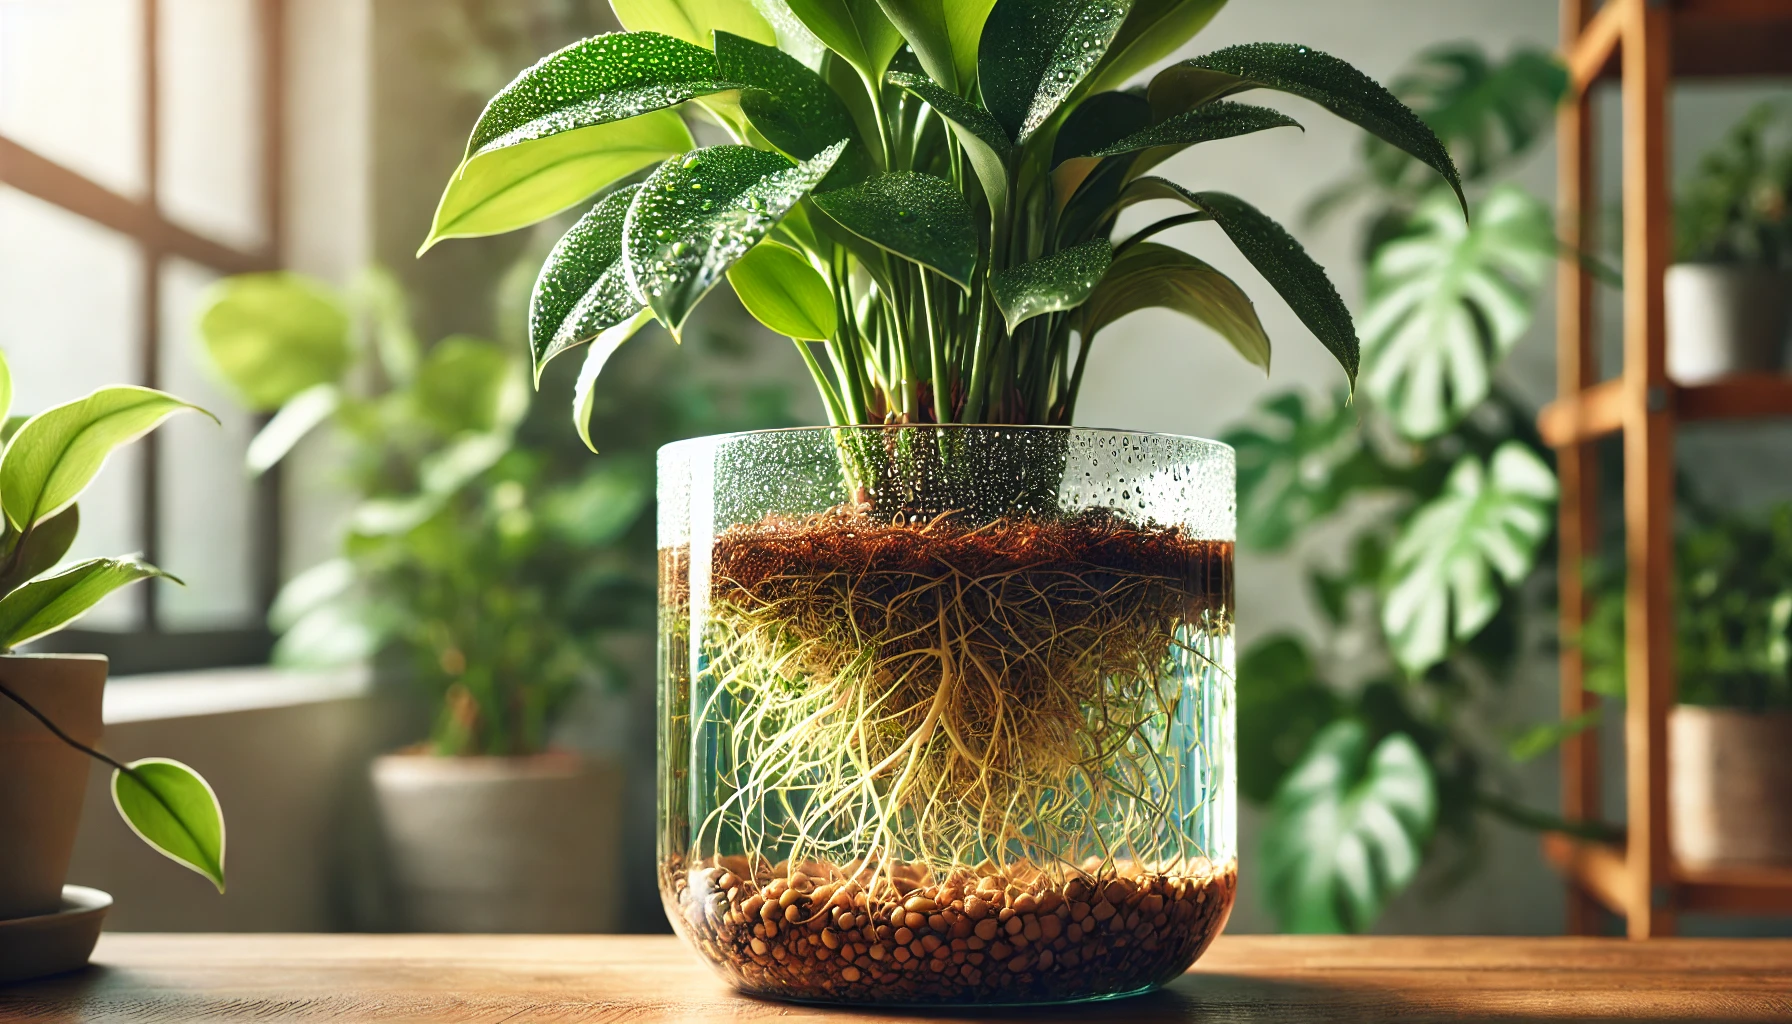
Transferring water-propagated plants to soil is a crucial step in helping your plant thrive long-term  . When a plant is rooted in water, it may have a delicate, shallow root system that isn’t ideal for lasting growth. Here’s why soil is a better environment:
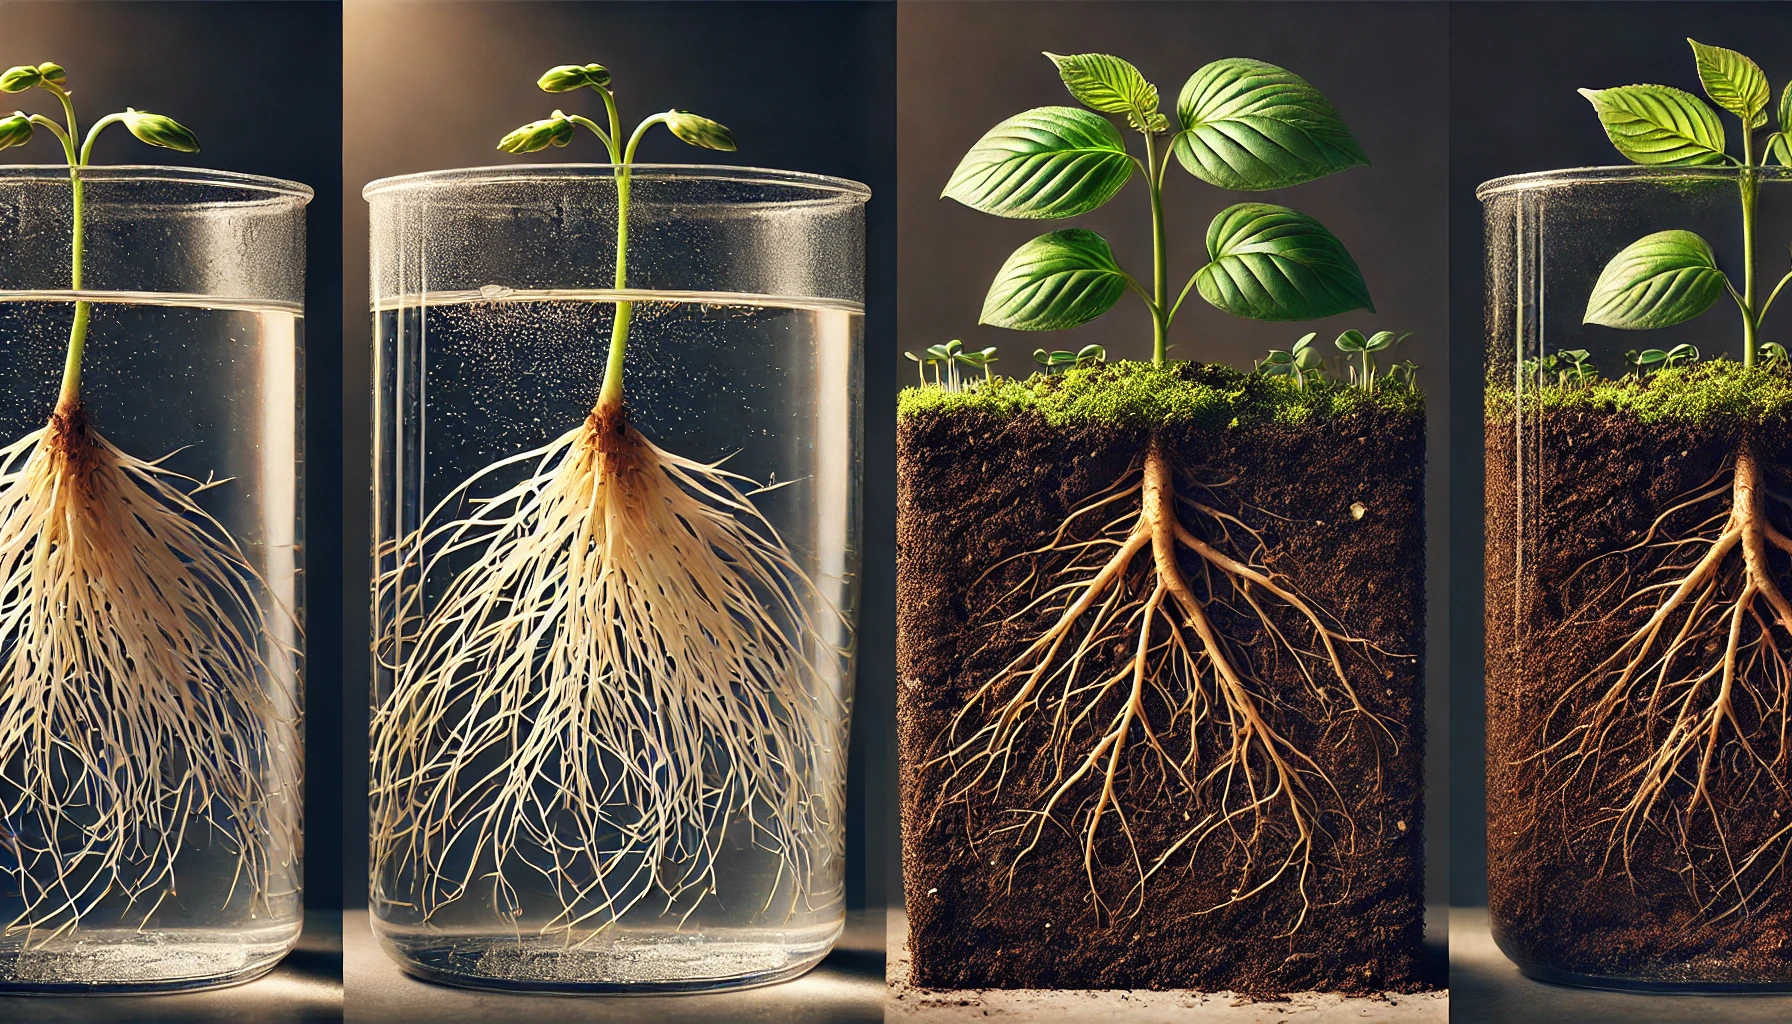
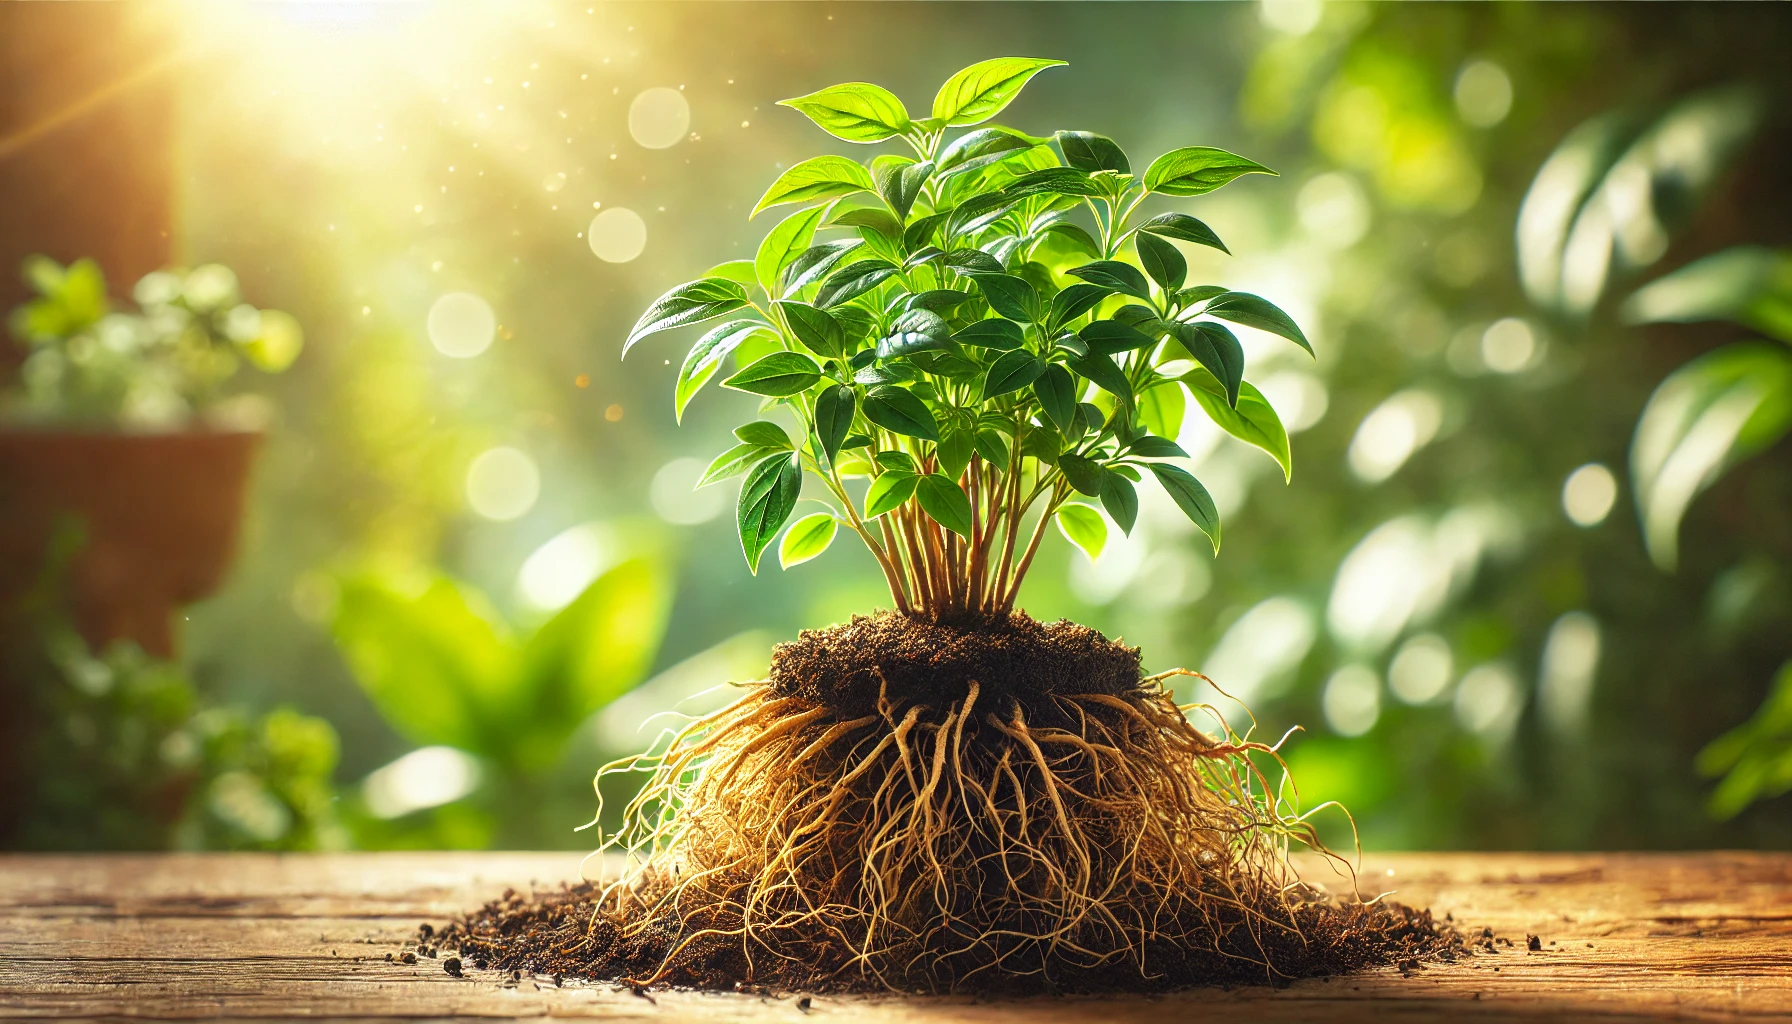
- Stronger Root Development
 : Soil provides better resistance against diseases and pests. It also supports the growth of stronger, deeper roots that help the plant absorb water and nutrients more effectively.
 - Natural Nutrient Uptake
 : Unlike water, soil contains essential minerals and organic matter that plants need to grow. Transitioning to soil allows the plant to access a broader spectrum of nutrients, leading to healthier growth.
 - Better Stability and Growth
 : In soil, plants can stabilize better, preventing them from becoming leggy or top-heavy, which often happens when grown in water. This stability supports overall plant structure and vitality.
 - Long-Term Health
 : Water-rooted plants may struggle to maintain health without regular access to air and proper drainage, which soil offers. The right soil mix can enhance drainage, air circulation, and moisture retention—all factors that promote healthy plant growth.
In conclusion, transferring your plant from water to soil sets it up for long-term success !
When Is the Right Time to Transfer? 
Knowing when to transfer your plant is crucial for its health and growth . Here’s how to determine the perfect time:
Check the Roots
When roots start poking through the drainage holes or wrapping around the base of the pot, it’s a sign that the plant needs more space.

Seasonal Timing 
Early spring or late fall is ideal. Plants are typically more resilient during these seasons as they enter or exit their growing periods.
Size Matters 
If the plant is outgrowing its current container (it looks cramped), it’s time to move it to a larger pot to encourage continued growth.
Soil Condition
If the soil is compacted or losing nutrients, it’s another clear indicator to transfer your plant to fresh, nutrient-rich soil.
Health of the Plant
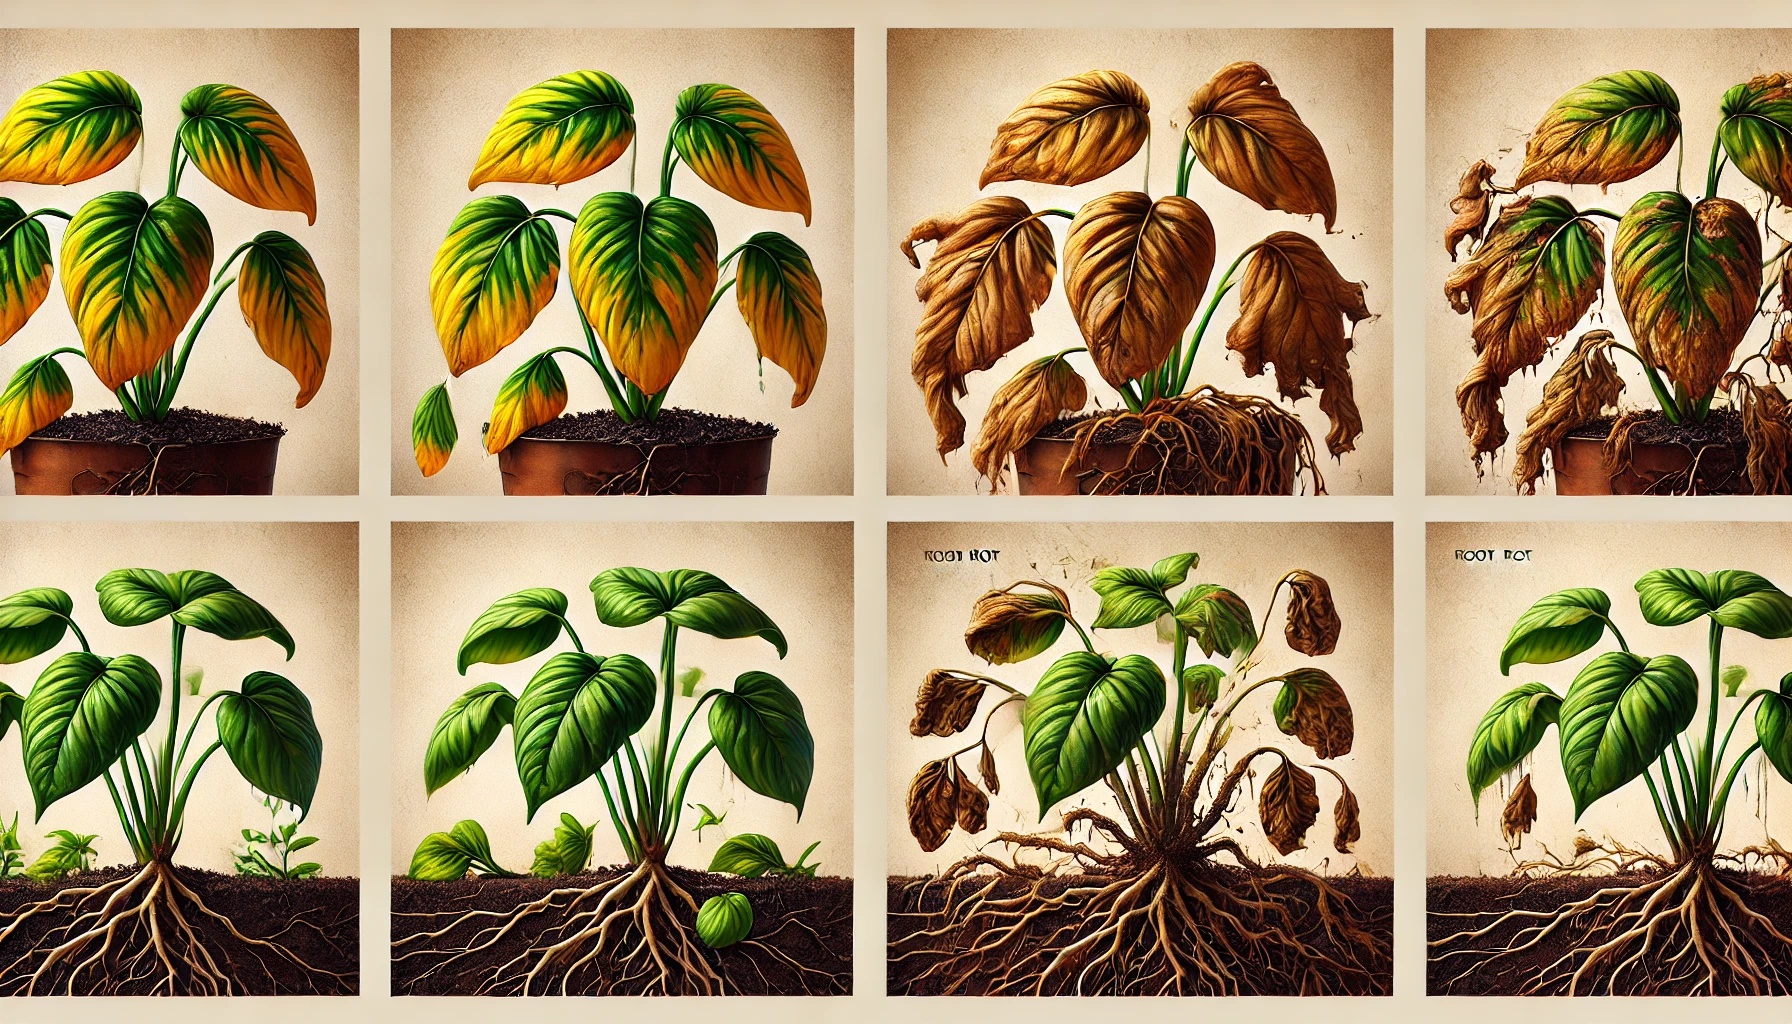
Stagnant growth, yellowing leaves, or root rot could mean that the plant’s current home isn’t serving it well. Time for a transfer!
Remember: Transplanting during the wrong season or too late can stress the plant. Make sure your timing aligns with the plant’s natural growth cycle! 
Preparing for the Transfer 
Transplanting your plant? Here’s how to make the process smooth and successful!
Select the Right Time
Choose a calm, cloudy day or early morning for transplanting. Avoid extreme weather to reduce stress on your plant.
Prepare the New Spot
Ensure the new location has well-draining soil and ample sunlight (unless your plant prefers shade). Pre-dig the hole to fit the plant comfortably without crowding its roots.
Watering Pre-Transfer 
Water your plant thoroughly 24 hours before transferring. This helps the plant stay hydrated and reduces transplant shock.
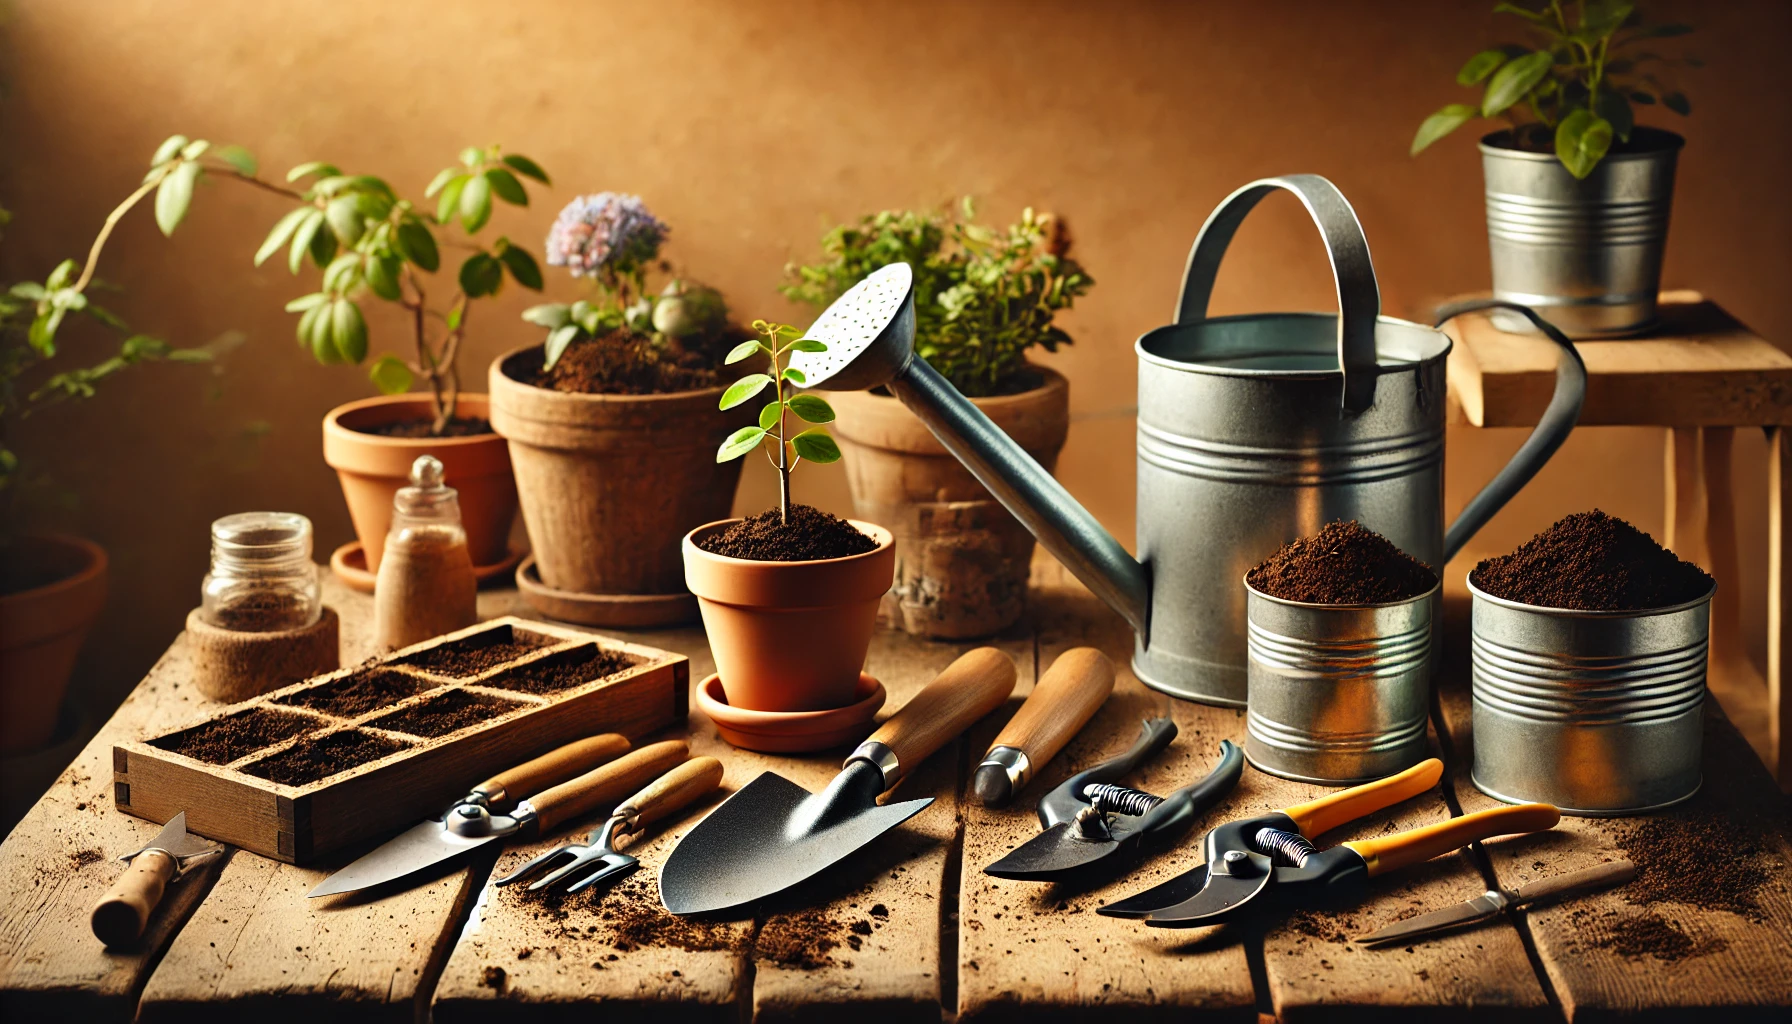
Gather Your Tools
You’ll need a trowel, watering can, pruning shears, and possibly some compost or fertilizer for the new hole. Having everything ready ensures a smooth move!
Loosen the Roots 
Gently remove the plant from its current pot. Loosen the root ball carefully if it’s root-bound to encourage growth in the new location.
Handle with Care 
Handle the plant by its root ball, not the stems or leaves. This avoids any unnecessary damage to the plant.
Now you’re ready for a seamless transfer!
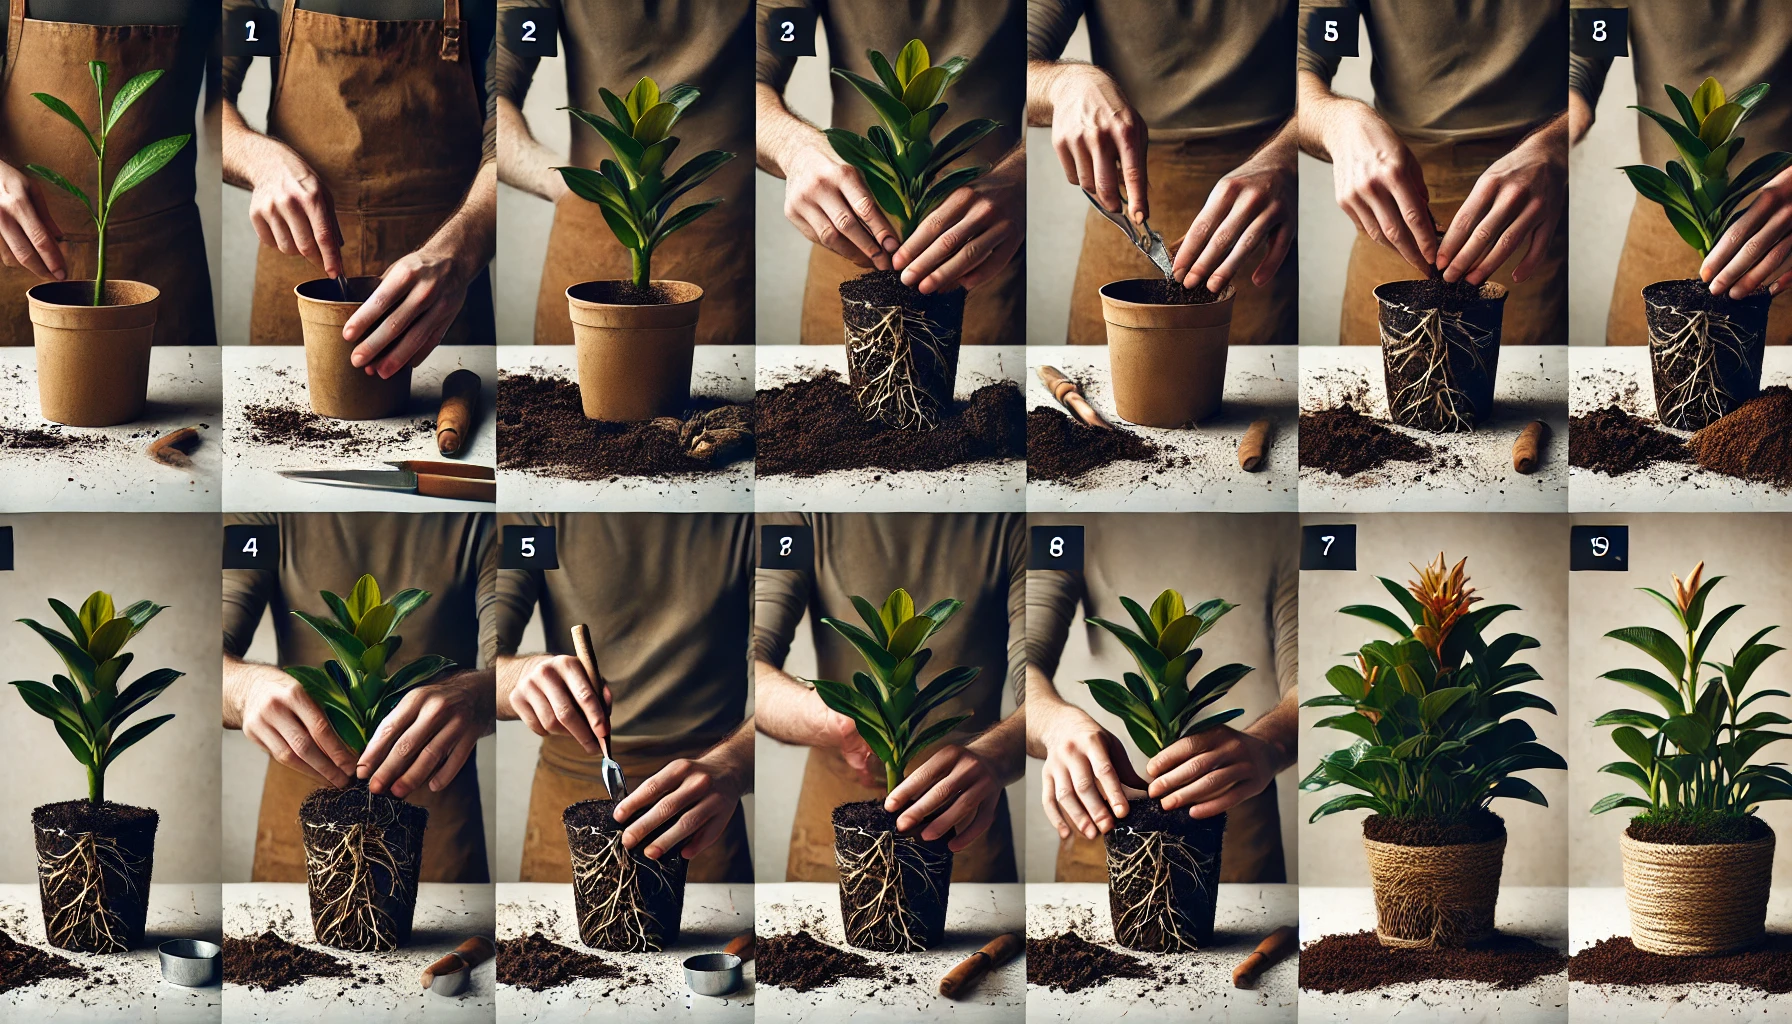
Step-by-Step Guide to Transferring Your Plant
Transferring your plant to a new pot or location is an essential part of its care. Follow this simple guide to ensure a smooth transition for your plant:
Choose the Right Pot
Ensure the new pot is 1-2 inches larger in diameter than the current one. This gives roots room to grow without overwhelming the plant. Make sure the pot has drainage holes!
Prepare the Potting Mix
Select a quality potting mix suited for your plant type. Add a layer of fresh soil to the bottom of the pot to help with drainage and root health.
Gently Remove the Plant
Carefully remove the plant from its old pot by tapping the sides and easing it out. If it’s stuck, use a butter knife to loosen the edges.
Inspect the Roots 
Examine the roots for any signs of damage or rot. Trim any dead or unhealthy roots with clean scissors to keep the plant strong.
Place the Plant in the New Pot 
Position the plant in the center of the new pot. Fill the sides with soil, gently packing it around the roots. Leave about an inch from the top to avoid spillage when watering.
Water Thoroughly
Water the plant generously after transferring it to settle the soil around the roots. Ensure the water drains out from the bottom.
Place in the Right Location 
Set your plant in a spot with the proper light for its needs. Keep it away from direct sunlight for a few days to minimize transplant shock.
By following these easy steps, your plant will have the best start in its new home!
Aftercare Tips for Healthy Root Growth
Once you’ve planted your garden or indoor plants, providing proper aftercare is crucial to ensure strong root growth and overall plant health. Here are some expert tips to nurture those roots:
Watering Right
Keep the soil consistently moist but not soggy. Too much water can cause root rot, while too little will hinder growth. Deep watering encourages roots to grow deep and strong. Water early in the day to prevent diseases.
Mulch for Moisture Retention
Add a layer of mulch around the base of your plants. This helps keep the soil moist, regulates temperature, and prevents weeds from competing with your plants for nutrients.
Proper Soil Drainage
Ensure your plant’s pot or garden bed has good drainage. Roots need oxygen, and waterlogged soil can suffocate them. A well-drained soil mix helps maintain healthy root systems.
Avoid Root Disturbance 
Once planted, try not to disturb the roots. Avoid frequent replanting or shifting the plant as it may hinder root development.
Fertilize Sparingly
Over-fertilizing can damage roots. Use a balanced fertilizer and apply it during the growing season. Slow-release fertilizers are ideal as they nourish plants over time.
Temperature Control
Roots thrive in stable temperatures. Ensure your plants are not exposed to extreme heat or cold that could stunt root growth. Place indoor plants near windows with consistent warmth but out of direct sunlight.
Healthy Soil is Key
Keep the soil rich in organic matter. Healthy soil promotes strong root systems. Consider using compost to improve soil structure and nutrient levels.
By following these aftercare tips, you’ll create the perfect environment for your plant’s roots to flourish and ensure they grow strong and healthy for seasons to come!
Troubleshooting Common Issues 
When caring for your plants, it’s normal to encounter some challenges. Here are a few common issues and how to tackle them effectively:
1. Yellowing Leaves 
- Cause: Overwatering, underwatering, or poor soil drainage.
- Solution: Ensure proper watering habits. Let the soil dry between waterings and use well-draining soil to prevent root rot.
2. Wilting
- Cause: Underwatering or pest infestations.
- Solution: Check soil moisture regularly and water deeply when needed. If pests are the culprit, treat your plant with an insecticidal soap or neem oil.
3. Brown Leaf Tips
- Cause: Low humidity or inconsistent watering.
- Solution: Increase humidity levels with a humidifier or by misting the plant. Regularly water at the plant’s base to avoid moisture stress.
4. Stunted Growth 
- Cause: Nutrient deficiencies or poor lighting.
- Solution: Provide a balanced fertilizer during the growing season and make sure the plant gets enough sunlight or supplemental lighting.
5. Root Rot
- Cause: Excess water trapped in soil leading to root suffocation.
- Solution: If you notice rotting roots, trim them away, repot in fresh, well-draining soil, and avoid overwatering in the future.
6. Pests 
- Cause: Aphids, spider mites, or mealybugs.
- Solution: Use organic insecticides or rinse your plant with water to remove pests. Regularly check for pests and treat early to prevent infestations.
By keeping an eye on these common issues, you’ll be able to troubleshoot quickly and maintain a thriving, healthy plant collection!
Final Thought
Transferring water-propagated plants to soil can be a transformative step in their growth journey, helping them thrive for the long term. By following the right steps, from knowing when to transfer to providing the right care afterward, you’ll give your plant the best chance at healthy root development and vibrant growth.
Remember, patience and observation are key—your plant will show signs of progress if you nurture it carefully during this transition. With the right preparation and ongoing care, you’ll soon enjoy a flourishing plant with strong roots and vibrant foliage.
Celebrate your success, and take pride in knowing you’ve nurtured your plant from water to soil, giving it a home where it can grow to its full potential. Happy planting! 