
Starting your garden with strong, healthy plants begins with the right seed preparation. If you’ve ever struggled with seeds that just won’t germinate, the issue might lie in the stratification process. So, how to stratify seeds for better germination? Stratification is a simple but often overlooked technique that helps break seed dormancy, promoting faster and more successful sprouting. Whether you’re working with perennial flowers, trees, or certain vegetables, learning the proper stratification methods can significantly increase your chances of success. In this step-by-step guide, we’ll walk you through everything you need to know to master this vital gardening technique.
🌾 What is Seed Stratification?
Seed stratification is a method used to enhance seed germination by simulating natural winter conditions. This process helps break seed dormancy, allowing seeds to sprout when planted. Some seeds, particularly those from temperate climates, need this cold or moist treatment before they are ready to germinate. Without it, seeds may remain dormant for months or even years.
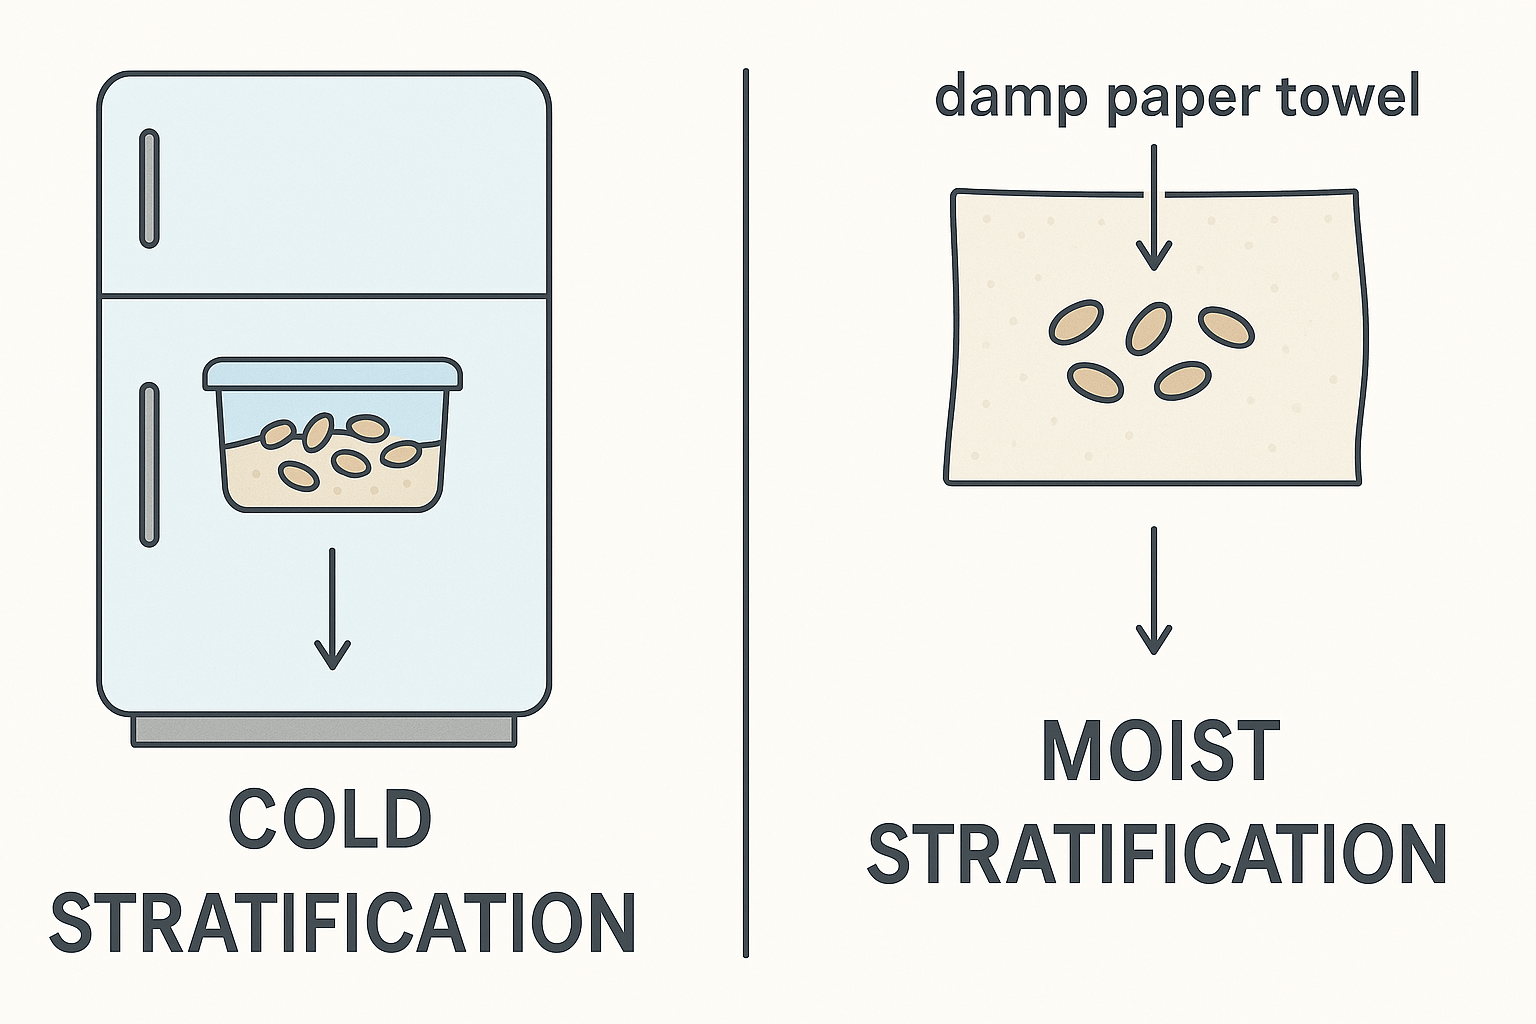
There are two main types of stratification: cold stratification and moist stratification. Cold stratification involves placing seeds in a cold environment, such as a refrigerator, to mimic the winter season. Moist stratification, on the other hand, involves keeping seeds in a damp medium, often a mixture of sand and water, while exposing them to cold temperatures.
By replicating these conditions, stratification helps seeds to “wake up” and start the germination process. It’s a simple yet effective technique that boosts seed success, especially for challenging plants like those from certain trees, perennials, or shrubs.
💡 Why Stratification Helps with Germination
Stratification is a vital process that mimics the natural conditions seeds need to break dormancy and begin germinating. Many seeds, especially those from trees, perennials, and some vegetables, require a period of cold or moist conditions before they can sprout. This cold stratification helps to soften the seed coat and trigger internal chemical changes necessary for germination.
In nature, seeds often endure winter temperatures or fall rains, which break their dormancy. By replicating these conditions, gardeners can significantly improve germination rates and ensure healthy plant growth. Cold stratification can be as simple as placing seeds in the refrigerator for several weeks before planting, simulating the winter chill that they need to break dormancy.
Benefits of Stratification:
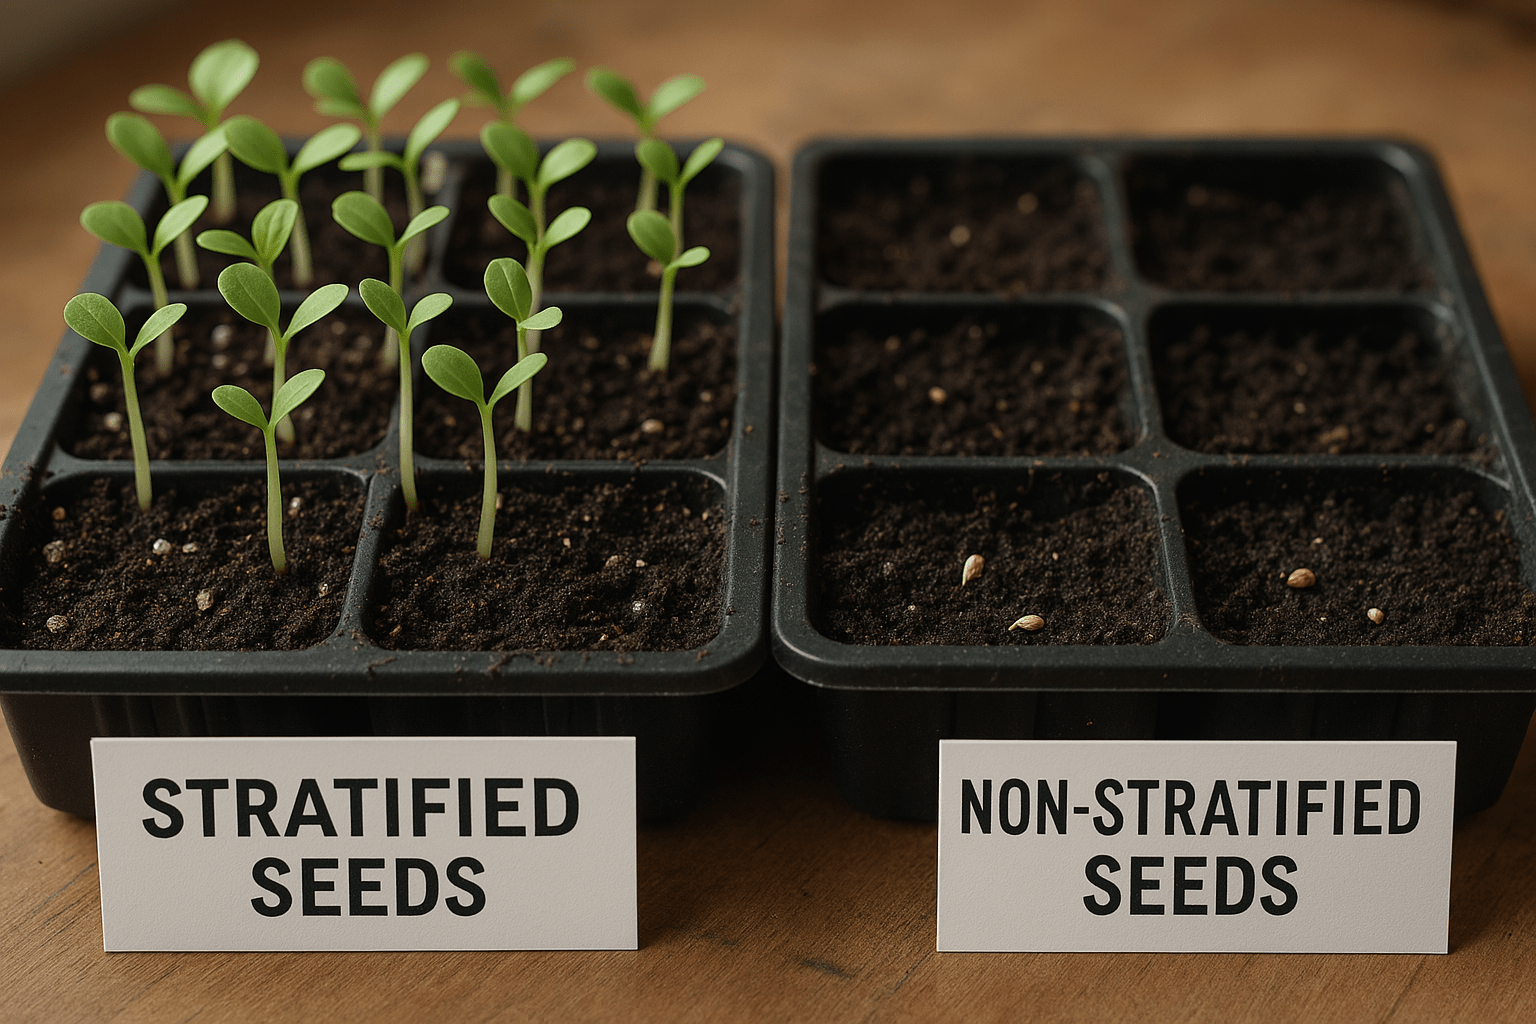
- ✅ Enhanced Germination Rates: Seeds that undergo stratification often germinate faster and more reliably.
- 💪 Better Seedling Strength: Stratified seeds tend to grow into stronger, more resilient plants.
- 🌟 Improved Seed Viability: This process helps to activate dormant seeds, which may otherwise fail to germinate without it.
Incorporating stratification into your planting routine can be a game-changer, especially for plants with tough seed coatings or those native to colder climates.
⏰ When to Stratify Seeds
Stratifying seeds is essential for certain plants that require a period of cold or moist conditions to break dormancy. Understanding when to stratify seeds is key to successful germination. Here’s what you need to know:
🔍 Know Your Seed’s Requirements
Not all seeds need stratification. Research whether your seed type requires cold stratification (exposure to cold temperatures) or warm stratification (exposure to a moist environment). Common seeds that need cold stratification include blueberry, poppy, and lupine.
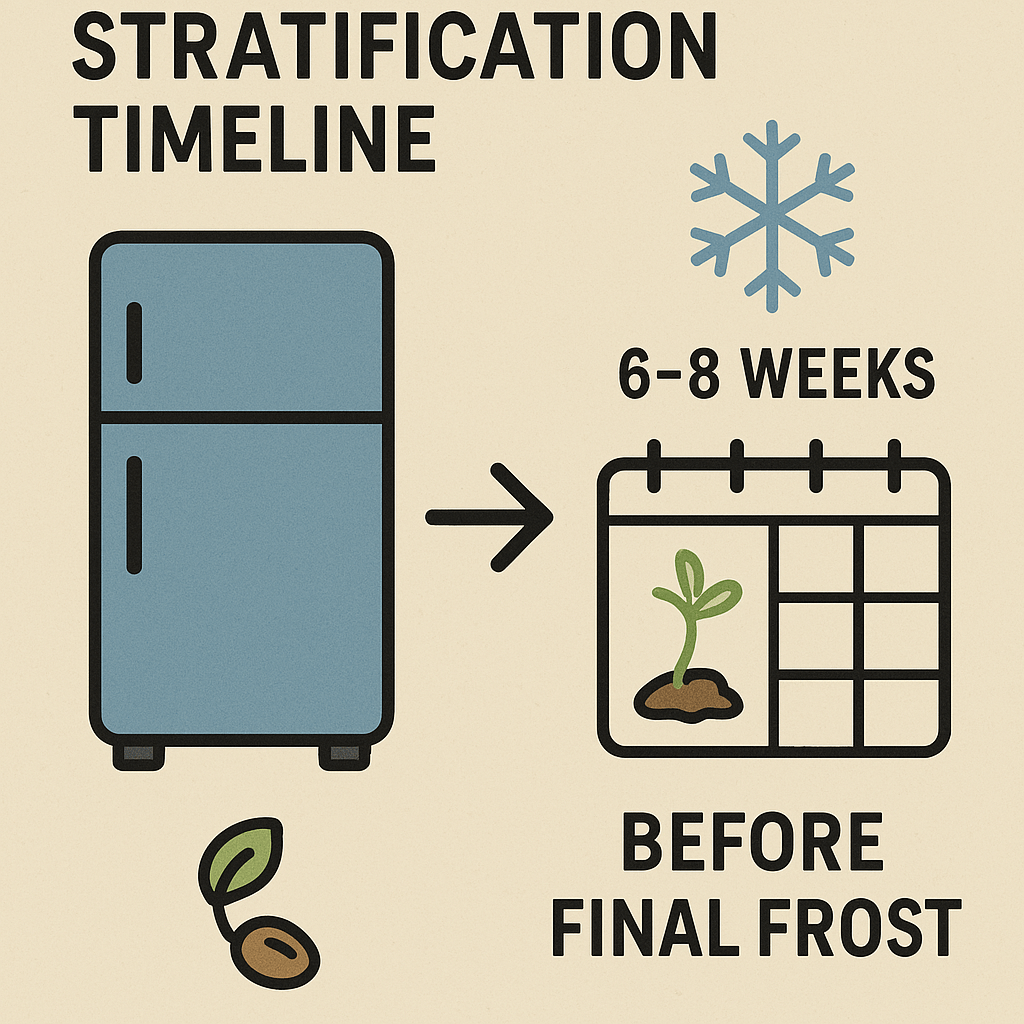
📅 Timing is Crucial
For cold-stratified seeds, the best time to start is typically in late winter to early spring. This mimics the natural cold period they would experience outdoors. A good rule of thumb is to start stratification 6-8 weeks before the last expected frost date in your region.
🚫 Avoid Starting Too Early
Starting seeds too early can cause them to germinate prematurely, especially if you’re using a refrigerator for stratification. Seeds exposed to excessive moisture or incorrect temperatures could mold or rot. Always check specific requirements for each plant variety.
👀 Watch for Signs of Germination
After the recommended stratification period, keep an eye on the seeds. Once you notice signs of germination, such as small root tips emerging, you can move them to a warmer, more conducive environment for planting.
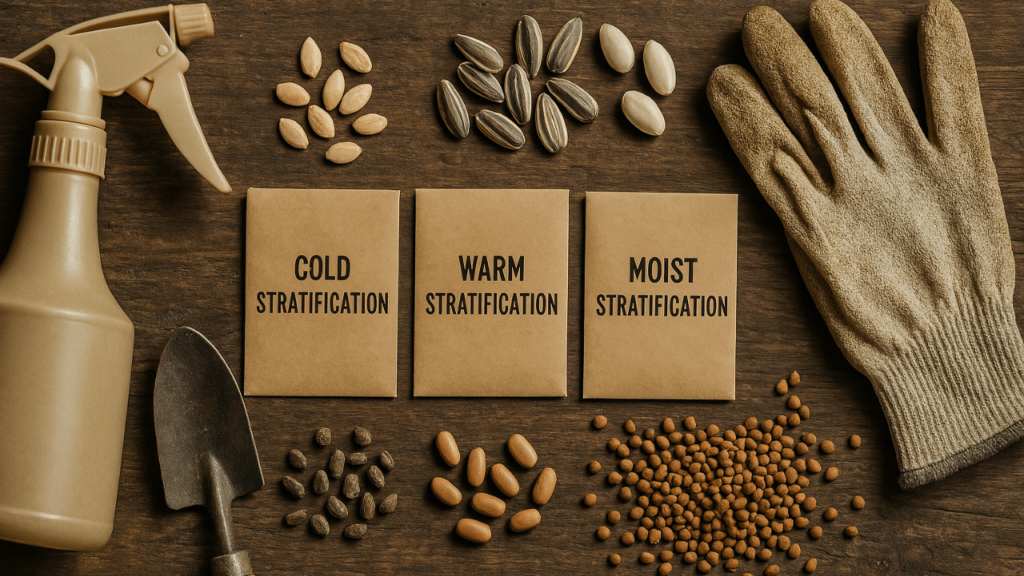
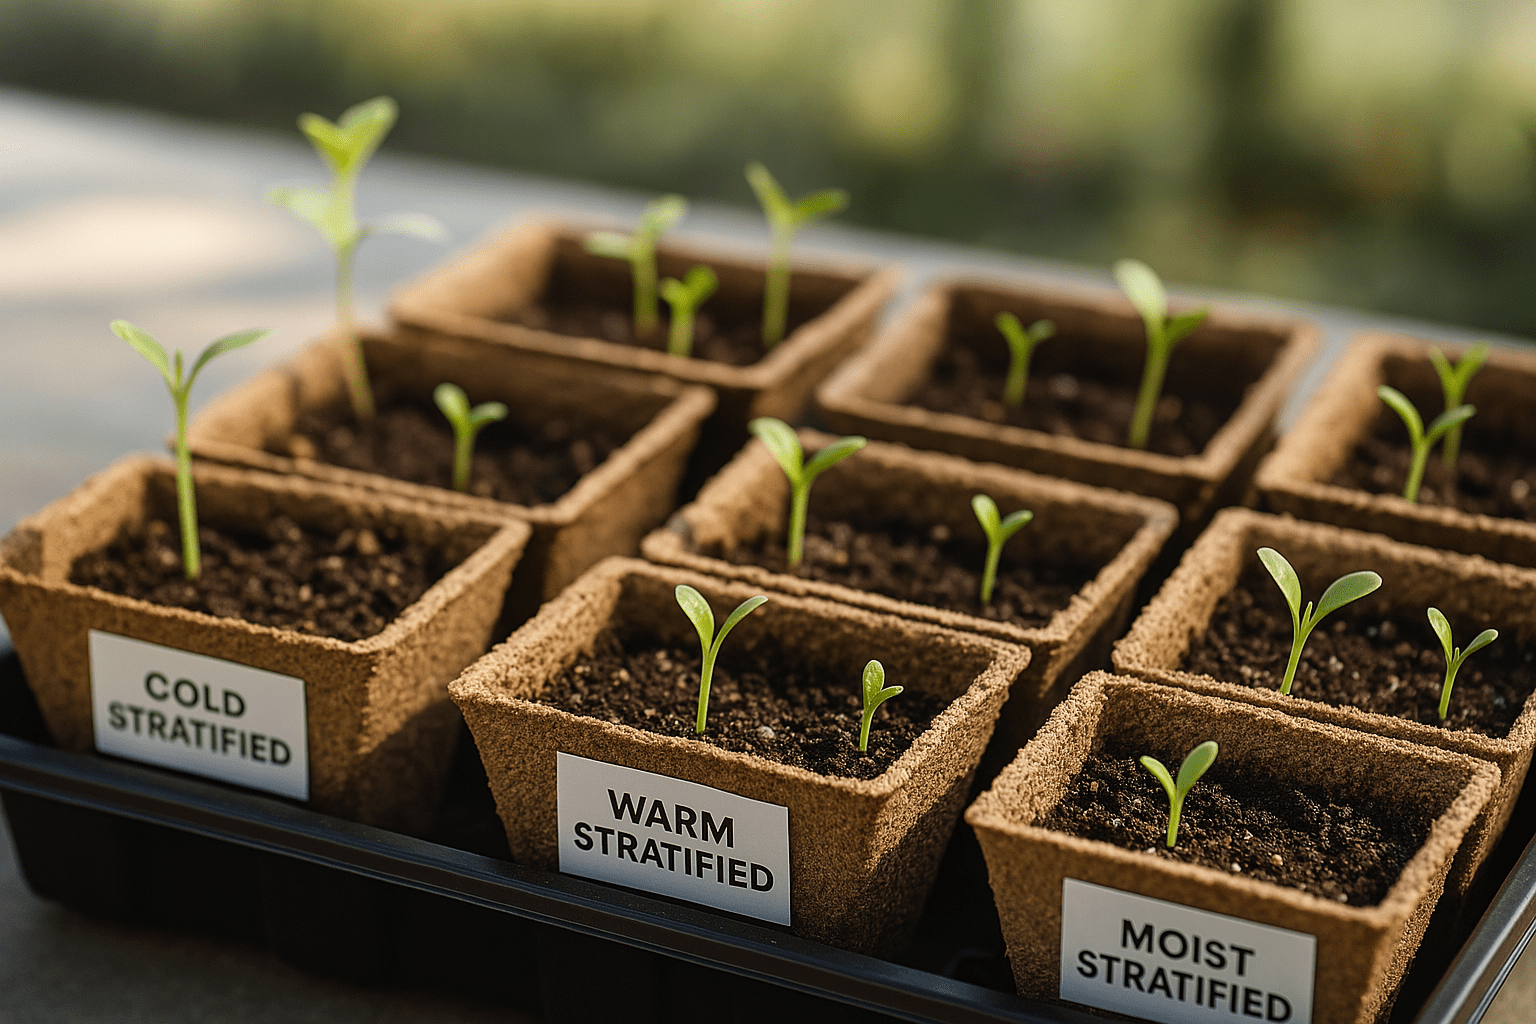
🌿 Types of Seed Stratification
Stratification is a technique that mimics natural conditions to break seed dormancy, allowing them to germinate effectively. There are different types of seed stratification, each suited to particular seeds. Here’s a breakdown of the main approaches:
❄️ 1. Cold Stratification
Ideal for: Many trees, shrubs, and perennial plants.
This process replicates winter conditions. To do this, place the seeds in a moist medium (like sand or peat moss) and store them in the refrigerator for a few weeks or months.

🔥 2. Warm Stratification
Ideal for: Seeds from plants in tropical or subtropical climates.
This method mimics spring or summer warmth. Store seeds in a warm, moist environment—usually between 70°F to 85°F (21°C to 29°C)—for several weeks.
💧 3. Moist Stratification
Ideal for: Hard-coated seeds like those from certain trees or shrubs.
Soak seeds or place them in a damp paper towel or sand, then store in a cool location to trigger germination.
🔁 4. Alternating Stratification
Ideal for: Seeds from temperate regions with variable climates.
Start with cold stratification, then follow with a warm period. Some seeds need both to germinate.

📦 5. Dry Stratification
Ideal for: Seeds from plants that naturally experience dry winters.
Store seeds in a cool, dry place. No moisture is added; this mimics natural dormancy conditions.
📘 Step-by-Step Guide to Cold Stratification
Cold stratification is a technique used to break seed dormancy, mimicking winter conditions and encouraging germination. Here’s how to do it effectively:
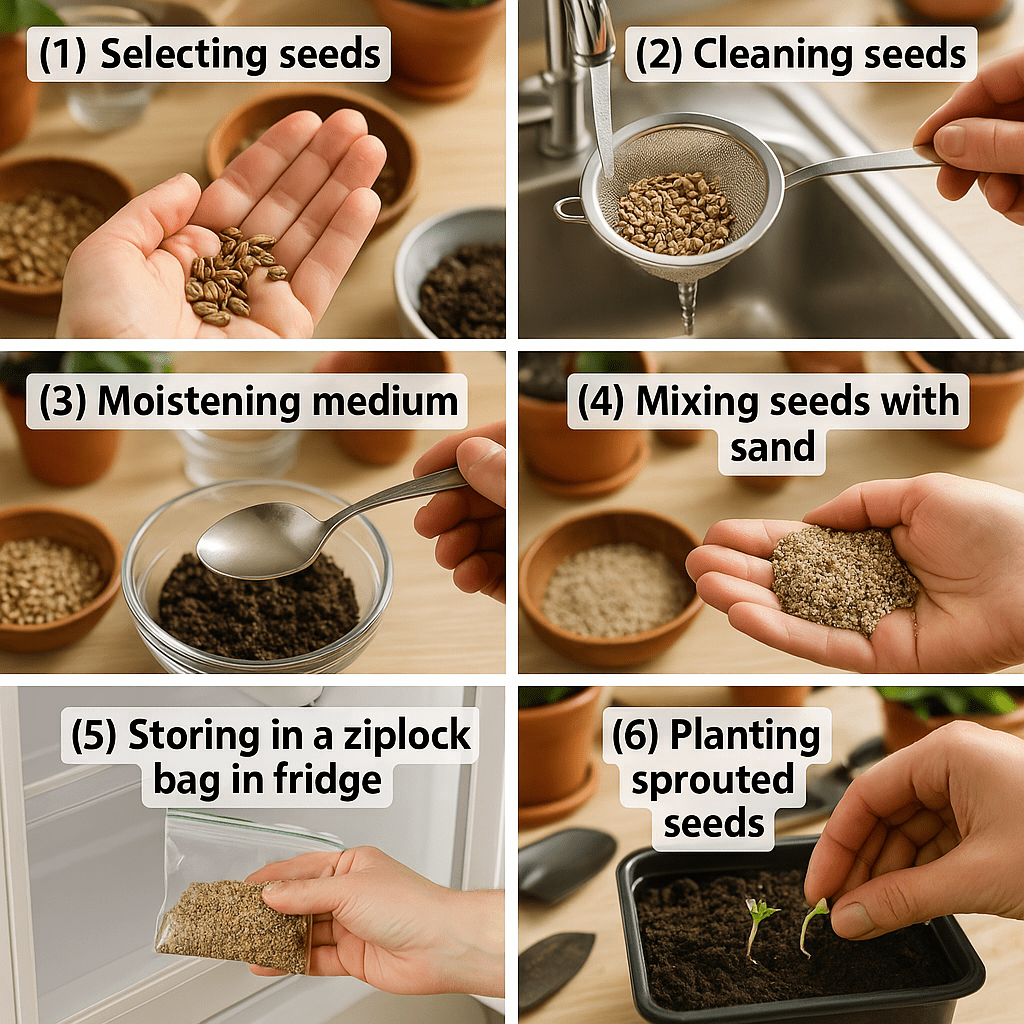
🌿 Choose the Right Seeds
Cold stratification is ideal for seeds that naturally require winter conditions to germinate, like many perennials, trees, and shrubs.
🧼 Clean the Seeds
Gently clean seeds to remove any debris, as this helps prevent mold during the stratification process.
💦 Moisten the Medium
Use a seed-starting mix or sand, and moisten it lightly with water. It should be damp but not soaking wet.
🧪 Mix Seeds with Medium
Combine your seeds with the moist medium in a small, sealable plastic bag or container. Make sure the seeds are evenly distributed.
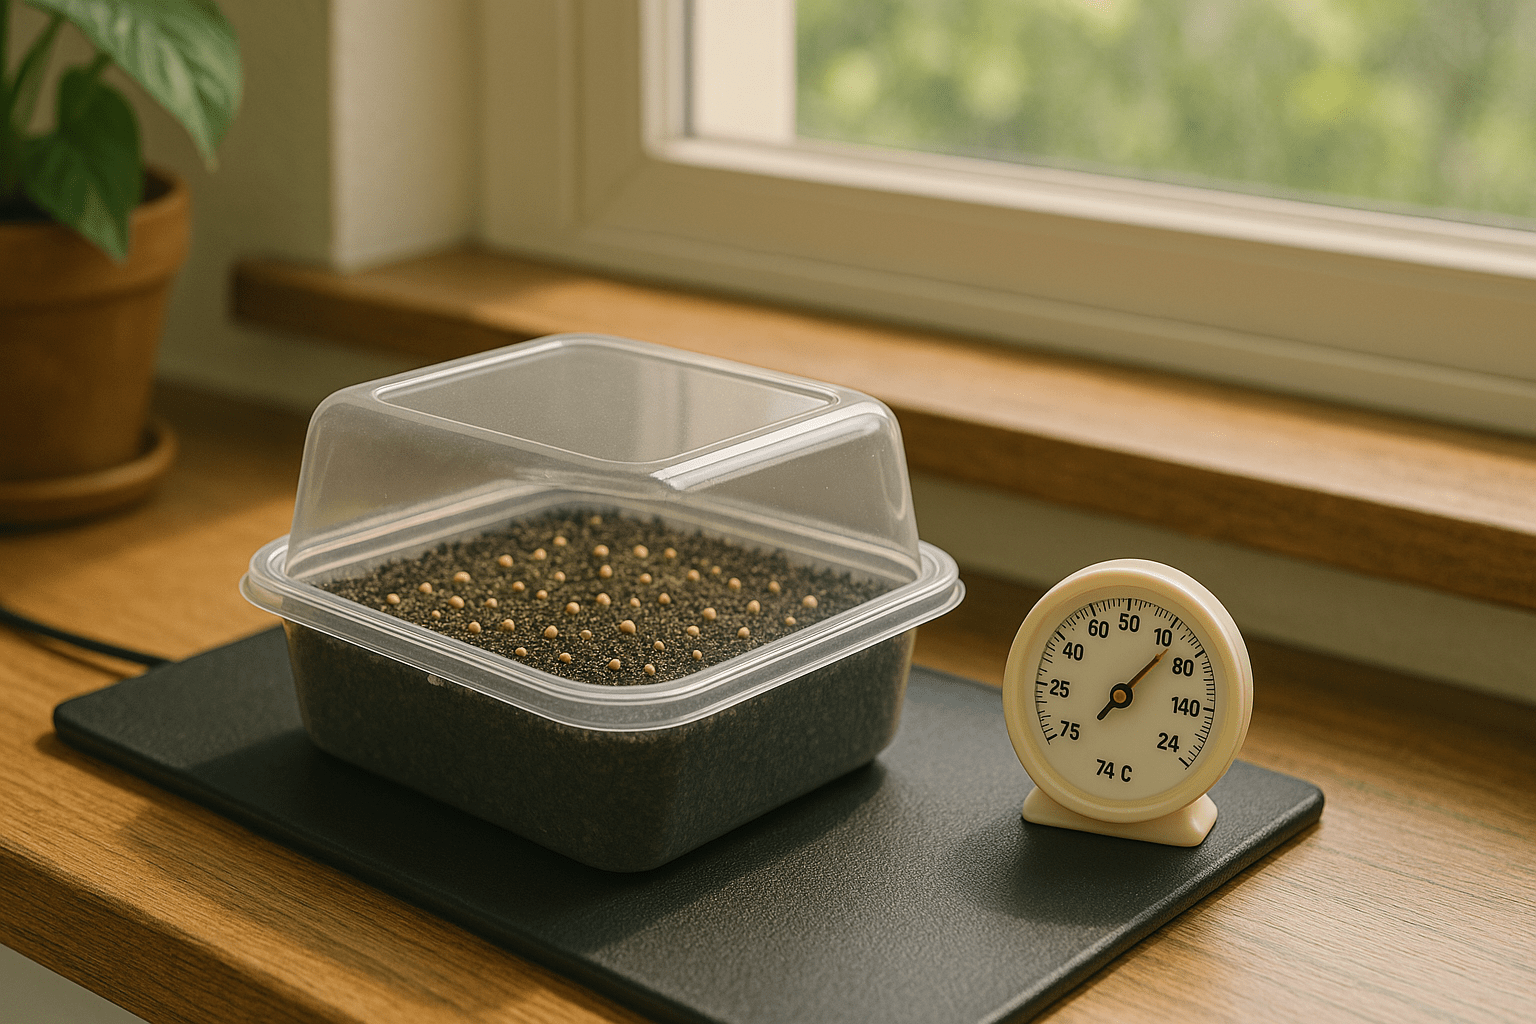
🧊 Place in the Refrigerator
Store the bag or container in the refrigerator, typically at temperatures between 35°F to 40°F (1°C to 4°C).
📈 Monitor and Wait
Leave the seeds in the fridge for the recommended time, usually 30 to 90 days, depending on the seed type. Check periodically to ensure the medium remains moist, but not wet.
🌱 Prepare for Planting
After the stratification period ends, remove the seeds and plant them immediately, following the specific planting depth for the seed type.
📙 Step-by-Step Guide to Warm Stratification
Warm stratification is a technique used to mimic natural conditions, helping seeds break dormancy by exposing them to a warm, controlled environment. Here’s a simple, easy-to-follow guide to get the best results:
🌿 Select the Seeds
Start by choosing the seeds that require warm stratification. Common plants needing this method include certain trees and perennials, such as magnolias or columbines.
🧼 Prepare the Seeds
Some seeds might need to be cleaned or soaked before stratification. Soak for 12-24 hours if needed.
🪵 Prepare the Medium
Use a moist medium like sand, vermiculite, or peat moss. The medium should be slightly damp but not soggy.
🧪 Place the Seeds
Mix the seeds into the prepared medium. Seal the mixture in a plastic bag or container to keep the moisture in and prevent contamination.
🌡️ Set the Temperature
Store the seeds at a temperature of 70-85°F (21-29°C). A warm, consistent temperature mimics the natural warming cycle seeds would experience outdoors.
🔍 Check Regularly
Check the seeds every few days for mold or drying. If necessary, lightly mist the medium to keep it moist, but avoid over-wetting.
🌱 Wait for Germination
Typically, seeds will require 2-6 weeks of warm stratification, depending on the species. Once you see signs of germination or swelling, it’s time to move on to the next step.
🔁 Transfer to Cold Stratification (Optional)
Some seeds require both warm and cold stratification. If that’s the case for your seeds, move them to a cold storage area (such as a refrigerator) after the warm stratification period.
💡 Pro Tips for Success:
- 💧 Ensure consistent moisture without soaking the medium.
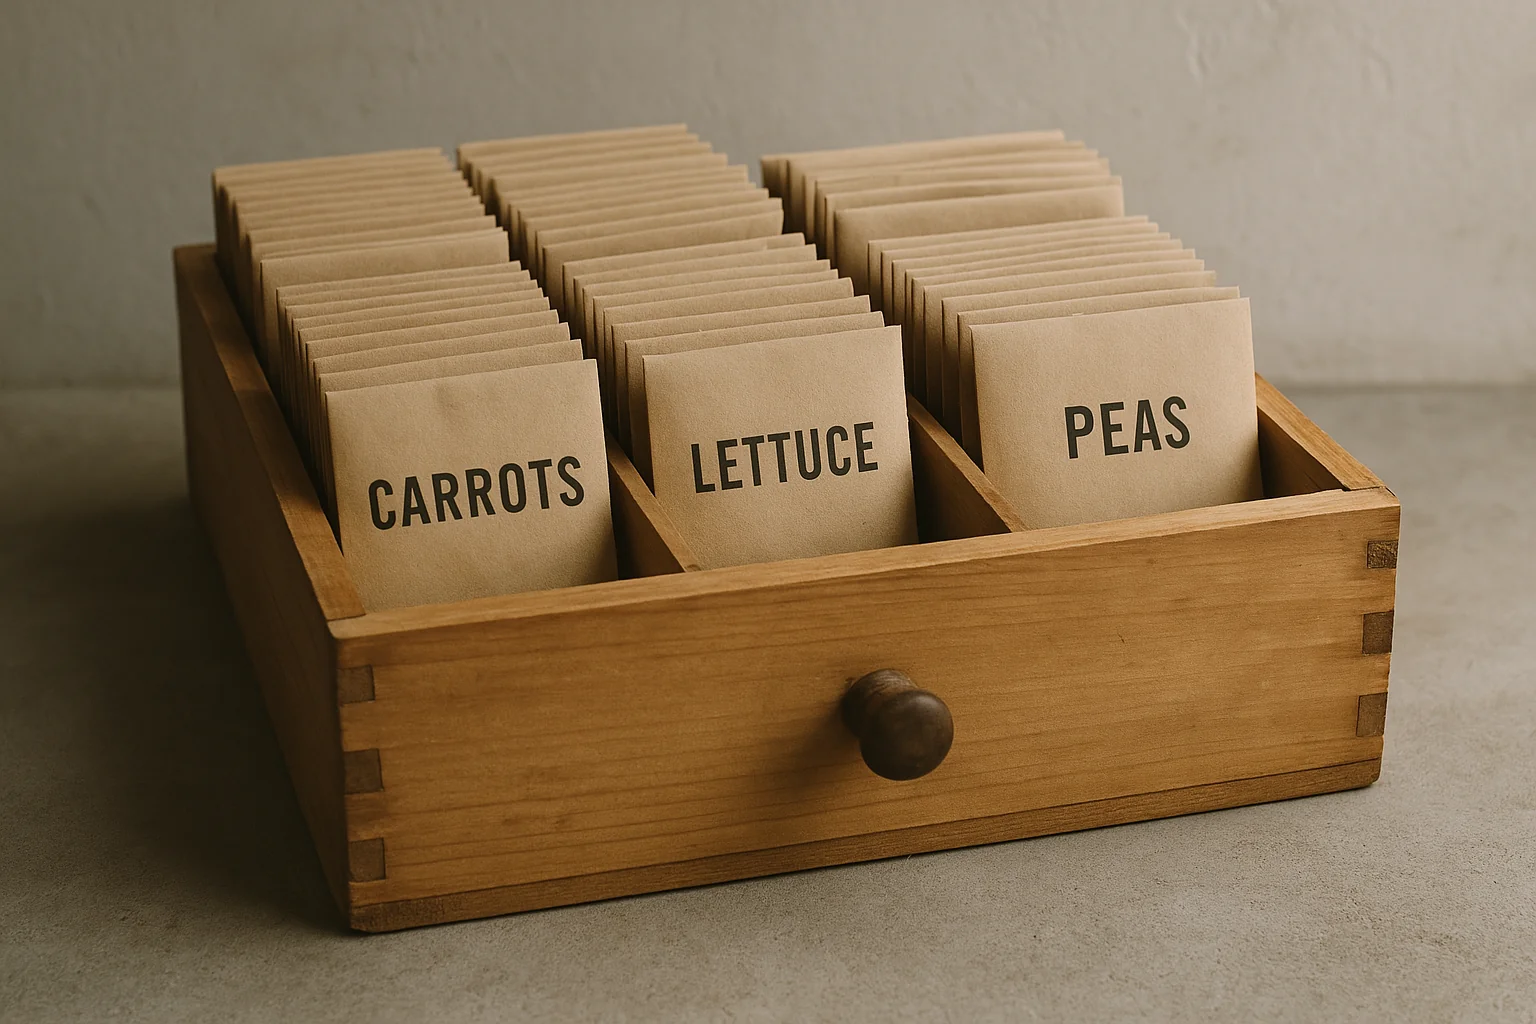
- 🏷️ Label your seed batches for easy identification.
- ⏳ If your seeds are slow to germinate, be patient and continue monitoring.

By following these steps, you’ll significantly improve your chances of successful germination, providing your plants with the best start possible!
🌟 Tips for Successful Stratification
Stratification is a crucial technique for germinating seeds that require cold exposure to break dormancy. By mimicking natural conditions, you can improve your chances of success. Here are key tips to ensure successful stratification:
🪵 Use the Right Medium
Moisture-retentive materials like sand, peat moss, or vermiculite are ideal. These prevent the seeds from drying out while providing the right environment for dormancy to be broken.
🌡️ Maintain Consistent Temperature
Aim for temperatures between 33°F (1°C) and 41°F (5°C) for most seeds. A refrigerator is usually the best place to store seeds during stratification. Be sure to keep the temperature stable for best results.
💦 Moisten, But Don’t Soak
The stratification medium should be damp, not soaking wet. Too much water can lead to mold growth or seed rot. A lightly moistened medium is perfect.
👀 Check Seeds Regularly
Periodically check on your seeds to ensure they’re not too dry or overly moist. This will help you adjust the conditions before any problems arise.
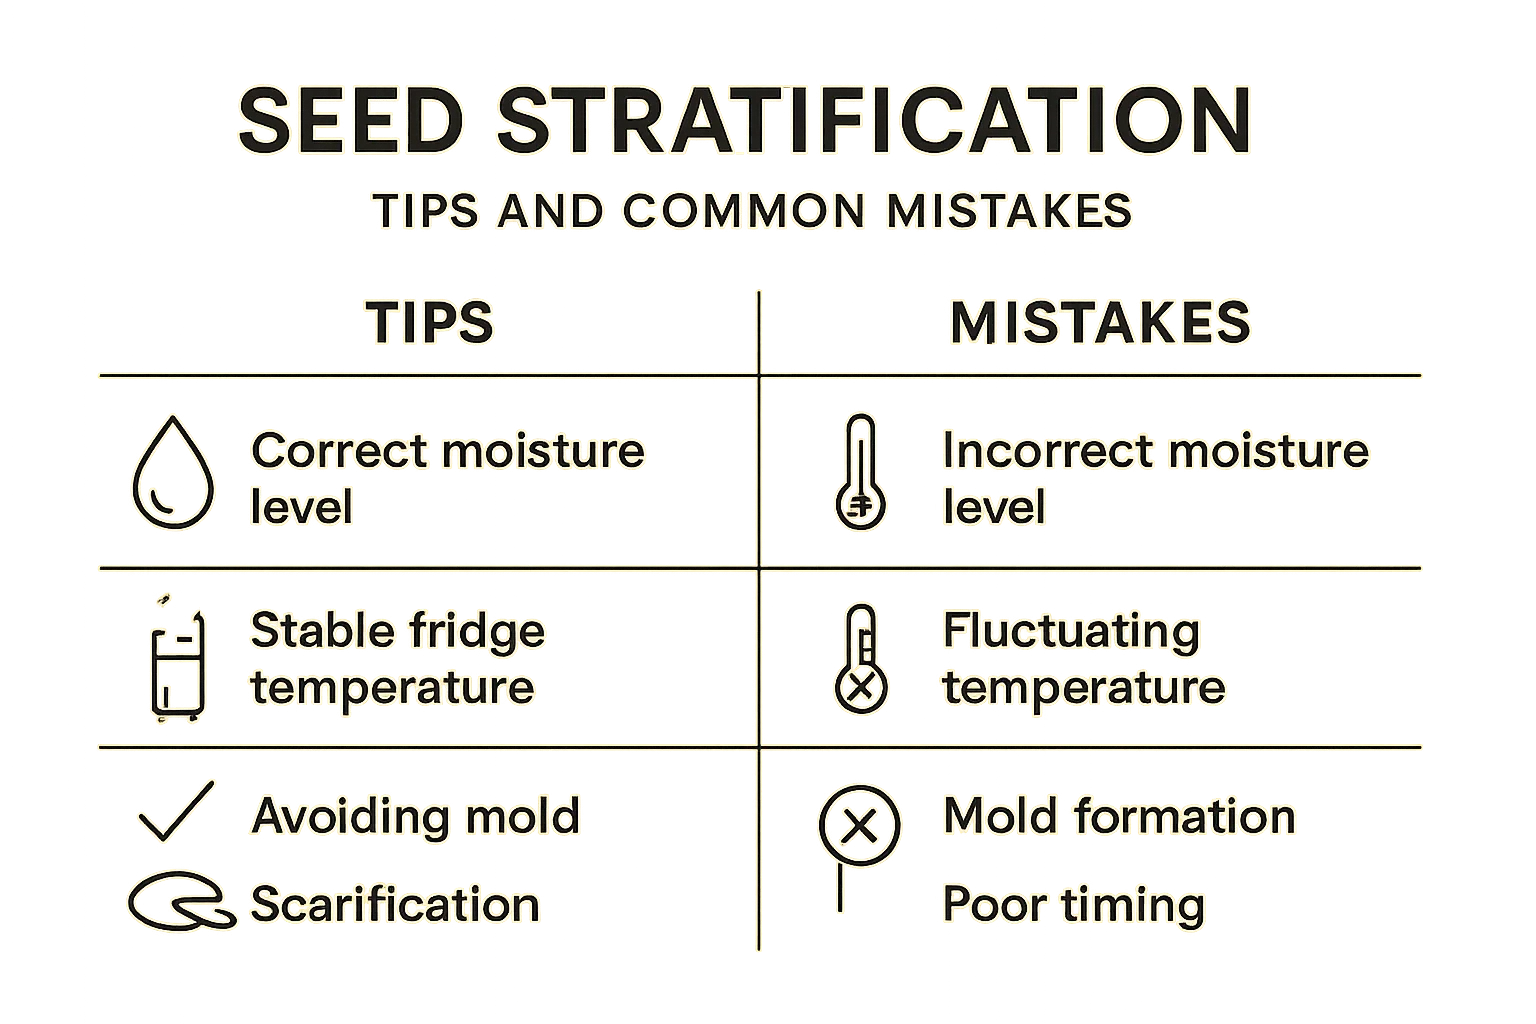
📆 Respect Timing
Each seed variety has its own stratification period, typically ranging from 30 to 90 days. Research the specific requirements for your seeds and stick to the recommended time frame.
🚫 Avoid Disturbance
Once your seeds are in their stratification period, avoid disturbing them too often. Frequent handling can interfere with the process and hinder successful germination.
🪒 Consider Scarification
Some seeds benefit from scarification (scratching or nicking the seed coat) before stratification. This step can help seeds absorb moisture more easily, improving germination.
By following these stratification tips, you’ll give your seeds the best chance at successful germination, leading to healthier plants.
🌼 Final Thought
Stratifying seeds is a simple yet highly effective technique that can significantly boost your germination success. Whether you’re working with perennial flowers, trees, or other plants that require a cold or warm dormancy period, understanding how to stratify seeds for better germination ensures you’re giving your plants the best possible start.
Remember, patience is key, and small adjustments to temperature and moisture levels can make all the difference in your garden’s success. So, don’t be afraid to experiment with different seeds and methods. With the right approach, your plants will thrive from the very beginning. Happy gardening, and enjoy the process of watching your seeds grow into beautiful, thriving plants! 🌱🌸