

Have you ever wondered how a tiny seed transforms into a thriving plant? It all begins with seed germination, a fascinating and essential process for every gardener, whether you’re growing a few houseplants or cultivating an entire garden. Understanding the seed germination basics is the first step toward successful plant growth. This guide will walk you through the key concepts and tips to help ensure your seeds sprout and thrive, giving you the foundation for a flourishing garden. Get ready to unlock the secrets of nature’s most magical transformation!
What is Seed Germination?
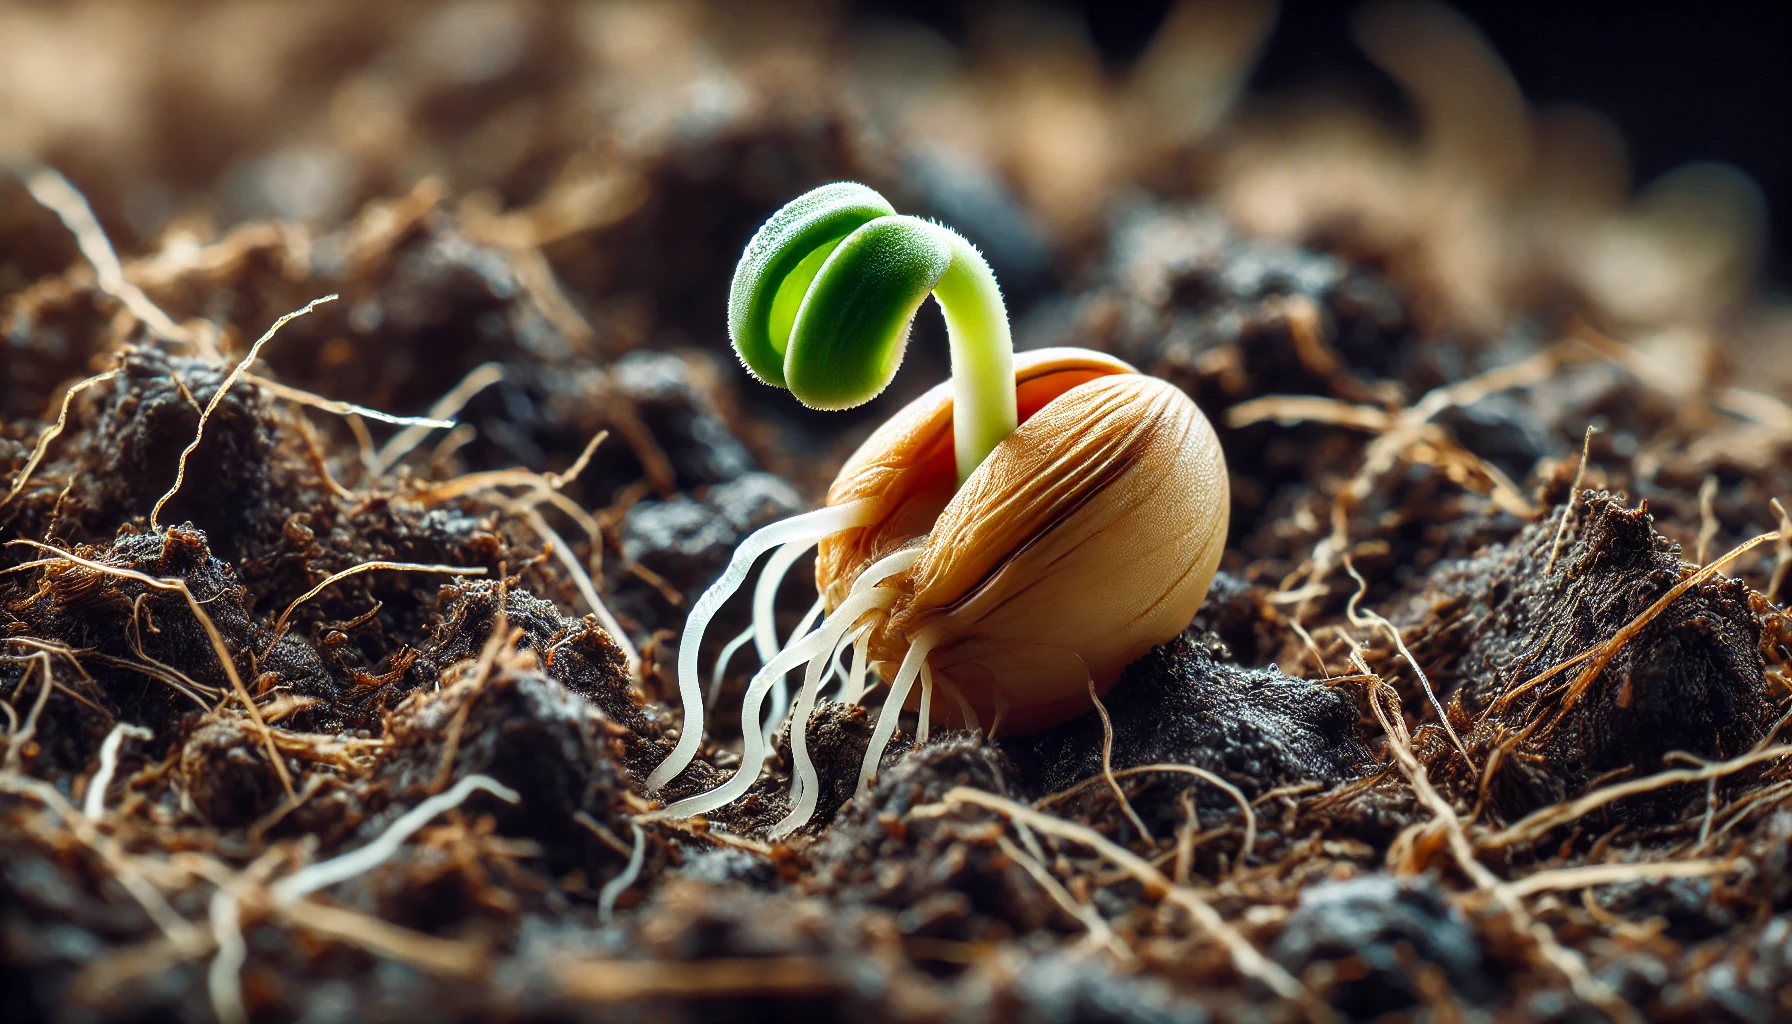
Seed germination is the process through which a seed develops into a new plant. It marks the beginning of a plant’s life cycle, where a dormant seed awakens and starts to grow. This vital phase occurs when the seed absorbs water, swells, and begins to sprout roots and shoots.
Key Steps in Germination:
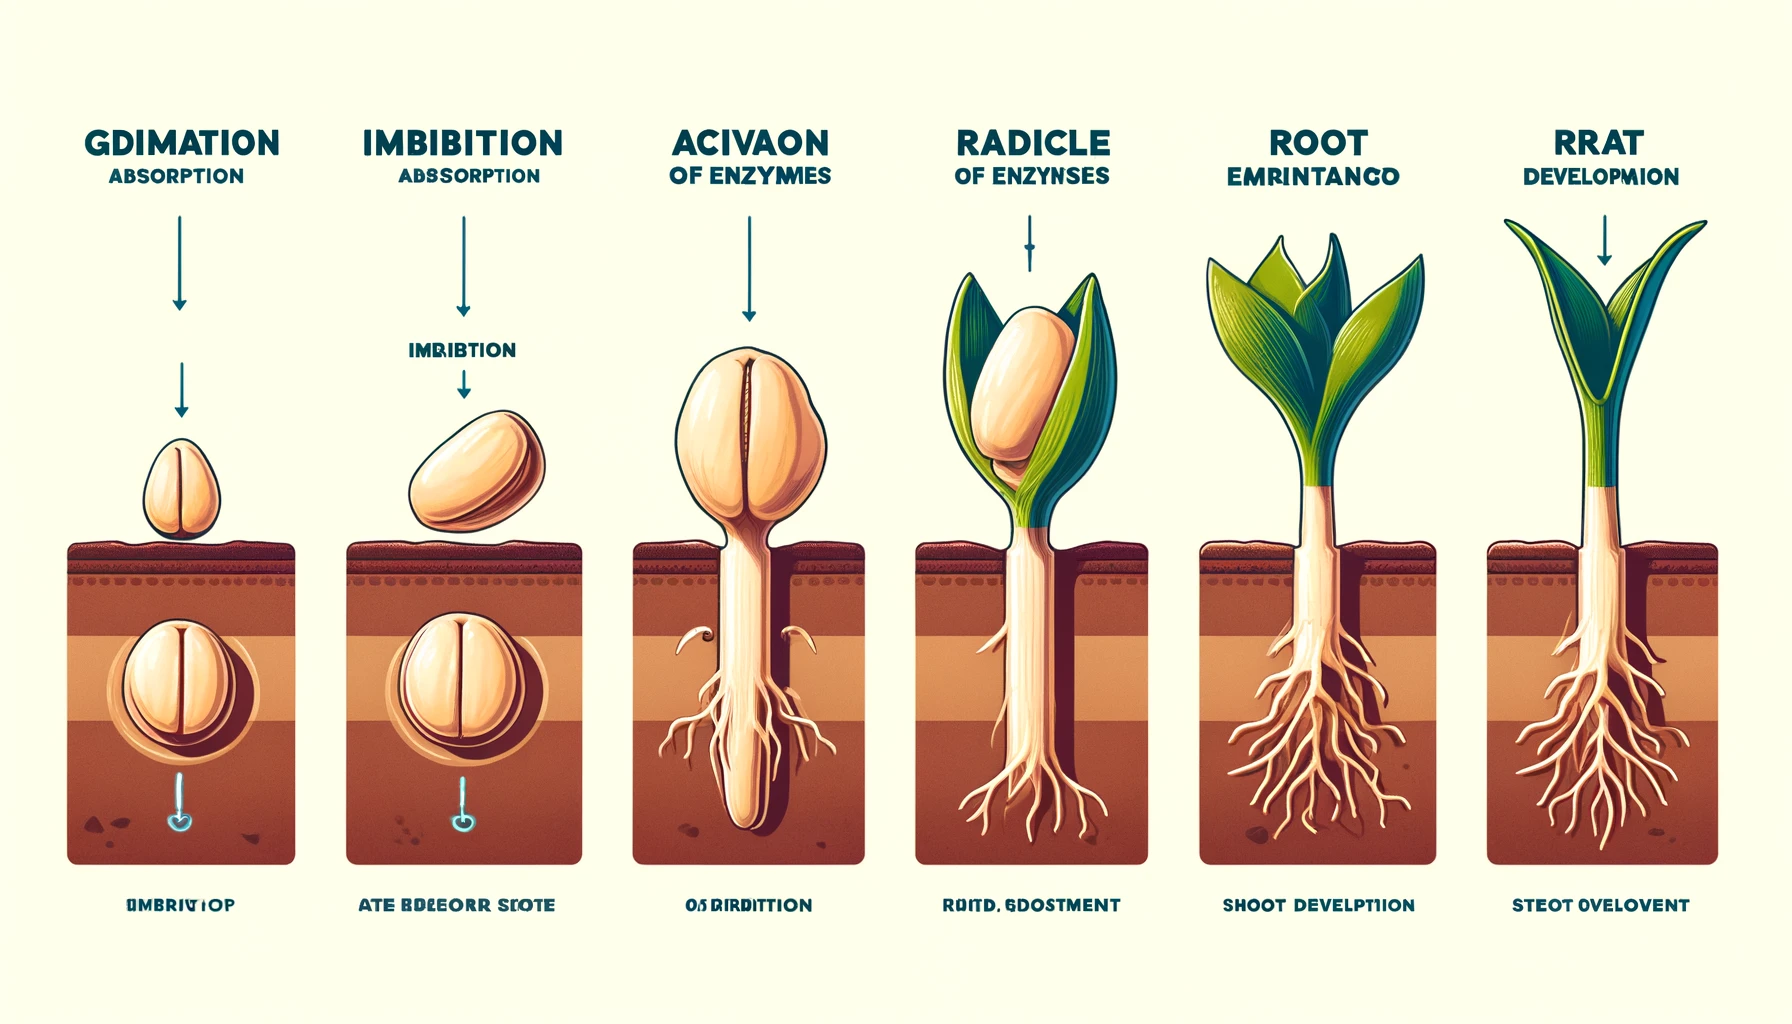
- Imbibition: The seed absorbs water, triggering biochemical changes that kickstart the growth process.
- Activation of enzymes: These enzymes break down stored nutrients in the seed, providing energy for growth.
- Radicle emergence: The first sign of life—roots (radicle) push out of the seed to anchor and absorb water.
- Shoot development: The stem (plumule) emerges and begins to grow upward toward the light.
Factors Affecting Germination:
- Water: Essential for activating enzymes and softening the seed coat.
- Temperature: Seeds require an optimal temperature range to start germinating.
- Light: Some seeds need light to germinate, while others thrive in darkness.

Germination is influenced by the seed’s quality, the environment, and care during the process. Understanding this natural mechanism can help gardeners, farmers, and hobbyists successfully grow plants, from vegetables to flowers.
By mastering seed germination, you can ensure stronger, healthier plants right from the start.
The Essential Conditions for Germination
For successful seed germination, several key conditions must be met. Understanding and optimizing these factors will help ensure that your seeds sprout and grow into healthy plants. The four primary conditions for germination are water, temperature, oxygen, and light.
Water
Water is the most crucial element for seed germination. When a seed absorbs water, it activates enzymes that begin the metabolic process needed for growth. Without adequate moisture, the seed remains dormant. However, too much water can suffocate the seed and cause it to rot, so it’s important to maintain a balance.
Temperature
Each seed has an optimal temperature range for germination, typically between 60°F and 75°F (15°C to 24°C). If the temperature is too low, the germination process will be slow or may not happen at all. If it’s too high, seeds can dry out or burn. Always check the recommended temperature for the specific seed you are planting.
Oxygen
Seeds need oxygen to fuel the growth of the embryo. During germination, they carry out respiration to release energy. Without enough oxygen, germination will be stunted or fail. Ensure that the soil or growing medium is well-drained to allow adequate airflow to the seed.
Light (or Darkness)
Some seeds require light to germinate, while others need darkness. It’s essential to know the specific needs of the seeds you’re planting. Light-sensitive seeds should be planted on the surface of the soil, while others can be buried deeper to encourage proper sprouting in the dark.
By providing the right combination of these four conditions—water, temperature, oxygen, and light—you can create the ideal environment for your seeds to germinate successfully.
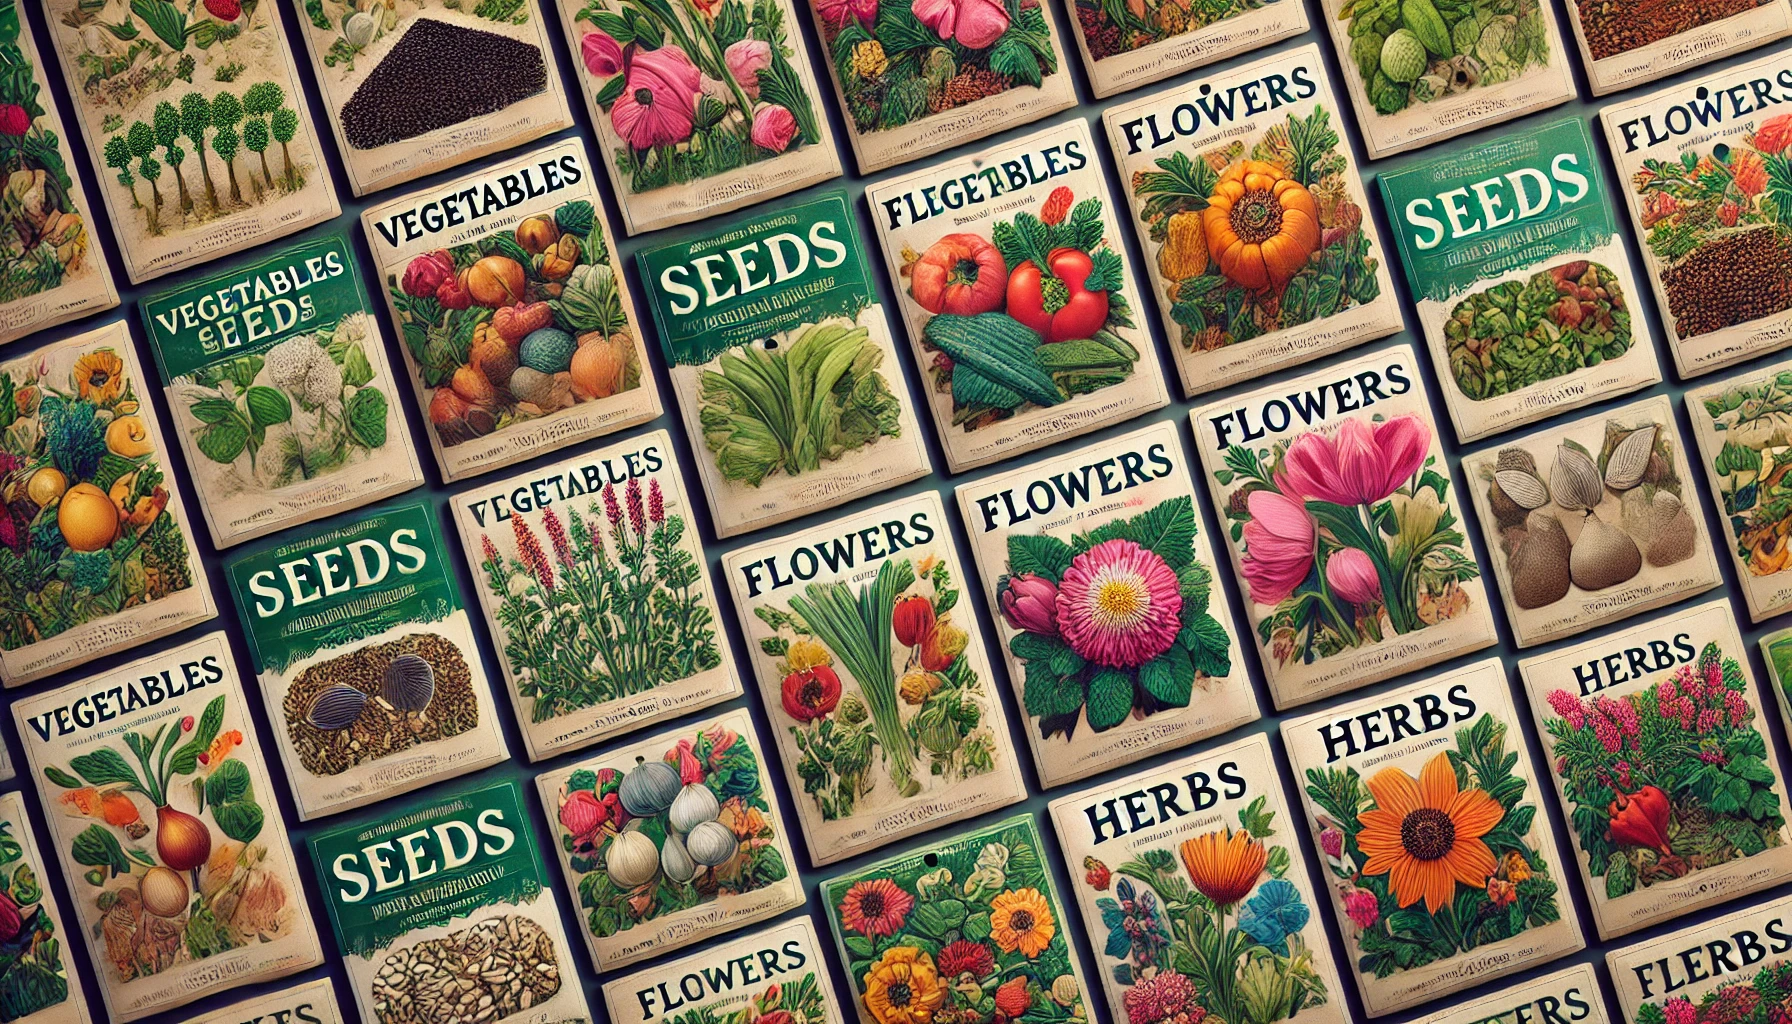
Choosing the Right Seeds
Selecting the best seeds is the foundation of a successful garden. Whether you’re growing vegetables, flowers, or herbs, choosing high-quality seeds ensures strong, healthy plants. Here’s what to consider:
Opt for High-Quality Seeds
- Purchase from reputable seed suppliers to guarantee freshness and viability.
- Check the packaging date—fresh seeds have a higher germination rate.
- Choose organic or heirloom seeds if you prefer chemical-free or traditional varieties.
Consider Your Growing Conditions
- Select seeds suited for your climate and USDA hardiness zone.
- Look for disease-resistant varieties to reduce common gardening issues.
- Choose fast-growing or drought-tolerant seeds if your region has a short growing season or dry conditions.
Pick the Right Variety for Your Needs
- For vegetables: Decide between hybrid (high yield, disease-resistant) or heirloom (better flavor, open-pollinated) seeds.
- For flowers: Consider bloom time, color, and whether they attract pollinators.
- For herbs: Choose between annuals (basil, cilantro) and perennials (rosemary, thyme).
Check Seed Packet Information
- Review germination time, planting depth, and spacing guidelines.
- Look for expiration dates—old seeds may not sprout well.
- Read about sunlight, water, and soil requirements to match your garden conditions.
By choosing the right seeds, you set the stage for a thriving and productive garden. Make informed decisions, and your plants will reward you with healthy growth and abundant yields.
How to Prepare Your Seeds for Germination
Proper seed preparation increases germination rates and ensures healthy seedlings. Before planting, follow these essential steps:
Sort and Inspect Seeds
- Remove any damaged, discolored, or shriveled seeds.
- Check the seed packet for viability and expiration dates.
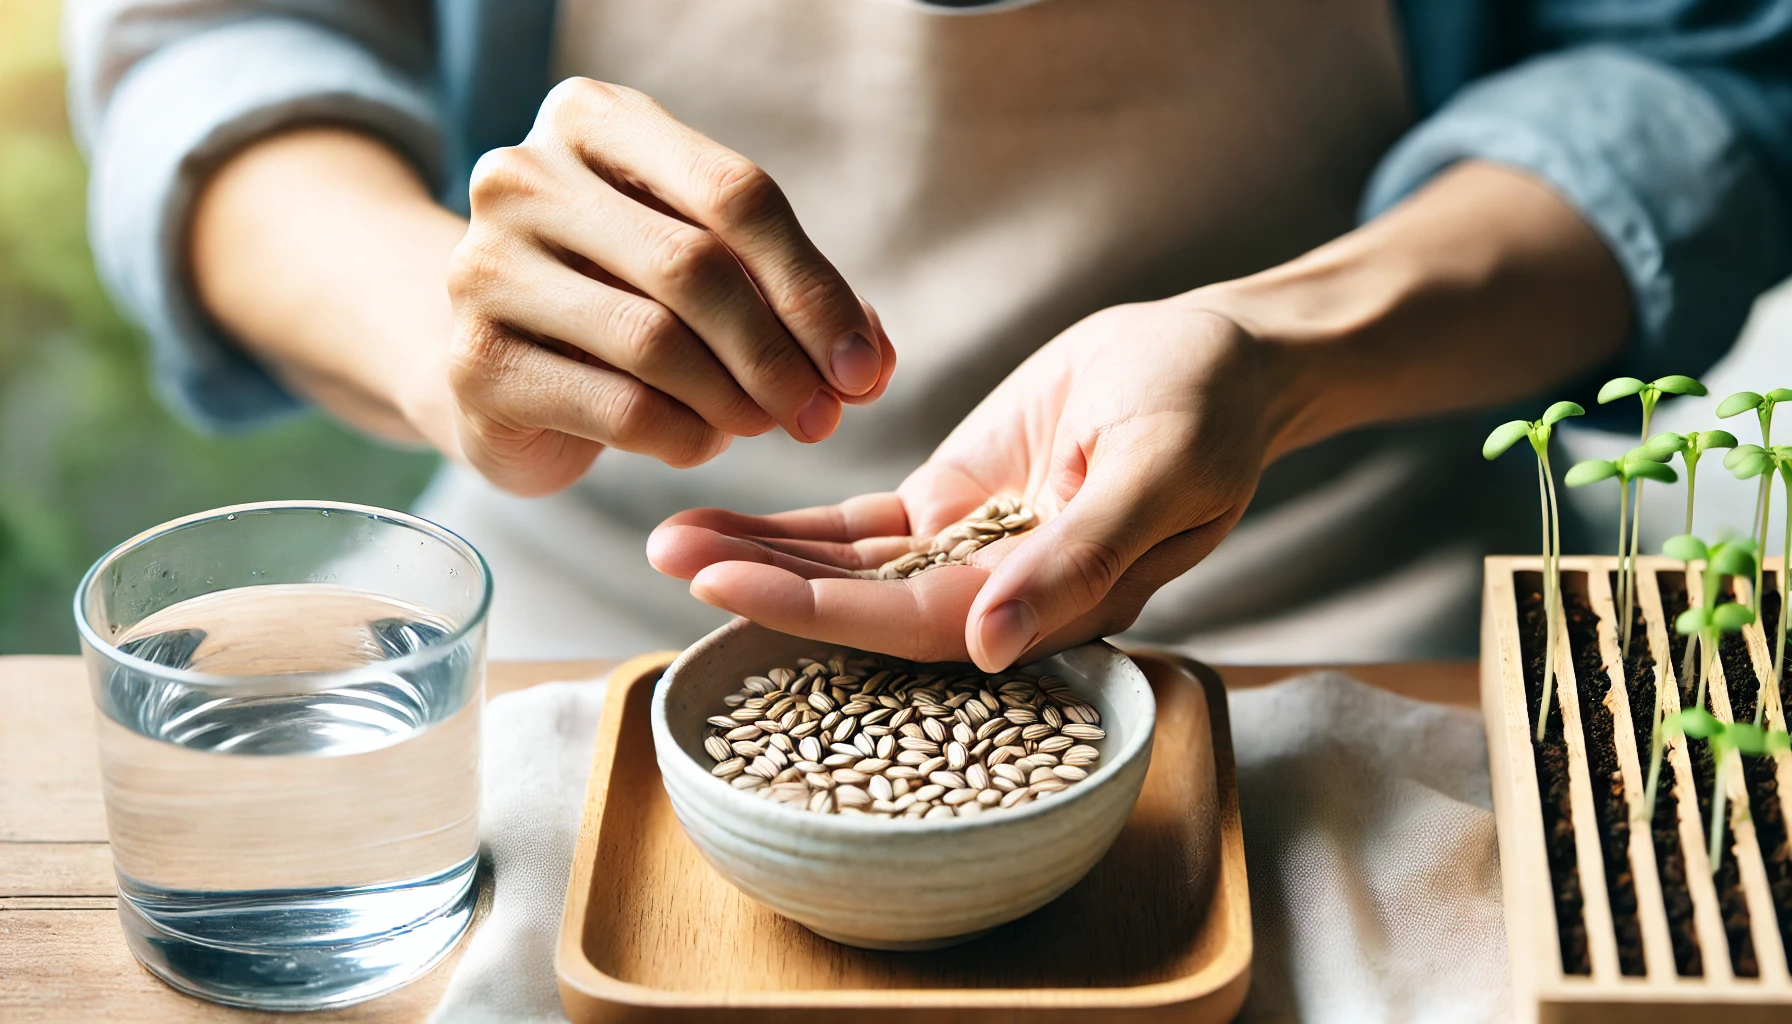
Soak Seeds for Faster Sprouting
- Soaking softens the seed coat and speeds up germination.
- Use lukewarm water and soak seeds for 8-24 hours (avoid over-soaking, as seeds may rot).
- Ideal for peas, beans, sunflowers, and hard-coated seeds like morning glories.
Scarify Hard Seeds
- Some seeds have tough outer shells that slow germination.
- Lightly rub the seed with sandpaper or nick it with a knife.
- Works well for sweet peas, nasturtiums, and moonflowers.
Stratify Seeds That Need Cold Treatment
- Certain seeds need a period of cold to sprout.
- Place seeds in a damp paper towel inside a plastic bag and refrigerate for 2-6 weeks.
- Ideal for lavender, milkweed, and some perennial flowers.
Pre-Sprout Seeds for a Head Start
- Place seeds between damp paper towels inside a plastic bag.
- Keep in a warm, dark place and check daily for sprouting.
- Transfer sprouted seeds carefully into soil to avoid damage.
Use a Germination Test (Optional)
- Place 10 seeds on a damp paper towel, fold it, and seal it in a plastic bag.
- Keep in a warm spot and check in 5-10 days for sprouting.
- If fewer than 70% sprout, consider replacing old seeds.
By preparing your seeds properly, you improve germination success and set your plants up for healthy growth. A little effort before planting leads to stronger, more productive plants!
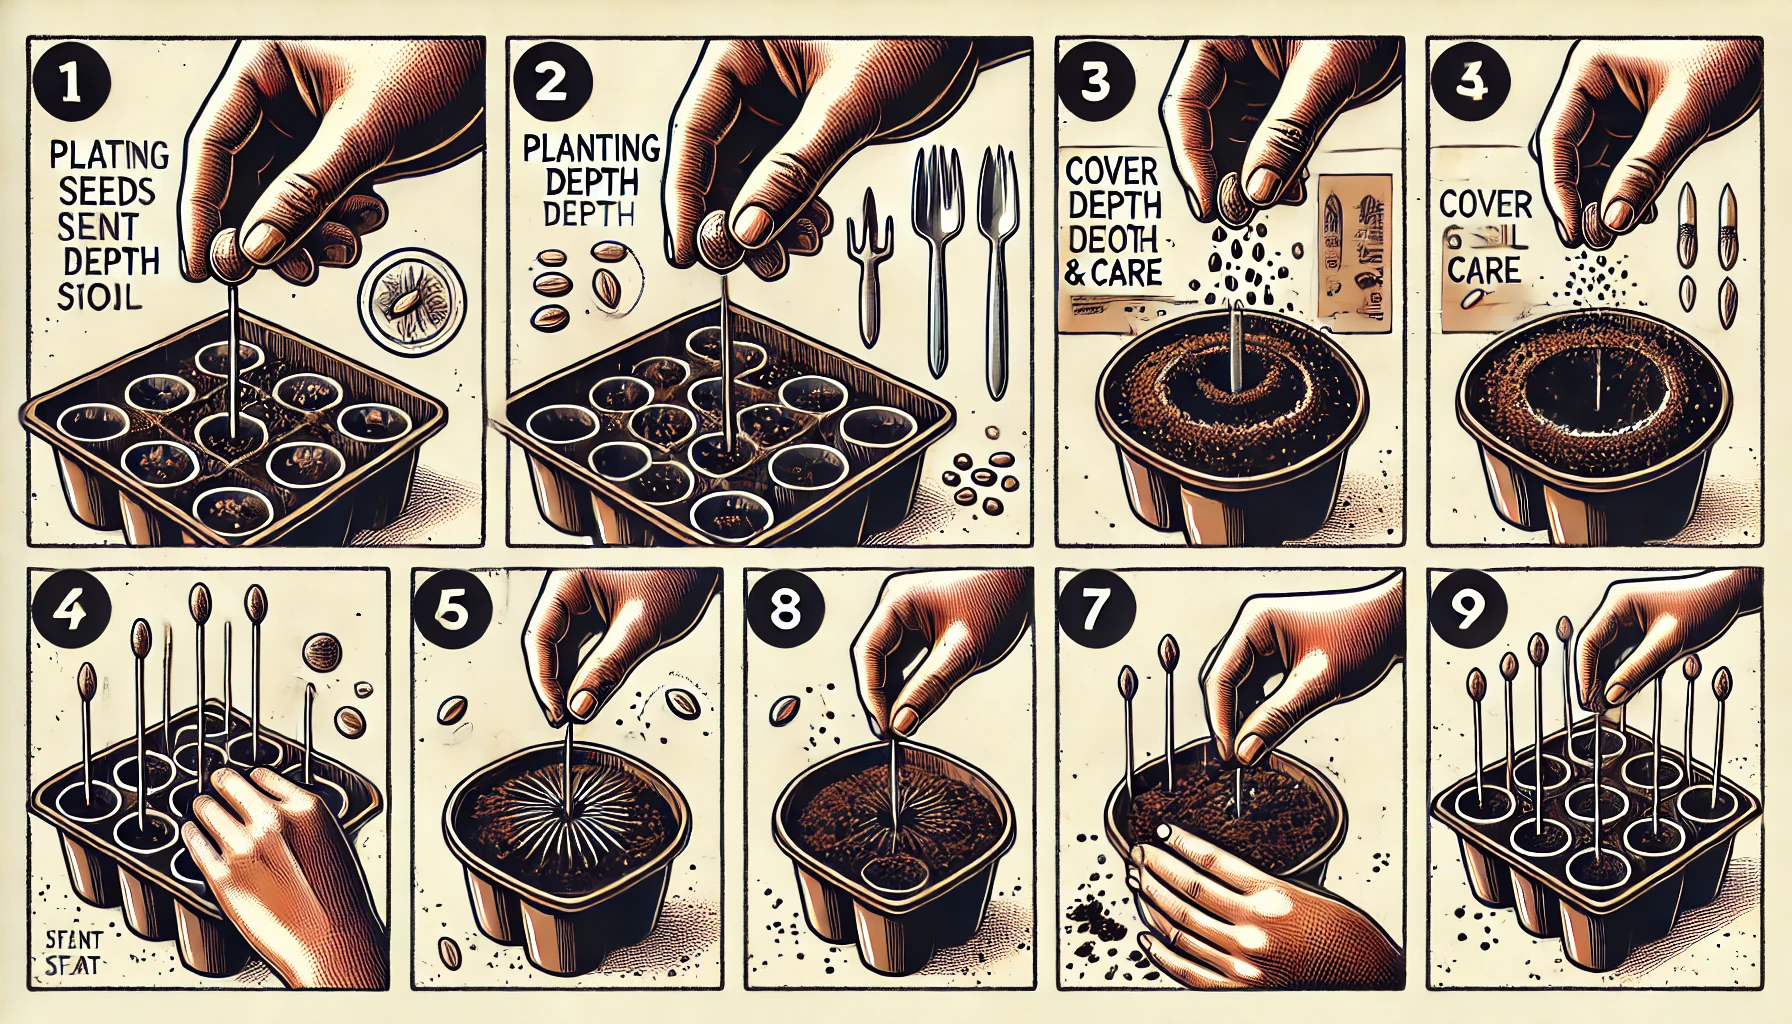
Step-by-Step Guide to Seed Germination
Successful seed germination is the first step toward healthy plant growth. Follow this step-by-step guide to ensure strong and vigorous seedlings.
Select the Right Seeds
- Use fresh, high-quality seeds for better germination rates.
- Choose varieties suited for your climate and growing conditions.
Prepare the Growing Medium
- Use a well-draining seed-starting mix, not regular garden soil.
- Keep the soil light, airy, and slightly moist.
Choose the Right Container
- Use seed trays, small pots, or biodegradable containers.
- Ensure good drainage to prevent waterlogging.
Plant the Seeds Properly
- Follow the depth instructions on the seed packet.
- Plant smaller seeds near the surface and larger seeds deeper.
- Gently cover with soil and mist with water.
Maintain Ideal Conditions
- Temperature: Keep between 65-75°F (18-24°C) for most seeds.
- Moisture: Keep the soil consistently moist but not soggy.
- Light: Place seeds in bright, indirect light or under grow lights.
Provide Proper Ventilation
- Cover trays with plastic wrap or a humidity dome to retain moisture.
- Remove the cover once sprouts appear to prevent mold growth.
Be Patient and Monitor Growth
- Check daily for sprouting, which may take days to weeks.
- Once seedlings develop two sets of leaves, they are ready for transplanting.
By following these steps, you’ll create the perfect conditions for strong, healthy seedlings, setting the stage for a successful growing season.
Common Mistakes to Avoid
Even experienced gardeners make mistakes, but learning from them can save time, effort, and resources. Here are some of the most common gardening mistakes and how to avoid them:
Choosing the Wrong Location
- Plants need the right balance of sunlight and shade.
- Avoid placing sun-loving plants in shady areas and vice versa.
- Check soil drainage—waterlogged soil can lead to root rot.
Overwatering or Underwatering
- Too much water suffocates roots and causes fungal diseases.
- Too little water leads to stunted growth and poor yields.
- Use the finger test—stick a finger into the soil; if it feels dry, it’s time to water.

Ignoring Soil Quality
- Poor soil results in weak plants and low productivity.
- Test soil pH and nutrient levels before planting.
- Improve soil with compost, organic matter, or fertilizers as needed.
Planting at the Wrong Time
- Some plants thrive in cool weather, while others need warmth.
- Follow planting schedules based on your climate and season.
- Start seeds indoors if the outdoor temperature isn’t suitable.
Overcrowding Plants
- Crowded plants compete for light, water, and nutrients.
- Poor airflow increases the risk of diseases and pests.
- Follow spacing recommendations on seed packets or plant labels.
Neglecting Pest and Disease Control
- Ignoring early signs of pests and diseases can lead to major damage.
- Inspect plants regularly for discoloration, holes, or wilting.
- Use organic methods like companion planting or neem oil to prevent issues.
Forgetting to Prune and Maintain
- Overgrown plants become weak and unproductive.
- Prune dead or diseased branches to encourage healthy growth.
- Regular weeding prevents competition for nutrients.
Avoiding these mistakes will help your garden thrive, leading to healthier plants and better yields. With proper care, patience, and attention, you can grow a successful and rewarding garden!
Successful gardening requires careful planning, patience, and attention to detail. By choosing the right seeds, providing proper care, and avoiding common mistakes, you set yourself up for a thriving and productive garden.
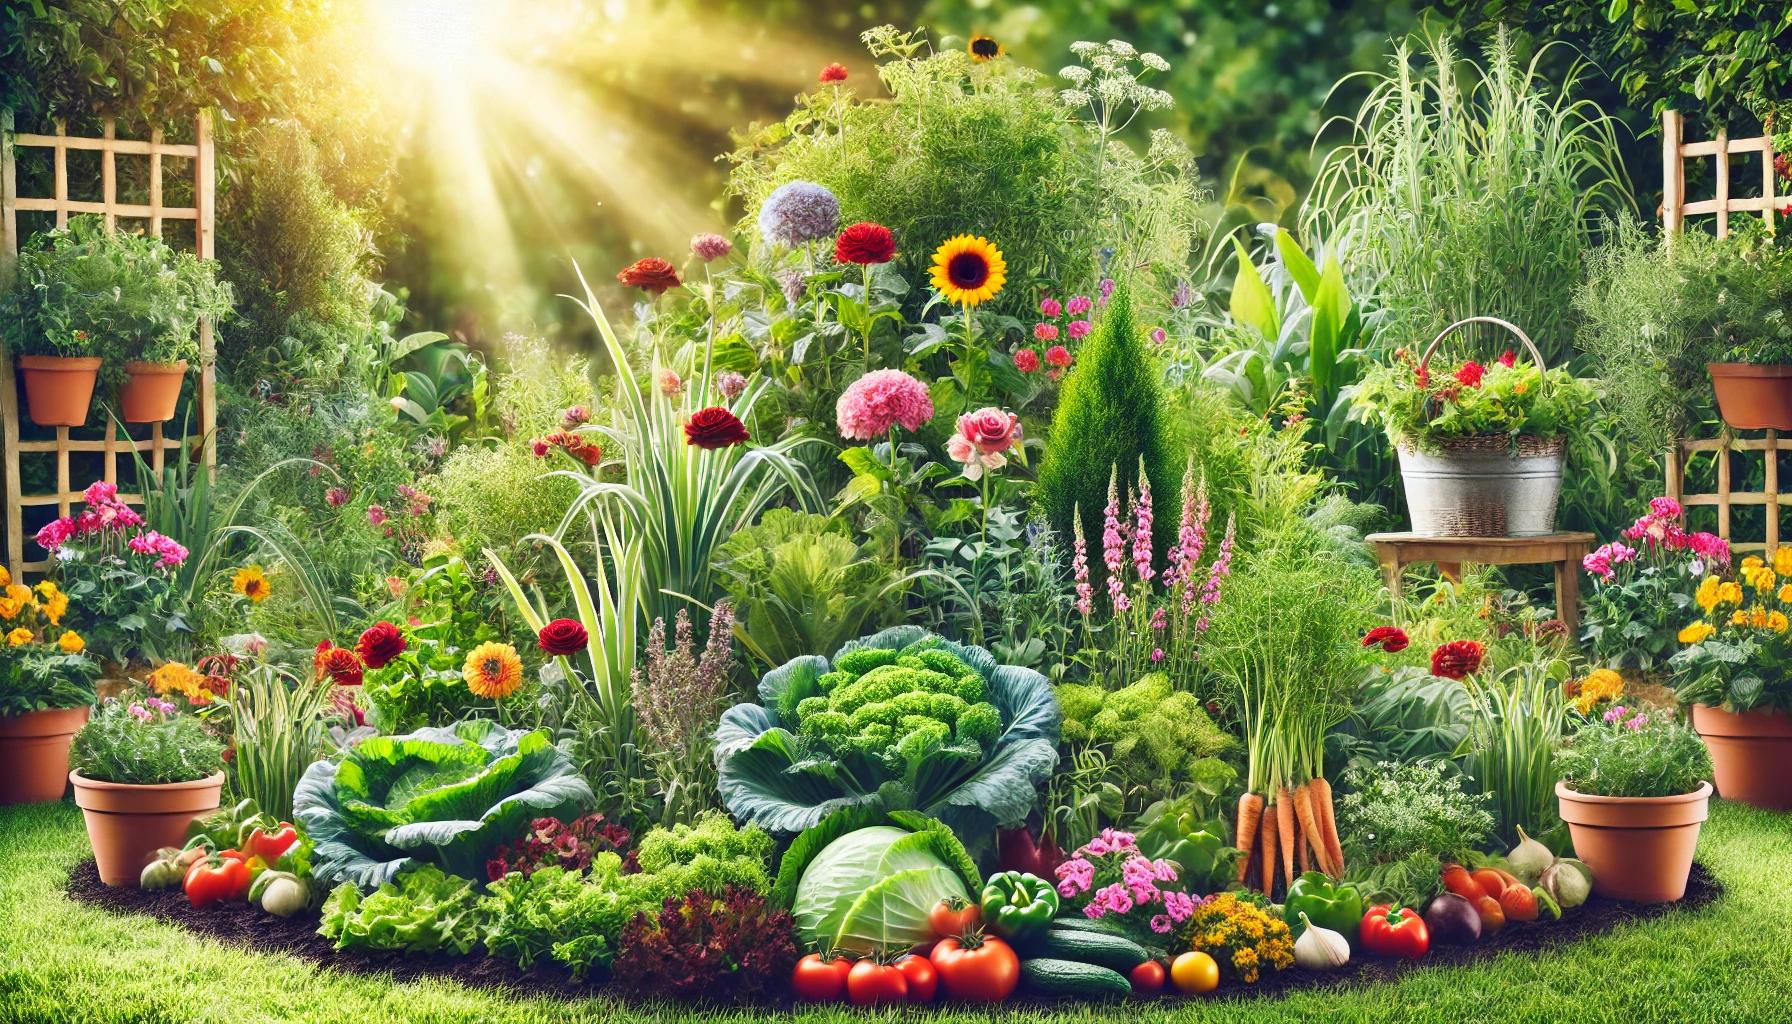
Remember to monitor your plants regularly, adjust watering and soil conditions as needed, and stay proactive in preventing pests and diseases. Gardening is a learning process, and each season brings new opportunities to improve.
With the right knowledge and effort, you’ll enjoy beautiful, healthy plants and bountiful harvests. Keep growing, experimenting, and enjoying the rewards of your hard work! 

