
Successfully propagating woody plants from cuttings can be a rewarding yet challenging task, but with the right care, it’s absolutely achievable. If you’re searching for woody plant cutting care tips to help you grow strong, healthy roots, you’ve come to the right place. Whether you’re new to plant propagation or an experienced gardener, understanding the best techniques for caring for woody plant cuttings can make all the difference. In this guide, we’ll walk you through the essential steps to ensure your cuttings root properly and grow into thriving, beautiful plants. Let’s get started on the path to success!
Understanding Woody Plant Cuttings
When it comes to propagating woody plants, cuttings offer an effective and reliable method to grow new plants. Woody plants, such as shrubs, trees, and vines, can be propagated from cuttings taken from healthy, mature stems. Understanding the right approach is key to achieving fast and successful rooting.
What Are Woody Plant Cuttings? Woody plant cuttings are sections of the plant’s stem that are used to grow a new plant. These cuttings usually come from the harder, older parts of the plant, often referred to as “woody” stems. Common examples include lilacs, roses, and hydrangeas. Unlike softwood cuttings, which are taken from younger, more flexible stems, woody cuttings require a more careful approach to ensure successful rooting.
Types of Woody Cuttings:
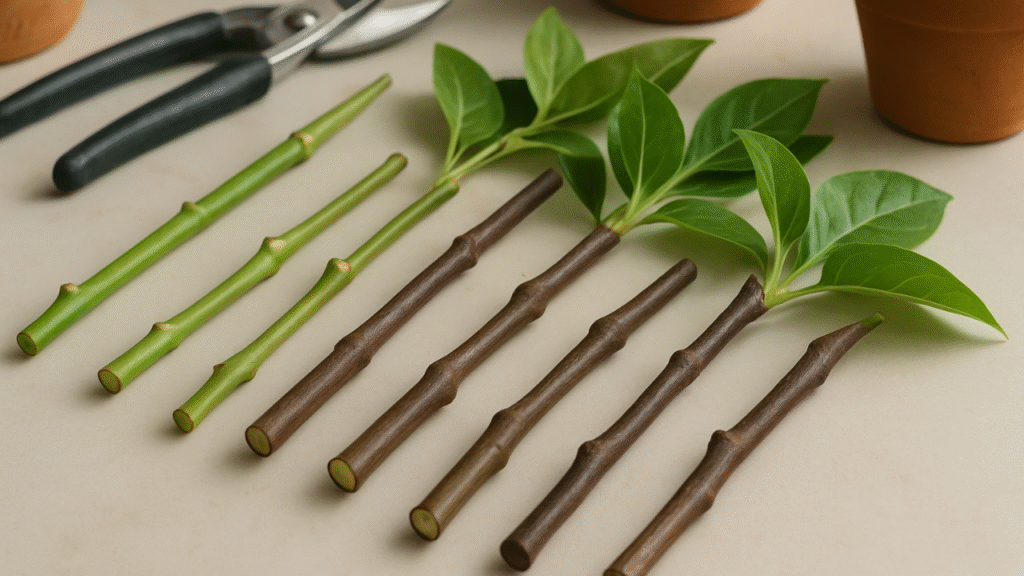
- Semi-Hardwood Cuttings: Taken from the current season’s growth but not fully mature. These are the most commonly used for propagation.
- Hardwood Cuttings: Taken during winter dormancy when the plant is not actively growing. These cuttings tend to be thicker and tougher to root but can be very successful with the right techniques.
Key Steps for Success:
- Timing: The best time to take woody cuttings is in late spring to early summer for semi-hardwood cuttings, and in late fall or winter for hardwood cuttings when the plant is dormant.
- Preparation: Use sharp, clean pruning shears to take a cutting about 4 to 6 inches long. Remove any leaves from the lower half and trim the top just above a node.
- Rooting Hormone: Applying rooting hormone can increase your chances of success by stimulating root growth. While not always necessary, it’s recommended for stubborn or slow-rooting species.
- Sterile Soil: Always use sterile soil for rooting cuttings. This helps to avoid infections that could harm the plant before it establishes a root system.
Why Woody Plant Cuttings Work: Woody plants have the ability to produce roots from their stems under the right conditions. With patience and care, you can create new, healthy plants that are genetically identical to the parent plant. Using sterile soil for rooting cuttings is essential, as it reduces the risk of disease, providing your cuttings with the clean environment needed to grow strong roots.
By following these simple guidelines, you can successfully propagate a wide variety of woody plants and enjoy the satisfaction of growing your own garden full of lush greenery.
The Importance of Sterile Soil for Rooting Cuttings
When propagating vining plants from cuttings, one of the most crucial factors for success is using sterile soil for rooting cuttings. Sterile soil ensures that your plant cuttings are free from harmful pathogens, bacteria, and fungi that can cause diseases and slow down root development.
Using sterile soil provides several key benefits:
Prevents Disease and Contamination: Non-sterile soil can harbor pests, fungi, and bacteria that may infect your cuttings. By starting with sterile soil, you reduce the risk of introducing these issues and give your cuttings the best chance for healthy root growth.
Promotes Faster Rooting: Clean, well-draining soil allows roots to grow freely without resistance from unwanted microorganisms. Sterile soil creates an ideal environment for cuttings to focus their energy on root development, speeding up the overall process.
Reduces Competing Organisms: In non-sterile soil, natural microorganisms may compete with your plant cutting for nutrients, which can delay rooting. Sterile soil provides a clear, nutrient-rich medium that lets your plant thrive without competition.
To ensure the best results, always choose soil specifically formulated for rooting cuttings or sterilize your own soil by baking it in the oven at a low temperature (around 180°F) for about 30 minutes. This will eliminate most harmful agents while maintaining the soil’s structure.
Step-by-Step Guide for Preparing Woody Plant Cuttings
Preparing woody plant cuttings requires a careful approach to ensure strong root development. Follow these simple, expert-backed steps to increase your success rate:
Step 1: Choose the Right Cutting
- Select Healthy Stems: Choose healthy, mature stems that are semi-hardwood (not too young or too old). Look for stems with a firm texture and no signs of disease or damage.
- Cut Length: Snip a 4-6 inch long cutting, making sure it has at least 2-3 leaf nodes (the points where leaves emerge).
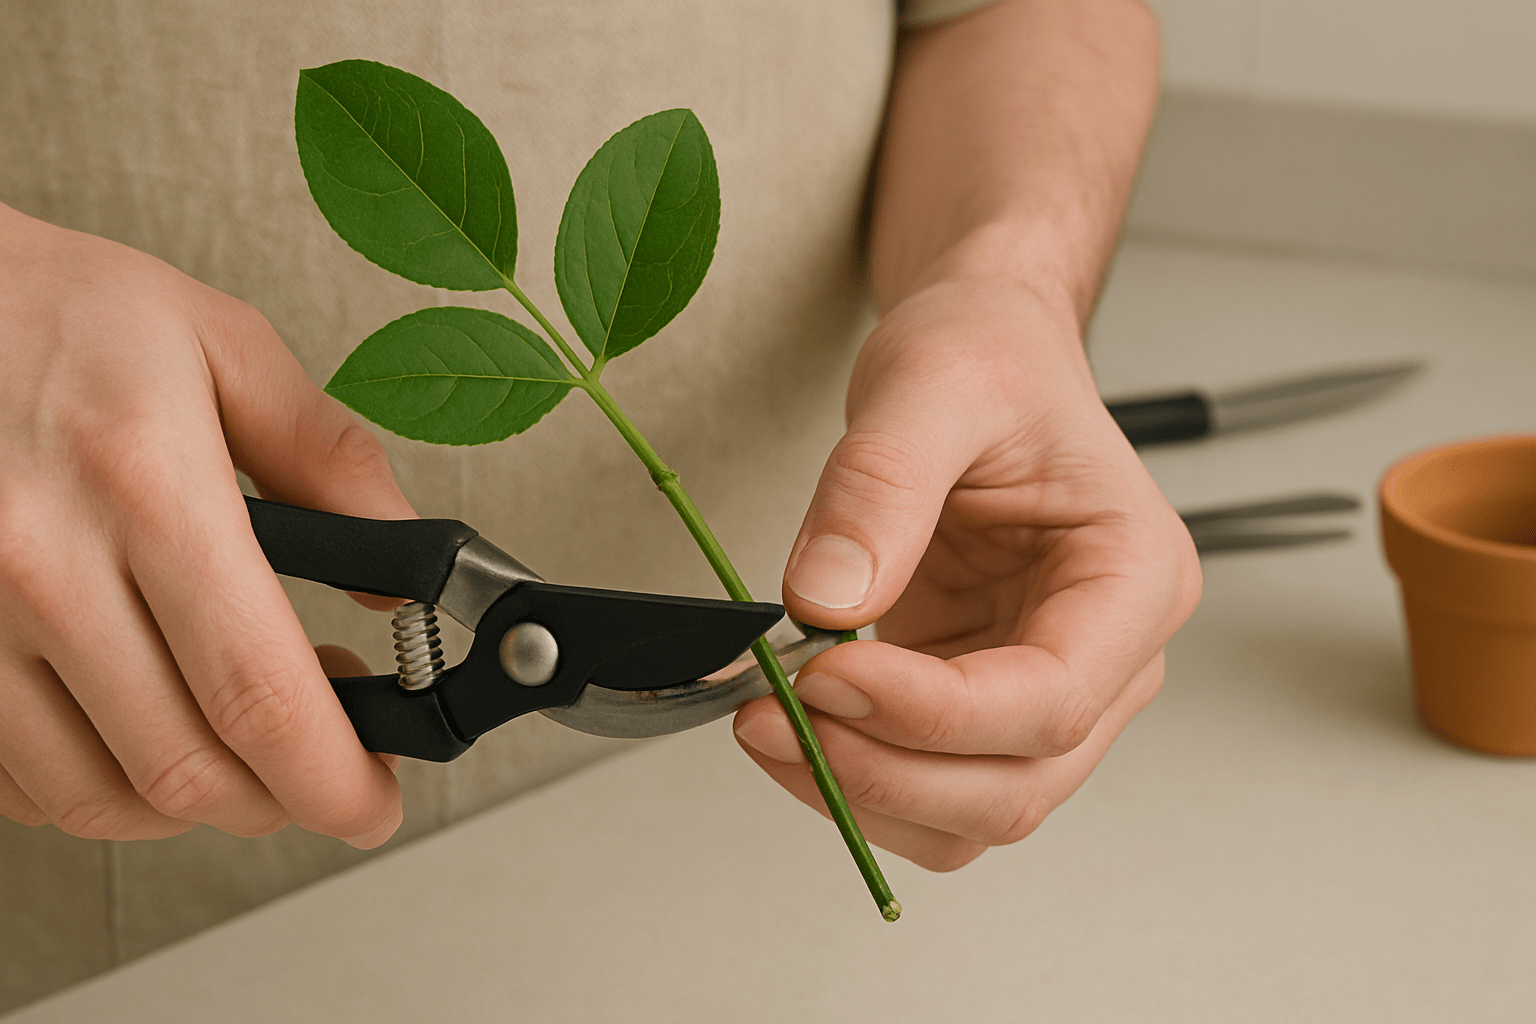
Step 2: Make the Cut
- Clean Tools: Use sharp, sterilized pruning shears or a knife to avoid damaging the cutting or transferring disease.
- Cut Below the Node: Make your cut just below a leaf node, where roots are most likely to form.
Step 3: Remove Lower Leaves
- Prepare the Cutting: Strip the lower leaves and any side shoots from the bottom 2-3 inches of the cutting. This will expose the nodes that will grow roots.
- Leave Top Leaves Intact: Keep a few leaves at the top to support photosynthesis during the rooting process.
Step 4: Dip in Rooting Hormone (Optional)
- Boost Rooting: For quicker and more reliable rooting, dip the cut end of the stem in rooting hormone. This step isn’t mandatory but can improve success, especially for tougher woody plants.
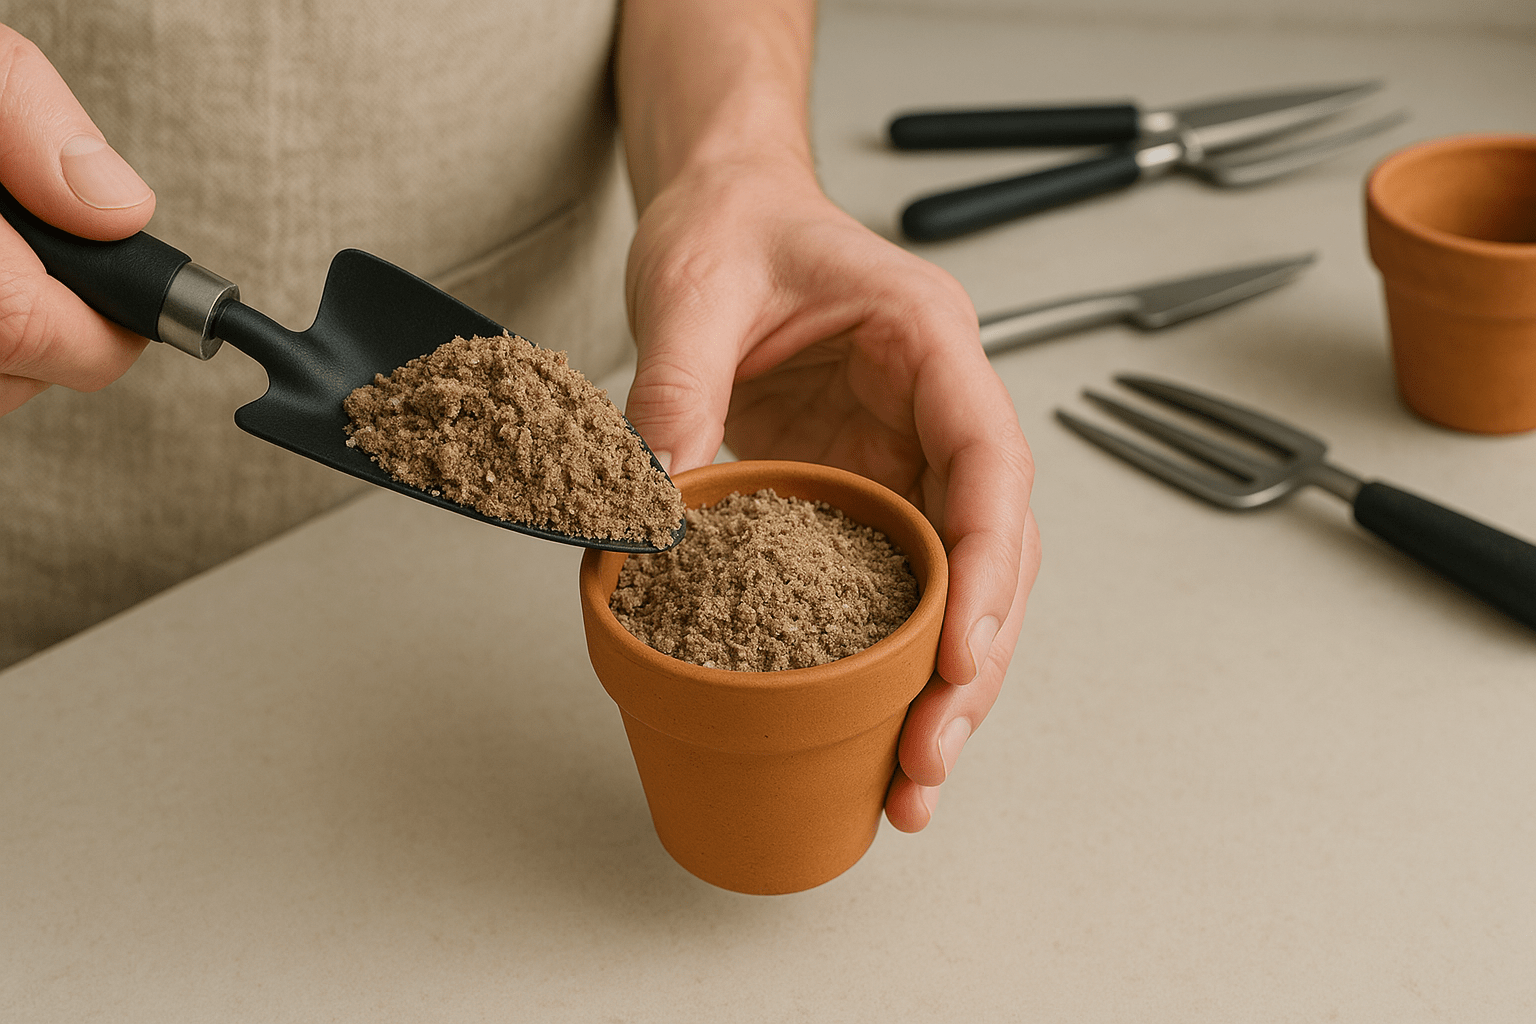
Step 5: Plant in Sterile Soil
- Prepare the Pot: Fill a small pot with sterile soil or a soil-less medium designed for rooting cuttings. The sterile soil prevents fungal infections and ensures clean, disease-free rooting.
- Insert the Cutting: Insert the cutting into the soil, burying the bottom 2-3 inches. Gently press the soil around the cutting to ensure stability.
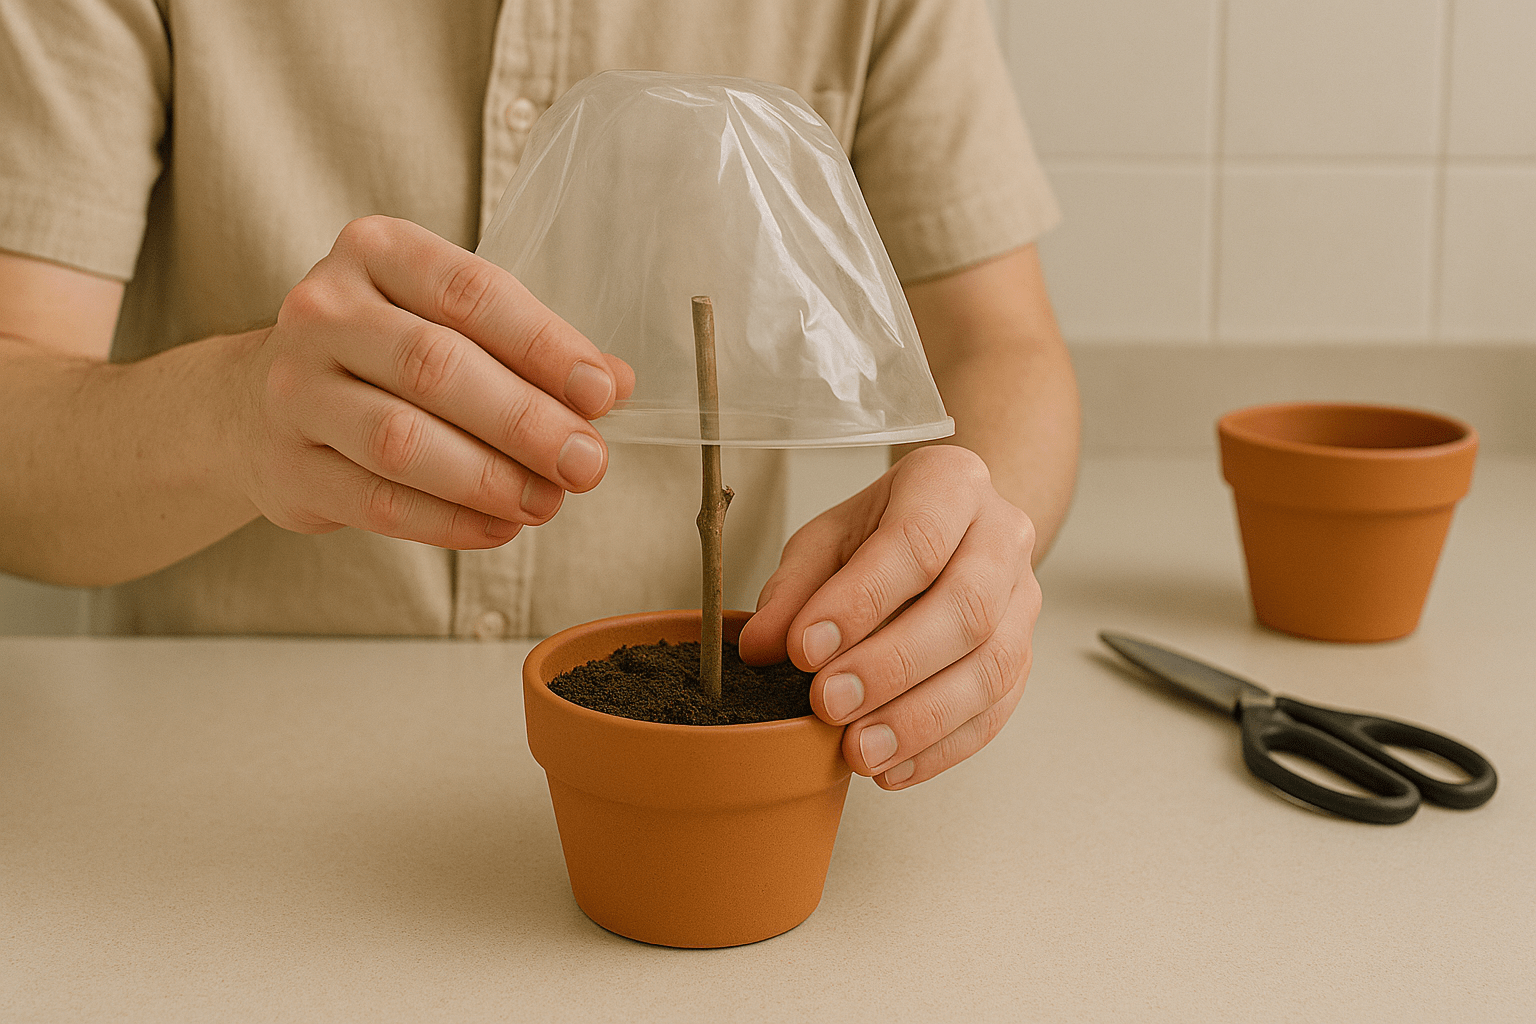
Step 6: Maintain Humidity
- Create a Humid Environment: Cover the pot with a clear plastic bag or place it under a humidity dome. This helps retain moisture, which is crucial for root development.
- Ventilate: Make sure to allow airflow occasionally to prevent mold growth.
Step 7: Place in a Warm, Bright Location
- Light Conditions: Place your cutting in a spot with bright, indirect light. Avoid direct sunlight, as it can dry out the cutting.
- Temperature: Maintain a warm temperature (65-75°F or 18-24°C), which is ideal for root growth.
By following these simple steps, you set up your woody plant cuttings for successful rooting. Patience is key—roots will typically form within 3-6 weeks. Once you see new growth, it’s time to transplant your rooted cutting into a larger pot or your garden.
Choosing the Right Propagation Medium
Choosing the right propagation medium is crucial for successful vining plant rooting. The medium you use can directly affect how quickly and healthily your cuttings develop roots. Here are the best options for rooting your vining plants effectively:
1. Sterile Soil for Rooting Cuttings
The most popular and reliable propagation medium is sterile soil for rooting cuttings. Using sterile soil reduces the risk of diseases and pests, ensuring a clean, healthy start for your plants. Look for well-draining, lightweight soil mixes designed specifically for cuttings. These typically contain a blend of peat, perlite, and vermiculite, providing the right balance of moisture retention and drainage.
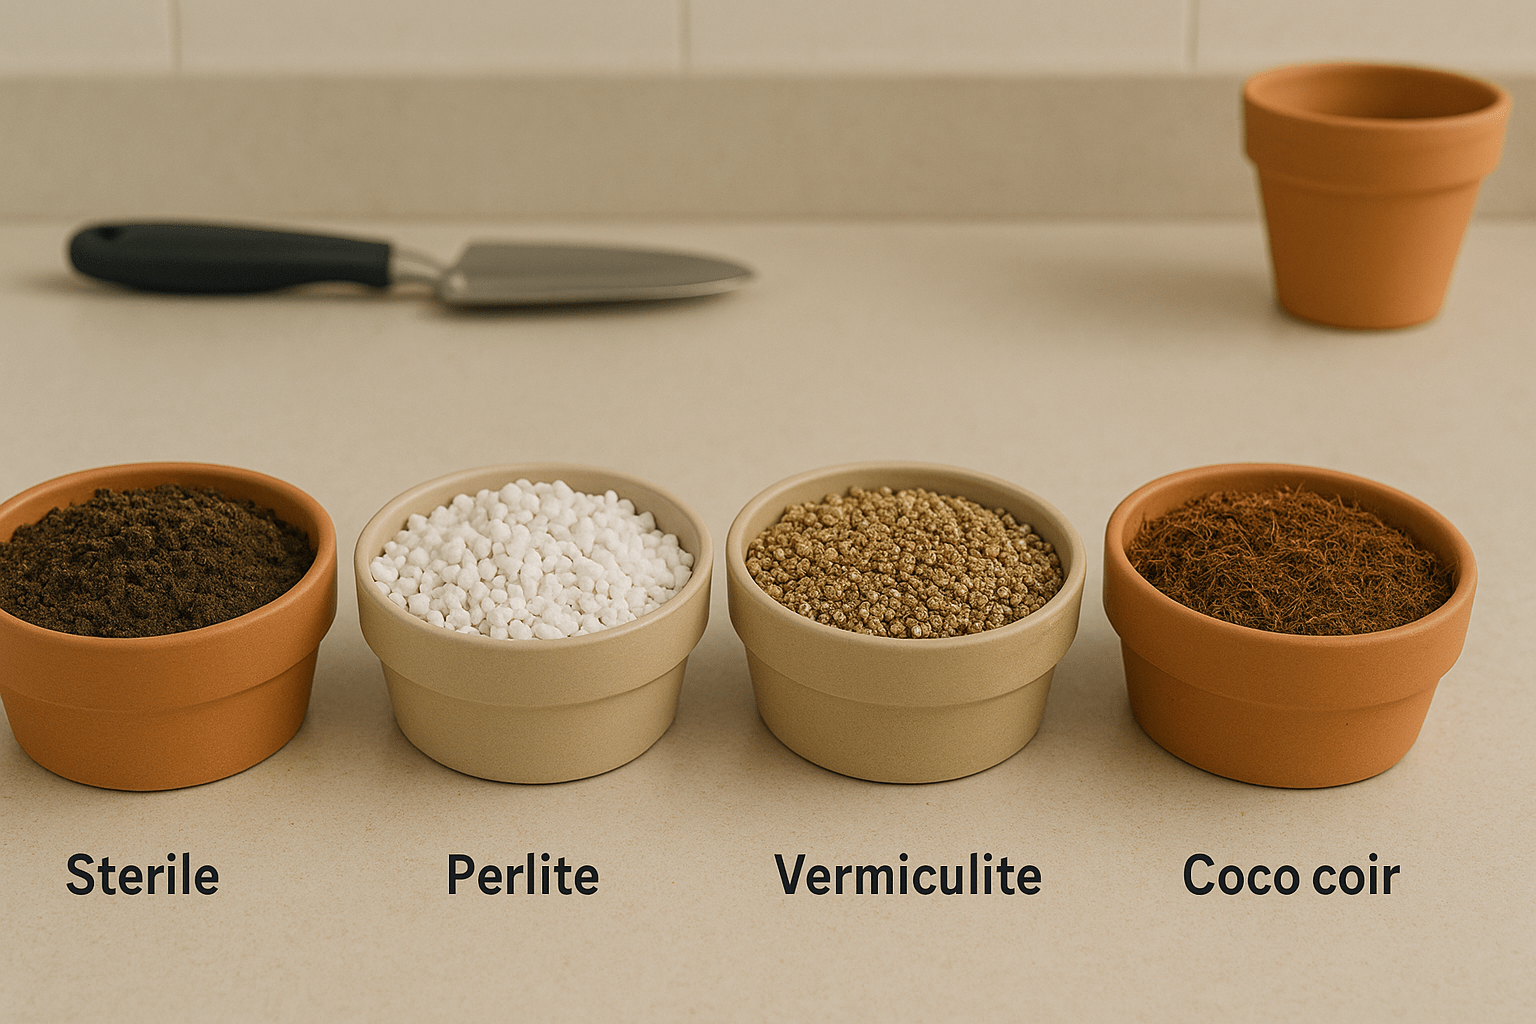
2. Perlite or Vermiculite
Both perlite and vermiculite are excellent for rooting cuttings. Perlite improves drainage and prevents the medium from becoming too compact, while vermiculite helps retain moisture. A mixture of these two is ideal for vining plants, creating an airy, moisture-retentive environment that promotes healthy root growth. You can use perlite or vermiculite on their own or mix them with sterile soil for an optimal rooting mix.
3. Water-Based Propagation
Another simple and effective method is water propagation. For plants like pothos or ivy, placing the cutting in a jar of water allows roots to form quickly. While not technically a “soil” medium, water propagation allows you to monitor root growth closely and is especially helpful for beginners. Once roots are well-developed, you can transfer the cutting to a pot with soil.
4. Coco Coir
Coco coir is an eco-friendly alternative to peat moss and offers good water retention while maintaining proper aeration. It’s a popular choice for rooting vining plants because it creates a balanced environment for root development. Just like perlite, coco coir can be used on its own or mixed with other media like sterile soil for better results.
5. Avoiding Heavy, Dense Soils
Avoid using heavy garden soils for propagation. These can retain too much moisture, which can lead to rotting or fungal growth. Always opt for lightweight, well-draining media to ensure your cuttings get the best start.
Best Practices for Rooting Woody Plant Cuttings
Rooting woody plant cuttings can be a bit more challenging than softer stems, but with the right approach, you can achieve success. Here are the best practices for rooting these more resilient plants:
Choose Healthy Cuttings
Select a 6-8 inch cutting from a healthy, mature woody plant. Look for firm, non-flowering stems with at least two nodes (where leaves or branches emerge). Avoid using stems with signs of disease or damage.
Prepare the Cutting
Trim the cutting just below a node, ensuring it’s clean and free of debris. Remove any leaves from the lower half to reduce moisture loss and prevent rot.
Use Rooting Hormone
While optional, rooting hormone can greatly increase success. Dip the cut end into the hormone powder or gel before planting to stimulate root growth.
Plant in Sterile Soil for Rooting Cuttings
Woody cuttings thrive in well-draining, sterile soil to prevent disease. Use a mix of perlite and peat moss or a potting mix designed specifically for cuttings. Avoid using garden soil, as it can harbor pests and pathogens.
Create the Right Environment
Place the cutting in a warm, humid environment. Cover the container with a plastic bag or humidity dome to maintain moisture. Ensure the area has indirect sunlight; too much direct sunlight can dry out the cutting.
Water Carefully
Keep the soil lightly moist but never soggy. Overwatering can lead to root rot, while too little moisture will dry out the cutting. Check regularly for signs of root growth.
Be Patient
Woody cuttings take longer to root compared to softwood varieties. Depending on the plant, expect rooting to take 6-8 weeks or longer. Check for roots by gently tugging on the cutting—if you feel resistance, roots have started to form.
Transplant When Ready
Once the cutting has developed a solid root system, it’s time to transplant it into a larger pot or directly into the ground. Be sure to acclimate the plant to its new environment slowly, as sudden changes can cause stress.
Common Problems and How to Troubleshoot
While propagating vining plants is relatively simple, there are a few common problems you may encounter along the way. Here’s how to troubleshoot and keep your plants healthy:
1. Slow or No Rooting
- Cause: If your cuttings are slow to root or not rooting at all, it could be due to low temperatures, insufficient humidity, or poor-quality soil.
- Solution: Ensure your cuttings are in a warm spot (65-75°F) with indirect light. Consider using a humidity dome or plastic bag to maintain moisture. Also, ensure you’re using sterile soil for rooting cuttings to avoid diseases that could prevent rooting.
2. Yellowing or Wilting Leaves
- Cause: Yellowing leaves often indicate overwatering, poor drainage, or lack of light. Wilting can be a sign of underwatering or stress.
- Solution: Check the soil moisture. Water only when the top inch of soil is dry. If using pots without drainage, consider switching to ones with proper drainage holes. Ensure your cuttings are getting indirect light, not direct sun, which can scorch the leaves.
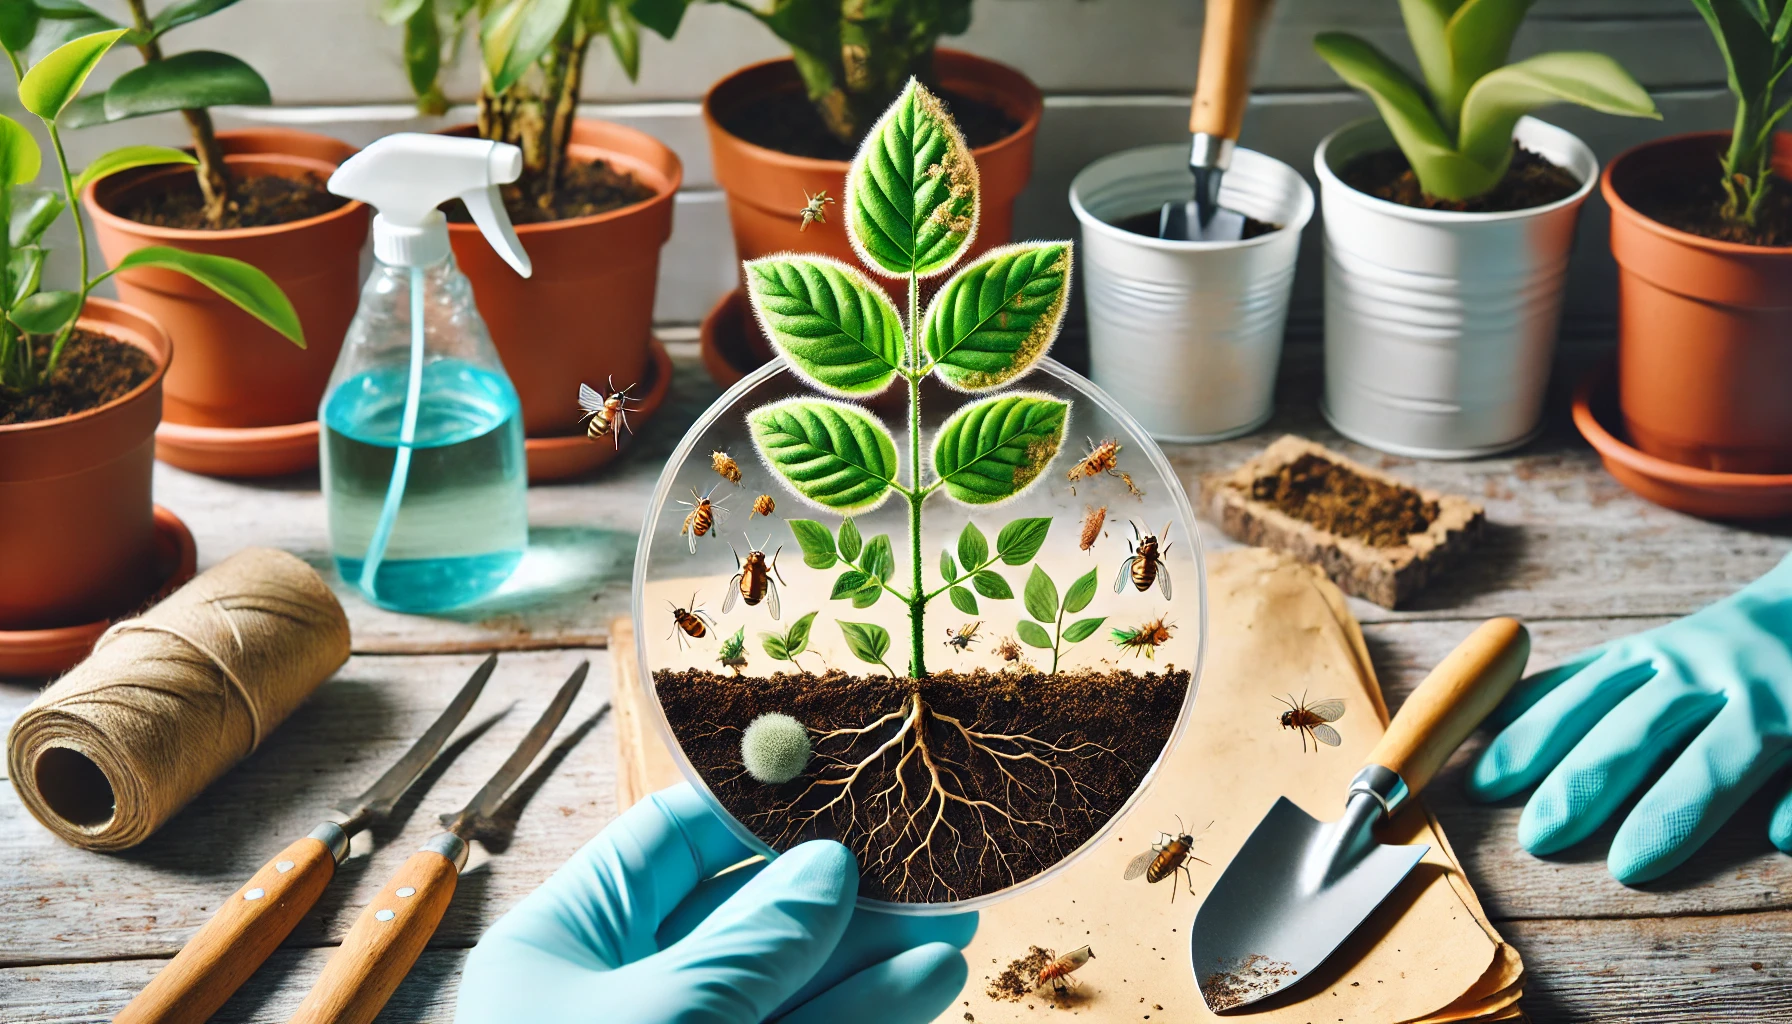
3. Mold or Fungal Growth
- Cause: Excess moisture and poor air circulation can cause mold or fungal issues, particularly in humid environments.
- Solution: Remove any affected leaves or cuttings. Increase airflow by removing plastic covers or opening the lid of a humidity dome occasionally. Avoid overwatering, and use a sterile, well-draining potting mix. If mold persists, treat the soil with a fungicide.
4. Root Rot
- Cause: Root rot is caused by consistently wet, soggy soil and poor drainage.
- Solution: Ensure your containers have proper drainage and use a light, well-draining soil mix. If you notice rotting, remove the cutting from the soil, trim away damaged roots, and repot it in fresh, dry sterile soil.
5. Pests
- Cause: Common pests like aphids, mealybugs, and spider mites can damage young cuttings.
- Solution: Check your cuttings regularly for pests. If you notice any, wash the cuttings with a mild soap solution or wipe them with a cotton swab dipped in rubbing alcohol. For severe infestations, consider using an organic insecticide like neem oil.
By staying vigilant and addressing these common issues promptly, you’ll ensure your vining plants grow quickly and healthily.
Propagating vining plants is an incredibly rewarding process that can quickly transform your space with lush greenery. By following the expert tips outlined in this guide—such as using sterile soil for rooting cuttings, maintaining optimal humidity, and providing the right care—you’ll set yourself up for success in growing vibrant, fast-growing vines.
Remember, patience and consistency are key when propagating plants, and even if you face a few setbacks, troubleshooting common issues like slow rooting or pests will help you stay on track. Whether you’re growing for beauty, sustainability, or to expand your plant collection, propagating vining plants can be both fun and fulfilling.
So, gather your cuttings, prepare your pots, and start propagating today—you’ll soon enjoy a thriving, healthy collection of vining plants in your home or garden. Happy planting!