
If you’re looking for an effective, natural way to propagate your vines and encourage healthy growth, serpentine layering for vines might be just the technique you need. 🌱 This simple yet powerful method allows you to grow new plants from existing vines, all while promoting stronger, more vigorous growth. Whether you’re a beginner or a seasoned gardener, understanding how serpentine layering works can transform your approach to vine propagation. 🌸 In this article, we’ll explore how to use serpentine layering for vines to create lush, thriving plants with minimal effort. Ready to give it a try? Let’s dive in! 🌿
Understanding Serpentine Layering 🌱
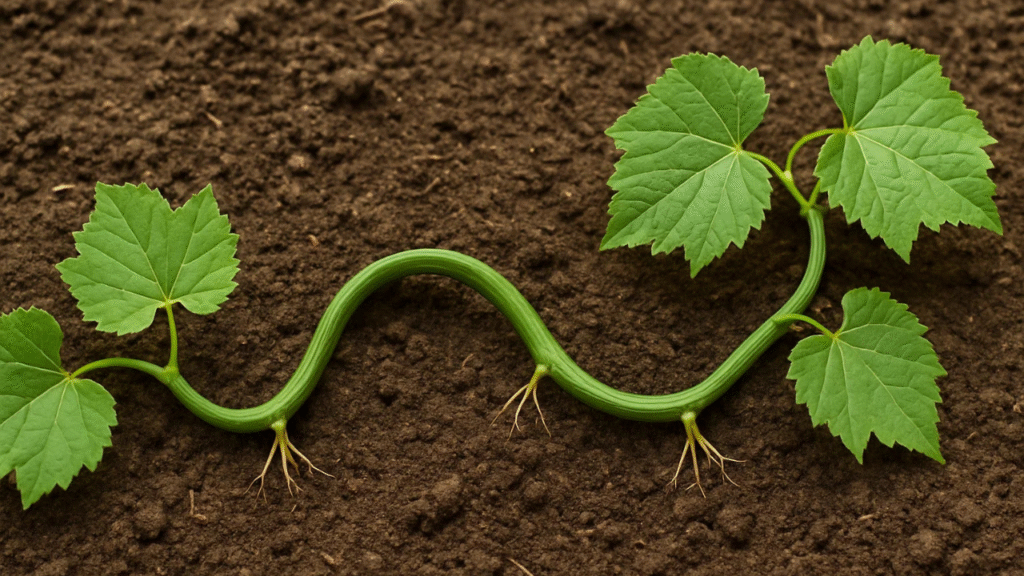
Serpentine layering for vines is a clever and natural technique that encourages new growth from your existing vines. 🌱 The process involves bending a healthy vine along the ground in a “serpentine” shape—think of it like a snake weaving its way through the soil! 🐍 This simple method helps vines root in multiple spots, creating more plants without the need for seeds. 🌿
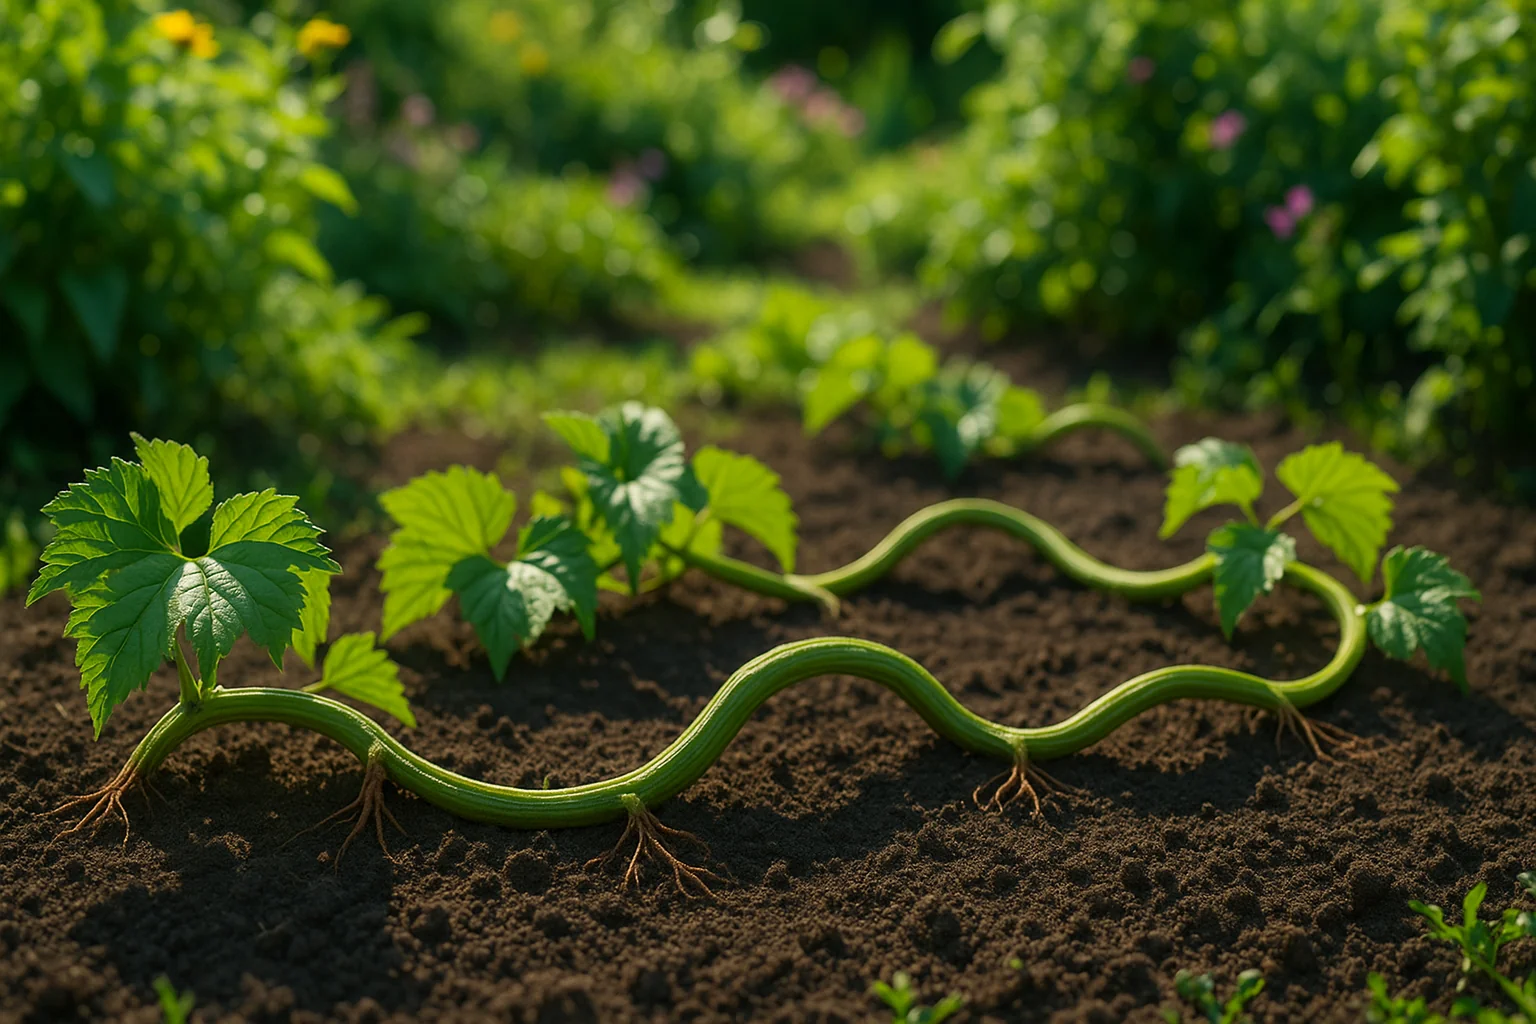
Here’s how it works: A vine’s flexible stems are gently bent and secured to the soil at various points. As the vine touches the soil, new roots begin to form. Once enough roots have developed, you can cut the new plant from the parent vine, and voilà—you have a new, rooted vine ready to grow on its own! 🌸
This method is perfect for plants that naturally spread, like ivy or grapevines, as they thrive on horizontal growth. Serpentine layering promotes healthy, vigorous plants because it mimics the way many vines naturally grow in nature, encouraging strong roots and lush foliage. 🌾
In the next sections, we’ll explore which vines are best suited for serpentine layering and provide you with a step-by-step guide to master the process. Ready to give it a try? 🌟
Best Vines for Serpentine Layering 🌿
Not all vines are created equal when it comes to serpentine layering. Some vines are naturally more flexible and root easily, making them ideal candidates for this propagation method. Let’s take a look at some of the best vines to try serpentine layering with! 🌿

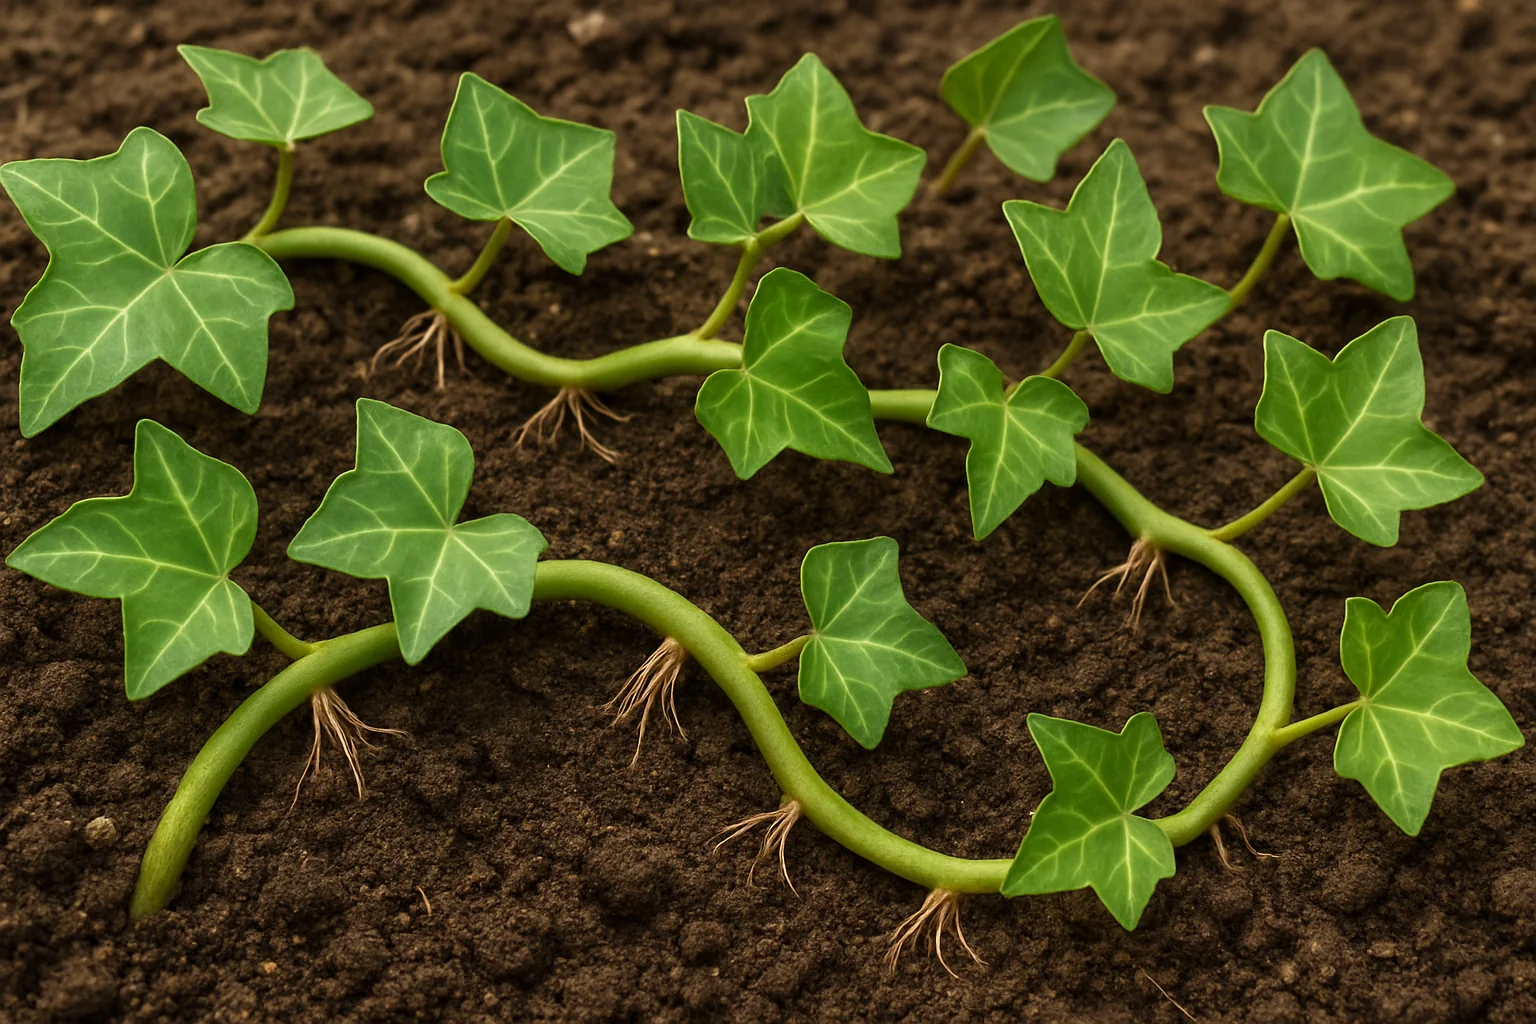
1. Ivy (Hedera spp.) 🌱
Ivy is one of the best vines for serpentine layering. It’s super flexible and grows quickly, making it easy to bend along the soil for rooting. Whether it’s English Ivy or Algerian Ivy, these plants are perfect for creating a dense, green ground cover or adding vertical appeal to your garden.
2. Grape Vines (Vitis spp.) 🍇
Grape vines are a classic choice for serpentine layering. They naturally send out runners that root easily in the soil. By layering them, you can propagate healthy vines without needing to start from scratch with seeds. Plus, you’ll get new vines that are ready to produce fruit!

3. Clematis 🌸
Clematis vines, known for their beautiful flowers, are also excellent for serpentine layering. Their stems can be easily bent to touch the soil, where they’ll quickly form roots. Layering clematis allows you to create more blooms and expand your collection of these stunning plants.

4. Wisteria 🌺
Wisteria, with its long, flowing vines, is another great option. This vine’s ability to root along the stem makes it perfect for serpentine layering. Once rooted, you can propagate more wisteria to enjoy its spectacular cascading flowers year after year.

5. Honeysuckle (Lonicera spp.) 🌼
Honeysuckle vines are fast-growing and very adaptable to serpentine layering. The fragrant flowers and rapid growth make them a favorite in gardens. Layering allows you to expand your honeysuckle collection with minimal effort.

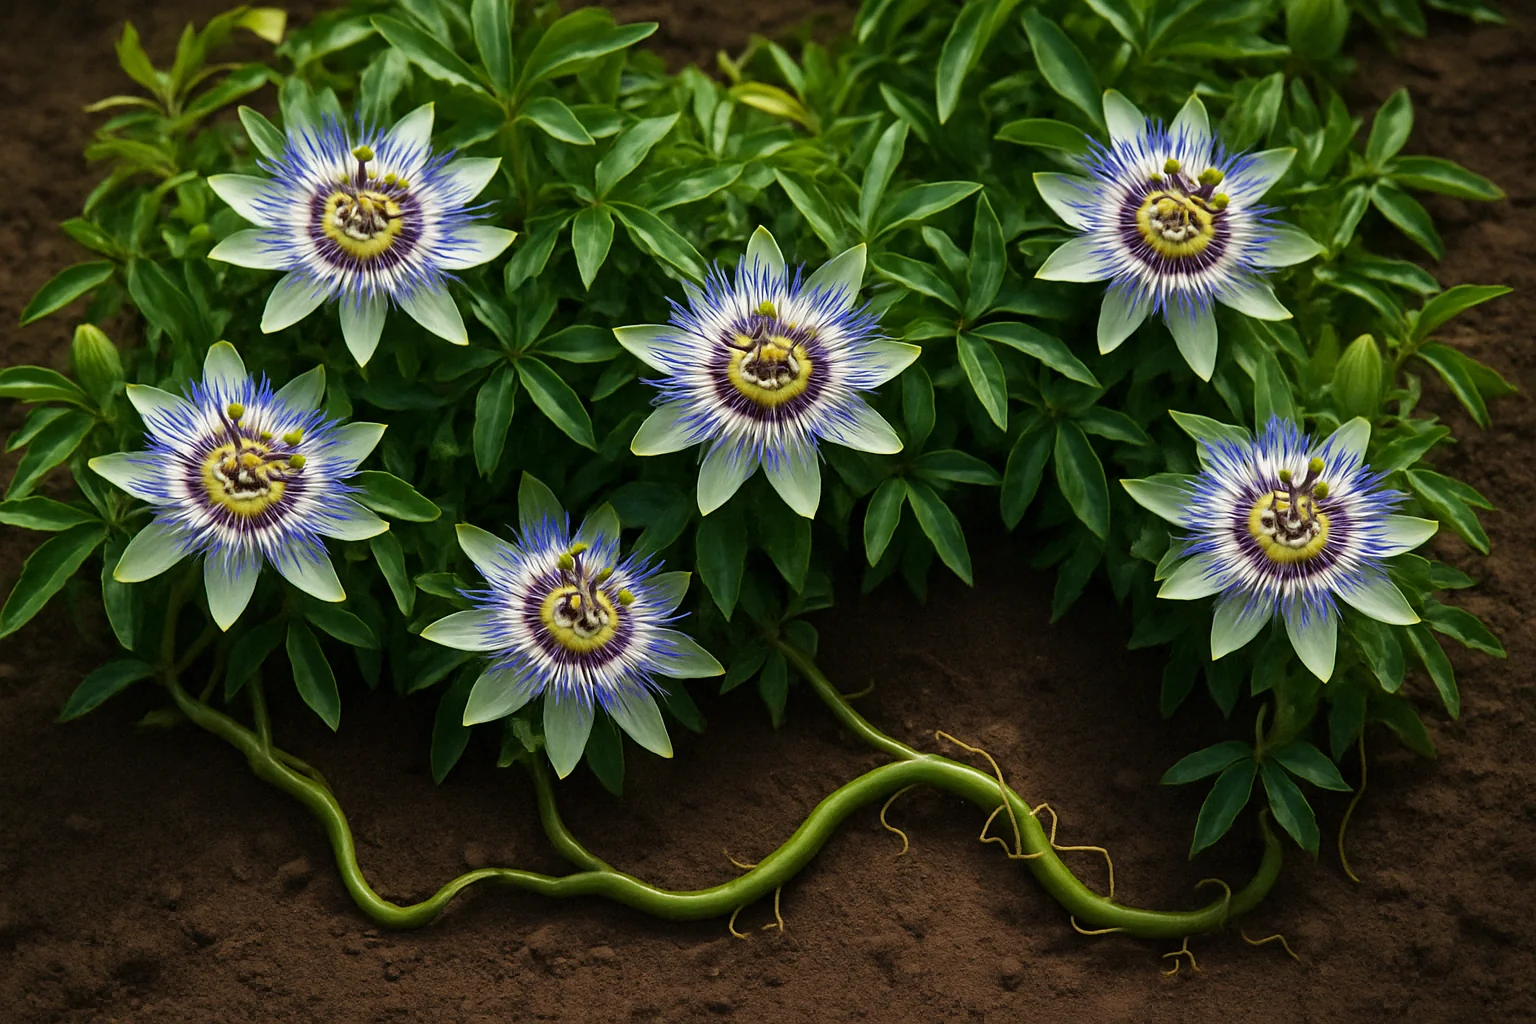
6. Passionflower (Passiflora spp.) 🌺
Passionflower vines are known for their exotic blooms and fast growth. Their tendrils are flexible enough to be layered, and they will quickly root where the vine touches the soil, giving you more plants to enjoy or share.
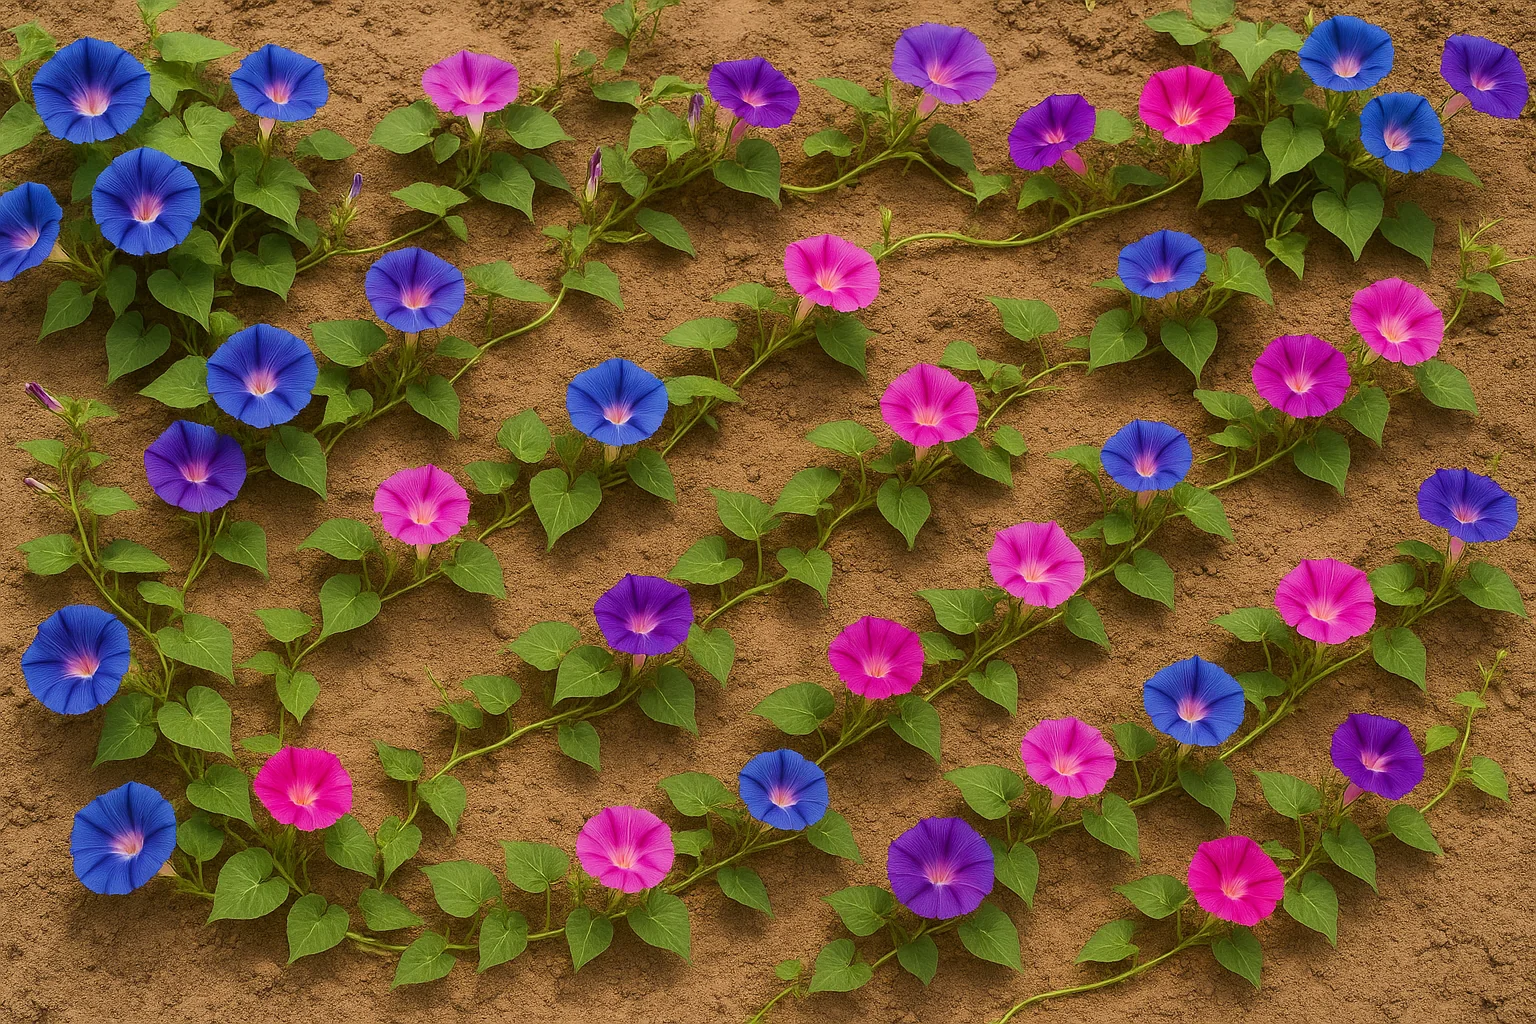
7. Morning Glory (Ipomoea spp.) 🌅
Morning glories are perfect for serpentine layering due to their rapid growth and flexibility. They quickly spread, and the vines root easily where they touch the soil, allowing you to propagate new plants effortlessly.
Choosing the right vine for serpentine layering ensures success! These plants not only root well but also thrive with minimal effort. In the next section, we’ll dive into the step-by-step process of how to start your own serpentine layering project. 🌿✨
Step-by-Step Guide to Serpentine Layering 🌿
Ready to try serpentine layering for your vines? 🌱 Here’s a simple, step-by-step guide to help you propagate new plants with ease. Let’s get started! 🌿
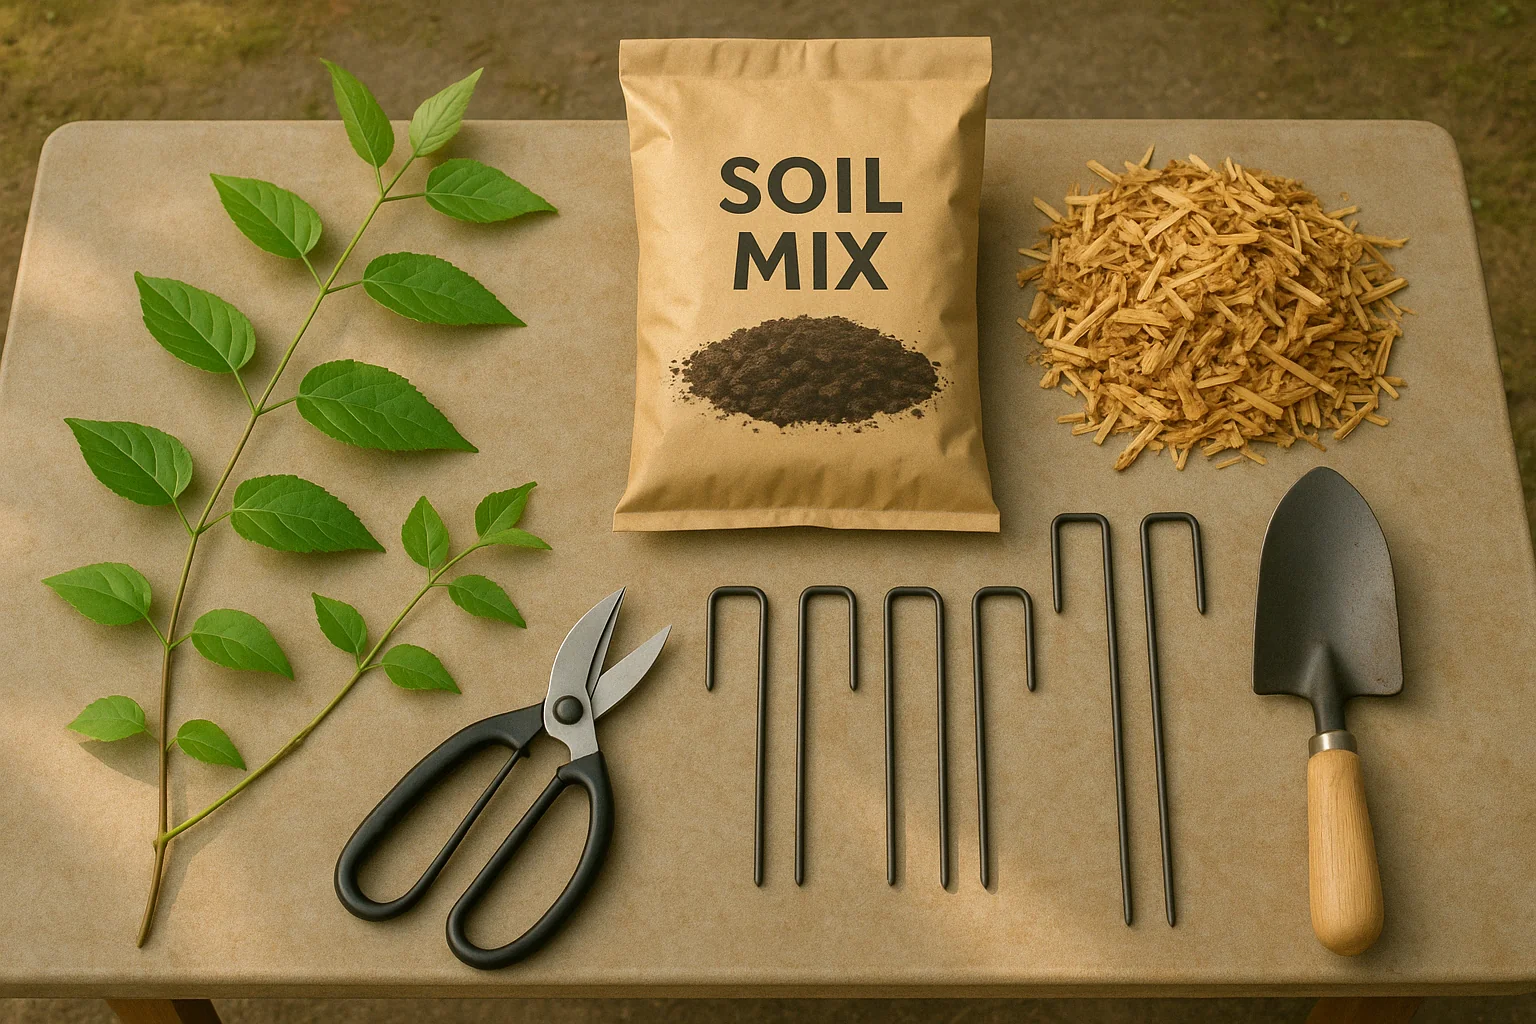
Materials You’ll Need 🛠️
- A healthy vine with flexible stems
- Soil (a well-draining mix)
- Mulch (optional, for extra moisture retention)
- Stakes, pins, or garden ties
- Sharp scissors or pruning shears ✂️
- A shovel or trowel
Step 1: Choose the Right Vine 🌿
Pick a healthy, established vine that has long, flexible stems. Vines like ivy, grapevines, or clematis are perfect for this method. The vine should be free of pests or diseases to ensure success.
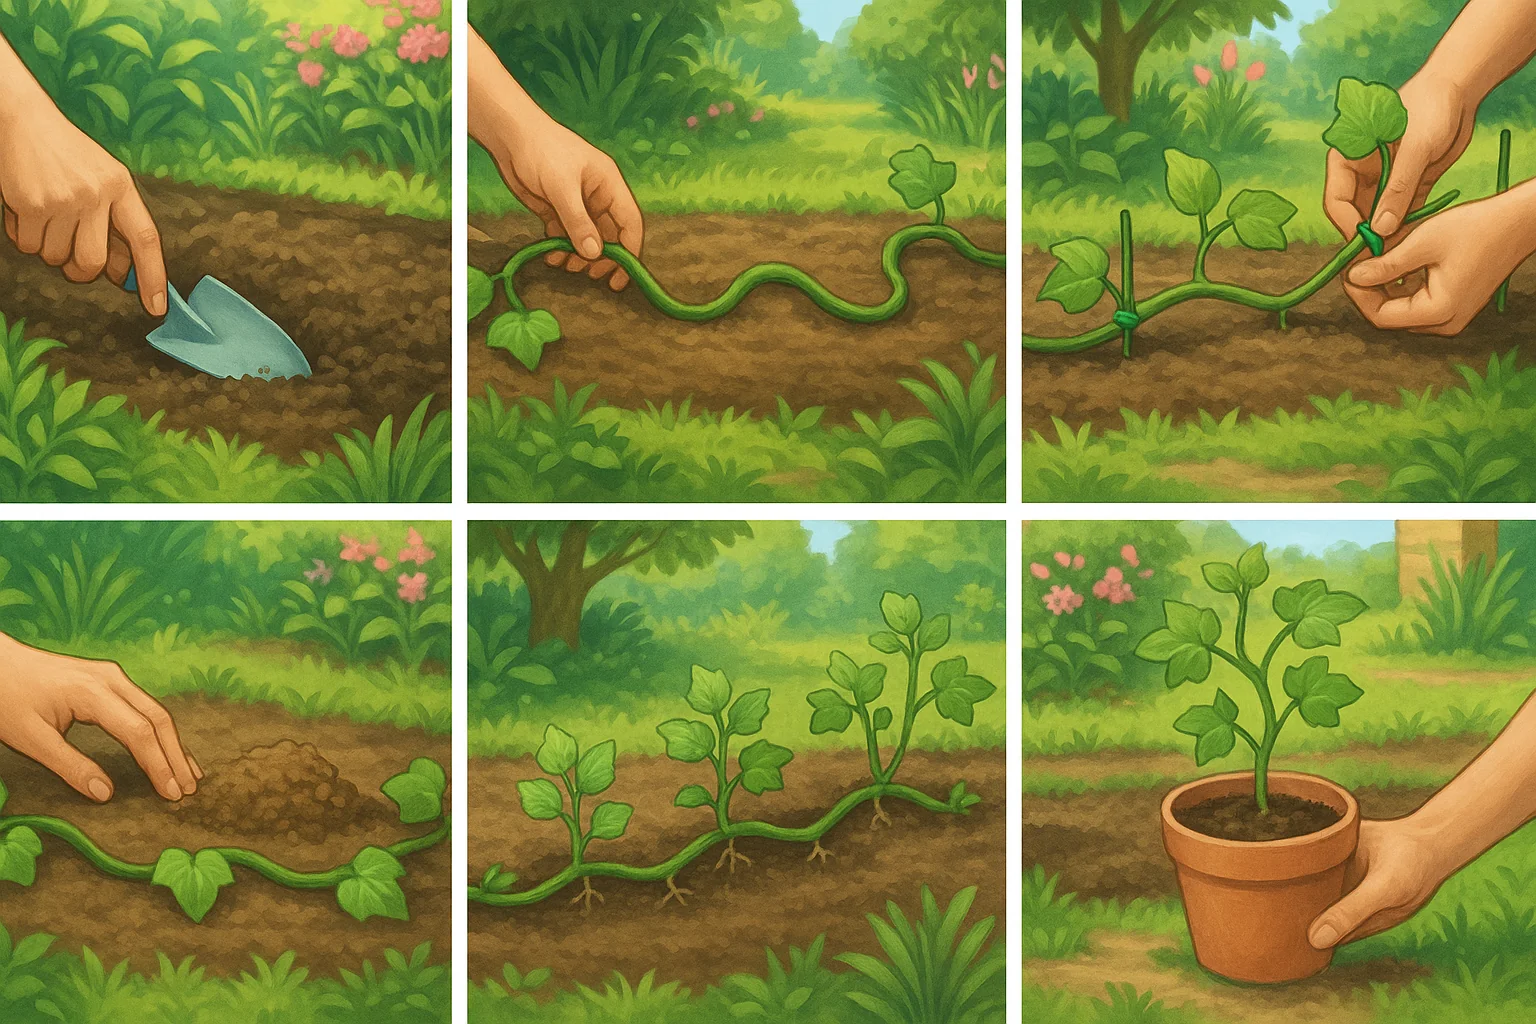
Step 2: Prepare the Ground 🌍
Select a spot in your garden or pots where the vine can easily reach the soil. Use your shovel to loosen the soil slightly, ensuring it’s well-draining and ready to encourage root growth. You can also add mulch to retain moisture and protect the vine.
Step 3: Bend the Vine 🌿
Carefully bend the vine down to the ground in a serpentine shape (like an “S” or snake curve). Make sure each section of the vine touches the soil. This is where the roots will form, so make sure the vine has good contact with the soil at several points.
Step 4: Secure the Vine 🪴
Use stakes, pins, or garden ties to secure the vine in place. Gently pin down each section of the vine that is in contact with the soil. Avoid being too harsh, as you don’t want to damage the vine. The goal is to keep the vine in place while it roots.
Step 5: Encourage Rooting 🌱
Cover the sections of the vine that are touching the soil with a little more soil or mulch to encourage rooting. Keep the area moist, but not waterlogged. Regular watering will help the vine stay hydrated and promote root growth.
Step 6: Monitor Growth 🌞
Keep an eye on the vine over the next few weeks. The vine should begin to form roots at the points where it touches the soil. Make sure the soil stays moist but not soggy, and remove any weeds or debris around the vine.
Step 7: Separate the New Plant ✂️
Once the vine has developed enough roots (usually in 4-8 weeks), it’s time to cut the new plant free. Use your scissors or pruning shears to carefully cut the newly rooted vine from the parent plant. Be sure to leave enough roots attached to give the new plant a strong start.
Step 8: Transplant the New Vine 🌱
Plant the new vine in a pot or directly in the ground, depending on your preference. Make sure the soil is loose and well-draining. Water it well to help the new plant settle in.
And there you have it! A step-by-step guide to successfully propagating your vines using serpentine layering. It’s a simple yet effective method that rewards you with new plants in no time! 🌿💚
Tips for Successful Serpentine Layering 🌱✨
To ensure your serpentine layering for vines is a success, here are some helpful tips that will make the process easier and more effective.
1. Timing is Key 🕒
The best time to do serpentine layering is in spring or early summer when the vine is actively growing. This gives the plant enough energy to develop roots and ensures the new vine will thrive. Avoid layering during the colder months when plant growth slows down.
2. Choose Healthy Vines 🌿
For optimal results, always use a healthy, mature vine. A vine that is well-established and free of pests or diseases will have a much higher chance of rooting successfully. Look for flexible, non-woody stems that are in their prime growing stage.
3. Keep Soil Moist but Not Soggy 💧
Moisture is essential for rooting, but you don’t want the soil to become waterlogged. Keep the soil damp, but allow it to drain properly. Overwatering can cause the vine to rot, so aim for a balance that encourages root growth without drowning the plant.
4. Provide Partial Shade 🌞
While the vine should still receive some light, try to avoid placing it in harsh, direct sunlight for long periods. Too much sun can dry out the soil and damage the vine. Instead, place it in a location with dappled sunlight or partial shade for optimal growth conditions.
5. Use the Right Stakes or Pins 🪴
When securing the vine to the soil, be gentle but firm. Use soft garden ties or plastic stakes that won’t damage the vine. Pinning too tightly or using metal stakes can harm the plant, so ensure it is just enough to keep the vine in place without restricting growth.

6. Monitor Regularly 👀
Keep an eye on the vine throughout the process. Check for any signs of stress, such as wilting or yellowing leaves, which could indicate too much water or not enough light. If you notice issues, adjust the conditions to make sure the vine has what it needs to root properly.
7. Don’t Rush ⏳
Rooting takes time, so be patient! 🌱 Depending on the vine and growing conditions, it can take anywhere from 4 to 8 weeks for roots to develop. Don’t be tempted to cut the new plant too soon—make sure it has a solid root system before separating it from the parent vine.
8. Fertilize Lightly 🌸
If the soil seems nutrient-poor, you can add a light dose of organic fertilizer once the roots have started to form. This will give your new vine a little boost without overwhelming it with too many nutrients.
By following these tips, you can maximize your chances of success with serpentine layering and watch your vines grow stronger and healthier. 🌿🌟 Happy planting!
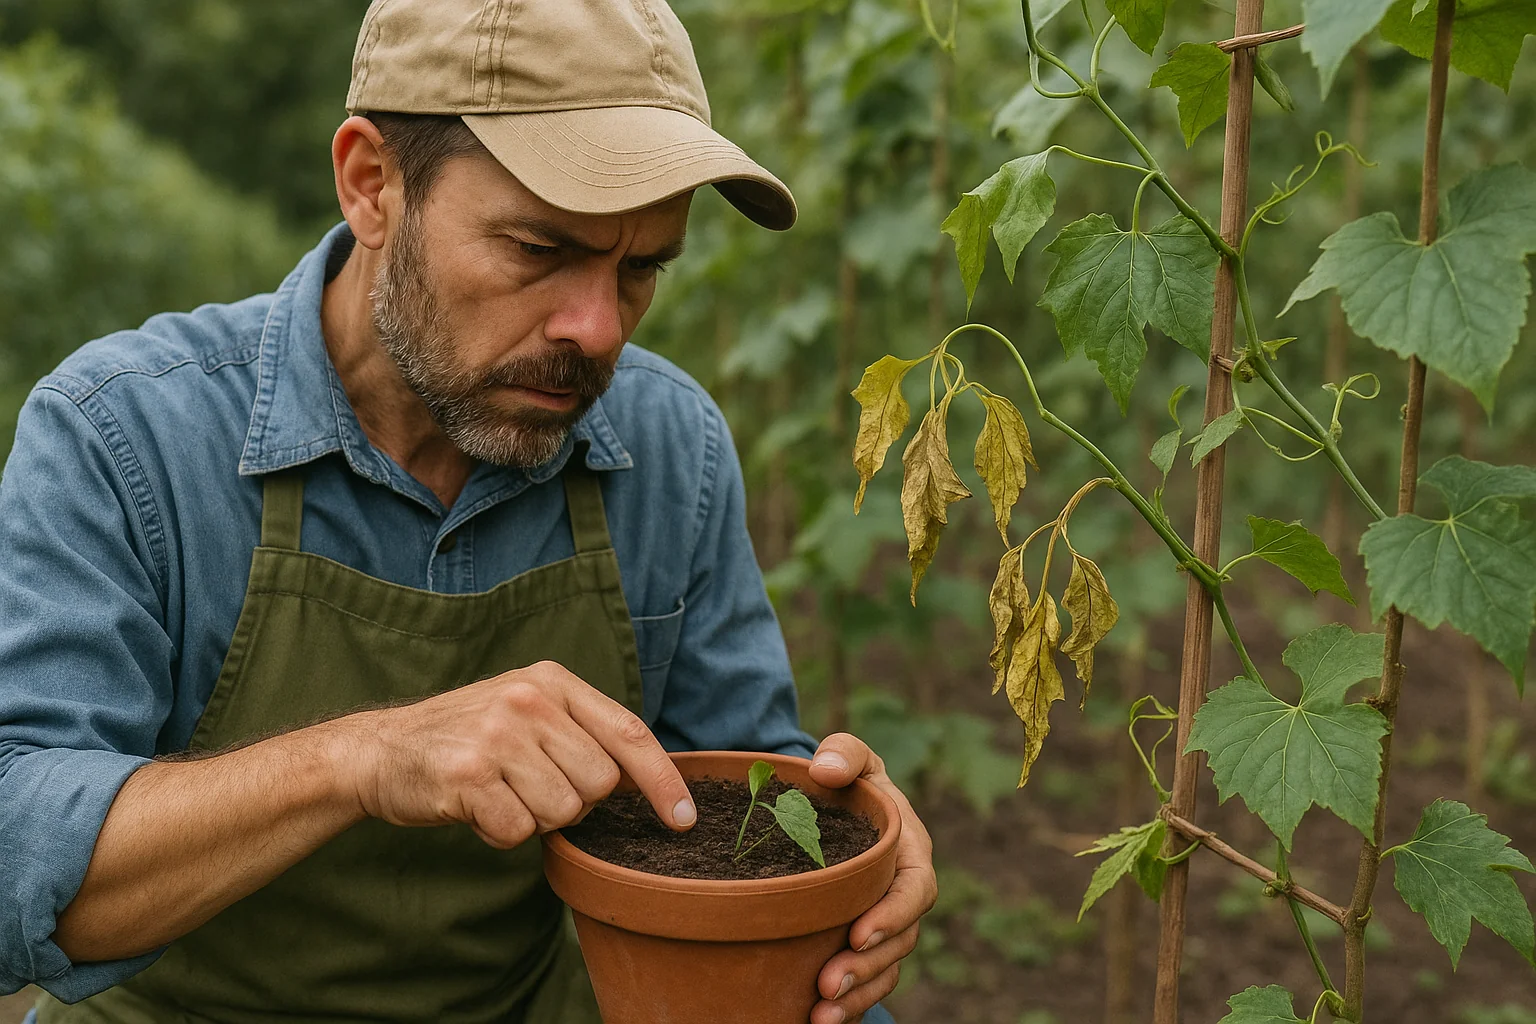
Troubleshooting Common Issues 🌿💡
While serpentine layering is a straightforward method, sometimes things don’t go as planned. Don’t worry! Here are some common issues you may encounter during the process and simple solutions to help you get back on track.
1. Slow Rooting ⏳
If your vine is taking longer to root than expected, don’t panic. Slow rooting can happen for several reasons:
- Solution: Ensure the soil is consistently moist (but not soggy) and that the vine is getting enough indirect sunlight. You can also gently scratch the area where the vine is in contact with the soil to encourage root growth. If you’re working in cooler temperatures, try moving the vine to a warmer spot to speed up the process.
2. Wilting or Yellowing Leaves 🍂
Wilting or yellowing leaves can be a sign that the vine is stressed, possibly due to overwatering, lack of nutrients, or too much sun.
- Solution: Check the moisture level of the soil—overwatering can cause roots to rot, so ensure the soil is well-drained. If the vine is in direct sunlight, move it to a shaded or partially shaded area. Also, consider using a mild organic fertilizer if the vine appears to be lacking nutrients.
3. Vine Not Rooting Properly 🌱
Sometimes, the vine may fail to root in some sections, leaving you with a patchy new plant.
- Solution: Ensure that the vine is making full contact with the soil at every point. You can also try lightly scoring the stem where you want roots to develop, which will encourage the vine to root more effectively. Make sure you’re using healthy vines with strong, flexible stems.
4. Root Rot 🦠
Root rot can occur if the soil remains too wet for too long or if the vine has been overwatered.
- Solution: Check the soil for drainage and adjust if necessary. If you suspect root rot, remove the affected sections of the vine and allow the rest to dry out slightly before replanting. Be sure to use well-draining soil moving forward and avoid overwatering.
5. Vine Unraveling or Moving 🌾
Sometimes, the vine may come loose or move from its intended position, especially if it’s not securely pinned.
- Solution: Make sure each section of the vine is securely pinned to the soil. Use soft garden ties, stakes, or even small rocks to keep the vine in place. If the vine isn’t staying put, try using more pins or adjusting the placement to ensure it has good contact with the soil.
6. Too Much Growth but No Roots 🧩
Occasionally, the vine will put out plenty of new growth, but the roots may not develop as expected.
- Solution: If you see plenty of leaves but little to no root growth, it could be because the vine is focusing too much on producing foliage. Trim back some of the excess leaves and let the vine focus on rooting. Keep the area moist, but not overly wet, and ensure the vine is receiving proper care.
7. Unsuccessful Separation ✂️
Sometimes, when you cut the new vine from the parent plant, it may not be strong enough to survive on its own.
- Solution: Give the new plant more time to develop a solid root system before cutting it free. If the vine isn’t fully rooted, it might struggle to establish itself after being separated. Make sure the roots are well-formed and established before transplanting the new plant.
By recognizing and addressing these common issues, you can ensure that your serpentine layering process is successful and your vines grow strong and healthy! 🌱 Keep experimenting, and you’ll soon be a serpentine layering pro! 🌿✨
Benefits of Serpentine Layering for Vines 🌟
Serpentine layering isn’t just a fun and easy propagation technique—it offers a variety of benefits that make it a favorite for gardeners and plant enthusiasts. 🌿 Let’s dive into the many advantages of using serpentine layering for your vines.

1. Cost-Effective Propagation 💸
One of the biggest benefits of serpentine layering is that it’s a low-cost method of propagation. Instead of purchasing new plants or seeds, you can use your existing vines to grow new ones. This makes it an affordable way to expand your garden without breaking the bank!
2. Promotes Strong, Healthy Plants 🌱
By layering, the vine develops multiple roots along its length, which helps the new plant establish a strong root system from the start. This means the new vine will be healthier and more vigorous, with better chances of thriving in your garden. Stronger roots lead to stronger plants! 🌿
3. No Need for Rooting Hormones 🌸
Unlike other propagation methods, serpentine layering doesn’t require any rooting hormones or special treatments. The natural process of the vine touching the soil and rooting on its own is all it needs to establish a new plant. It’s a completely organic and natural method! 🌱
4. Minimal Maintenance 🧑🌾
Once you’ve set up your serpentine layering, there’s very little maintenance required. As long as you monitor moisture levels and ensure the vine has access to light, the process takes care of itself. It’s a hassle-free way to propagate, especially for beginners. 🌞
5. More Plants, Less Effort 🌿
Serpentine layering allows you to create multiple plants from one vine. Each section that touches the soil can develop roots, giving you the opportunity to multiply your vines with minimal effort. You can fill out your garden, add more greenery to your home, or even share new plants with friends and family! 🌻
6. Preserves the Parent Plant 🌱
Unlike cutting or other propagation methods, serpentine layering allows the parent vine to stay intact and continue growing while the new plant is developing. This means you don’t have to sacrifice your original vine to get a new one—both plants can thrive! 🌳
7. Perfect for Ground-Covering Vines 🌍
Serpentine layering works exceptionally well for ground-covering vines like ivy, honeysuckle, and morning glory. It helps these fast-growing vines spread and fill areas quickly, giving you a beautiful, dense carpet of greenery with minimal effort.
8. Sustainable and Eco-Friendly 🌍
Because serpentine layering doesn’t require any artificial growth stimulants, it’s an environmentally friendly and sustainable method of plant propagation. It reduces the need for plastic pots or excessive resources, making it a great option for eco-conscious gardeners. 🌿
In summary, serpentine layering is a cost-effective, low-maintenance, and eco-friendly method that promotes healthy, strong plants. By using this technique, you can create lush, thriving vines that spread and grow with ease, all while minimizing your environmental footprint. 🌱🌸 Happy planting! 🌿
Final Thoughts 🌿✨
Serpentine layering is a simple, effective, and rewarding technique that offers multiple benefits for both beginners and seasoned gardeners. 🌱 By using this method, you can easily propagate healthy vines, expand your plant collection, and enjoy the beauty of thriving greenery in your garden or home.

Whether you’re looking to grow ivy, grapevines, honeysuckle, or other favorite vines, serpentine layering is a cost-effective and low-maintenance way to achieve stunning results. 🌸 With just a little patience and the right care, you’ll be able to enjoy a lush, vibrant garden full of new vines in no time! 🌿✨
So, why wait? Start layering today and watch your garden flourish as you create strong, healthy, and beautiful plants. Happy propagating! 🌱🌼