
When it comes to successfully propagating plants from cuttings, the importance of using sterile soil for rooting cuttings cannot be overstated. Ensuring that your soil is free of harmful pathogens and pests creates the perfect environment for your cuttings to grow strong, healthy roots. Whether you’re a seasoned gardener or just getting started, the quality of the soil you use can significantly impact the success of your propagation efforts. In this guide, we’ll walk you through the essential tips for using sterile soil to give your cuttings the best chance for thriving growth.
Understanding the Importance of Sterile Soil
When propagating vining plants from cuttings, one of the most crucial factors for success is using sterile soil for rooting cuttings. Sterile soil helps create the ideal environment for your plant cuttings to develop roots quickly and healthily. By starting with clean, disease-free soil, you minimize the risk of mold, bacteria, and fungal infections that can harm your plants during the delicate rooting process.
Why Sterile Soil Matters:
- Prevents Disease: Unsterilized soil can harbor harmful pathogens that can stunt growth or cause root rot.
- Encourages Healthy Rooting: Sterile soil provides a fresh start for your cuttings, offering an optimal, uncontaminated medium for new roots to grow.
- Improves Success Rates: Using sterile soil increases your chances of successful propagation, leading to stronger, healthier plants.
To ensure success, always use fresh, sterile soil designed for rooting cuttings or sterilize your own by baking it in the oven. A clean, sterile medium is one of the easiest ways to give your vining plants the best start.
Choosing the Right Sterile Soil for Rooting Cuttings
When propagating vining plants, selecting the right sterile soil for rooting cuttings is crucial for success. Using clean, disease-free soil creates an optimal environment for roots to grow strong and healthy. Here’s what you need to know:
Why Sterile Soil Matters
Sterile soil helps prevent the growth of harmful bacteria, fungi, and mold that could stunt root development or cause rot. It ensures your cuttings have a clean start, free from pests or diseases that can hinder their growth.
Ideal Soil Type
A well-draining potting mix is the best choice for rooting cuttings. Look for soils labeled as “seed-starting mix” or “cutting mix.” These are specifically designed to provide adequate moisture retention without becoming waterlogged, which is essential for healthy root formation.
Soil Texture
The ideal sterile soil should be light and fluffy, providing good air circulation to the roots. Avoid heavy, clay-based soils as they tend to compact and restrict root growth. A mix containing perlite or vermiculite will help improve drainage and aeration.

Pre-made Mixes vs. Homemade Options
If you’re short on time, pre-made cutting mixes are convenient and effective. However, you can create your own by mixing equal parts of perlite, vermiculite, and peat moss. This homemade blend mimics the texture and drainage qualities of ideal cutting mixes.
How to Sterilize Soil
If you want to sterilize your own soil, bake it in the oven at 180°F (82°C) for about 30 minutes. This will kill any pathogens without compromising the soil structure.
Using the right sterile soil for rooting cuttings not only ensures better root health but also accelerates the overall propagation process. So, next time you’re preparing to propagate, choose your soil carefully to give your vining plants the best start possible.
How to Sterilize Soil at Home
Sterilizing soil is a crucial step in ensuring your plants grow healthy, free from harmful pests and diseases. Whether you’re propagating vining plants, starting a new garden, or reusing soil, sterilizing your soil at home is easy and cost-effective. Here’s how to do it:
Why Sterilize Soil?
Sterilizing soil helps eliminate pathogens, pests, and weed seeds that could harm your plants. Using sterile soil for rooting cuttings gives your new plants the best chance of healthy growth and prevents root rot and other diseases.
Simple Methods to Sterilize Soil
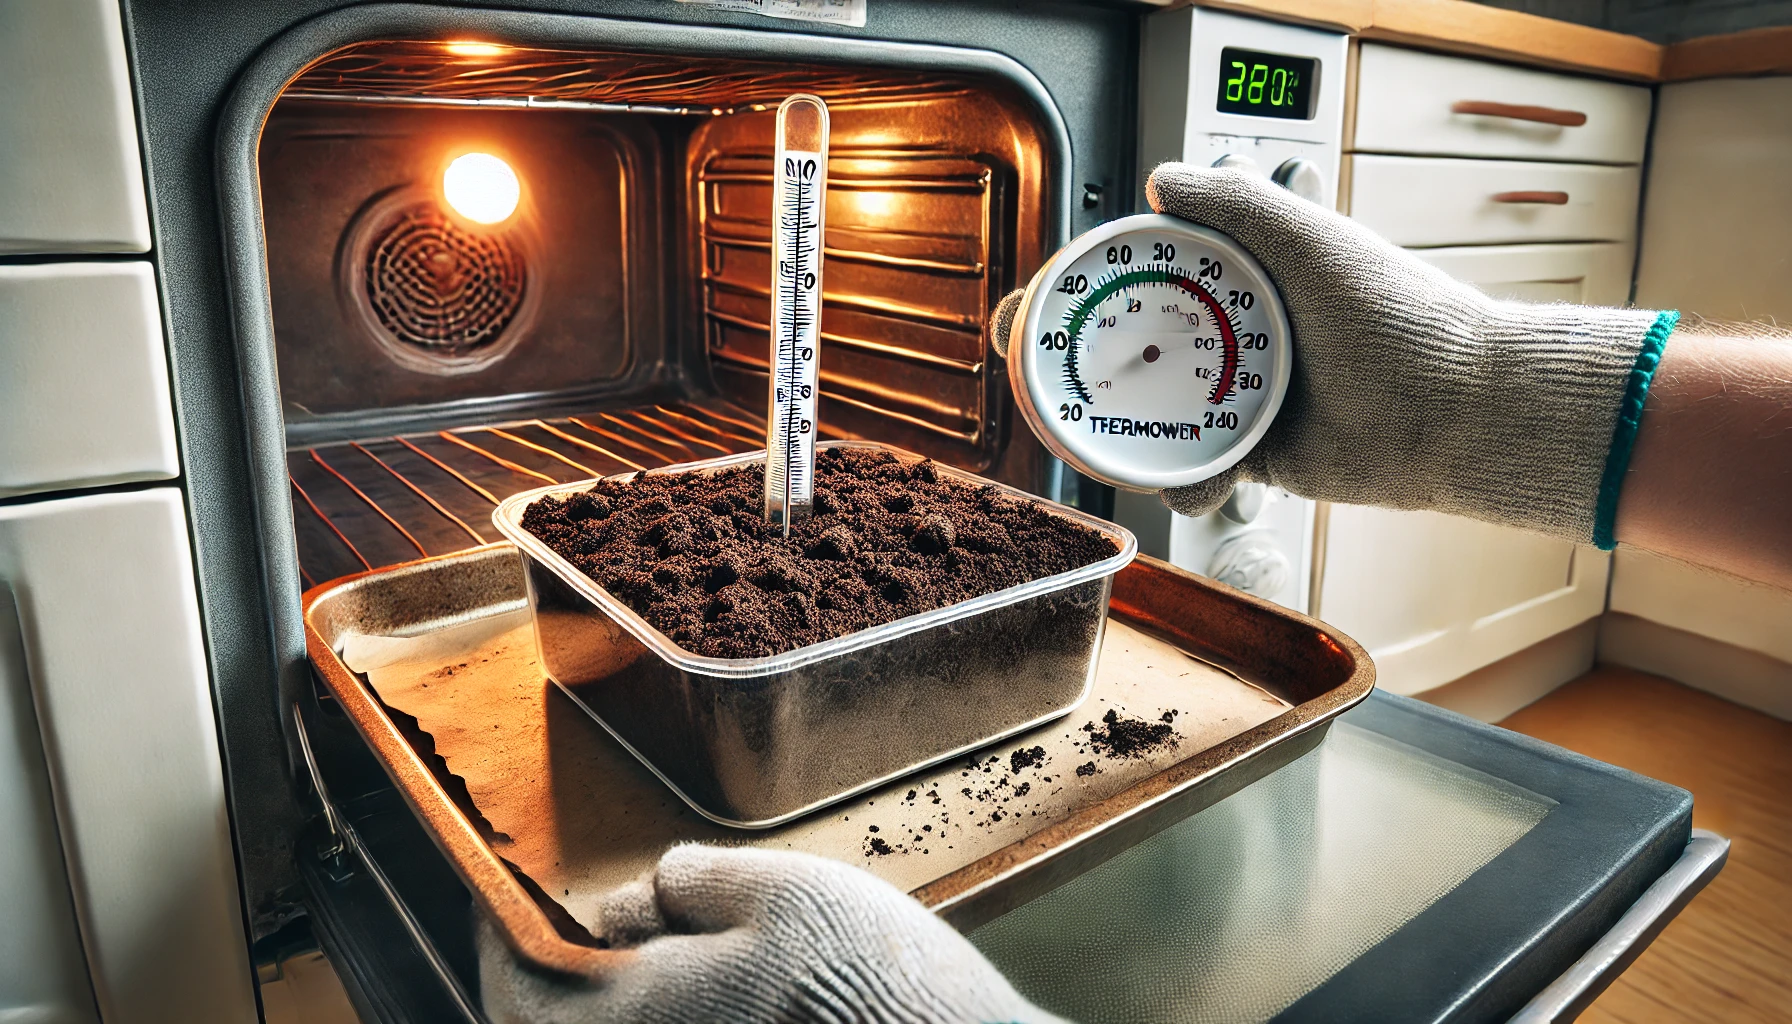
Oven Method
- Preheat your oven to 180°F (82°C).
- Spread a 1-2 inch layer of soil on a baking tray.
- Bake the soil for 30 minutes. Keep an eye on it to prevent overheating.
- Allow the soil to cool before using it in your plant pots or for cuttings.
Microwave Method
- Place moist soil in a microwave-safe container.
- Microwave the soil in 90-second intervals, stirring between each, until the temperature reaches about 180°F (82°C).
- Let the soil cool down before using it.
- Boiling Water Method
- Boil a kettle of water and slowly pour it over the soil in a container.
- Make sure the soil is damp but not soaking.
- Let the soil sit for a few hours to cool completely.
Pro Tips for Successful Sterilization
- Always sterilize the amount of soil you’ll use immediately—sterilized soil can lose its effectiveness if left uncovered for too long.
- Be sure to let the soil cool to room temperature before planting in it to avoid damaging delicate plant roots.
By using these easy methods, you can create a clean environment for your vining plant cuttings or any other plants you wish to grow, ensuring their roots thrive in a disease-free environment.
Preparing the Sterile Soil for Cuttings
When propagating vining plants, using sterile soil for rooting cuttings is essential for promoting healthy root growth and preventing diseases. Here’s a step-by-step guide to preparing the perfect soil mix for your cuttings:
- Choose the Right Soil Type
Opt for a well-draining potting mix. A good quality, lightweight soil mix designed for seed-starting or cuttings is ideal. It allows oxygen to reach the roots, preventing waterlogging, which can cause rot. - Sterilize the Soil
Even though many potting mixes are sterilized, you can further ensure the soil is free of pathogens by sterilizing it yourself. Bake the soil in an oven at 180°F (82°C) for about 30 minutes. This step kills harmful bacteria, fungi, and insects that may hinder your cuttings’ growth.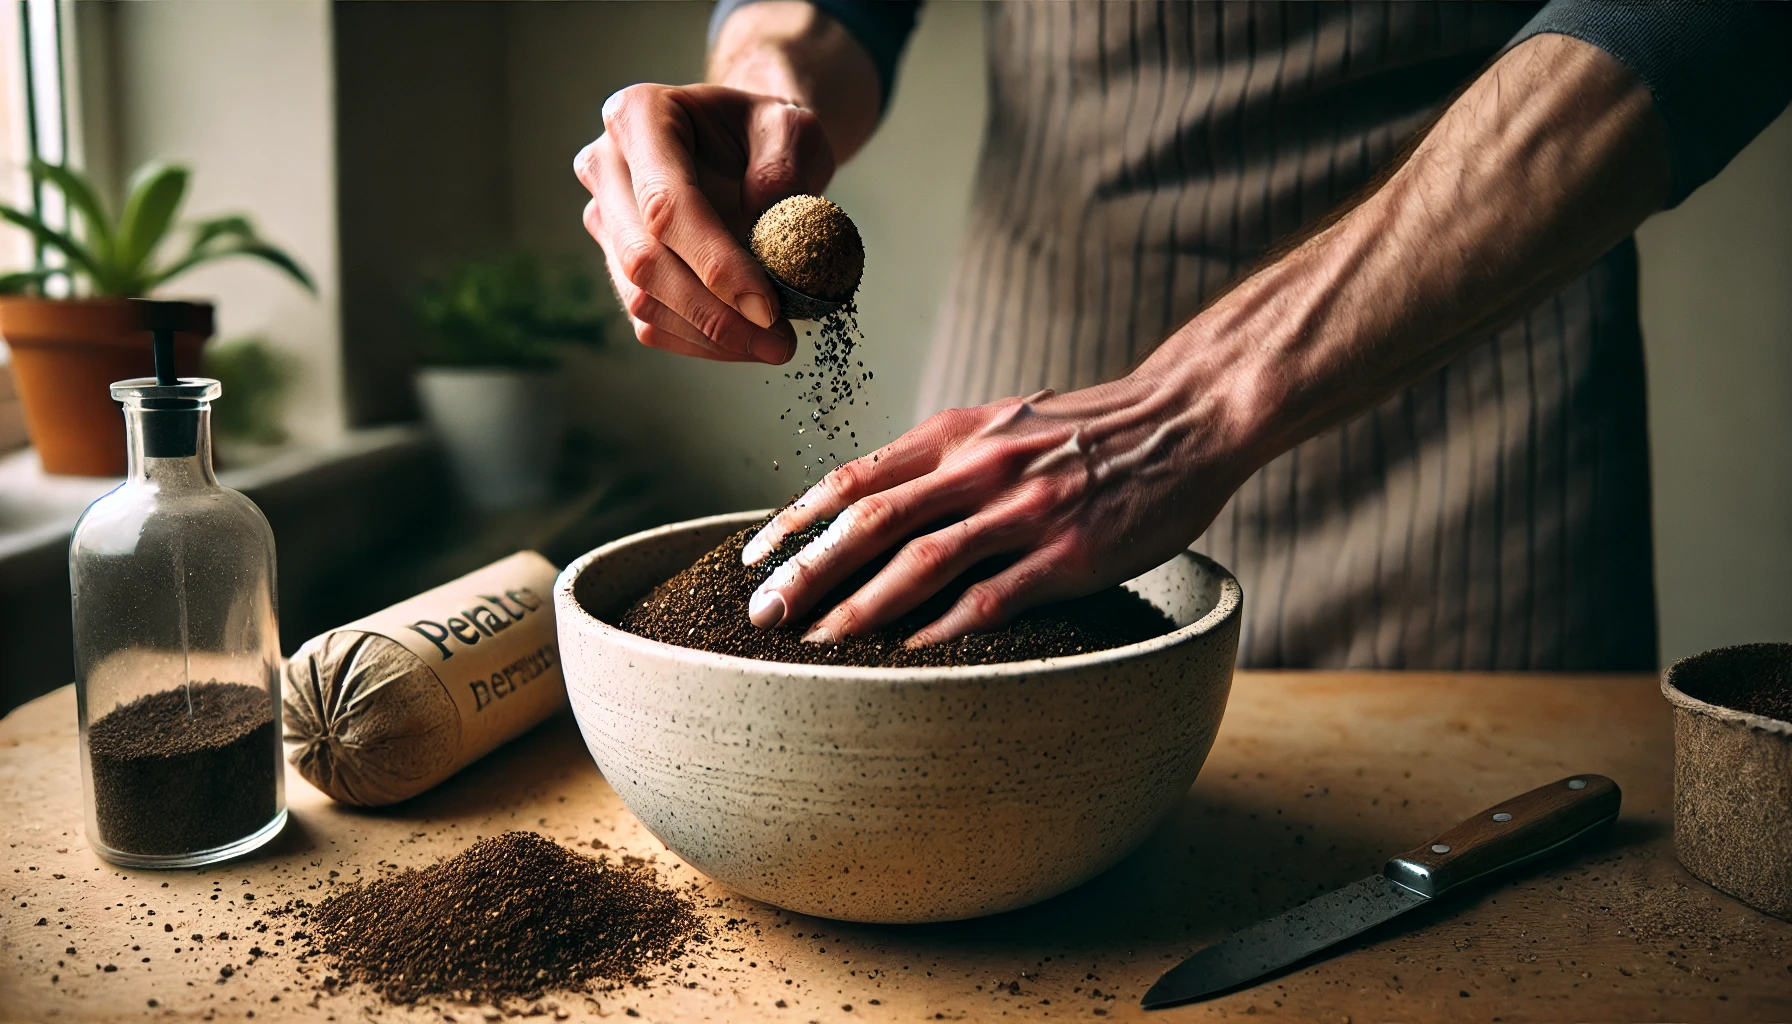
- Soil Additives for Enhanced Drainage
Add perlite or coarse sand to improve drainage. A ratio of 3 parts potting mix to 1 part perlite is perfect for rooting cuttings. This will help prevent moisture from sitting around the roots, which is critical for fast and healthy growth. - Moisture Levels
Before placing the cuttings in the soil, lightly moisten the mix. The soil should be damp, not soaked. This moisture encourages root growth and creates an ideal environment for your cuttings to thrive. - Containers for Rooting
Fill small containers or trays with the prepared sterile soil. Ensure they have drainage holes to prevent water from pooling at the bottom, which can lead to root rot.
By following these simple steps, you’ll create the perfect foundation for your vining plant cuttings to root quickly and thrive. Using sterile soil for rooting cuttings ensures that your new plants have the best chance for healthy, fast growth.
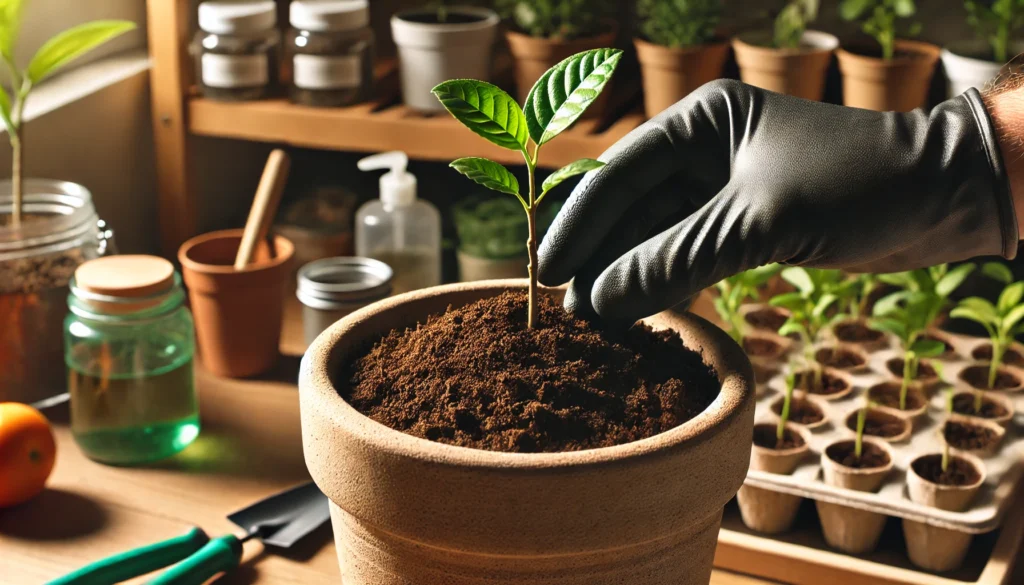
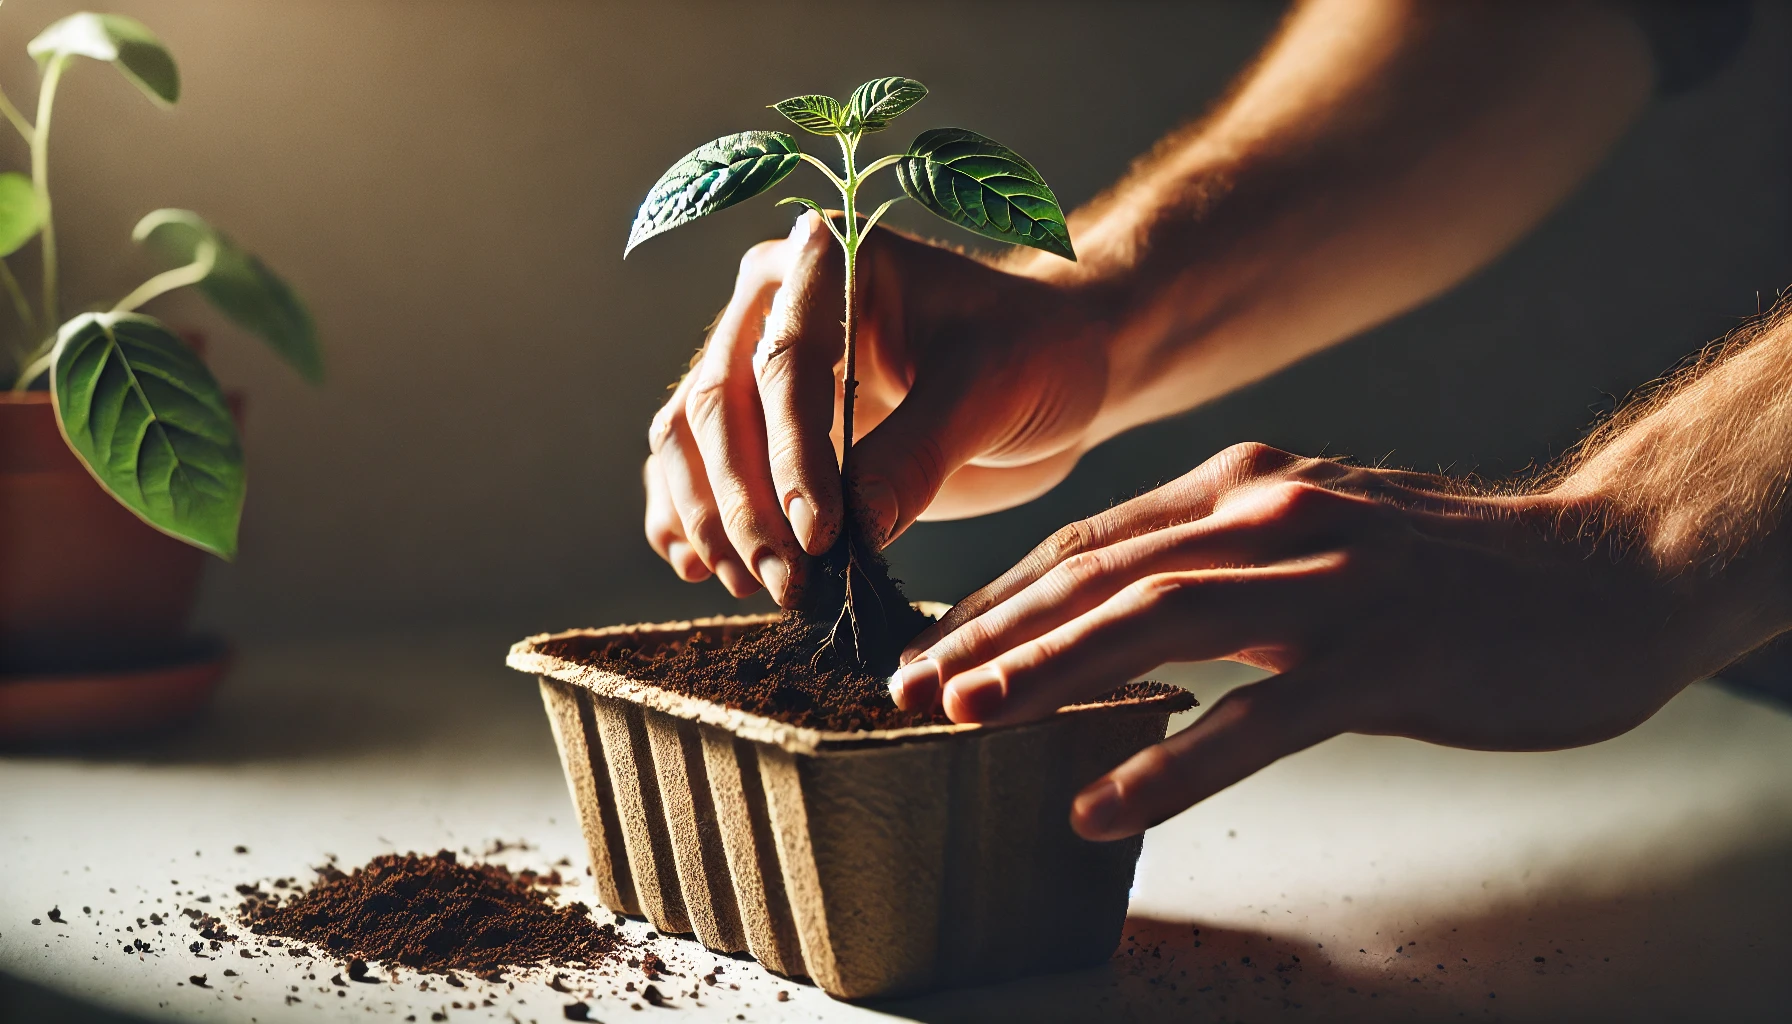
Planting Cuttings in Sterile Soil
Planting cuttings in sterile soil for rooting cuttings is a crucial step for ensuring healthy, disease-free growth. Here’s how to do it properly:
- Prepare the Soil: Choose a well-draining, sterile potting mix designed for cuttings. This type of soil ensures there are no harmful pathogens that could interfere with root development. You can buy pre-made sterile mixes, or you can create your own by mixing equal parts of perlite, vermiculite, and peat moss.
- Fill Containers: Select small pots or trays with drainage holes to prevent waterlogging. Fill them with the sterile soil, leaving about an inch of space at the top for watering.
- Insert the Cutting: Gently place your cutting into the soil, ensuring the bottom node (where roots will grow) is buried. The soil should just cover the node, with the top of the cutting exposed above the soil line.
- Firm the Soil: Lightly press the soil around the cutting to hold it in place. This will help ensure good contact between the cutting and the soil, which is crucial for root formation.
- Water Gently: After planting, water the cutting lightly to settle the soil. The soil should be moist but not soaked. Consistent moisture is key to successful rooting, but overwatering can lead to rot.
By using sterile soil for rooting cuttings, you provide a clean environment that encourages faster, healthier root growth. This is a simple yet effective method to ensure your cuttings thrive and grow into strong, beautiful plants.
Caring for Cuttings in Sterile Soil
Once you’ve planted your vining plant cuttings in sterile soil for rooting cuttings, proper care is crucial to ensure healthy, fast-growing roots. Here are some essential tips to help your cuttings thrive:
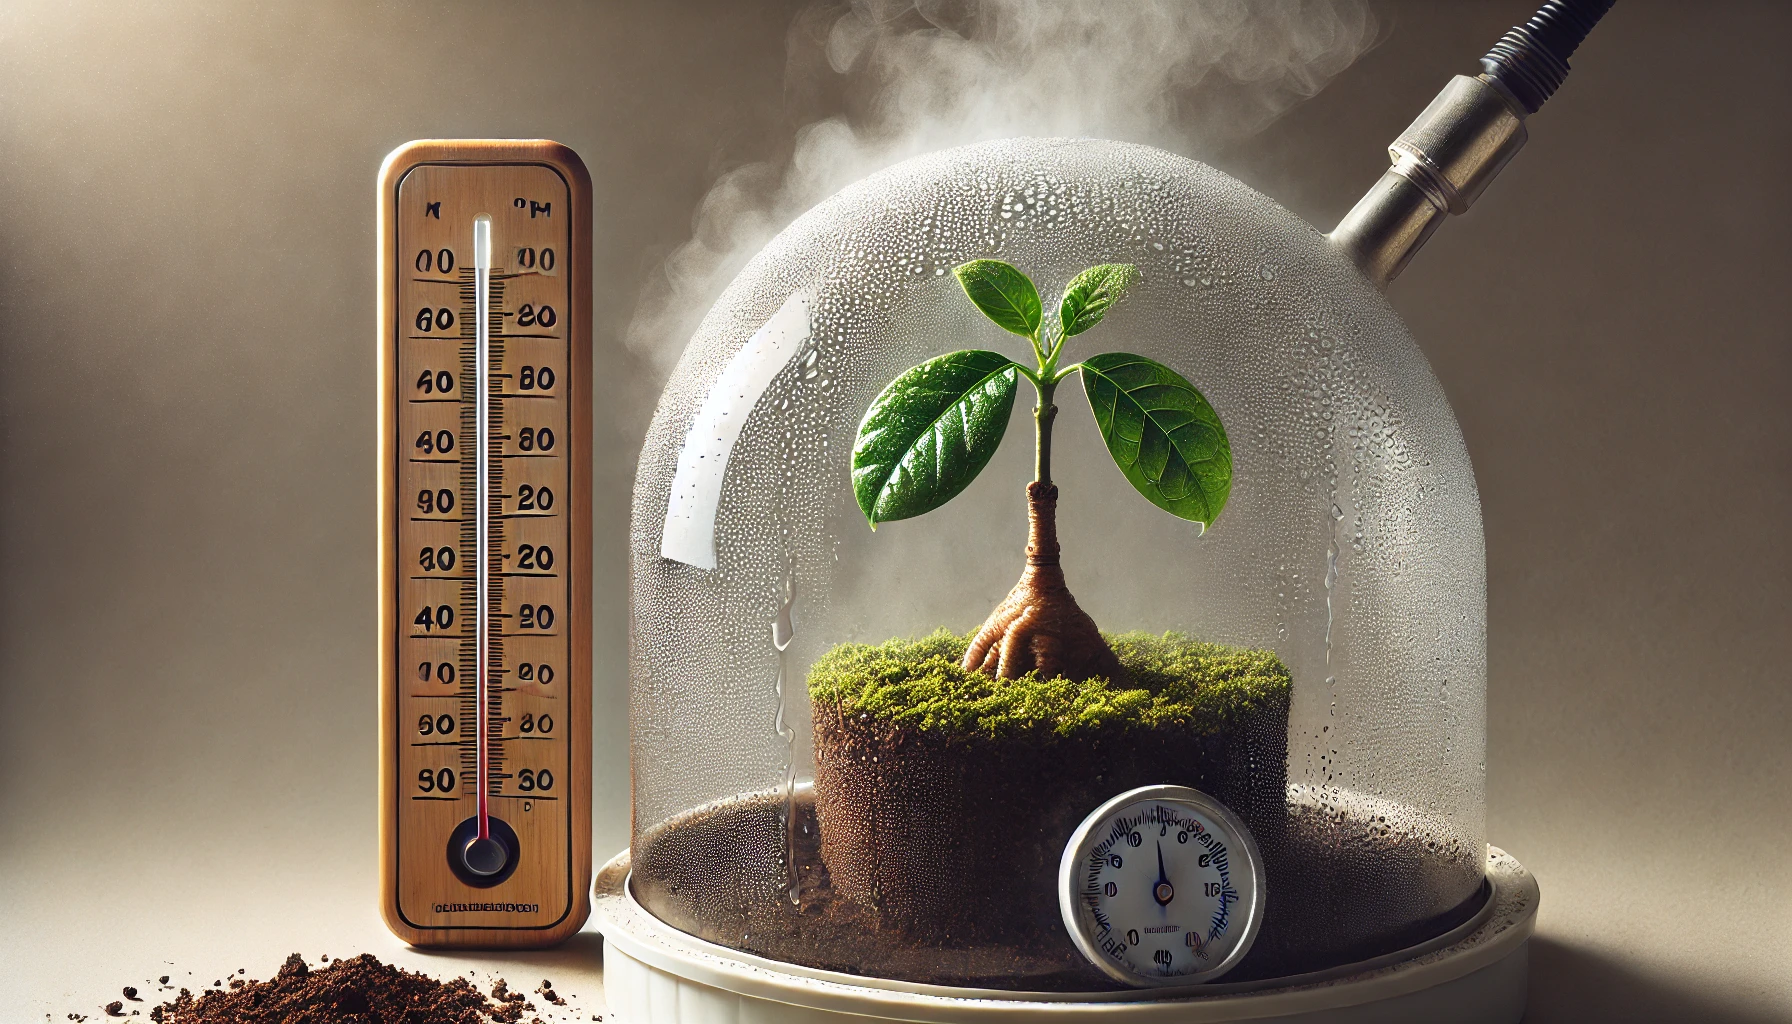
- Maintain Moisture: Keep the soil consistently moist but not soggy. Overwatering can lead to root rot, while underwatering can cause the cuttings to dry out. Use a spray bottle to gently mist the soil if it starts to dry out.
- Provide Humidity: Cuttings need a humid environment to root successfully. Cover your cuttings with a clear plastic bag or a humidity dome to retain moisture. Ensure the cover doesn’t touch the leaves to prevent mold growth.
- Light Conditions: Place your cuttings in a location with bright, indirect light. Too much direct sunlight can dry out the cuttings, while too little light will slow root development.
- Temperature Control: Ideal temperatures for rooting are between 65°F and 75°F (18°C–24°C). Keep the cuttings in a warm spot, away from drafts or extreme temperature fluctuations.
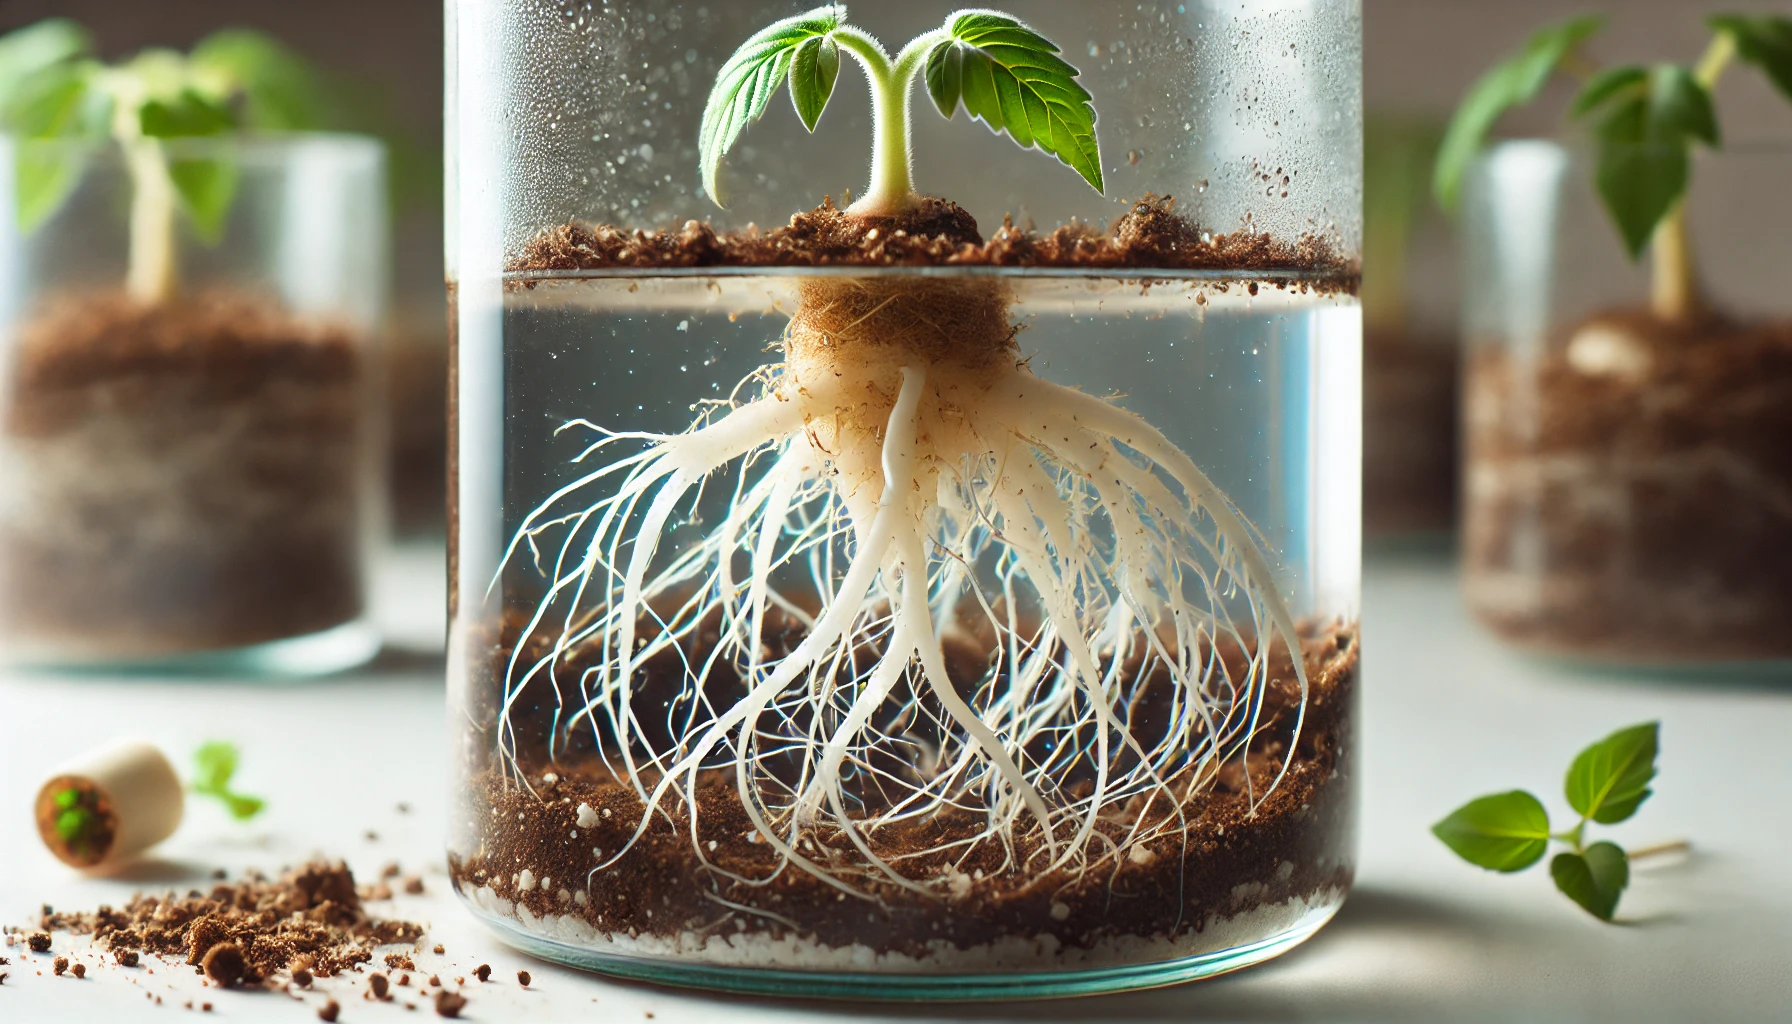
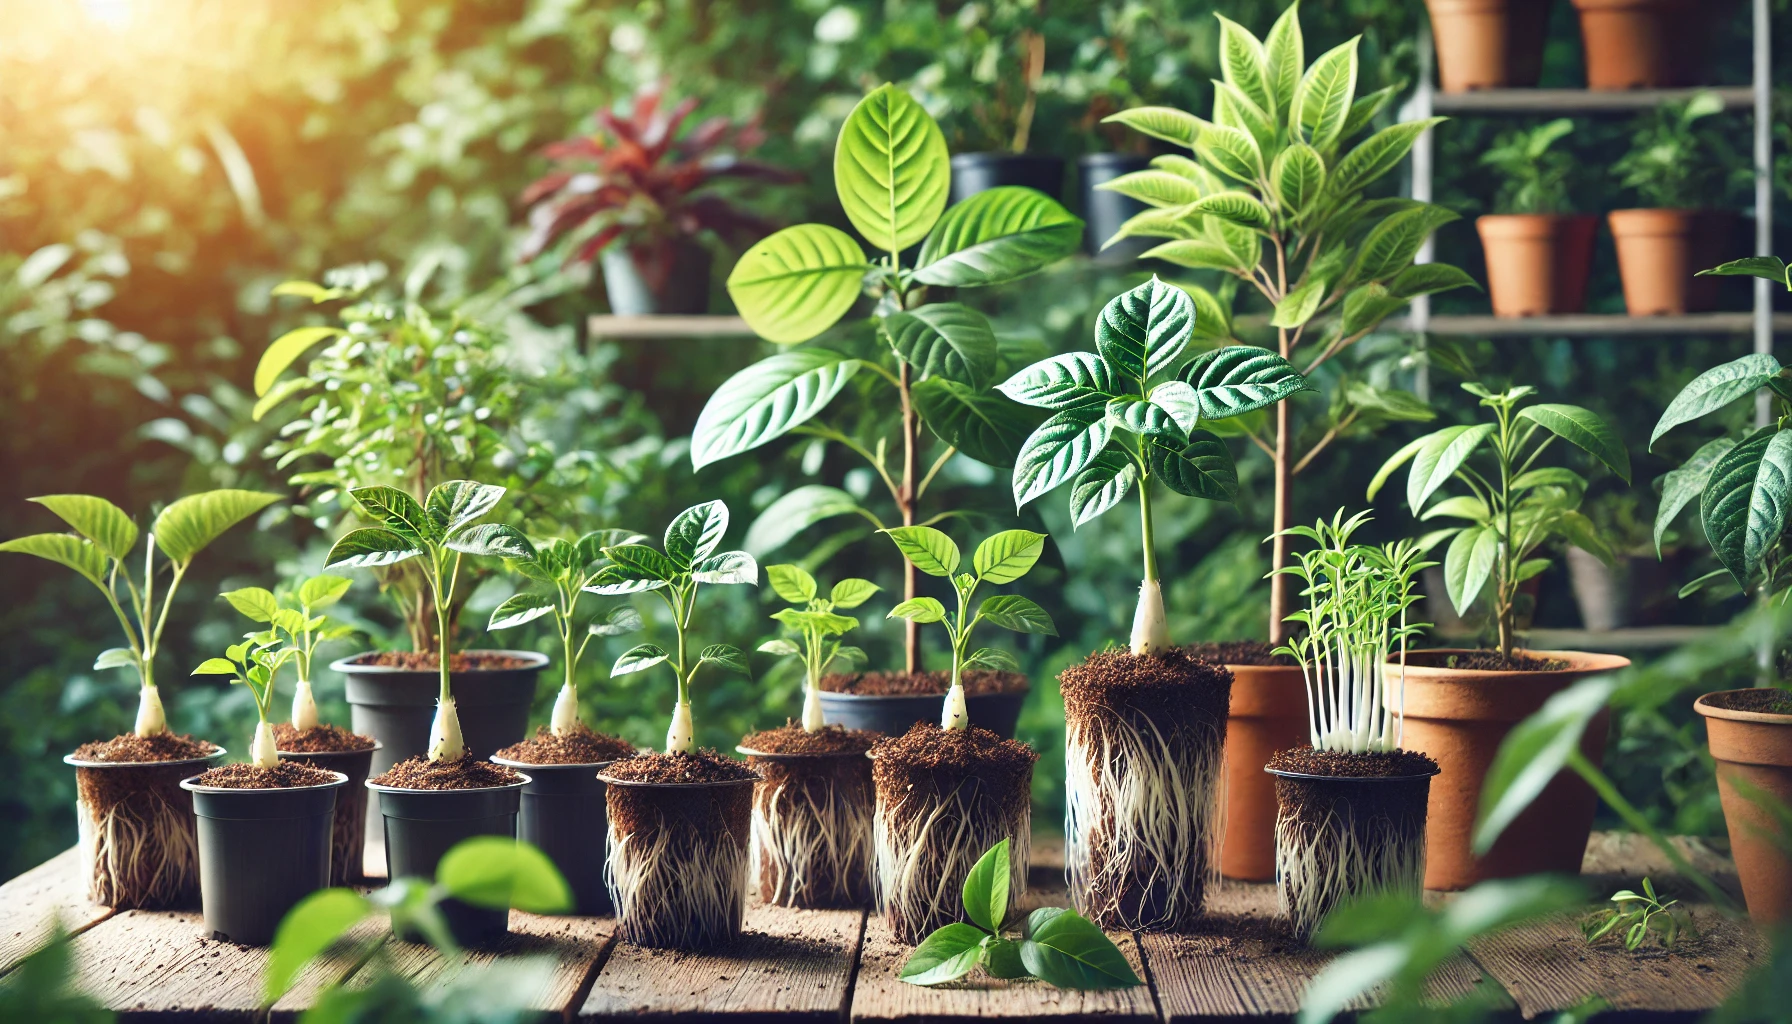
- Check for Root Development: After a few weeks, gently tug on the cuttings to check for resistance, which indicates root growth. Once you feel strong roots forming, it’s time to transplant your cuttings into larger pots or the garden.
By following these simple steps, you’ll help your vining plant cuttings grow strong and healthy in sterile soil, ensuring they develop robust roots for future growth.
Troubleshooting Common Problems in Vining Plant Propagation
Even with the best care, vining plant propagation can sometimes encounter challenges. Here’s how to tackle common issues and ensure your cuttings thrive:
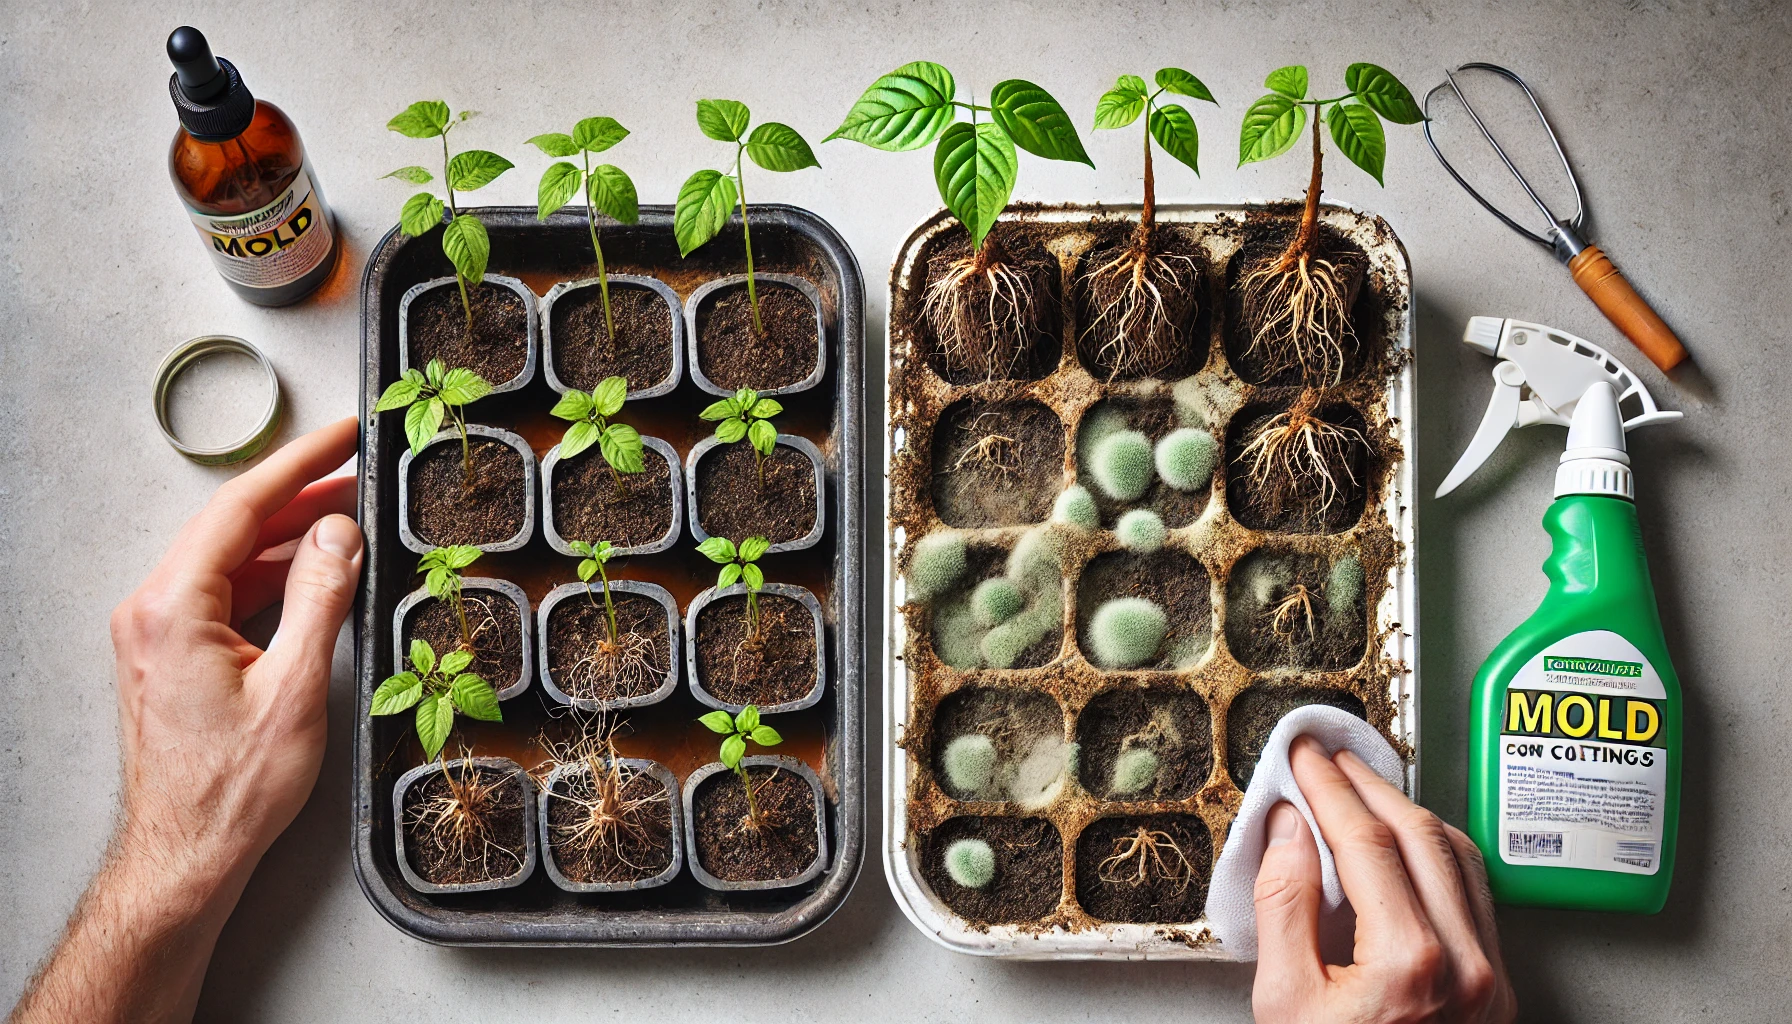
1. Mold and Fungal Growth
- Cause: Excess moisture and poor air circulation can encourage mold or fungal growth.
- Solution: Reduce humidity by removing plastic covers or improving ventilation. Use a well-draining sterile soil for rooting cuttings to avoid the buildup of excess moisture. If mold appears, remove the affected cuttings and treat with a mild fungicide.
2. Slow or No Rooting
- Cause: Low temperatures, insufficient light, or overly moist soil can slow rooting.
- Solution: Ensure cuttings are kept in a warm spot (65-75°F) with indirect light. Use sterile soil for rooting cuttings that drains well. Be patient—rooting can take a few weeks. If there’s no root development, try fresh cuttings and avoid overwatering.
3. Yellowing Leaves or Wilting
- Cause: Overwatering or underwatering is often the culprit.
- Solution: Check soil moisture before watering—only water when the top inch of soil is dry. Ensure proper drainage to prevent waterlogged soil. If the cutting is wilting despite proper watering, check for root rot and trim off any damaged roots.
4. Pests on Cuttings
- Cause: Aphids, mealybugs, and spider mites can infest young cuttings.
- Solution: Inspect cuttings regularly for pests. Use a mild insecticidal soap or wipe down leaves with a damp cloth. Introduce natural predators like ladybugs to control pests organically.
By identifying and addressing these common issues early, you can ensure that your vining plant cuttings grow strong and healthy. Keep these tips in mind, and your propagation efforts will be much more successful.
In conclusion, using sterile soil for rooting cuttings is a crucial step in ensuring successful plant propagation. By providing a clean, disease-free environment, sterile soil promotes healthy root development and minimizes the risk of infection. Following the tips outlined in this guide, from choosing the right soil to preparing it properly and caring for your cuttings, will increase your chances of successful propagation. Remember that patience and attention to detail are key when rooting cuttings. With the right sterile soil and the proper care, you’ll soon be enjoying lush, thriving plants that you’ve grown from your own cuttings. Happy propagating!