

If you’ve ever admired the stunning beauty of a maple tree, you may have wondered how you can grow one in your own backyard.  Maple tree seeds offer a unique opportunity to cultivate these majestic trees, but the process can feel overwhelming for beginners. From collecting the seeds to ensuring they thrive in your garden, many first-timers face challenges along the way. But don’t worry! In this complete guide, we’ll walk you through everything you need to know about maple tree seeds, from the best time to collect them to the proper planting techniques.
Whether you’re looking to add a touch of nature to your garden or want to grow a full-fledged maple tree, mastering the art of seed collection and planting is the first step. Stick with us, and you’ll soon be well on your way to watching your very own maple tree take root and flourish! Keep reading for expert tips that will help you succeed in growing these beautiful, iconic trees.
Understanding Maple Tree Seeds
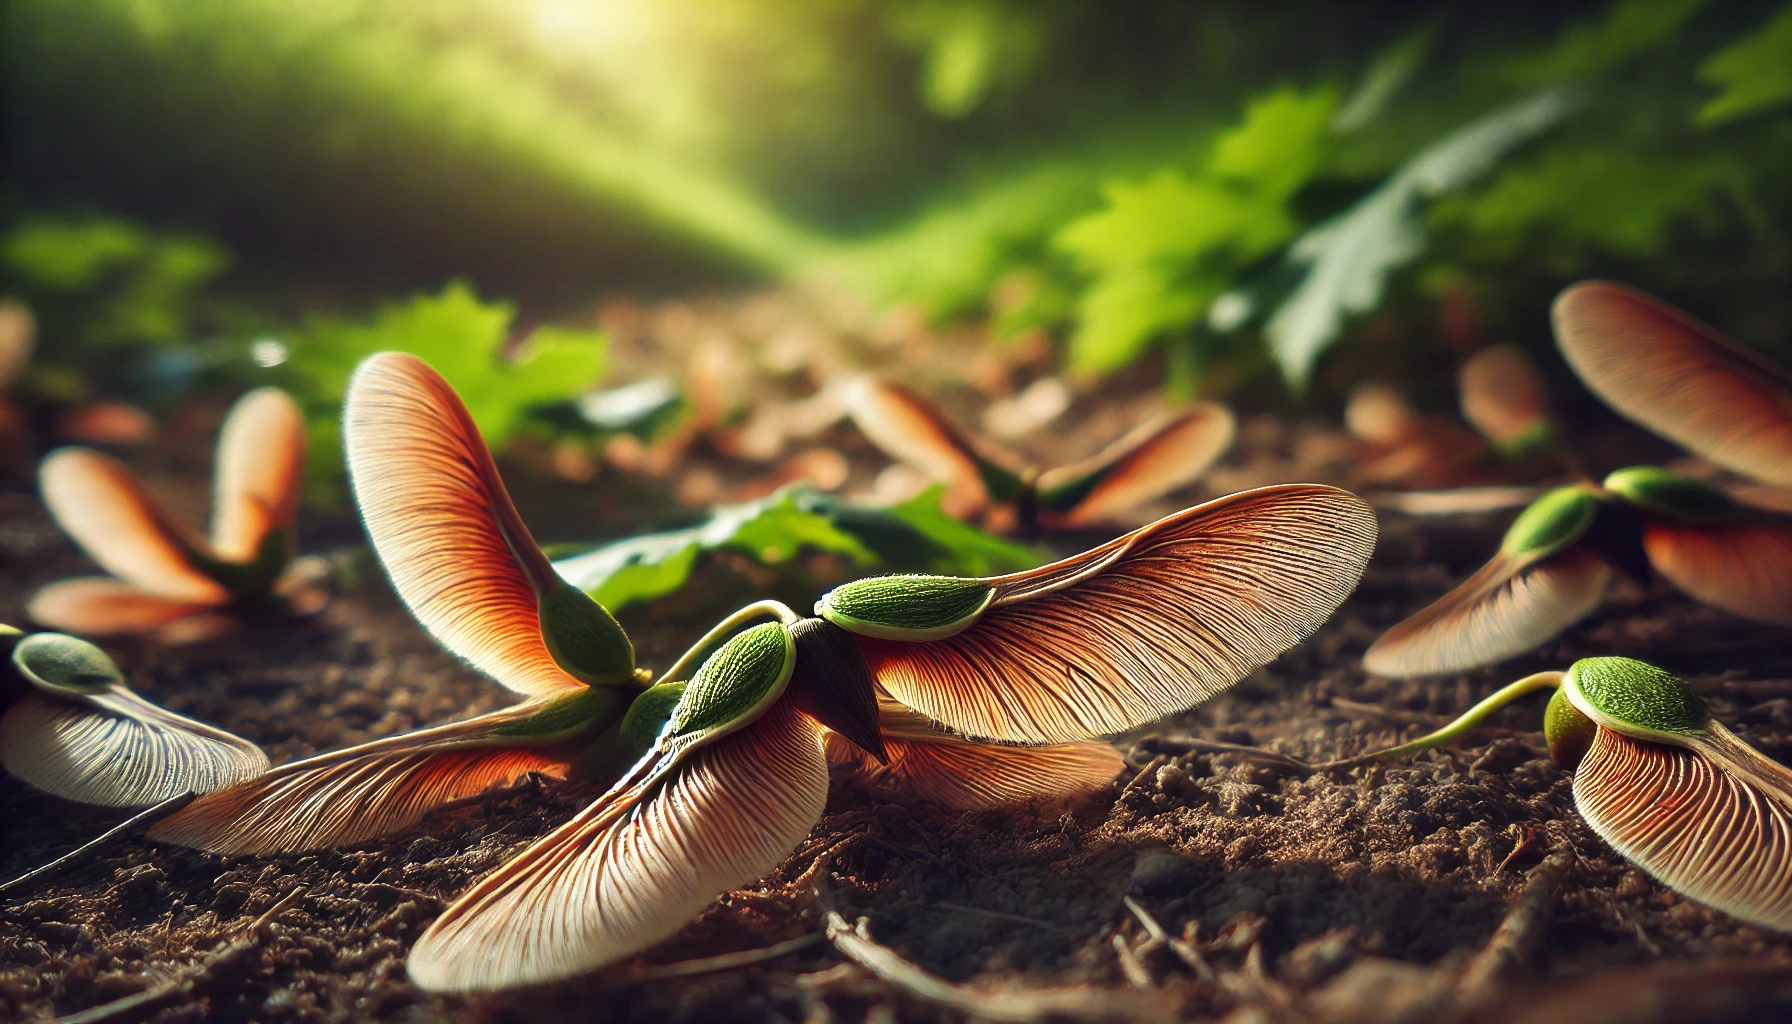
Maple tree seeds, often called “samaras” or “helicopters”, are unique and fascinating little structures that play a crucial role in the tree’s reproduction process. These seeds are characterized by their distinctive winged shape, which allows them to spin and glide through the air, much like a helicopter blade, spreading the seed over a wide area. Here’s everything you need to know about these seeds to successfully collect, plant, and grow maple trees in your garden!
What Are Maple Tree Seeds?
Maple seeds come from the maple tree’s flowers. These seeds are encased in a papery wing that helps them float away when they fall, ensuring they have the best chance to germinate in a new location. The most common types of maples you’ll encounter are Norway, Sugar, and Red maples, each producing similar-looking seeds.
The samaras mature in late spring to early summer, typically in clusters, and when they fall, they spin like little propellers. This spinning action allows the seeds to travel quite a distance, helping the tree spread its offspring far and wide.
Why Collect Maple Seeds? 
Collecting and growing maple tree seeds can be a rewarding experience. Not only do you get to observe the lifecycle of the tree from seed to sapling, but you also have the opportunity to introduce a beautiful, fast-growing tree to your landscape. Maple trees provide plenty of shade, attract wildlife, and boast stunning fall foliage. 

Additionally, if you have a native maple tree in your area, collecting and planting seeds is an eco-friendly way to contribute to the local environment. These trees are hardy and adaptable, making them ideal for various climates and garden sizes.
How to Identify Maple Tree Seeds 
Identifying maple seeds is easy once you know what to look for:
- Shape: Maple seeds are typically winged and have a shape that resembles a small propeller or helicopter.
- Size: They are generally about 1-2 inches long, but some varieties can be slightly larger.
- Color: When they first mature, the seeds may be a light green and turn brown as they dry.
By spotting the seeds during the late spring or early summer, you can harvest them just before they fall to the ground.
When to Collect Maple Tree Seeds 
The best time to collect maple tree seeds is in late spring or early summer when they are mature but not yet fallen. To ensure the seeds are ready for collection, look for samaras that have turned from green to brown. This indicates that the seeds are fully formed and ready to be harvested.
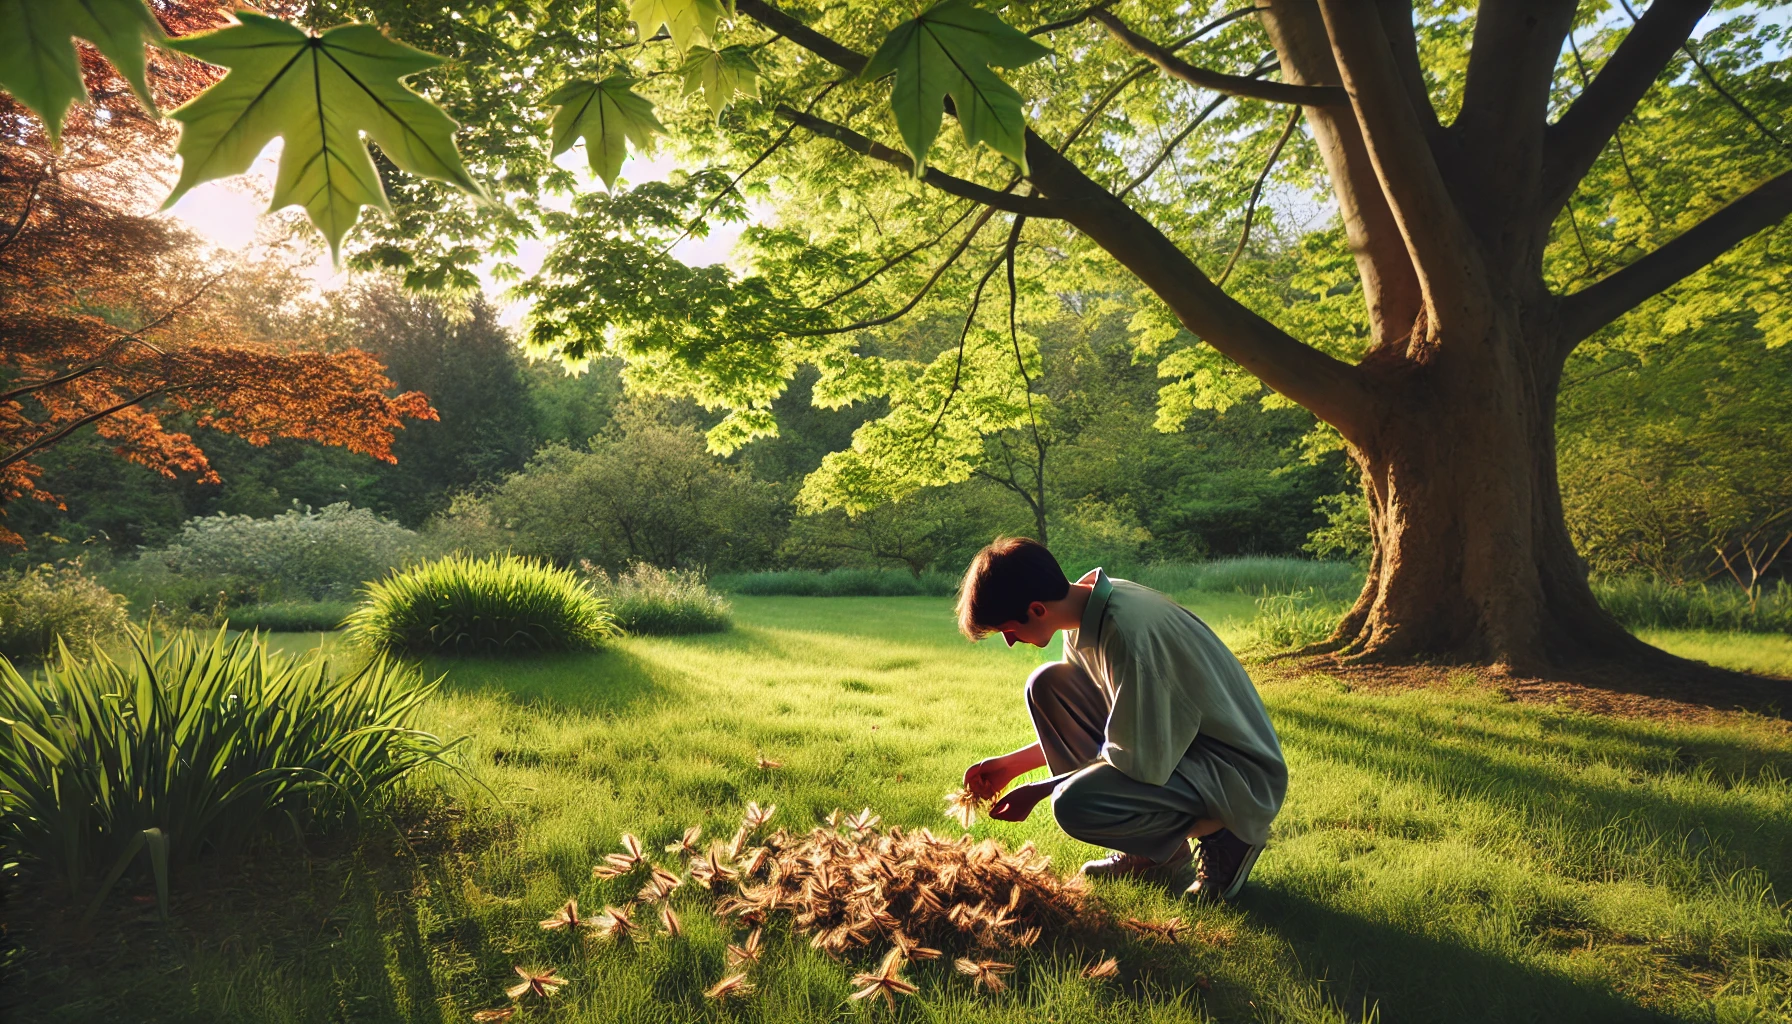
How to Collect Maple Seeds 
Collecting maple tree seeds is a simple process:
- Pick Up Fallen Seeds: The seeds often fall naturally as they mature, so simply walk around your yard or a local park and pick up the seeds from the ground. Avoid those that are damaged or too dry.
- Cut the Seeds from the Tree: If you prefer to collect seeds directly from the tree, you can use scissors or pruning shears to cut the samaras from the branches. Be sure to pick seeds that are brown and mature.
- Dry the Seeds: After collecting, allow the seeds to air-dry in a cool, dry place. This step ensures the seeds are ready for planting and prevents mold growth.
Storing Maple Seeds for Later Use 
Maple seeds can be stored for several months, making it easy to plant them at a later time. To store them properly:
- Keep them in a cool, dry place like a paper envelope or a cardboard box.
- Avoid using plastic bags, as moisture can accumulate and lead to mold.
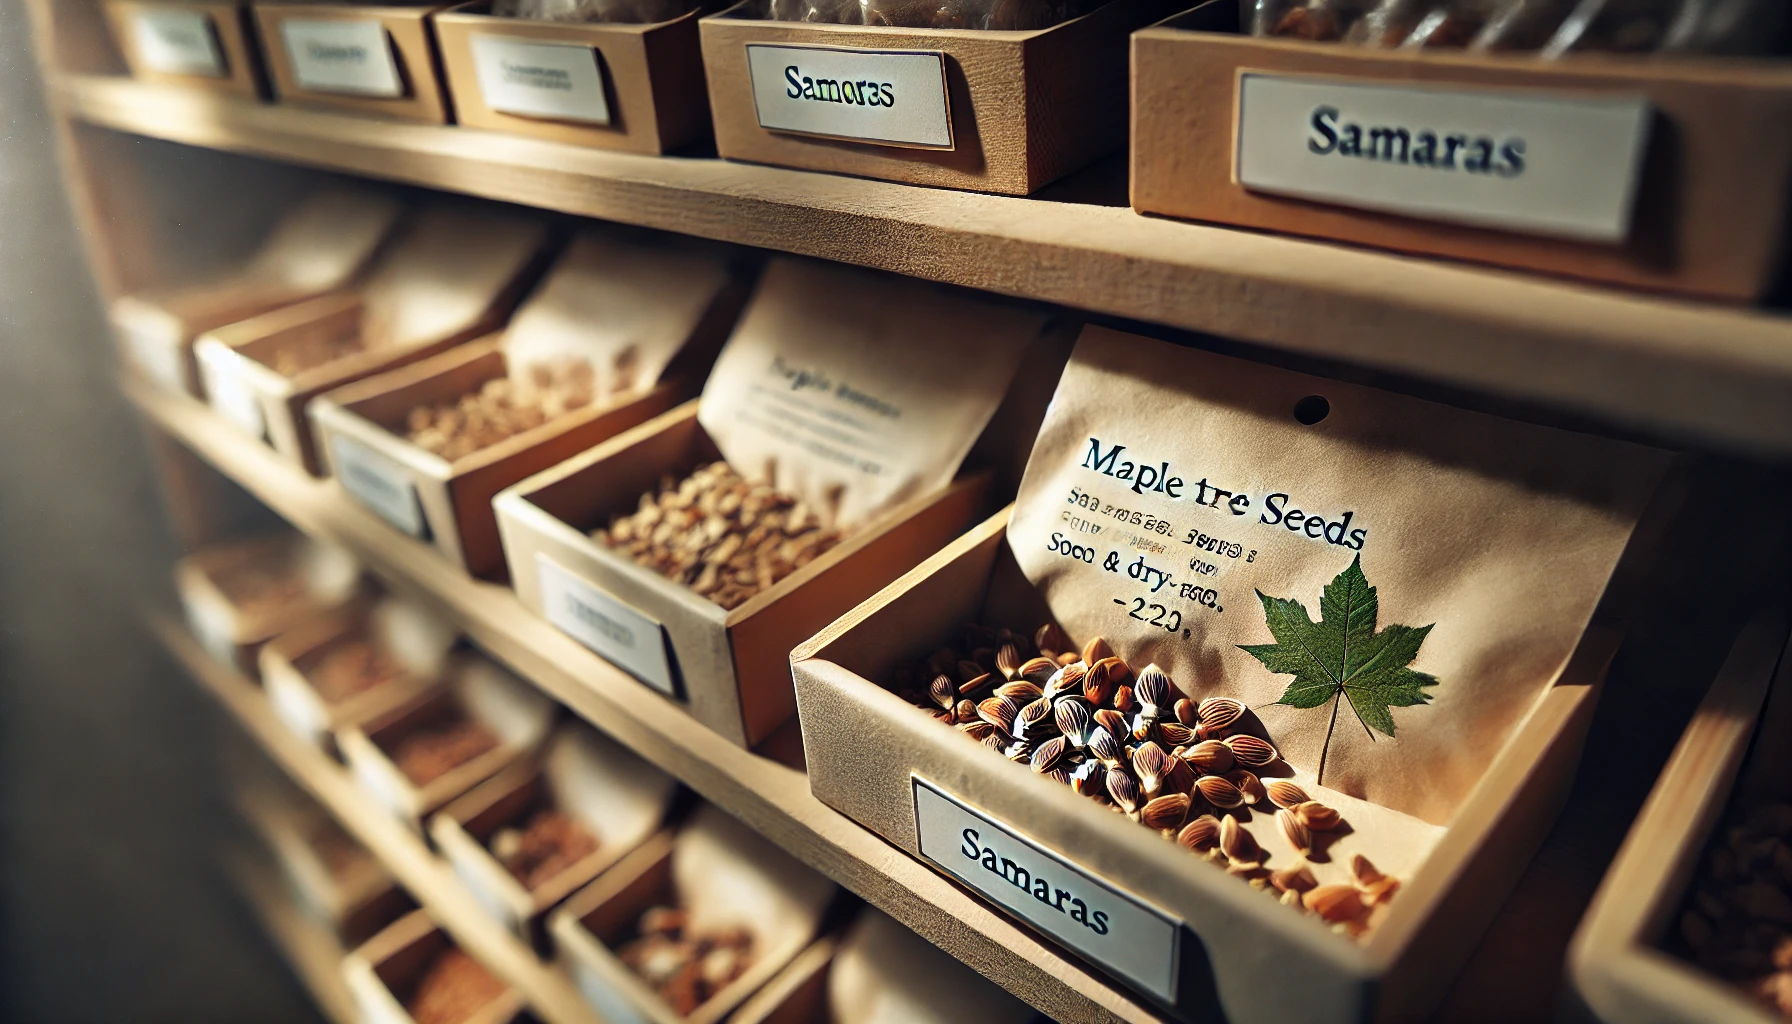
Check the seeds occasionally for signs of mold or moisture and remove any that are affected to ensure the rest stay healthy.
By understanding how maple seeds work and the best ways to collect and store them, you can easily start your own maple tree garden.
When and How to Collect Maple Tree Seeds
Collecting maple tree seeds can be a fun and rewarding process if done at the right time and in the right way. Whether you’re looking to grow a new tree or simply enjoy the beauty of the seed pods, knowing when and how to gather these seeds will set you up for success. Let’s break it down in simple, easy-to-follow steps!
1. Know the Right Time to Collect 
Maple seeds, also known as “samaras,” typically mature in late spring to early summer. The best time to collect them is when the seeds start to turn brown, and the wings begin to loosen from the seed. Here’s what to look for:
- Timing: Late spring to early summer (around May to June in most regions).
- Seed Maturity: When the samaras are brown and the wings start to fall off naturally.
Collecting too early, while the seeds are still green, will result in seeds that won’t germinate. Wait until they’re fully mature for the best chances of success.
2. How to Collect Maple Seeds 
Gathering maple seeds is easy, but there are a few things to keep in mind:
- Use a Bucket or Bag: Take a sturdy bucket or bag to collect the seeds. Maple trees often drop seeds in large quantities, making it easy to gather them from the ground.
- Pick From the Tree: If you want fresh seeds, you can use a long pole or a ladder to gently pluck them directly from the tree. Be careful not to damage the branches.
- Look for Healthy Seeds: Choose seeds that are firm, brown, and fully formed. Avoid seeds that look shriveled or discolored, as these may not be viable.
3. Prepare the Seeds for Storage 
Once you’ve gathered your seeds, it’s important to store them properly until you’re ready to plant:
- Dry the Seeds: Lay the seeds out in a single layer on a paper towel or newspaper. Let them dry for a few days in a cool, dry place.
- Storage: Once dried, store the seeds in a paper envelope or cloth bag. Keep them in a cool, dry place until you’re ready to plant in the fall or spring.
4. Maximize Germination Success
If you’re planning to grow your own maple tree, ensure high germination rates by following these tips:
- Stratify the Seeds: Maple seeds often need a period of cold stratification to break dormancy. To do this, place the seeds in a sealed plastic bag with some damp sphagnum moss or paper towel and store them in the fridge for 30-60 days before planting.
- Plant in Early Spring: Maple seeds should be planted as soon as the frost risk has passed in early spring. Plant the seeds about 1/4 inch deep in well-draining soil.
By following these simple steps, you’ll be well on your way to successfully collecting and planting your maple tree seeds. Happy gardening! 
Preparing Maple Tree Seeds for Planting
When it comes to planting maple tree seeds, preparation is key! The better you prepare your seeds, the higher your chances of a successful germination. Below is a simple, step-by-step guide to help you get your maple seeds ready for planting.
1. Harvesting Your Maple Seeds
Maple tree seeds, also known as samaras, are typically ready to harvest in late spring to early summer. You’ll know they’re ready when the seed pods turn brown and begin to fall from the tree. Be sure to collect them promptly to avoid them being eaten by wildlife or falling into wet ground, which can cause mold.
2. Clean the Seeds 
After collecting the seeds, gently remove any debris like twigs, leaves, or dirt. Clean them by rinsing them under cool water. Avoid using hot water as it may damage the seeds. Pat them dry with a towel and let them air dry completely for 24-48 hours.
3. Stratification: Simulate Winter 
Maple seeds need a cold period to break dormancy. This process is called stratification. To simulate winter, you can either refrigerate the seeds or plant them outside and let them naturally undergo cold treatment. Here’s how to do it:
- Refrigerator Method: Place the cleaned seeds in a damp paper towel or sand inside a plastic bag. Keep the bag in the fridge for about 30-60 days. Check occasionally to ensure the seeds stay moist but not soggy.
- Outdoor Method: If you live in an area with cold winters, you can simply plant the seeds outdoors in a protected location. Mother Nature will handle the stratification process for you!
4. Testing Seed Viability 
Not all seeds will germinate, so it’s important to check seed viability. Before planting, try the float test: Place your seeds in a bowl of water. After 24 hours, discard any seeds that float (they’re likely not viable). Only plant the seeds that sink to the bottom.
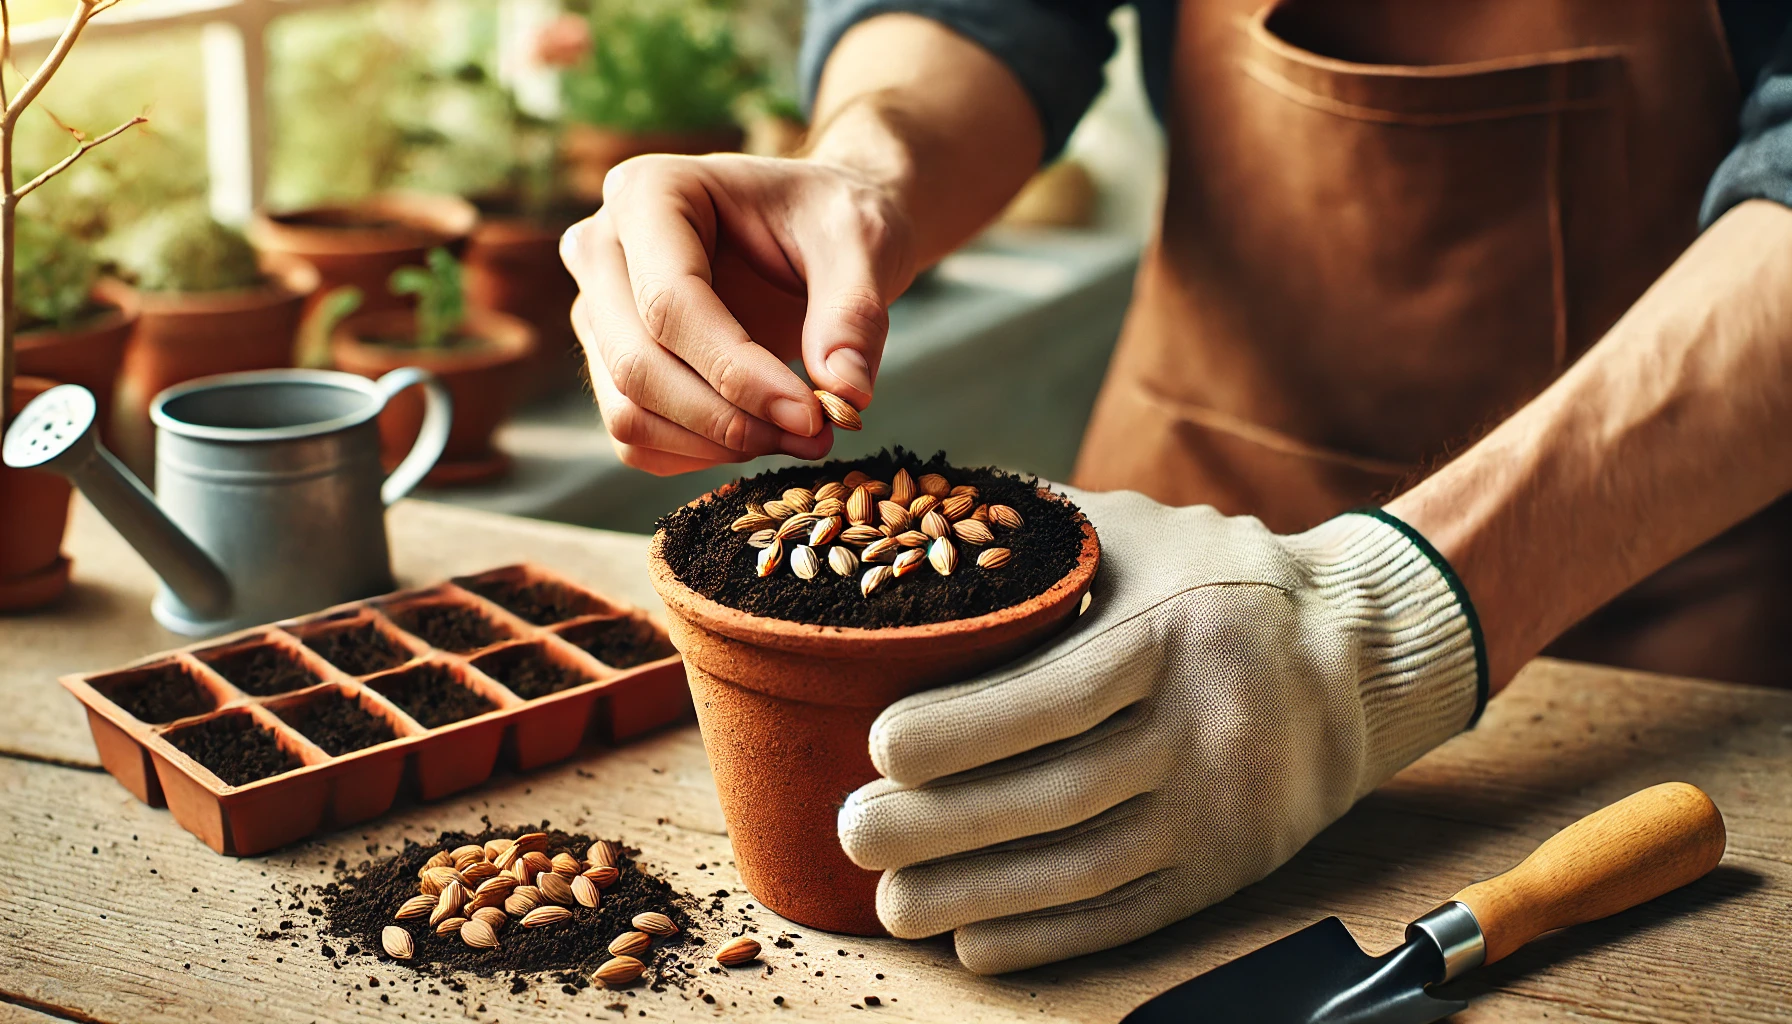
5. Prepare the Planting Site 
Maple trees thrive in well-draining, slightly acidic soil. Choose a location that receives partial to full sun. If you’re planting directly in the ground, clear the area of weeds and debris. If you’re starting your seeds indoors, prepare small pots or trays with a good-quality potting mix.
6. Planting the Seeds
Once your seeds are stratified and viable, it’s time to plant! If you’re planting outdoors, simply sow the seeds about 1-2 inches deep into the soil. If you’re starting indoors, plant them in pots and place them in a sunny spot. Be sure to keep the soil moist but not waterlogged.
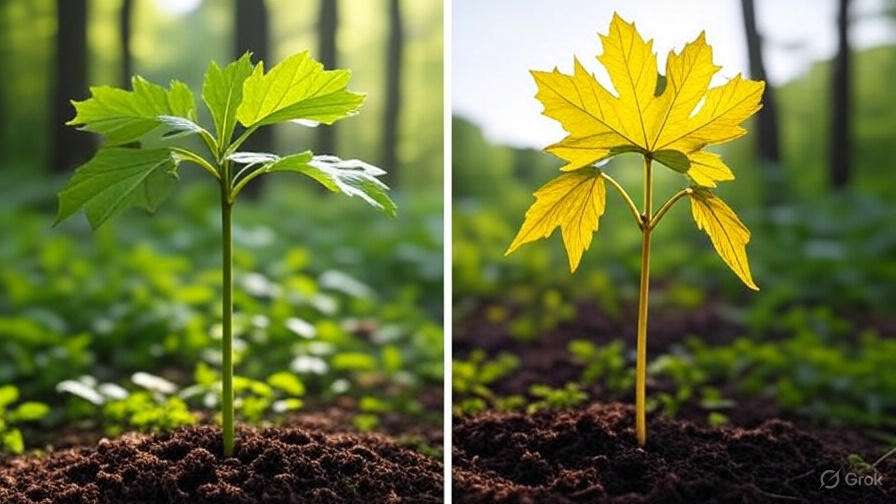
7. Patience is Key 
Maple seeds take time to germinate. Be patient and monitor the moisture levels in the soil. It can take anywhere from 2 weeks to a few months for the seeds to sprout, so don’t be discouraged if you don’t see immediate results.
By following these simple steps, you’ll be well on your way to growing a beautiful maple tree. Happy planting!
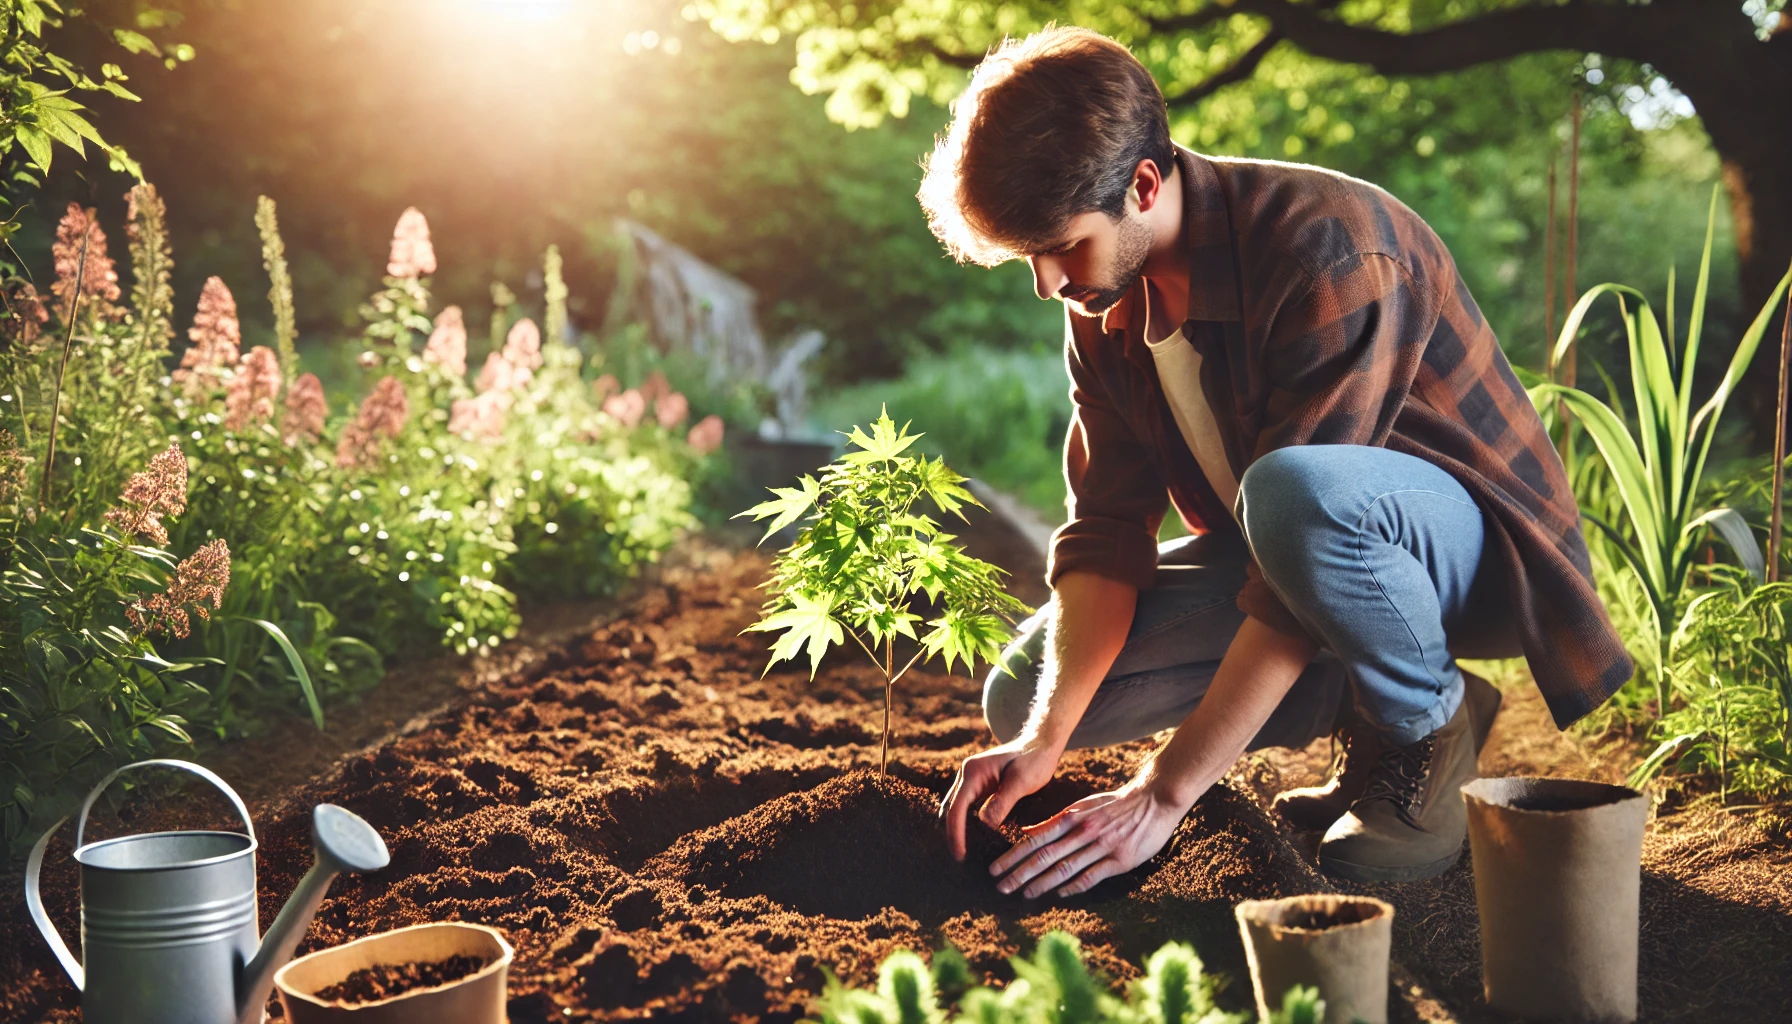
Planting Maple Tree Seeds
Planting maple tree seeds is a rewarding process that allows you to grow these stunning trees right in your own garden. Whether you’re a gardening enthusiast or a beginner, planting maple seeds is a fun and simple way to start your journey into tree planting. Here’s how to do it:
1. Choose the Right Time to Plant
The best time to plant maple tree seeds is in the early spring or late fall. In spring, the soil is warm and moist, giving your seeds the perfect start. In fall, they naturally go through the cold stratification process, which helps break dormancy. So, timing is key!
2. Prepare the Soil
Maples love well-drained, slightly acidic soil. Before planting, loosen the soil in your garden bed or pot with a rake or shovel.  If you’re planting in a pot, choose one with good drainage holes. You can mix in compost for extra nutrients.
3. Cold Stratification (If Necessary)
If you’re planting maple seeds in the spring, you might need to mimic winter conditions to help them germinate. This process is called cold stratification . Place your seeds in a damp paper towel, put them in a sealed plastic bag, and refrigerate them for about 30 days before planting. This will speed up the germination process.
4. Planting the Seeds
Once your seeds are ready, it’s time to plant! Simply dig small holes about 1/2 inch deep (1.3 cm) and place 1-2 seeds in each hole. Lightly cover the seeds with soil and gently pat it down. Make sure not to plant too deep—maple seeds need some light to sprout.
5. Water Regularly
After planting, water the seeds thoroughly. Keep the soil consistently moist but not soggy.  During dry spells, water the area every few days, ensuring the seeds stay hydrated. However, avoid overwatering, as this can cause the seeds to rot.
6. Provide Enough Light
Maple seeds need plenty of sunlight to grow. Make sure your planting area gets at least 4-6 hours of direct sunlight each day. If you’re planting in a pot, place it in a sunny spot like a balcony, windowsill, or garden.
7. Be Patient
It can take a few weeks to a couple of months for maple tree seeds to germinate. Don’t rush the process. Once you see tiny seedlings sprouting, you’re on the right track!
8. Transplanting the Seedlings
As the seedlings grow larger, they may need to be thinned out. Keep the strongest ones and remove any weaker ones. Once the seedlings are big enough and have at least two sets of leaves, they can be transplanted into larger pots or directly into the ground.
By following these steps, you’ll be well on your way to growing your own beautiful maple tree. Whether you’re planting one tree or several, patience and proper care will ensure your success.
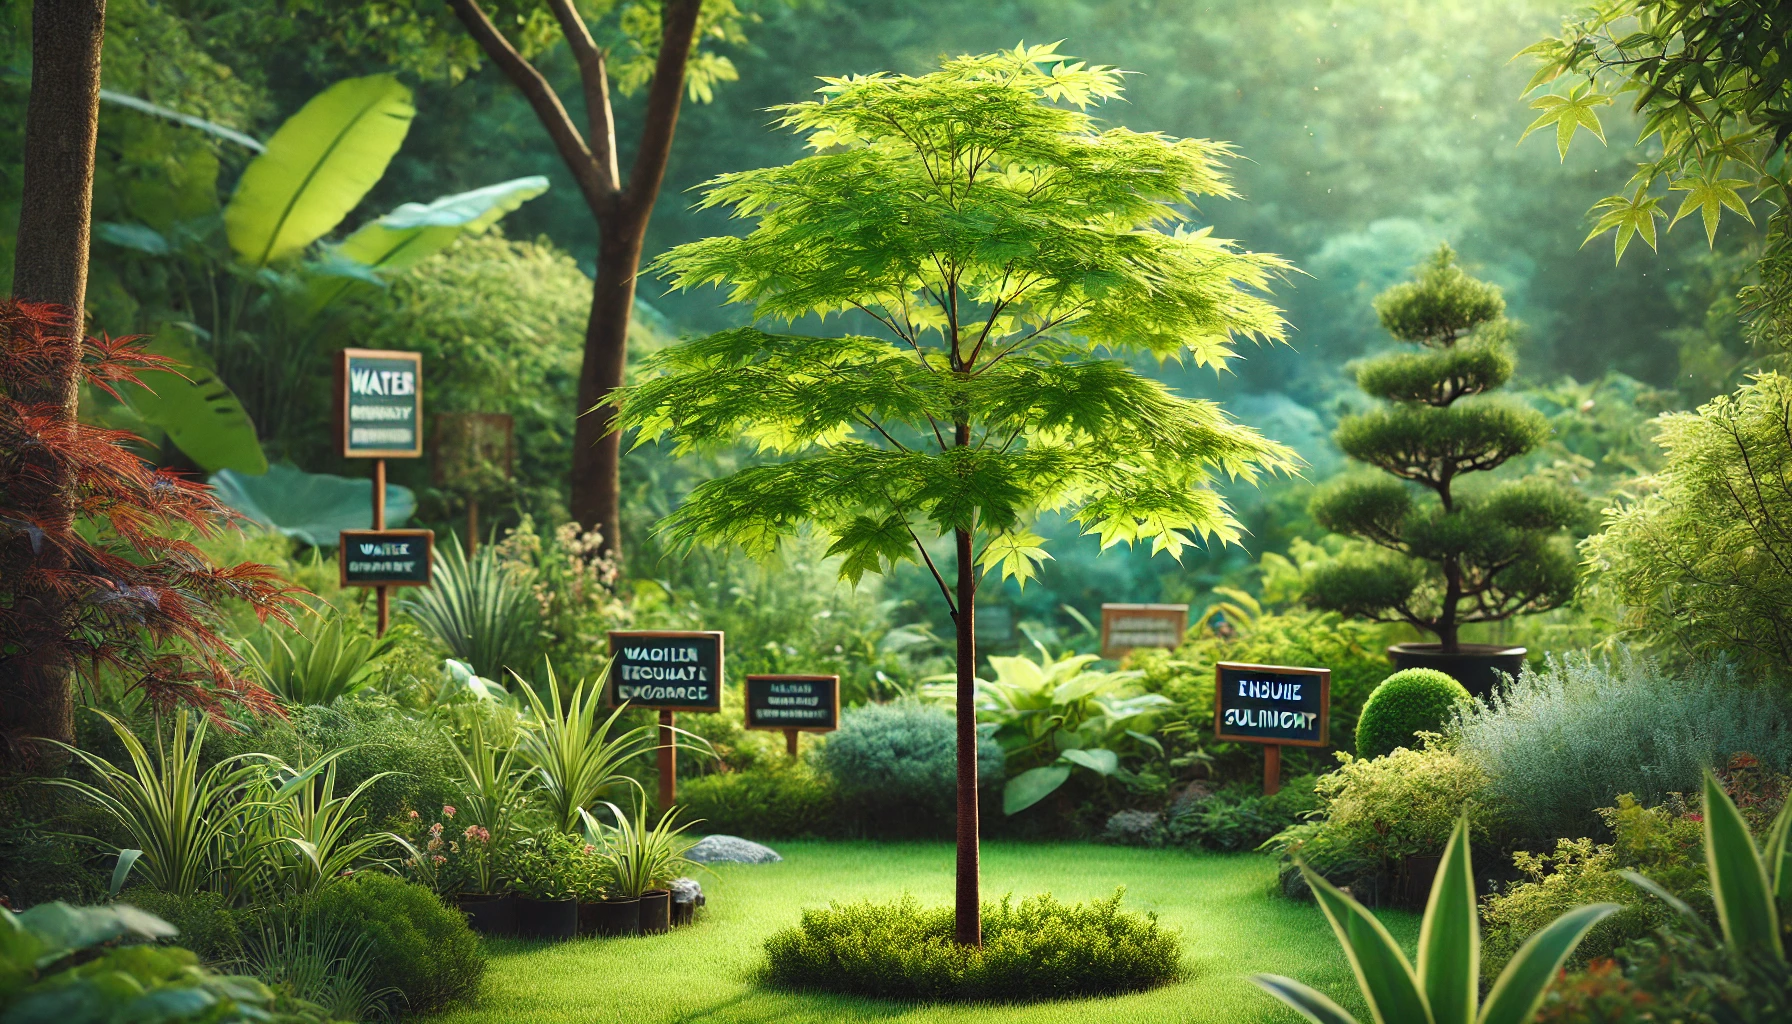
Caring for Maple Trees as They Grow
Once you’ve successfully planted your maple tree seeds and they start to sprout, it’s time to give them the care they need to thrive! Caring for your maple tree seedlings as they grow is essential to ensure they reach their full potential and become the beautiful, strong trees they are meant to be. Here are the key steps to follow:
1. Choose the Right Location
Maple trees love sunlight, so it’s important to plant them in a spot where they can get plenty of it. Aim for at least 6 hours of direct sunlight each day. If you’re growing your seedlings in a pot, make sure to place them in a sunny window or on a balcony where they can soak up the light. 
2. Water Regularly 
Young maple trees need consistent moisture to establish their roots. Water them thoroughly when the top of the soil feels dry. Be careful not to overwater, though! The soil should stay moist but not soggy. If you’re growing your maples in pots, make sure the pots have good drainage to avoid root rot.
3. Soil Health Matters
Maple trees prefer well-draining, slightly acidic soil. You can enrich your soil with compost to provide the nutrients your seedlings need to grow strong. If your soil is too alkaline, you can mix in some organic matter to balance it out. Avoid heavy, clay-like soil, which can trap water and harm the roots.
4. Prune for Healthy Growth 
As your maple tree grows, it’s important to prune it to maintain a strong structure. Remove any dead or damaged branches to help the tree focus its energy on healthy growth. You can also thin out the canopy to allow light to reach the inner branches, promoting more robust growth.
5. Protect from Pests and Diseases 
While maple trees are generally hardy, they can still fall prey to pests like aphids or fungal diseases. Regularly inspect your trees for signs of pests or disease, such as discolored or curled leaves. If you notice any issues, use natural remedies or organic pesticides to address them before they become a bigger problem.
6. Mulch for Moisture Retention
Adding a layer of mulch around your tree’s base can help keep the soil moist, especially during dry spells. It also prevents weeds from competing with your tree for nutrients. Just be sure to keep the mulch a few inches away from the trunk to avoid rot.
7. Watch for Signs of Stress 
If your maple tree starts showing signs of stress, such as yellowing leaves or stunted growth, it might be due to overwatering, underwatering, or poor soil conditions. Address the issue as soon as you spot it to help your tree bounce back.
8. Fertilize Lightly
Maples don’t need heavy fertilizing, but they will appreciate a light feed in early spring to kickstart their growth. A balanced, slow-release fertilizer is usually enough to give them a nutrient boost. Be careful not to over-fertilize, as this can cause more harm than good.
By following these tips, you’ll help your maple trees grow strong and healthy, ready to become a stunning addition to your garden for years to come. 
Troubleshooting: Common Issues and Solutions 
Growing maple trees from seeds can be incredibly rewarding, but like any gardening project, it’s not without its challenges. Don’t worry—most problems have simple solutions! Here’s a breakdown of common issues you might encounter and how to fix them.
1. Seeds Not Germinating
One of the most common frustrations is when maple seeds don’t sprout. Here’s what to check:
- Cold Stratification: Maple seeds need a cold period to break dormancy. If you skipped this step, the seeds might not germinate. Place your seeds in the fridge for 30-60 days before planting.
- Moisture Levels: Seeds need consistent moisture, but not soggy conditions. Make sure the soil is moist, not waterlogged. A spray bottle can help keep the soil lightly damp.
- Temperature: Maple seeds germinate best in temperatures between 60-70°F (15-21°C). If it’s too cold or too hot, they might struggle to sprout.
2. Seedlings Wilting or Dying
If your young maple trees are wilting, there are a few potential causes:
- Overwatering: Seedlings are sensitive to overwatering. Ensure your pots have drainage holes, and allow the top inch of soil to dry out between waterings.
- Underwatering: On the flip side, if you forget to water your seedlings for too long, they can dry out. Keep a consistent watering schedule.
- Too Much Sun: While maples love sunlight, young seedlings can get scorched if exposed to too much direct sun too quickly. Gradually acclimate them to sunlight by starting in a shaded area.
3. Poor Soil or Drainage 
Maple trees don’t thrive in soil that’s too compacted or lacking nutrients. If your soil isn’t well-draining, the roots might rot.
- Fix: Add organic matter like compost to improve the soil’s structure. If you’re planting in a container, use a high-quality potting mix with perlite or vermiculite for better drainage.
4. Pests and Diseases 

Unfortunately, maples can attract pests, such as aphids, or fall victim to fungal diseases like powdery mildew.
- Prevention: Inspect your seedlings regularly for any signs of pests or mold. Neem oil or insecticidal soap can be an effective natural remedy for pests.
- Treatment: If your seedlings are infected, remove affected leaves and treat with an appropriate fungicide. Regularly pruning away dead or diseased parts will also keep your tree healthy.
5. Leaves Turning Yellow
Yellowing leaves can signal several issues, including poor soil nutrition, overwatering, or nutrient deficiencies.
- Solution: Ensure your seedlings are planted in well-draining soil with good nutrients. If you suspect a nutrient deficiency, try adding a balanced, slow-release fertilizer.
6. Slow Growth
If your maples aren’t growing as quickly as you’d like, several factors could be at play.
- Solution: Check the soil’s nutrient levels, water consistency, and the amount of sunlight they’re receiving. A slow growth rate is often a sign of insufficient light or nutrients. Consider adding compost or a balanced fertilizer, and ensure your maples are getting enough sunlight (6-8 hours per day).
By following these troubleshooting tips, you’ll be able to tackle common issues with confidence and help your maple trees thrive. Happy gardening!
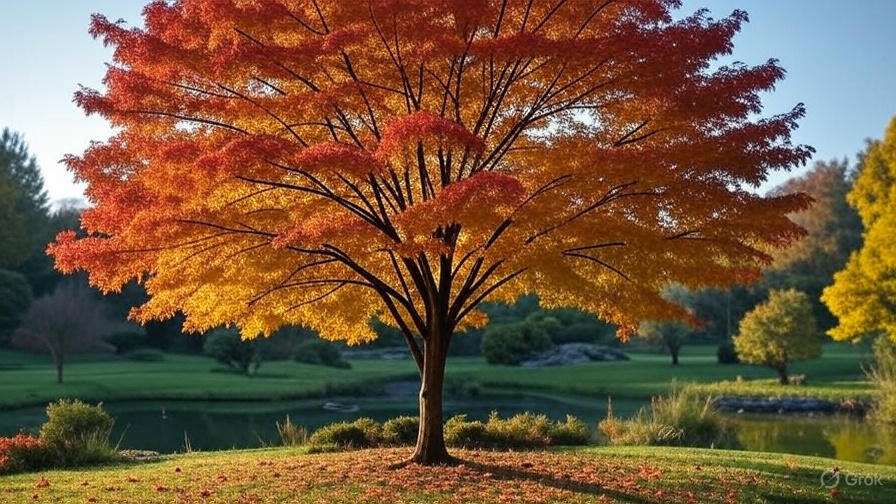
Conclusion – Enjoy the Process and Watch Your Tree Grow
Growing a maple tree from seed is not just a rewarding gardening project; it’s an opportunity to nurture a piece of nature and watch it thrive over the years. From collecting maple tree seeds at the right time to carefully preparing, planting, and caring for your seedlings, each step plays a crucial role in ensuring your tree grows strong and healthy.
Remember, patience is key! Maple trees grow slowly, but with consistent care, you’ll witness the transformation from seedling to sapling, and eventually, a full-grown tree that provides shade, beauty, and a home for wildlife. Plus, there’s something incredibly satisfying about growing a tree from scratch that will last for generations.
We hope this guide has empowered you to take the first step toward growing your own maple tree. Whether you’re planting for aesthetic purposes, environmental benefits, or simply for the joy of gardening, the rewards are plentiful.
So, gather those seeds, get your hands in the soil, and enjoy the journey! Your future maple tree awaits, and it all starts with a single seed. Let us know how your maple-growing adventure goes—feel free to share your experience in the comments below!
Happy planting!