
Imagine nurturing a majestic birch tree from a tiny birch tree seed, watching it grow into a stunning centerpiece for your garden  . Planting and caring for birch tree seeds can feel daunting—will they germinate, thrive, or survive the seasons? Don’t worry! This step-by-step guide simplifies the process, offering beginner-friendly tips to successfully grow your own birch tree. From choosing the right seeds to ensuring healthy growth, you’ll discover practical advice to transform your outdoor space with ease. Keep reading to unlock the secrets to a thriving birch tree and create a natural masterpiece!
Why Grow a Birch Tree from Seed? 
Growing a birch tree from seed is a rewarding journey that connects you with nature in a hands-on way. It’s not just about planting a tree—it’s about nurturing life from the very start. Whether you’re a gardening newbie or a seasoned green thumb, here’s why starting a birch tree from seed is worth your time and effort.
A Cost-Effective Way to Grow a Stunning Tree 
Birch trees, with their striking white bark and delicate leaves, can be expensive to buy as saplings. Growing from seed is budget-friendly—you only need seeds, basic supplies, and patience. A single packet of seeds can yield multiple trees, saving you money while filling your yard with beauty.
Deep Connection to Nature
There’s something special about growing a tree from a tiny seed. You’ll witness every stage of growth, from germination to a towering birch. This process fosters a sense of pride and a deeper appreciation for the environment. It’s a small but meaningful way to contribute to a greener planet.
Perfect for Customization 
Starting from seed gives you control over your tree’s growth. You can choose the exact spot, soil type, and care routine to suit your landscape. Plus, you can experiment with different birch varieties, like the classic paper birch or the elegant river birch, to match your aesthetic.
Educational and Fun for All Ages 
Growing a birch tree from seed is a fantastic project for families, schools, or solo gardeners. It teaches patience, responsibility, and the science of plant growth. Kids and adults alike will love watching the seeds sprout and transform over time.
Eco-Friendly and Sustainable 
By growing your own birch tree, you’re reducing the demand for commercially grown saplings, which often involve resource-heavy nursery processes. Plus, birch trees improve air quality, provide shade, and support local wildlife like birds and pollinators.
A Legacy That Lasts Generations 
Birch trees can live for decades, offering beauty and shade for years to come. Planting a seed today means creating a living legacy for your family or community. Imagine telling future generations, “I grew this tree from a seed!”—it’s a story worth sharing.
Starting a birch tree from seed is more than a gardening task; it’s an adventure that’s affordable, meaningful, and eco-friendly. Ready to dig in? Let’s make your yard a little greener!
Understanding Birch Tree Seeds
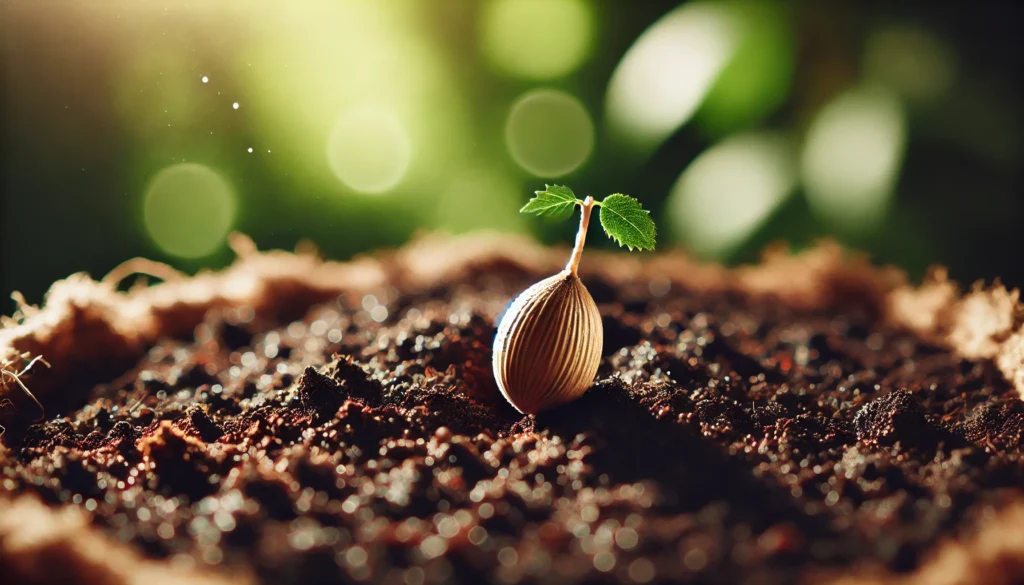
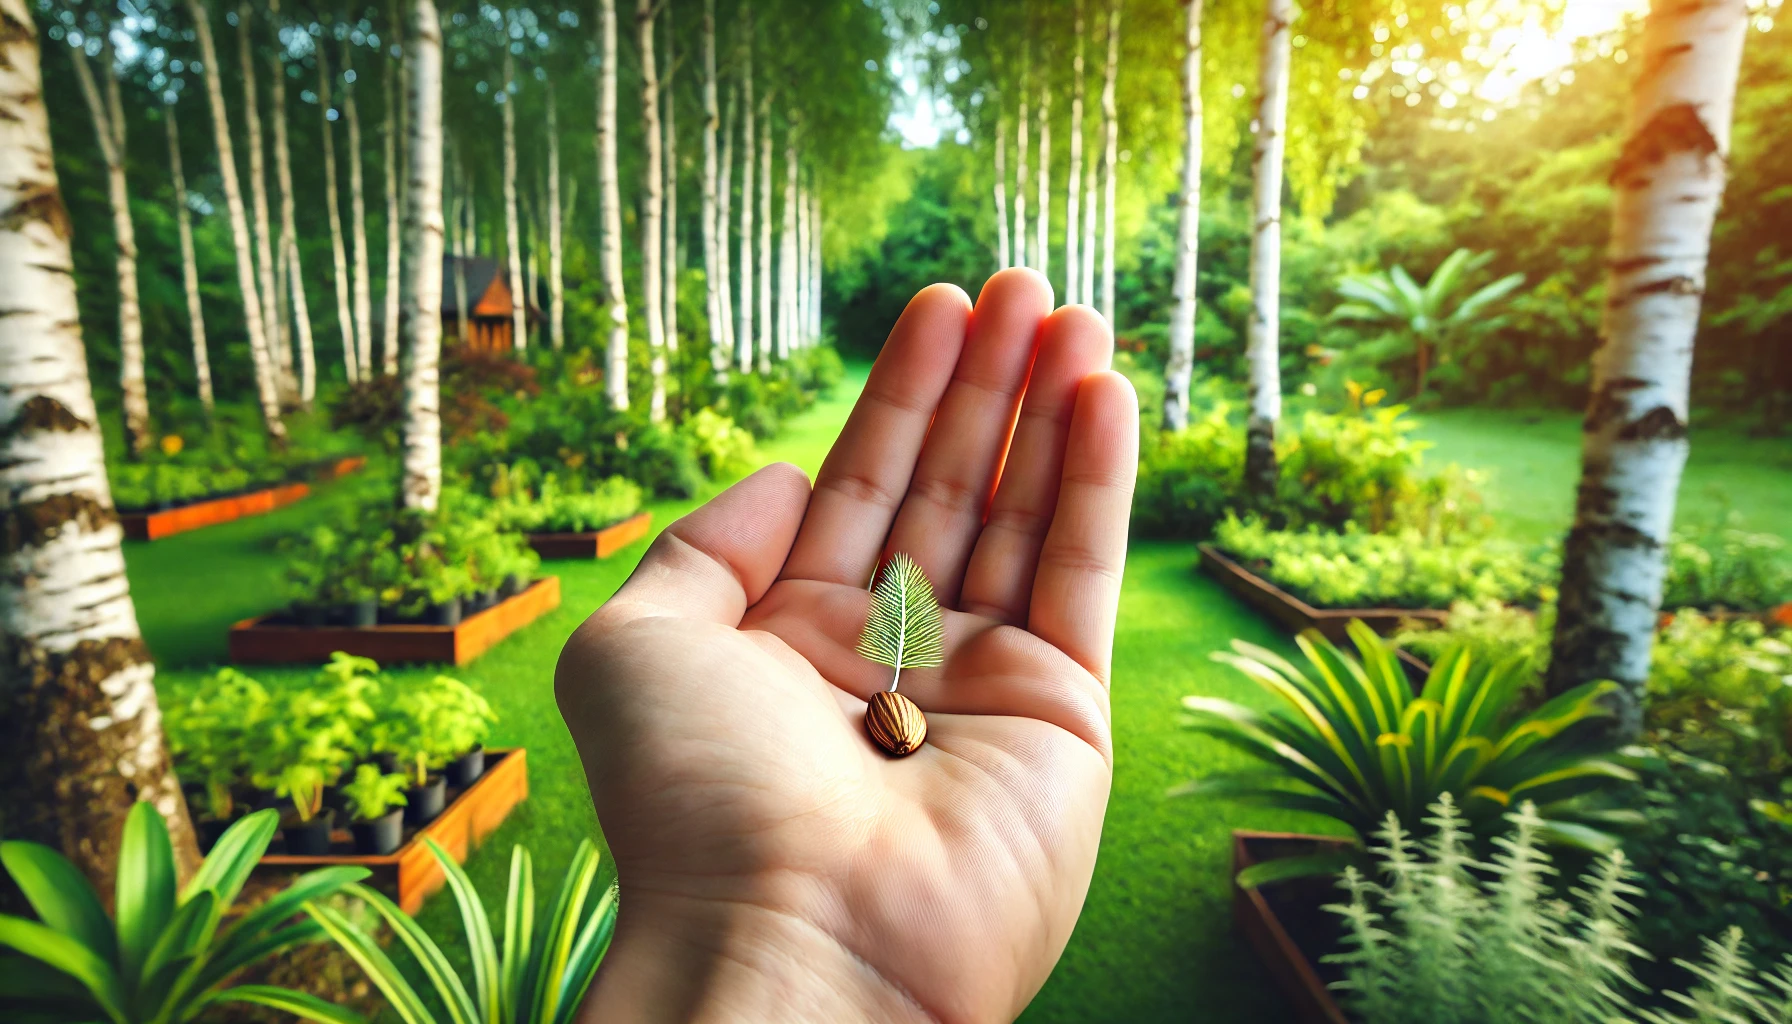
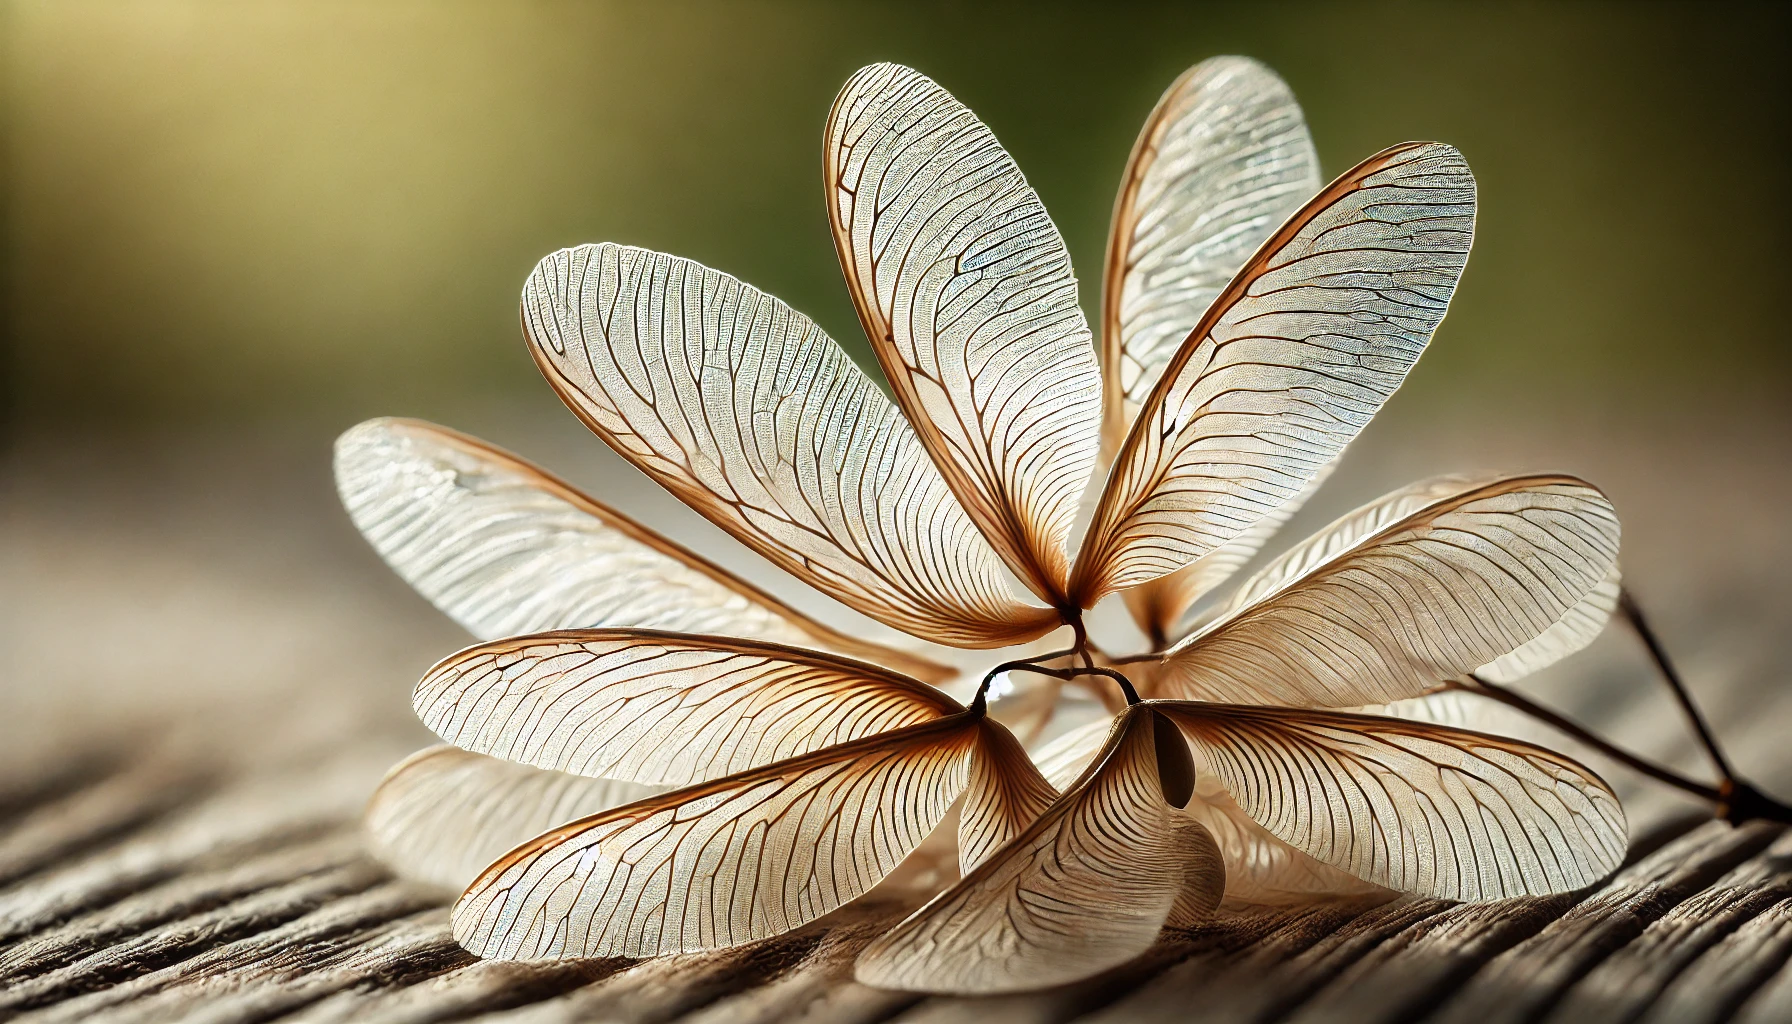
Birch tree seeds are tiny, winged wonders that hold the potential for beautiful, graceful trees. Known as “samaras,” these seeds are lightweight and designed to flutter to the ground, helping birch trees spread naturally. If you’re dreaming of growing your own birch tree, understanding these seeds is the first step to success!
What Do Birch Seeds Look Like? 
Birch seeds are small, about 1-2 mm long, and come with delicate, papery wings. They’re often found in clusters called catkins, which hang from the tree’s branches. In late summer or fall, these catkins break apart, releasing the seeds to the wind. If you’re collecting them, look for light brown or tan seeds with a slightly nutty shape.
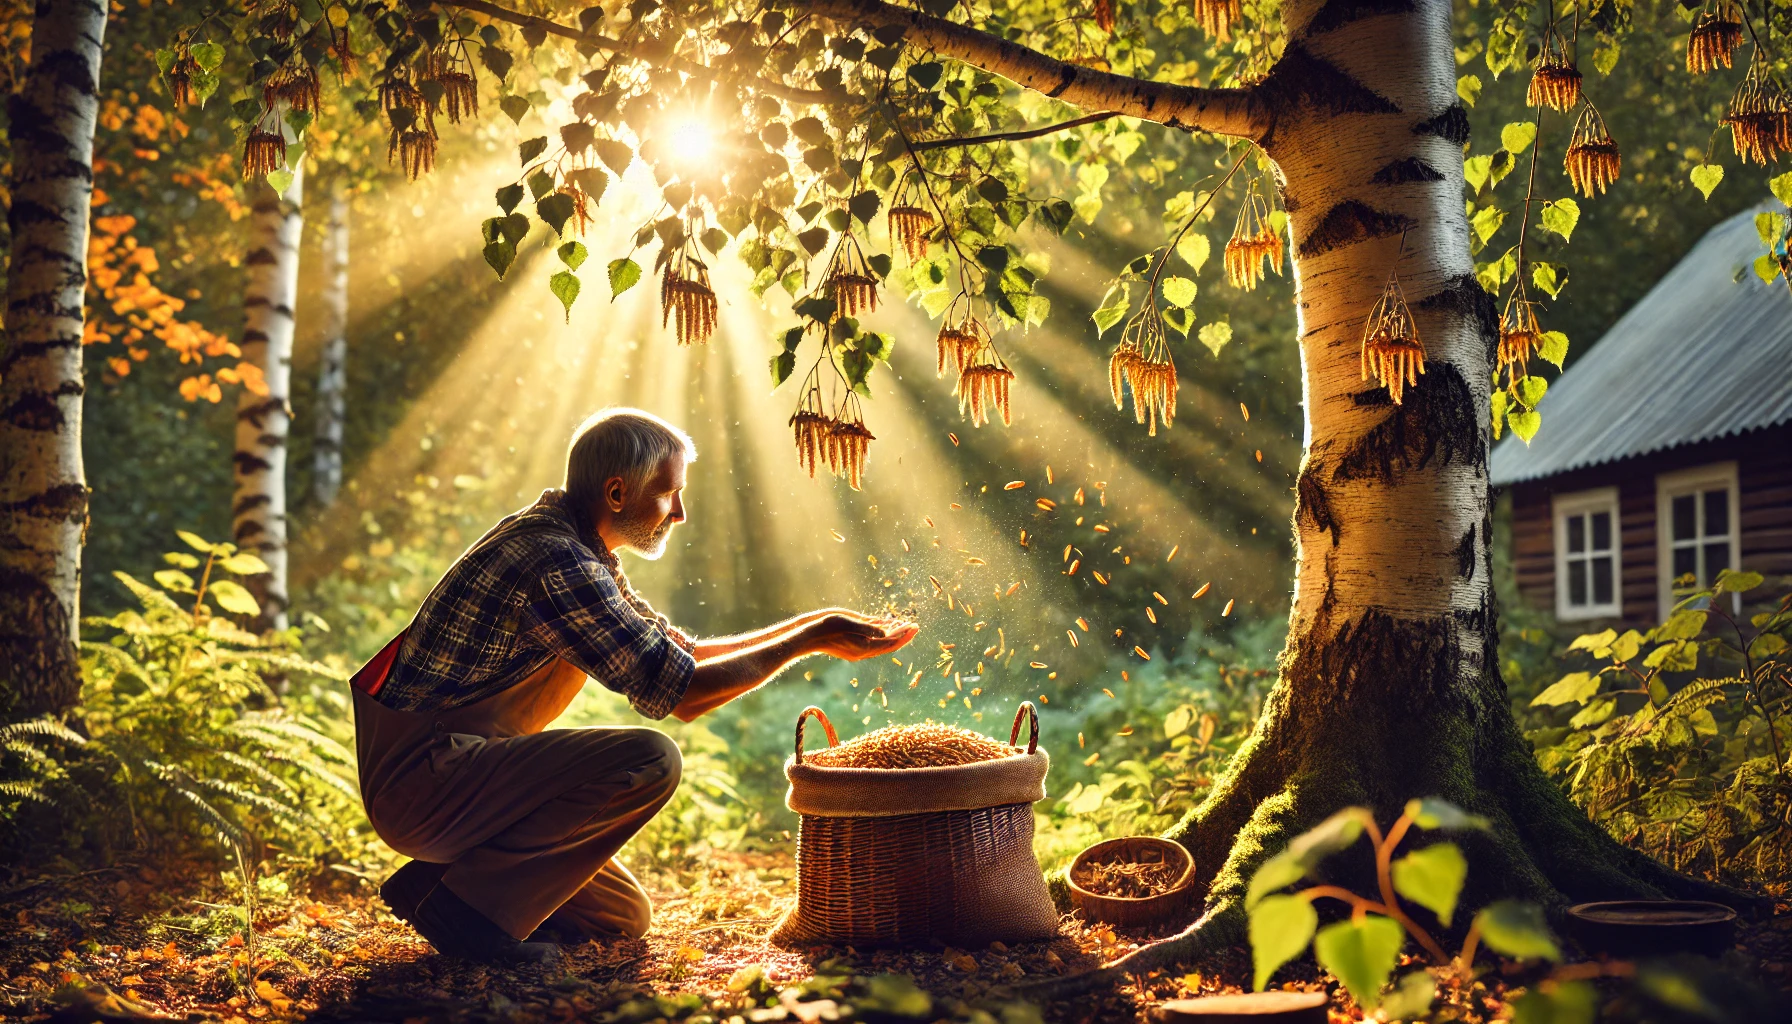
When and Where to Collect Seeds 
Timing is key! Birch seeds are ready to collect in late summer to early fall, typically August to October, depending on your region. Check for catkins that are starting to brown and crumble when touched. You’ll find them on mature birch trees in forests, parks, or even your neighbor’s yard (with permission, of course!). Pro tip: Place a clean sheet under the tree and gently shake the branches to gather seeds easily. 
Are All Birch Seeds Viable? 
Not every seed will grow into a tree. Some may be empty or damaged, so it’s important to check for viability. To test, place seeds in a bowl of water: viable seeds usually sink, while floaters are likely duds. For the best results, collect fresh seeds and plant them soon after harvesting to maximize germination rates.
Storing Birch Seeds Properly 
If you’re not planting right away, store your seeds correctly to keep them viable. Dry the seeds for a few days in a cool, airy place, then place them in a sealed container with a bit of silica gel to absorb moisture. Store the container in a refrigerator at 35-40°F (2-4°C) for up to a year. This mimics the cold stratification birch seeds need to germinate. 
Why Birch Seeds Need Cold Stratification 
Birch seeds require a period of cold to “wake up” and prepare for germination. In nature, winter provides this chilly cue. You can replicate it by placing seeds in a moist medium (like sand or peat moss) and refrigerating them for 4-8 weeks. This step is crucial for most birch species, like paper birch or silver birch, to ensure successful sprouting.
Fun Fact About Birch Seeds 
Did you know birch trees can produce millions of seeds in a single season? Their lightweight design lets them travel far, sometimes landing miles away from the parent tree! This is why birch trees are often among the first to regrow in cleared or disturbed areas, making them pioneers in nature.
By understanding birch seeds, you’re ready to start your tree-growing journey with confidence. Next, you’ll learn how to prepare and plant these seeds for the best results! 
Preparing to Plant Your Birch Tree Seed
Getting ready to plant your birch tree seed is exciting! Proper preparation sets your seed up for success and ensures healthy growth. Follow these simple, beginner-friendly steps to create the perfect environment for your birch tree.
Choose the Right Time 
Birch seeds germinate best in early spring or late fall when temperatures are cool (around 40–50°F or 4–10°C). Planting during these seasons mimics their natural cycle, boosting germination rates. Check your local climate to pick the ideal planting window.
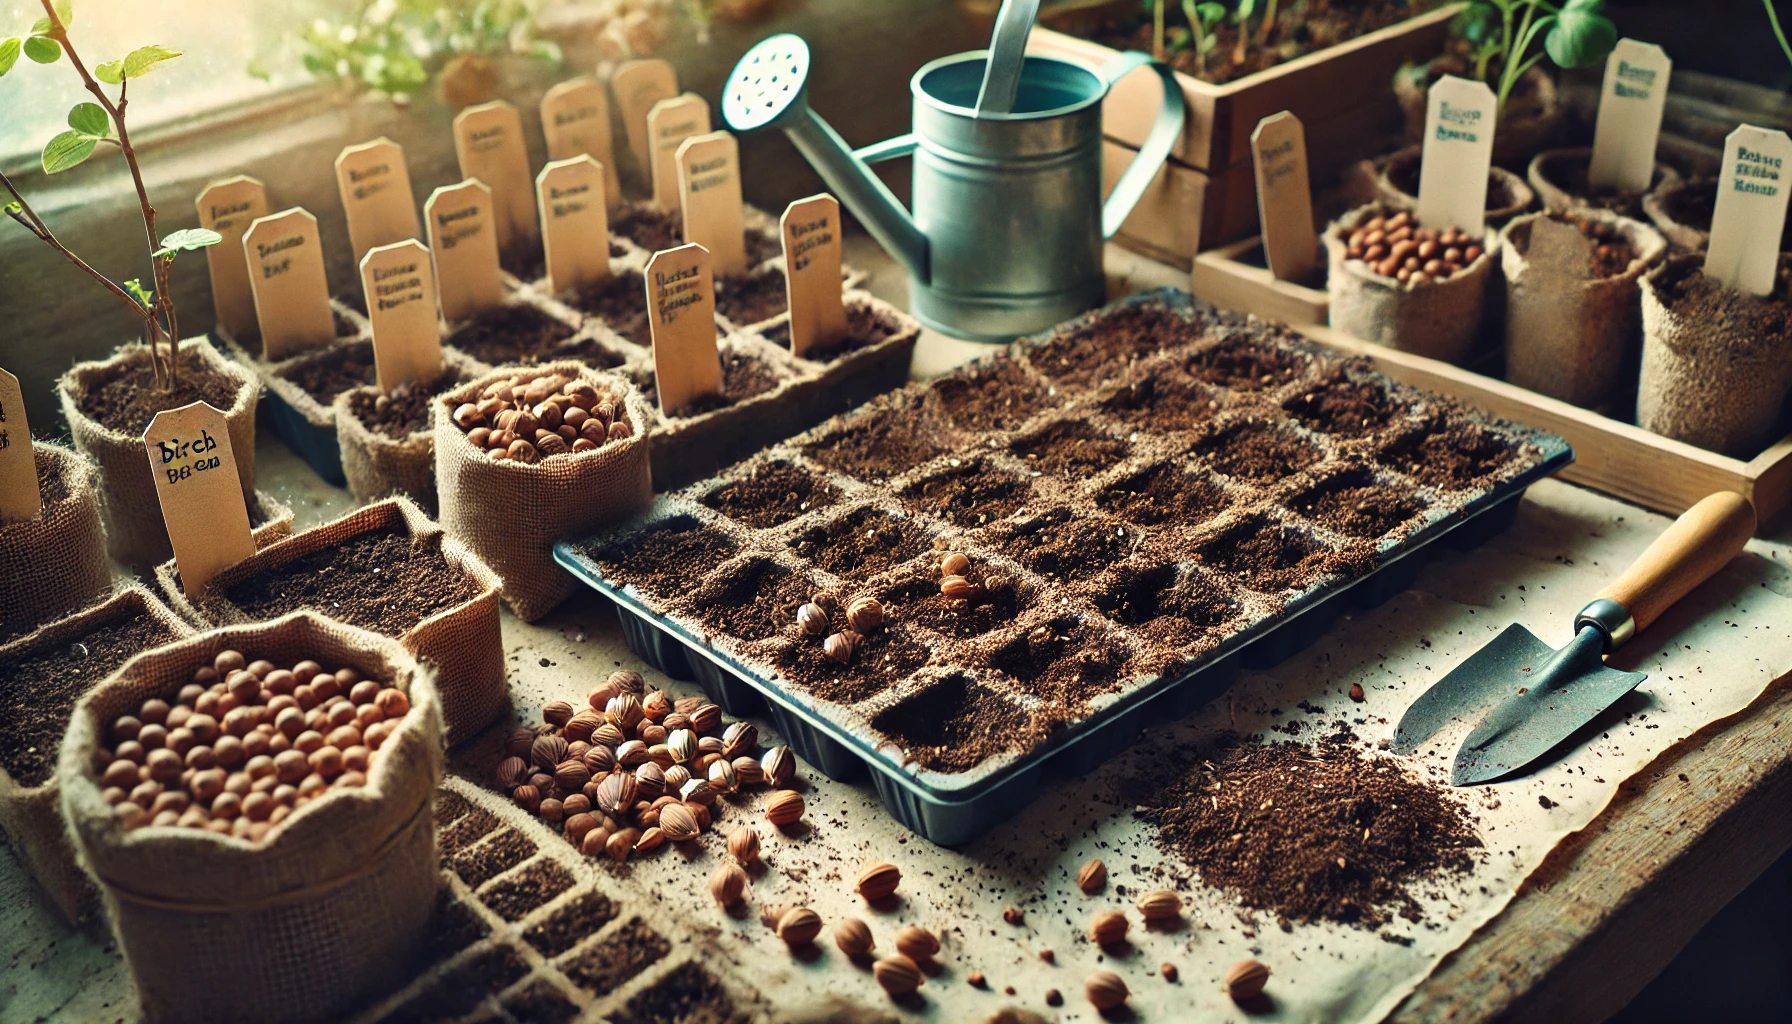
Gather Your Supplies 
You’ll need a few basic items to start:
- Birch seeds: Fresh seeds from a reputable supplier or collected from a healthy birch tree.
- Seed tray or small pots: Ensure they have drainage holes.
- Well-draining soil mix: Use a blend of peat moss, sand, and perlite (1:1:1 ratio).
- Spray bottle: For gentle watering.
- Plastic wrap or a clear lid: To maintain humidity during germination.
- Labels: To track your seeds’ progress.
Pro tip: Sterilize your pots and tools with a 10% bleach solution to prevent mold or disease.
Prepare the Soil Mix 
Birch seeds thrive in light, airy soil that drains well but retains some moisture. Mix equal parts peat moss, sand, and perlite for the perfect texture. Fill your seed tray or pots with this mix, leaving about ½ inch (1 cm) of space at the top. Gently pat the soil to remove air pockets but avoid compacting it.
Soak the Seeds (Optional) 
Some gardeners soak birch seeds in lukewarm water for 24 hours before planting to soften the seed coat and encourage germination. If your seeds are fresh, this step is optional. Drain and pat them dry before planting to avoid rot.
Stratify Your Seeds
Birch seeds often require cold stratification to break dormancy, mimicking winter conditions. Place your seeds in a small ziplock bag with a moist paper towel or a bit of damp sand. Seal the bag and refrigerate it at 35–40°F (2–4°C) for 4–6 weeks. Check weekly to ensure the towel stays moist but not soggy.
If you’re planting in fall and sowing directly outdoors, nature will handle stratification for you!
Test Seed Viability 
Not sure if your seeds are good? Do a quick viability test. Place 10 seeds in a bowl of water. After 15 minutes, discard any that float—they’re likely not viable. Seeds that sink have a better chance of germinating.
Set Up a Germination Space 
Choose a spot for your seed tray that’s cool, shaded, and protected from direct sunlight. Birch seeds don’t need intense light to germinate, but they do need consistent moisture and good airflow. A north-facing windowsill or a shaded outdoor area works well.
With these steps, you’re ready to plant your birch tree seed! Your preparation will give your seed the best start for sprouting into a beautiful, silvery tree.
Step-by-Step Guide to Planting Birch Tree Seeds
Growing a birch tree from seed is a rewarding journey that brings nature right to your backyard! Follow these simple, beginner-friendly steps to plant birch tree seeds successfully. With a little patience and care, you’ll have a thriving birch sapling in no time. Let’s get started!
Step 1: Collect or Purchase Birch Seeds
Birch seeds, often called “catkins,” are tiny and winged, making them easy to spot in late summer or fall. You can collect them from mature birch trees or buy high-quality seeds from a reputable nursery. Ensure seeds are fresh, as older seeds lose viability. Store them in a cool, dry place until you’re ready to plant.
Pro Tip: If collecting seeds, shake catkins gently into a paper bag to avoid losing the delicate seeds.
Step 2: Prepare Seeds with Cold Stratification
Birch seeds need a cold period to mimic winter, a process called cold stratification. Place seeds in a small plastic bag with a mix of damp sand or peat moss. Seal the bag and refrigerate it at 35–40°F (2–4°C) for 6–8 weeks. Check weekly to ensure the mix stays moist but not soggy.
Why This Matters: Stratification breaks seed dormancy, boosting germination rates up to 70%!
Step 3: Choose the Right Planting Time
The best time to plant birch seeds is early spring, after the last frost. This gives seedlings a full growing season to establish roots. In most regions, aim for March or April. Check your local frost dates to be sure.
Quick Tip: If you’re in a colder climate, start seeds indoors 6 weeks before the last frost for a head start.
Step 4: Prepare a Seed Tray or Pot 
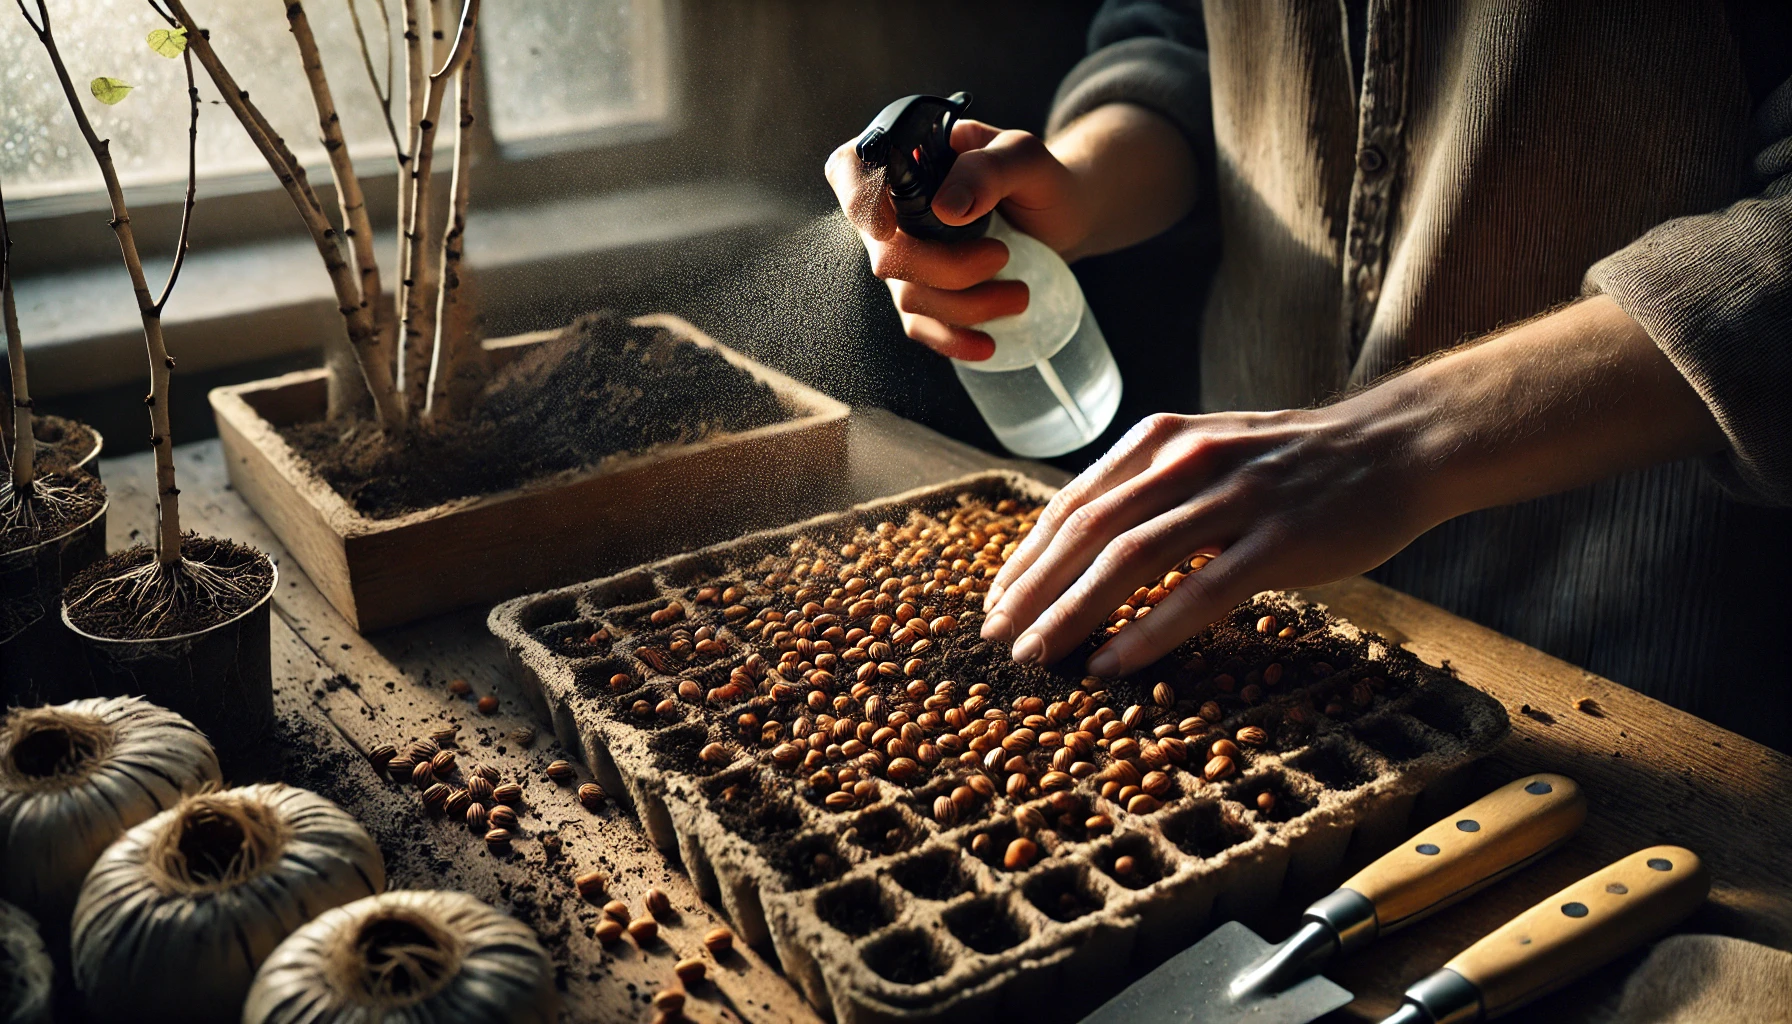
Fill a seed tray or small pots with a well-draining mix of equal parts peat moss, perlite, and sand. Birch seeds thrive in light, airy soil. Moisten the soil until it’s damp but not waterlogged. Sprinkle seeds evenly across the surface, pressing them gently into the soil without covering them—they need light to germinate.
Beginner Hack: Use a spray bottle to mist the soil and avoid disturbing the tiny seeds.
Step 5: Provide Ideal Germination Conditions 
Place the tray in a bright location with indirect sunlight, like a windowsill. Maintain a temperature of 65–75°F (18–24°C). Cover the tray with clear plastic wrap to trap humidity, but lift it daily for air circulation to prevent mold. Keep the soil consistently moist using a spray bottle.
Germination Timeline: Expect sprouts in 2–4 weeks, though some seeds may take longer. Be patient! 
Step 6: Transplant Seedlings with Care
Once seedlings have 2–3 true leaves (about 2–3 inches tall), they’re ready to transplant. Move them to larger pots with similar soil or directly into your garden if the weather is frost-free. Choose a sunny spot with well-draining, slightly acidic soil (pH 5.5–6.5). Space seedlings 10–15 feet apart to give them room to grow.
Careful Handling: Use a spoon to scoop seedlings, keeping roots intact to avoid shock.
Step 7: Water and Monitor Growth
Water young birch seedlings regularly to keep soil moist but not soggy. Aim for 1 inch of water per week, adjusting for rainfall. Watch for pests like aphids or signs of fungal issues, and address them promptly with organic solutions like neem oil.
Growth Check: Birch seedlings can grow 1–2 feet in their first year with proper care!
Bonus Tip: Mulch for Success 
Add a 2-inch layer of organic mulch (like bark or wood chips) around the base of your seedlings. This retains moisture, regulates soil temperature, and keeps weeds at bay. Avoid piling mulch against the stem to prevent rot.
Why Mulch?: It mimics the forest floor, where birch trees naturally thrive.
By following these steps, you’ll give your birch seeds the best chance to grow into healthy, graceful trees. Enjoy the process and the beauty of your new birch! 

Caring for Your Birch Tree Seedlings
Congratulations on sprouting your birch tree seedlings! Now, it’s time to nurture them into strong, healthy trees. Caring for young birch trees is simple but requires attention to their specific needs. Follow these beginner-friendly tips to ensure your seedlings thrive.
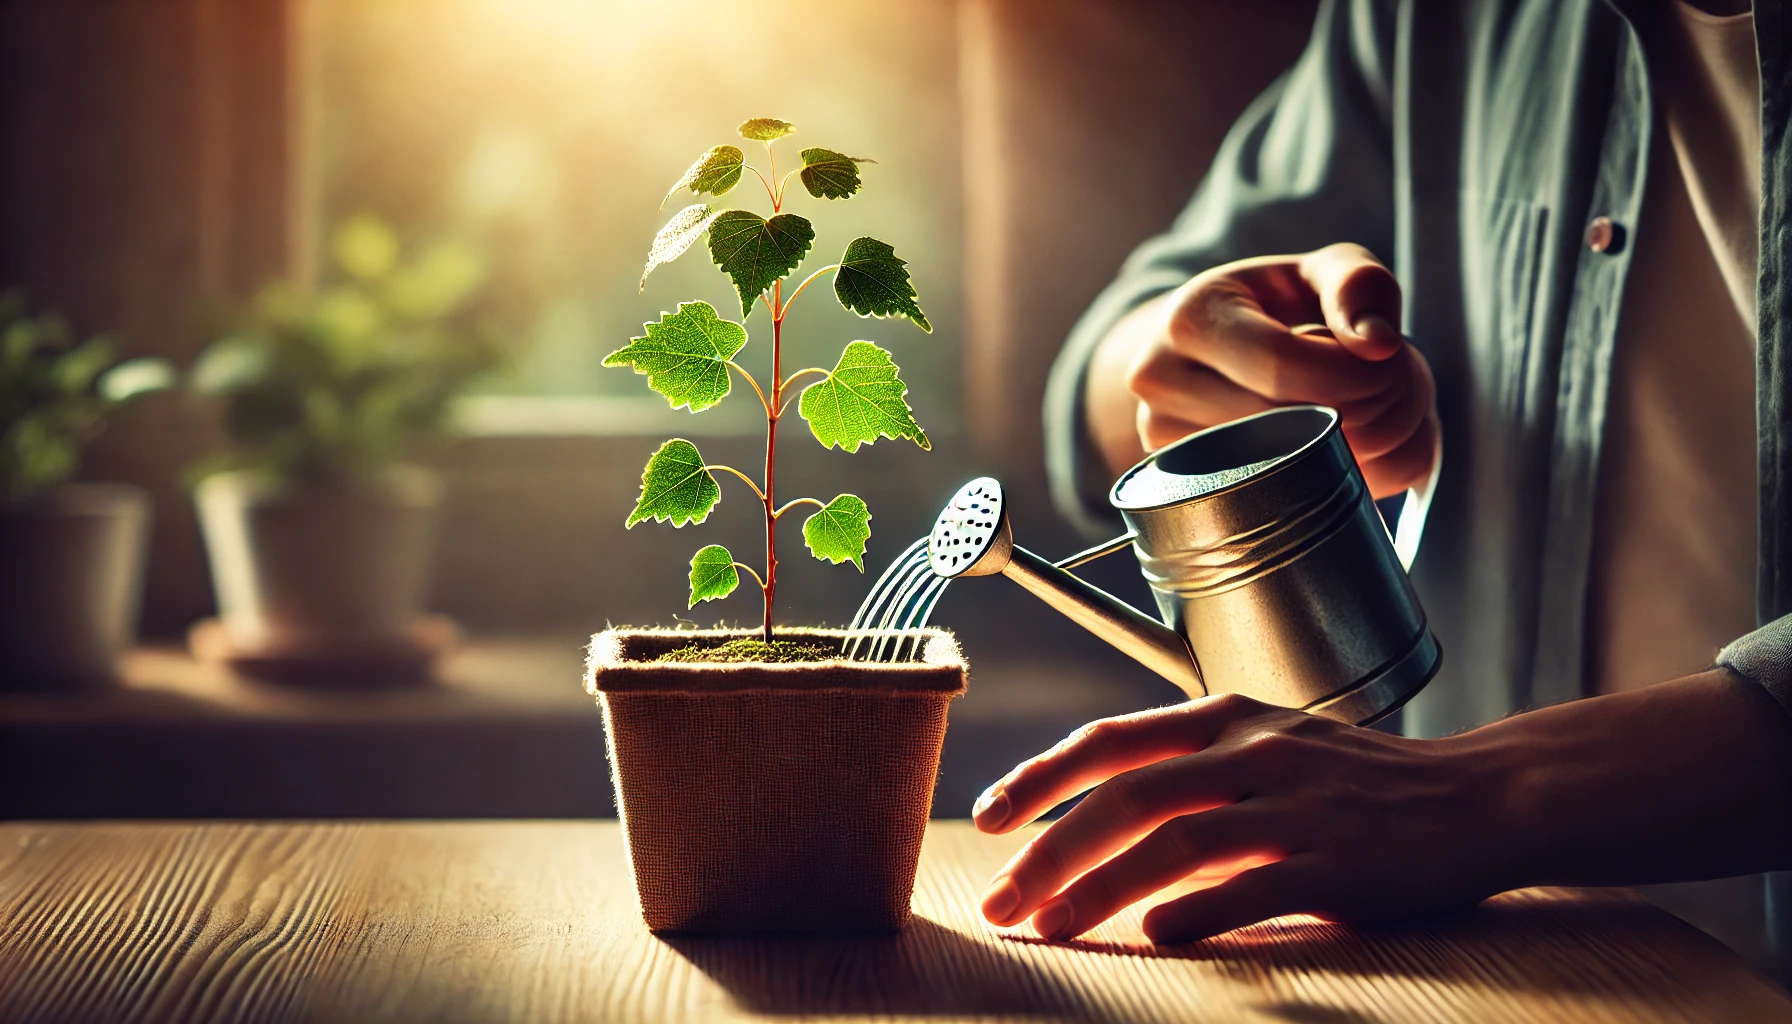
Keep the Soil Moist but Not Soggy
Birch seedlings love consistent moisture. Water them gently to keep the soil damp, like a wrung-out sponge. Overwatering can drown their delicate roots, so ensure pots or trays have drainage holes. Check the soil daily—stick your finger about an inch deep. If it feels dry, it’s time to water.
In hot or dry weather, you may need to water twice a day. Use a spray bottle or a watering can with a fine spout to avoid disturbing the soil. Pro tip: Use room-temperature water to prevent shocking the roots.
Provide Bright, Indirect Light
Birch seedlings need plenty of light to grow strong, but direct sunlight can scorch them. Place them in a spot with bright, indirect light, like near a north-facing window or under a sheer curtain. If you’re using grow lights, keep them 6-12 inches above the seedlings for 12-16 hours daily.
Rotate the pots every few days to ensure even light exposure. If seedlings start leaning toward the light, they’re not getting enough—move them closer to the source.
Maintain Cool Temperatures
Birch trees prefer cooler climates, and seedlings are no exception. Keep them in a space between 60-70°F (15-21°C). Avoid placing them near heaters, radiators, or drafty windows. If you’re growing them indoors, good air circulation from a small fan can prevent mold and mimic their natural environment.
In warmer climates, consider moving seedlings to a shaded outdoor area during mild weather, but bring them inside if temperatures exceed 75°F (24°C).
Thin Seedlings for Healthy Growth 
If multiple seedlings sprout in one pot, you’ll need to thin them to prevent overcrowding. Once they’re 2-3 inches tall, snip the weaker ones at soil level with clean scissors, leaving the strongest seedling per pot. This gives the remaining plant enough space, nutrients, and light to flourish.
Don’t pull seedlings out, as this can damage the roots of the ones you want to keep. Be ruthless—thinning feels tough, but it’s essential for healthy trees!
Fertilize Sparingly
Birch seedlings don’t need much fertilizer early on. After they develop their first set of true leaves (not the initial sprout leaves), you can start feeding them. Use a diluted, balanced liquid fertilizer (like 10-10-10) at half strength every 2-3 weeks.
Too much fertilizer can burn young roots, so err on the side of caution. Always water the soil before fertilizing to protect the seedlings.
Protect Against Pests and Diseases 
Young birch seedlings can attract pests like aphids or develop fungal issues if conditions are too wet. Inspect leaves regularly for tiny bugs or spots. If you spot pests, gently wipe leaves with a damp cloth or use a mild insecticidal soap. For mold or fungus, reduce watering and improve air circulation.
Keep your growing area clean by removing dead leaves or debris. Sterilize tools and pots before use to prevent disease spread.
Transplanting Seedlings
When seedlings are 6-12 inches tall and have a sturdy stem (usually after 3-6 months), they’re ready to move to a larger pot or outdoors. Choose a well-draining, slightly acidic soil mix (pH 5.5-6.5) for potted trees. If planting outside, pick a spot with partial shade and moist, well-drained soil.
Harden off seedlings first by gradually exposing them to outdoor conditions over 7-10 days. Start with a few hours in a shaded spot, increasing time and sunlight daily. This prevents shock and helps them adapt.
Be Patient and Enjoy the Process
Birch trees grow slowly at first, so don’t worry if progress seems gradual. With consistent care, your seedlings will develop into graceful trees with beautiful bark and fluttering leaves. Keep a gardening journal to track their growth—it’s rewarding to look back on your journey!
By following these steps, you’ll give your birch seedlings the best start possible. Happy growing!
Long-Term Care for Your Growing Birch Tree
Once your birch tree seedling is established, proper long-term care ensures it grows strong, healthy, and vibrant. Birch trees are known for their stunning white bark and graceful foliage, but they need consistent attention to thrive. This section provides practical, beginner-friendly tips to help your birch tree flourish for years to come. Let’s dive into the essentials!
Watering Your Birch Tree
Birch trees love moist soil, especially in their early years. Water your tree deeply once or twice a week, ensuring the soil stays consistently damp but not waterlogged. Aim for about 1-2 inches of water weekly, adjusting based on rainfall. In hot or dry climates, check the soil regularly—stick your finger about an inch deep; if it feels dry, it’s time to water.
As your tree matures (after 2-3 years), it becomes more drought-tolerant. However, during prolonged dry spells, give it a good soak to keep it healthy. Avoid overhead watering to prevent fungal issues on the leaves. A soaker hose or drip irrigation works best for delivering water directly to the roots.
Mulching for Moisture and Protection
Mulch is your birch tree’s best friend! Spread a 2-3 inch layer of organic mulch, like wood chips or shredded bark, around the base of the tree, keeping it a few inches away from the trunk. Mulch helps retain soil moisture, regulates temperature, and suppresses weeds that compete for nutrients.
Replenish the mulch annually in spring to maintain its benefits. Avoid piling mulch against the trunk (no “mulch volcanoes”!), as this can trap moisture and cause rot. Proper mulching keeps your birch tree happy and reduces maintenance.
Pruning for Shape and Health
Pruning keeps your birch tree healthy and enhances its natural beauty. The best time to prune is late winter or early spring before new growth starts. Remove dead, damaged, or crossing branches to improve air circulation and prevent disease. Use clean, sharp pruning shears to make clean cuts at a 45-degree angle.
For young trees, focus on shaping the structure by removing lower branches if you want a taller trunk. Avoid heavy pruning, as birches can be sensitive to excessive cutting. Never remove more than 25% of the canopy at once to avoid stressing the tree.
Fertilizing for Growth
Birch trees don’t need heavy feeding, but a light boost can promote healthy growth. In early spring, apply a balanced, slow-release fertilizer (like 10-10-10) around the base of the tree, following package instructions. Spread it evenly in a ring around the drip line (the area under the outer edge of the canopy).
Avoid over-fertilizing, as this can burn the roots or cause excessive, weak growth. If your soil is rich or your tree is thriving, you may skip fertilizing altogether. Test your soil every few years to check nutrient levels and adjust as needed.
Protecting Against Pests and Diseases 
Birch trees can attract pests like bronze birch borers or suffer from fungal diseases like leaf spot. Regularly inspect your tree for signs of trouble, such as yellowing leaves, small holes in the bark, or wilting branches. Early detection is key to preventing serious damage.
To minimize risks, keep your tree healthy with proper watering and mulching, as stressed trees are more vulnerable. If you spot pests, use insecticidal soap or neem oil for minor infestations. For severe issues, consult a local arborist. Clean up fallen leaves in autumn to reduce fungal spores.
Supporting Young Trees
Young birch trees may need extra support, especially in windy areas. If your tree is leaning or swaying, use a sturdy stake to stabilize it. Tie the trunk loosely to the stake with soft tree straps, allowing some movement to encourage strong root growth. Check the ties every few months to ensure they’re not too tight.
Remove the stake after 1-2 years once the tree is established. Over time, your birch will develop a strong root system and stand tall on its own.
Seasonal Care Tips 
- Spring: Fertilize lightly, replenish mulch, and prune as needed.
- Summer: Water deeply during dry spells and monitor for pests.
- Fall: Rake up fallen leaves to prevent fungal diseases.
- Winter: Protect young trees from harsh winds with burlap wraps if needed.
Common Mistakes to Avoid 
- Overwatering: Too much water can suffocate roots. Check soil moisture before watering.
- Planting Too Deep: Ensure the root flare (where the trunk meets the roots) is above ground.
- Ignoring Pests: Address pest issues early to prevent long-term damage.
- Heavy Pruning: Light pruning is best to avoid stressing the tree.
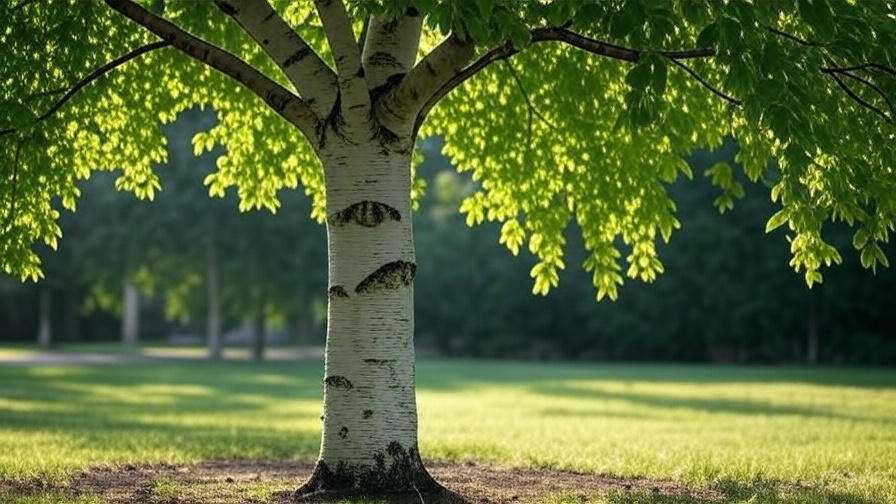
Enjoy Your Birch Tree’s Beauty! 
With proper care, your birch tree will grow into a stunning centerpiece for your landscape. Its shimmering leaves and iconic white bark will bring joy for decades. Stay consistent with these care tips, and your tree will reward you with beauty and shade. Happy gardening!
Common Mistakes to Avoid
Growing a birch tree from seed is rewarding, but beginners often make simple mistakes that can slow progress or harm the seedling. Here’s a clear guide to the most common pitfalls and how to avoid them, ensuring your birch tree thrives.
Planting Seeds Too Deep
Birch seeds are tiny and need light to germinate. A common error is burying them too deep in soil. This blocks light and prevents sprouting. Instead, gently press seeds into the soil surface without covering them. Mist lightly to keep them moist but not soggy.
Overwatering or Underwatering
Birch seeds and seedlings are sensitive to water levels. Overwatering can cause rot, while underwatering dries them out. Check the soil daily—keep it consistently moist, like a wrung-out sponge. Use a spray bottle for seeds to avoid disturbing them, and water seedlings gently at the base.
Ignoring Stratification
Birch seeds often require cold stratification to mimic winter conditions and trigger germination. Skipping this step leads to low or no sprouting. Place seeds in a moist medium (like sand or peat) in the fridge for 4–6 weeks before planting. Don’t rush this process—it’s critical for success.
Using Poor-Quality Soil 
Heavy or compacted soil can stunt birch growth. Many beginners use garden dirt that’s too dense or lacks nutrients. Opt for a well-draining, light seed-starting mix with peat moss or perlite. This gives seeds and roots the air and nutrients they need to grow strong.
Exposing Seedlings to Harsh Conditions
Young birch seedlings are delicate and can’t handle direct sunlight, strong winds, or extreme temperatures. Placing them in harsh conditions too soon can burn leaves or stress the plant. Start seedlings indoors or in a shaded, sheltered spot, gradually introducing them to outdoor conditions over 1–2 weeks.
Neglecting Pest and Disease Checks
Birch trees are prone to pests like aphids and diseases like fungal leaf spots. Ignoring early signs can weaken or kill your seedling. Inspect leaves regularly for spots, wilting, or tiny bugs. Use neem oil or insecticidal soap for pests, and ensure good air circulation to prevent fungal issues.
Transplanting Too Early
Moving seedlings to a permanent spot too soon can shock their fragile roots. Wait until they’re at least 6–12 inches tall with a strong root system, typically after 1–2 years. When transplanting, dig a wide hole, keep roots intact, and water thoroughly to help them settle.
By avoiding these mistakes, you’ll give your birch tree the best chance to grow healthy and strong. Stay patient, check on your seedling regularly, and enjoy the process of nurturing your tree from seed to sapling!
Conclusion
Growing a birch tree from seed is a fulfilling journey that brings nature closer to home. By following the steps of proper seed collection, stratification, planting, and care, you’re setting the stage for a beautiful, thriving tree. Avoid common mistakes like overwatering, planting too deep, or skipping stratification to ensure success. With patience and attention, your tiny seed will grow into a stunning birch, adding elegance and shade to your landscape for years to come. Start planting today, and enjoy watching your tree flourish!