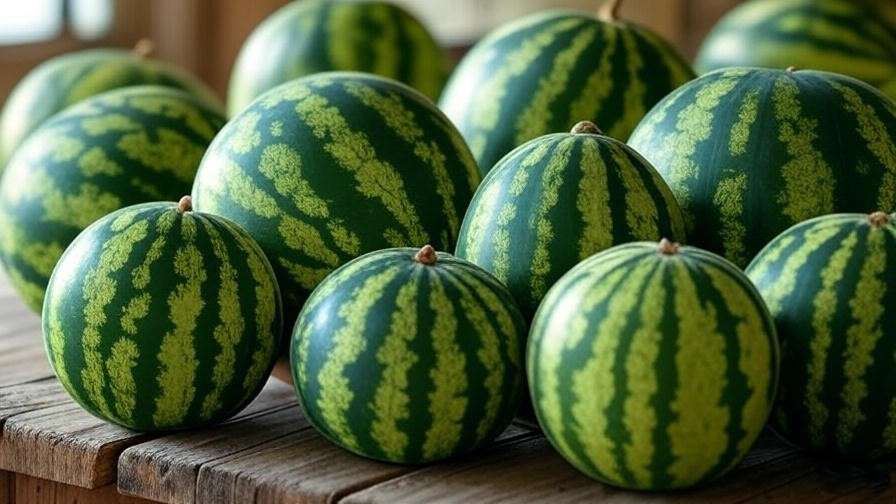
Picture this: slicing into a perfectly ripe, sweet watermelon, grown in your own backyard—no sprawling garden required! The smallest watermelon varieties are a game-changer for urban gardeners, balcony growers, and anyone with limited space. These pint-sized powerhouses deliver the same juicy, refreshing flavor as their larger cousins but fit perfectly into compact gardens or containers. Whether you’re a seasoned gardener or a beginner, growing the smallest watermelon is achievable with the right knowledge and techniques. In this comprehensive guide, we’ll walk you through every step—from choosing the best varieties to harvesting sweet, single-serve fruits. Backed by years of horticultural expertise and research from top agricultural sources, this article will help you cultivate mini watermelons with confidence and enjoy a bountiful harvest.
What Are the Smallest Watermelon Varieties?
Understanding Mini Watermelons
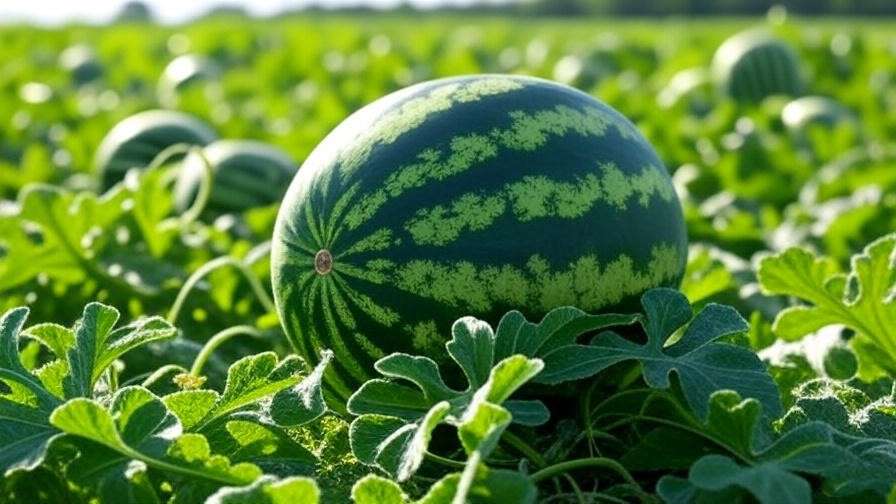
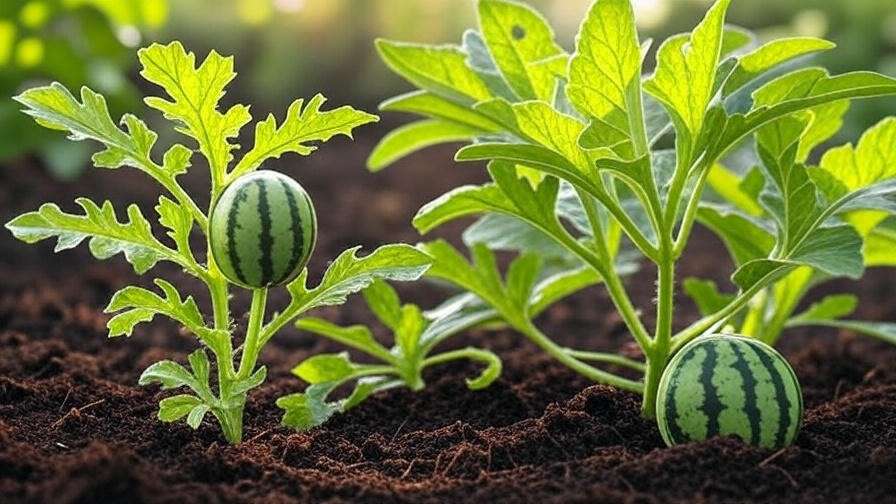
Mini watermelons, typically weighing 1-5 pounds, are bred for compact spaces and shorter growing seasons. Unlike traditional watermelons that need sprawling fields, these varieties thrive in small gardens, raised beds, or even large pots. Their vines are shorter, often 3-6 feet, and they produce sweet, juicy fruits perfect for small households or snacking. According to the University of Illinois Extension, mini watermelons are gaining popularity for their adaptability and high sugar content, making them a favorite among urban gardeners and families.
Top Smallest Watermelon Varieties to Grow
Here are some of the best mini watermelon varieties to consider:
- ‘Sugar Baby’: A classic, producing 6-10 pound fruits (on the larger end of “mini”) with deep green rinds and sweet, red flesh. Matures in 75-80 days.
- ‘Mini Love’: Yields 3-5 pound fruits with thin rinds and crisp, sweet flesh. Ideal for containers; matures in 70-75 days.
- ‘Little Darling’: Compact vines produce 2-4 pound fruits with vibrant red flesh. Ready in 65-70 days.
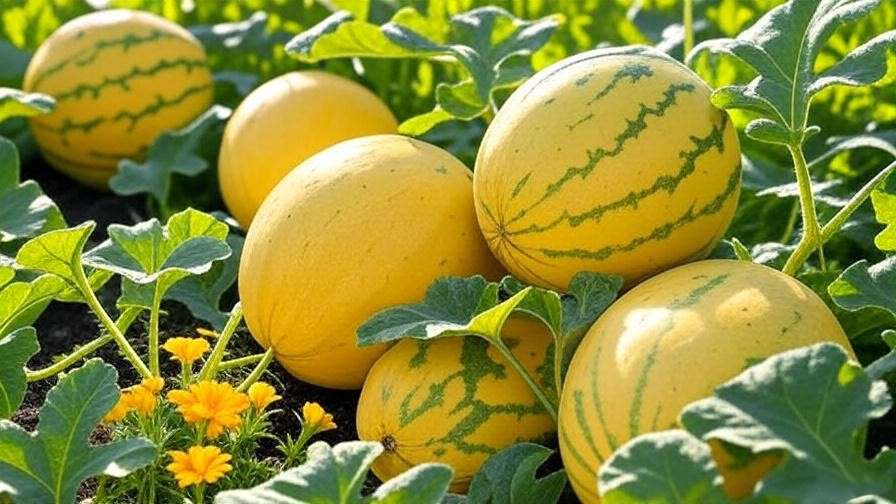
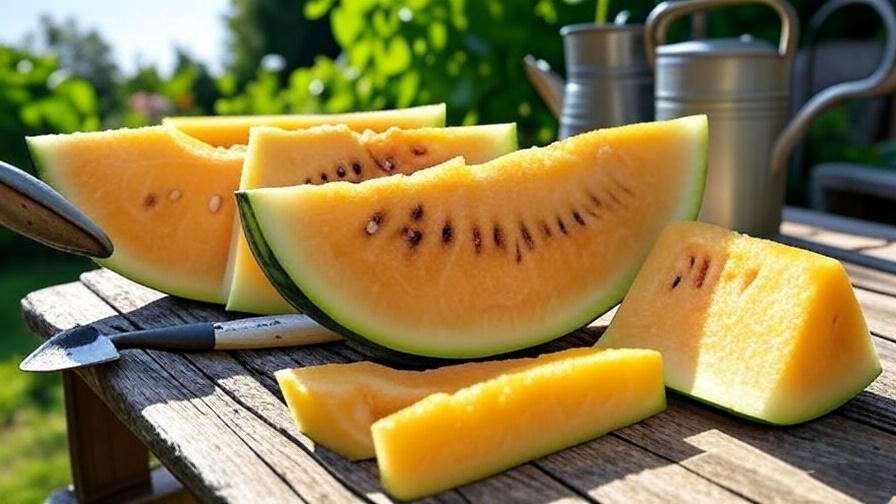
- ‘Golden Midget’: Unique yellow-fleshed fruits weighing 2-3 pounds, with golden rinds. Matures in 60-65 days, perfect for cooler climates.
| Variety | Weight | Days to Harvest | Best Climate |
| Sugar Baby | 6-10 lbs | 75-80 days | Warm, sunny regions |
| Mini Love | 3-5 lbs | 70-75 days | Versatile, most zones |
| Little Darling | 2-4 lbs | 65-70 days | Warm to temperate zones |
| Golden Midget | 2-3 lbs | 60-65 days | Cooler climates |
Why Choose Mini Watermelons?
Mini watermelons are ideal for small-space gardeners, offering big flavor in a compact package. They’re easier to manage than larger varieties, requiring less pruning and support. Their shorter growing season (60-80 days) makes them suitable for regions with shorter summers. Many assume mini watermelons lack the sweetness of larger ones, but varieties like ‘Mini Love’ rival traditional watermelons in taste. Plus, their single-serve size reduces waste, making them perfect for small households or kids’ snacks.
Preparing to Grow the Smallest Watermelon
Choosing the Right Location
Mini watermelons thrive in full sun, needing at least 6-8 hours of direct sunlight daily. Choose a spot in your garden, patio, or balcony with ample light and protection from strong winds. For urban gardeners, south-facing balconies or rooftops are ideal. If space is tight, consider vertical gardening with trellises to maximize your area. Ensure the location has good air circulation to prevent fungal issues, a common challenge noted by Cornell University’s gardening resources.
Soil Preparation for Optimal Growth
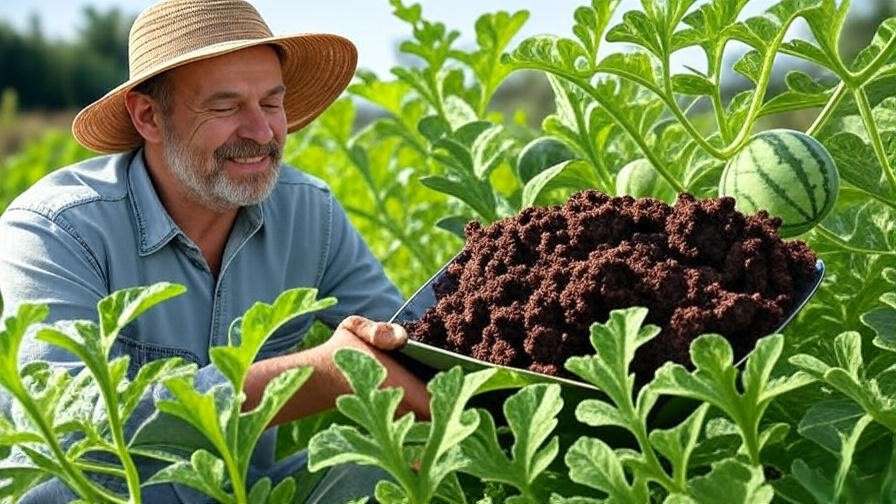
Watermelons prefer well-drained, loamy soil with a pH of 6.0-6.8. Test your soil using a home kit (available at garden centers) and adjust with lime to raise pH or sulfur to lower it. Incorporate 2-3 inches of compost or well-rotted manure to boost fertility. For nutrient-poor soils, add a slow-release, balanced fertilizer (10-10-10) before planting. Expert Tip: Mix in a handful of crushed eggshells for calcium, which supports strong fruit development.
Selecting Containers for Mini Watermelons
For container gardening, choose pots with a capacity of 10-15 gallons to accommodate root growth. Fabric pots or plastic containers with drainage holes work well, as they prevent waterlogging. If growing vining varieties like ‘Sugar Baby,’ pair the pot with a sturdy trellis or cage to support the vines. For example, a gardener in Seattle successfully grew ‘Mini Love’ in a 12-gallon fabric pot on a sunny balcony, using a metal trellis to save space.
Planting the Smallest Watermelon
When and How to Plant
Plant mini watermelons in spring after the last frost, when soil temperatures reach 70°F or higher. In most regions, this is late spring to early summer (May-June). For direct sowing, plant seeds 1 inch deep in groups of 2-3, spacing mounds 2-3 feet apart for vining types or 1-2 feet for bush varieties. If transplanting, use seedlings started 3-4 weeks earlier. Water thoroughly after planting to settle the soil.
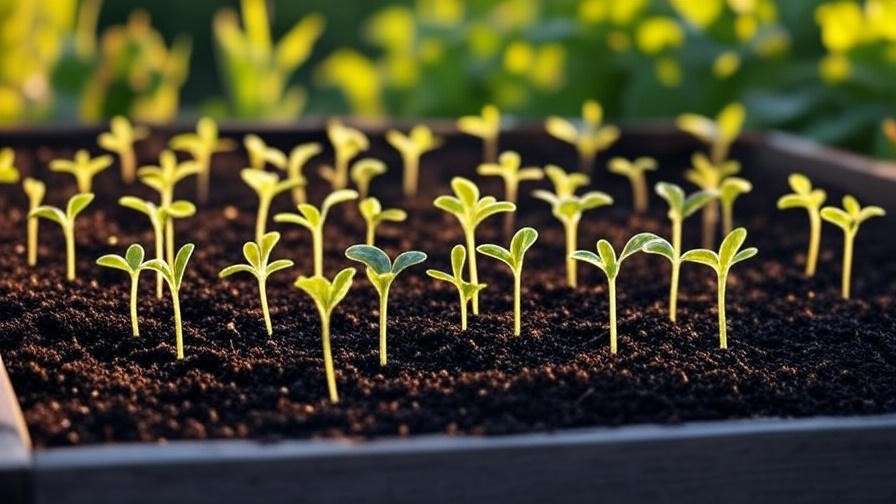
Starting Seeds Indoors
Starting seeds indoors extends the growing season, especially in cooler climates. Use peat pots or seed trays filled with a seed-starting mix. Place seeds ½ inch deep and keep them warm (75-85°F) using a heat mat. Germination takes 5-10 days. Once seedlings have 2-3 true leaves, harden them off by gradually exposing them to outdoor conditions over 7-10 days. Example: A Minnesota gardener started ‘Golden Midget’ seeds indoors in April, transplanting in May for a July harvest.
Direct Sowing vs. Transplanting
Direct sowing is simpler but riskier in cooler climates, as seeds need warm soil to germinate. Transplanting ensures earlier growth but requires care to avoid root disturbance. For beginners, transplanting is often more reliable, as it bypasses early-season challenges like cold snaps or pests. Pro Tip: If direct sowing, cover the soil with black plastic mulch to warm it faster.
Caring for Your Mini Watermelon Plants
Watering Requirements
Mini watermelons need consistent moisture, about 1-2 inches of water per week, depending on climate. Use drip irrigation or soaker hoses to deliver water directly to the soil, avoiding leaf wetness that can lead to fungal diseases. Check soil moisture by inserting a finger 2 inches deep; water if it feels dry. Overwatering can cause root rot, so ensure proper drainage. Warning: Avoid overhead sprinklers, as wet foliage invites powdery mildew.
Fertilizing for Healthy Growth
Apply a balanced fertilizer (10-10-10) every 2-3 weeks during the vegetative stage. Once flowers appear, switch to a low-nitrogen, high-potassium formula (5-10-10) to promote fruiting. Organic options like fish emulsion or compost tea work well, applied biweekly. Expert Insight: A 2023 study from Texas A&M University found that potassium-rich fertilizers increased sugar content in ‘Sugar Baby’ watermelons by 10%.
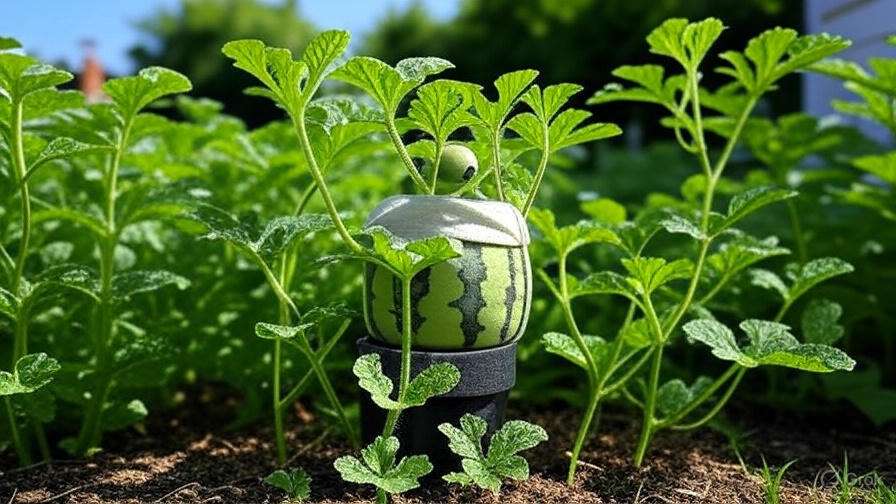
Supporting Vines and Fruits
Vining mini watermelons benefit from trellising to save space and improve air circulation. Use a sturdy A-frame trellis or tomato cage, securing vines with soft ties. As fruits develop, support them with slings made from old t-shirts or netting to prevent vine stress. Visual Idea: Include a diagram showing a trellised ‘Mini Love’ plant with fruit slings. This setup helped a California gardener double their yield in a 10-square-foot plot.
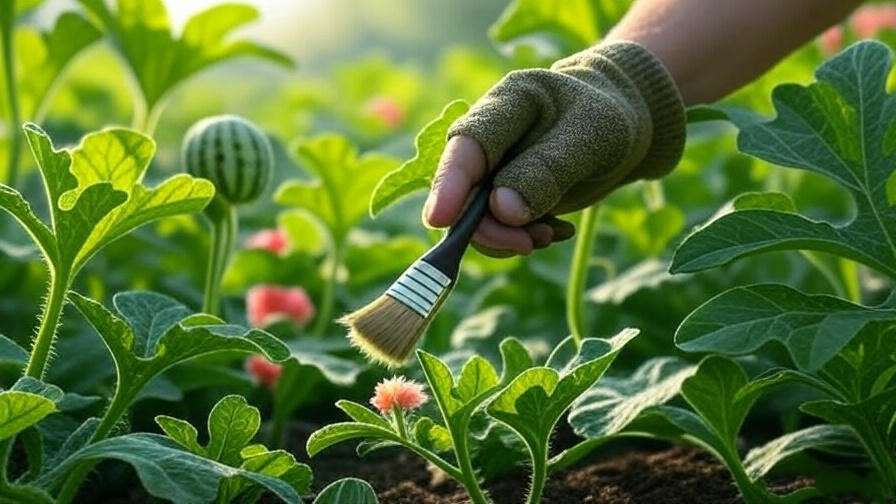
Pollination Tips
Watermelons rely on pollinators like bees, but small gardens may need hand-pollination for better yields. Identify male flowers (thin stems) and female flowers (small fruit at the base). Use a small brush to transfer pollen from male to female flowers in the morning. Step-by-Step: Gently swab the male flower’s stamen, then brush the pollen onto the female flower’s stigma. Repeat for multiple flowers to ensure fruit set.
Managing Pests and Diseases
Common Pests for Mini Watermelons
Mini watermelon plants can attract pests like aphids, cucumber beetles, and spider mites, which can damage leaves and reduce yields. Aphids cluster on new growth, sucking sap and weakening plants. Cucumber beetles, with their yellow-and-black stripes, chew leaves and spread bacterial wilt. Spider mites thrive in hot, dry conditions, leaving webbing and stippled leaves.
Organic Control Methods:
- Aphids: Spray plants with a strong jet of water to dislodge them, or apply neem oil every 7-10 days.
- Cucumber Beetles: Use row covers until flowering, then hand-pick beetles early in the morning when they’re sluggish. Companion planting with marigolds or nasturtiums can deter them.
- Spider Mites: Increase humidity around plants and apply insecticidal soap. Expert Tip: Introduce beneficial insects like ladybugs, which naturally control aphid populations, as recommended by the University of California’s Integrated Pest Management program.
Preventing and Treating Diseases
Mini watermelons are susceptible to diseases like powdery mildew, fusarium wilt, and anthracnose, especially in humid conditions. Powdery mildew appears as white patches on leaves, while fusarium wilt causes wilting and yellowing. Anthracnose leads to dark, sunken spots on fruits and leaves.
Prevention Strategies:
- Ensure proper spacing (2-3 feet) for air circulation.
- Practice crop rotation, avoiding planting watermelons in the same spot for 3-4 years.
- Remove plant debris to reduce disease vectors.
- Expert Tip: Apply an organic fungicide like sulfur or copper-based sprays at the first sign of powdery mildew, as advised by Purdue University’s Extension Service.
Treatment:
- For powdery mildew, prune affected leaves and improve air flow.
- Fusarium wilt is soil-borne and untreatable; remove infected plants and solarize the soil.
- Anthracnose requires prompt removal of infected parts and fungicide application.
Troubleshooting Common Issues
If your mini watermelons are small or misshapen, poor pollination or nutrient deficiencies may be the cause. Insufficient pollinators or improper hand-pollination can lead to underdeveloped fruits. Low potassium or calcium levels can also stunt fruit growth. Yellowing leaves often indicate overwatering, nitrogen deficiency, or pest damage.
Solutions:
- Boost pollination by planting pollinator-friendly flowers like bee balm nearby.
- Test soil nutrients and amend with a balanced fertilizer if needed.
- For yellowing leaves, check soil moisture and adjust watering. Apply a nitrogen-rich fertilizer (e.g., blood meal) if deficiency is confirmed.
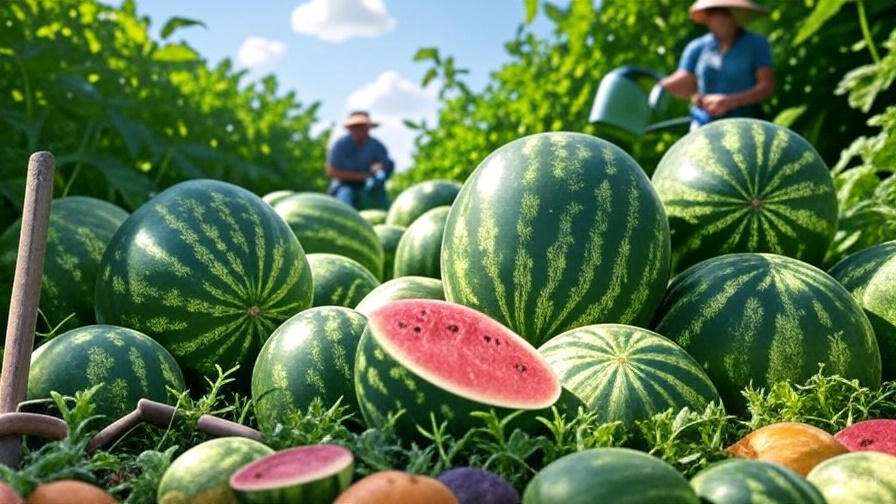
Harvesting and Storing Mini Watermelons
When to Harvest
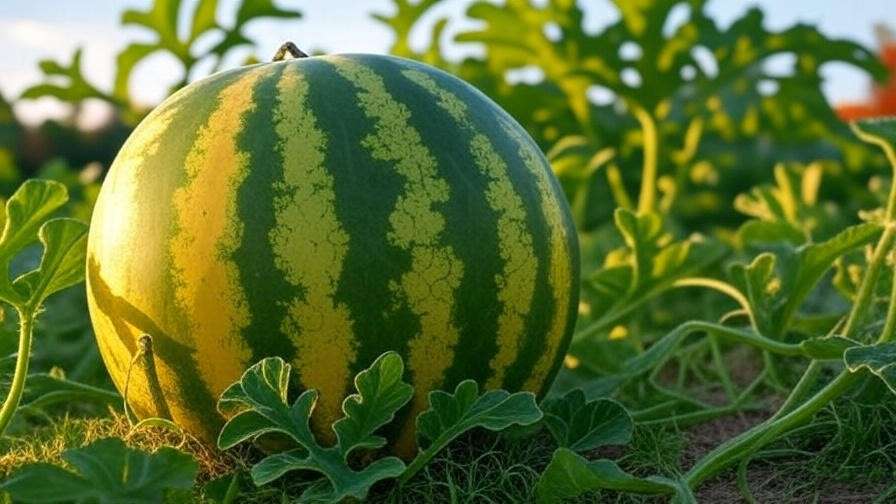
Knowing when to harvest is key to enjoying sweet, ripe mini watermelons. Look for these signs:
- Yellowing Underside: The spot where the fruit rests on the ground turns creamy yellow.
- Dull Rind: The rind loses its glossy sheen and feels slightly rough.
- Dry Tendrils: The tendril closest to the fruit dries and turns brown.
- Thump Test: A ripe watermelon sounds hollow when tapped.
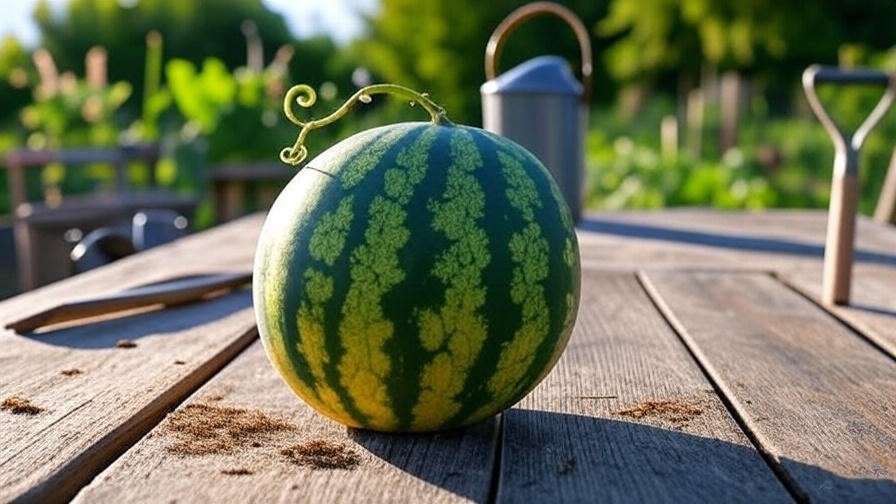
Variety-specific cues matter. For example, ‘Sugar Baby’ is ready in 75-80 days, while ‘Golden Midget’ may ripen in 60-65 days. Check seed packet guidelines for precise timing.
How to Harvest
Use clean, sharp shears or a knife to cut the fruit from the vine, leaving 1-2 inches of stem to prevent rot. Avoid pulling the fruit, as this can damage the vine and remaining plants. Handle gently to prevent bruising, especially with thin-rinded varieties like ‘Mini Love.’ Pro Tip: Harvest in the morning when fruits are cool and sugar content is highest, as noted in a 2024 study from the University of Florida.
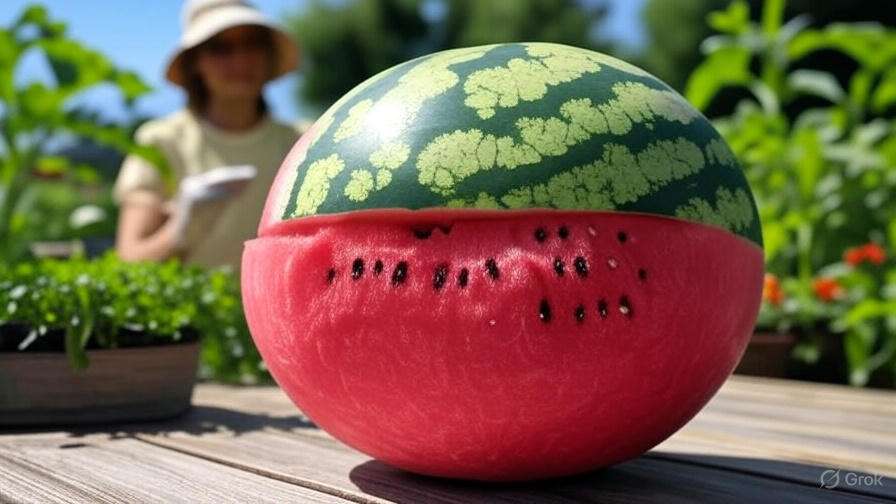
Storing and Enjoying Your Harvest
Store mini watermelons in a cool, dry place (50-60°F) for 2-3 weeks. Avoid refrigerating whole fruits for extended periods, as cold can reduce flavor. Once cut, wrap tightly and refrigerate for up to a week.
Creative Serving Ideas:
- Mini Watermelon Salsa: Dice the flesh and mix with cilantro, lime juice, and jalapeño for a refreshing side.
- Smoothies: Blend with strawberries and mint for a hydrating drink.
- Single-Serve Snacks: Slice into wedges for mess-free, kid-friendly treats.
Fun Fact: Mini watermelons are perfect for portion-controlled desserts, making them a hit at summer gatherings!
Expert Tips for Maximizing Mini Watermelon Success
Companion Planting for Better Yields
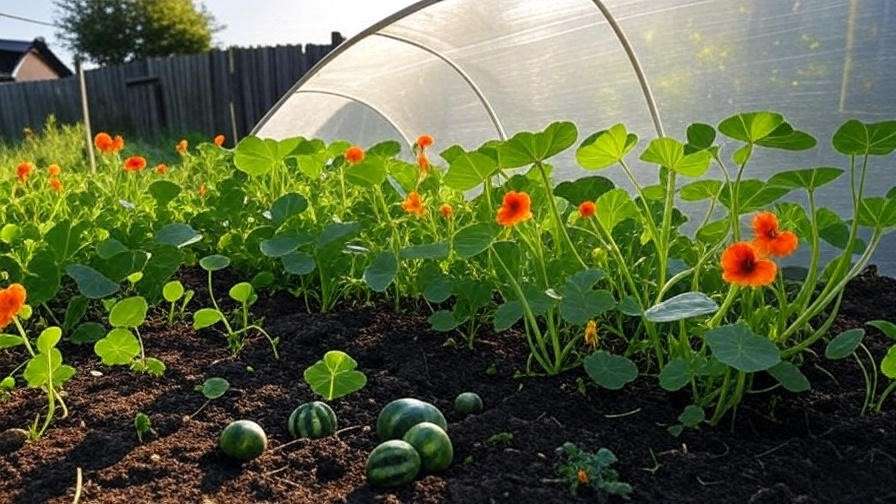
Companion planting enhances mini watermelon growth and deters pests. Plant alongside:
- Nasturtiums: Repel aphids and attract pollinators.
- Beans: Fix nitrogen in the soil, boosting nutrient availability.
- Corn: Provides shade and supports climbing vines.
Avoid planting near potatoes, which compete for nutrients, or heavy feeders like cucumbers. Example: A gardener in Oregon paired ‘Little Darling’ with marigolds, reducing pest issues by 30% compared to solo planting.
Extending the Growing Season
In cooler climates, extend the season with row covers or cloches to protect young plants from late frosts. Black plastic mulch warms the soil, speeding germination. For continuous harvests, try succession planting: sow a new batch of seeds every 2-3 weeks. Pro Tip: In zones 5-6, use a low tunnel cloche to maintain warmth, as recommended by Michigan State University’s Extension.
Saving Seeds for Future Planting
Save seeds from open-pollinated varieties like ‘Sugar Baby’ for next season. Scoop seeds from ripe fruits, rinse thoroughly, and dry on paper towels for 1-2 weeks. Store in a cool, dry place in labeled envelopes. Note: Hybrid varieties like ‘Mini Love’ may not produce true-to-type plants, so choose heirlooms for seed saving. Step-by-Step:
- Select a fully ripe, healthy fruit.
- Scoop out seeds and rinse in a strainer to remove pulp.
- Spread seeds on a non-stick surface and dry in a well-ventilated area.
- Store in airtight containers with silica packets to prevent moisture.
FAQs About Growing the Smallest Watermelon
Q1: How much space do mini watermelons need to grow?
A: Mini watermelons need 2-3 feet of space for vining types or 1-2 feet for bush varieties. Containers (10-15 gallons) or trellises work well for small spaces.
Q2: Can I grow mini watermelons in containers indoors?
A: Yes, with ample sunlight (6-8 hours) or grow lights. Use large pots and ensure proper drainage and pollination.
Q3: How long does it take for mini watermelons to ripen?
A: Most varieties ripen in 60-80 days, depending on the type and climate. Check seed packets for exact timing.
Q4: What’s the best way to tell if a mini watermelon is ripe?
A: Look for a yellow underside, dull rind, dry tendrils, and a hollow sound when tapped.
Q5: Are mini watermelons as sweet as regular watermelons?
A: Yes, varieties like ‘Mini Love’ and ‘Sugar Baby’ often match or exceed the sweetness of larger watermelons, with Brix levels (sugar content) of 10-12%.
Conclusion
Growing the smallest watermelon is a rewarding way to bring fresh, homegrown flavor to even the tiniest spaces. From selecting compact varieties like ‘Sugar Baby’ or ‘Golden Midget’ to mastering watering, fertilizing, and pest control, this guide equips you with expert-backed strategies for success. Start your mini watermelon journey today—whether on a balcony, patio, or small garden—and savor the sweet rewards of your harvest. Share your progress in the comments or try creative recipes like watermelon salsa to elevate your experience. For more gardening tips, explore our articles on container gardening or organic pest control, and let’s grow together!