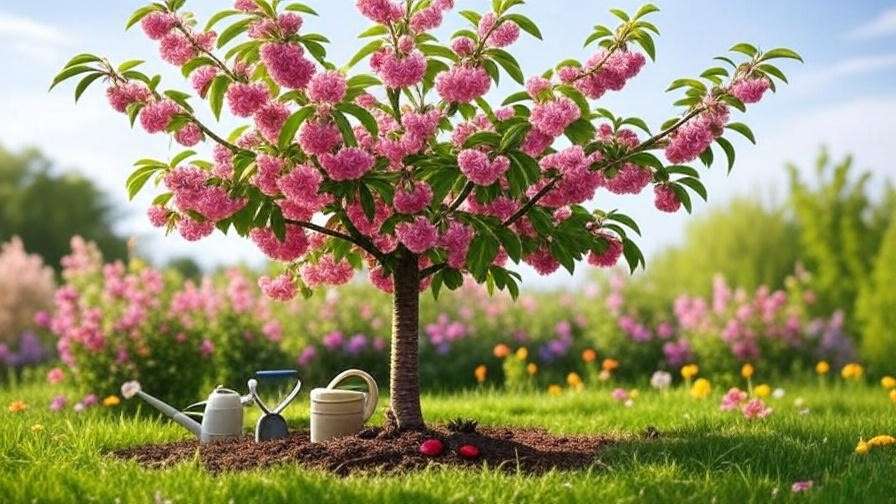
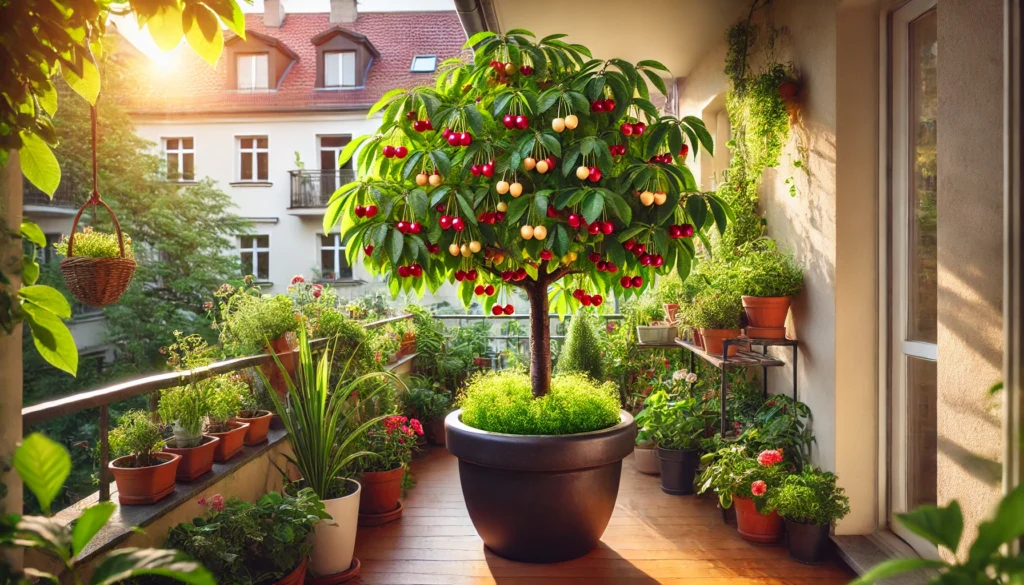
Imagine standing in your backyard, watching delicate pink cherry blossoms sway in the spring breeze, with the promise of juicy, homegrown cherries just a few seasons away. That dream starts with proper care in the critical first year after planting. Learning how to care for your cherry tree in the first year after planting is the foundation for a healthy, productive tree that rewards you with vibrant blooms and abundant fruit. As a home gardener or fruit tree enthusiast, you want your cherry tree to thrive, not just survive. This guide delivers 10 expert-backed, actionable tips to ensure your tree establishes strong roots and sets the stage for a flourishing future. Backed by horticultural expertise and practical insights, this article will empower you to nurture your cherry tree with confidence. Let’s dig in! 🌳
1. Understanding Your Cherry Tree’s Needs 🌳
Why the First Year Matters
The first year after planting is a make-or-break period for your cherry tree. During this time, the tree focuses on establishing a robust root system, which is essential for nutrient uptake, disease resistance, and long-term growth. A strong start reduces stress and ensures your tree can support future fruit production. Neglecting early care can lead to stunted growth, weak branches, or even tree failure. By prioritizing proper care, you’re investing in years of bountiful harvests.
Types of Cherry Trees
Cherry trees come in two main types: sweet (e.g., Bing, Rainier) and sour (e.g., Montmorency). Sweet cherries thrive in USDA hardiness zones 5–7, while sour cherries are more cold-tolerant, suited for zones 4–6. Each type has unique needs—sweet cherries often require more warmth and pollinators, while sour cherries are more resilient but need careful pruning. Expert Tip: Check your local USDA zone and choose a variety compatible with your climate for optimal growth. For example, Rainier cherries love sunny, mild climates, while Montmorency excels in colder regions.
2. Preparing the Perfect Planting Site 🌞
Choosing the Right Location
A cherry tree’s success begins with its planting site. Cherry trees need full sun—6 to 8 hours daily—to produce energy for growth and fruiting. Well-drained soil is non-negotiable, as waterlogged roots can lead to rot. Test your soil’s drainage by digging a 12-inch hole, filling it with water, and observing how quickly it drains. If it takes longer than 4 hours, consider raised beds or amending the soil. The ideal soil pH for cherries is 6.0–6.8, slightly acidic to neutral.
Soil Preparation Techniques
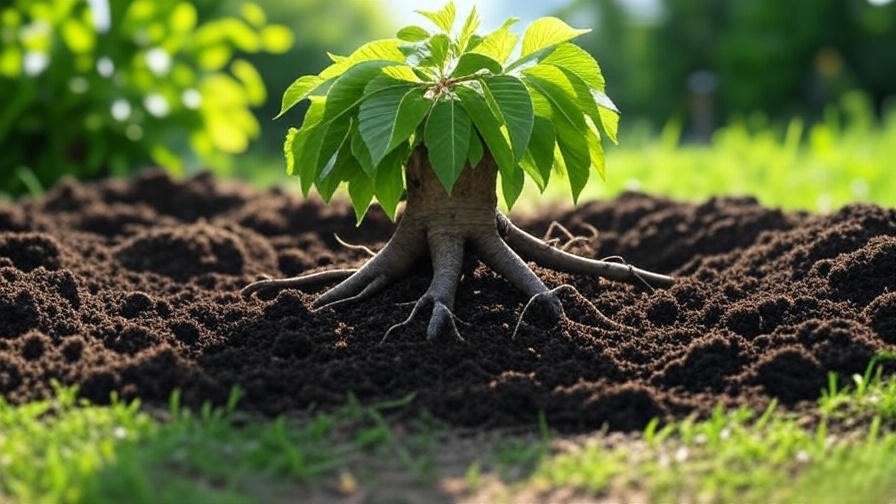
Before planting, enrich your soil with organic matter like compost or aged manure to boost fertility and improve drainage. Conduct a soil test (kits are available at garden centers or through university extension services) to check pH and nutrient levels. If the pH is too low, add lime; if too high, incorporate sulfur. Work amendments into the top 12–18 inches of soil to create a welcoming environment for roots. Expert Insight: Avoid heavy clay soils, as they retain too much water, increasing the risk of root rot.
3. Planting Your Cherry Tree Correctly 🌿
Step-by-Step Planting Guide
Timing is key for planting. Early spring (after the last frost) or late fall (when the tree is dormant) are ideal in most climates. Follow these steps for success:
- Dig the Hole: Make it twice as wide and as deep as the root ball (typically 18–24 inches wide).
- Position the Tree: Place the root ball in the hole, ensuring the graft union (the bulge where the rootstock meets the trunk) sits 2–3 inches above the soil line.
- Backfill and Water: Fill the hole with native soil mixed with compost, tamping gently to remove air pockets. Water thoroughly to settle the soil.
- Stake if Needed: Use a stake for support in windy areas, securing it with soft ties.
Avoiding Common Planting Mistakes
Planting too deep can suffocate roots, while planting too shallow exposes them to drying out. Ensure the graft union remains above ground to prevent rot. Don’t over-compact the soil, as this restricts root growth. Example: A common error is burying the graft union, which can cause the tree to revert to its rootstock, producing unwanted fruit. Check the planting depth by laying a stick across the hole to measure.
4. Watering Wisely 💧
Establishing a Watering Routine
Newly planted cherry trees need consistent moisture to establish roots. Aim for 1–2 inches of water per week, adjusting for rainfall. Deep watering (soaking the soil to a depth of 12 inches) encourages roots to grow downward, creating a stable foundation. Use a soaker hose or drip irrigation for even distribution, avoiding overhead watering that can promote fungal diseases. Water early in the morning to minimize evaporation.
Signs of Over- or Under-Watering
Over-watering causes yellowing leaves, soggy soil, or fungal growth near the trunk. Under-watering leads to wilting, dry leaves, or slow growth. Check soil moisture by digging 2–3 inches down—if it’s dry, water immediately. Expert Tip: A soaker hose set on a timer ensures consistent moisture without overdoing it, saving you time and effort.
5. Mulching for Protection and Growth 🍂
Benefits of Mulching
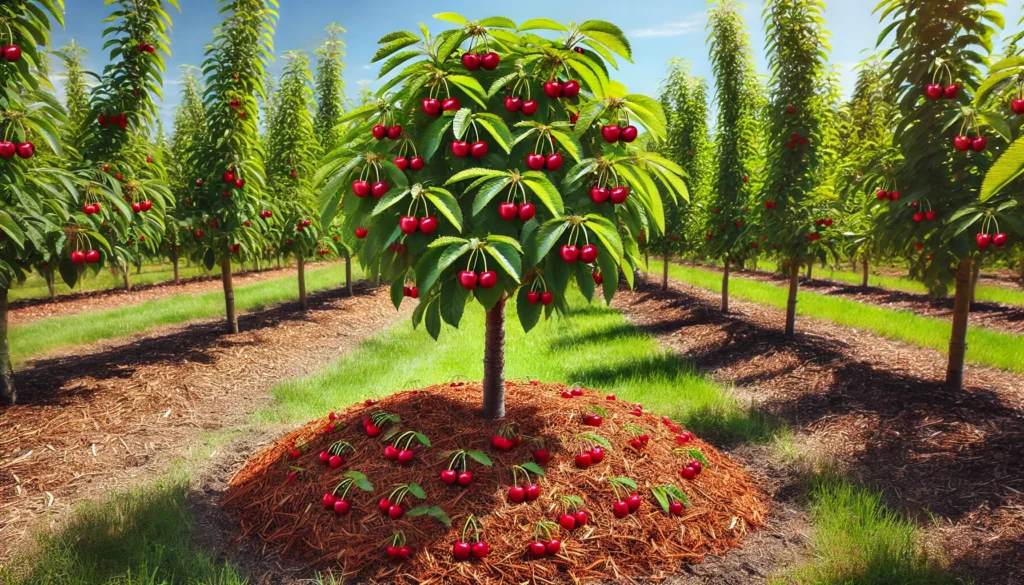
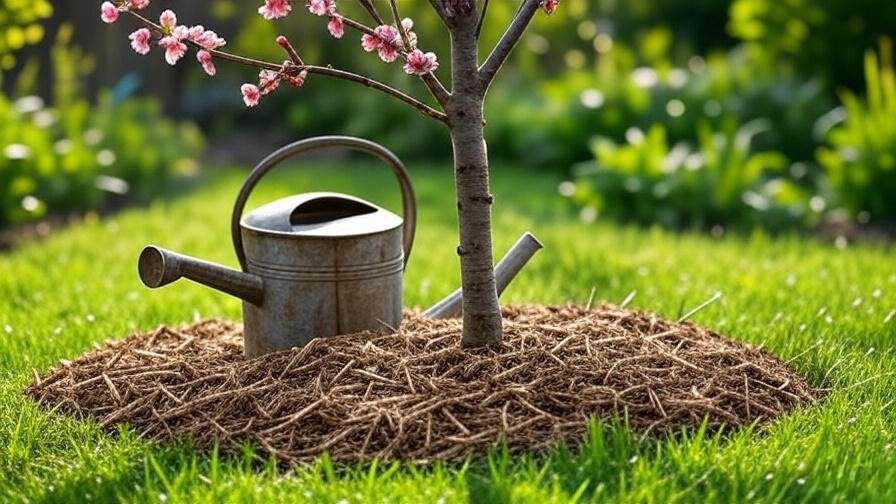
Mulch is a cherry tree’s best friend in the first year. It conserves soil moisture, regulates temperature, and suppresses weeds that compete for nutrients. Organic mulches like wood chips, bark, or straw also break down over time, enriching the soil. Apply a 2–4-inch layer in a 3-foot radius around the tree, creating a “mulch ring” to protect the root zone.
Mulching Do’s and Don’ts
Keep mulch 2–3 inches away from the trunk to prevent rot and discourage rodents. Replenish mulch annually to maintain its benefits. Example: A proper mulch ring looks like a donut, not a volcano—piling mulch against the trunk can trap moisture and invite pests like voles. Refresh the mulch in spring to maintain a tidy, effective layer.
6. Fertilizing for Healthy Growth 🌼
When and How to Fertilize
In the first year, cherry trees need minimal fertilization to avoid burning tender roots. Over-fertilizing can cause excessive leaf growth at the expense of root development, weakening the tree. Use a balanced fertilizer, such as a 10-10-10 (nitrogen-phosphorus-potassium) or an organic alternative like compost tea, applied sparingly. For most young cherry trees, a single application in early spring, just as buds begin to swell, is sufficient. Spread 1/4 to 1/2 pound of fertilizer evenly in a ring around the tree, starting 6 inches from the trunk and extending to the drip line (the outer edge of the canopy).
Timing and Application Tips
Fertilize again in late summer if growth appears slow, but avoid late-season applications (after August) to prevent new growth that’s vulnerable to frost. Always water thoroughly after fertilizing to help nutrients reach the roots. Expert Insight: A soil test, available through local extension services or garden centers, provides precise nutrient needs, preventing over- or under-fertilization. For example, if your soil is nitrogen-deficient, a slightly higher-nitrogen fertilizer (e.g., 12-6-6) may be appropriate.
7. Pruning for Structure and Strength ✂️
Why Prune in the First Year?
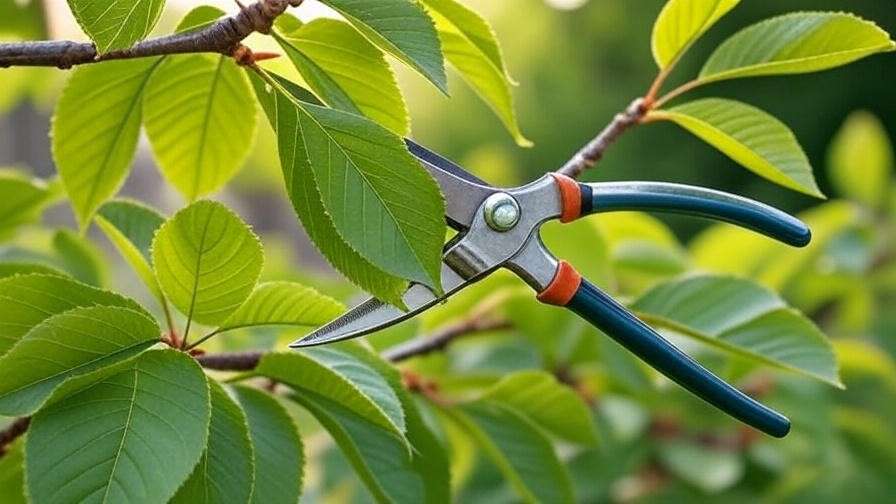
Pruning in the first year shapes your cherry tree for optimal structure, airflow, and future fruit production. Proper pruning encourages a strong framework of branches that can support heavy fruit loads and reduces the risk of disease by improving air circulation. For sweet cherries, aim for a central leader structure (one main trunk with evenly spaced branches). Sour cherries benefit from an open-center structure, which promotes light penetration for fruiting.
Pruning Techniques for Beginners
Prune in late winter or early spring while the tree is dormant, using clean, sharp tools. Follow these steps:
- Remove Damaged Branches: Cut away any broken, dead, or diseased branches.
- Eliminate Crossing Branches: Remove branches that rub or cross to prevent wounds.
- Shape the Tree: For a central leader, select 4–6 strong, evenly spaced lateral branches and remove others. For an open center, choose 3–4 main branches to form a vase shape.
- Cut Cleanly: Make cuts at a 45-degree angle just above a bud or branch collar to promote healing.
Expert Tip: Sterilize pruning shears with rubbing alcohol between cuts to prevent disease spread, especially for cherries prone to bacterial canker.
8. Protecting Against Pests and Diseases 🐞
Common Threats to Young Cherry Trees
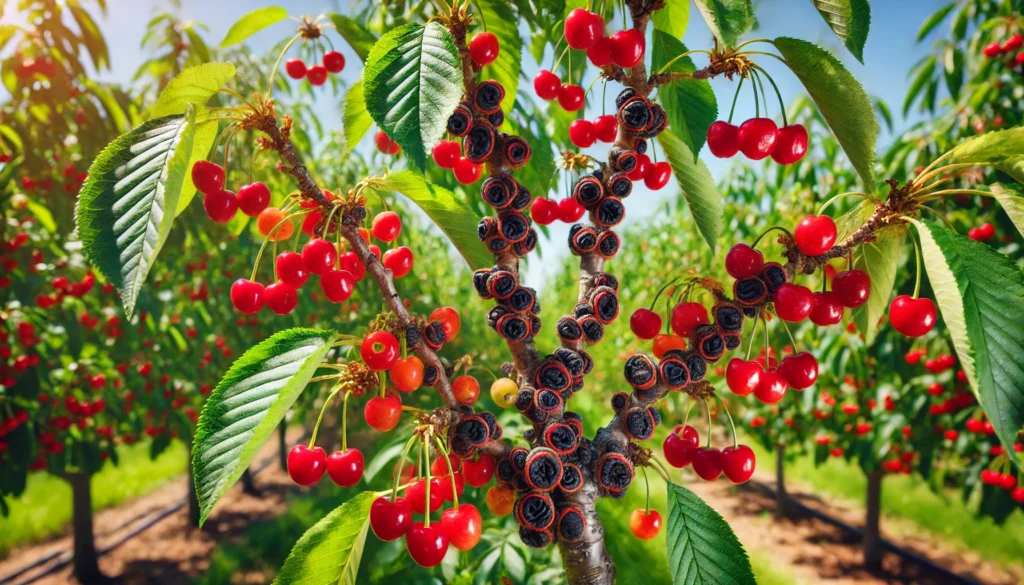
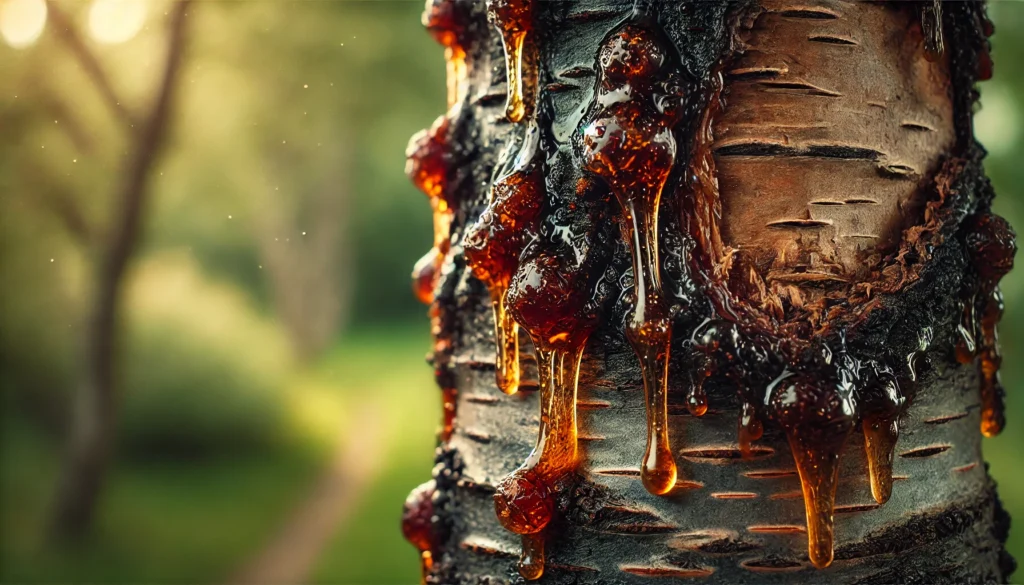
Young cherry trees face threats from pests like aphids, cherry fruit flies, and spider mites, as well as diseases such as powdery mildew, brown rot, and bacterial canker. Regular monitoring is key—check leaves, stems, and the trunk weekly for signs of trouble. Aphids cause curled leaves, while cherry fruit flies lay eggs in developing fruit. Powdery mildew appears as white patches on leaves, and bacterial canker causes sunken, oozing lesions on branches.
Organic and Chemical Control Options
Start with preventive measures: keep the area around the tree free of debris, which harbors pests, and ensure good airflow through proper pruning. For aphids and spider mites, spray neem oil or insecticidal soap every 7–10 days until infestations subside. For fungal diseases like powdery mildew, apply a sulfur-based fungicide early in the season. If cherry fruit flies are a problem, use sticky traps to monitor and reduce populations. Expert Insight: Avoid harsh chemical pesticides in the first year, as they can stress young trees. Consult your local extension service for region-specific pest control advice.
9. Supporting Your Tree’s Growth 🛠️
Staking and Structural Support
Young cherry trees, especially in windy areas, benefit from staking to prevent root disturbance and trunk damage. Use a sturdy wooden or metal stake, driving it 12–18 inches into the ground, 6 inches from the trunk. Secure the tree with soft, flexible ties (e.g., rubber or cloth) to allow slight movement, which strengthens the trunk. Check ties monthly to ensure they’re not cutting into the bark, and remove stakes after the first year unless the tree remains unstable.
Monitoring Growth Progress
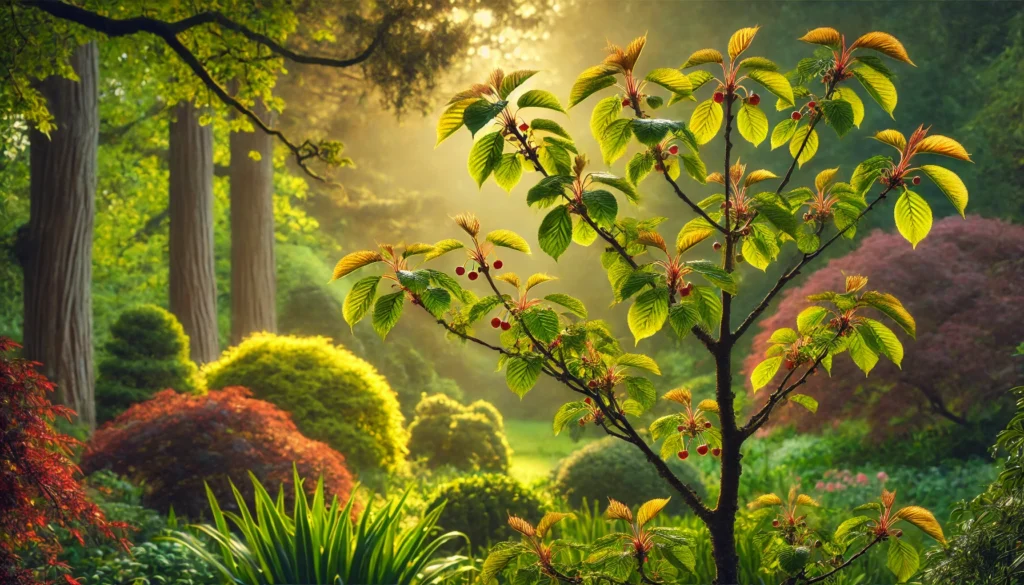
Healthy cherry trees show steady growth in their first year, including new leaf development, a thickening trunk, and flexible branches. Measure growth by noting the length of new shoots (aim for 6–12 inches annually) and check for vibrant, green leaves. If growth stalls or leaves yellow, reassess watering, fertilization, or pest issues. Example: Create a monthly checklist to track progress—note leaf color, shoot length, and soil moisture to catch problems early.
10. Preparing for Seasonal Changes ❄️🌸
Winterizing Your Cherry Tree
Winter can be tough on young cherry trees, especially in cold climates. Protect your tree by:
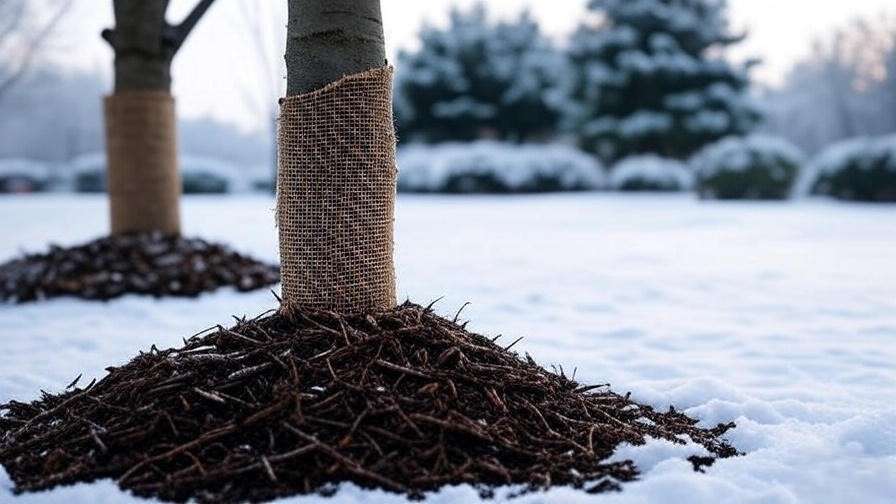
- Wrapping the Trunk: Use tree wrap or burlap to shield the trunk from sunscald (cracking caused by freeze-thaw cycles).
- Insulating Roots: Add a 4–6-inch layer of mulch over the root zone (still keeping it away from the trunk) to insulate against freezing temperatures.
- Protecting from Wildlife: Install a wire mesh or plastic guard around the trunk to deter rodents and deer.
Spring and Summer Care Adjustments
In spring, increase watering as temperatures rise and buds form, ensuring 1–2 inches weekly. Monitor for pests as new growth appears, and prune lightly to remove any winter damage. In summer, maintain consistent moisture and check for signs of stress, such as wilting during heatwaves. Expert Tip: Look for bud development in spring as a sign of vigor—healthy trees produce plump, green buds that signal a strong start to the growing season.
FAQs About Cherry Tree Care in the First Year ❓
Q1: How often should I water my cherry tree in the first year?
A: Water 1–2 inches per week, adjusting for rainfall. Deep watering with a soaker hose ensures roots grow strong.
Q2: Can I plant a cherry tree in a container for the first year?
A: Yes, dwarf varieties like Stella or Lapins can thrive in large (15–20 gallon) containers with well-drained soil, but ensure proper drainage and regular watering.
Q3: What are the signs my cherry tree isn’t thriving?
A: Look for yellowing or wilting leaves, stunted growth, or soggy soil. These may indicate over-watering, poor drainage, or nutrient deficiencies.
Q4: Should I expect fruit in the first year after planting?
A: No, most cherry trees don’t fruit in their first year, as they focus on root and branch development. Remove any early fruit to encourage growth.
Q5: How do I protect my cherry tree from deer or rodents?
A: Use wire mesh or tree guards around the trunk and apply repellents like cayenne pepper spray to deter wildlife.
Conclusion: Setting Your Cherry Tree Up for Success 🍒
Caring for your cherry tree in its first year lays the groundwork for a lifetime of vibrant blossoms and delicious fruit. By following these 10 essential tips—choosing the right site, planting correctly, watering wisely, mulching, fertilizing sparingly, pruning thoughtfully, protecting against pests, supporting growth, and preparing for seasonal changes—you’ll give your tree the best start possible. Patience and consistency are key; a well-cared-for cherry tree can reward you with harvests for decades. Share your cherry tree journey in the comments below, or explore our related articles on fruit tree pruning and soil health for more expert tips. Happy growing! 🌸

