
Imagine stumbling upon a quirky, foam-like pod attached to a twig in your garden, or excitedly opening a package from a supplier only to unleash hundreds of tiny, praying mantis nymphs into your home unexpectedly! 😱 Whether you’re a dedicated organic gardener battling aphids on your roses, caterpillars munching your fruit tree leaves, or simply a nature enthusiast wanting to boost biodiversity, learning proper praying mantis egg case care can transform these fascinating insects into your garden’s secret weapon against pests.
Praying mantises (order Mantodea) are ambush predators renowned for their raptorial forelegs and patient hunting style. One single egg case, known scientifically as an ootheca, can contain 50–400 eggs, producing nymphs that devour thousands of harmful insects over a season 🦟. By mastering ootheca incubation, hatching, and safe release, you’ll enjoy higher success rates, avoid common disasters like mold outbreaks or mass cannibalism, and promote eco-friendly pest management that protects your plants and trees without harsh chemicals.
In this comprehensive guide, we’ll cover everything from ootheca basics and species differences to precise temperature/humidity protocols, step-by-step hatching, troubleshooting pitfalls, and integrating mantises into your plant care routine for long-term garden health. Let’s turn that mysterious egg case into a thriving army of beneficial guardians! 🌱
What Is a Praying Mantis Egg Case? (Ootheca Basics) 🥚
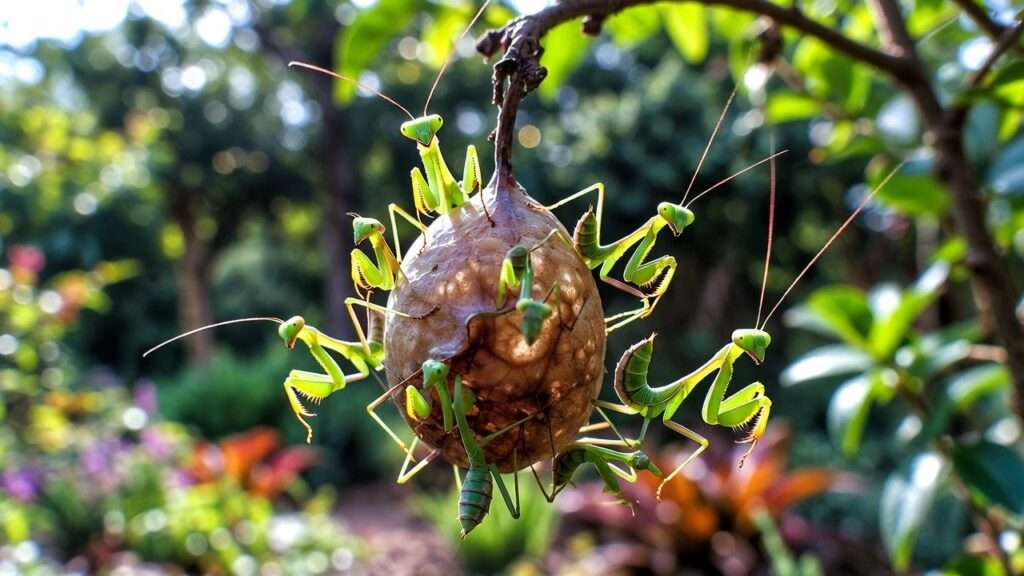
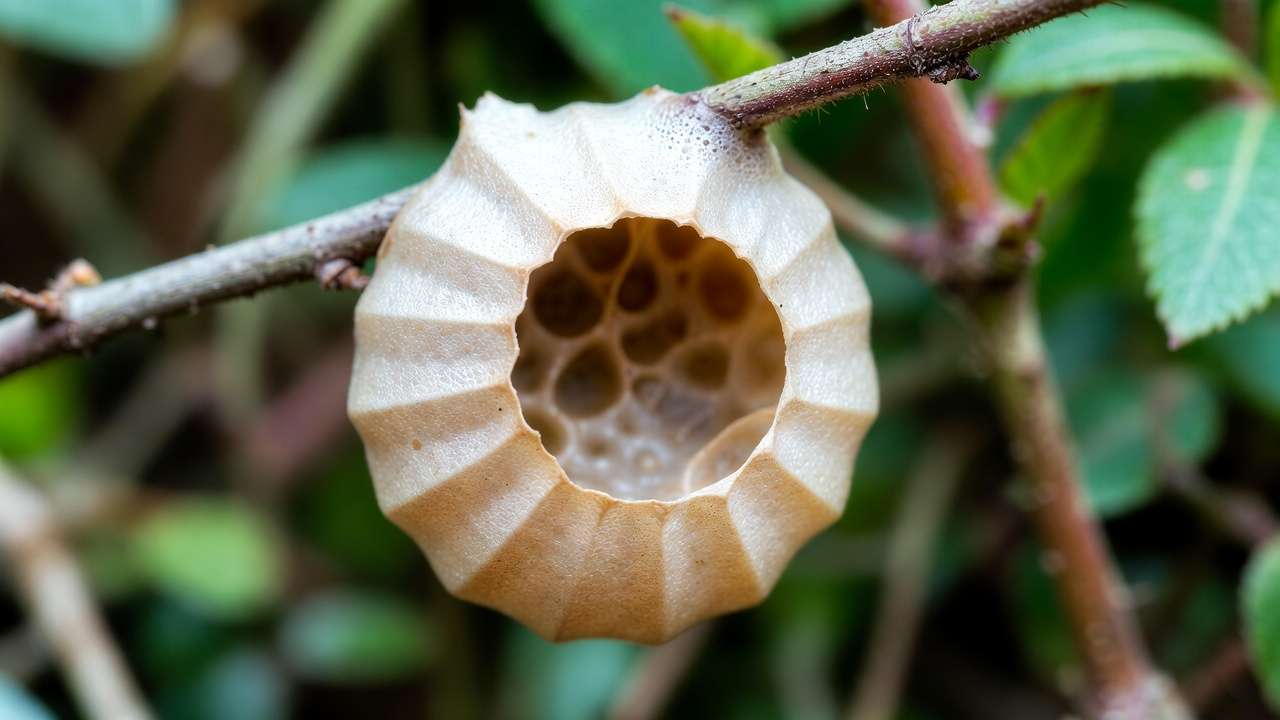
The praying mantis egg case, or ootheca, is a marvel of natural engineering. Females produce this protective structure in late summer or fall by extruding a frothy secretion that hardens into a tough, foam-like casing around 50–400 fertilized eggs. This spongy exterior shields the embryos from predators, desiccation, extreme cold, and parasites while allowing gradual development.
How Female Mantises Create the Protective Ootheca During oviposition, the female hangs upside down and rhythmically pumps out a protein-rich foam mixed with air. As it expands and hardens (in 1–3 hours), she deposits eggs in individual chambers within the mass. The final product resembles tan or beige Styrofoam—elongated and flat for some species, rounded and puffy for others.
Common Species and Their Egg Case Differences
- Chinese mantis (Tenodera sinensis): Large (up to 4–5 inches as adults), ootheca is bulbous and rounded, often beige/tan. Popular in commerce but considered non-native/invasive in parts of North America—opt for natives when possible.
- Carolina mantis (Stagmomantis carolina): Smaller (2–3 inches), native to much of the US; ootheca is flatter, more elongated, and mottled brown. Excellent for local ecosystems.
- European mantis (Mantis religiosa): Medium-sized, green or brown forms; ootheca somewhat rounded with a distinctive ridge. Introduced but integrated in many areas.
Choose native species like Carolina for ethical, sustainable release to avoid disrupting local biodiversity ⚖️.
Why the Foam-Like Case Protects Eggs Over Winter ❄️ The insulating foam buffers against freezing temperatures, moisture fluctuations, and predators. In temperate regions, eggs enter diapause (a dormant state) until warmer spring cues trigger hatching—nature’s perfect timing for abundant prey availability.
Why Use Praying Mantises for Natural Garden and Tree Pest Control? 🌳
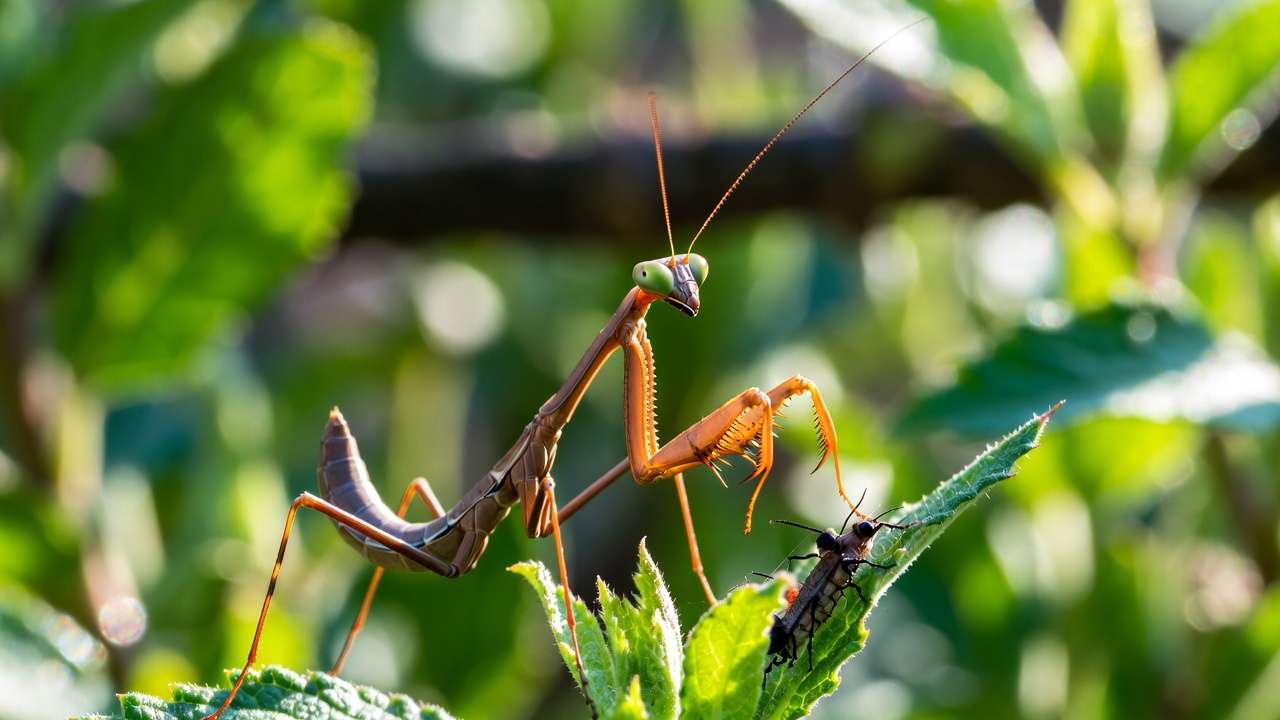
Praying mantises align perfectly with organic plant and tree care. As generalist predators, nymphs and adults target soft-bodied pests that damage foliage and fruit.
Target Pests Mantises Devour They eagerly consume aphids (common on roses and young trees), caterpillars (devastating to fruit crops), flies, mosquitoes, leafhoppers, small beetles, and even spider mites. In a single season, released nymphs from one ootheca can eliminate thousands of these garden villains.
Advantages Over Chemical Pesticides No toxic residues on leaves, fruits, or soil—safe for pollinators, birds, and edible gardens. Mantises promote balanced ecosystems by controlling outbreaks without wiping out beneficial insects entirely.
Limitations & Realistic Expectations ⚖️ Mantises are opportunistic and may eat beneficials like butterflies or small bees if hungry. They won’t eradicate infestations alone—pair them with companion planting, ladybugs, lacewings, or neem for best results. Success depends on habitat suitability and release timing.
Sourcing Your Praying Mantis Egg Case
Collecting from Nature (Ethical Tips, Seasonal Timing) Look for oothecae November–April on twigs, stems, or fences. Gently clip the branch (leave extra length for hanging) and avoid over-collecting—leave most for wild populations. Only take from abundant areas.
Buying from Reputable Suppliers Choose suppliers emphasizing native species and sustainable sourcing. Inspect for intact, firm cases without cracks or mold. Avoid mass-market “Chinese mantis” kits if your region has natives.
Timing — When to Start Care for Spring/Summer Release For spring hatching (ideal for pest season), refrigerate collected/winter cases until 6–8 weeks before desired release (around late April–May in temperate zones). Warm them gradually to trigger development.
Setting Up for Successful Incubation – H2 (Core Care Section) 🔥💧
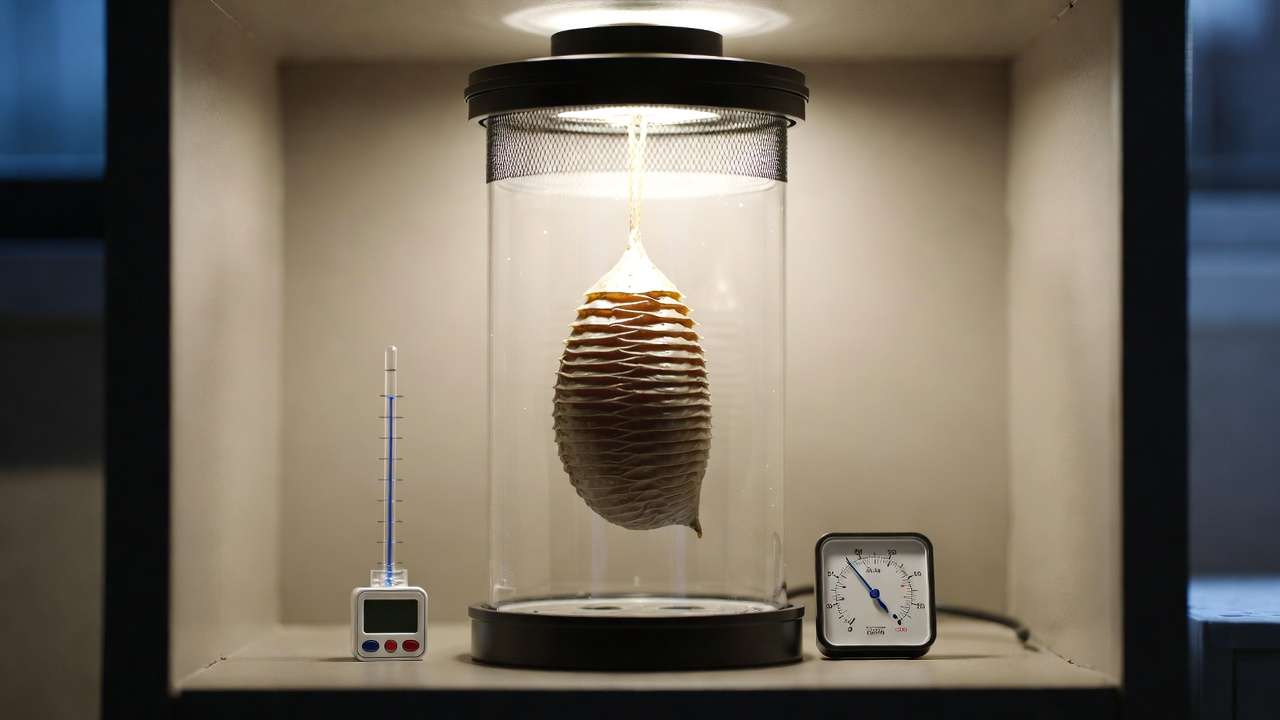
The key to high hatch rates lies in mimicking natural spring conditions while preventing extremes. Most common species (like Chinese, Carolina, or European mantises) thrive under stable, warm, moderately humid environments with good airflow. Here’s how to set it up professionally.
Ideal Temperature Range (24–30°C / 75–86°F for most species) Room temperature (around 20–22°C / 68–72°F) works for many, but warmer spots accelerate development and improve viability. Aim for 24–28°C consistently—use a seedling heat mat, reptile heating pad (low wattage), or place near a warm window (avoid direct sun to prevent overheating). Monitor with a digital thermometer; fluctuations can delay hatching or kill embryos. Tropical species may prefer the higher end (up to 30°C), while temperate natives like Carolina do fine closer to 24°C.
Humidity Guidelines (50–70% — how to maintain without mold) Humidity prevents desiccation but excess invites deadly mold. Target 50–70% relative humidity. Achieve this by placing a small water dish or damp (not soaking) paper towel/paper sponge in the enclosure—mist lightly every 2–4 days if ambient humidity is low. Never soak the ootheca directly; let it dry between mistings. Use a cheap hygrometer to track levels—many failures stem from guessing!
Light & Ventilation Needs Provide indirect natural light or a low-wattage LED bulb (12–14 hours/day) to cue hatching. Avoid complete darkness or intense direct sun. Excellent ventilation is non-negotiable—stale air promotes mold and poor development. Screen mesh tops or drilled holes work best.
Best Enclosure Options (net cages, jars, DIY hatching chambers) 🏠
- Simple DIY: Use a clear plastic deli cup or critter keeper (at least 1–2 gallons for large oothecae). Cut a large hole in the lid and cover with fine mesh (window screen or pantyhose secured with hot glue) for airflow.
- Net cages: Pop-up butterfly/mantis hatching nets (available online) allow easy monitoring and prevent escapes during mass hatches.
- Glass jars or deli cups with mesh: Affordable and effective—hang the ootheca from the top using thread, glue, or a small branch. Pro tip: Enclosures should be at least double the ootheca’s length in height to give nymphs room to dangle on hatching threads without touching the bottom.
How to Properly Attach/Hang the Ootheca (gravity is key!) Suspend the egg case upside-down or at a 90–135° angle so nymphs can emerge downward and lower themselves on silk threads. Use non-toxic hot glue, superglue (small dab), thread, or pin it securely to the enclosure top or a twig. Wrong orientation traps emerging nymphs— a frequent rookie mistake!
Step-by-Step: How to Hatch Healthy Nymphs 👀🍽️
Once set up, monitor daily without disturbing too much.
Monitoring Progress & Signs Hatching Is Near Look for tiny cracks along the emergence zone (usually the flat side or end) or slight darkening/color change. Some oothecae “sweat” droplets when hatching is imminent. Expect 3–10 weeks after warming (longer if refrigerated). Hatching often occurs in early morning or evening.
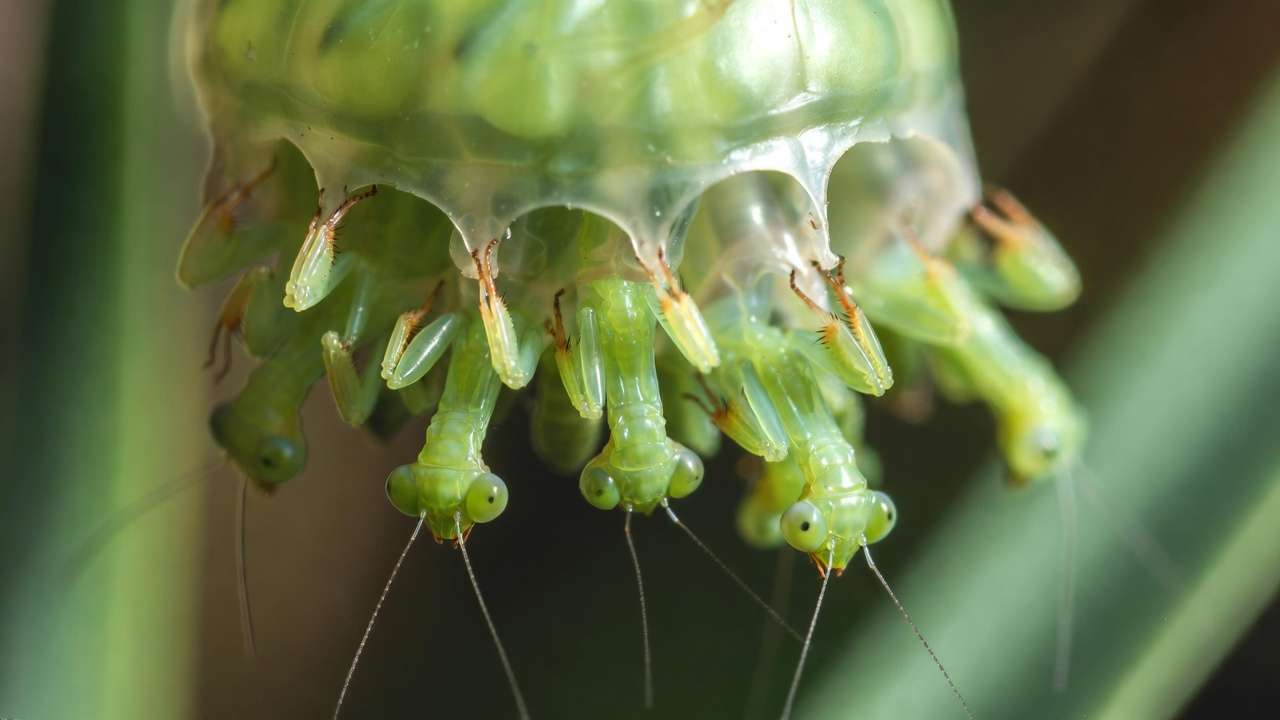
The Hatching Process — What to Expect Nymphs emerge as worm-like pre-larvae, wriggling out in batches over hours or days. They dangle on silk threads (sometimes 3x their body length) until exoskeletons harden (1–2 hours). Hundreds may appear at once—be prepared!
Immediate Post-Hatch Care — Preventing Cannibalism & Starvation Do NOT leave them crowded! Cannibalism starts quickly if hungry or overcrowded. Gently transfer nymphs (using a soft brush or by tapping into another container) to individual or small-group setups within hours. Provide vertical sticks/branches for molting support (they need gravity to shed skins).
Feeding Tiny Nymphs First meal within 24–48 hours is critical. Offer tiny live prey: flightless fruit flies (Drosophila), pinhead crickets, or aphids collected from infested plants. Feed 3–5 prey per nymph daily. Avoid overfeeding to prevent mold in enclosures.
Common Mistakes & How to Avoid Them – H2 (Trust-Building Section) ❌😢
Even experienced gardeners lose entire hatches due to preventable errors. Here are the most frequent pitfalls reported by mantis keepers, entomology forums, and extension services—along with expert fixes.
Letting Them Hatch Prematurely at Room Temperature Many people bring oothecae indoors in winter and warm them accidentally (house temps 20–24°C). This triggers early hatching in mid-winter when natural prey is scarce, leading to starvation. Fix: Refrigerate viable egg cases at 4–10°C (fridge vegetable drawer) to hold them in diapause until 6–8 weeks before your target outdoor release date. Warm gradually over 3–5 days when ready.
Too Much Moisture → Mold & Dead Eggs Over-misting, poor ventilation, or sealing enclosures tightly causes fuzzy green/white mold that kills embryos. Fix: Mist only lightly every few days, ensure strong airflow (mesh covers), and never let water pool inside. If mold appears early, gently brush it off with a dry soft brush and increase ventilation—salvage rates can still reach 50–70% if caught quickly.
Wrong Orientation → Trapped Nymphs Attaching the ootheca horizontally or upside-down the wrong way prevents nymphs from dropping on silk threads. They get stuck inside or fall and drown in condensation. Fix: Always hang so the emergence slit faces downward at a 45–135° angle. Test by gently shaking—nymphs should have clear exit paths.
Overcrowding → Mass Cannibalism Hundreds of hungry siblings in one small space turn on each other within hours. Cannibalism is natural but devastating in captivity. Fix: Prepare multiple small enclosures ahead of time. Transfer nymphs to individual cups or groups of 5–10 max within the first day. Use tall, narrow containers so they spread out vertically.
No Food Ready → Starvation in First Days Nymphs have minimal yolk reserves and must eat within 24–72 hours or they weaken and die. Fix: Culture flightless fruit flies or order pinhead crickets 1–2 weeks in advance. Collect aphids from infested houseplants or garden weeds as a free, natural food source.
Bonus mistake: Releasing too early in cold, wet spring weather → most nymphs perish. Wait until nighttime lows stay above 10–12°C consistently.
Releasing Nymphs into Your Garden or Trees – H2 🌳🦋
The ultimate goal: turning your cared-for egg case into a living pest-control team.
Best Timing & Weather Conditions for Release Release in late spring/early summer when daytime temps reach 20–25°C+ and prey (aphids, small caterpillars) are abundant. Early morning on a calm, dry day is ideal—avoid windy or rainy conditions that wash nymphs away.
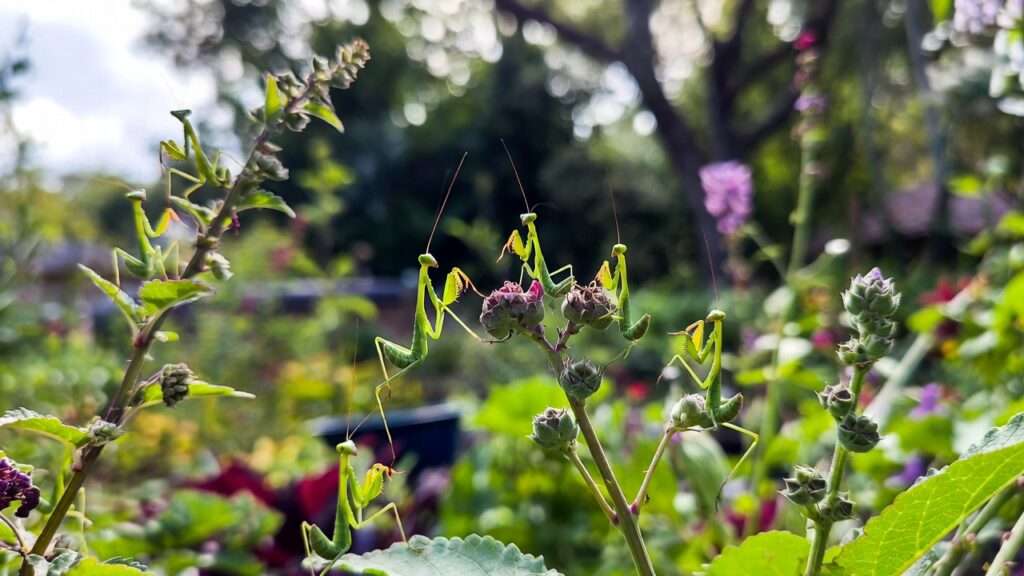
Where to Place Them (crotch of branches, 1–3 ft off ground) Choose sheltered microhabitats:
- The fork (crotch) of small branches on trees, shrubs, or tall perennials
- Undersides of large leaves
- Near aphid hotspots (roses, beans, fruit trees)
- 1–3 feet above ground to avoid ground predators and give hunting vantage points Release in small batches (10–20 nymphs per spot) across the garden for even coverage.
Encouraging Survival
- Provide cover: dense foliage, tall grasses, or small twig bundles
- Avoid broad-spectrum pesticides for at least 4–6 weeks
- Add shallow water dishes with pebbles (mantises drink from droplets)
- Plant mantis-friendly flowers (dill, fennel, cosmos) to attract prey and give adults nectar
Boosting Long-Term Populations in Your Yard Mantises rarely establish permanent wild populations from releases alone, but repeated annual introductions + habitat improvement can build numbers over years. Leave some egg cases in the garden overwinter (protected spots) to encourage natural reproduction.
Aftercare & Long-Term Garden Integration – H2
Monitoring Nymph Growth & Molting Check weekly for the first month—look for shed exoskeletons on twigs. Nymphs molt 6–9 times before adulthood (3–6 months depending on species and food supply). Provide vertical perches for safe molting.
Combining with Other Beneficial Insects Pair mantises with ladybugs (for aphids), lacewings, parasitic wasps, and ground beetles for layered pest control. Release mantises after ladybugs so they don’t eat each other too much.
Creating a Mantid-Friendly Habitat Diversify plantings: mix natives, flowering herbs, and fruit trees. Reduce bare soil with mulch and ground covers. Install small water features or mist plants regularly. Avoid monocultures—variety supports prey diversity and mantis longevity.
FAQs About Praying Mantis Egg Case Care – H2 ❓
Here are the most common questions gardeners, educators, and hobbyists ask when starting with mantis oothecae—answered with practical, experience-based advice.
How long does it take for a praying mantis egg case to hatch? ⏳ After warming from diapause (or from purchase), hatching typically occurs in 3–10 weeks, depending on species, temperature, and how long it was refrigerated. Warmer conditions (26–28°C) speed things up to 3–6 weeks; cooler ranges stretch it to 8–10 weeks. Hatching usually happens in one big wave over 1–3 days, often in the morning.
Can I keep baby mantises as pets instead of releasing them? Yes! Many people successfully raise mantises indoors. Use individual tall containers (e.g., 16–32 oz deli cups with mesh lids) to prevent cannibalism. Feed appropriately sized live prey (fruit flies → small crickets → larger insects) and provide misting for drinking/humidity. Adults live 4–12 months and make fascinating, low-maintenance pets. Just note they require live food and cannot be handled roughly.
Do praying mantises eat my plants or only pests? Mantises are strictly carnivorous—they do not eat plants, leaves, or flowers. They only consume other insects (and occasionally small vertebrates like frogs or hummingbirds in the wild, though rare). They are 100% safe for your roses, vegetables, fruit trees, and ornamentals.
What if mold appears on the egg case? Light surface mold is sometimes salvageable—gently brush it off with a dry, soft paintbrush or cotton swab, increase airflow dramatically (open mesh fully), lower humidity slightly, and move to a drier spot. If mold penetrates deeply or the case softens/discolors, discard it to avoid spreading spores. Prevention (proper ventilation + moderate humidity) is far better than cure.
Is it okay to release non-native mantises like Chinese mantises in my area? In many parts of North America, Chinese mantises (Tenodera sinensis) are already widespread and considered invasive—they can outcompete smaller native species like the Carolina mantis. Whenever possible, source and release native species for your region to support local biodiversity. Check with your local agricultural extension office or entomology resources for guidance.
How many nymphs actually survive to adulthood after release? Realistically, only 5–20% survive to maturity in the wild due to predation, weather, starvation, and cannibalism. However, releasing larger numbers (from multiple oothecae) and providing good habitat dramatically improves the odds of establishing a helpful local population.
Can I speed up hatching if pests are already damaging my plants? You can warm the ootheca gradually to 26–28°C to accelerate development, but don’t push beyond 30°C—overheating kills embryos. If you’re in a rush, purchase already-incubated cases from suppliers who time shipments for your season.
Do mantises need special vitamins or supplements? No supplements are necessary if they have access to varied live prey. A diverse diet (flies, crickets, moths, aphids) provides all required nutrients naturally.
Expert Tips & Final Thoughts – H2 🎯🌱
- Invest in reliable tools: A digital combo thermometer/hygrometer ($10–15) eliminates guesswork and saves entire hatches.
- Culture your own fruit flies: Start a small Drosophila culture 2–3 weeks before expected hatch date—it’s cheap, self-sustaining, and ensures you never run out of pinhead-sized food.
- Photograph the journey: Document hatching, nymph growth, and garden impact—great for sharing on gardening forums or social media to inspire others.
- Support native pollinators too: While mantises help with pest control, balance your ecosystem by also releasing or attracting ladybugs, lacewings, and native bees.
- Sustainability mindset: Treat mantises as partners in your garden, not a silver bullet. Healthy, diverse plantings + minimal chemical use create the best long-term conditions for beneficial insects.
Congratulations—you now have the complete roadmap to successfully care for a praying mantis egg case, hatch dozens (or hundreds!) of healthy nymphs, and deploy them as natural guardians for your plants and trees 🦗🌳. Whether your goal is fewer chewed leaves on your fruit trees, aphid-free roses, or simply the joy of watching nature’s tiny predators at work, this method delivers real, chemical-free results.
Give it a try this season. Start small with one ootheca, observe closely, and enjoy the magic of hundreds of little hunters patrolling your garden. Your plants (and the planet) will thank you! 🌿✨


