
Imagine this: You’re out in your garden on a beautiful morning, carefully pruning your prized roses or fruit trees, shaping them just right for healthy growth. Weeks later, mysterious wilting or blackening appears on nearby plants—despite your best care. The culprit? Invisible pathogens hitchhiked on your pruning shears from one cut to the next! 😱 This heartbreaking scenario plays out more often than you’d think, as dirty tools silently spread bacteria, fungi, and viruses like fire blight, bacterial canker, powdery mildew, and even viruses in tomatoes or figs.
How to sterilize pruning shears properly isn’t just a nice-to-have gardening tip—it’s essential for preventing cross-contamination and protecting your entire landscape. In plant care and tree maintenance, where one infected branch can doom a whole shrub or young orchard tree, tool hygiene stands as your first line of defense. As a horticulture enthusiast who’s spent years maintaining home gardens, small orchards, and advising fellow plant lovers, I’ve seen firsthand how simple sterilization routines save plants and money.
In this comprehensive guide, we’ll dive deep into proven, extension-service-backed methods (drawing from sources like University of Minnesota Extension, Iowa State University Extension, and others), step-by-step instructions, comparisons of disinfectants, timing tips, common pitfalls, and pro maintenance advice. By the end, you’ll have everything needed to keep your plants healthy and your tools in top shape—without unnecessary hassle. Let’s protect your green friends starting today! 💚
Why Sterilizing Pruning Shears Is Essential for Plant Health 🛡️
Pruning creates fresh wounds on plants—perfect entry points for pathogens. When shears touch infected sap, spores, or debris, they become vectors for transmission. Common culprits include:
- Fire blight (Erwinia amylovora) – devastating for apples, pears, and roses
- Bacterial canker and spots
- Fungal issues like powdery mildew or cytospora
- Viruses such as tomato mosaic or fig mosaic
These spread rapidly in warm, humid conditions, turning a minor prune into widespread decline. University extensions emphasize: even “healthy-looking” plants can carry latent pathogens.
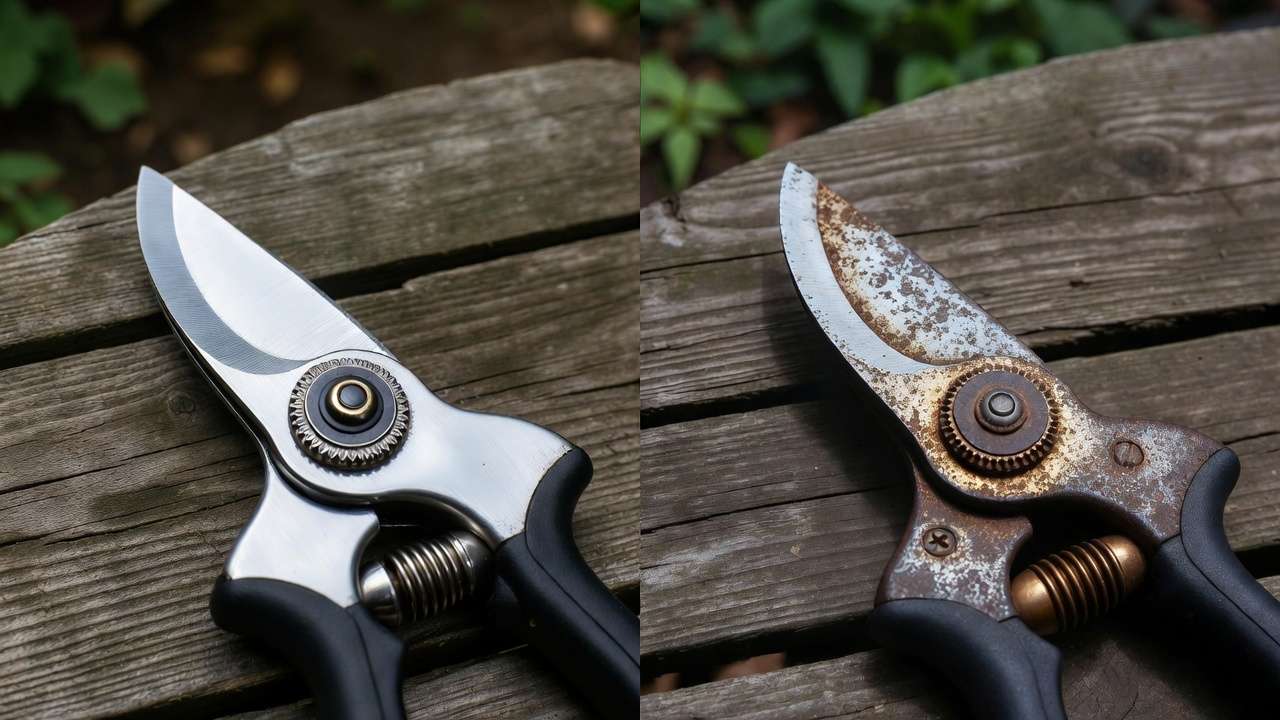
Sterilizing prevents this chain reaction, especially critical when moving between species (e.g., roses to fruit trees) or pruning diseased material. Beyond disease control, clean tools make cleaner cuts (reducing plant stress), stay sharper longer, and resist rust—extending their life by years.
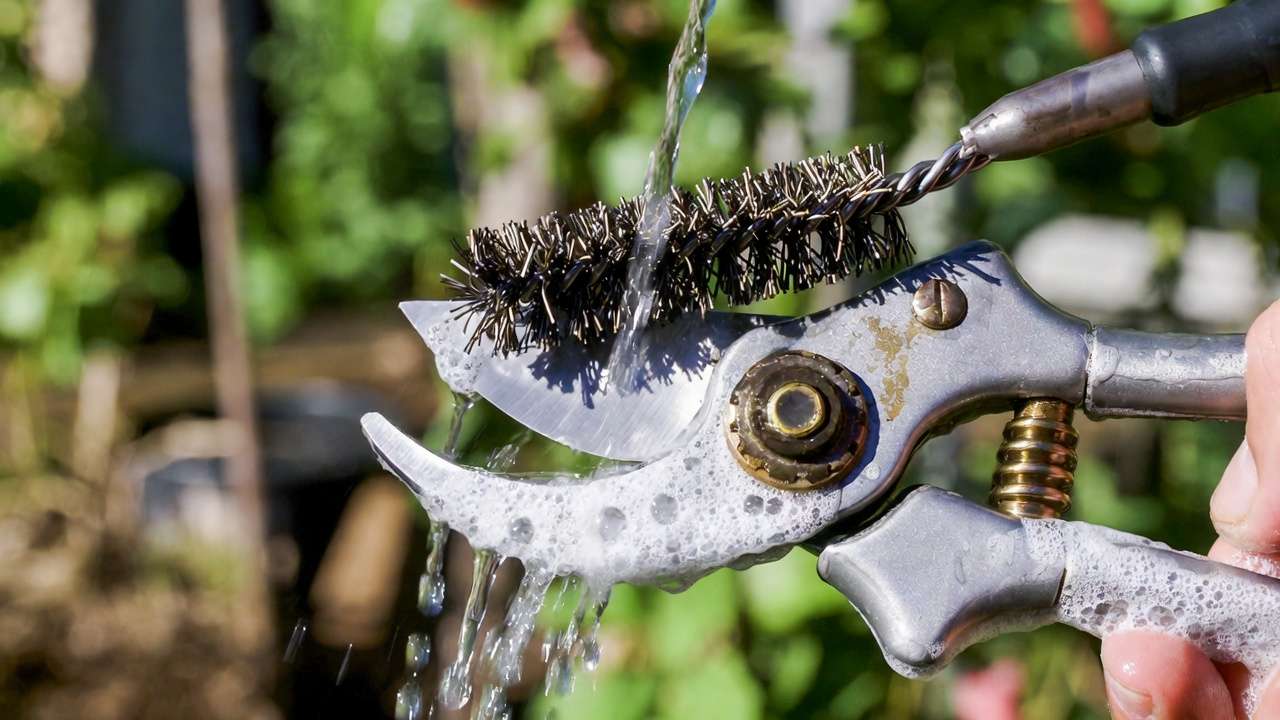
Step 1: Always Start with Proper Cleaning (Before Disinfecting) 🧼
Disinfecting dirty blades is like mopping a floor covered in mud—ineffective! Pathogens hide in sap, soil, and debris, so cleaning first is non-negotiable.
Tools you’ll need:
- Warm water
- Dish soap
- Wire brush or old toothbrush
- Clean rag or paper towels
- Optional: Hose for heavy debris
Step-by-step:
- Rinse shears under running water or hose to remove loose dirt.
- Mix warm soapy water and soak blades for 5–10 minutes.
- Scrub vigorously, focusing on blade edges, pivot points, and any grooves where sap hides.
- For stubborn sap/resin, dab with paint thinner or citrus-based cleaner (use gloves and ventilate!).
- Rinse thoroughly and dry immediately with a rag to prevent rust.
Pro tip: Do this after every session, even if no disease is visible—prevention beats cure! 🌱
The Best Methods to Sterilize Pruning Shears: Ranked & Compared 📊
Experts from university extensions (e.g., Iowa State, UMN, UF/IFAS) recommend methods based on effectiveness, speed, tool safety, and pathogen type. Here’s a quick comparison:
| Method | Effectiveness (General Pathogens) | Speed | Tool Safety (Corrosion Risk) | Cost | Best For |
|---|---|---|---|---|---|
| 70% Isopropyl Alcohol | High (most bacteria/fungi/viruses) | Very fast (30 sec) | Low | Low | Everyday use, between plants |
| 10% Bleach Solution | Very high (incl. tough bacteria) | 10–30 min soak | High (pitting over time) | Very low | Deep cleans, end-of-season |
| 3% Hydrogen Peroxide | High (good vs. fungi) | 1–5 min | Low | Medium | Gentle alternative, damping-off |
| Commercial Disinfectants (Lysol, etc.) | Variable to high | Fast (wipe/spray) | Low-Medium | Medium | Convenience, on-the-go |
| Heat (boiling/flame) | High | Variable | Medium (if careful) | Low | Small tools, no chemicals |
(Note: For fire blight specifically, some studies favor bleach or quaternary ammonium over alcohol.)
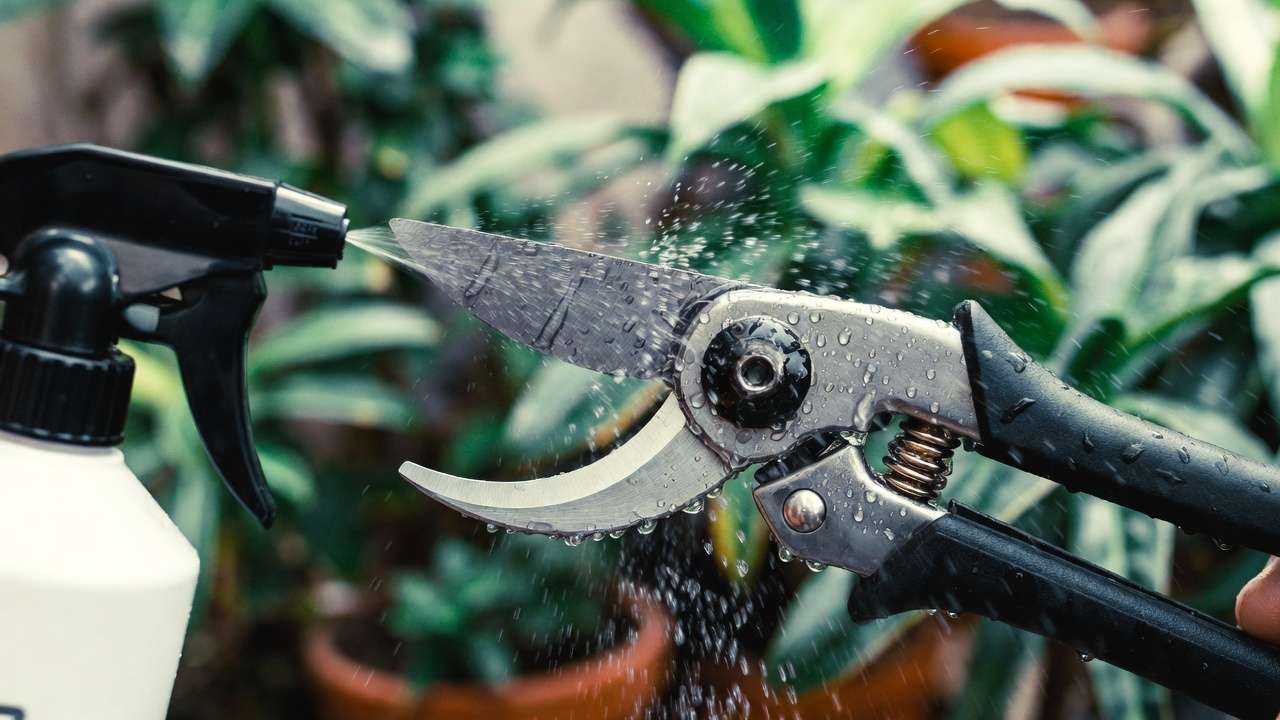
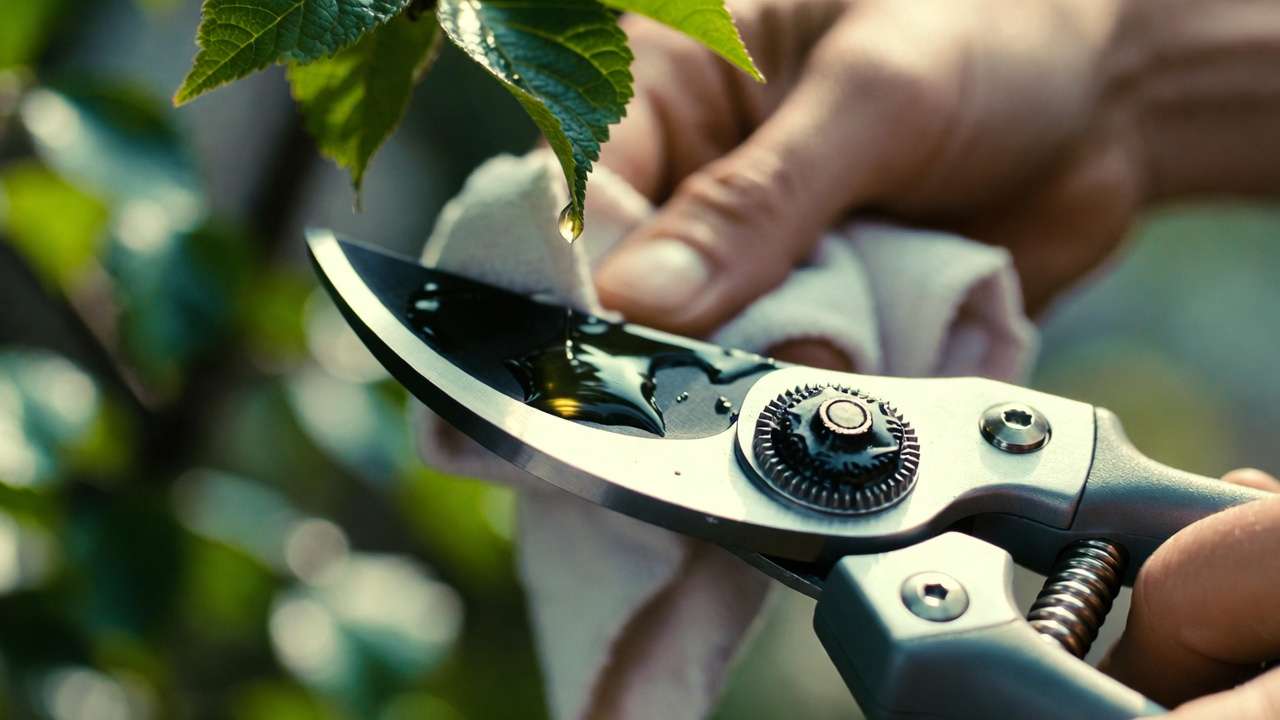
Method 1: 70% Isopropyl Alcohol (Rubbing Alcohol) – The Home Gardener’s #1 Choice 🍸
This tops most extension recommendations for homeowners—quick, non-corrosive, and widely available.
Why it works: 70% concentration penetrates cells effectively (higher evaporates too fast; lower is weaker). It kills most bacteria, fungi, and viruses in 30 seconds.
Step-by-step:
- After cleaning, spray blades generously or dip/wipe with a soaked rag.
- Cover all cutting surfaces, including the inner side.
- Let air-dry for at least 30 seconds (no rinsing needed).
- For convenience: Keep a small spray bottle or alcohol wipes in your tool kit!
Pros: Fast, no residue, minimal tool damage. Cons: May be less reliable against fire blight (some extensions suggest alternatives for infected Rosaceae). Use undiluted 70%+ isopropyl. Hand sanitizer (70%+) works in a pinch.
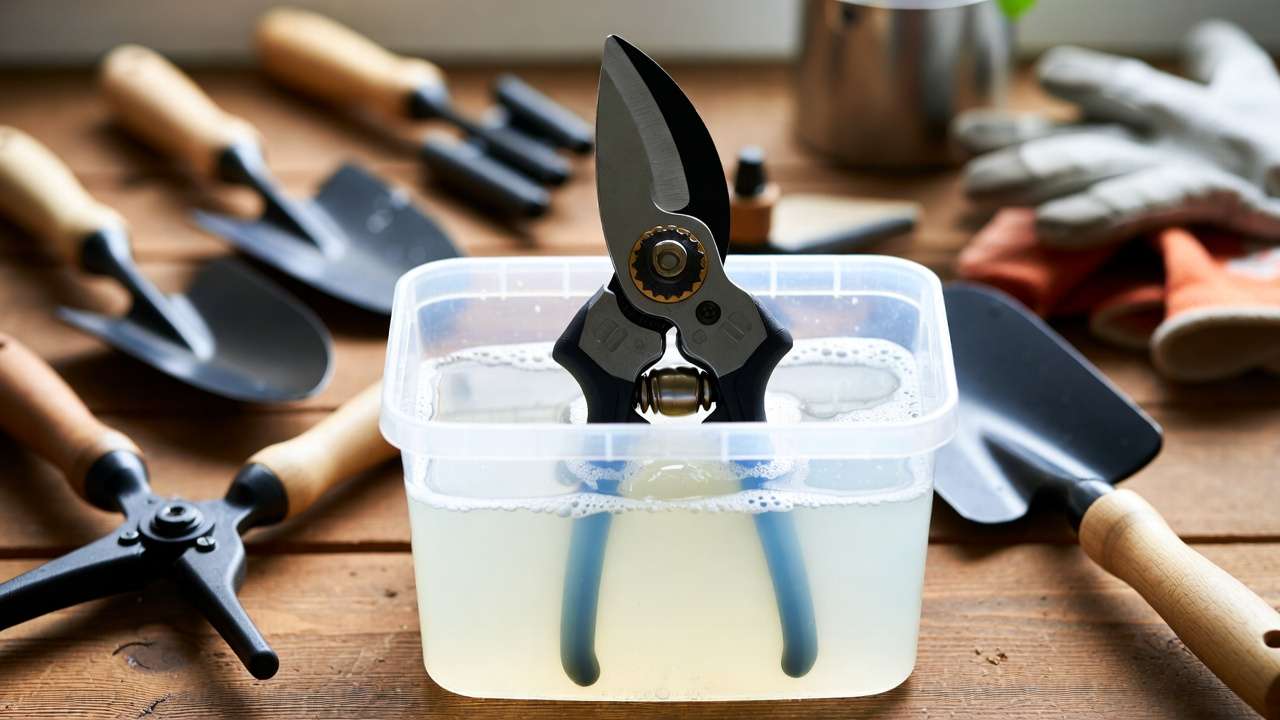
Method 2: 10% Bleach Solution – Powerful but Controversial ⚠️
Classic and highly effective, especially for stubborn bacteria.
Correct dilution: 1 part household bleach (5–6% sodium hypochlorite) to 9 parts water. Always add bleach to water (safety first!).
Step-by-step:
- Soak clean blades 10–30 minutes (longer for heavy contamination).
- Rinse thoroughly with clean water.
- Dry immediately and oil lightly to prevent rust.
Pros: Kills broad spectrum, including fire blight. Cons: Corrosive—causes pitting over time, which harbors microbes. Fumes irritating; short shelf life (make fresh every 2 hours). Many experts now discourage routine use.
Best for: End-of-season deep clean or non-cutting tools.
Method 3: Hydrogen Peroxide (3%) – Gentle & Effective Alternative 🌟
Great for eco-conscious gardeners.
How to apply: Spray or soak 1–5 minutes.
Benefits: Breaks down to water/oxygen, effective against fungi (e.g., damping-off). Less corrosive. Drawbacks: Slower than alcohol; slightly pricier.
Method 4: Other Proven Options (Household & Commercial)
- Commercial disinfectants (Lysol, Pine-Sol, Microban): Wipe or spray; effective per some tests (esp. quaternary ammonium for fire blight). Non-corrosive options best.
- TSP (10% solution): Soak 3+ minutes; very corrosive—avoid routine.
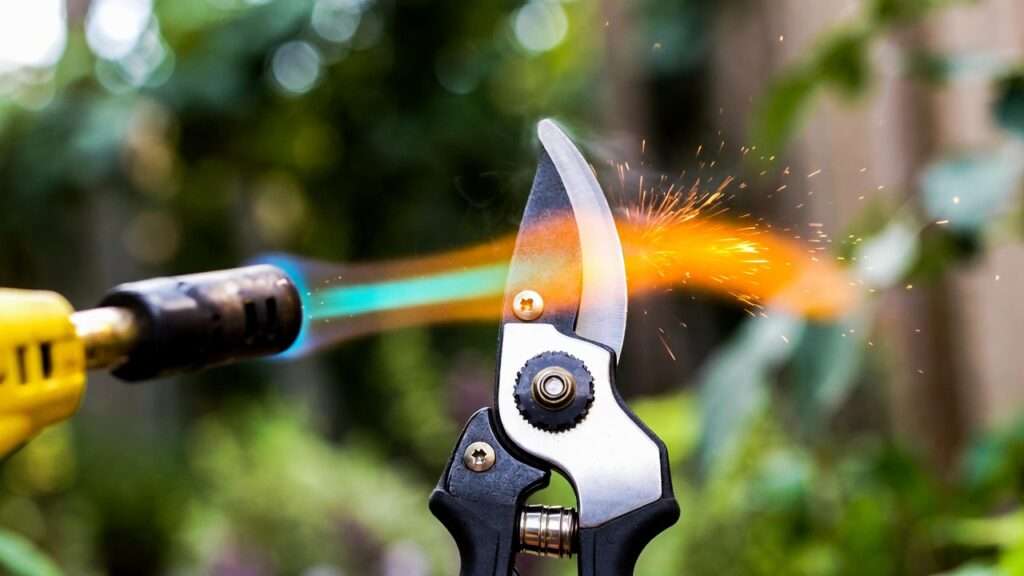
- Heat: Boil small tools 10–20 minutes or flame briefly (careful—safety first!).
- Avoid: Vinegar, baking soda—ineffective against most plant pathogens.
How Often & When Should You Sterilize? Timing Tips ⏰
- Between every cut on visibly diseased plants (essential for fire blight).
- Between different plants/trees—especially high-risk like roses, apples, pears.
- After sessions involving multiple species.
- End-of-season deep clean + oiling.
Pro hack: Carry two pairs—one soaking while you use the other. Rotate for efficiency! 🔄 Real scenarios: Disinfect rigorously in orchards; lighter for houseplants unless issues arise.
Common Mistakes That Ruin Tools & Spread Disease (Avoid These!) 🚫
- Skipping mechanical cleaning first
- Using <70% alcohol or diluting improperly
- Not rinsing after bleach/TSP → corrosion city
- Forgetting to dry tools (rust invites microbes)
- Over-relying on weak alternatives (e.g., vinegar)
- Neglecting sharpening—dull blades tear tissue, worsening infection risk
Expert Tips & Advanced Techniques from Horticulturists 🌳
- Build an on-the-go kit: Spray bottle + wipes + small oil can.
- Post-sterilization: Wipe blades with mineral oil or tool lube to protect against rust.
- Sharpen after cleaning (before disinfecting next time).
- Organic gardeners: Prioritize alcohol or peroxide.
- From real gardeners (forums/anecdotes): Many skip routine if no disease, but regret it during outbreaks—better safe!
Maintaining Your Pruning Shears Year-Round 🛠️
Store in dry, clean spot. Winter: Deep clean, sharpen, oil, store oiled. Spring: Inspect, re-sharpen if needed. Replace if pitting severe—clean blades outperform rusty ones every time.
Frequently Asked Questions (FAQs) ❓
Is alcohol enough for fire blight? Often yes for general use, but extensions recommend bleach/Lysol alternatives for confirmed cases.
Can I use hand sanitizer? Yes—if 70%+ alcohol.
How do I sterilize pole pruners or loppers? Same methods; focus on blades. Use spray for hard-to-soak parts.
Does boiling water work? Yes for small tools—10+ minutes effective.
What’s best for beginners? Start with 70% alcohol—simple, safe, effective for most needs.
Conclusion: Protect Your Plants Starting Today! 💚
Sterilizing pruning shears is a small habit with massive impact—stopping disease spread, saving plants, and preserving your tools. Pick one method (alcohol for most!), make it routine, and watch your garden thrive.
Have a favorite sterilization trick? Share in the comments—I’d love to hear! Subscribe for more plant care and tree maintenance tips. Happy (and healthy) pruning! 🌱✨


