
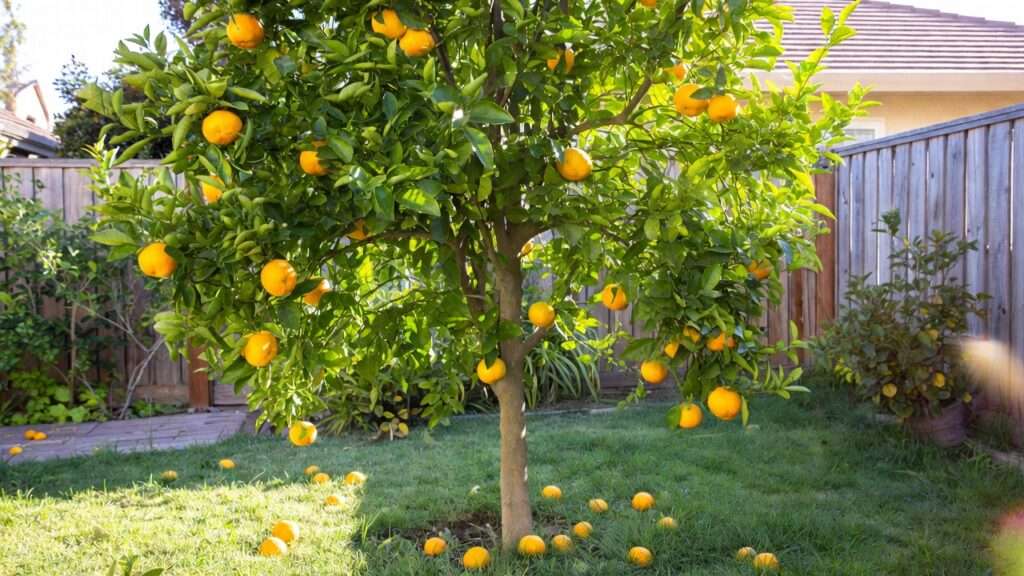
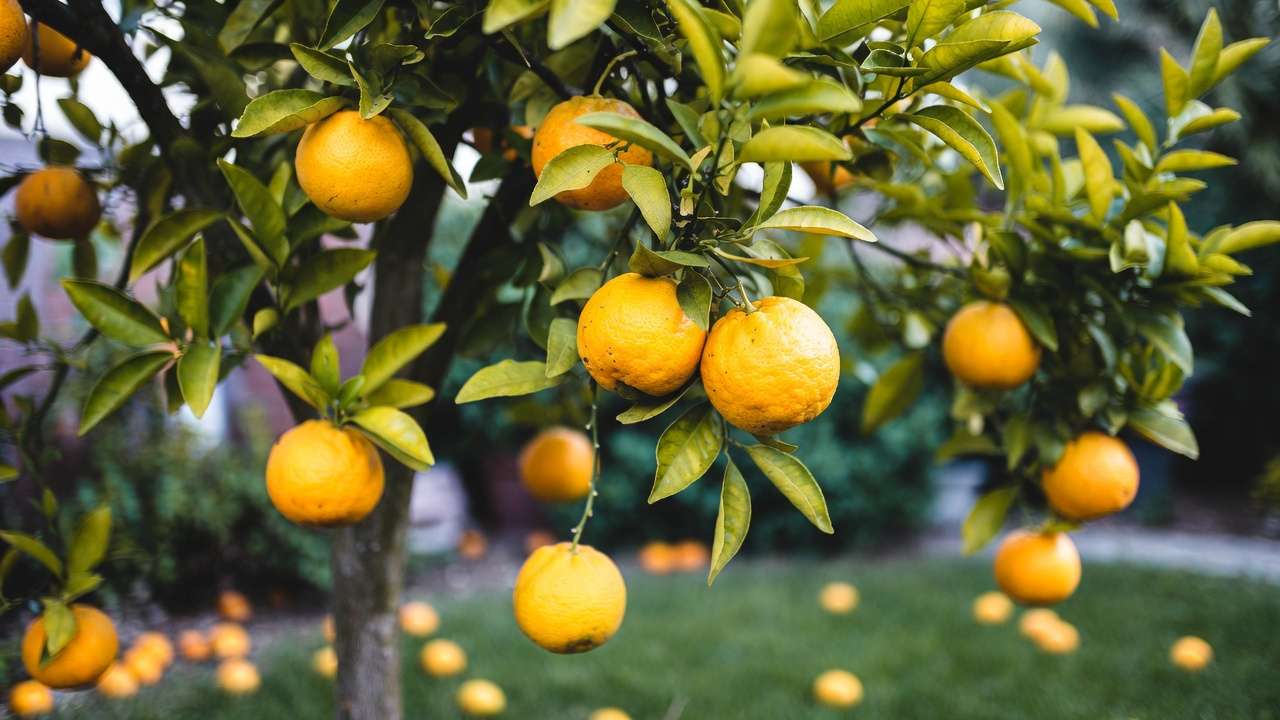
Citrus trees thrive with a different approach compared to many other fruit trees. Unlike peaches or plums that often use a strict open-center (vase) shape for maximum light, citrus benefits most from a full-skirted natural shape — where the canopy extends low to the ground, creating a rounded, bushy form that shades the trunk and lower branches from sunburn while maximizing fruiting surface area. 🍊
University experts from UC Davis and UF/IFAS emphasize that mature citrus trees rarely need heavy structural pruning once established. The real magic happens in the young years (1–3), where light, selective training builds the framework. Heavy open-center pruning is generally not recommended for citrus because it removes too much protective foliage and reduces overall fruit production potential.
Here are the most effective systems for home gardeners:
- Natural Full-Skirted Shape (Recommended for most home setups) This is the go-to for backyard, patio, and container citrus. The tree develops a rounded canopy with branches starting low (8–12 inches from the ground) and extending outward. Benefits: Maximum fruiting wood, natural sun protection for the trunk, and excellent airflow. Perfect for Meyer lemons, limes, and most dwarf varieties.
- Modified Central Leader (Best for upright-growing varieties) A single main trunk (leader) is maintained, with 3–5 well-spaced scaffold branches radiating out at wide angles (45–60°). The leader is gradually shortened or tipped over time to keep the tree balanced and not too tall. This works well for Navel oranges, grapefruits, or taller semi-dwarf trees. It provides good light penetration while keeping some central structure.
- Espalier or Hedge Training (Space-saving advanced option) Train branches flat against a wall, fence, or trellis for patios, balconies, or narrow spaces common in urban areas like Dhaka. This creates a decorative screen with easy access to fruit. It’s more work but rewarding in small spaces! 🌱
Pro tip for tropical climates: In warm, humid areas like Bangladesh, prioritize the full-skirted natural shape — it provides better humidity control and pest deterrence through dense foliage. Avoid overly open shapes that expose bark to intense sun. ☀️
Step-by-Step Guide to Training Young Citrus Trees (Years 1–3) 📅✂️
Follow this timeline to build a powerhouse tree. Always prune lightly — citrus hates heavy cuts early on, as it needs leaves for energy and growth.
Year 1: Establishing the Foundation (The Most Important Phase!) 🏗️
- At planting Choose a healthy nursery tree with a straight trunk and good roots. Plant at the same depth it was in the pot (graft union 2–4 inches above soil). Water deeply and mulch 3–4 inches thick (keep mulch away from trunk to prevent rot).
- Remove suckers immediately Any shoots below the graft union (from rootstock) steal energy — rub or cut them off as soon as you see them.
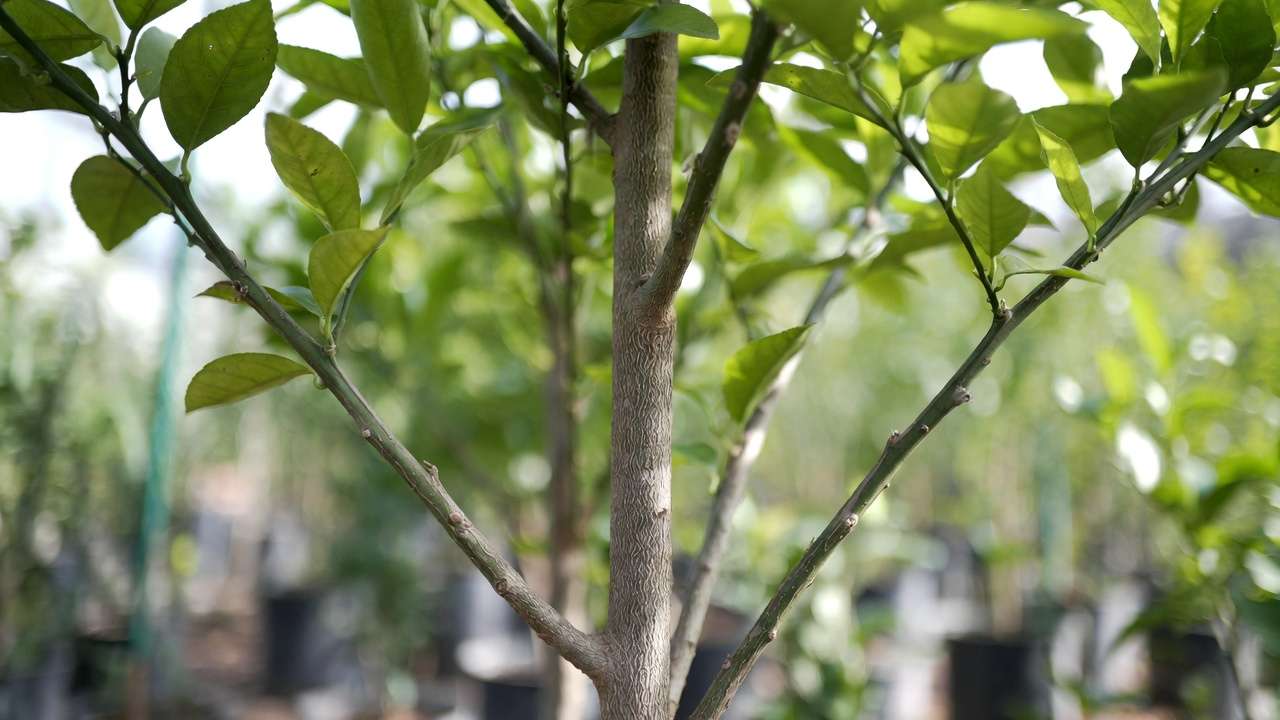
- Select and develop the central leader Choose the strongest, straightest upright shoot as your main trunk/leader. Remove any competing upright shoots that are close in size.
- Encourage low branching If the tree is tall and bare at the bottom, tip-prune (cut back) the leader at 24–36 inches above ground to force side branches to emerge lower. Aim for the first branches to start 12–18 inches from the ground.
- Light tipping On vigorous new shoots, pinch or cut tips when they reach 18–24 inches to encourage bushy growth.

Goal by end of Year 1: A single strong trunk with several low lateral branches starting to develop. No fruit yet — focus on roots and structure! 🌱
Year 2: Building Strong Scaffold Branches 🛠️
By now, your tree should have 4–8 side shoots. This is the year you shape the permanent framework.
- Select primary scaffolds Choose 3–5 strong, outward-growing branches with wide crotch angles (45–60° or more). These will become your main limbs. Space them evenly around the trunk (like spokes on a wheel) and vertically 6–12 inches apart.
- Remove problem branches Cut out:
- Crossing or rubbing branches
- Inward-growing shoots
- Weak, narrow-angled branches
- Any new suckers
- Tip new growth Head back new shoots on scaffolds to 12–18 inches to force more side branching and density.
- Start light skirting If lower branches are too low and touching soil, raise them slightly — but keep the canopy full and low for protection.
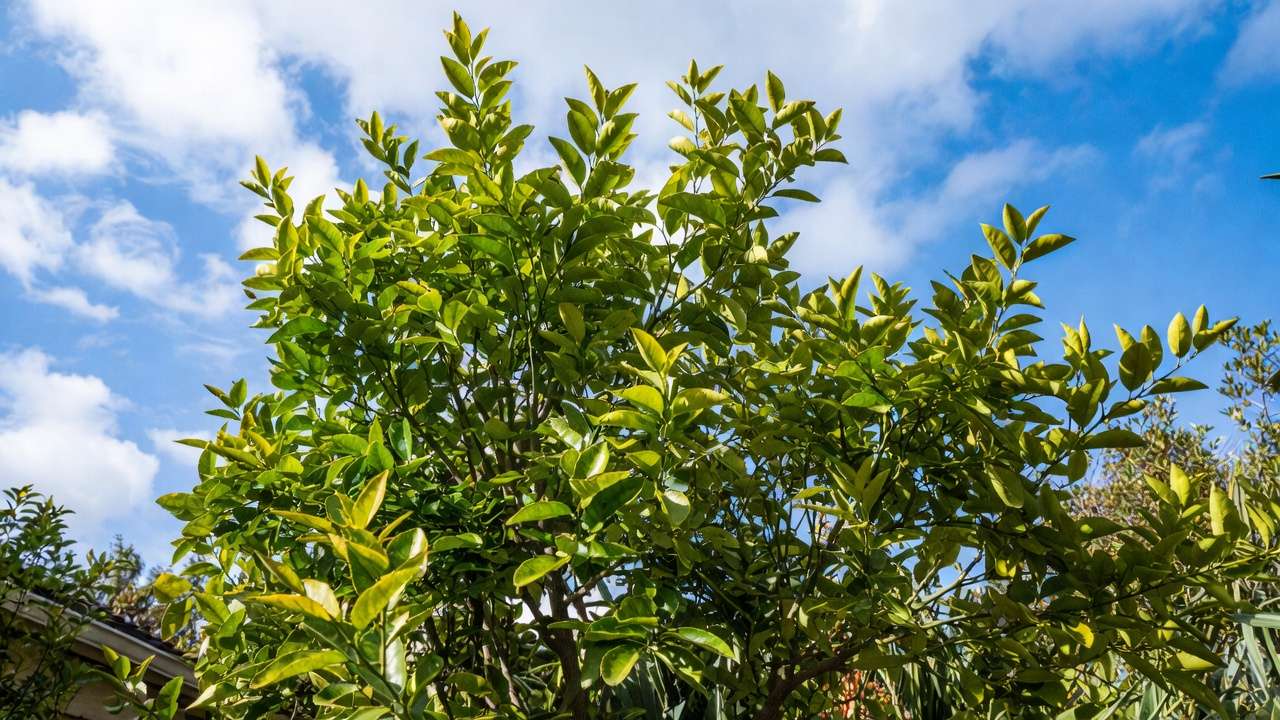
Goal by end of Year 2: A balanced tree with 3–5 well-placed scaffold branches, open center but dense foliage. Light fruit may appear — thin it off to build strength. 🍋
Year 3 & Beyond: Refining for Production & Maintenance 🌟
The tree is now entering production phase — training shifts to refinement.
- Maintain balance Continue selecting outward shoots and removing inward/crossing ones.
- Tip for density Lightly head back long shoots to keep the canopy compact and encourage more fruiting wood.
- Transition to mature pruning Once the tree reaches desired height (usually 6–10 feet for home gardens), tip the leader to stop upward growth. Focus on opening the center slightly for light while keeping it skirted.
- Container-specific adjustments In pots (ideal for Dhaka balconies), prune more frequently — remove 10–20% of new growth each season to control size. Repot every 2–3 years.
Expert note: After year 3–4, heavy pruning is rarely needed. Annual light maintenance keeps your tree productive for decades! 📈
Essential Tools & Techniques for Success 🛠️✂️
Having the right tools makes training easier, safer, and more precise. Here’s what experienced citrus growers actually use:
Must-have tools:
- Bypass pruners (sharp, high-quality like Felco or Corona) – for cuts up to ¾ inch diameter
- Loppers – for branches ¾–1½ inches
- Pruning saw (folding Japanese-style is best) – for anything thicker
- Gloves (nitrile-coated or leather) – citrus thorns are real!
- Disinfectant (10% bleach solution, 70% isopropyl alcohol, or Lysol wipes) – clean blades between every tree or after diseased material
Optional but very helpful:
- Pole pruner – reach high branches without a ladder
- Handheld mirror – check inside the canopy for hidden crossing branches
- Soft ties & stakes – only if young tree is very wind-exposed (rare in Dhaka)
Cutting technique tips:
- Always cut just above a bud or leaf node, angled 45° away from the bud
- Never leave stubs – they die back and invite disease
- Citrus wounds heal naturally – no pruning paint or sealant needed (unlike apples or peaches)
- Make all cuts clean and sharp – torn cuts slow healing
Fruit thinning on young trees: If your tree sets fruit in year 2 or 3, remove 80–100% of it. This forces the tree to build stronger roots, trunk, and branches instead of wasting energy on small, poor-quality fruit. You’ll thank yourself in years 4–5 when the tree produces abundantly! 🍊💪
Common Mistakes to Avoid When Training Young Citrus Trees 🚫⚠️
These are the errors that most often turn promising young trees into problem adults:
- Over-pruning early – Removing more than 20–25% of foliage at once stresses the tree and delays fruiting by years
- Heavy skirting too soon – Citrus needs low foliage to shade the trunk from sunscald (especially intense in South Asia). Don’t raise the skirt higher than 12–18 inches until year 4+
- Ignoring rootstock suckers – They grow fast and steal energy – remove them weekly if needed
- Pruning during peak summer heat – Newly exposed bark sunburns quickly (common problem in tropical climates)
- Allowing one dominant branch – Creates lopsided trees that are prone to splitting
- Leaving narrow crotch angles – Branches with <30° angles are weak and likely to break under fruit load
- Not thinning fruit – Young trees set too much fruit → small, low-quality crop + branch damage
Avoid these pitfalls, and your tree will thank you with strong growth and heavy harvests! 🌟
Bonus Tips for Maximum Fruit Production 🍋📈
- Fertilization for young trees – Use balanced citrus fertilizer (e.g., 8-8-8 or 10-10-10) every 6–8 weeks during growing season. Switch to high-potassium (for fruiting) in year 3+
- Watering & mulch – Deep, infrequent watering + 3–4 inch organic mulch layer conserves moisture and suppresses weeds
- Pest & disease watch – During training phase, scout weekly for citrus leafminer, aphids, scale. Neem oil or horticultural soap works well for most issues
- Container citrus specifics – Use 15–25 gallon pots minimum, well-draining citrus mix, repot every 2–3 years. More frequent light pruning needed
- Cold protection – In marginal areas of Bangladesh (winter nights below 5°C), cover young trees or move pots indoors during cold snaps’
Real-Life Examples & Case Studies 🌳📸
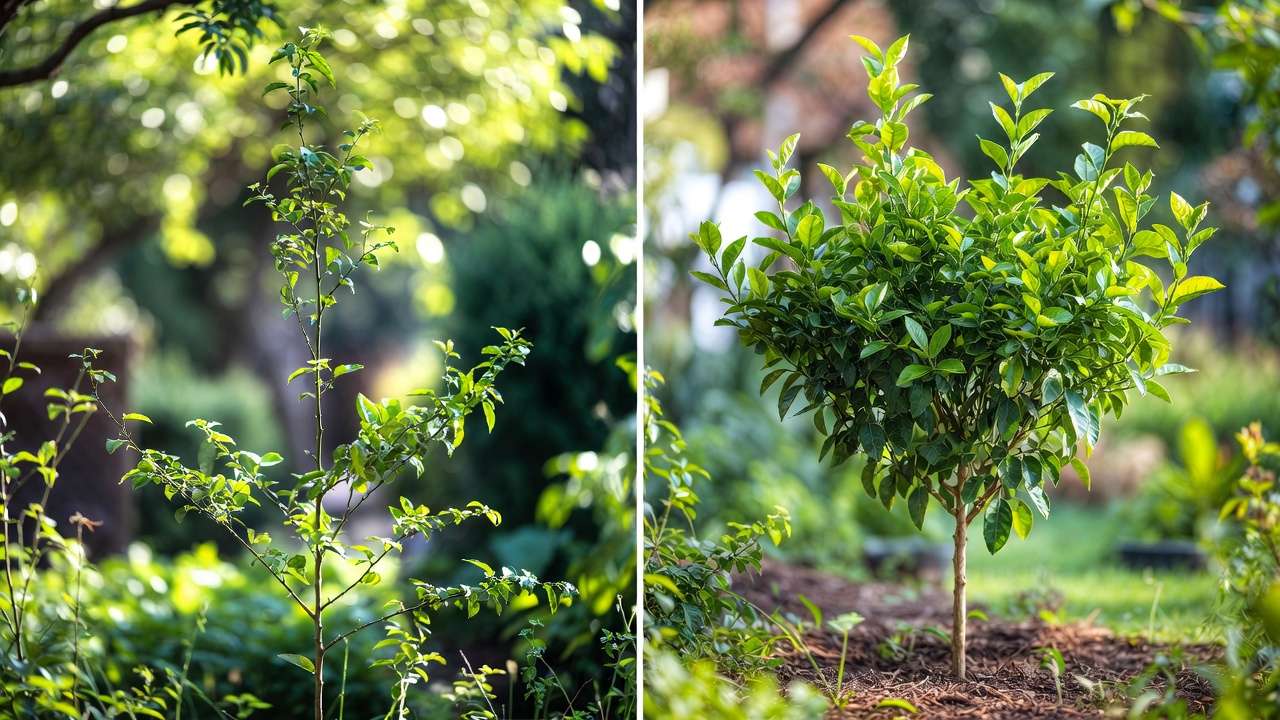
Example 1: Leggy Meyer Lemon Rescue A 2-year-old potted Meyer lemon was 5 feet tall with only 3 weak side branches and no lower foliage. After following the Year 2 protocol — selecting 4 scaffolds, tipping vigorous shoots, and removing upright competitors — the tree developed a beautiful rounded shape. By year 4, it produced over 40 juicy lemons!
Example 2: Patio Valencia Orange Transformation A semi-dwarf Valencia in a large container started very upright and bare at the base. Light tipping in years 1–2 plus selection of wide-angled laterals created a full-skirted patio tree. In year 5, the owner harvested 60+ sweet oranges from a space just 5 feet wide.
These real transformations show that consistent, light training delivers dramatic results — even in small urban spaces like Dhaka balconies and rooftops! 🏙️🍊
Frequently Asked Questions (FAQs) ❓
Q: When can I let my young citrus tree start fruiting? A: Thin off all fruit in years 1–2. Allow a light crop in year 3 if the tree is vigorous. Full production usually begins year 4–5 with proper training.
Q: How much should I prune a 1-year-old citrus tree? A: Very lightly! Usually just remove suckers, tip the leader if needed, and eliminate competing upright shoots. Remove no more than 15–20% of foliage.
Q: Is it okay to top a young citrus tree? A: Yes — light topping (heading back) of the leader or long shoots encourages branching. Never remove more than 1/3 of height at once.
Q: What’s the difference between pruning and training? A: Training = selective cuts in the first 3–4 years to create structure. Pruning = ongoing light maintenance to remove dead/diseased/crossing wood and control size.
Q: Can I train citrus into espalier or bonsai? A: Yes! Both are possible and beautiful. Espalier works well on walls; bonsai requires more frequent root and shoot pruning.
Final Thoughts & Next Steps 🌟🍋
Mastering training young citrus trees is one of the highest-ROI skills any home citrus grower can learn. The time and care you invest in years 1–3 will reward you with stronger branches, healthier trees, earlier fruit, higher yields, and far less maintenance for decades to come.
Start today — grab your sharp pruners, assess your young tree, and begin building that perfect framework. Your future self (and your taste buds!) will thank you!
Happy training, happy growing, and may your citrus trees overflow with juicy fruit year after year! 🌳🍊✨


