
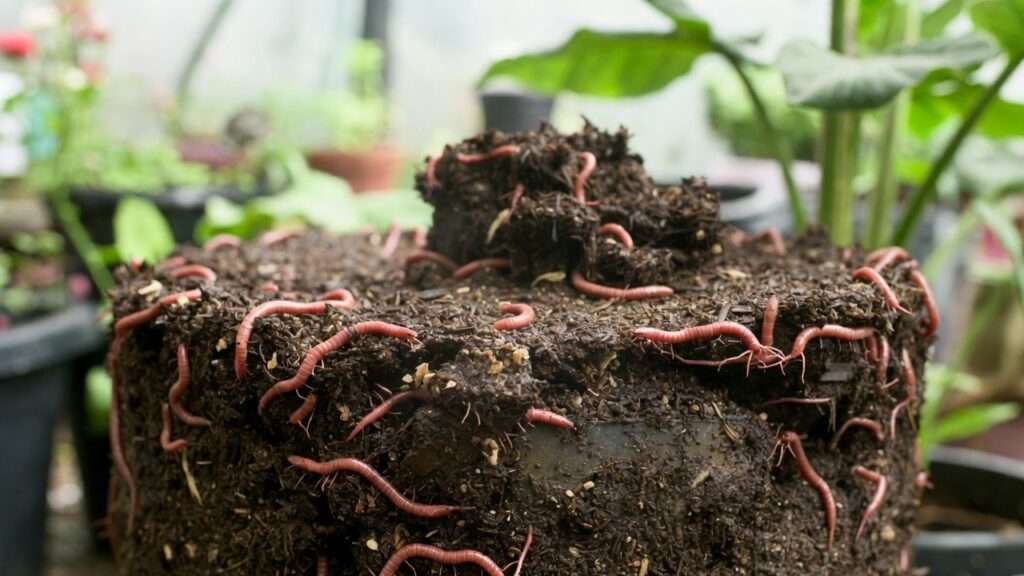
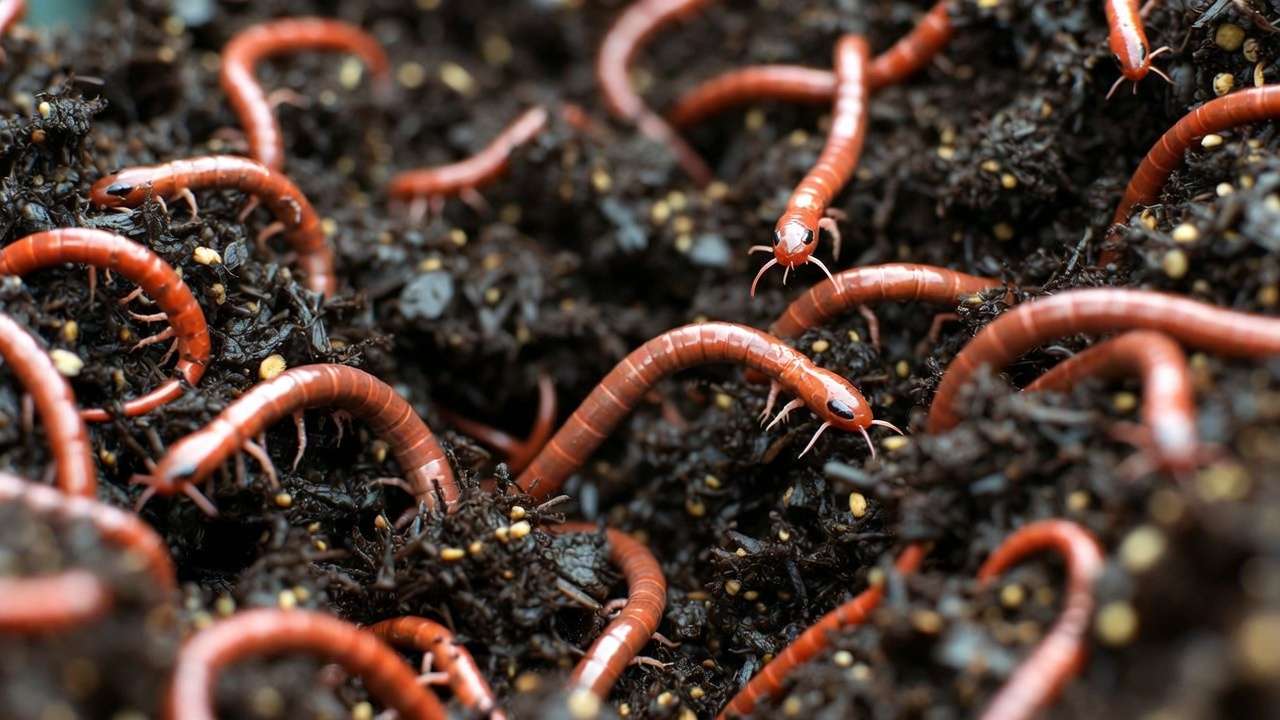
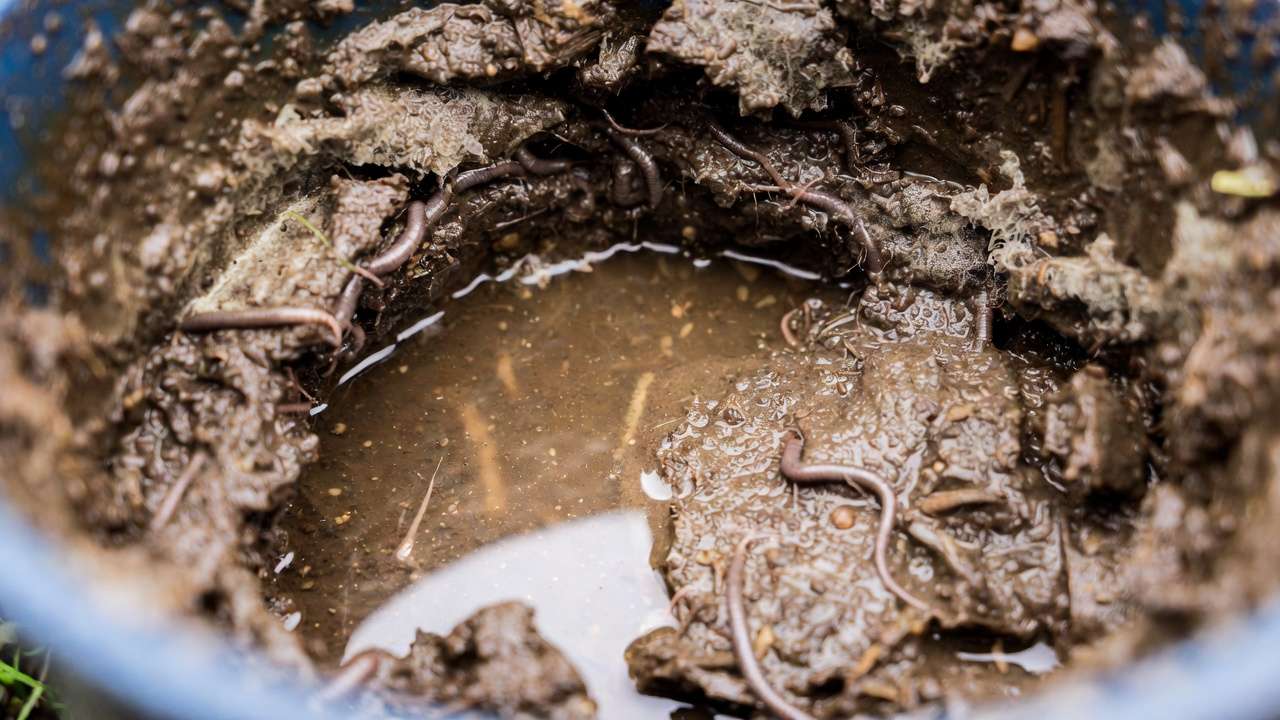
Have you ever lifted the lid of your worm bin and been hit with a sour, ammonia-like smell… or found your red wigglers huddled desperately on the surface like they’re trying to escape a desert? 😩 These are classic signs that moisture has gone rogue — and it’s one of the most common reasons home vermicomposters give up in frustration.
The good news? How to manage worm bin moisture is simpler than you think once you understand the basics. Worms (especially red wigglers, Eisenia fetida) breathe through their skin and thrive in a consistently damp environment — think of bedding that feels like a wrung-out sponge 🧽. Get this right, and you’ll unlock faster decomposition, odor-free bins, thriving worm populations, and the richest worm castings imaginable for your plants and trees. Get it wrong, and you risk anaerobic conditions, worm escapes, or even colony collapse.
As someone who’s maintained multiple worm bins indoors and outdoors for years — from small kitchen setups in apartments to larger outdoor systems feeding garden beds — I’ve seen moisture mishaps turn into triumphs with just a few targeted tweaks. In this comprehensive guide, we’ll cover everything: ideal levels, setup secrets, daily habits, troubleshooting fixes, seasonal adjustments, and how perfect moisture directly supercharges your plant and tree care routine. Let’s turn your worm bin into a moisture-balanced powerhouse! 🚀
Understanding Ideal Worm Bin Moisture Levels 💧
What Is the Perfect Moisture Range for Composting Worms?
Most experts agree that the sweet spot for red wigglers and other composting worms is 60–80% moisture, with many seasoned vermicomposters aiming for 70–80% to maximize activity and reproduction. At this level, bedding feels moist and cohesive but doesn’t drip when squeezed.
- Too dry (<60%): Worms become stressed, slow down eating and breeding, cluster near the surface or lid seeking humidity, and composting grinds to a halt. In extreme cases, they enter a dormant state or die off.
- Too wet (>85%): Excess water displaces oxygen, creating anaerobic pockets that produce foul odors (think rotten eggs or vinegar), attract pests like fruit flies, and can drown worms over time.
Why the range? Worms are incredibly adaptable — some sources note they tolerate 50–90% briefly — but consistent 70–80% delivers the healthiest colonies and highest-quality castings.
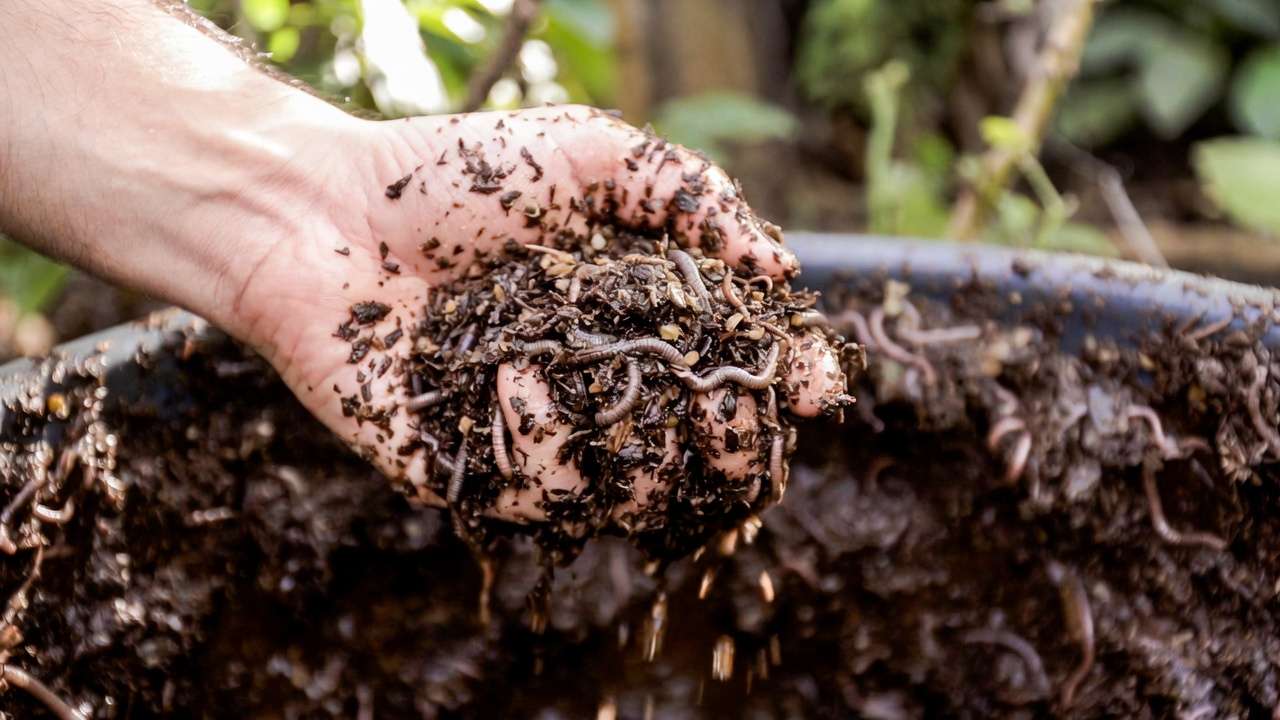
The Famous “Wrung-Out Sponge” Test (And Alternatives) 🪣
The gold-standard check requires no fancy tools:
- Grab a handful of bedding from a few inches down (not just the surface).
- Squeeze gently — a few drops of water may appear, but nothing should stream out.
- The material should hold together in a clump but break apart easily when poked.
If it’s crumbly and dusty → too dry. If it drips like a soaked rag or feels slimy → too wet.
For precision lovers, invest in a simple soil moisture meter (around $10–20). Insert probes into different spots; aim for readings in the “moist” zone (typically 4–6 on a 1–10 scale). These tools help catch uneven moisture pockets that hand tests might miss.
Visual cues for happy bins: no standing leachate at the bottom, worms evenly distributed and active, bedding dark and fluffy rather than compacted or soupy.
How to Set Up Your Worm Bin for Perfect Moisture from Day One 🏗️
Choosing the Right Bedding Materials for Moisture Balance
Bedding is your moisture foundation. Great options include:
- Shredded newspaper or cardboard — excellent absorbers; cheap and readily available.
- Coconut coir — holds moisture beautifully without compacting; eco-friendly and low-odor.
- Aged leaves or peat moss — natural, good structure.
- Avoid: Fresh grass clippings (too wet and nitrogen-heavy), fine sawdust (compacts easily), or anything treated with chemicals.
Mix materials for best results — e.g., 50% coir + 50% shredded paper.
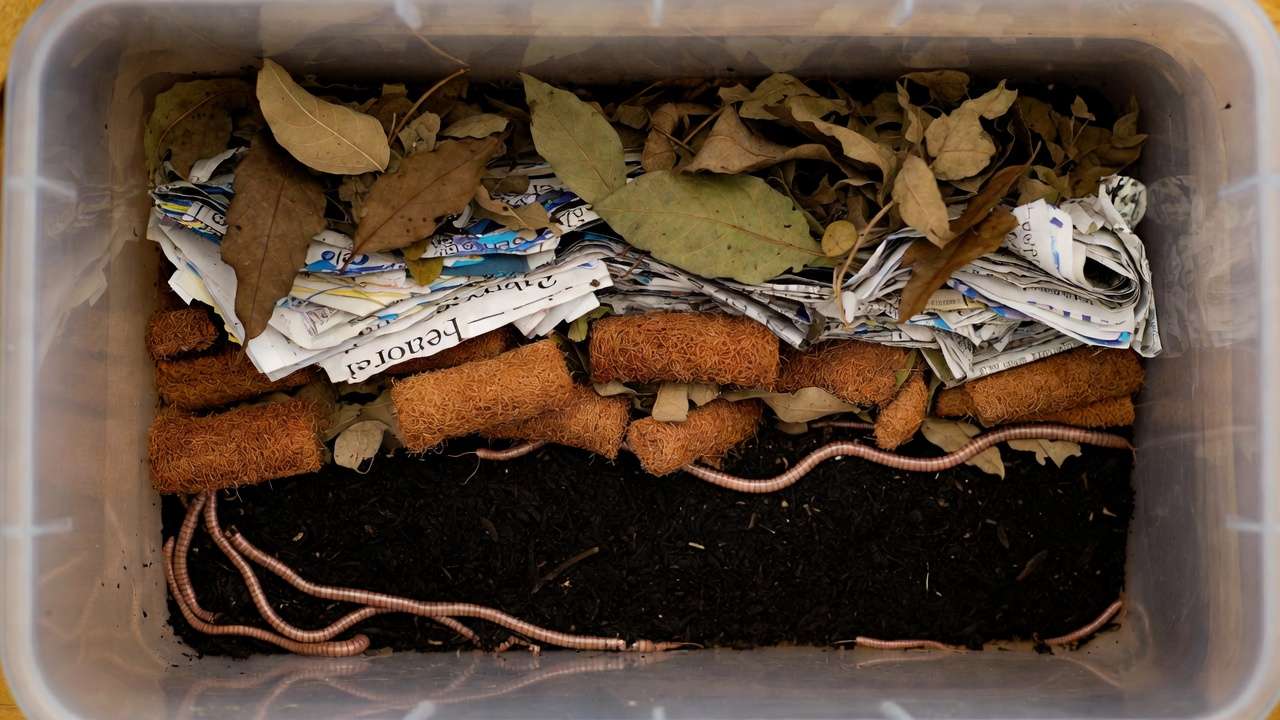
Initial Bedding Preparation – Getting to 70% Moisture
Start strong:
- Shred bedding into 1–2 inch pieces.
- Soak in dechlorinated water (let tap water sit 24 hours or use rainwater) for 10–20 minutes.
- Squeeze out excess until it passes the wrung-out sponge test.
- Fluff and add a handful of garden soil or finished compost for grit and microbes.
- Aim to start slightly wetter (around 75–80%) because food scraps and worm activity add moisture over time.
Pro tip: Layer 4–6 inches of prepared bedding, add worms, then wait 2–3 days before first feeding to let them acclimate.
Daily & Weekly Moisture Management Best Practices 📅
Maintaining consistent moisture is all about proactive habits rather than reactive rescues. With regular checks and smart routines, your worm bin can stay in that ideal 70–80% range with minimal effort.
Feeding Strategies to Prevent Moisture Swings
Food scraps are a major moisture source — fruits and veggies can be 80–95% water! To keep things balanced:
- Balance wet and dry feeds: Pair juicy items (cucumbers, melons, tomatoes) with drier ones (bread crusts, dry leaves, crushed eggshells, or small amounts of coffee grounds). A good ratio is roughly 1:1 wet-to-dry by volume when possible.
- Bury food deeply: Always dig a pocket in the bedding, add scraps, then cover completely with 1–2 inches of fresh dry bedding. This prevents surface sogginess and reduces odors that attract flies.
- Feed smaller, more frequent meals: Especially in humid climates or during warm months, add food 2–3 times per week in smaller portions rather than one big weekly dump. This gives bedding time to absorb liquids gradually.
Expert note: In my experience with multiple bins, overfeeding watery produce is the #1 cause of sudden wet spikes — start conservatively (about ½ lb of scraps per 1 lb of worms per week) and adjust based on how quickly they process it.
Watering Techniques – When, How Much, and How Often
Don’t wait for the bin to look dry — proactive light watering keeps moisture even.
- Tools: Use a clean spray bottle, mister, or gentle watering can with a fine rose. Never pour water directly in one spot — it creates puddles and anaerobic zones.
- Frequency: Indoors, check weekly and add moisture 1–2 times per week if needed. Outdoors or in dry/heated rooms, you may need to mist every 3–5 days.
- Amount: Spray until the top 1–2 inches feels damp again, then stop. Use rainwater, dechlorinated tap water (let it sit 24 hours), or aged aquarium water for best results — worms are sensitive to chlorine and heavy metals.
- Pro trick: If your bin has drainage holes or a spigot, collect any leachate (worm tea) in a tray below and re-add it diluted (1:10 with water) when the bin needs a boost. This recycles nutrients and moisture without overdoing it.
Aeration & Mixing Tricks to Even Out Moisture
Oxygen and even distribution go hand-in-hand with moisture control.
- Gently fluff the entire bin contents every 7–10 days using a hand fork or chopsticks. Turn lightly — avoid vigorous mixing that stresses worms.
- Focus on breaking up any compacted or soggy pockets while redistributing dry areas.
- In stacked tray systems, rotate trays occasionally so moisture doesn’t pool at the bottom.
These small actions prevent hot spots and ensure worms can move freely throughout the bin.
Troubleshooting Common Worm Bin Moisture Problems ⚠️
Even the best-managed bins hit snags. Here’s how to spot and fix issues fast — the sooner you act, the less risk to your worm colony.
Fixing a Too-Wet Worm Bin (Soggy, Smelly, Leaking)
Signs: Strong sour/ammonia odor, pooling leachate, excessive fruit flies, worms climbing walls or escaping, slimy texture, black mold patches.
Step-by-step rescue:
- Stop adding wet food and water immediately for 1–2 weeks.
- Add absorbent dry bedding: Mix in generous amounts of shredded cardboard, newspaper, dry coconut coir, or aged leaves (aim for 2–3 inches layered on top and gently worked in). These soak up excess like sponges.
- Improve drainage and airflow: Drill extra holes if needed (1/8–1/4 inch), elevate the bin on bricks for better ventilation, or place a small fan nearby on low (not blowing directly on worms) for 4–6 hours daily.
- Harvest leachate: Drain any standing liquid and use it diluted as fertilizer elsewhere — don’t let it sit.
- Emergency split: If severely soggy, divide contents into two bins with extra dry bedding in each to speed drying.
Most bins recover in 7–14 days. Prevention: Always top with a 1–2 inch “blanket” of dry shredded paper to wick away surface moisture.
Fixing a Too-Dry Worm Bin (Crumbly, Worms Clustering)
Signs: Bedding dusty or powdery, worms congregating on lid/sides/walls, slow or stalled decomposition, worms appearing lethargic.
Solutions:
- Light misting: Spray the surface and sides gently until damp — do this daily for a few days until balanced.
- Add moist food: Introduce high-water scraps (e.g., melon rinds, cucumber peels) buried deep.
- Cover with a damp blanket: Lay a sheet of moistened newspaper or burlap over the top bedding to trap humidity.
- Relocate if needed: Move indoor bins away from air vents, heaters, or AC — these dry air rapidly.
In arid climates or winter with indoor heating, check moisture twice weekly and consider a humidity tray (bin sitting in a shallow water-filled saucer, elevated so no direct contact).
Seasonal Moisture Challenges & Solutions
Seasons dramatically affect bin moisture — adjust proactively:
- Summer/Humid climates: Increase ventilation (more holes, fan, shade cloth outdoors). Reduce watery foods, add more absorbent bedding. Watch for overheating (worms die above ~90°F/32°C).
- Winter/Dry indoors: Insulate bin sides with blankets or bubble wrap (leave top open for air). Mist more frequently, cover with damp newspaper, and use warmer location (55–77°F ideal).
- Rainy/outdoor seasons: Add a slanted roof or move under cover. Drill drainage if pooling occurs; add extra dry bedding after heavy rains.
In tropical areas like parts of Bangladesh, humidity often pushes bins wetter — prioritize airflow and dry carbon inputs year-round.
Advanced Tips from Experienced Vermicomposters 🌟
- Worm blankets: A piece of moist burlap, old cotton sheet, or thick cardboard on top retains humidity and provides extra food — refresh when soggy.
- pH & moisture connection: Aim for 6.0–7.5 pH. Too acidic (from excess fruit) can make worms avoid areas; sprinkle crushed eggshells or agricultural lime sparingly if needed.
- Multi-spot monitoring: Check moisture in 3–4 different areas (top, middle, bottom edges) — unevenness is common in larger bins.
- Tray system advantage: In flow-through or stacking trays, moisture tends to migrate downward — harvest lower trays first to prevent bottom sogginess.
- Long-term insight: After years of trial and error, the biggest game-changer is consistency: weekly checks + balanced feeding = almost zero major moisture crises.
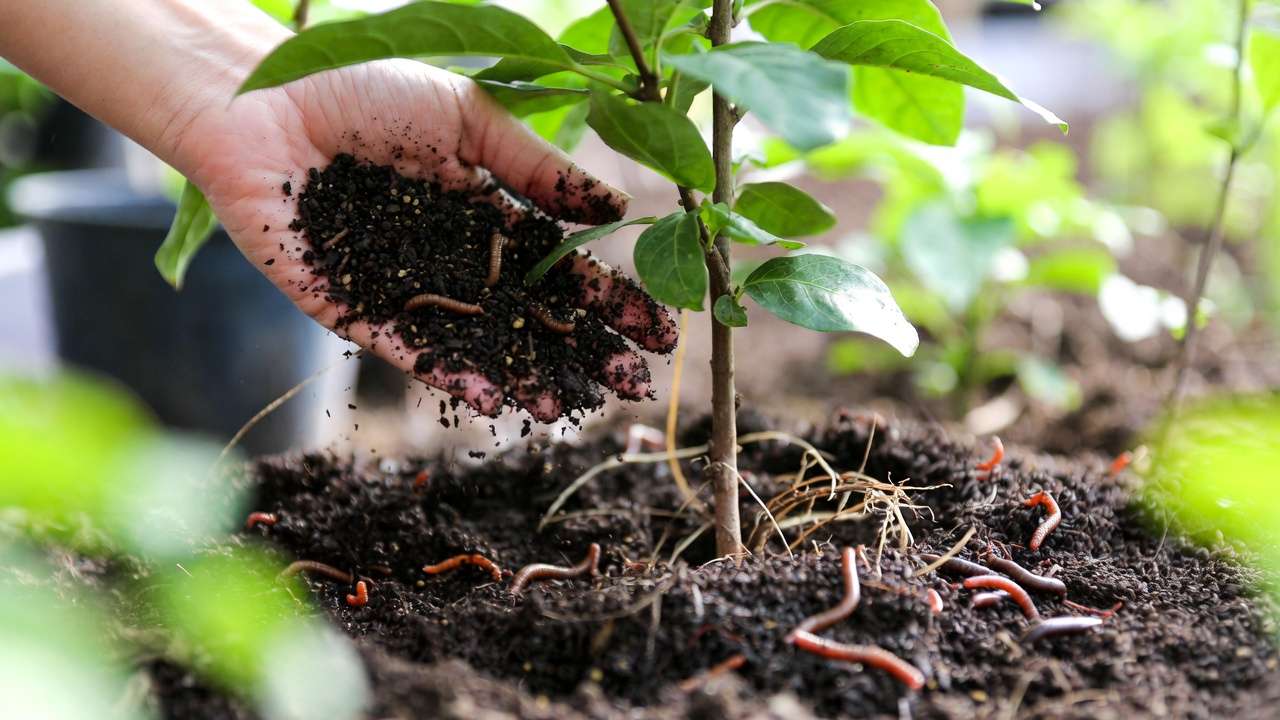
How Proper Moisture Management Boosts Your Plants & Trees 🌳
When moisture is dialed in, your worms produce dark, crumbly castings loaded with bioavailable nutrients, beneficial microbes, and natural growth hormones. These “black gold” amendments:
- Improve soil structure and water retention — perfect for potted plants or tree root zones.
- Boost microbial activity for healthier root systems and disease resistance.
- Provide slow-release nitrogen, phosphorus, potassium, and micronutrients.
Application tips: Mix 10–20% castings into potting soil, top-dress around tree bases (1–2 inches, watered in), or brew aerated worm tea (1:10 castings-to-water ratio, bubbled 24–48 hours) for foliar sprays or soil drenches.
Healthy, moist-managed bins = superior castings = thriving gardens!
Frequently Asked Questions (FAQ) ❓
What is the ideal worm bin moisture percentage? 70–80% is optimal for most red wigglers — bedding should feel like a wrung-out sponge, with just a few drops when squeezed.
How often should I add water to my worm bin? Check weekly; mist lightly 1–2 times per week indoors, more in dry conditions. Only add when the top feels slightly dry.
Why does my worm bin smell bad? (moisture-related) Usually anaerobic conditions from excess moisture — fix by adding dry bedding, improving airflow, and reducing wet foods.
Can I use tap water? Yes, but let it sit 24 hours to off-gas chlorine, or use rainwater/dechlorinated water for best results.
How do I know if my worms are happy with the moisture? Active, evenly spread worms throughout the bin, no clustering on surfaces, steady composting progress, and no strong odors.
Conclusion 🎉
Mastering how to manage worm bin moisture transforms vermicomposting from a chore into a rewarding, low-maintenance system that rewards you with premium organic fertilizer for your plants and trees. Monitor regularly, balance your inputs, troubleshoot quickly, and adjust for seasons — your worms will thrive, and your garden will show the difference with lusher growth and healthier soil.
Ready to check your bin today? Your red wigglers (and your favorite trees) will thank you! 🌿 Share your moisture wins, questions, or photos in the comments below — happy composting!


