
Imagine transforming your everyday kitchen scraps—like carrot tops, coffee grounds, and banana peels—into rich, dark “black gold” that revives wilting houseplants, boosts vegetable yields, and helps fruit trees produce bigger, healthier harvests. That’s the magic of vermicomposting with composting worms (primarily red wigglers, Eisenia fetida). But here’s the catch many new gardeners face: feed your worms too often or too much, and you end up with smelly bins, fruit flies swarming 🪰, or even worms trying to escape! Feed them too little, and your vermicompost production crawls to a halt, leaving your plants waiting for that nutrient boost.
If you’ve ever searched “how often to feed composting worms,” you’re not alone—this is one of the most common questions among home gardeners starting vermicompost systems. The good news? Getting the feeding schedule right is straightforward once you understand your worms’ needs. In this ultimate guide, we’ll cover everything from ideal feeding frequency and portion sizes to seasonal adjustments, troubleshooting common mistakes, and—most importantly—how to turn that worm castings into thriving plants and trees. Whether you’re a beginner with a small kitchen bin or scaling up for serious garden use, you’ll leave here with a clear, mistake-proof plan.
As someone who’s maintained worm bins for years while nurturing indoor plants, vegetable patches, and backyard orchards, I’ve learned that consistent, observant feeding is the foundation of successful vermicomposting. Let’s dive in and make your worms (and your garden) happy! 🌿
Why Feeding Frequency Matters for Your Worms and Your Plants 🌿
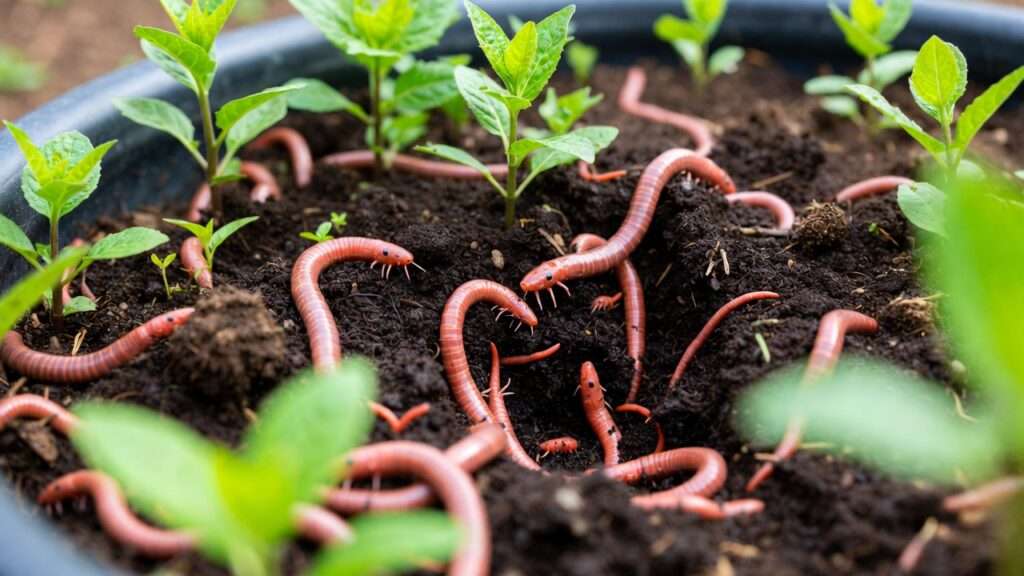
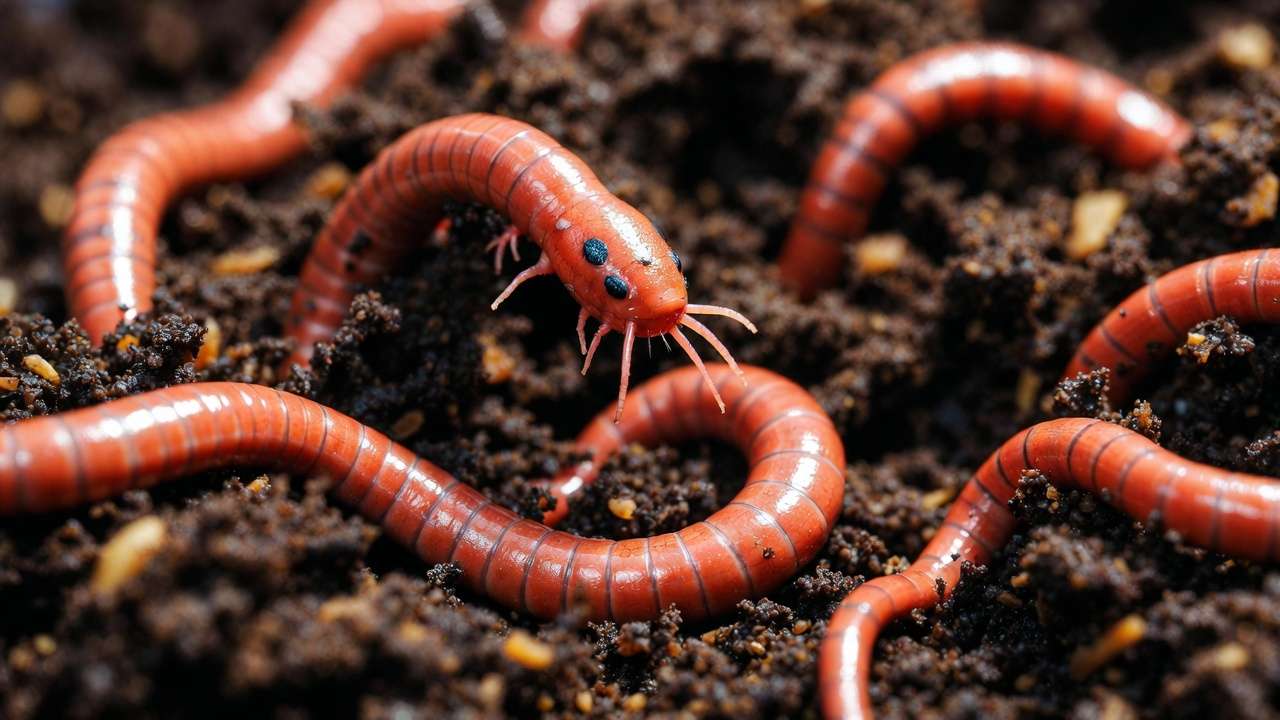
Red wigglers are powerhouse decomposers. These little earthworms don’t just eat organic matter—they process it through their guts with the help of beneficial microbes, turning scraps into worm castings (vermicompost). This end product is far superior to regular compost for plant care: it’s rich in water-soluble nutrients, enzymes, and beneficial bacteria that improve soil structure, enhance water retention, suppress plant diseases, and promote stronger root systems in everything from pothos to apple trees.
But feeding frequency directly impacts castings quality. Overfeeding leads to uneaten food rotting anaerobically, creating acidic, smelly conditions that stress worms and produce lower-quality fertilizer. Underfeeding slows reproduction and castings output, meaning less “plant food” for your garden. Key environmental factors also play a role:
- Temperature — Ideal range: 55–77°F (13–25°C). Worms eat much slower below 50°F or above 85°F.
- Moisture — Bin should feel like a wrung-out sponge (60–80% moisture).
- Bin maturity — New bins need conservative feeding; mature ones handle more.
Mastering how often to feed composting worms ensures faster breakdown, healthier worms, and premium vermicompost that your plants will love.
Understanding Your Worms’ Appetite: The Golden Rules 🪱🍎
Forget rigid calendars at first—let your worms guide you. Here are the core principles backed by experienced vermicomposters and extension services:
Rule #1: The 48–72 Hour Finish Rule Add new food only when the previous batch is mostly gone (90%+ consumed). This prevents rotting, odors, and pests while maximizing efficiency. In practice, this often translates to feeding every 3–7 days, depending on your setup.
Rule #2: Start Conservative (10–25% of Worm Body Weight per Feeding) For beginners, begin with small amounts. If you have 1 lb (about 1,000 red wigglers), start with 0.1–0.25 lb of scraps per feeding. Observe daily, then gradually increase.
Rule #3: Half Their Weight per Week (Maximum Under Ideal Conditions) The classic guideline: red wigglers can consume up to ½ their body weight in food scraps daily under perfect conditions, but a safer, sustainable target is ½ their weight per week (split into 1–3 feedings). Example: 2 lbs of worms = up to 1 lb food weekly. Real-world rates are often lower (⅓–½ lb/week) to avoid issues.
Adjust based on:
- Worm population (more worms = more food).
- Food type (soft, pre-chopped scraps break down faster than whole items).
- Season (slower in winter).
Recommended Feeding Schedules by Bin Size & Experience Level 📅
Tailor your routine to your setup for best results:
- Beginner / Small Kitchen Bin (1–2 lbs worms): Feed once every 5–7 days, ¼–½ lb scraps buried in pockets. Perfect for apartment dwellers starting slow.
- Intermediate / Medium Bin (3–5 lbs worms): 1–2 times per week, totaling 1–2 lbs weekly. Great for active home gardeners.
- Advanced / Large Outdoor or Flow-Through System: 2–3 times per week or continuous trench feeding for high-volume castings production.
Sample Weekly Feeding Calendar (for a 2-lb worm bin):
- Monday: Check consumption; if previous food mostly gone, add 0.3–0.5 lb chopped veggies/coffee grounds.
- Thursday (optional): Small top-up if worms are super active.
- Weekend: Monitor, add bedding if needed.
- Adjust: In cooler months, stretch to every 7–10 days.
Seasonal tweaks: Reduce frequency by 30–50% in winter; increase slightly in warm, humid weather when worms are hungriest.
How Much Food Exactly? Portion Guide + Examples 🥕
Quick-reference portions (for red wigglers):
- 1 lb worms → 0.25–0.5 lb food/week (split feedings)
- 2 lbs worms → 0.5–1 lb/week
- 5 lbs worms → 1.5–2.5 lbs/week
Everyday examples:
- Small handful of veggie peels + 1 banana peel ≈ ½ cup (good single feeding for 1 lb worms)
- Coffee grounds from a pot + eggshells + lettuce scraps ≈ 1 cup
- Avoid overloading: One large melon rind might be too much for a small bin!
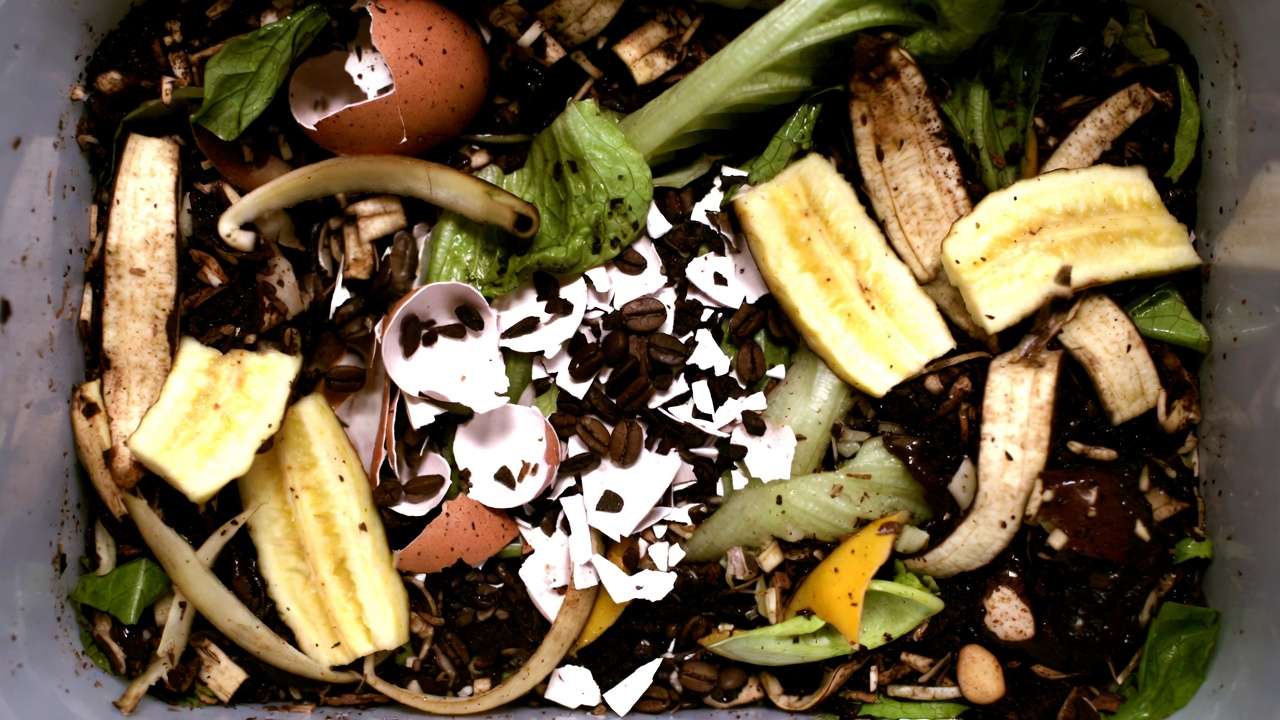
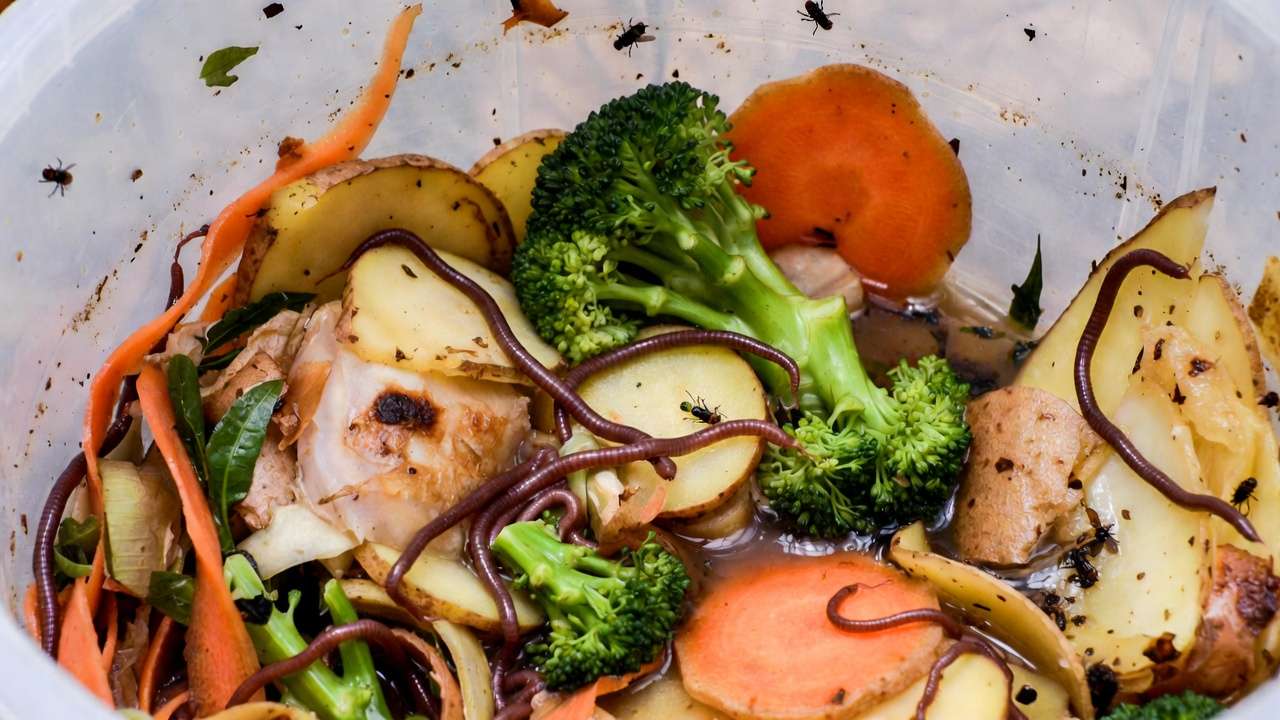
Best foods (nitrogen-rich “greens”): Fruit/veggie scraps, coffee grounds, tea bags, crushed eggshells, shredded greens. Occasional treats: Small citrus (limit to avoid acidity), cooked pasta/rice. Avoid or limit: Meat, dairy, oils, salty foods, pet waste—these cause odors and attract pests, disrupting feeding balance.
Step-by-Step: How to Feed Your Composting Worms Properly 🛠️
Feeding isn’t just dumping scraps in the bin—technique matters for speed, odor control, and worm happiness. Follow this proven process:
- Prepare the Food Chop or blend scraps into smaller pieces (1–2 inches or smaller). Smaller pieces = faster consumption. Freeze tough items (like melon rinds or broccoli stems) overnight, then thaw and chop—this pre-breaks cell walls and makes them much more appealing to worms.
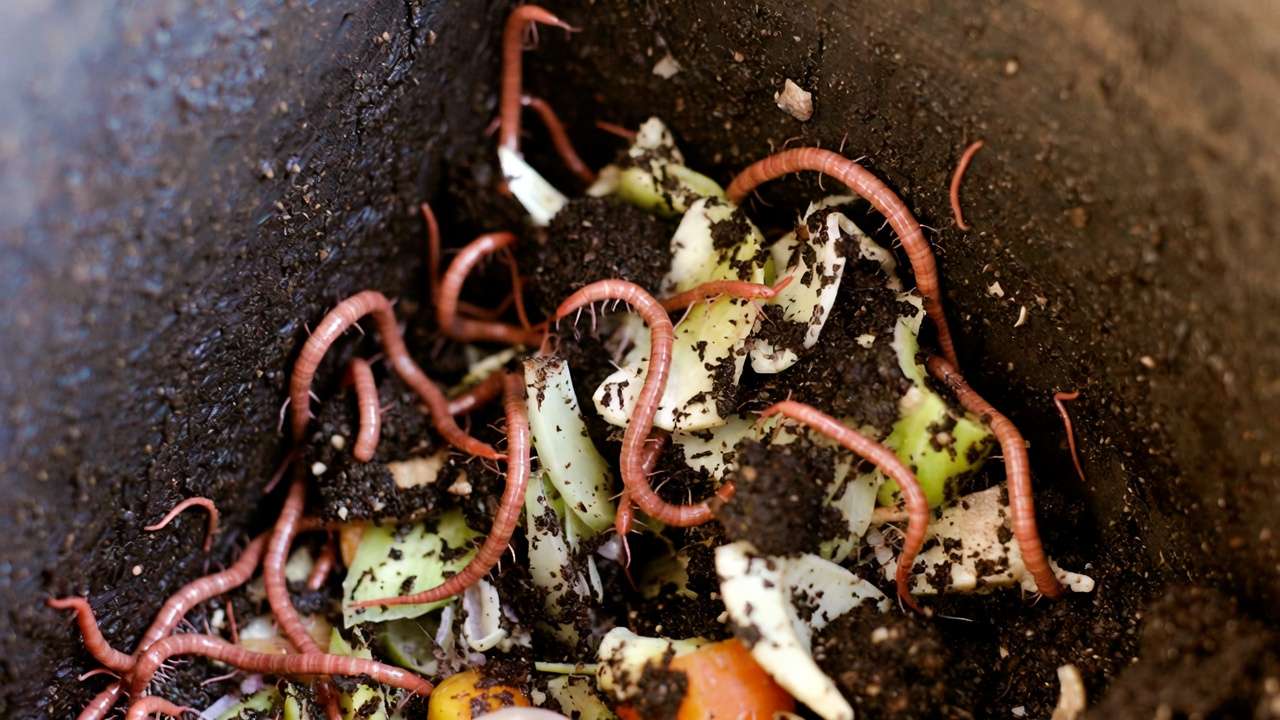
- Dig a Trench or Create Pockets The best method: Push aside bedding on one side of the bin and bury food 2–4 inches deep. Cover completely with bedding. This keeps flies away, maintains moisture balance, and encourages worms to stay distributed. Alternative for surface feeders: Sprinkle food across the top and lightly cover with moist shredded newspaper or cardboard.
- Rotate Feeding Zones Divide your bin mentally into 4–6 sections. Feed in a different zone each time. This prevents over-concentration of food in one spot, reduces anaerobic pockets, and makes harvesting castings easier later.
- Balance with Carbon (Bedding) Always add a handful of shredded paper, torn cardboard, dry leaves, or coconut coir with every feeding. Aim for a 25–30:1 carbon-to-nitrogen ratio overall. This absorbs excess moisture and prevents smells.
- Check Moisture & Temperature After Feeding Squeeze a handful of bedding—it should release only a few drops of water. If too wet, add dry bedding. Keep bin in a stable spot away from direct sun or heating vents.
Pro tip from years of trial and error: Pre-compost very fibrous or high-sugar foods (like pineapple cores) in a separate bucket for 3–5 days before adding to the worm bin. This dramatically speeds up processing and lets you feed more frequently without risk.
Signs Your Feeding Schedule Is Just Right (or Wrong!) 🔍
Learning to “read” your worms is one of the most valuable skills in vermicomposting. Here’s what to look for:
Happy, Well-Fed Worms ✅
- Worms cluster eagerly around fresh food within 24 hours
- Little to no food left after 48–72 hours
- Mild, earthy smell (like forest soil after rain)
- Bin surface active with worms, no mass migration to walls/lid
- Steady castings production (dark, crumbly material accumulating)
Overfeeding Red Flags ⚠️
- Sour, ammonia-like, or rotten odor
- Fruit flies or fungus gnats buzzing around 🪰
- Excess liquid (leachate) pooling at bottom
- Food pile remains uneaten after 5+ days
- Worms clumping on lid or walls trying to escape
- Slimy, anaerobic patches
Underfeeding Signs 😕
- Worms spread thinly throughout bin searching for food
- Very slow breakdown of scraps (weeks instead of days)
- Worms start eating bedding aggressively (cardboard disappears fast)
- Low castings output over time
Quick fixes:
- Overfed? Stop adding food for 7–14 days, fluff bin, add dry bedding, and bury a layer of shredded newspaper on top.
- Underfed? Add a small, chopped portion and monitor for 3–4 days before the next feeding.
Common Mistakes & How to Fix Them (Beginner Traps to Skip) ⚠️
Even experienced gardeners slip up. Here are the top feeding pitfalls and expert solutions:
- Overfeeding Right from the Start New bins often get overloaded because people assume “more food = more castings faster.” Reality: Baby worms and small populations can only handle 10–15% body weight per feeding. Fix: Start tiny and scale up only when previous feedings disappear quickly.
- Feeding Too Frequently Without Checking Adding food every 2–3 days “just in case” is a classic mistake. Fix: Always do the “consumption check”—lift bedding and see if last batch is gone before adding more.
- Ignoring Temperature & Season In hot summers (>85°F), worms slow way down or die; in cold winters (<50°F), they barely eat. Fix: Move bins indoors during extremes or insulate outdoor bins with straw bales.
- Wrong Foods Leading to Imbalances Too much citrus, onion, or spicy scraps spikes acidity; meat/dairy invites maggots and bad bacteria. Fix: Stick to veggie/fruit scraps, coffee grounds, and eggshells as 80–90% of diet.
Expert insight: “Worms will never starve if you provide bedding—they’ll eat the carbon slowly. But they’ll suffer quickly from too much nitrogen-rich food.” This conservative mindset has saved many bins from collapse.
Troubleshooting & Advanced Tips from Experienced Vermicomposters 💡
Even with the best intentions, worm bins can hit snags. Here are battle-tested solutions and pro-level upgrades to keep your system humming—and producing premium castings for your plants.
Common Troubleshooting Scenarios
- Sudden Slowdown in Eating Causes: Too cold, too hot, pH too low (from excess citrus), or overcrowding. Solutions: Check temperature first (use a cheap soil thermometer). If below 55°F, move bin to a warmer spot or add a seedling heat mat underneath (set to low). For acidity, sprinkle a handful of crushed eggshells or garden lime sparingly. Thin the population by starting a new bin if worms are densely packed.
- Persistent Fruit Flies or Gnats 🪰 Almost always from overfeeding or exposed food. Solutions: Bury all new food deeply, cover surface with 2–3 inches of moist bedding, and add a DIY trap (apple cider vinegar + drop of dish soap in a jar with holes poked in lid). Reduce feeding amount by 25–50% until flies disappear.
- Worms Escaping the Bin Usually a sign of stress: overfeeding, too wet/dry, poor air flow, or extreme temps. Solutions: Improve ventilation (drill more holes if needed), adjust moisture, stop feeding for a week, and place a bright light over the bin at night (worms hate light and will retreat inward).
Advanced Tips to Maximize Castings Production
- Speed Up Digestion — Pre-compost high-cellulose items (corn cobs, avocado pits) in a hot compost pile for 1–2 weeks first, then add to worms. This can cut processing time in half.
- Scale for Serious Gardeners — Use a continuous-flow-through (CFT) bin or multiple stacked trays. Feed the top tray only; finished castings drop to the bottom for easy harvest without disturbing worms.
- Boost Reproduction — Offer occasional “treats” like pumpkin puree or watermelon rind (high moisture + sugars). Keep population balanced at ~1–2 lbs worms per square foot of bin surface.
- Make Worm Tea — Collect leachate (bottom liquid) diluted 10:1 with water for a gentle liquid fertilizer. Use monthly on houseplants and trees for noticeable growth spurts.
These techniques have helped me turn a single small bin into a steady supply of castings that keeps my indoor jungle and backyard citrus trees thriving year-round.
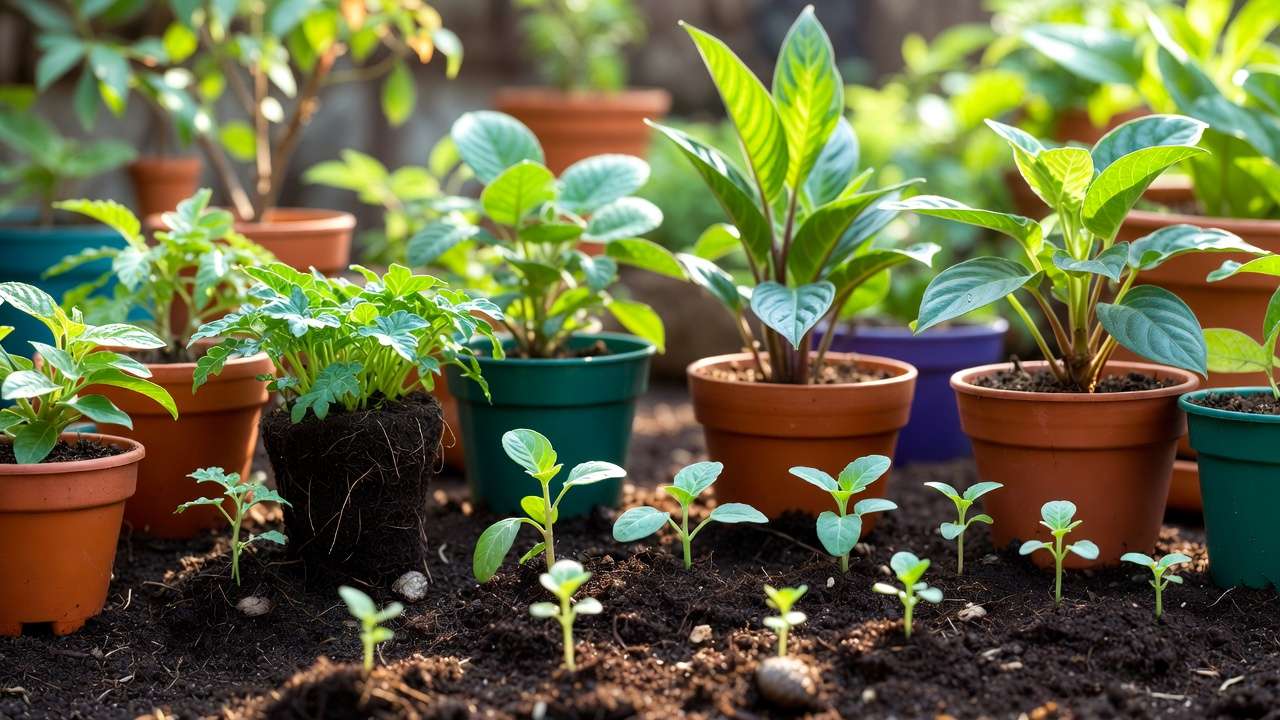
How to Use Your Vermicompost for Maximum Plant & Tree Benefits 🌳
The whole point of perfecting your worm-feeding routine? Exceptional fertilizer! Worm castings are nature’s slow-release superfood:
- Nutrient Profile — Higher in available nitrogen, phosphorus, potassium, calcium, and micronutrients than regular compost, plus plant growth hormones and beneficial microbes.
- Benefits — Improves soil aeration and water-holding capacity, suppresses root rot and fungal diseases, encourages mycorrhizal fungi for better tree nutrient uptake.
Application Methods & Rates
- Houseplants — Mix 10–20% castings into potting soil at repotting, or top-dress ½–1 inch every 2–3 months. Water in well.
- Vegetable & Flower Beds — Side-dress 1–2 cups per plant or spread ½–1 inch layer and lightly rake in. Apply in spring and mid-summer.
- Trees & Shrubs — Spread 1–2 inches in the drip line (not against trunk) in early spring and fall. For young fruit trees, this can dramatically improve bloom set and fruit quality.
- Seed Starting — Blend 10–30% castings into seed-starting mix for stronger seedlings with fewer damping-off issues.
Real-world example: After switching to regular worm castings, my previously lackluster Meyer lemon tree doubled its fruit production in one season—healthier leaves, fewer pests, better flavor.
Frequently Asked Questions (FAQs) ❓
Can I feed composting worms every day? Not recommended for most setups. Daily feeding usually leads to overfeeding unless you have a very large, mature system with thousands of worms. Stick to the 48–72 hour consumption rule instead.
How long can worms go without food (e.g., during vacation)? 2–4 weeks easily, sometimes longer. They’ll eat bedding slowly. Before leaving, feed lightly, add extra moist bedding, and keep bin in a cool, stable spot. No need to worry!
How often should I feed a brand-new bin or baby worms? Start very small—once every 7–10 days with just a handful of scraps. Wait until they multiply and consumption speeds up before increasing.
Is overfeeding dangerous for worms? Yes—it can cause overheating, protein poisoning (ammonia buildup), and death. Always err on the side of underfeeding; worms are resilient.
What’s the best time of day or week to feed? Anytime works, but many prefer evenings or weekends for observation. Consistency matters more than exact timing.
Do different worm species have different feeding needs? Red wigglers are the fastest eaters. European nightcrawlers eat slower and prefer cooler temps—adjust frequency downward by 20–30% if using them.
Can I feed composting worms citrus or onions? Small amounts occasionally (no more than 10% of total food) are fine. Large quantities lower pH too much and slow consumption.
How do I know when to harvest castings? When 70–80% of the bin contents look like rich soil and little original food remains. Harvest from the side opposite recent feedings.
Conclusion + Call to Action 🎯
Mastering how often to feed composting worms boils down to one simple habit: observe and respond. Use the 48–72 hour finish rule as your north star, start conservatively with 10–25% of worm weight per feeding, adjust seasonally, and always bury food with bedding. Do this consistently, and you’ll have a thriving worm colony producing the highest-quality vermicompost—your secret weapon for lush houseplants, vibrant gardens, and healthier trees.
Ready to get started (or fine-tune your current setup)? Begin small, keep a simple feeding log for the first month, and watch your plants respond with gratitude. Have questions about your specific bin or want to share your worm adventures? Drop a comment below—I’d love to hear how your garden grows! 🌿🪱
Happy vermicomposting, and may your plants thrive! ✨


