
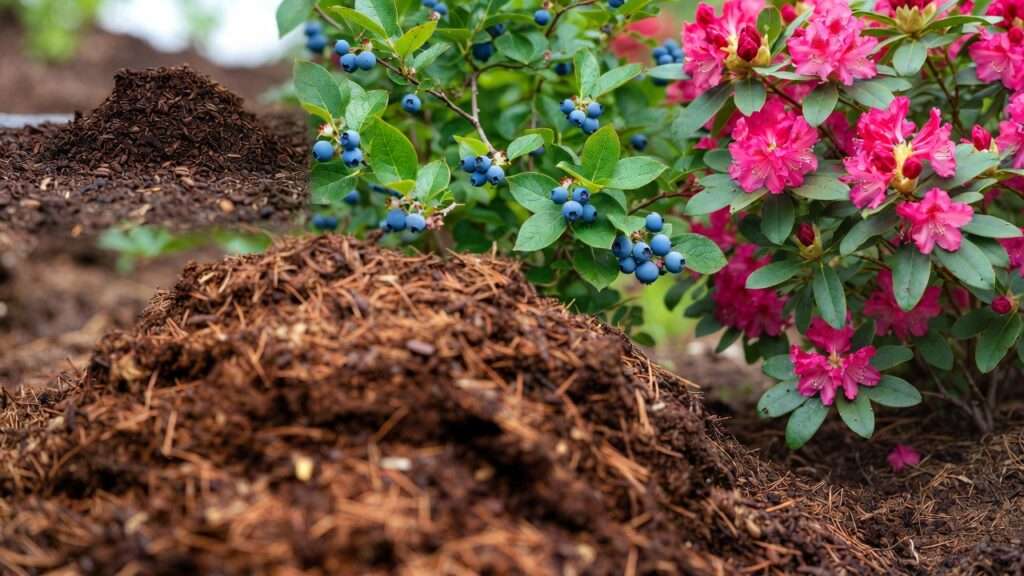
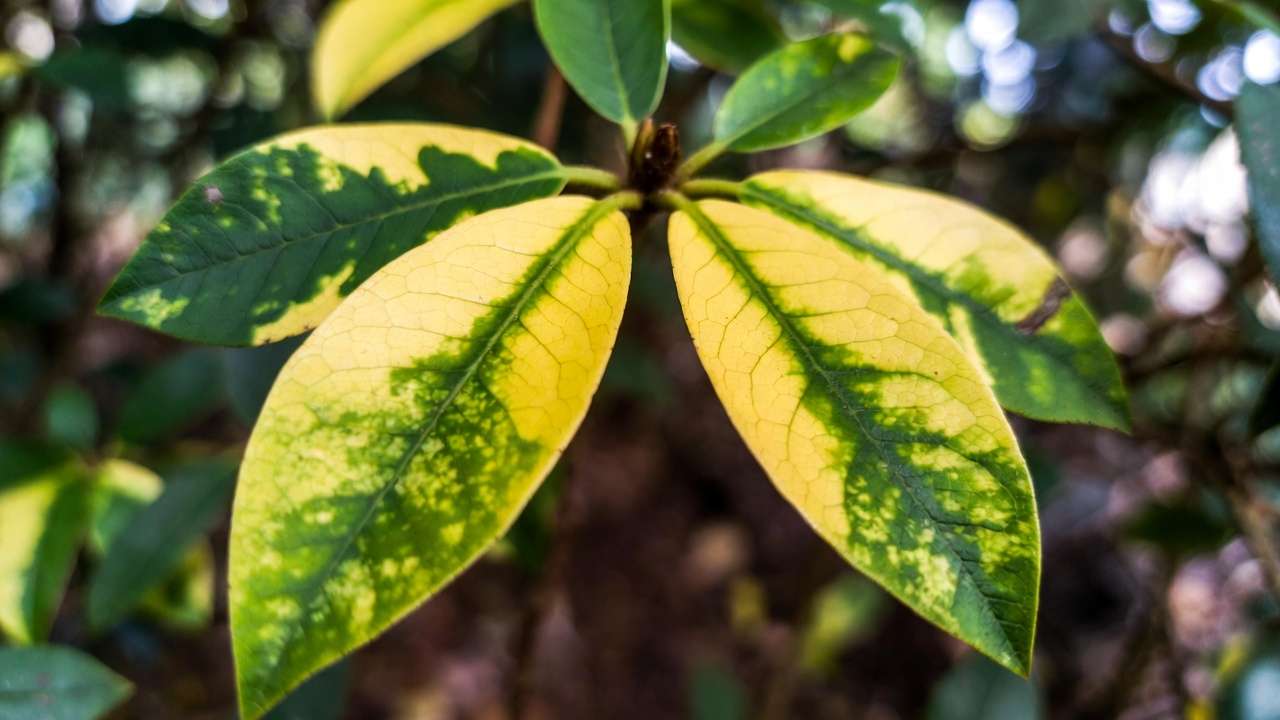
Have you ever watched your beautiful blueberries produce tiny, lackluster fruits, or noticed the leaves on your prized rhododendrons turning yellow between the veins while the veins stay green? 😩 That frustrating yellowing—known as chlorosis—is a classic sign that your soil is too alkaline, locking away vital nutrients like iron that acid-loving plants desperately need.
If you’re tired of buying expensive bags of ericaceous compost every season, dealing with disappointing growth, or worrying about the environmental impact of peat-based products, you’re in the right place. Making your own ericaceous compost for acid-loving plants is a game-changer: it’s cost-effective, customizable, eco-friendly (especially when peat-free), and surprisingly straightforward once you know the tricks.
As a passionate gardener with years of experience helping fellow plant lovers overcome alkaline soil challenges, I’ve experimented with countless recipes inspired by trusted sources like the Royal Horticultural Society (RHS) and BBC Gardeners’ World. In this comprehensive guide, you’ll learn exactly how to create high-quality, acidic compost tailored to plants that thrive in pH 4.5–6.0 conditions—without relying on peat. Let’s turn that problem soil into thriving, vibrant beds and pots! 💚
What Is Ericaceous Compost and Why Do Acid-Loving Plants Need It? 📊
Ericaceous compost is a specially formulated growing medium with an acidic pH (typically 4.0–6.0) designed for “lime-hating” or ericaceous plants—those from the Ericaceae family and similar groups that struggle in neutral or alkaline soils.
In alkaline conditions (pH above 7.0), essential nutrients like iron, manganese, and magnesium become unavailable, leading to chlorosis, stunted growth, poor flowering, and reduced fruiting. Homemade ericaceous compost solves this by providing:
- A naturally low pH environment
- Improved nutrient availability
- Better moisture retention without waterlogging
- Organic matter that supports beneficial microbes
Common acid-loving plants that benefit include:
- Blueberries 🍇 (highbush and lowbush varieties love pH 4.5–5.5)
- Rhododendrons and azaleas 🌸 (evergreen and deciduous types)
- Camellias (Japanese varieties especially)
- Heathers and heaths (Calluna and Erica species)
- Pieris (lily-of-the-valley shrub)
- Hydrangeas (for true blue flowers, aim for pH below 5.5)
- Cranberries, lingonberries, and even some magnolias or dogwoods
Growing these beauties in the wrong soil often leads to heartbreak—but with your own compost, you can create dedicated zones or pots where they flourish year after year. 🌟
Key Ingredients for Making Ericaceous Compost 🌲
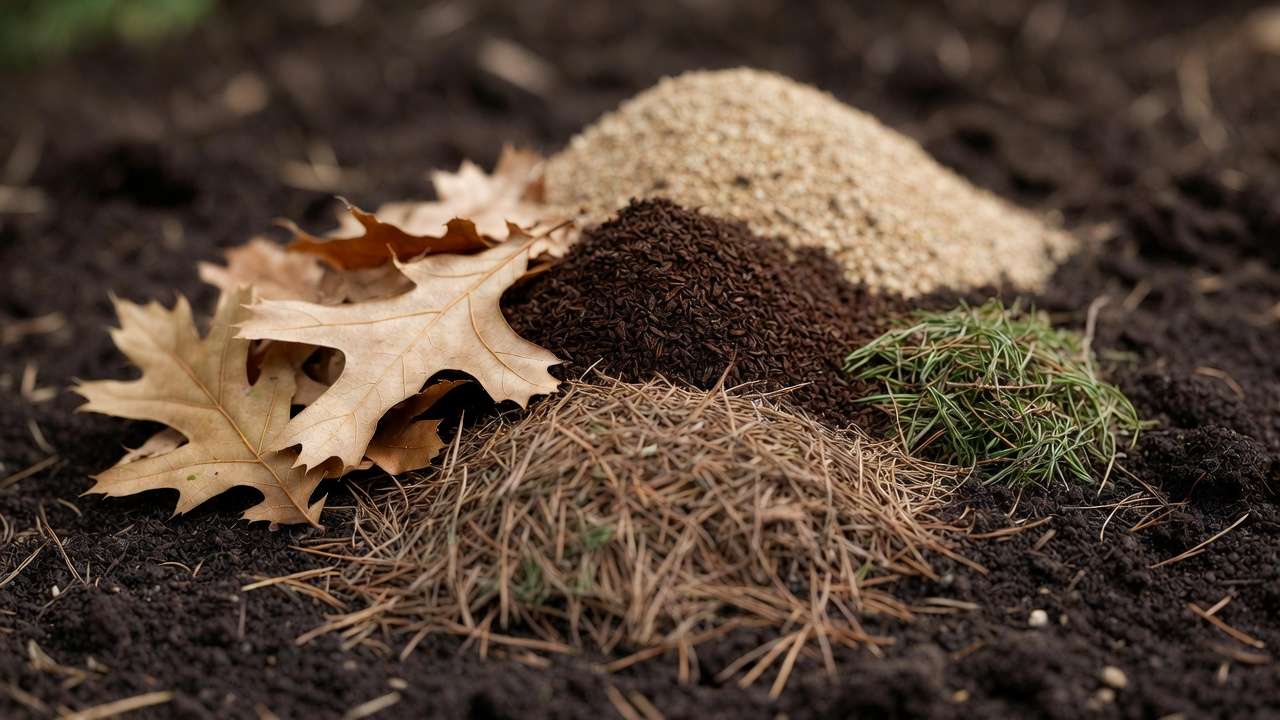
The secret to successful ericaceous compost lies in choosing naturally acidic, lime-free materials. Avoid anything alkaline like lime, eggshells, or wood ash.
Core acidic materials (these drop and maintain pH):
- Pine needles (fresh green or fallen—fresh are more acidic) 🌲
- Oak leaves, beech leaves, or other deciduous leaves (especially tannin-rich ones) 🍂
- Coffee grounds and used tea bags (plastic-free varieties; great nitrogen source) ☕
- Composted bracken, conifer clippings, or shredded Christmas tree branches
Structure and drainage additives:
- Lime-free sharp sand, horticultural grit, or perlite 🏜️
- Composted bark chips (pine or conifer preferred)
- Leaf mold (from oak or beech leaves for extra acidity)
- Greens: Vegetable scraps (avoid citrus in excess), grass clippings, coffee grounds
- Browns: Leaves, pine needles, shredded paper/cardboard (untreated)
What to strictly avoid ❌:
- Lime-based additives
- Manure from animals fed lime-treated feed
- Seaweed (often alkaline)
- Meat, dairy, or oily foods (attract pests and raise pH)
These ingredients create a slow-decomposing, nutrient-balanced mix perfect for acid lovers.
Peat-Free vs. Traditional Ericaceous Compost: The Eco-Friendly Choice 🌍
Traditional ericaceous compost often relies on peat moss for its natural acidity and water-holding capacity. However, peat extraction damages irreplaceable habitats, releases stored carbon, and contributes to climate change—prompting the UK and EU to phase it out.
The good news? Peat-free alternatives perform brilliantly! Use bases like:
- Composted bark or bracken
- Coir (coconut fiber—rinse well to remove salts)
- Wool pellets or wood fiber
Pros of peat-free homemade:
- Sustainable and wildlife-friendly
- Often cheaper long-term
- Customizable pH and texture
Cons (and fixes):
- May need more frequent watering (add grit for drainage)
- Slower initial acidity (boost with pine needles/sulphur)
Expert tip from RHS guidelines: Peat substitutes work well when combined with acidic organics—many gardeners report equal or better results after the first season. 🌿
Step-by-Step Guide to Making Ericaceous Compost (Core Section) 🛠️
Preparation and Tools Needed
Gather these essentials:
- Compost bin (plastic tumbler for faster results, or open bay for larger batches)
- Garden fork or aerator
- pH test kit or meter (cheap soil probes work great)
- Watering can
- Shredder (optional for woody items)
Choose a shaded spot to prevent drying out.
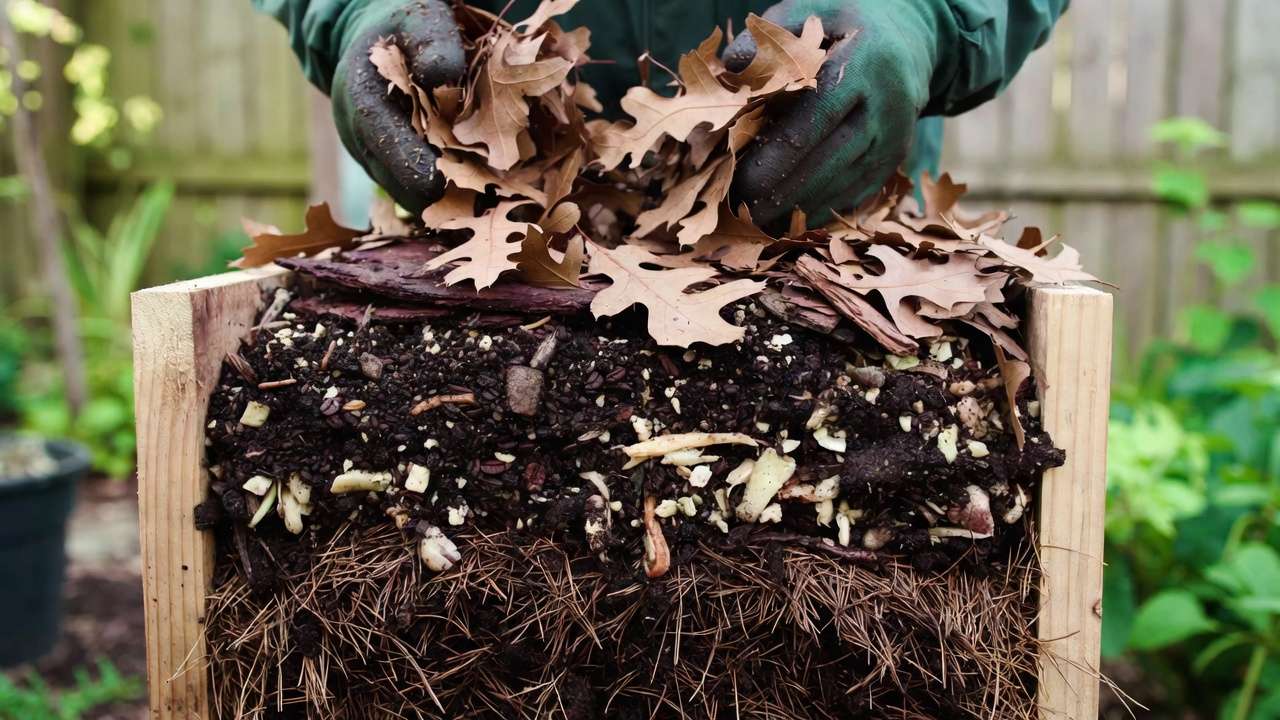
Building Your Pile: Layering Method
- Start with 10–15 cm of coarse material (twigs, bark) for aeration.
- Add 15–20 cm of browns (pine needles, oak leaves).
- Layer greens (coffee grounds, veggie scraps).
- Sprinkle a thin layer of lime-free sand or perlite.
- Repeat, watering each layer to keep moist (like a wrung-out sponge).
- Top with browns to reduce odors.
Aim for a 3:1 browns-to-greens ratio for slow, acidic breakdown.
Two Proven Recipes
Basic DIY Ericaceous Compost (great starter):
- 40% pine needles/oak leaves 🍂🌲
- 20% coffee grounds/tea bags ☕
- 20% shredded conifer clippings
- 10% leaf mold
- 10% grit/perlite
Advanced Peat-Free Potting Mix (for containers):
- 50% composted bark/bracken base
- 20% coir (pre-soaked)
- 15% pine needle mulch/leaf mold
- 10% sharp sand/grit
- 5% worm castings (optional for nutrients)
Mix thoroughly and test pH after 1–2 months.
Hot vs. Cold Composting for Ericaceous
- Cold method: Pile and wait 6–12 months—ideal for acidity preservation.
- Hot method: Turn weekly for 3–6 months—faster but monitor to avoid neutralizing.
Use activators like finished acidic compost (not lime-based).
Testing and Adjusting pH in Your Ericaceous Compost 🔬
Once your compost has matured (dark, crumbly, earthy-smelling, no recognizable bits left), it’s time to check if it’s acidic enough. This step separates good homemade ericaceous compost from mediocre batches.
How to test pH:
- Use a reliable soil pH test kit (the liquid reagent type is most accurate for home use) or a digital pH meter calibrated for soil/compost.
- Take several samples from different parts of the pile, mix with distilled water (1:1 ratio), stir, let settle 30 minutes, then test.
- Target range:
- Potting/compost for containers: 4.5–5.5 (most acid-loving plants thrive here)
- Garden bed incorporation: 5.0–6.0 (slightly higher is forgiving in open ground)
If pH is too high (above 6.0):
- Add more acidic materials and remix: fresh pine needles, oak leaf mold, or coffee grounds.
- Apply elemental sulphur (flowers of sulphur) at 50–100 g per 10 liters of compost (RHS-recommended rate). Mix thoroughly and re-test after 4–6 weeks—sulphur works slowly via bacterial conversion.
- Avoid aluminium sulphate (sometimes sold as “blue hydrangea” treatment)—it can build up toxic levels over time.
If pH is perfect or slightly low: You’re golden! Proceed to use. Pro tip: Test every batch—weather, ingredient variations, and composting method can shift results by 0.5–1.0 pH points.
Using Your Homemade Ericaceous Compost 🌸
You’ve made it—now put it to work!
In pots and containers (most popular use):
- Ensure excellent drainage: Add 2–3 cm of grit or crocks at the bottom.
- Fill with your ericaceous mix (or 50/50 blend with bought peat-free ericaceous if you’re building confidence).
- Repot every 2–3 years for blueberries/camellias, annually for young rhododendrons.
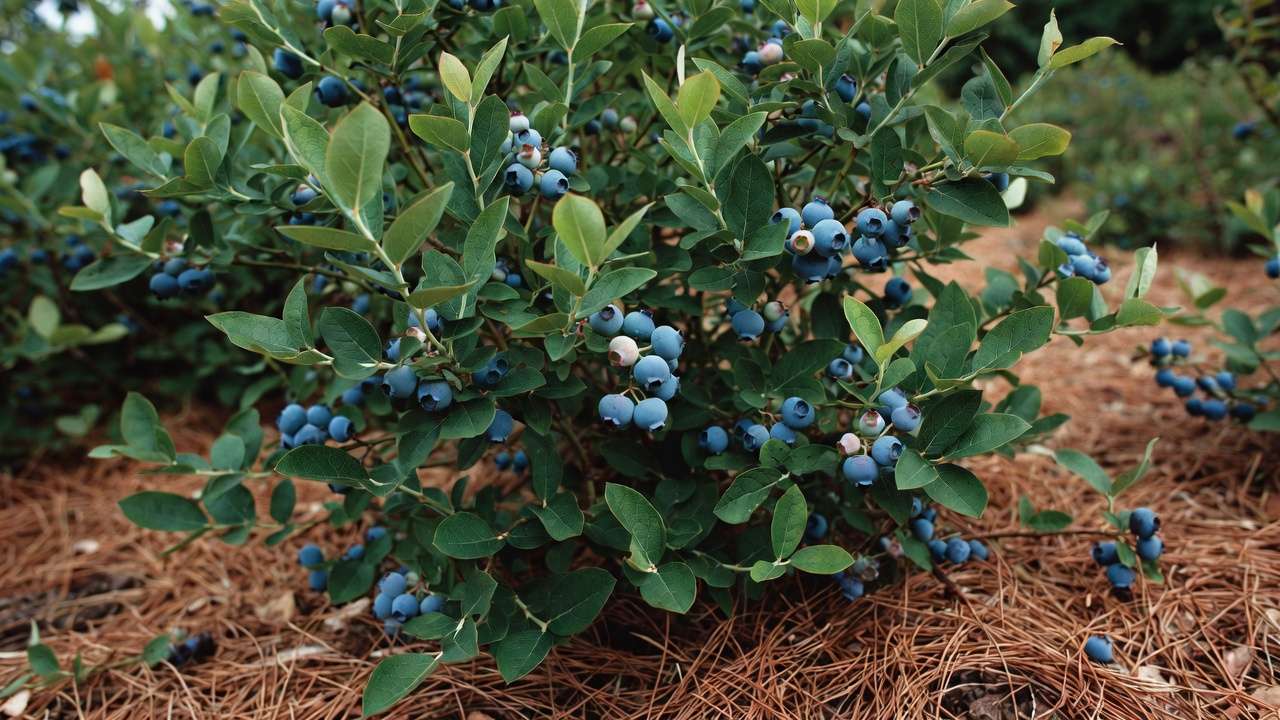
- Top-dress with 2–5 cm of pine needle mulch to lock in acidity and suppress weeds.
In garden beds and raised beds:
- Dig a trench or raised bed at least 40 cm deep in alkaline areas.
- Remove as much native soil as possible (save it for other plants!).
- Backfill with your homemade ericaceous compost mixed 70:30 with native soil (or 100% compost in very alkaline regions).
- Create “ericaceous islands” around individual shrubs—many gardeners successfully grow magnificent rhododendrons this way even in chalky gardens.
Plant-specific tips:
- Blueberries 🍇: Need pH 4.5–5.2; add extra pine needles yearly and mulch heavily.
- Rhododendrons & azaleas 🌺: Prefer pH 4.5–5.5; avoid disturbing roots when planting.
- Camellias: Tolerate up to pH 6.0 but bloom best lower; protect buds from late frost.
- Hydrangeas (for blue): Maintain pH <5.5; your compost + occasional aluminium sulphate drench works wonders.
Ongoing feeding:
- Use specialist ericaceous liquid feeds (Miracle-Gro, Chempak, etc.) in spring/summer.
- DIY iron boost: Bury a few rusty nails or use iron chelate sparingly if chlorosis appears.
Common Mistakes and Troubleshooting ⚠️
Even experienced gardeners slip up—here are the most frequent pitfalls and fixes:
- Adding alkaline materials by accident ❌ Culprit: Wood ash, eggshells, dolomite lime in “multi-purpose” compost. Fix: Start fresh; double-check every ingredient.
- Poor drainage = root rot 💧 Symptom: Wilting despite wet soil, black mushy roots. Fix: Always include 10–20% grit/perlite; never let pots sit in saucers of water.
- Expecting instant results ⏳ Fresh compost can take 2–3 months to fully acidify. Fix: Be patient and test regularly.
- Chlorosis returns after planting Symptom: Yellow leaves with green veins. Fix: Apply chelated iron (sequestered iron) as a foliar spray or soil drench; check mulch layer.
- Pests or mould 🐛 Fruit flies or white mould from too-wet greens. Fix: Balance browns/greens, turn pile, cover with cardboard.
Expert Tips and Advanced Techniques 🌟
- Seasonal timing: Start piles in autumn when oak leaves and pine needles are abundant 🍁🌲—by next spring you’ll have usable compost.
- Scaling up: For large gardens, dedicate a 1 m³ bay just for ericaceous materials; collect neighbors’ Christmas trees (shredded) for free!
- Acidifying top-dressing: Even if you can’t replace all soil, spread 5–10 cm pine needle mulch annually—it slowly acidifies the top 10–15 cm where feeder roots live.
- Combining methods: Use rainwater (naturally soft/acidic) for watering instead of tap water in hard-water areas.
- Long-term soil management: Test garden soil pH yearly; some gardeners apply sulphur chips around established beds every 2–3 years for maintenance.
Frequently Asked Questions (FAQ) ❓
How long does it take to make ericaceous compost? 3–6 months with hot composting and regular turning; 8–12 months with cold method. Patience pays off for deeper acidity.
Can I just acidify regular compost later? You can, but it’s less reliable. Starting with acidic ingredients gives better, longer-lasting results.
Are coffee grounds enough on their own? No—they’re great but need balancing with pine needles/oak leaves to reach true ericaceous pH levels.
What if I can’t source enough pine needles? Substitutes: More oak/beech leaves, composted bracken, or small amounts of elemental sulphur to boost acidity.
How do I know if my plants need more acidity? Yellowing between veins (chlorosis), poor growth, sparse flowers/fruit. A quick soil pH test around the root zone confirms it.
Conclusion 💚
Making your own ericaceous compost for acid-loving plants isn’t just a gardening hack—it’s an empowering, sustainable way to give blueberries bursting berries, rhododendrons dramatic trusses, and camellias glossy perfection, even if your native soil is stubbornly alkaline.

You’ll save money, reduce peat use, customize nutrition to your exact plants, and enjoy the satisfaction of growing thriving specimens from your own hands. Start small: collect a bag of pine needles and coffee grounds this week, build a modest pile, and watch the magic happen.
Your acid-loving plants are counting on you—now go make that compost and let them shine! 🌸🍇
If you try this guide, I’d love to hear your results in the comments—what plants are you growing, and how did your batch turn out? Happy composting! ✨


