
You’ve just brought home your first bonsai – that tiny, enchanting tree in a small pot that looks like a miniature piece of nature. It’s exciting, but let’s be honest: a wave of worry hits soon after. “What if I kill it? 😰” Many new owners lose their bonsai in the first few weeks due to simple, avoidable mistakes like overwatering, wrong placement, or not understanding if it’s indoor or outdoor. The good news? With the right care tips for newly purchased bonsai trees, your little tree can not only survive but thrive for years, becoming a living work of art in your home or garden.
In this comprehensive beginner’s guide, we’ll walk you through everything from the critical first 24 hours to long-term success. Drawing from decades of bonsai expertise (inspired by trusted sources like Bonsai Empire and experienced growers worldwide), we’ll cover the most common pitfalls – over 75% of new bonsai don’t make it past month one due to watering or location errors – and how to avoid them. Whether your new friend is a resilient Ficus, a classic Juniper, or something else, these practical, step-by-step tips will help you build confidence and watch your tree flourish. Let’s get started! 🌱

1. Understand Your New Bonsai: The First 24 Hours Checklist 🕒✅
Congratulations – the adventure begins! The first day sets the tone for success. Many newly purchased bonsai suffer from “transplant shock” after leaving the nursery or shop, so act gently and thoughtfully.
- Inspect and remove glued elements – Those decorative moss balls or glued-on rocks? Gently remove them with tweezers or fingers. Glued rocks suffocate roots by blocking air and water. Peel off moss carefully too – it often holds excess moisture leading to rot.
- Acclimate slowly – Place your bonsai in a bright, indirect spot away from direct sun, drafts, heaters, or AC vents for 1–2 days. This helps it adjust without stress.
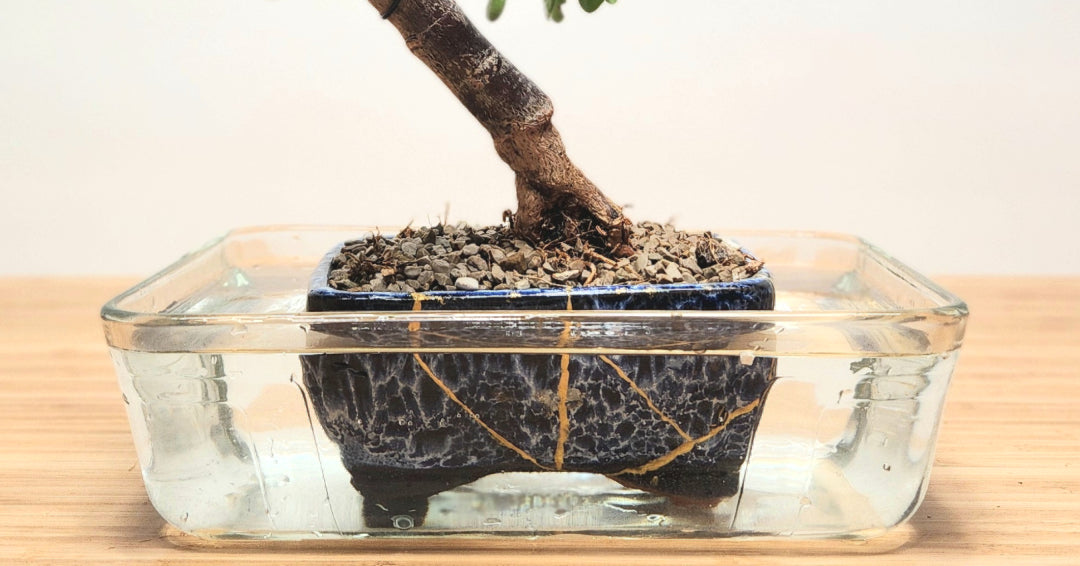
- Initial watering – Submerge the pot in room-temperature water until bubbles stop (about 5–10 minutes), then let it drain fully. This soaks the root ball evenly without compacting soil.
Quick species ID: Check the tag or look at leaves/needles. Common newbies include:
- Ficus (tropical, glossy leaves) 🌿
- Juniper (scale-like or needle foliage) 🌲
- Jade (thick, succulent leaves) 💎
- Chinese Elm (small serrated leaves) 🍃
Pro expert tip: Snap a photo of the tag or pot label right away 📸 – it saves headaches later!
2. Is Your Bonsai Indoor or Outdoor? The #1 Make-or-Break Decision 🌞❄️
This is the biggest killer for beginners: treating an outdoor species like an indoor plant (or vice versa). Most mall/gift bonsai are outdoor types mislabeled as “indoor” – they weaken and die in dry, low-light homes.
- Outdoor bonsai (most common hardy types): Need full sun (6+ hours daily), fresh air, and seasonal changes. Examples: Juniper, Pine, Maple, Spruce. They require winter dormancy and protection from extreme freezes.
- Indoor bonsai (tropical/subtropical): Thrive in stable 65–75°F (18–24°C) with bright indirect light. Examples: Ficus, Jade, Schefflera, Carmona.
Quick reference table:
| Species | Type | Best Location | Key Needs |
|---|---|---|---|
| Juniper 🌲 | Outdoor | Full sun outdoors | Seasonal changes, frost protection |
| Ficus 🌿 | Indoor | Bright indirect light | Stable warmth, humidity tray |
| Chinese Elm 🍃 | Semi-both | Bright spot, can go out in summer | Tolerates some indoors |
| Jade 💎 | Indoor | Sunny window | Drought-tolerant, low water |
Expert insight: If unsure, research your exact species – outdoor conifers like Juniper hate indoor heat and dry air, leading to brown tips and death. Start with indoor-friendly ones if you’re apartment-bound!

3. Watering Your Newly Purchased Bonsai – The Right Way (Not Every Day!) 💧
Watering mistakes top the list of why new bonsai fail – overwatering causes root rot, underwatering dries them out fast in small pots.
Forget schedules! Check daily at first:
- Finger test: Stick your finger 1 inch into soil – water only if dry.
- Lift test: Pot feels light? Needs water. Heavy? Wait.
- Proper technique: Water thoroughly until it runs out the bottom (use a watering can or soak method). Let drain completely – never let it sit in saucer water.
Soak method for deep hydration (great for new trees):
Frequency varies:
- Summer/hot days: Every 1–2 days
- Winter/cool: Every 4–7 days
- Factors: Species (Jade needs less), pot size, humidity.
Tools to help: Cheap moisture meter or humidity tray with pebbles for indoor types. Always use room-temp water to avoid shocking roots.
Common error: Watering daily “just in case” – leads to soggy soil and yellow leaves. Observe your tree; it’ll tell you what it needs! 🌧️
4. Perfect Placement & Light – Give It the Sun It Craves ☀️
Light is the engine of photosynthesis for your bonsai – get this wrong, and you’ll see weak, leggy growth, pale leaves, or massive leaf drop. Most new owners underestimate how much sun their tree truly needs.
- Outdoor bonsai placement → Place in full sun (at least 6 hours of direct sunlight daily) in a spot protected from strong winds. Morning sun with afternoon shade works best in hot climates to prevent scorching. Rotate the pot every few weeks for even growth.
- Indoor bonsai placement → Bright, indirect light near a south- or west-facing window is ideal. If natural light is low (common in apartments), supplement with a full-spectrum grow light for 12–14 hours daily. Keep 6–12 inches from the light source to avoid burn.
Signs your bonsai isn’t getting enough light:
- Stretched, leggy branches
- Smaller, paler leaves
- Excessive leaf drop
Signs of too much direct harsh light (especially indoors):
- Scorched leaf tips
- Faded or bleached foliage
Seasonal tweaks: In summer, outdoor trees love the heat but watch for dehydration. In winter, bring marginally hardy species (like some Chinese Elms) indoors near a bright window or under lights. Tropical indoor bonsai stay stable year-round.
Expert insight: Many beginners place their “indoor” Juniper in a dim corner – it slowly declines over months. True indoor species like Ficus thrive with consistent bright conditions, mimicking their tropical origins. 🌤️
5. Soil, Pot, and Repotting Basics for New Owners 🪴
Nursery bonsai often come in poor-quality soil that retains too much water, leading to root rot – especially in small pots with limited drainage.
- Why repot soon? Many new bonsai are “malled” (mass-produced) in dense, organic-heavy soil. Check roots gently after 4–8 weeks: if they’re circling the pot or soil is compacted/muddy, repotting is needed to prevent suffocation.
- Best beginner soil mix → Inorganic, well-draining: 50% Akadama (baked clay for moisture retention), 25% pumice (aeration), 25% lava rock (drainage). This prevents overwatering while holding just enough moisture.
Essential repotting steps (do this carefully – roots are fragile):
- Water lightly the day before to ease removal.
- Gently tap/remove from pot; tease apart compacted roots without tearing.
- Trim only circling or dead roots (no more than 1/3 total root mass for first repot).
- Place mesh over drainage holes, add a layer of soil, position tree, fill with mix, tamp lightly.
- Water thoroughly and keep in shade for 2–4 weeks during recovery.
Tools you’ll need: Bonsai shears, root hook, chopsticks for soil placement, and a shallow bonsai pot with good drainage holes.
Pro tip: Don’t repot right after purchase unless roots are severely bound – give it 1–2 months to settle first. Drainage is non-negotiable; standing water kills faster than drought!

6. Feeding & Fertilizing – Nourish Without Overdoing It 🌱
Your new bonsai is like a baby – it needs nutrients but can’t handle heavy feeding right away.
- When to start → Wait 4–6 weeks post-purchase (or after repotting) to avoid burning stressed roots.
- Best fertilizers for beginners → Balanced organic slow-release pellets (e.g., 10-10-10 or bonsai-specific) or liquid organic like fish emulsion/seaweed extract. Avoid high-nitrogen chemical fertilizers at first.
- Feeding schedule → Every 2–4 weeks during growing season (spring through early fall). Reduce to monthly or stop in winter when growth slows.
- How much? → Follow package directions – half-strength for new trees is safer.
Signs of nutrient issues:
- Pale/yellow leaves → possible nitrogen deficiency
- Weak, slow growth → general underfeeding
- Burnt tips → overfertilizing
Expert note: Overfeeding causes salt buildup; always water thoroughly after applying to flush excess. In low-light indoor setups, fertilize less frequently. Your tree will reward steady, moderate nutrition with vibrant color and dense branching! 🍃
7. Pruning & Shaping – Gentle Start for Beginners ✂️
Pruning isn’t scary – for new bonsai, it’s mostly maintenance to keep health and shape.
- First-year rule → Focus on health: Remove only dead, diseased, crossing, or rubbing branches. Avoid heavy structural cuts until the tree is established (usually year 2+).
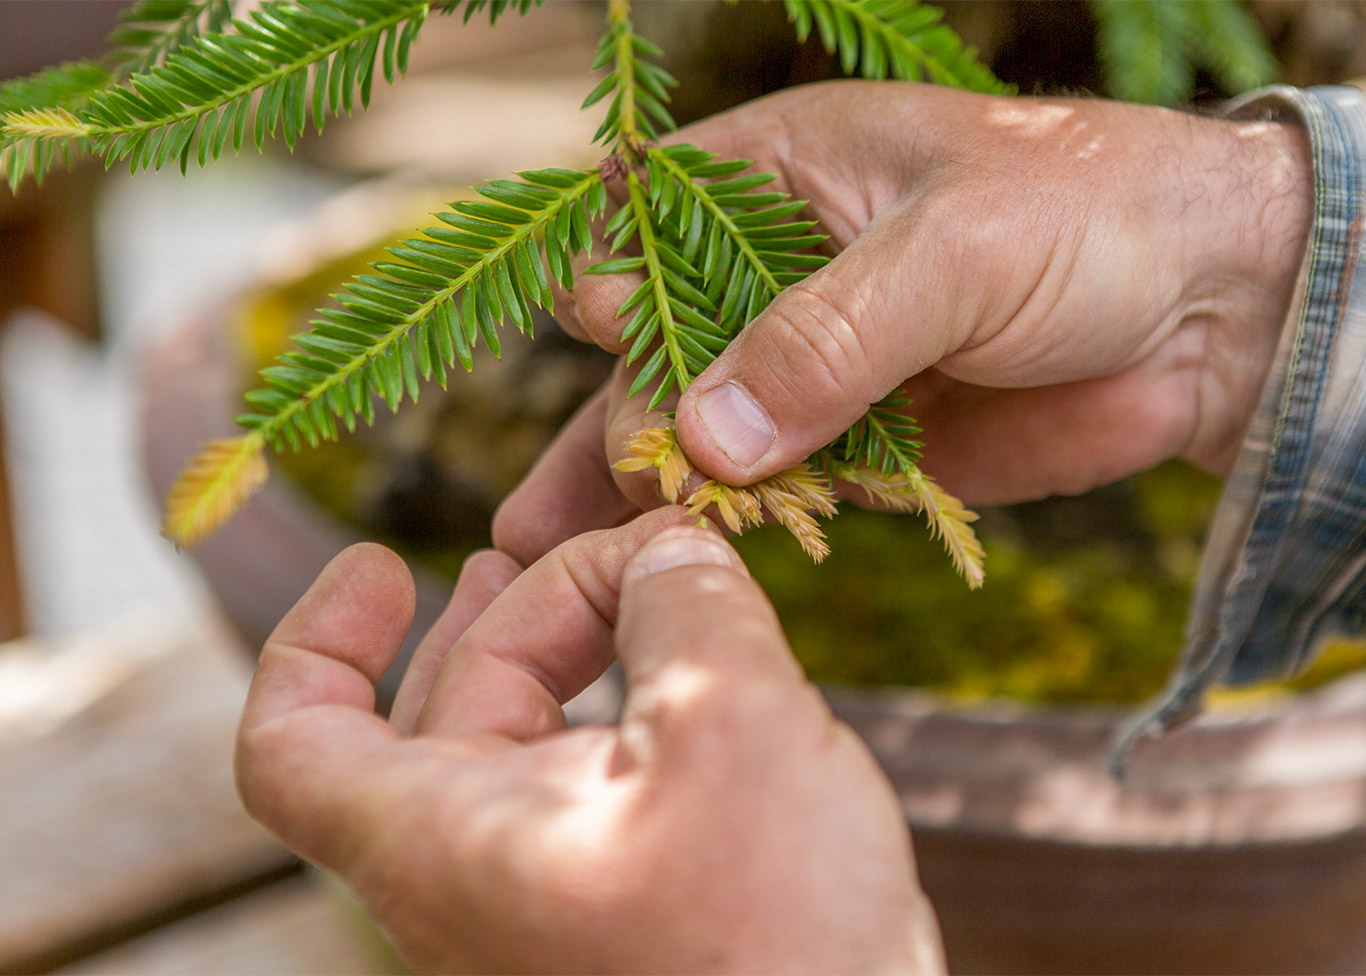
- Pinching new growth → For species like Juniper or Pine: Pinch/softly pull new candles/shoots when they extend 2–4 inches to encourage back-budding and dense foliage.
- Tools → Clean, sharp concave cutters for branches, finger pinching for soft growth, or bonsai shears.
When to prune:
- Spring/early summer for most growth control
- Avoid major pruning in late fall/winter (tree is dormant)
Common mistake: Cutting too much too soon – this weakens the tree. Start light; observe how it responds. Over time, gentle pruning builds that classic bonsai silhouette you love. 🌳
8. Common Problems & How to Fix Them Quickly ⚠️
New bonsai owners panic at the first sign of trouble – here’s how to troubleshoot fast.
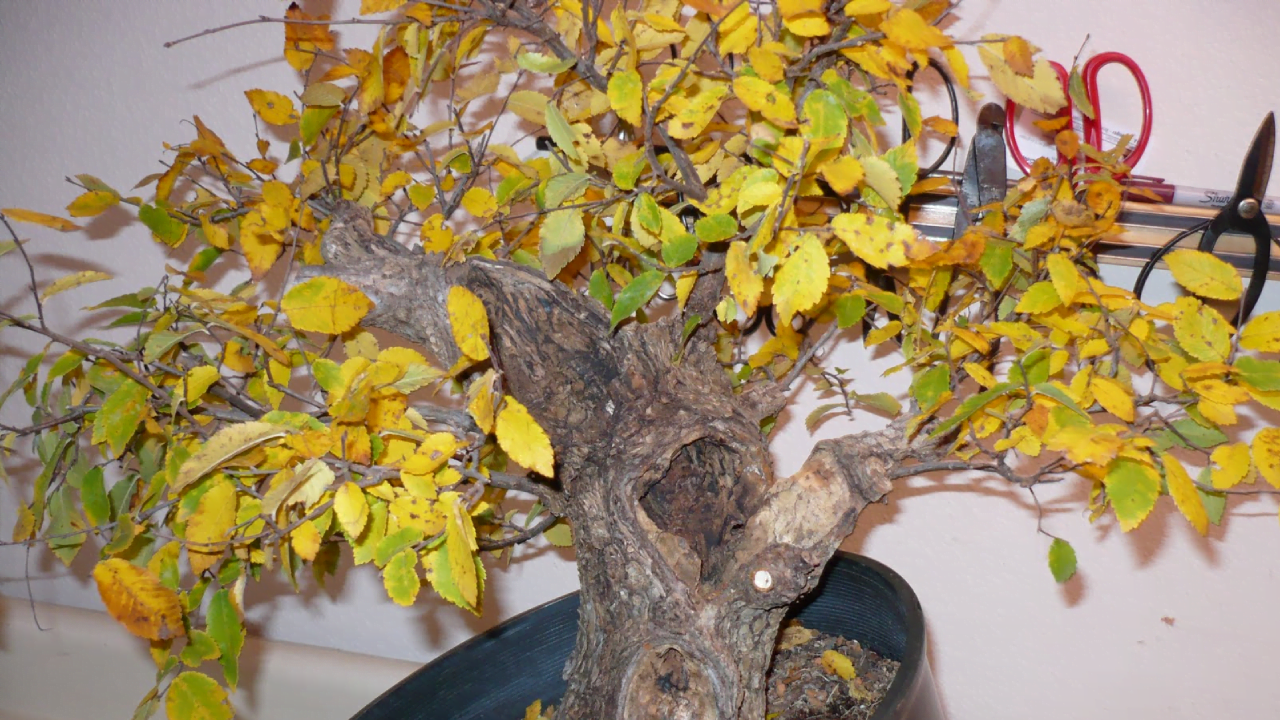
- Leaf drop/yellowing → Often transplant shock, over/underwatering, or low light. Check soil moisture first; move to better light; be patient – many recover in weeks.
- Pests (spider mites, scale, aphids) → Look for webbing, sticky honeydew, or tiny bugs. Treat with insecticidal soap or neem oil weekly; isolate the tree.
- Root rot → Soggy soil, black mushy roots, wilting despite watering. Repot immediately, trim rotten roots, use fresh soil, reduce watering.
- Transplant shock recovery → Shade, stable humidity, minimal disturbance – mist leaves if indoor.
Quick rescue checklist: Inspect daily, adjust water/light, treat pests early. Most issues are fixable if caught soon!
9. Seasonal Care Calendar for Your New Bonsai 📅
Bonsai are living beings tied to the seasons – treating them the same year-round is a common mistake that leads to stress or decline. Here’s a simple, beginner-friendly calendar to keep your tree in rhythm.
- Spring (Growth Explosion Season) 🌸
- Repot if needed (ideal time for most species).
- Start regular fertilizing once new growth appears.
- Increase watering as days warm up.
- Prune/pinch new shoots to shape early.
- Outdoor trees: Move to full sun gradually if overwintered protected.
- Summer (Peak Activity) ☀️
- Water more frequently – check twice daily in heat waves.
- Fertilize every 2–3 weeks.
- Protect from intense midday sun (shade cloth for delicate species).
- Watch for pests like spider mites in dry, hot conditions.
- Enjoy vigorous growth – this is when your bonsai bulks up!
- Fall (Wind-Down & Prep) 🍂
- Reduce fertilizing by late summer/early fall to harden off new growth.
- Water less as temperatures drop and growth slows.
- Prune lightly to tidy shape before dormancy.
- Outdoor hardy species: Gradually acclimate to cooler weather.
- Winter (Rest & Protection) ❄️
- Outdoor bonsai: Protect roots from freezing (bury pot in ground, use cold frame, or wrap with burlap/insulation if temps drop below 20°F/-6°C). Never bring true outdoor species indoors long-term – they need cold dormancy.
- Indoor tropicals: Maintain bright light and stable warmth; reduce watering significantly.
- Minimal fertilizing (or none).
- Check for dryness even in cold – pots can dry out surprisingly fast.
Pro tip: In places like Dhaka (with mild winters but high humidity), outdoor hardy bonsai can often stay out with light protection during cooler months, while indoor types love the consistent warmth. Adjust based on your local microclimate!
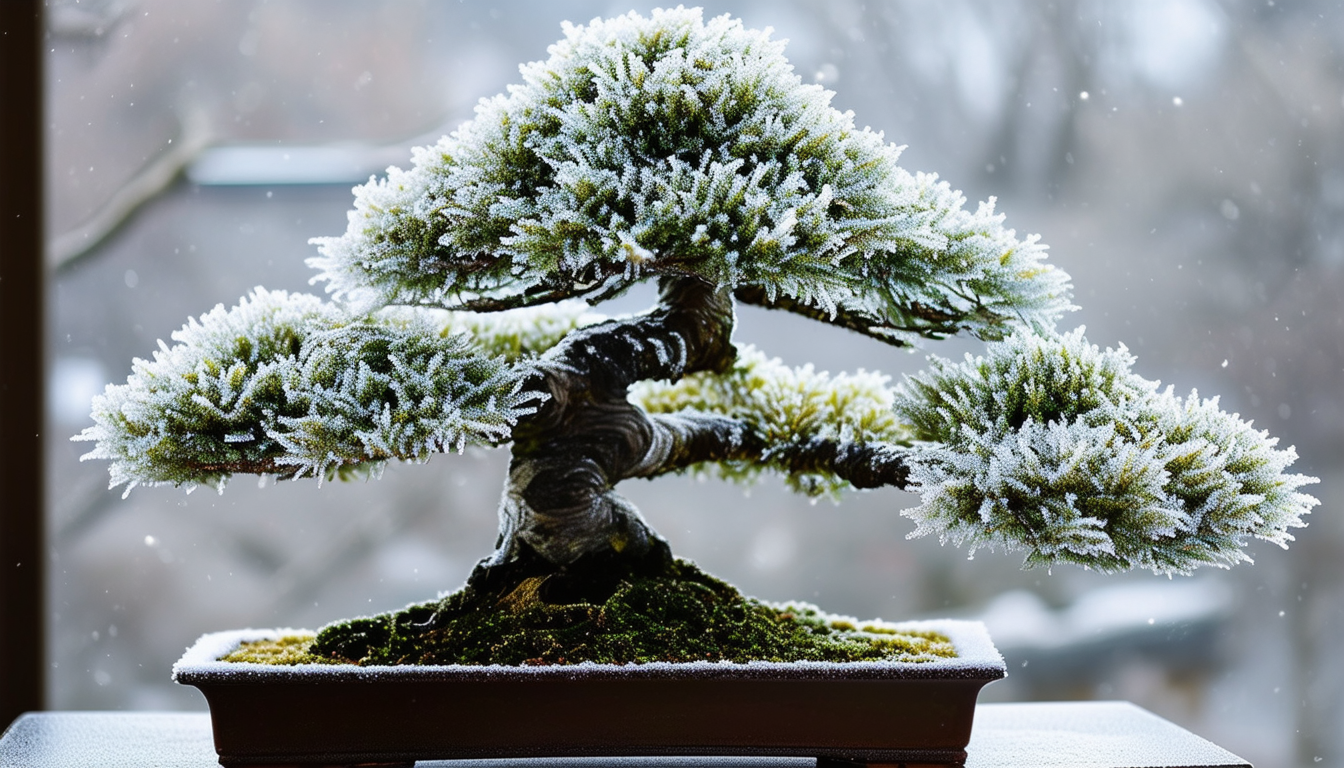
Here are some visual examples of proper winter protection for outdoor bonsai:
10. Long-Term Success: From Newbie to Confident Bonsai Parent 🌟
You’ve made it through the tricky first months – now focus on building habits for a lifetime of enjoyment.
- Develop a daily/weekly routine: Quick morning check (lift pot, finger test soil, look for pests or yellowing). Consistency beats perfection.
- Track progress: Take monthly photos from the same angle – you’ll be amazed at the transformation!
- Join the community: Forums like Reddit’s r/Bonsai, Bonsai Empire forums, or local clubs offer endless support, troubleshooting, and inspiration. Seeing others’ journeys (and mistakes) builds confidence fast.
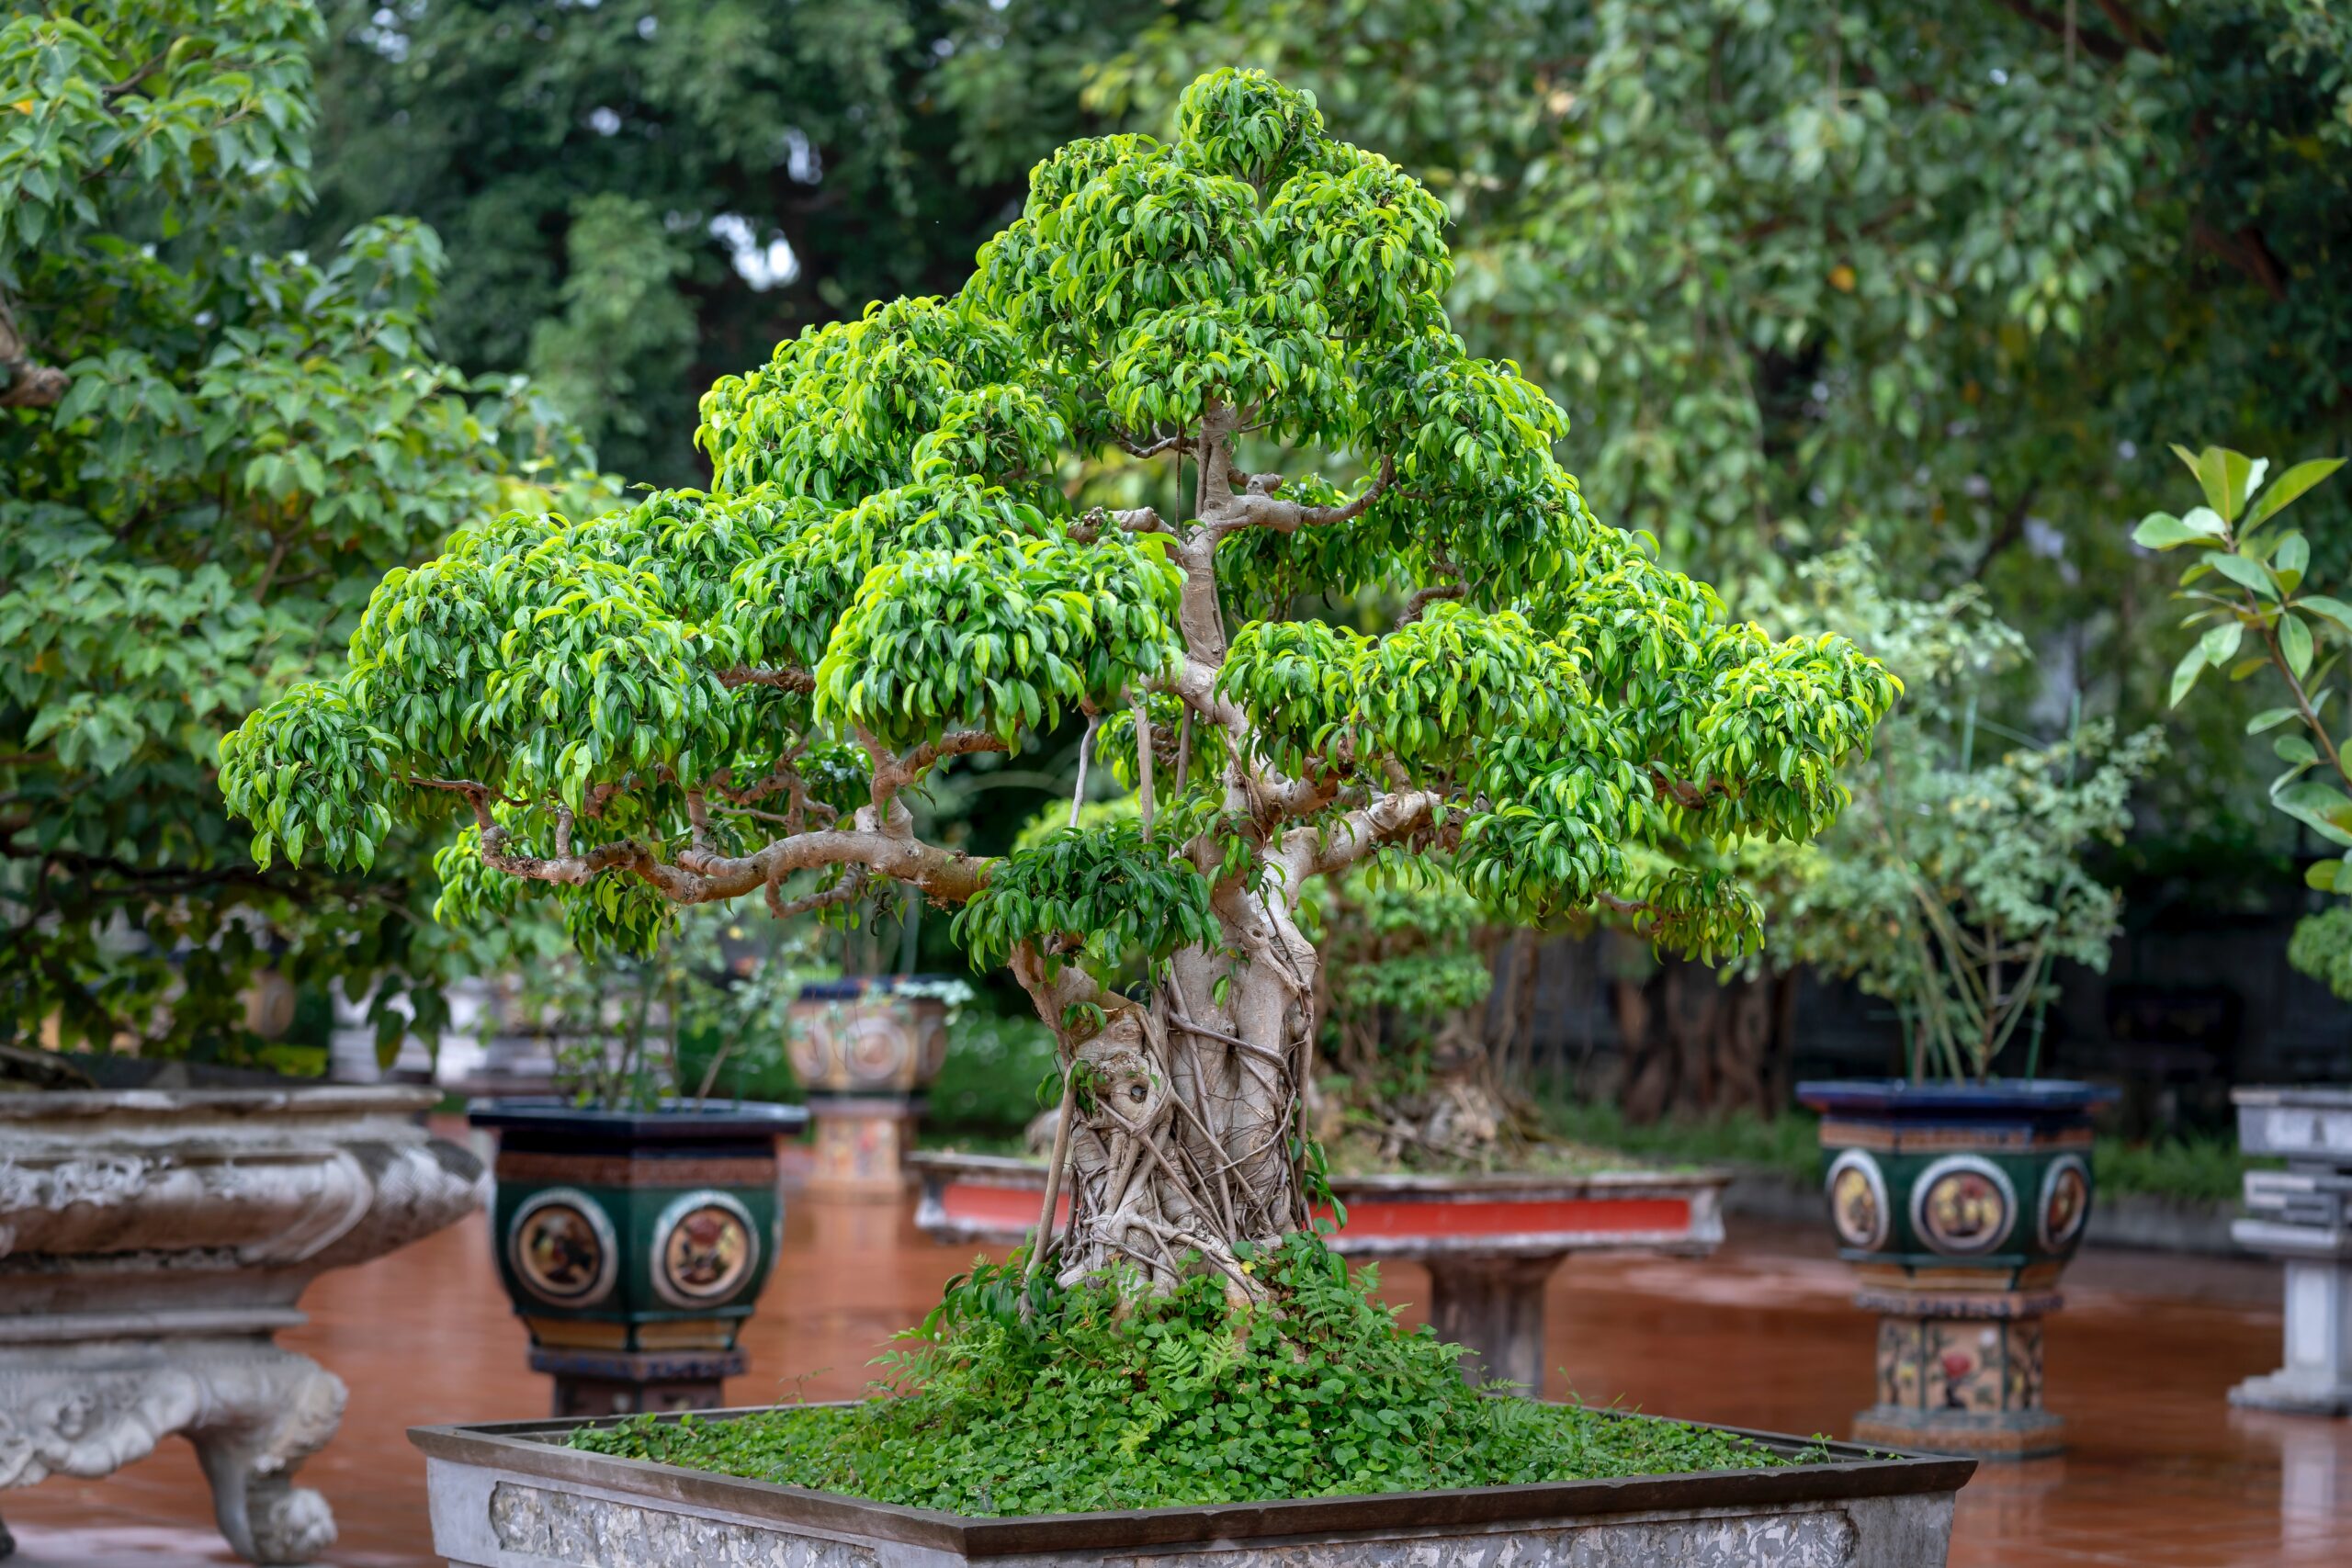
Here are some thriving examples that started just like yours – proof that patience pays off:
Bonsai is a patient art – some trees live centuries with care. Your new bonsai isn’t just a plant; it’s a companion that grows with you. Celebrate small wins: new buds, denser foliage, better color.
FAQs – Quick Answers to Top Searches ❓
How often should I water my new bonsai? Not on a fixed schedule! Use the finger test or lift method – water thoroughly when the top 1 inch of soil is dry. Most need every 1–3 days in summer, less in winter.
Can I keep my bonsai indoors forever? Only if it’s a true tropical species (Ficus, Jade, etc.). Hardy outdoor types like Juniper will decline and die indoors long-term due to low light and dry air.
What if my leaves are falling off? Common in new trees! Usually transplant shock, over/underwatering, or poor light. Stabilize conditions, be patient – many rebound in 2–6 weeks.
Should I remove the moss/decorative rocks? Yes – glued rocks block roots; excess moss holds too much moisture and invites rot. Gently remove them.
How do I know if it’s an indoor or outdoor bonsai? Check species: Conifers (Juniper, Pine) = outdoor. Tropicals (Ficus, Schefflera) = indoor. Research your exact type immediately.
When can I start styling/wiring? Gentle pruning/pinching in year 1. Wiring and major styling usually after 1–2 years when the tree is stronger.
Conclusion 🎉
Bringing home a bonsai is the start of something beautiful and rewarding. By following these care tips for newly purchased bonsai trees – from the critical first 24 hours, proper watering and light, seasonal adjustments, to troubleshooting issues – you’ll give your tree the best possible foundation to thrive instead of just survive.
Remember: Observe your tree daily, adjust as needed, and be patient. Mistakes happen (even to experts!), but quick corrections save most trees. Your little green companion has the potential to grow with you for decades, bringing calm, beauty, and a touch of nature indoors or out.
Ready to start? Go do that first-day checklist right now! 🌳❤️ Share your bonsai progress in the comments below – we’d love to see your journey and help along the way. Happy growing, and welcome to the wonderful world of bonsai!


