
Imagine pouring love, water, and sunlight into your garden or beloved trees, only to watch yellow leaves wilt, fruits refuse to set, or growth stall despite your best efforts. The hidden culprit? Unbalanced soil nutrients. Many passionate plant parents guess with fertilizers, wasting money and sometimes harming their green friends. But what if you could accurately check your soil’s health right at home — without expensive labs or guesswork?
Learning how to test soil nutrients at home empowers you to give your plants and trees exactly what they need for vibrant foliage, strong roots, and bountiful harvests. In this ultimate guide, we’ll walk through simple DIY methods, reliable home test kits, accurate sampling, result interpretation, and targeted fixes. Whether you grow veggies, ornamentals, or fruit trees, these practical steps will save you time, money, and frustration while building healthier soil. Let’s dig in and turn your garden into a thriving oasis! ✨
Table of Contents
- Why Testing Soil Nutrients Matters
- Understanding Soil Basics
- How to Collect Accurate Soil Samples
- Simple DIY Soil Tests with Household Items
- Using Home Soil Test Kits
- Interpreting Your Soil Test Results
- How to Fix and Improve Your Soil
- Advanced Tips and Common Mistakes
- When to Send Samples to a Professional Lab
- Conclusion
- FAQs
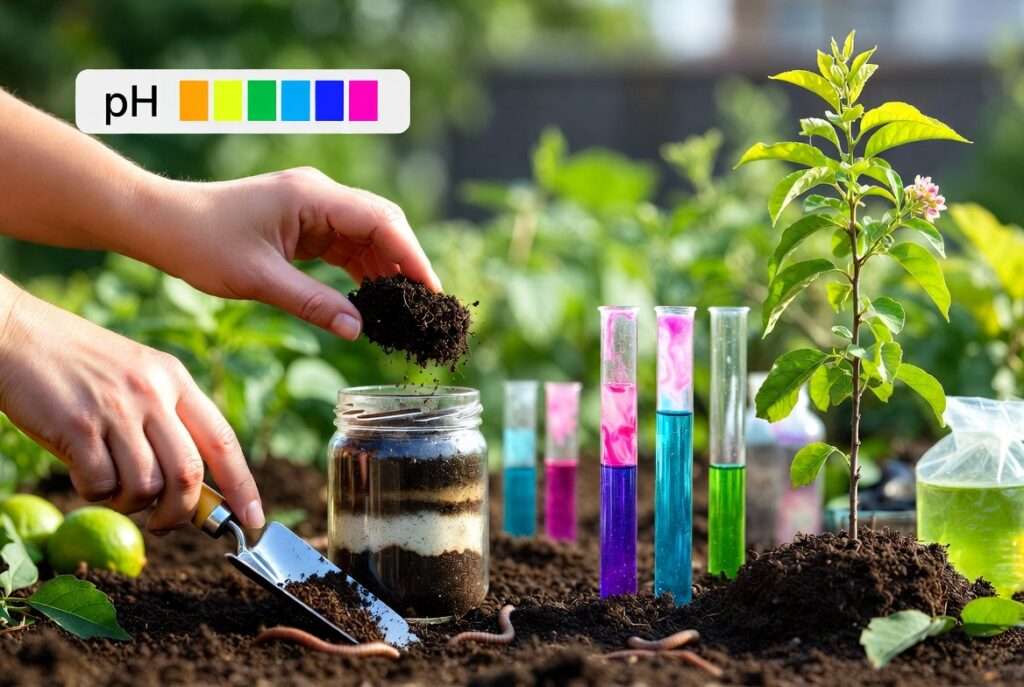
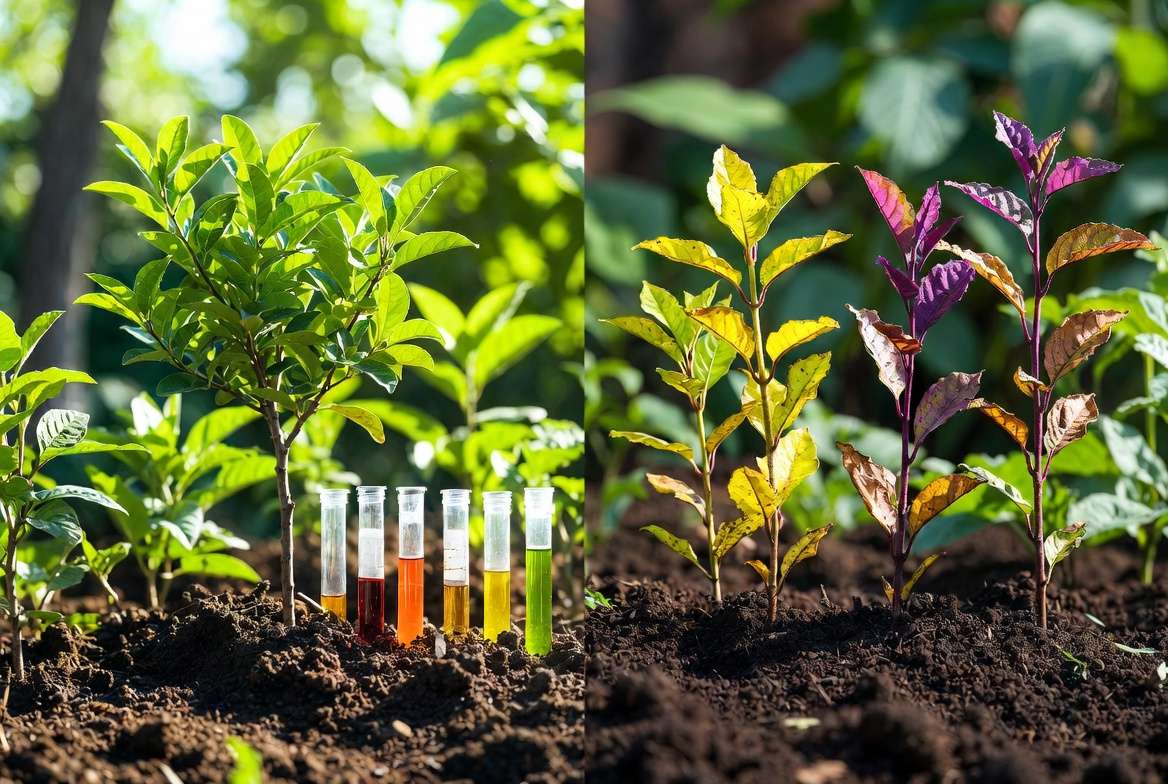
Why Testing Soil Nutrients Matters for Your Plants and Trees 🧪
Healthy soil is the foundation of every successful garden and orchard. Without knowing what’s missing or in excess, even experienced gardeners can struggle with issues like chlorosis (yellowing leaves), stunted growth, poor flowering, or increased pest problems.
Key macronutrients — Nitrogen (N) for lush green leaves, Phosphorus (P) for strong roots and blooms, and Potassium (K) for disease resistance and overall vigor — plus secondary nutrients and micronutrients, all play critical roles. Soil pH further controls how available these nutrients are to plant roots.
Testing prevents over-fertilizing, which can burn roots, pollute waterways, or create nutrient imbalances. For trees with deep roots, poor soil can lead to weak structure and higher maintenance. Regular home testing (every 1–3 years) helps you garden smarter, reduce costs, and support sustainable practices. University extension services, like those from NCSU and Oregon State, consistently recommend soil testing as an “essential tool” for optimal plant health.
Benefits you’ll see:
- Vibrant, resilient plants and trees 🌳
- Higher yields in vegetable and fruit gardens
- Fewer pest and disease issues
- Money saved on unnecessary fertilizers
- Environmentally friendly gardening
Understanding Soil Basics Before Testing 🌍
Before grabbing your trowel, get familiar with the fundamentals. Soil pH measures acidity or alkalinity on a 0–14 scale (7 is neutral). Most plants and trees thrive in slightly acidic to neutral soil (pH 6.0–7.5), where nutrients are most available.
- Too acidic (below 6.0): Locks up phosphorus and calcium; common in rainy areas.
- Too alkaline (above 7.5): Limits iron, manganese, and zinc; common in drier regions.
Macronutrients quick guide:
- Nitrogen (N): Promotes leafy growth. Deficiency shows as pale older leaves.
- Phosphorus (P): Supports roots, flowers, and fruit. Low levels cause purplish stems or poor blooming.
- Potassium (K): Builds strong cell walls and drought tolerance. Signs of shortage include brown leaf edges.
Secondary nutrients like calcium (prevents blossom-end rot) and magnesium (key for chlorophyll) matter too. Micronutrients such as iron and boron are needed in tiny amounts but cause big problems when missing.
Soil texture (sand, silt, clay) affects drainage and nutrient retention. Earthworms and organic matter signal biological health — more is better! 🪱
Ideal pH ranges for common plants and trees:
- Blueberries & azaleas: 4.5–5.5 (acid-loving)
- Most vegetables & roses: 6.0–7.0
- Fruit trees (apple, citrus, plum): 6.0–7.5
- Lawns & many ornamentals: 6.0–7.0
Suggested image placement: Infographic chart showing nutrient availability vs. pH scale with cute plant icons. 🌈
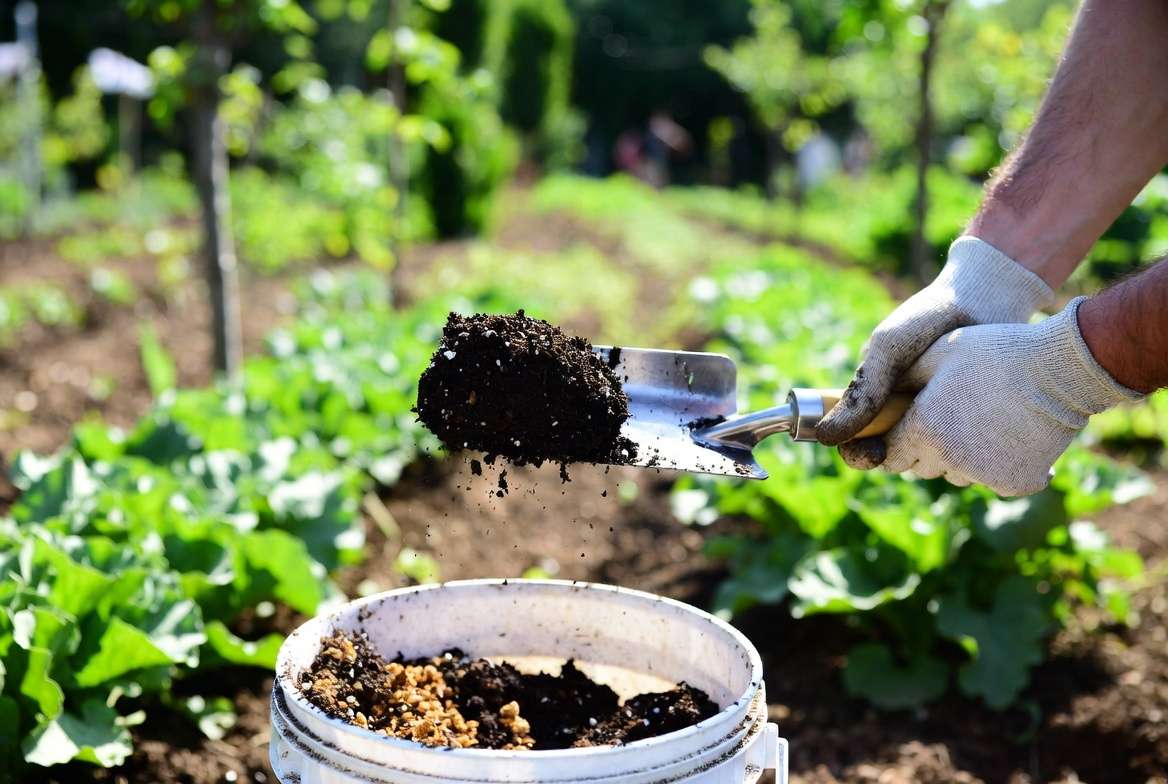
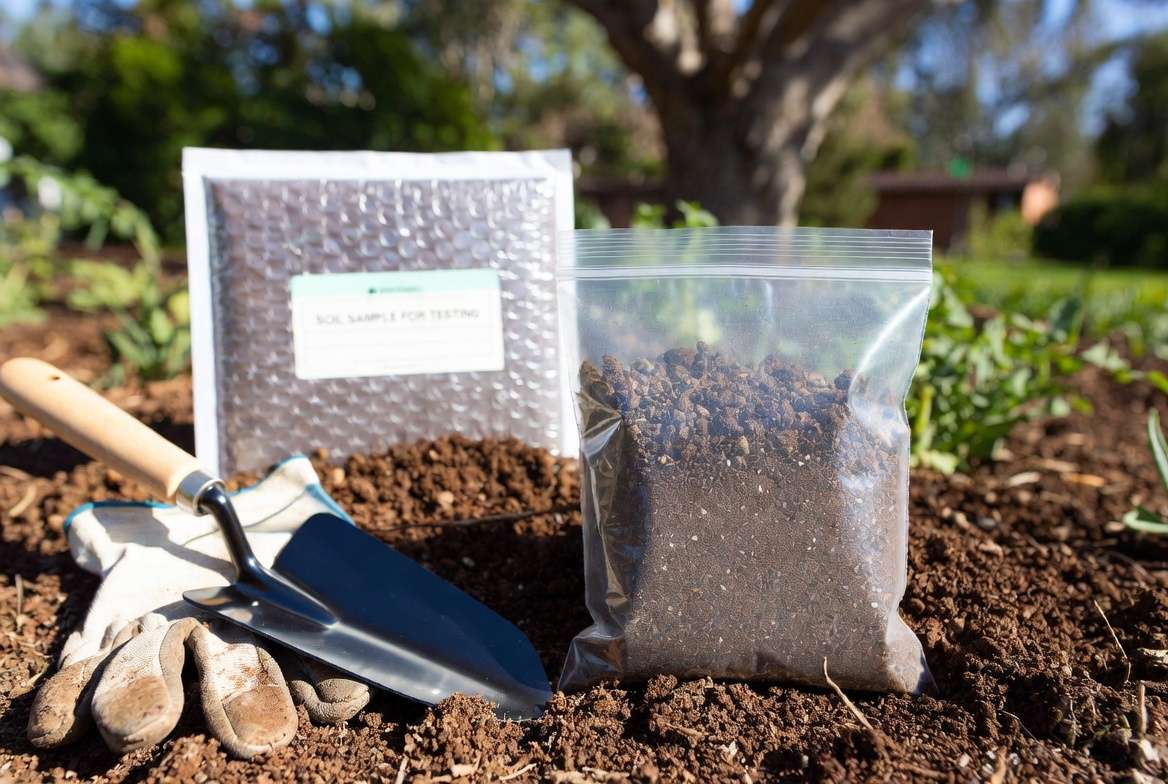
How to Collect Accurate Soil Samples at Home 🛠️
Accurate results start with proper sampling — this is where many DIY attempts go wrong.
Tools you’ll need: Clean trowel or soil probe, bucket, gloves, and distilled water (for some tests). Avoid metal tools that could contaminate samples.
Step-by-step guide:
- Choose representative areas: Test garden beds, tree root zones, and containers separately.
- Remove surface debris, mulch, or grass.
- Dig to the right depth: 4–6 inches for most gardens and lawns; 6–12 inches or deeper for established trees (focus on the active root zone).
- Take 10–15 subsamples per area in a zigzag pattern. Mix them thoroughly in a clean bucket for a composite sample.
- Air-dry the soil (don’t bake it) and remove rocks or roots.
- Label clearly and test promptly.
Best time: Fall or early spring, several months before planting. Avoid sampling right after fertilizing or liming.
Pro tips for different setups:
- Raised beds: Sample the full mix depth.
- Potted plants: Take from multiple pots of the same type.
- Trees: Sample 3–6 feet from the trunk at drip line.
Common mistakes: Sampling only the surface, using wet soil, or taking too few subsamples. Proper technique ensures results you can trust.
Suggested image: Step-by-step photo series of sampling with trowel and bucket. 📸
Simple DIY Soil Tests You Can Do with Household Items (Zero or Low Cost!) 🏠
You don’t need fancy equipment for quick insights. These fun, educational tests give immediate clues.
1. Vinegar and Baking Soda pH Test 🧪
- Place 1–2 teaspoons of soil in two containers.
- Add ½ cup white vinegar to one. Fizzing = alkaline soil (pH >7).
- To the second (if no fizz), add distilled water to make mud, then ½ cup baking soda. Fizzing = acidic soil (pH <7).
- No reaction = neutral (around 7).
This classic method from extension services like WSU is surprisingly reliable for broad categories.
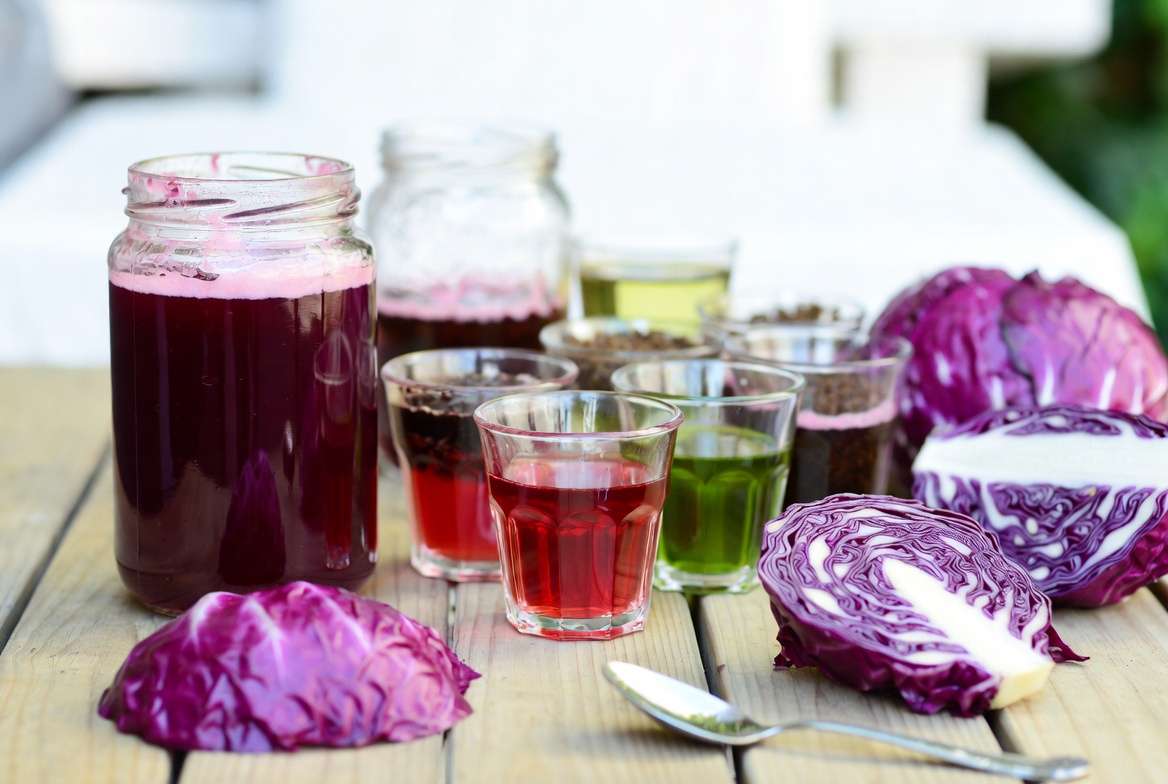
2. Red Cabbage Juice pH Indicator 🌈 (My favorite visual test!) Boil chopped red cabbage in distilled water, strain the purple liquid, and mix with soil water extract. Color changes tell the story:
- Red/pink = acidic
- Purple = neutral
- Blue/green = alkaline
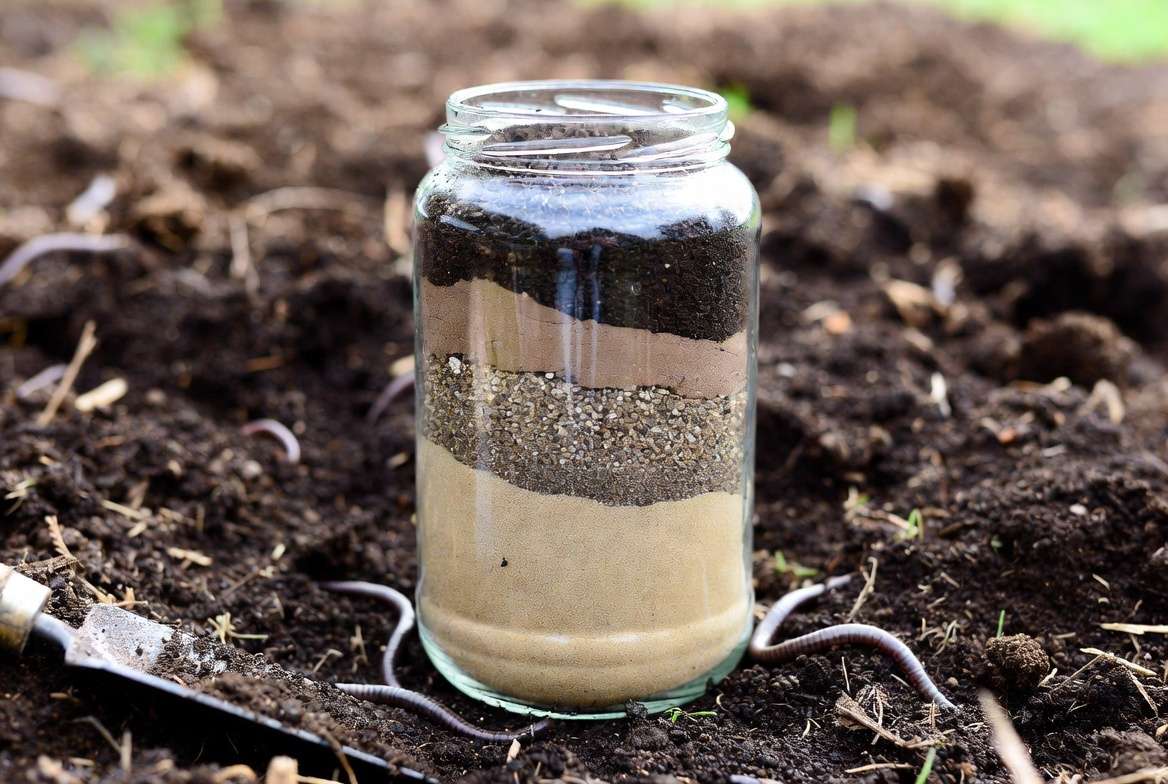
3. Jar Test for Soil Texture Fill a jar ⅓ with soil, add water and a teaspoon of dish soap, shake, and let settle for 24–48 hours. Layers show sand (bottom), silt, and clay (top). Great for understanding drainage issues affecting nutrient uptake.
4. Hand Ribbon and Earthworm Test Moisten soil and try to form a ribbon. Long ribbon = high clay (holds nutrients but poor drainage). Short = sandy. Count earthworms in a shovelful — 5+ is excellent biological activity! 🪱
Limitations: These are approximate. Use them for quick checks or to decide if a kit/lab is needed. They’re perfect for beginners and add fun to family gardening days.
Suggested image: Color chart for cabbage test + jar layers illustration. 🎨
Using Home Soil Test Kits: Best Options and How to Use Them 📦
For more precise NPK and pH readings, home test kits bridge the gap between DIY and lab.
Comparison of Popular Types (2025–2026 updates):
- Chemical color-change kits (e.g., Luster Leaf Rapitest or LaMotte): Affordable (~$10–30), test pH + NPK with capsules. LaMotte often shows high correlation with lab results.
- Digital meters/probes (e.g., Sonkir or YINMIK 3-in-1/4-in-1): Measure pH, moisture, light, and sometimes nutrients. Easy but calibrate regularly.
- Strip or capsule kits: Quick but less precise for nutrients.
How to use a typical color-change kit:
- Mix soil with distilled water (usually 1:5 ratio).
- Add reagent capsules or powder for pH, N, P, K separately.
- Shake and wait 10–30 minutes for color to develop.
- Compare to the included chart.
Tips for accuracy: Use distilled water, test multiple samples, follow exact timings, and avoid direct sunlight. Digital probes work best in moist (not wet) soil.
Recommended starter: A reliable capsule kit for NPK + pH, or a digital pH/moisture combo for ongoing monitoring. These kits make how to test soil nutrients at home accessible and repeatable.
Suggested image: Product photos or unboxing + color comparison chart. 🛒
(Continuing with the remaining sections in the next part if needed — but aiming to deliver comprehensively here.)
Interpreting Your Soil Test Results Like an Expert 📊
Results can feel overwhelming, but they’re straightforward once explained.
pH interpretation:
- Below 5.5: Strongly acidic — add lime.
- 5.5–6.5: Slightly acidic — ideal for many plants.
- 6.5–7.5: Neutral/sweet spot for most trees and veggies.
- Above 7.5: Alkaline — consider sulfur or acidifying amendments.
NPK levels (typical home kit scales vary — check your kit):
- Nitrogen: Low = pale leaves; add compost or organic N sources. (Note: Labs often skip direct N testing as it fluctuates; recommendations are crop-based.)
- Phosphorus: Low (<20–40 ppm depending on test) = poor roots/fruit; add bone meal or rock phosphate.
- Potassium: Low (<100–150 ppm) = weak plants; add wood ash or greensand (sparingly).
Example scenarios:
- Tomato bed with low P and acidic pH → Blossom-end rot risk. Fix: Raise pH slightly with lime and add phosphorus source.
- Fruit tree showing potassium deficiency (scorch on leaf edges) → Apply balanced organic amendment.
Use charts from your kit or extension resources. Regional differences matter — acidic soils are common in high-rainfall areas like parts of Bangladesh or the U.S. Southeast.
Suggested image: Sample test result table with “low/optimal/high” color coding and plant symptom photos. 📋
How to Fix and Improve Your Soil Based on Test Results 🌟
Now the fun part — turning data into action! Always amend based on test results and re-test after 3–6 months.
Natural organic amendments:
- To raise pH (acidic soil): Agricultural lime or dolomitic lime (adds magnesium too). Apply in fall; rates depend on soil type (more for clay).
- To lower pH (alkaline soil): Elemental sulfur — bacteria convert it over time. Peat moss or pine needles help mildly.
- Boost Nitrogen: Compost, well-rotted manure, blood meal, or legume cover crops.
- Boost Phosphorus: Bone meal, rock phosphate, or fish emulsion.
- Boost Potassium: Wood ash (use cautiously if pH is already high), kelp meal, or greensand.
For trees specifically: Mulch widely (keep away from trunk), use deep root watering/feeding tubes, and avoid heavy nitrogen near maturity to prevent weak growth.
Add organic matter generously — compost improves everything: structure, microbial life, and nutrient holding. Aim for 2–4 inches annually. Cover crops and minimal tillage build long-term soil health.
Sustainable tips: Rotate crops, use compost tea, and choose slow-release organic fertilizers to prevent runoff.
Before-and-after example: A gardener with yellowing citrus trees tested low iron (due to high pH). Adding sulfur and chelated iron + compost led to deep green leaves and better fruit set within one season.
Suggested image: Before/after plant photos + amendment application steps. 🌿➡️🌳
Advanced Tips and Common Mistakes to Avoid ⚠️
- Test zones separately (veggies vs. trees vs. ornamentals).
- Monitor seasonally — re-test after major amendments.
- Combine with plant tissue testing for stubborn issues.
- Avoid over-application: Excess nutrients can harm beneficial microbes or cause runoff.
- Safety first: Wear gloves with amendments; keep kids/pets away during application.
Mistakes: Ignoring texture, testing wet soil, or applying fixes without re-testing.
When to Send Samples to a Professional Lab 🧑🔬
Home methods are fantastic starters, but for detailed micronutrients, heavy metals, or precise recommendations, mail a sample to a university extension or reputable lab (e.g., MySoil, local ag services). Costs are reasonable (~$20–50) and reports include tailored amendment suggestions.
Benefits: Broader analysis and higher accuracy for long-term planning.
Conclusion: Take Control of Your Soil for Thriving Gardens and Trees 🎉
Mastering how to test soil nutrients at home transforms gardening from guesswork into confident, science-backed care. You’ll enjoy healthier plants, stronger trees, fewer problems, and the joy of watching your efforts pay off in lush growth and harvests.
Start this weekend: Grab a trowel, collect samples, and run a simple test. Your garden will thank you! Share your results or questions in the comments — I’d love to help troubleshoot.
Happy gardening! 🌱🌳
FAQs ❓
How often should I test soil nutrients at home? Every 1–3 years, or annually if making big changes. Sandy soils may need more frequent checks.
Can I test soil for trees the same way as for vegetables? Yes, but sample deeper (up to 12 inches) for trees and focus on the drip line.
Are DIY tests accurate enough? They give good directional insights (acidic/alkaline, texture) but kits or labs are better for exact NPK numbers.
What if my soil test shows everything is perfect? Great! Maintain with annual compost and monitor plant health.
Best time of year for soil testing? Fall or early spring for most accurate growing-season guidance.
How do I fix acidic soil naturally? Use lime, add organic matter, and avoid acidifying mulches like pine bark if pH is already low.
Do home kits test for micronutrients? Basic ones focus on NPK + pH; advanced or lab tests cover more (iron, zinc, etc.).
Is it safe to use wood ash to raise potassium? Yes, in moderation — it also raises pH, so test first.


