
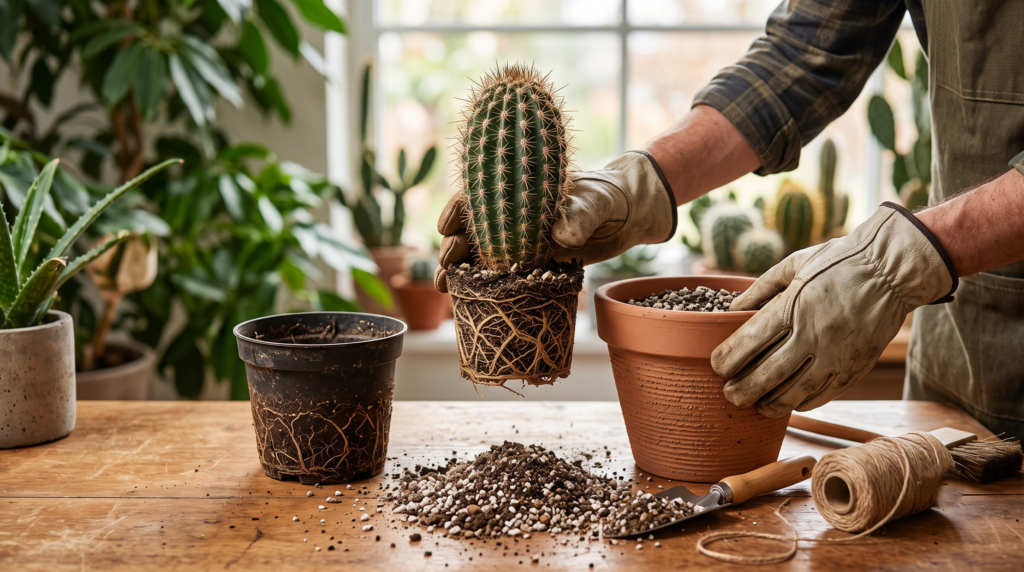
Picture this: you are staring at your beloved, spiky succulent sitting on the windowsill. It has been in the same container since the day you brought it home from the nursery. You might be wondering if it is silently suffering in a cramped space, but feeling too intimidated by those fierce spines to investigate. Knowing the clear signs your cactus needs repotting is an essential skill for any plant parent. While desert plants are famous for thriving on a bit of neglect, leaving them in degraded soil or a suffocating container will eventually lead to stunted growth, nutrient depletion, and devastating root rot.
By the end of this comprehensive guide, you will not only know exactly how to diagnose a struggling plant, but you will also learn how to transplant it with expert-level confidence—and zero painful pricks. Let’s dive into the fascinating world of desert plant care and give your thorny companions the space they need to thrive! ✨
Why Repotting Your Cactus is Crucial for Soil Health & Growth 🌱
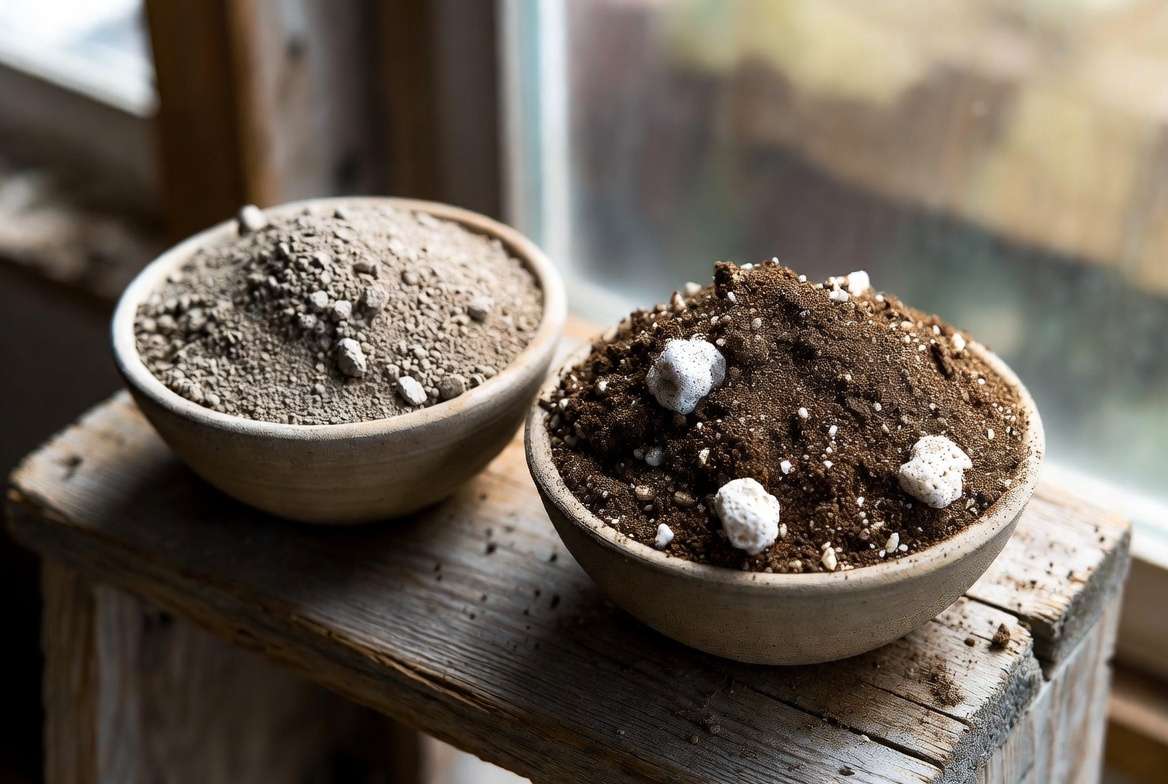
Before we look at the physical symptoms, it is vital to understand what happens beneath the surface. For a cactus, the container is its entire universe. Over time, that universe degrades. The potting mix breaks down, losing its chunky, aerated structure and turning into a fine, compacted dust.
When soil compacts, it loses macropores—the tiny pockets of air that roots need to breathe. Without oxygen, roots suffocate, and the delicate microbial balance necessary for nutrient uptake is entirely disrupted. Proper soil health management is the secret to a resilient plant. A healthy, well-aerated soil microbiome actually prevents common fungal infections in desert plants by ensuring water drains rapidly before anaerobic bacteria can take hold.
The 7 Tell-Tale Signs Your Cactus Needs Repotting 🧐
Take a close look at your plant. Before you put on your heavy-duty gloves, inspect it visually. Here are the undeniable indicators that it is time for an upgrade.
1. Roots Are Escaping the Drainage Holes 🕳️
This is the most obvious and urgent sign of a severely root-bound plant. When roots begin circling the bottom of the container or poking out through the drainage holes, the plant is sending a distress signal. It has entirely exhausted the real estate inside the pot and is desperately searching for new space, water, and nutrients. If left in this state, the roots will begin to girdle (choke) themselves, leading to a slow decline in health.
2. The Plant is Dangerously Top-Heavy ⚖️
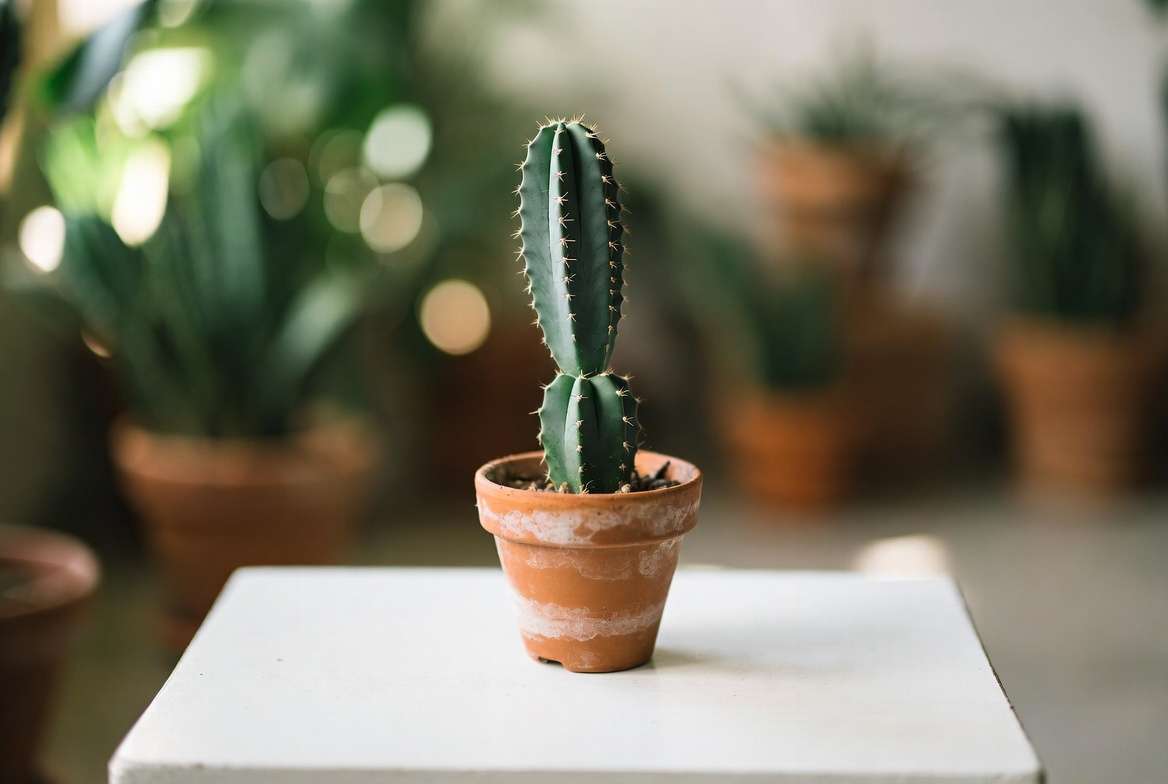
Cacti, especially columnar varieties like the San Pedro or the Peruvian Apple Cactus, can grow quite tall. As they put on vertical growth, their center of gravity shifts. If a gentle breeze from an open window or a slight bump to the table threatens to tip the pot over, the root-to-shoot ratio is severely off. A larger, heavier container will provide the structural anchor the root system needs to support the heavy, water-filled stems above.
3. The Soil has Become Hard, Crusty, and Repels Water 💧
Have you ever poured water into your cactus pot, only to watch it pool at the top and immediately run straight down the inside edges of the container? This is known as “hydrophobic” soil. Peat moss, a common ingredient in commercial succulent mixes, shrinks and hardens when it dries out completely. Once it becomes hydrophobic, it actually repels moisture. The water escapes out the bottom before the roots can absorb a single drop. If your soil has pulled away from the sides of the pot in a hard brick, repotting with fresh, permeable organic matter is non-negotiable.
4. Growth Has Completely Stalled (Even in Spring and Summer) 🛑
Most desert cacti go dormant in the winter, which is entirely normal. However, if spring and summer roll around—their natural active growing seasons—and your plant remains completely static, there is a problem. A healthy cactus in its growing season should display vibrant new green growth at the crown or tips. If it sits dormant during its prime time, it has likely exhausted the soil’s resources and lacks the nitrogen and trace minerals required to produce new tissue.
5. A Sudden Explosion of “Pups” (Offsets) 👶
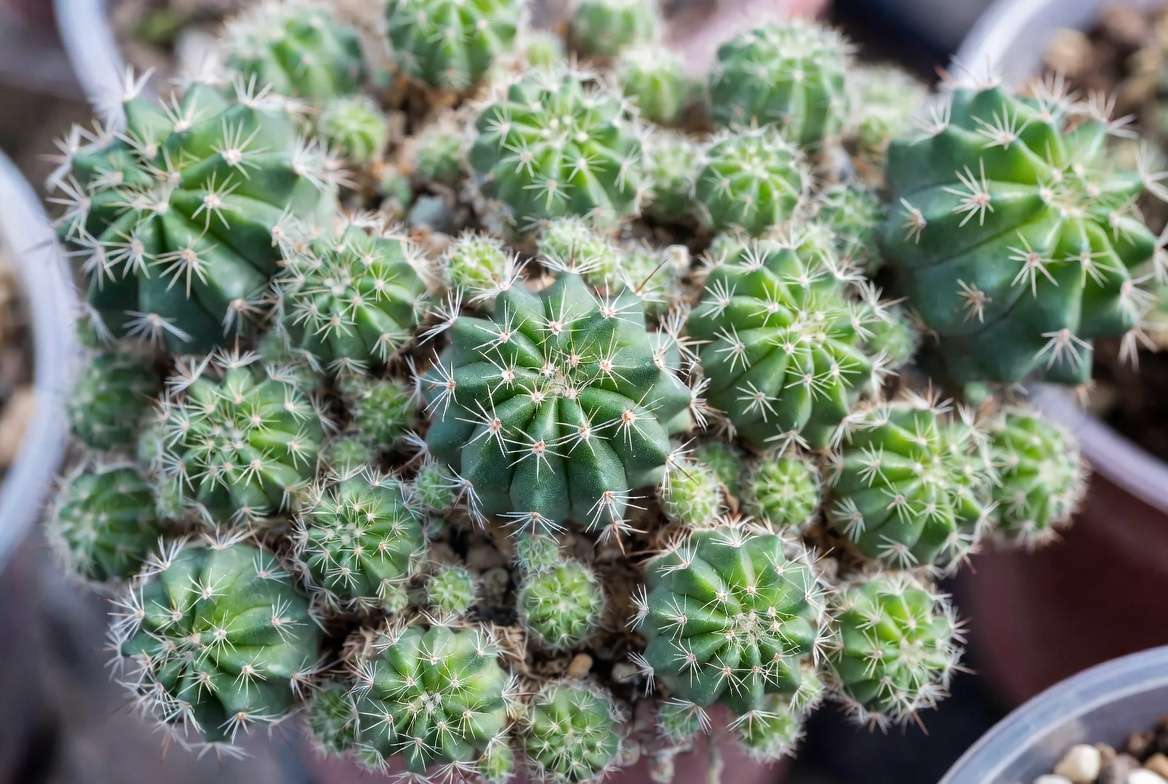
Many varieties, such as the popular Echinopsis or Aloe, reproduce by generating small offsets, affectionately known as “pups,” around the base of the mother plant. While a few pups are a sign of a happy plant, a sudden, explosive clustering can sometimes be a stress response to a cramped environment. As these pups grow, they compete with the mother plant for the already limited water and nutrients. Repotting gives you the opportunity to gently separate these pups to propagate new plants, while freeing up space for the main plant to breathe.
6. The Cactus Base is Bulging Against the Pot Edges 🏺
This issue is particularly common with barrel and globular cacti (like the Golden Barrel). As their fleshy, ribbed bodies expand to store water, they can grow so wide that they literally touch the rim of the pot. When the plant body sits tightly against the rim, it severely restricts airflow to the soil surface. Trapped moisture between the plant tissue and the pot edge is a primary catalyst for basal rot. You always want at least an inch of visible soil around the entire perimeter of the plant.
7. The Plant Looks Shriveled, Yellowing, or Dull 🥀
If you are watering your plant correctly, but it still looks perpetually thirsty, shriveled, or has lost its deep, vibrant green color, the root system is likely compromised. This visual dullness is often a sign of nutrient starvation or root die-off due to poor soil conditions. A fresh potting mix will provide the immediate nutrient boost needed to restore its plump, healthy appearance.
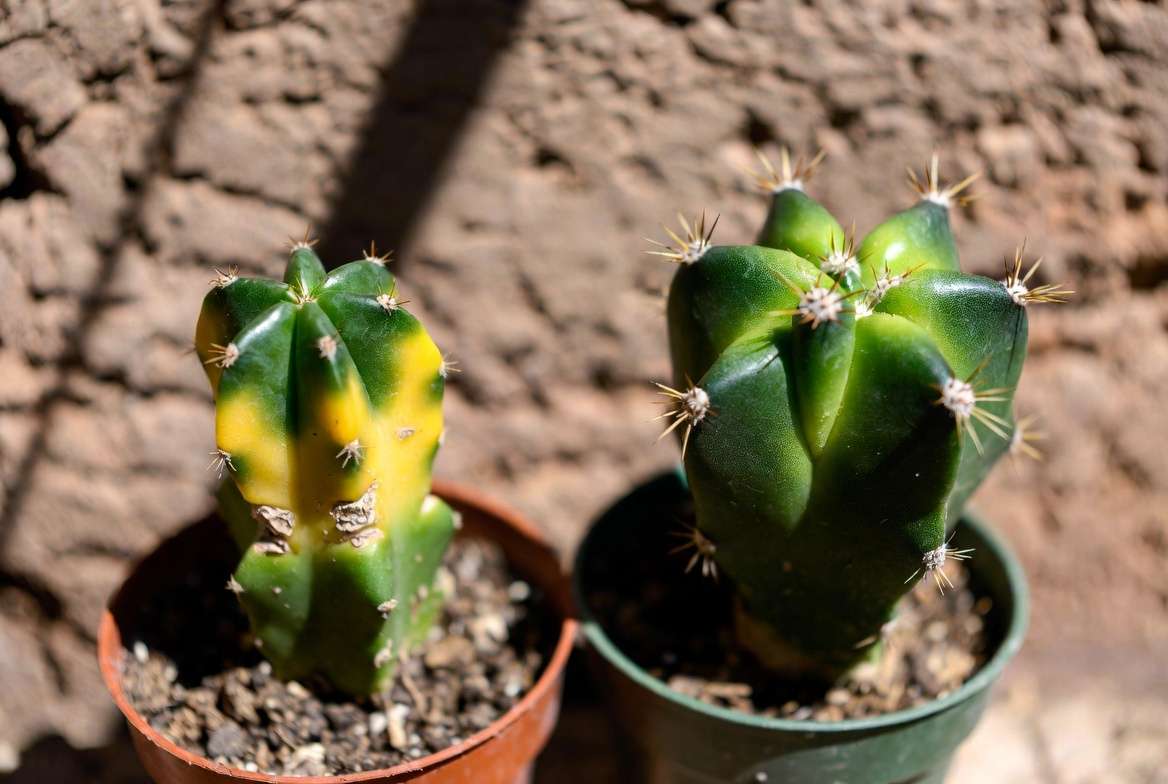
How to Choose the Perfect Pot and Soil Mix for Your Cactus 🪴
Choosing the right materials is just as important as identifying the problem. A cactus requires a highly specific environment to mimic its natural, arid habitat.
Selecting the Right Container: Size and Material Matter 📏
When selecting a new home for your prickly friend, restraint is key.
-
The “One Inch” Rule: Never put a small cactus in a massive pot. You should only increase the pot size by 1 to 2 inches in diameter. A pot that is too large holds an excessive volume of wet soil. Because the small root system cannot drink all that water quickly, the soil stays soggy for days, inevitably leading to root rot.
-
Terracotta vs. Plastic: While plastic nursery pots are cheap and lightweight, they trap moisture. Unglazed terracotta or clay is the gold standard for desert plants. The porous nature of the clay wicks away excess moisture from the soil, allowing the roots to breathe and the soil to dry out rapidly. Furthermore, a heavy terracotta pot provides excellent ballast for top-heavy columnar cacti.
The Ultimate Well-Draining Cactus Soil Recipe 🪨
Never use standard indoor houseplant potting soil straight out of the bag. It is far too rich and retains far too much moisture. To guarantee optimal soil health, you need a gritty, fast-draining mix.
Here is a foolproof, expert-level DIY recipe:
-
40% High-Quality Organic Matter: A peat-free potting soil or coconut coir. (Coir is fantastic because it wets easily and doesn’t become hydrophobic).
-
40% Coarse Pumice or Perlite: This provides critical aeration and drainage. Pumice is preferred as it is heavier and won’t float to the top of the pot when watered.
-
20% Coarse Horticultural Sand or Calcined Clay: Adds weight and mimics the gritty texture of a desert environment.
(Note for publisher: This recipe is an excellent opportunity to embed a YouTube thumbnail-style graphic or a beautiful infographic showing the exact visual ratios of organic to inorganic matter).
Step-by-Step: How to Repot a Cactus Safely (Without Getting Pricked!) 🧤
Now comes the part most plant owners dread—the physical handling. With the right technique, you can easily transplant even the most aggressive, spine-covered cactus safely.
The Essential Cactus Repotting Toolkit 🛠️
Preparation is everything. Gather these items before you begin:
-
Heavy-duty leather gardening gloves (not fabric, as spines will pierce right through).
-
Long kitchen tongs (silicone-tipped ones work wonderfully for small to medium plants).
-
Rolled-up newspaper, an old towel, or scraps of thick carpet.
-
A small hand trowel or a simple butter knife.
-
A soft makeup or paint brush.
-
Sanitized pruning shears.
Step 1: Loosening and Removing the Plant 🪴
Do not pull the cactus by its stem. Instead, create a thick band out of folded newspaper (about 4-5 layers thick). Wrap this band around the body of the cactus and grasp the two ends tightly to form a handle. If the plant is stuck, run a dull butter knife around the inside edge of the old pot to loosen the soil. Gently squeeze or tap the bottom and sides of the pot while lifting upwards with your newspaper handle. The plant should slide out smoothly.
Step 2: Inspecting and Pruning the Root System ✂️
Once out of the pot, lay the plant on its side. Use your fingers or a soft brush to gently massage and tease away the old, depleted soil from the root ball. This is a critical health check. Inspect the roots closely. Healthy roots are generally firm and light in color. If you see any roots that are black, mushy, or smell like decay, use your sanitized shears to snip them away. Removing dead organic matter is crucial to prevent the spread of rot in the new pot.
Step 3: Positioning and Backfilling ⏳
Place a small layer of your fresh, gritty soil mix at the bottom of the new terracotta pot. Using your newspaper handle or tongs, center the cactus in the pot.
Crucial Rule: Ensure the cactus is planted at the exact same depth it was previously. Burying the green, fleshy stem deeper into the soil will almost certainly cause stem rot.
Hold the plant steady and use a trowel to backfill the fresh soil mix around the sides. Periodically tap the outside of the pot with your hand to help the soil settle and eliminate any large air pockets. Once filled, use your soft brush to dust away any stray dirt that has fallen between the spines.
Post-Repotting Care: The Critical “Do Nothing” Phase 🧘♀️
You have successfully moved your plant into its new home. Now, you must practice extreme restraint.
The One-Week Watering Ban
This is where many beginners make a fatal mistake. Do not water a freshly repotted cactus.
During the repotting process, microscopic root hairs are inevitably broken, and sometimes larger roots are trimmed. If you introduce water to these open wounds immediately, soil-borne pathogens can enter, causing rapid rot. Instead, leave the soil completely bone dry for at least one week (up to two weeks for very large specimens). This dry period allows the damaged roots to callus over and heal.
Lighting Adjustments
Repotting is a stressful surgical procedure for a plant. To help it recover, keep the newly potted cactus in bright, but indirect sunlight for the first week or two. Direct, scorching sun on a stressed plant with a compromised root system can cause severe sunburn. Gradually acclimate it back to its usual sunny windowsill after the healing period.
Frequently Asked Questions (FAQs) About Cactus Care 💬
To ensure you have all the facts, let’s address some of the most common questions plant owners face during this process.
What is the best time of year to repot a cactus? The absolute best time is early spring, right before the plant enters its active growing season. Repotting at this time ensures the plant has maximum energy to heal its roots and push out new growth in its fresh soil. Avoid repotting in late fall or winter when the plant is dormant, unless it is an emergency (like root rot).
Can I use regular potting soil if I just water it less? No. Even with reduced watering, standard potting soil holds onto moisture for far too long. A cactus needs water to pass through the root zone quickly. Standard soil will stay damp at the core, rotting the taproot from the inside out before the surface ever feels dry. Always amend your soil.
What do I do if I accidentally break a piece of the cactus off? Don’t panic! Cacti are incredibly resilient. If a pad or a stem snaps off, set it aside in a dry, shaded place for a few days until the broken end forms a hard, dry callus. Once calloused, place it on top of some fresh, dry cactus soil, and it will eventually grow new roots. You’ve just accidentally propagated a brand-new plant!
Conclusion: Embrace the Repotting Journey ✨
Recognizing the signs your cactus needs repotting is a pivotal step in mastering desert plant care. By upgrading their container, optimizing their soil health, and practicing safe handling techniques, you are providing your plants with the foundation they need to live for decades. Repotting isn’t just a chore; it is a rewarding act of care that breathes new life into your indoor garden.
Have you recently tackled a thorny repotting project? Don’t forget to share your photos and success stories with us in the comments below, or tag us in your beautiful plant progress pictures on social media! Happy planting! 🌵💚











