Imagine biting into a juicy, sweet baby watermelon you grew yourself, fresh from your garden! 🌞 Growing a baby watermelon plant is a rewarding adventure that brings the thrill of homegrown fruit to gardeners of all skill levels. Whether you have a sprawling backyard or a cozy balcony, these compact, delicious melons are perfect for small spaces and beginner gardeners. In this comprehensive guide, you’ll learn everything you need to cultivate a thriving baby watermelon plant, from choosing the right seeds to harvesting ripe, flavorful fruit. As a horticulturist with over a decade of experience in fruit cultivation, I’ll share expert tips and practical advice to ensure your success. Get ready to transform your garden with this step-by-step guide! 🌿
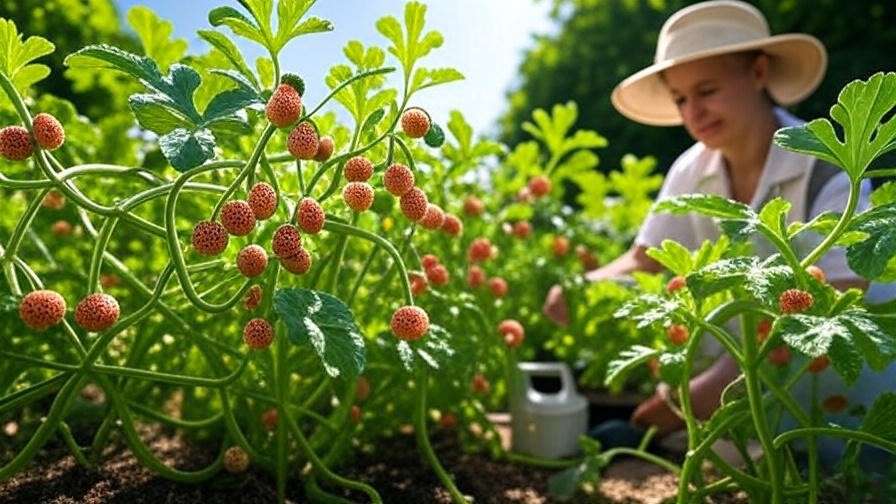
Understanding the Baby Watermelon Plant 🌿
What Is a Baby Watermelon Plant?
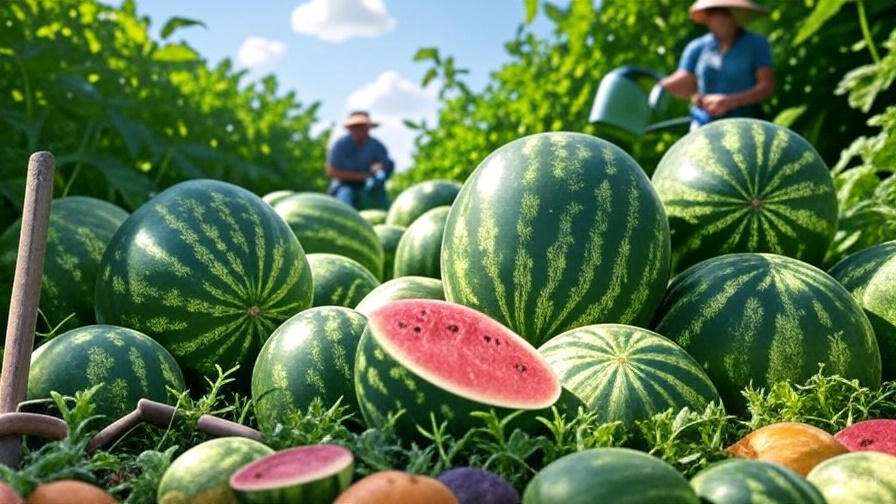
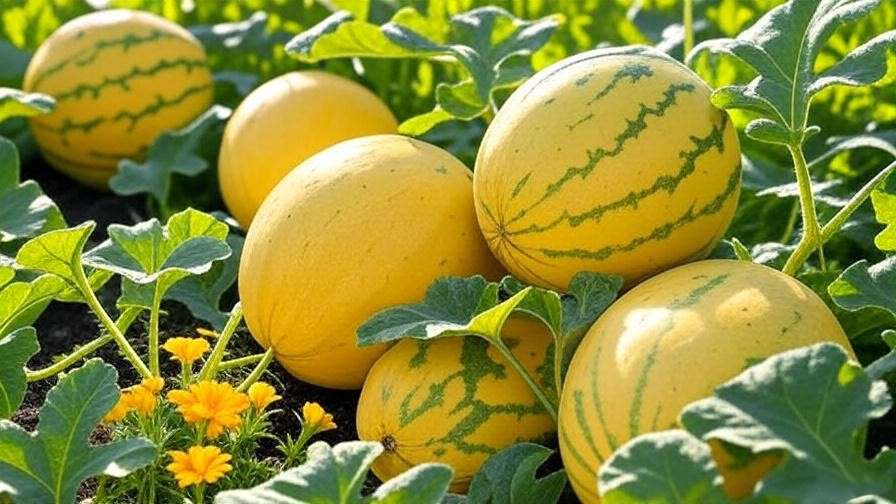
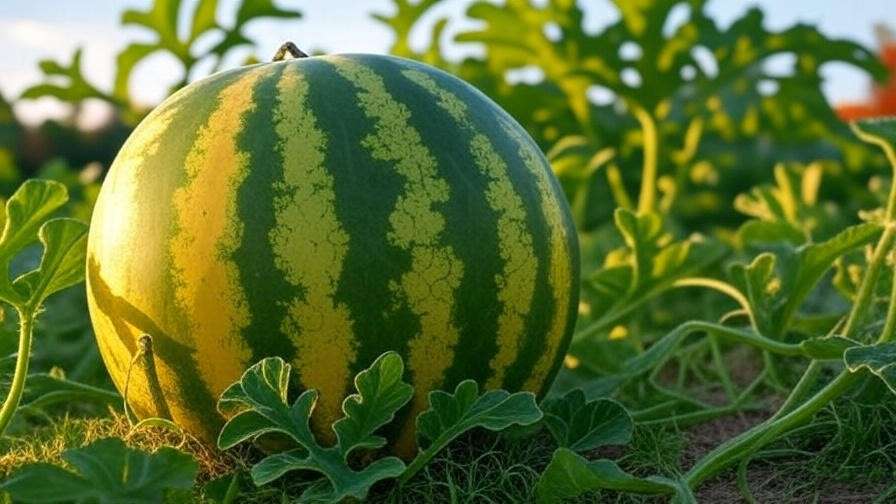
A baby watermelon plant produces smaller fruits, typically weighing 2–10 pounds, compared to traditional watermelons that can exceed 20 pounds. These pint-sized melons, also called personal or mini watermelons, are perfect for small households or gardeners with limited space. Popular varieties include:
- Sugar Baby: A classic choice with sweet, red flesh and a dark green rind, maturing in 75–80 days.
- Mini Love: A hybrid with crisp, juicy flesh, ideal for containers, ready in about 70 days.
- Little Darling: A seedless variety with a thin rind and sweet flavor, maturing in 80–85 days.
These varieties are beginner-friendly due to their shorter growing season and compact vines, making them easier to manage than larger watermelon types.
Benefits of Growing Baby Watermelons
Baby watermelons are a fantastic addition to any garden. Here’s why:
- Space-Saving: Their compact vines thrive in small gardens, raised beds, or even large containers.
- High Yield: A single plant can produce 1–3 fruits, perfect for small families or personal consumption.
- Nutritional Value: Packed with vitamins A and C, antioxidants, and hydration, they’re a healthy snack.
- Versatility: Use them in salads, smoothies, or as a refreshing summer treat.
By growing baby watermelons, you’ll enjoy both the process and the delicious results!
Preparing to Grow Your Baby Watermelon Plant 🛠️
Choosing the Right Location
Baby watermelon plants crave sunlight and warmth. Choose a location that receives 6–8 hours of direct sunlight daily to ensure vigorous growth and sweet fruit. The soil should be well-draining and loamy, with a pH between 6.0 and 6.8. If your soil is heavy clay or sandy, amend it with compost or organic matter to improve drainage and fertility.
Expert Tip: Conduct a soil test using a home kit or send a sample to a local extension service to confirm pH and nutrient levels. Adjust with lime (to raise pH) or sulfur (to lower pH) as needed.
Selecting Seeds or Seedlings
High-quality seeds or seedlings are the foundation of a healthy baby watermelon plant. Purchase from reputable suppliers like Burpee, Johnny’s Selected Seeds, or local nurseries with a focus on organic or heirloom varieties.
- Seeds: More affordable and offer greater variety but require germination and early care.
- Seedlings: Save time and are ideal for beginners but may have limited variety availability.
Example: I’ve had great success with Sugar Baby seeds from Burpee, which consistently produce sweet, reliable fruit.
Timing Your Planting
Timing is critical for baby watermelons. Plant in spring after the last frost when soil temperatures reach at least 70°F (21°C). In most USDA zones (3–9), this is typically late spring to early summer (April–June). Check your local frost dates and use a soil thermometer to confirm conditions.
Pro Tip: In cooler climates, start seeds indoors 3–4 weeks before transplanting to extend the growing season.
Planting Your Baby Watermelon Plant 🌱
Starting Seeds Indoors
Starting seeds indoors gives your baby watermelon plant a head start. Here’s how:
- Materials: Use seed trays or biodegradable peat pots and a seed-starting mix.
- Sowing: Plant seeds ½ inch deep, 2–3 per pot, and keep soil moist but not soggy.
- Conditions: Place trays in a warm spot (75–85°F/24–29°C) with grow lights or near a sunny window.
- Germination: Seeds sprout in 7–10 days. Thin to the strongest seedling per pot.
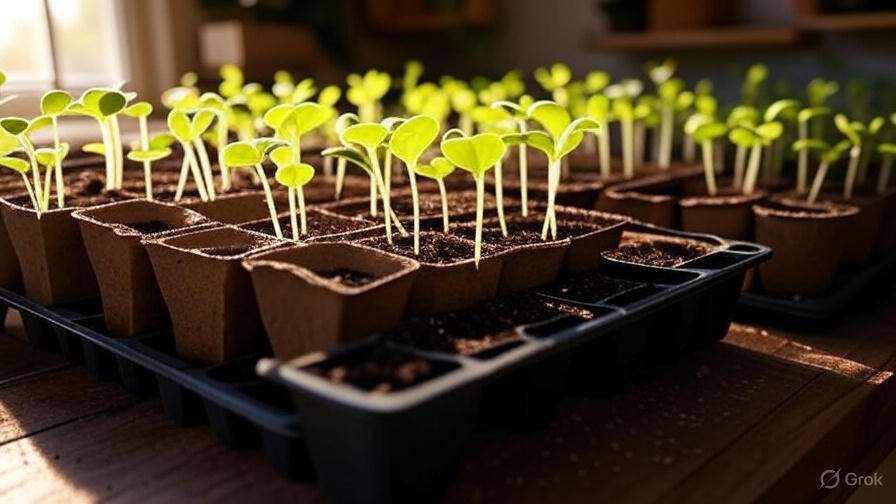
Keep seedlings warm and water gently to avoid disturbing roots.
Transplanting Seedlings Outdoors
Transplant seedlings after hardening them off for 7–10 days to acclimate to outdoor conditions:
- Hardening Off: Gradually expose seedlings to sunlight and wind, starting with 1–2 hours daily.
- Spacing: Plant seedlings 3–4 feet apart in rows 6–8 feet apart to allow vines to spread.
- Planting: Dig holes slightly larger than the root ball, place seedlings, and cover with soil.
Expert Insight: Lay black plastic mulch before planting to warm the soil, retain moisture, and suppress weeds.
Direct Sowing
For direct sowing, wait until soil temperatures are consistently above 70°F:
- Prepare Soil: Loosen soil to a depth of 12 inches and mix in compost.
- Sow Seeds: Plant seeds ½–1 inch deep, 2–3 seeds per hill, spaced 3–4 feet apart.
- Water: Keep soil moist until germination (7–10 days), then thin to the strongest plant.
Beginner Mistake to Avoid: Planting too early in cold soil can stunt growth or prevent germination.
Caring for Your Baby Watermelon Plant 🌞
Watering Needs
Baby watermelon plants need consistent moisture, especially during vine growth and fruit development. Provide 1–2 inches of water per week, adjusting for rainfall. Use drip irrigation or soaker hoses to deliver water directly to the soil, keeping foliage dry to prevent disease.
Pro Tip: As fruits ripen, reduce watering slightly to concentrate sugars and enhance sweetness. Avoid overwatering, which can lead to bland fruit or root rot.
Fertilizing for Optimal Growth
Watermelons are heavy feeders, requiring balanced nutrients:
- At Planting: Incorporate compost or a balanced 10-10-10 fertilizer into the soil.
- Vine Growth: Apply a nitrogen-rich fertilizer (e.g., 5-10-10) every 2–3 weeks.
- Fruit Set: Switch to a phosphorus- and potassium-heavy fertilizer (e.g., 5-10-15) to support fruit development.
Example: Organic gardeners can use fish emulsion for nitrogen and bone meal for phosphorus.
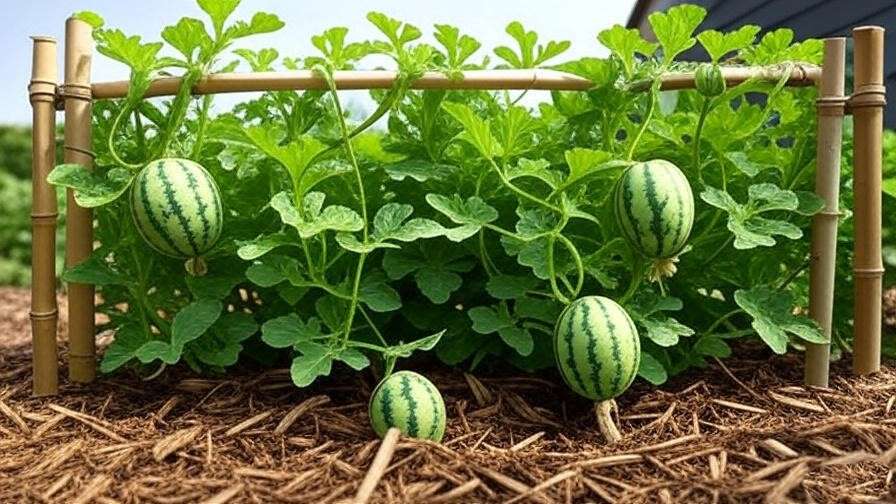
Supporting Vines and Fruit
Baby watermelon vines can sprawl or be trained vertically:
- Trellising: Use sturdy trellises or A-frames for vertical growth in small spaces. Support fruits with slings made from old t-shirts or netting.
- Mulching: Apply organic mulch (straw, wood chips) to control weeds and retain moisture.
Example: A simple trellis made from bamboo stakes and twine works wonders for container-grown plants.
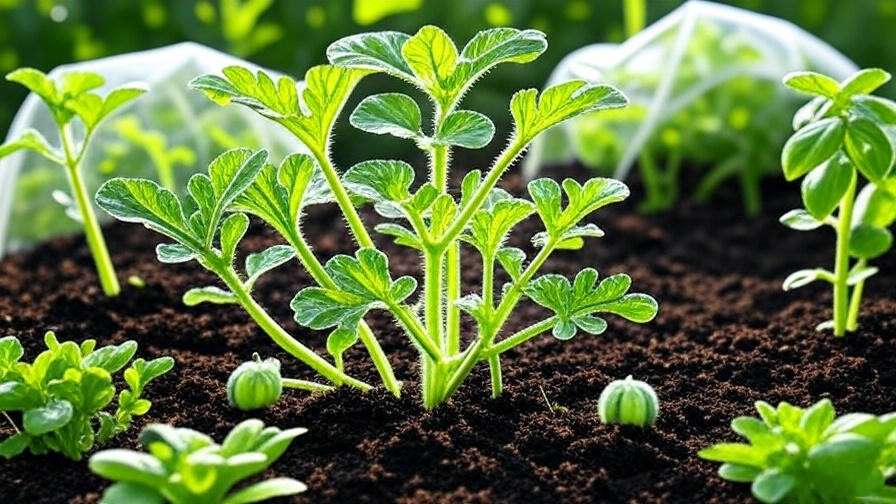
Managing Pests and Diseases 🐛
Common Pests
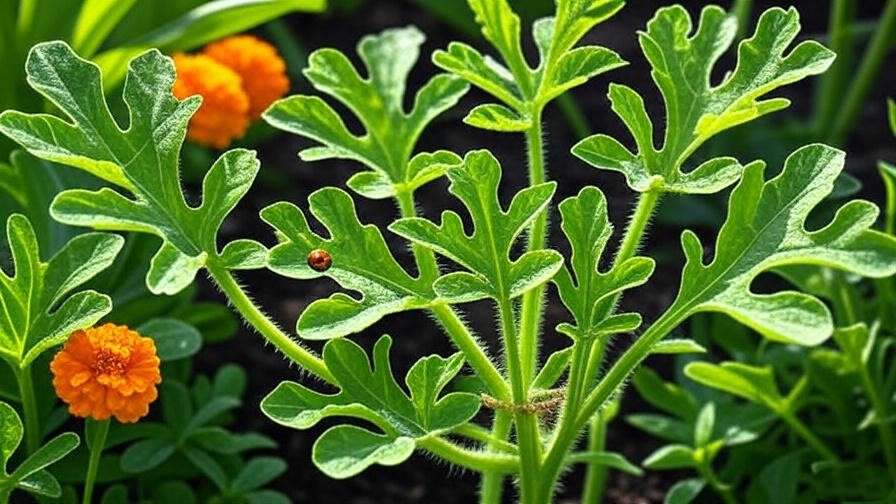
Baby watermelon plants can attract pests that threaten growth and fruit quality. Here are the most common culprits and how to manage them:
- Aphids: Tiny sap-sucking insects that cause leaves to curl. Control with neem oil or insecticidal soap, applied early in the morning.
- Cucumber Beetles: Striped or spotted beetles that chew leaves and transmit diseases. Use row covers or introduce beneficial insects like ladybugs.
- Spider Mites: Microscopic pests causing stippled leaves. Spray with a strong water jet or use neem oil.
Expert Insight: Plant companion crops like marigolds or nasturtiums to repel pests naturally. For example, marigolds deter beetles with their strong scent.
Preventing Diseases
Baby watermelon plants are susceptible to fungal and bacterial diseases, but proactive care can keep them healthy:
- Powdery Mildew: White, powdery spots on leaves. Prevent with good air circulation and avoid overhead watering. Treat with organic fungicides like sulfur.
- Anthracnose: Dark spots on leaves and fruit. Use disease-resistant varieties and practice crop rotation.
- Fusarium Wilt: Causes vines to wilt and die. Ensure well-draining soil and avoid overwatering.
Pro Tip: Rotate watermelon crops every 2–3 years to prevent soil-borne diseases. Choose resistant varieties like Mini Love for added protection.
Pollination and Fruit Development 🐝
Understanding Pollination
Pollination is critical for baby watermelon plants to produce fruit. Watermelons have separate male and female flowers, relying on bees or other pollinators to transfer pollen. Low pollinator activity can result in poor fruit set.
- Encourage Pollinators: Plant pollinator-friendly flowers like lavender or borage nearby.
- Hand-Pollination: If pollinators are scarce, use a small brush to transfer pollen from male flowers (thin stem, no fruit base) to female flowers (small fruit base).
Example: To hand-pollinate, gently swab the center of a male flower, then brush the pollen onto the center of a female flower. Do this in the morning when flowers are open.
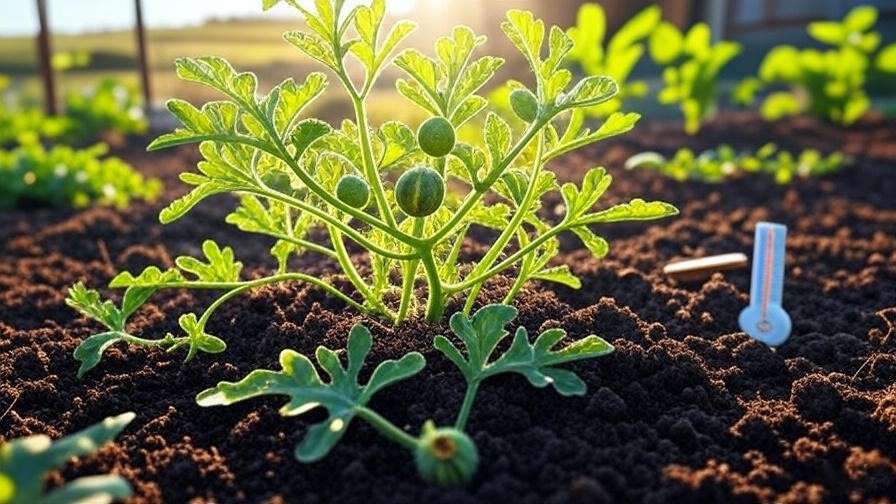
Monitoring Fruit Growth
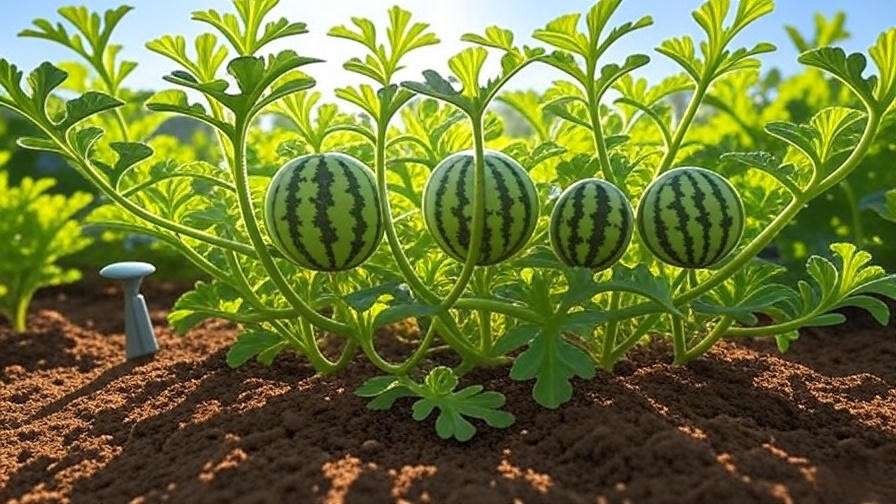
After successful pollination, small fruits form behind female flowers. Monitor these signs of healthy development:
- Fruit Set: Expect 1–2 fruits per plant for baby watermelon varieties to ensure quality.
- Thinning: Remove smaller or misshapen fruits to focus the plant’s energy on larger, healthier melons.
- Growth Timeline: Fruits typically take 30–40 days to mature after pollination.
Beginner Tip: If no fruit forms, check for pollination issues or nutrient deficiencies, such as low potassium.
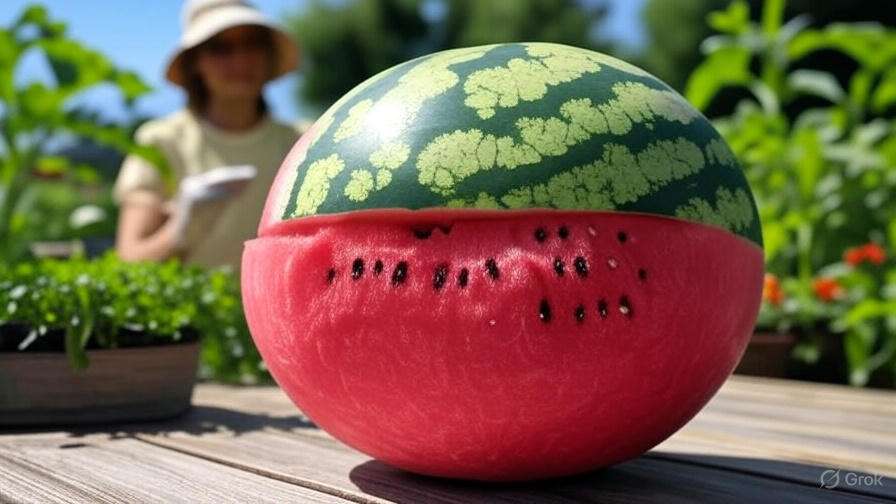
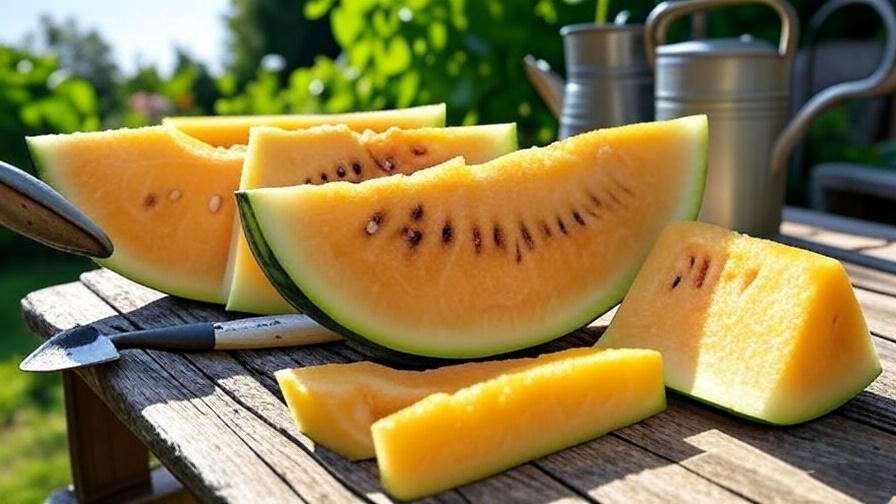
Harvesting Your Baby Watermelons 🍉
When to Harvest
Knowing when to harvest is key to enjoying sweet, ripe baby watermelons. Look for these signs:
- Yellowing Underside: The spot where the melon rests on the ground turns creamy yellow.
- Dull Rind: The rind loses its glossy sheen and feels slightly rough.
- Dry Tendril: The tendril closest to the fruit dries and turns brown.
Most baby watermelon varieties ripen in 70–90 days from planting, depending on the variety and growing conditions.
Expert Tip: Tap the melon gently—if it sounds hollow, it’s ready! For example, Sugar Baby melons often give a distinct “thunk” when ripe.
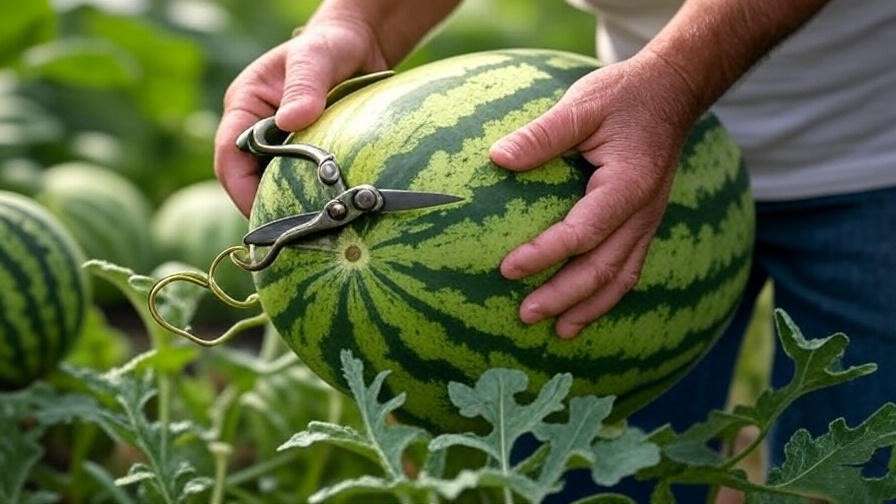
How to Harvest
Harvest carefully to avoid damaging the plant or fruit:
- Cut, Don’t Pull: Use clean, sharp shears to cut the stem 1–2 inches above the fruit.
- Handle Gently: Avoid dropping or bruising the melon, which can affect flavor.
- Storage: Store in a cool, dry place (50–60°F/10–15°C) for up to 2 weeks. Refrigerate only if cut.
Pro Tip: Harvest in the morning when temperatures are cooler to preserve sweetness.
Troubleshooting Common Problems ⚠️
Why Isn’t My Plant Producing Fruit?
If your baby watermelon plant isn’t setting fruit, consider these causes:
- Poor Pollination: Lack of pollinators or high humidity can hinder pollination. Try hand-pollination or plant pollinator-attracting flowers.
- Nutrient Imbalance: Too much nitrogen promotes leafy growth over fruit. Switch to a low-nitrogen, high-potassium fertilizer.
- Stress: Overwatering, drought, or extreme heat can reduce fruit set. Maintain consistent care.
Solution: Conduct a soil test to check nutrient levels and ensure at least one female flower is pollinated per plant.
Why Are My Leaves Yellowing?
Yellowing leaves can signal several issues:
- Overwatering: Soggy soil suffocates roots. Reduce watering and improve drainage.
- Nitrogen Deficiency: Apply a nitrogen-rich fertilizer like fish emulsion.
- Pests: Check for aphids or spider mites under leaves and treat promptly.
Solution: Inspect the plant closely and adjust care based on the specific cause.
Dealing with Slow Growth
If your baby watermelon plant grows slowly, evaluate these factors:
- Light: Ensure 6–8 hours of direct sunlight daily.
- Temperature: Nighttime temperatures below 50°F (10°C) can stunt growth. Use row covers in cooler climates.
- Soil Quality: Poor soil fertility or compaction can limit growth. Add compost or organic matter.
Expert Insight: A balanced fertilizer (e.g., 10-10-10) applied every 2 weeks can boost sluggish plants.
Expert Tips for Maximizing Success 🌟
To take your baby watermelon plant to the next level, try these advanced strategies:
- Companion Planting: Grow basil or oregano nearby to deter pests and enhance flavor.
- Row Covers: Use lightweight row covers early in the season to protect young plants from pests and cold snaps.
- Crop Rotation: Rotate watermelons with legumes or leafy greens to maintain soil health.
- Case Study: A beginner in Austin, Texas, grew three Sugar Baby watermelons in a 4×4-foot raised bed using a trellis and drip irrigation, harvesting 15 pounds of fruit in 80 days!
FAQs About Growing Baby Watermelon Plants ❓
Q1: How much space does a baby watermelon plant need?
A: Baby watermelon plants need 3–4 feet between plants and 6–8 feet between rows. For containers, use a 10–15-gallon pot per plant.
Q2: Can I grow baby watermelons in containers?
A: Yes! Choose a large container (at least 18 inches deep) with drainage holes and a trellis for support.
Q3: How long does it take for a baby watermelon to ripen?
A: Most varieties ripen in 70–90 days from planting, depending on weather and care.
Q4: What’s the best way to water my watermelon plant?
A: Use drip irrigation or soaker hoses to provide 1–2 inches of water weekly, keeping foliage dry.
Q5: Are baby watermelons harder to grow than regular watermelons?
A: No, they’re easier due to their compact size, shorter growing season, and adaptability to small spaces.
Conclusion
Growing a thriving baby watermelon plant is an achievable and rewarding goal for any gardener! 🌱 By choosing the right location, providing consistent care, and addressing challenges like pests or pollination, you’ll be slicing into sweet, homegrown melons in no time. Follow the expert tips in this guide—based on years of horticultural experience—to ensure success. Whether you’re a beginner or a seasoned gardener, the joy of harvesting your own baby watermelons is unmatched. Share your progress in the comments below, and check out our related articles on soil testing and companion planting for more gardening inspiration. Happy growing up! 🍉