
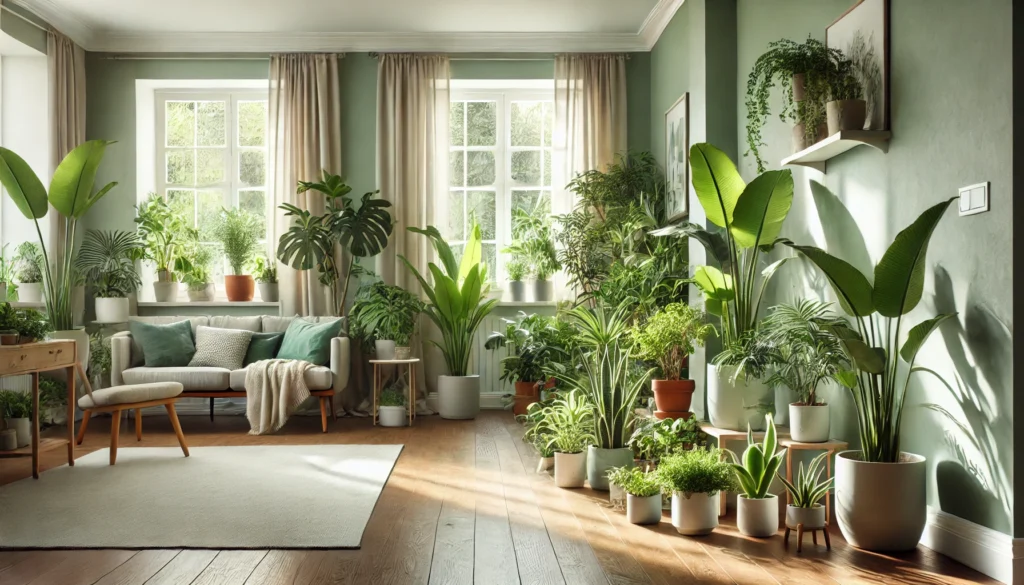
Bringing greenery into your home doesn’t just enhance your space—it boosts your mood, purifies the air, and creates a relaxing atmosphere. But if you’re new to plant care, the idea of keeping houseplants alive might feel overwhelming. The good news? Indoor gardening is easier than you think! This beginner’s guide to indoor gardening will walk you through simple yet effective tips to help your plants flourish with minimal effort. Whether you have limited sunlight, a busy schedule, or zero gardening experience, you’ll learn everything you need to create a thriving indoor oasis. Let’s get started!
Understanding the Basics of Indoor Gardening
Starting an indoor garden can feel like a daunting task, but with the right guidance, anyone can create a thriving green space in their home. In this section, we’ll cover the essentials to get you started with indoor gardening.
Why Indoor Gardening?
Indoor gardening offers numerous benefits, especially for beginners. It allows you to enjoy nature indoors, improve air quality, and enhance your home’s aesthetic. Houseplants also provide stress relief and can boost your mood—creating a sense of tranquility in your living space. Plus, it’s perfect for those with limited outdoor space or climates that make outdoor gardening challenging.
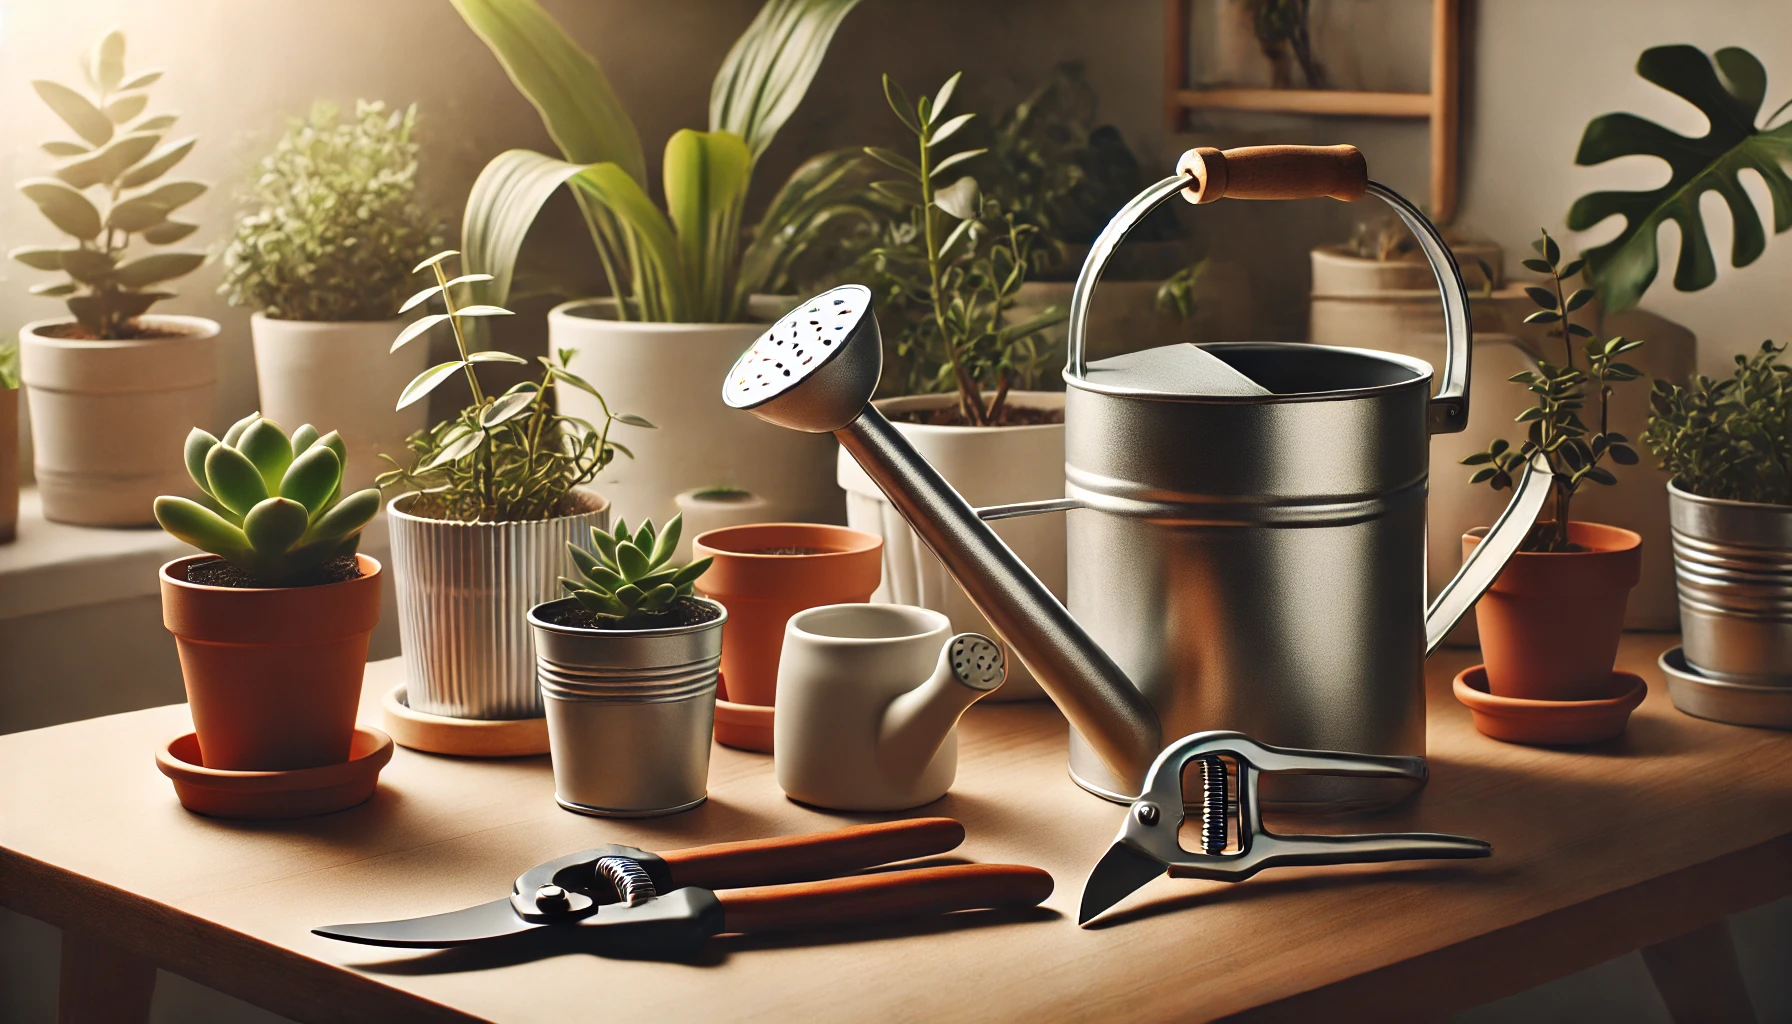
Essential Tools You’ll Need
Before you dive into the world of indoor gardening, having the right tools is crucial. Here are the basics you’ll need to get started:
- Pots & Containers: Choose pots with drainage holes to prevent water from collecting at the bottom, which can cause root rot.
- Watering Can: A simple, lightweight watering can with a long spout helps you target the base of the plants without splashing water on leaves.
- Soil: Use high-quality indoor potting mix, designed specifically for houseplants. Avoid using garden soil, as it can be too dense and may contain pests.
- Pruning Shears: For cutting away dead leaves or stems to keep your plants healthy and tidy.
- Tray or Saucer: Place under pots to catch any excess water and protect your furniture or floors.
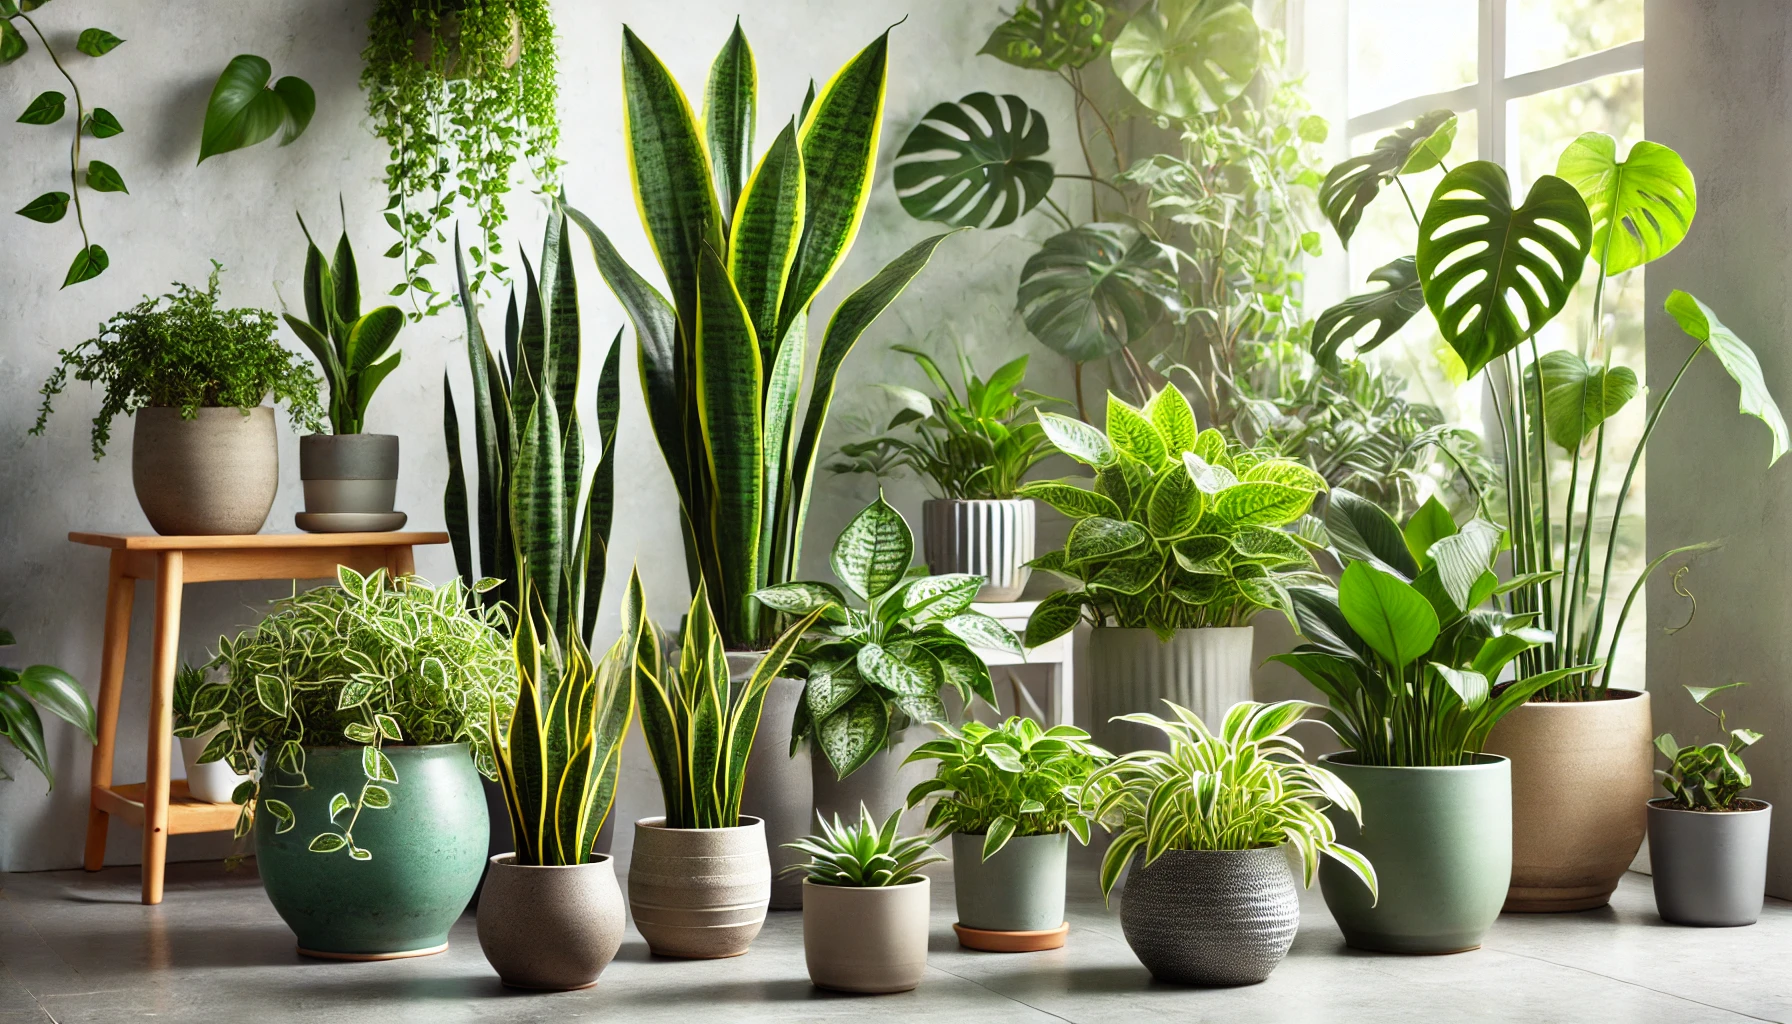
Choosing the Right Plants for Beginners
When starting your indoor garden, it’s important to select plants that are easy to care for and can thrive in your indoor environment. Here are some popular beginner-friendly houseplants:
- Snake Plant: Very low-maintenance, can tolerate low light, and requires little watering.
- ZZ Plant: Known for its resilience, the ZZ plant can survive in dry conditions and with minimal light.
- Spider Plant: Thrives in indirect light and is very forgiving if you occasionally forget to water it.
- Pothos: An easy-to-care-for trailing plant that tolerates a variety of light conditions and doesn’t need frequent watering.
These plants are perfect for beginners because they’re hard to kill and require minimal attention while still adding a touch of greenery to your space.
Essential Care Tips for Thriving Houseplants
To keep your houseplants healthy and thriving, proper care is essential. In this section, we’ll cover the key factors that contribute to healthy indoor plants, ensuring they grow strong and vibrant.
1. Light: Finding the Right Spot
Light is one of the most important factors for your plant’s health. Most houseplants thrive in bright, indirect light, but the amount of light can vary depending on the type of plant. Here’s how to get it right:
- Low Light: Plants like the ZZ Plant or Snake Plant can tolerate low light and still thrive.
- Medium Light: Pothos and Spider Plants prefer indirect sunlight, so place them near a window but avoid direct sun.
- Bright Light: Some plants, such as Cacti or Succulents, need direct sunlight to flourish. Place them in a south-facing window.
2. Watering: Don’t Overdo It
Overwatering is a common mistake for beginners. To avoid this, ensure the soil is well-draining and always check the moisture level before watering. Here are key tips:
- Check Moisture: Stick your finger about 1 inch into the soil—if it feels dry, it’s time to water. If it still feels moist, wait a few more days.
- Water Thoroughly: When you do water, ensure the water flows out of the drainage holes to avoid root rot.
- Frequency: Plants like Pothos or Spider Plants prefer to dry out slightly between waterings, while others, like Ferns, may need more frequent water.
3. Humidity: Keep It Comfortable
Many indoor plants, especially tropical ones, thrive in higher humidity. If your indoor air is dry, here are some ways to increase humidity:
- Use a Humidifier: Running a humidifier near your plants can provide the extra moisture they need.
- Group Plants Together: Placing plants close together creates a microenvironment with higher humidity.
- Mist Regularly: Lightly misting the leaves of plants like Ferns or Peace Lilies can help boost humidity.
4. Temperature: Keep It Stable
Houseplants generally prefer consistent temperatures. Most indoor plants thrive in temperatures between 65°F and 75°F (18°C to 24°C). Keep the following in mind:
- Avoid Drafts: Don’t place plants near air conditioners, heaters, or drafty windows, as temperature fluctuations can stress them.
- Room Temperature: A consistent room temperature is perfect for most houseplants, with some tolerance for slight variations.
5. Fertilizing: Feed Your Plants
Plants need nutrients to grow, so feeding them regularly helps keep them healthy. Here are some tips for fertilizing:
- Use a Balanced Fertilizer: Choose a balanced, all-purpose fertilizer that’s suitable for indoor plants.
- During Growing Season: Fertilize your plants during their growing season (spring and summer) once a month.
- Don’t Over-Fertilize: Too much fertilizer can harm your plants, so follow the package instructions carefully.
6. Pruning and Cleaning: Keep Plants Healthy
Regular pruning and cleaning keep plants looking neat and encourage healthy growth:
- Remove Dead Leaves: Prune dead or yellowing leaves regularly to prevent diseases.
- Clean the Leaves: Dust on leaves can block sunlight and hinder photosynthesis. Wipe the leaves gently with a damp cloth to keep them clean.
Potting & Repotting: How to Get It Right
Potting and repotting your plants are crucial steps in ensuring they grow healthy and thrive. Whether you’re starting a new plant or giving your existing one more room to grow, here’s how to get it right.
Choosing the Right Pot
Always choose a pot that is 1-2 inches larger in diameter than your plant’s current container. The new pot should have drainage holes to prevent waterlogging and root rot.
Preparing the Potting Mix
Use a high-quality, well-draining potting mix suited to your plant type. For example, cacti and succulents need a mix with more sand, while orchids prefer a bark-based mix.
Potting a New Plant
- Place a layer of potting mix at the bottom of the pot.
- Gently remove the plant from its nursery pot and shake off excess soil from the roots.
- Position the plant in the center and fill around it with soil, pressing lightly to eliminate air pockets.
- Water thoroughly after potting.
Repotting: When & How
Repotting is typically needed every 1-2 years or when the plant outgrows its pot. Look for signs like roots growing through drainage holes or the plant becoming top-heavy.
- Water the plant a day before repotting to reduce transplant shock.
- Follow the same steps as potting a new plant, but be sure to check for root rot or damage. Trim off unhealthy roots.
- Fill the pot with fresh potting mix and place the plant carefully back in its new home.
Tips for Success
- Avoid potting a plant in a pot that’s too large. Too much extra space can lead to overwatering.
- After repotting, keep the plant in a shady spot for a few days to help it acclimate.
- Don’t forget to check for pests or diseases during repotting, as this is an ideal time for inspection.
Proper potting and repotting will set your plant up for long-term success, promoting strong growth and a healthier root system.
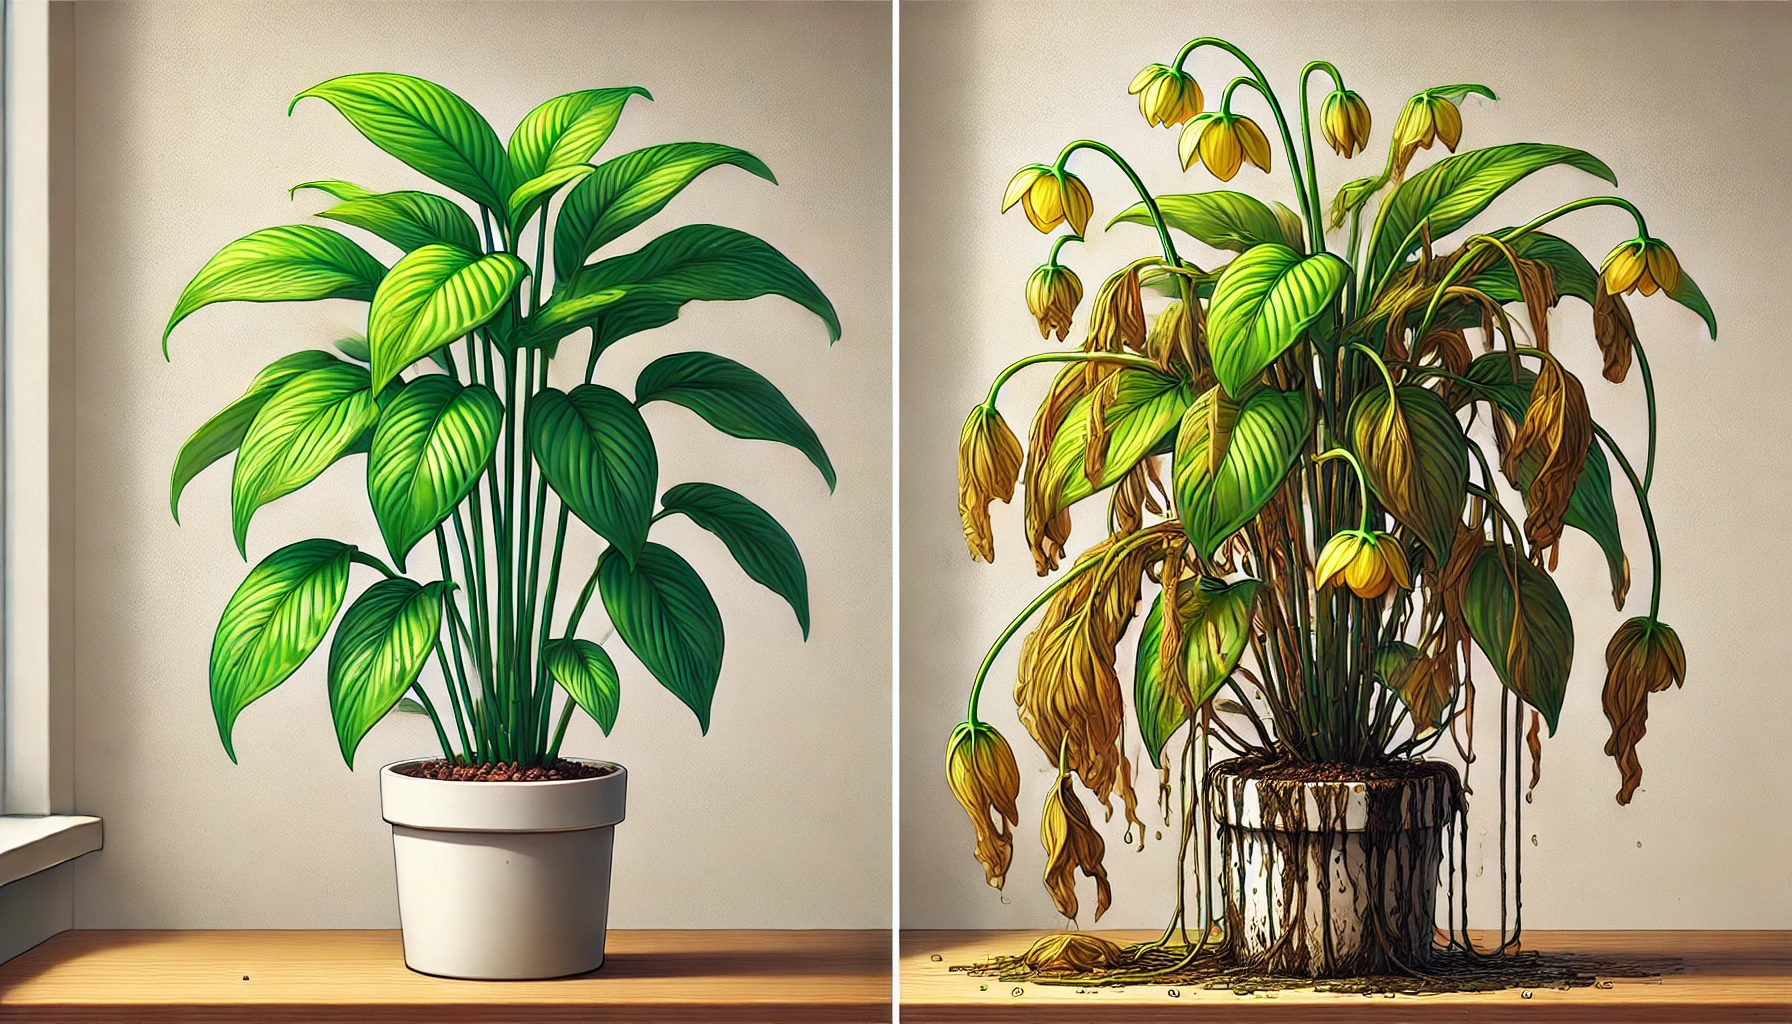
Common Indoor Plant Problems & How to Solve Them
Indoor plants can sometimes face a range of issues, but with the right care, most problems are easy to fix. Here are some common indoor plant problems and solutions.
1. Yellowing Leaves
Cause: Overwatering, underwatering, or poor drainage. Solution: Check the soil moisture—only water when the top 1-2 inches of soil is dry. Ensure the pot has drainage holes to prevent water from sitting at the bottom.
2. Brown Tips on Leaves
Cause: Low humidity or inconsistent watering. Solution: Increase humidity by placing a humidifier nearby or using a pebble tray. Water consistently and avoid letting the soil dry out completely between waterings.
3. Wilting Plants
Cause: Underwatering or pest infestation. Solution: Water your plant thoroughly. Check for pests like aphids or spider mites, and treat with insecticidal soap if needed.
4. Dropping Leaves
Cause: Stress from a sudden change in environment (temperature, light, or humidity). Solution: Avoid moving your plant to a new location too frequently. Keep it in a stable environment with consistent light and temperature.
5. Leggy Growth
Cause: Insufficient light. Solution: Move your plant to a brighter location or supplement with grow lights. Prune back leggy growth to encourage bushier development.
6. Pests
Cause: Common indoor pests like aphids, mealybugs, or spider mites. Solution: Regularly inspect leaves and stems. Treat infestations with natural solutions like neem oil or insecticidal soap.
7. Root Rot
Cause: Overwatering and poor drainage. Solution: Remove the plant from the pot and inspect the roots. Trim any rotting roots and repot the plant in fresh, well-draining soil.
8. Leaf Spots or Discoloration
Cause: Fungal infections or water on leaves in direct sunlight. Solution: Remove affected leaves and adjust watering habits. Avoid wetting the foliage during watering, and ensure the plant gets adequate air circulation.
Propagating Your Houseplants
Propagating your houseplants is an exciting way to grow your collection, share plants with friends, or replace an old plant. Here’s how to do it successfully.
1. Choose the Right Plant
Not all plants propagate easily. Popular choices include pothos, snake plants, spider plants, and philodendrons. These plants have stem or leaf cuttings that root easily in water or soil.
2. Take a Cutting
Select a healthy stem with at least two nodes (the small bumps where leaves and roots grow). Use clean, sharp scissors or pruning shears to make a cut just below the node.
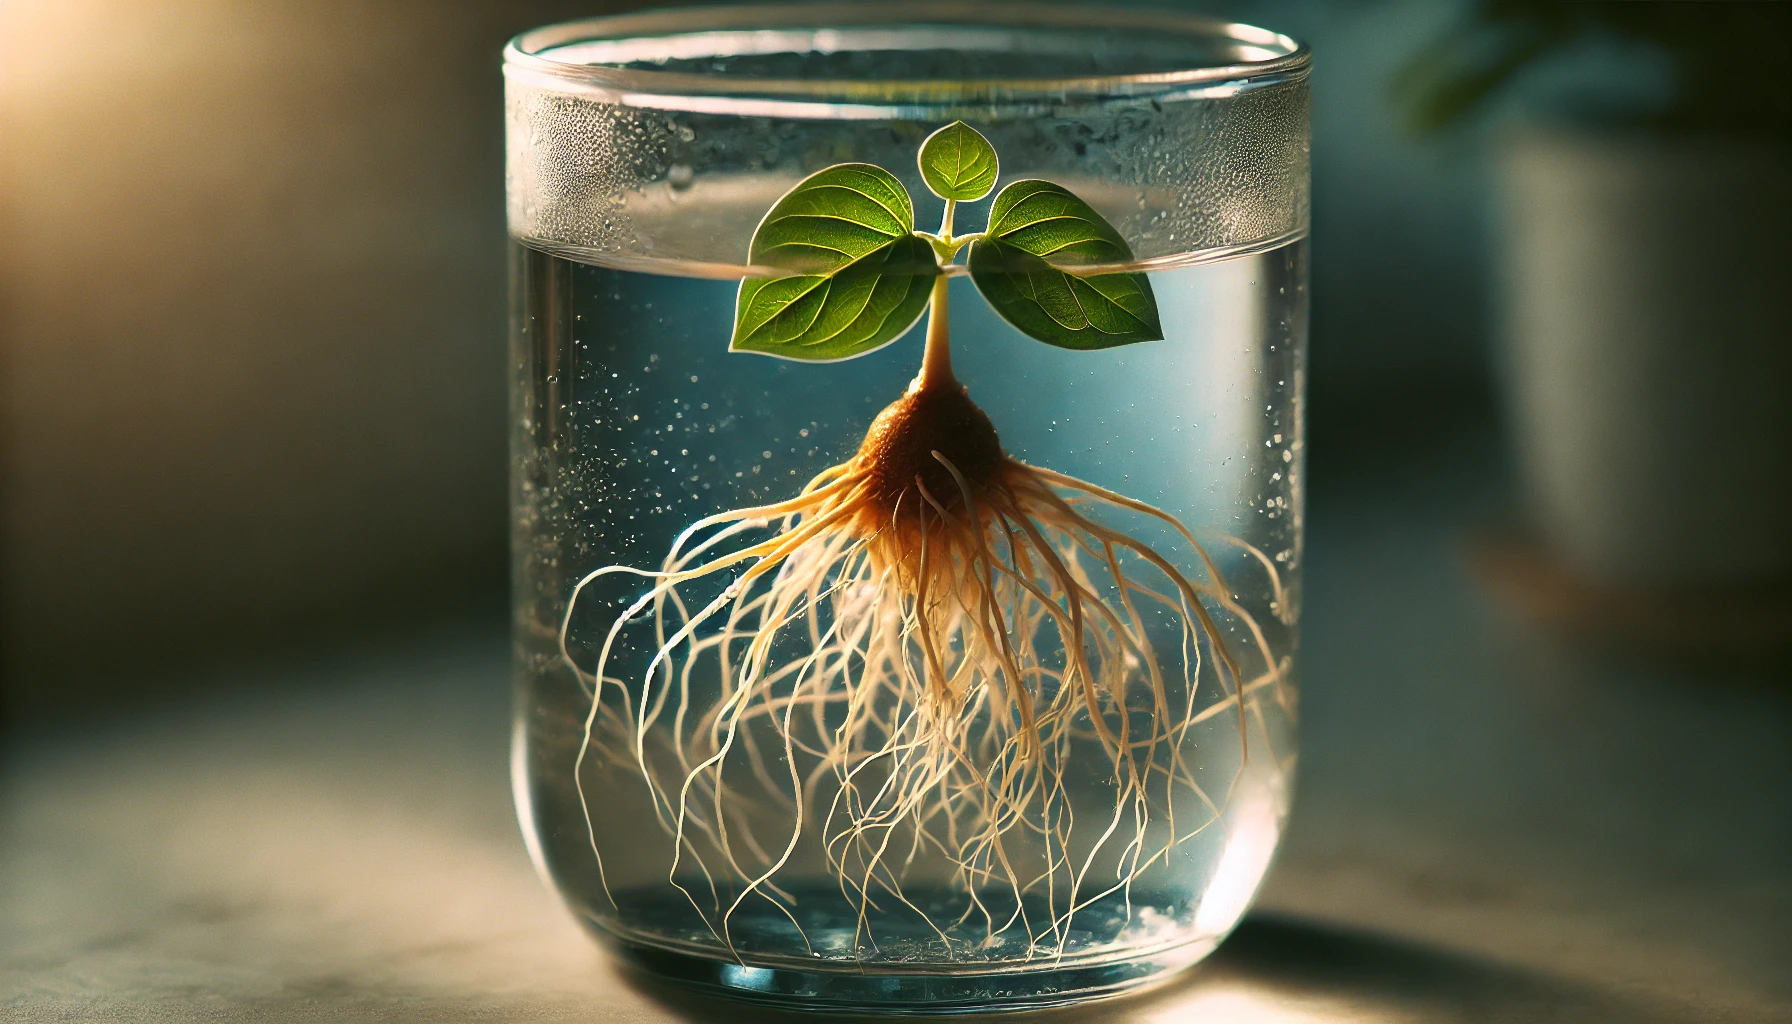
3. Water Propagation
For water propagation:
- Place the cutting in a glass of water, ensuring the node is submerged.
- Change the water every few days to keep it fresh.
- After a few weeks, roots will begin to form. Once the roots are 2-3 inches long, it’s time to plant the cutting in soil.
4. Soil Propagation
For soil propagation:
- Dip the cut end of the stem in rooting hormone (optional but helpful).
- Plant the cutting in a small pot with well-draining potting mix.
- Keep the soil moist but not soggy. Cover the pot with a plastic bag or dome to maintain humidity, which encourages rooting.
- After a few weeks, gently tug on the cutting. If you feel resistance, roots have formed.
5. Caring for Your New Plant
Once your cutting has rooted, treat it like a mature plant. Provide proper light, water, and nutrients. If you propagated multiple cuttings in one pot, consider thinning them out to avoid overcrowding.
6. Common Propagation Mistakes to Avoid
- Using a dull tool: A clean, sharp cutting tool ensures a clean cut and reduces stress on the plant.
- Not changing the water: Stale water can promote rot. Change it regularly.
- Overwatering after planting: Water gently, as overwatering can lead to root rot.
With these simple steps, propagating your houseplants is a fun and rewarding way to expand your indoor garden. Whether you want to create new plants for yourself or share them with others, propagation is a fantastic skill to master.
Troubleshooting Common Mistakes
Even the most experienced plant owners can make mistakes. Here’s how to troubleshoot some of the most common issues to keep your plants healthy and thriving.
1. Overwatering
Problem: Yellowing leaves, wilting, or root rot. Solution: Ensure the pot has drainage holes and that the soil is well-draining. Water only when the top 1-2 inches of soil are dry. Always check the moisture level before watering.
2. Underwatering
Problem: Dry, crispy leaves or drooping plants. Solution: Water your plant thoroughly, allowing excess water to drain out. Check the soil regularly and adjust your watering schedule based on the plant’s needs. Make sure the pot doesn’t dry out completely between waterings.
3. Poor Light Conditions
Problem: Leggy growth, yellowing leaves, or slow growth. Solution: Move your plant to a brighter spot if it’s not getting enough light. For low-light plants, ensure they still receive indirect sunlight. If necessary, consider using grow lights to supplement natural light.
4. Pests
Problem: Small bugs or sticky residue on leaves. Solution: Regularly inspect your plants for pests like aphids, spider mites, or mealybugs. Wipe leaves with a damp cloth or use insecticidal soap to treat infestations. Isolate affected plants to prevent pests from spreading.
5. Nutrient Deficiency
Problem: Yellowing leaves, stunted growth, or brown tips. Solution: Use a balanced, water-soluble fertilizer to provide necessary nutrients. Follow the recommended dosage to avoid over-fertilizing. If the plant is root-bound, repot it to ensure it has enough space to absorb nutrients.
6. Root Bound Plants
Problem: Slowed growth, wilting, or a pot too small for the plant. Solution: Check for roots growing through the drainage holes. If the plant is root-bound, it’s time to repot. Choose a pot that is 1-2 inches larger in diameter and refresh the soil.
7. Humidity Issues
Problem: Brown leaf tips or curling leaves. Solution: Increase humidity by misting the leaves, using a humidifier, or placing a water tray near the plant. Group plants together to create a microclimate with higher humidity levels.
8. Improper Temperature
Problem: Yellowing, wilting, or leaf drop. Solution: Keep your plant away from drafts, heaters, or air conditioners. Most indoor plants thrive in temperatures between 60-75°F (15-24°C). Maintain a consistent environment to reduce plant stress.
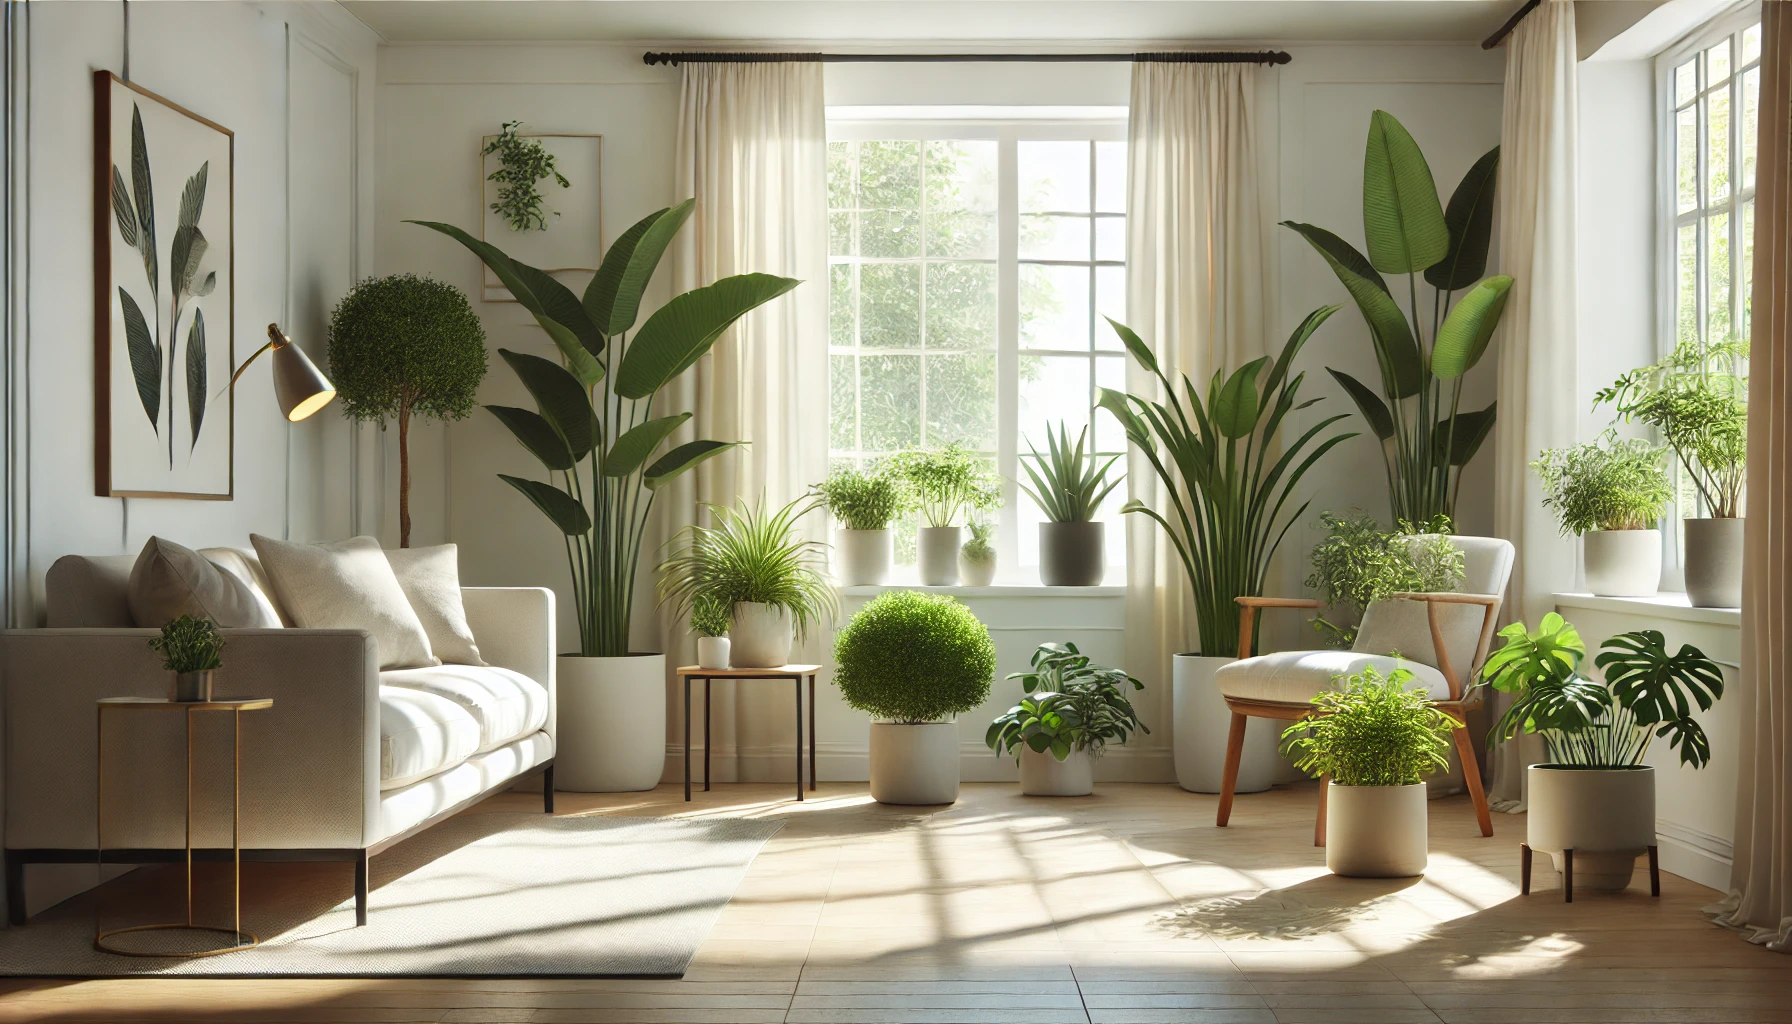
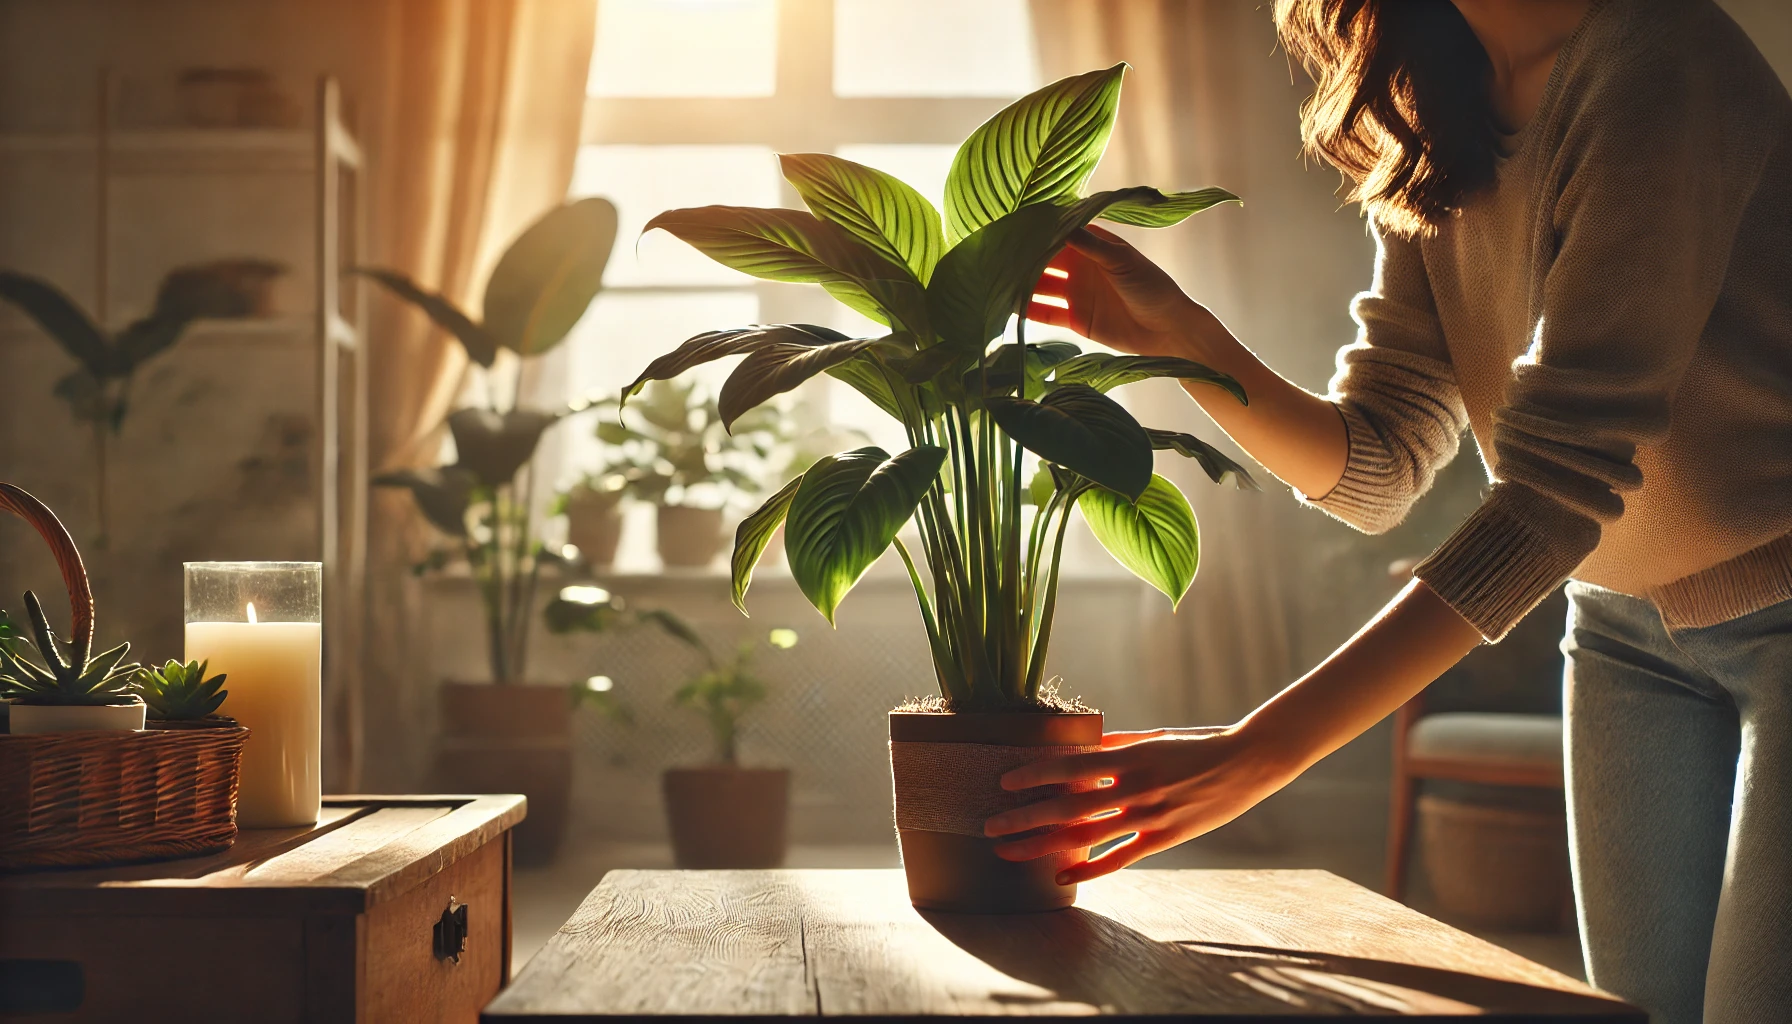
Creating the Perfect Indoor Garden Space
Designing a beautiful and thriving indoor garden space is easier than you think. With the right planning and care, you can create an environment where your plants will flourish. Here’s how to do it.
1. Choose the Right Location
Selecting the perfect spot is the foundation of a successful indoor garden. Look for a place with adequate natural light. Most plants need indirect sunlight, but some require direct sunlight. Be mindful of temperature fluctuations near windows or heaters, which can stress your plants.
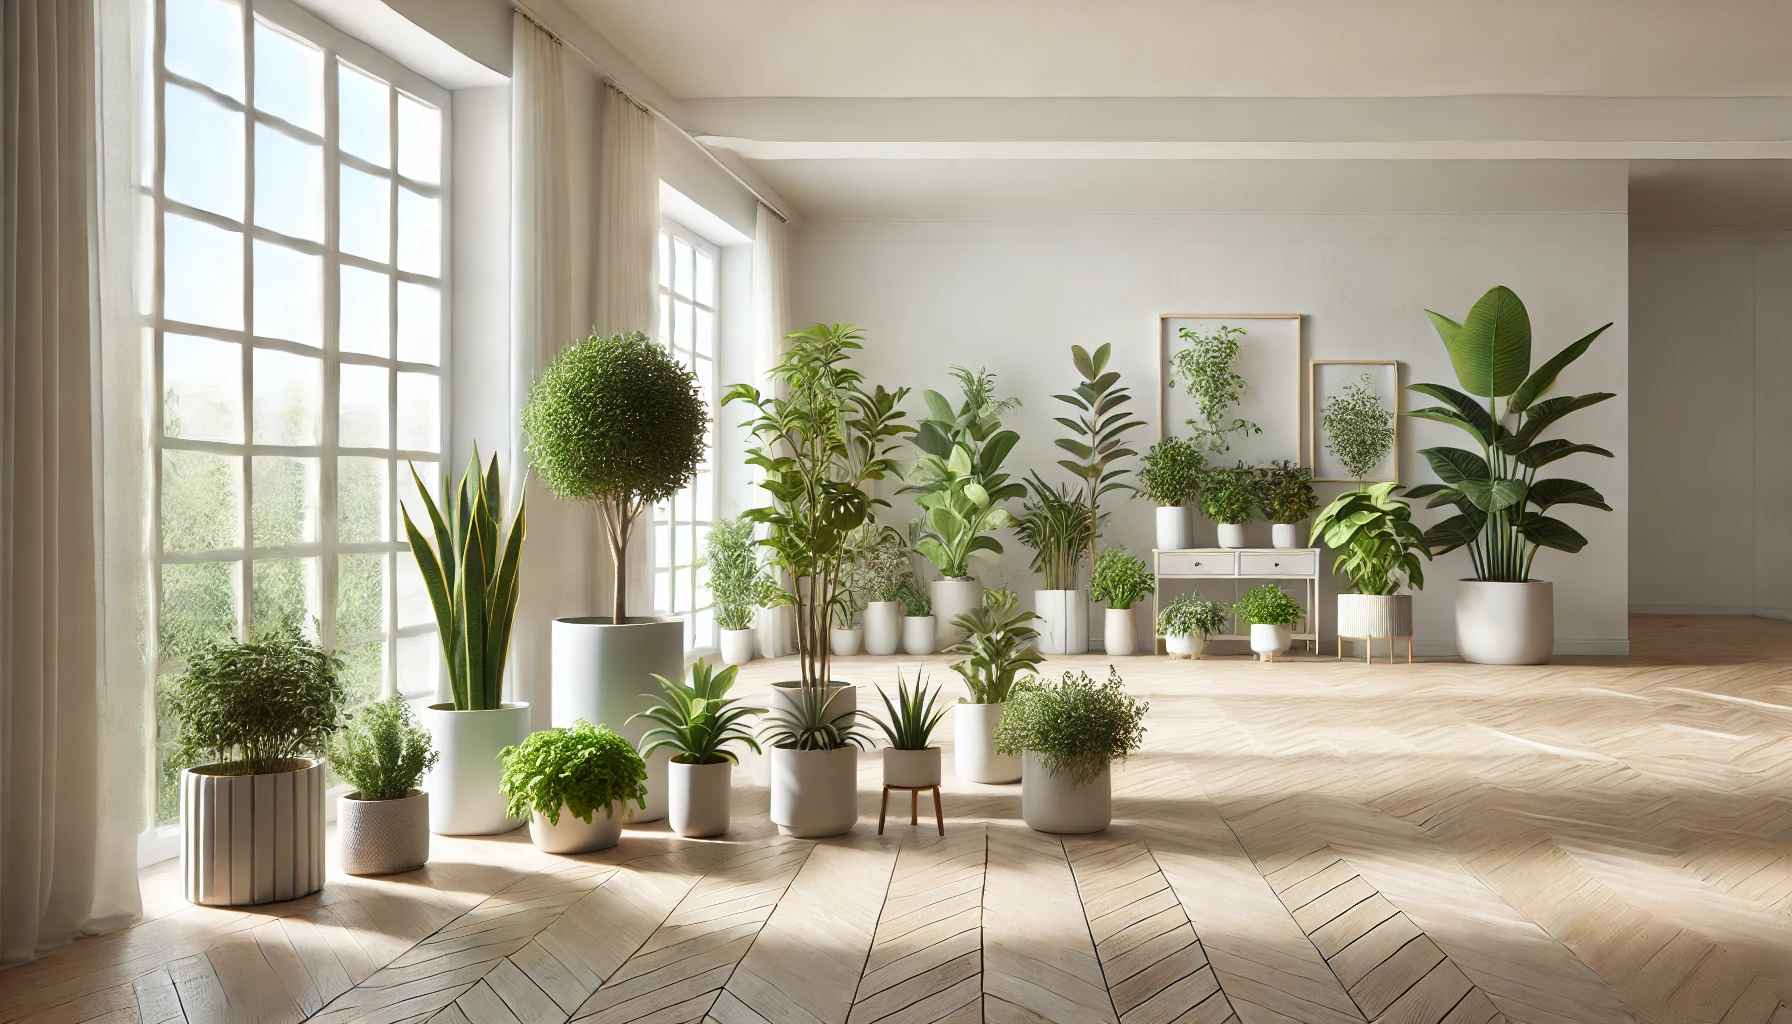
2. Consider Plant Variety
Choose plants that complement each other in terms of light, humidity, and temperature requirements. Group low-light plants like snake plants and pothos together, and place sun-loving plants like succulents or cacti in brighter areas. This ensures each plant gets the care it needs.
3. Invest in the Right Containers
Select pots that suit your plant’s growth needs. Ensure they have drainage holes to prevent waterlogging. Decorative pots add charm to your garden, but make sure the container is functional for your plant’s roots to thrive.
4. Use Vertical Space
Maximize your indoor garden’s potential by using vertical space. Hanging planters, wall-mounted shelves, or ladder-style racks can create a layered, visually appealing display while saving space. This works well for trailing plants like ivy or pothos.
5. Ensure Proper Air Circulation
Good airflow is essential to prevent mold and mildew growth. Keep plants spaced out to allow air to flow freely between them. Using a small fan or opening windows for ventilation can help maintain a healthy environment for your plants.
6. Create a Humid Environment
Indoor spaces often lack the humidity that many plants need. Increase humidity by placing plants together, using a humidifier, or setting up a pebble tray. Tropical plants like ferns and orchids will especially benefit from added moisture.
7. Maintain an Organized Layout
Arrange plants with easy access for watering, pruning, and inspecting. Keep taller plants at the back or in the center, and place smaller plants toward the front. A clutter-free space makes plant care easier and keeps your indoor garden looking tidy.
8. Consider Aesthetic Appeal
Your indoor garden should reflect your personal style. Combine different plant textures, shapes, and colors to create a balanced and visually interesting space. You can mix large foliage plants with flowering ones for added color and variety.
Maintaining Your Indoor Garden Year-Round
Caring for your indoor garden throughout the year ensures your plants stay healthy and vibrant. Here’s how to maintain your indoor garden season after season.
1. Adjust Watering Based on Seasons
Plants have different water needs depending on the time of year. During the growing season (spring and summer), most plants need more frequent watering. In fall and winter, when growth slows, reduce watering to prevent overwatering and root rot. Always check the soil moisture before watering.
2. Monitor Light Exposure
As the seasons change, the amount of natural light your plants receive will shift. During winter, days are shorter, so move plants closer to windows or use supplemental grow lights. Ensure they get enough light for healthy growth, especially in the darker months.
3. Maintain Humidity
Indoor air can become very dry in winter, which is tough on tropical plants that thrive in humid conditions. Use a humidifier, mist your plants, or place them on a humidity tray to maintain the moisture level. Grouping plants together also helps create a microclimate with higher humidity.
4. Keep an Eye on Temperature
Ensure that your plants are not exposed to temperature extremes. Avoid placing them near drafts, heaters, or air conditioners. Most indoor plants thrive in temperatures between 60-75°F (15-24°C), so try to keep your home within this range.
5. Fertilize During Growing Season
Fertilize your plants during their active growing season (typically spring and summer). Use a balanced, water-soluble fertilizer every 4-6 weeks. In the dormant months (fall and winter), reduce or stop fertilizing, as plants use fewer nutrients during this time.
6. Prune and Clean Regularly
Pruning encourages healthy growth and keeps plants looking neat. Remove dead or damaged leaves and stems regularly. Dust your plants’ leaves occasionally to allow for proper photosynthesis. This also helps reduce the risk of pests.
7. Repot When Needed
As your plants grow, they may become root-bound and outgrow their pots. Repot plants every 1-2 years or when you notice roots growing out of the drainage holes. Choose a pot that’s 1-2 inches larger in diameter than the current one and refresh the soil.
8. Watch for Pests
Pests can appear year-round, so regularly inspect your plants for any signs of infestation. If you spot pests like spider mites, aphids, or mealybugs, treat them promptly with natural remedies or insecticidal soap to prevent them from spreading.
Caring for an indoor garden is a rewarding journey that allows you to bring nature into your home, create a peaceful environment, and improve air quality. By understanding your plants’ needs—whether it’s proper lighting, watering, or humidity—you can ensure they thrive year-round. Regular maintenance, like pruning, fertilizing, and repotting, helps keep your plants healthy and vibrant.
Remember, the key to success lies in observation and adaptability. Each plant is unique, so take time to learn its specific needs and adjust your care routine accordingly. With the right attention and a little patience, your indoor garden will flourish, adding beauty and serenity to your home for years to come. Happy gardening!