
Imagine nurturing your backyard apple tree or small peach orchard all season long—watering, pruning, protecting from pests—only to watch your beautiful harvest turn into mushy, brown-spotted fruit that spoils in days 😔. Bruising prevention when picking fruit isn’t just about aesthetics; it’s the key to enjoying crisp, flavorful home-grown produce that lasts longer, tastes better, and reduces waste in your garden-to-table journey.
As a horticulture enthusiast with years of experience guiding home growers and small-scale orchard owners, I’ve seen how simple changes in picking habits can cut bruising losses dramatically—often by 70-80% in backyard settings. Drawing from university extension research (like Penn State, Oregon State, and Maryland Extension) and real-world home orchard practices, this comprehensive guide shares proven, gentle techniques to harvest bruise-free fruit. Whether you’re tending a few dwarf trees or managing a hobby orchard, these methods will help you pick like a pro and preserve the quality of your hard-earned bounty 🍑🍐.
Why Bruising Matters: The Hidden Costs for Home Growers and Small Orchards 📉
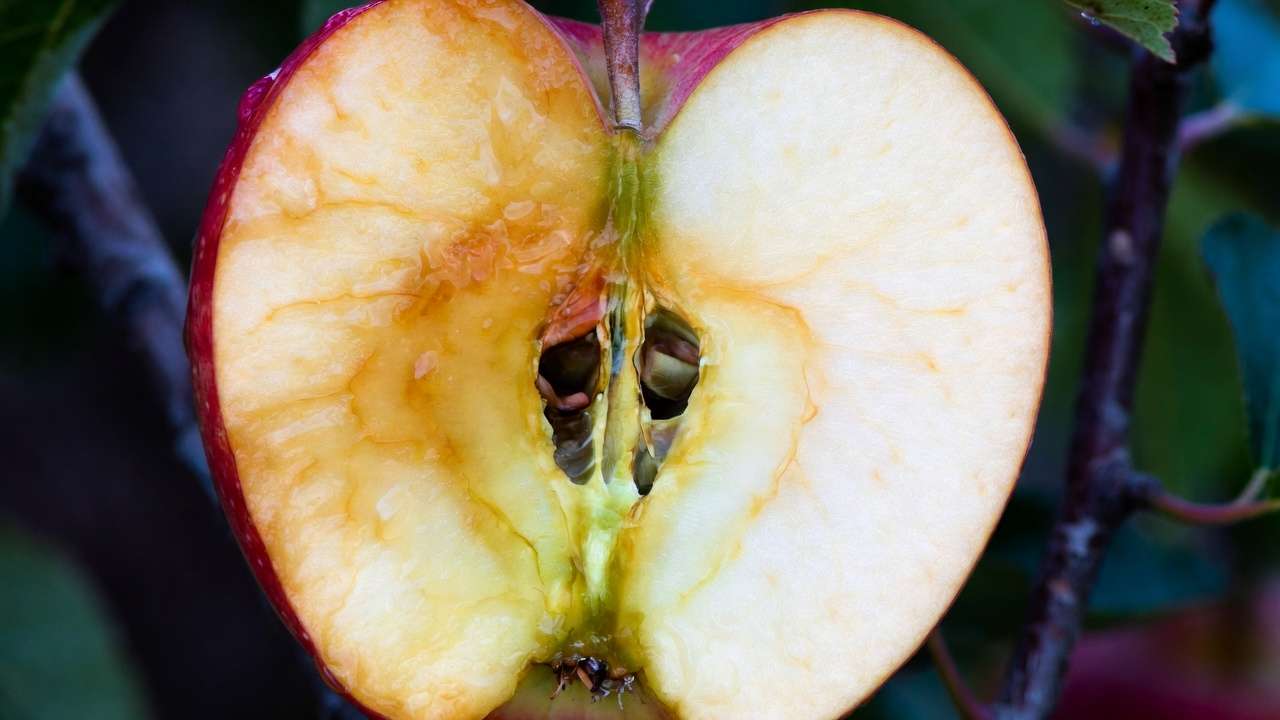
Bruising occurs when fruit cells rupture from impact or compression, triggering enzymatic browning and faster decay. Even minor bruises release ethylene gas, accelerating ripening in nearby fruit and inviting pathogens like mold or rot 🦠. In home settings, this means less fruit for fresh eating, canning, or baking—plus disappointment after months of care.
Studies show bruising can affect up to 35% of apples during poor handling, leading to significant waste. For home growers, bruised fruit shortens shelf life (from weeks to days), reduces nutritional value, and lowers enjoyment. The good news? Most bruising happens during the picking stage, making it highly preventable with mindful techniques. By focusing on bruise-free harvest, you’ll extend storage time, maintain peak flavor, and maximize your garden’s yield—turning potential loss into delicious success 🎉.
Understanding the Science Behind Fruit Bruising 🔬
At its core, bruising is mechanical damage: excessive force crushes cell walls, releasing enzymes that cause browning (polyphenol oxidase reaction) and soft spots. Susceptibility varies by:
- Ripeness stage 🍂: Overripe fruit is softer and bruises easily; firmer, mature-but-not-soft fruit resists better.
- Temperature and turgor ❄️: Cold, turgid fruit (high internal pressure from water) bruises more from impacts; warm, slightly dehydrated fruit absorbs shocks better—but avoid extreme heat.
- Variety differences: Thin-skinned peaches and berries bruise readily compared to firmer apples or pears.
- Environmental factors: High humidity swells cells, increasing vulnerability; dry conditions can toughen skin slightly.
Knowing these helps time your harvest perfectly and choose handling that matches your fruit’s biology.
Common Causes of Bruising During Home Fruit Picking ⚠️
In backyard orchards, bruising often stems from everyday habits:
- Rough hand techniques: Pulling, squeezing, or pinching instead of gentle rolling/twisting ✋.
- Dropping fruit: Letting it fall into buckets, through branches, or onto the ground.
- Overfilled containers: Compression from stacking too many layers.
- Tool/ladder contact: Bumping against hard surfaces or unstable ladders.
- Environmental slip-ups: Picking wet fruit (worsens damage) or in hot sun (softens tissue).
Avoiding these pitfalls is the foundation of effective bruising prevention when picking fruit.
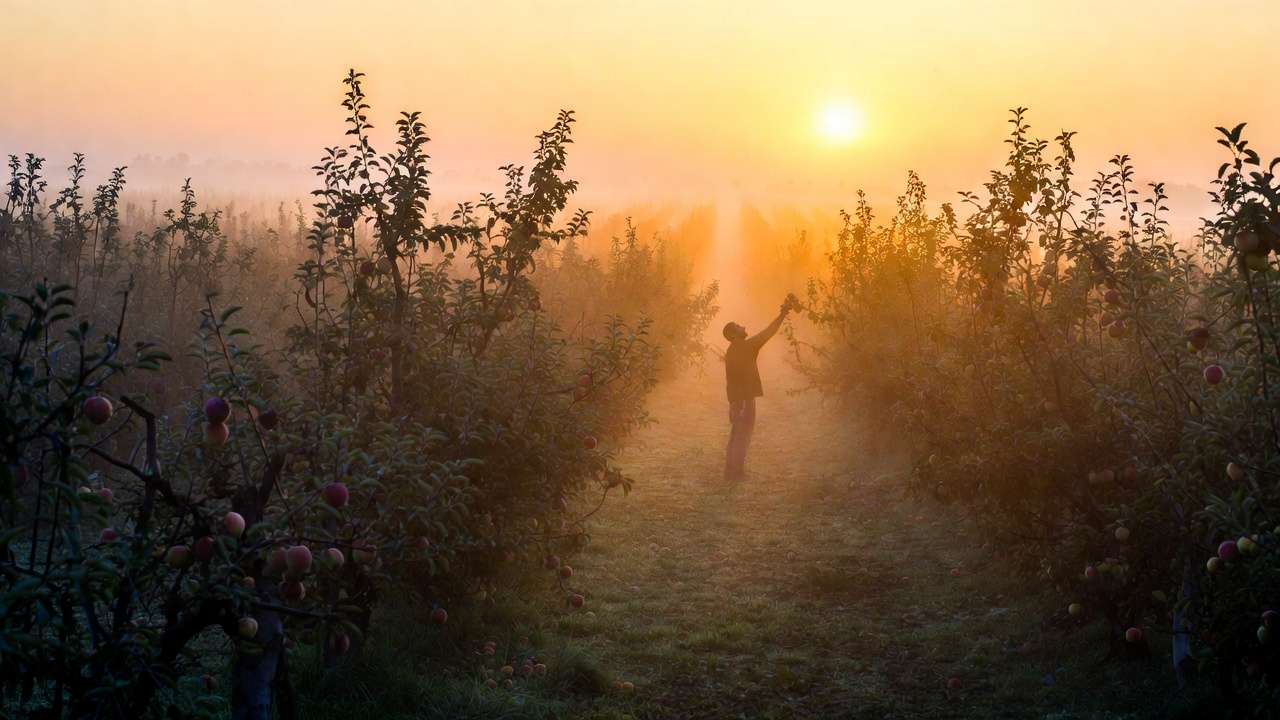
Best Time and Conditions for Bruise-Free Harvesting ⏰
Timing is everything! Pick in the cool morning hours after dew dries 🌅—fruit is firmest, temperatures lower (reducing softness), and bruising risk minimal. Avoid wet days, as moisture makes skin more prone to tears.
Check maturity indicators:
- Apples: Background color shifts from green to yellow; fruit detaches easily with gentle twist.
- Peaches: Full color, slight give when squeezed gently; top fruits ripen first.
- Berries: Deep, uniform color; easy detachment without force.
Harvest dry, mature fruit—never force unripe ones, as they bruise worse and won’t ripen properly off the tree.
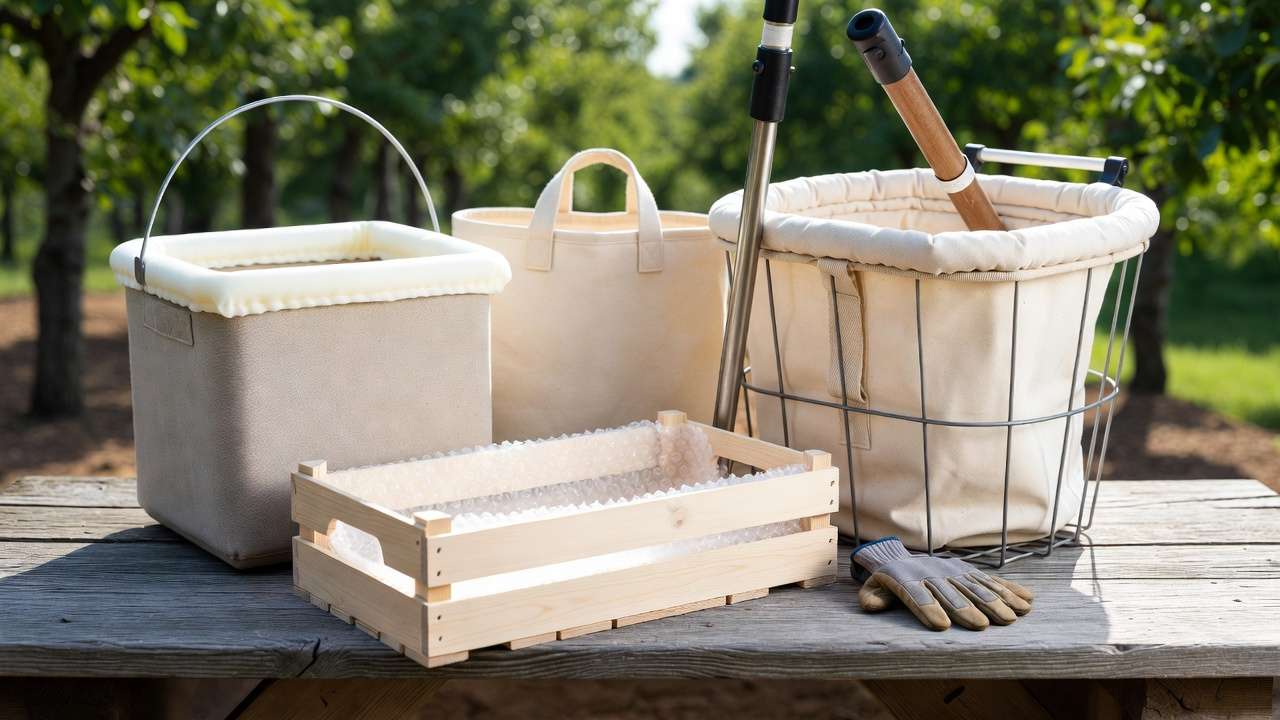
Essential Tools and Equipment for Gentle Picking 🛠️
Invest in the right gear to make gentle handling effortless:
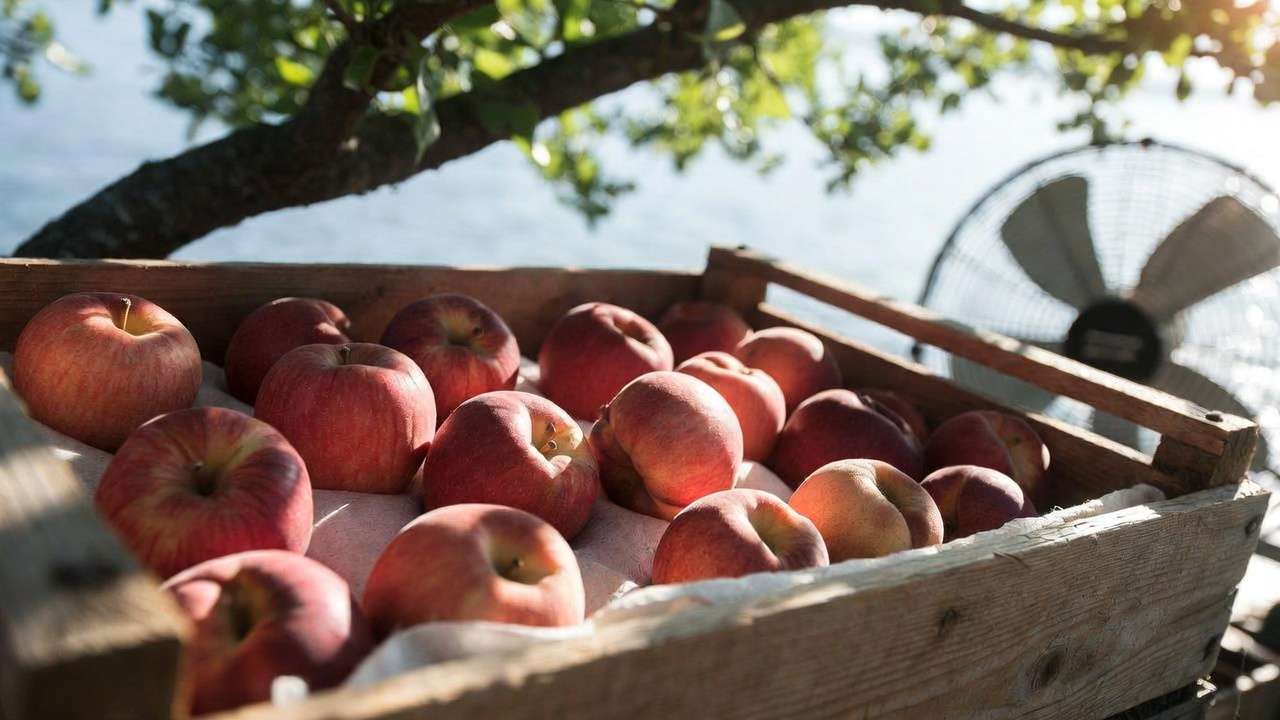
- Containers: Shallow crates, padded buckets, or soft-lined bags (e.g., canvas with foam inserts) to prevent compression 🪣. Avoid deep buckets where fruit piles high.
- Ladders: Stable three-legged or step ladders with padded rails; check for stability to prevent falls/drops.
- Gloves: Clean, thin ones protect fruit from nails/punctures while allowing feel.
- Picking poles: Soft-basket attachments for high branches—no ladders needed for many trees.
These tools turn careful picking into an easy routine.
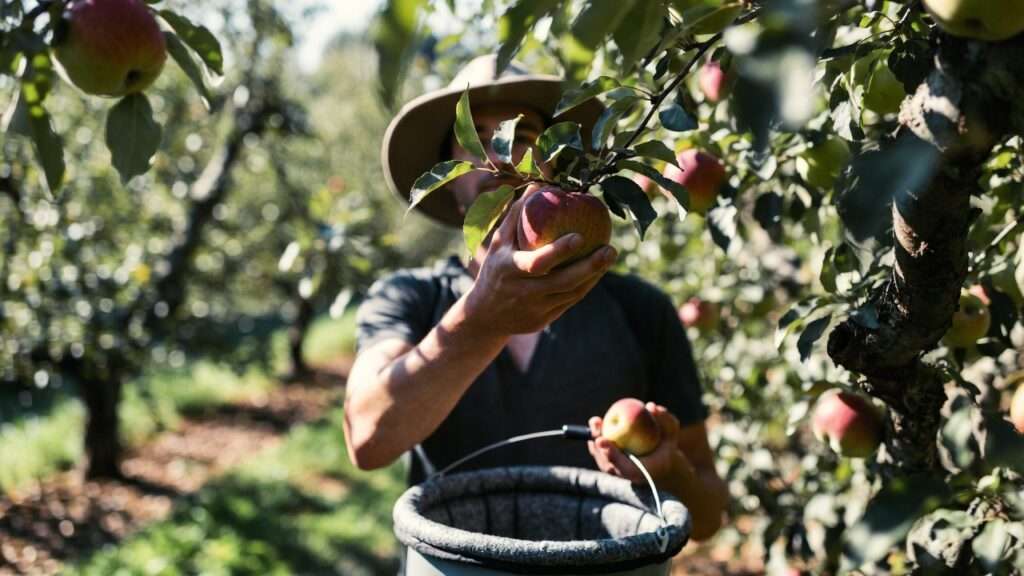
Step-by-Step Picking Techniques to Prevent Bruising ✋🍎
Treat every fruit like a fragile egg 🥚—this mindset changes everything!
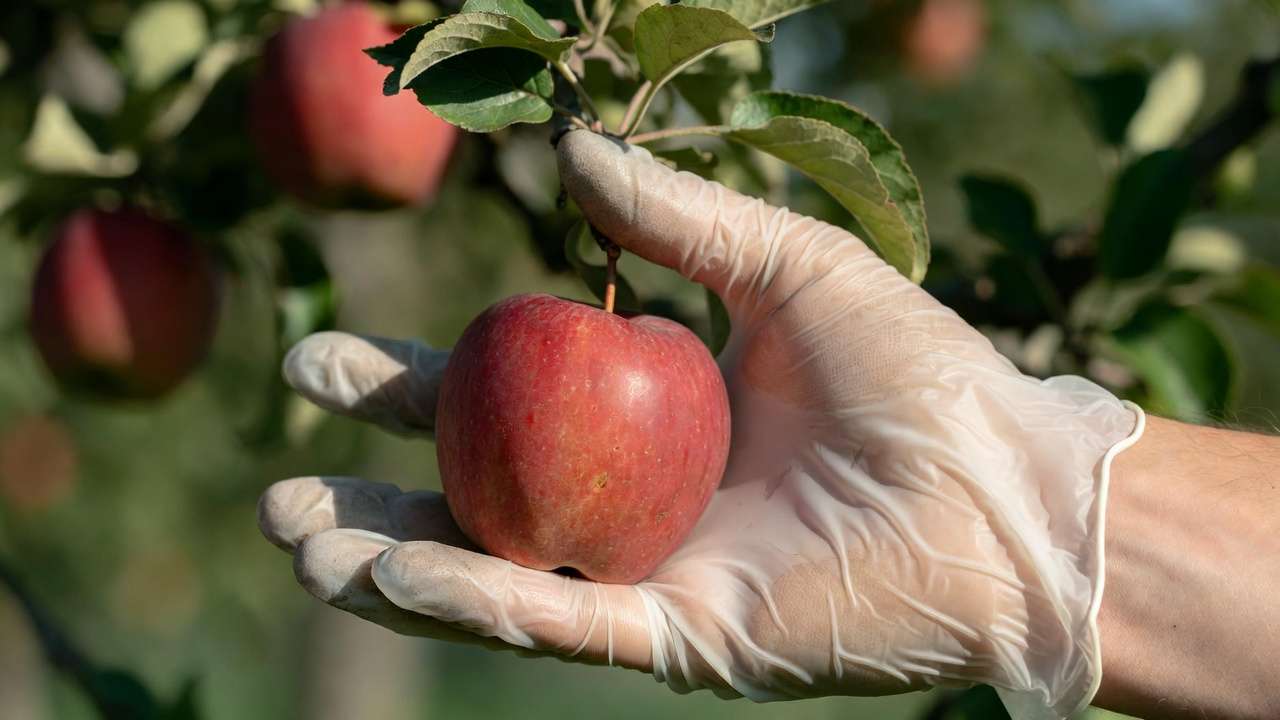
- Support with your palm: Cup the fruit fully in your palm; use fingers minimally to avoid pressure points.
- Gentle detachment:
- Apples/pears: Roll upward until stem snaps cleanly (avoid pulling down).
- Peaches/plums: Support sides with fingers, pull straight off if ripe; leave if resistant.
- Berries/soft fruit: Pinch stem lightly or snip; never squeeze berry itself.
- Single-fruit focus: Handle one at a time—never squeeze multiples together.
- Smooth transfer: Place (don’t drop) into container; keep drop height under 10-15 cm.
- Variety-specific tweaks:
- Apples: Upward roll for stem snap.
- Peaches: Side support; gentle pull.
- Berries: Shallow layers (2-3 deep max) to prevent crushing.
Practice these, and bruising drops sharply.
Advanced Strategies for Larger Home Orchards or Small-Scale Growing 🌳
If your setup goes beyond a few backyard trees—say, a dozen semi-dwarf varieties or a hobby orchard plot—these scaled-up tips make bruising prevention when picking fruit even more effective:
- Smart organization: Position collection bins or crates right under the tree or within easy reach to minimize walking and carrying distance. Clear smooth paths free of roots, rocks, or debris to prevent accidental drops while moving.
- Family or helper training 👨👩👧👦: Teach everyone the “egg philosophy” from the start. Demonstrate palm-support picking and gentle placement. For kids or beginners, supervise closely and praise careful handling—it builds good habits fast!
- Padding everything: Line crates with soft materials like old towels, bubble wrap (bubble side up), or foam sheets. For larger bins, add layered cardboard dividers to separate fruit and absorb minor shocks.
- Limit drop heights: Never let fruit fall more than 10-15 cm (about 4-6 inches). Use shallow containers (no more than 2-3 layers deep for softer fruits like peaches or berries) to eliminate compression bruising from weight.
These adaptations come straight from university extension recommendations (e.g., University of Maryland and Oregon State) tailored for smaller operations—no fancy commercial gear required.
Post-Picking Handling to Lock in Quality 🚚🍏
The work doesn’t end when the last fruit leaves the tree. Proper immediate care prevents hidden bruising from worsening and extends shelf life dramatically.
- Shade ASAP: Move harvested fruit out of direct sun into shade or a cool garage/shed within minutes. Heat speeds ethylene release and softens tissue, making bruises more visible and damaging.
- Cool quickly if possible: For larger hauls, place in a cool spot (ideally 0-4°C/32-39°F for apples/pears; slightly warmer for stone fruits). Even simple fans or open-air circulation helps remove field heat.
- Gentle transfer: When emptying picking containers into storage crates, tip slowly or hand-transfer—never dump! This avoids impact bruising at the bottom.
- Sort early: Inspect and separate any obviously damaged fruit right away. Use bruised pieces for immediate eating, jams, sauces, or drying—they won’t store well but are still delicious.
- Short-term storage basics: Keep in breathable crates or perforated bags at cool, humid conditions (85-95% humidity ideal). Apples store best at 0-4°C with high humidity; peaches prefer 0-5°C but shorter life.
Following these steps can add weeks to your harvest’s usability, turning a good pick into months of enjoyment.
Troubleshooting: Fixing and Preventing Future Issues 🛠️🔍
Even careful growers encounter some bruising—here’s how to diagnose and improve:
- If bruising shows up: Small, soft brown spots often appear 1-3 days after picking from minor impacts. Sort affected fruit first and process quickly.
- Diagnose your harvest: Bruises on shoulders/sides? Likely finger pressure. Bottom bruises? Compression in container. Stem-end damage? Rough detachment. Use this to tweak techniques next season.
- Seasonal adjustments: In hot climates (like many parts of Bangladesh), pick extra early morning and prioritize rapid cooling. For rainy seasons, wait for dry days to avoid wet-fruit vulnerability.
- Variety selection for future: Choose bruise-resistant types—firmer apples like Granny Smith or Honeycrisp over softer ones; freestone peaches over clingstone for easier gentle picking.
Track your results each year: note bruising percentage (count bruised vs. perfect) and adjust one thing at a time for steady improvement.
Real-Life Examples and Case Studies from Home Growers 🌱
One backyard grower in a similar humid climate reduced bruising from ~40% to under 10% by switching to palm-only handling and padded shallow crates—now they store apples for 4+ months!
Another small orchard family trained kids with “egg challenges” (who can transfer most without bruising?), turning harvest into fun while cutting losses dramatically. Adapted commercial tips like bubble liners in bins helped one hobbyist preserve premium peaches for market sales.
These stories show: small, consistent changes yield big results—no need for pro-scale equipment.
Expert Insights and Pro Tips from Horticulturists 💡
Drawing from trusted sources like University of Maryland Extension and WSU Tree Fruit:
- “Handle fruit like an egg” — secure palm support, minimal finger pressure (U Maryland).
- For peaches: Use sides of fingers, not tips; leave resistant ones (they’re not ready).
- Apples: Upward twist until stem snaps cleanly—preserves next year’s buds.
- Bonus cheat sheet idea: Create a laminated card with steps (palm cup → gentle twist → place softly) for quick reference during harvest.
Quick pro tip: Clean gloves/nails prevent punctures; short nails are best!
Frequently Asked Questions (FAQs) ❓
Does bruising make fruit unsafe to eat? Not usually—minor bruises are cosmetic and safe if no mold/rot develops. Cut away affected areas; use rest promptly.
How do I pick high fruits without ladders? Use a fruit-picking pole with a soft basket attachment—gentle and safe for tall trees!
Are some fruit varieties more bruise-prone? Yes—soft peaches, ripe berries, and thin-skinned plums bruise easiest. Firmer apples/pears resist better.
Can mechanical tools help home growers? Hand tools like poles help reach; avoid aggressive shakers—they cause major drops/bruising.
How soon after picking does bruising show? Often 24-72 hours; internal damage browns gradually. Inspect after a day or two.
Conclusion: Harvest Like a Pro and Enjoy Perfect Fruit Every Time 🎉🍎
You’ve invested time, love, and care into your trees—now protect that investment with these gentle, proven techniques for bruising prevention when picking fruit. From palm-support picking and padded containers to smart timing and post-harvest cooling, these steps turn potential waste into crisp, flavorful bounty that lasts.
Start small: Try the “egg method” on your next ripe apple or peach. You’ll notice the difference immediately. Share your results, photos, or questions in the comments—I’d love to hear how your harvest improves!
With mindful handling, your home-grown fruit can taste as good (or better) than store-bought—bruise-free, fresh, and full of garden pride. Happy picking! 🌳🥭


