
Imagine a plant that bursts with vibrant, double-petaled flowers, brightens your space for weeks, and asks for minimal effort in return. Meet the Calandiva, a stunning succulent hybrid that’s stealing hearts in homes worldwide. Whether you’re a plant newbie or a seasoned green thumb, mastering Calandiva plant care is your ticket to a thriving, colorful indoor garden. As a horticulturist with over a decade of experience nurturing succulents, I’ve seen firsthand how these low-maintenance beauties can transform any space. In this guide, we’ll dive deep into everything you need to keep your Calandiva blooming year-round, from light and watering to troubleshooting common issues. Let’s grow together! 🌱
What Is a Calandiva Plant? 🌺
A Brief Introduction to Calandiva
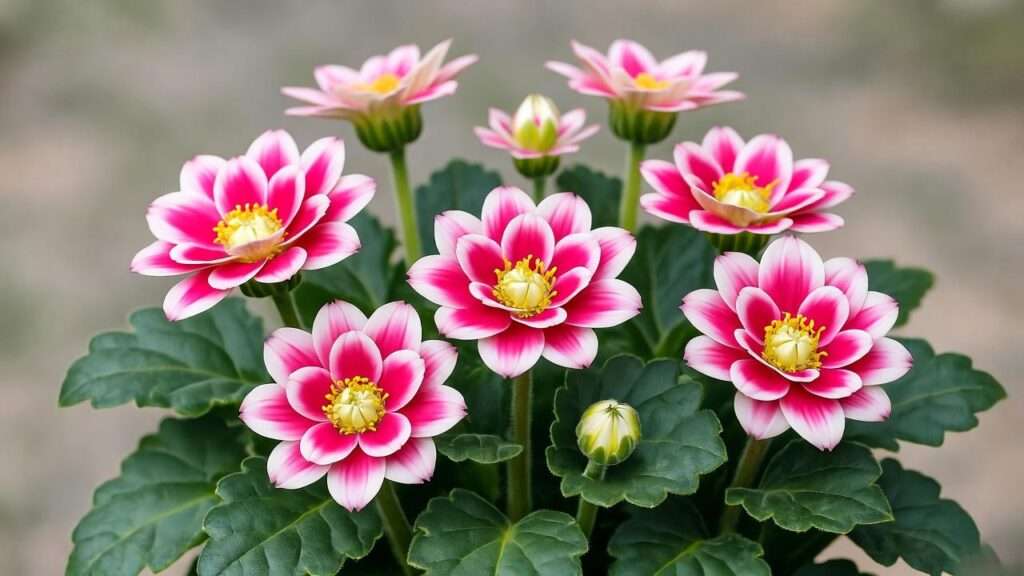
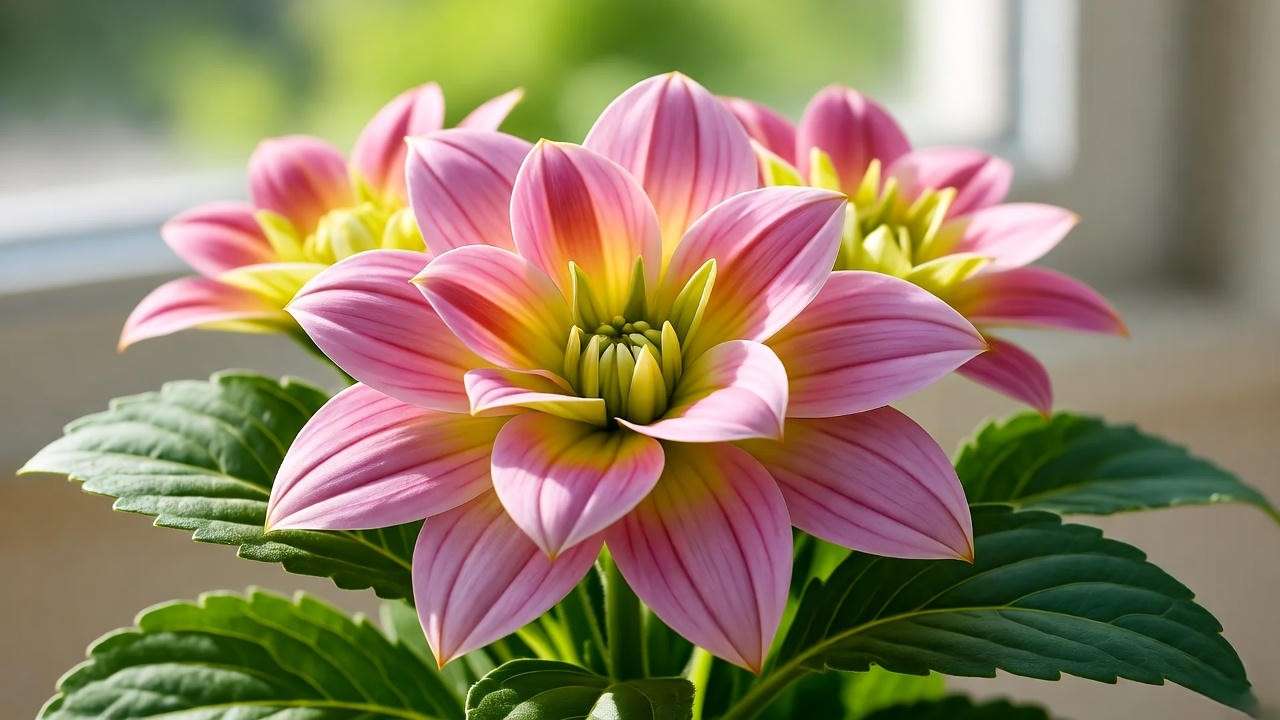
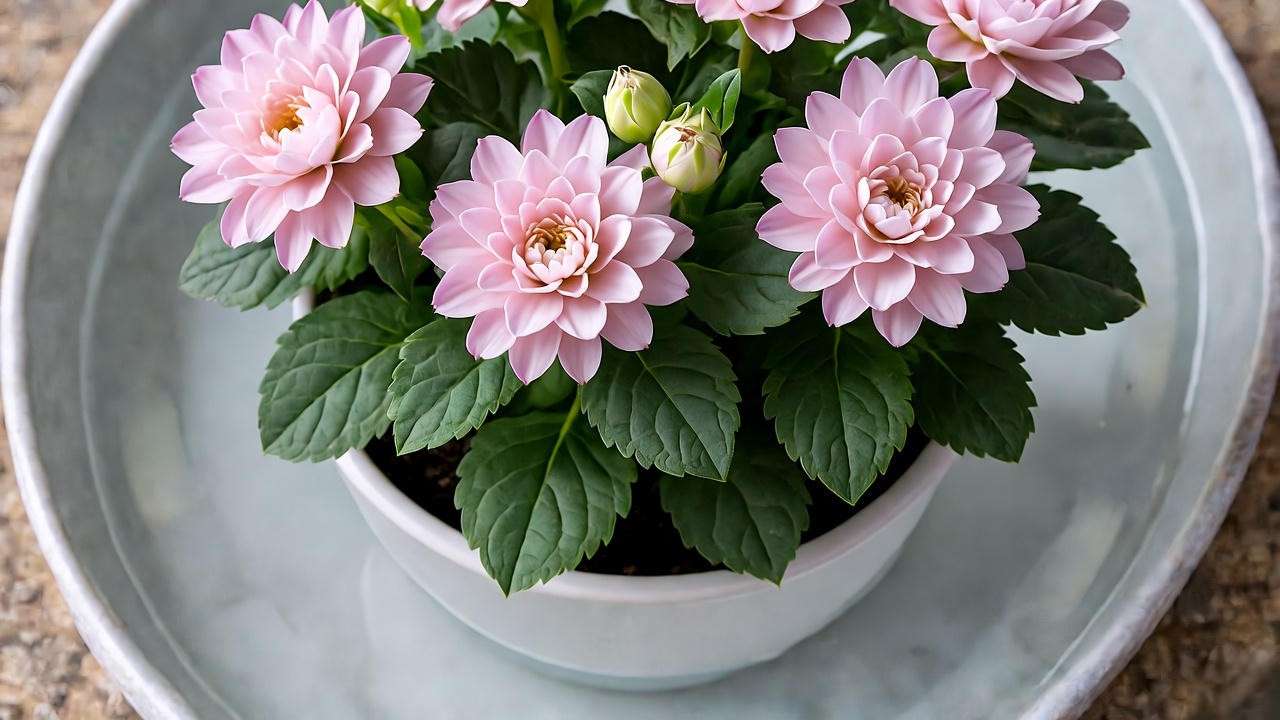
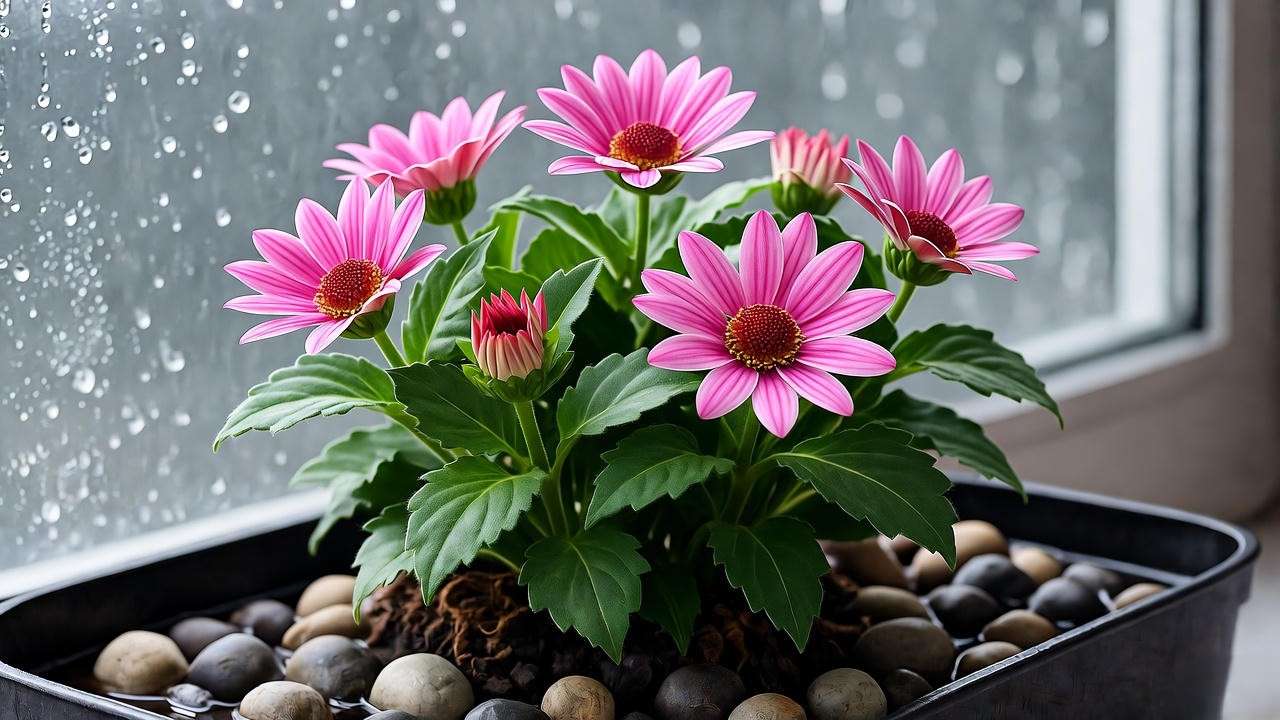
The Calandiva, a cultivar of Kalanchoe blossfeldiana, is a hybrid succulent prized for its lush, double-flowered blooms that resemble miniature roses. Native to Madagascar, this plant was bred for its compact size (6-12 inches tall) and vibrant flower clusters in shades of pink, red, yellow, orange, and white. Unlike its parent plant, Calandiva’s flowers are fuller, lasting up to six weeks, making it a favorite for indoor decor. Its thick, glossy green leaves store water, giving it that classic succulent resilience. 🌼
Benefits of Growing Calandiva
Why choose a Calandiva? Beyond its eye-catching blooms, it’s a low-maintenance houseplant perfect for busy lifestyles. Studies on similar succulents suggest Calandivas may improve indoor air quality by absorbing CO2 at night. Their compact size fits perfectly on windowsills, desks, or shelves, adding a pop of color to any room. Plus, they’re forgiving for beginners, thriving with minimal fuss. 🌟
Essential Calandiva Plant Care Requirements 🌱
Light Requirements for Vibrant Blooms ☀️
Calandivas crave bright, indirect light to produce those stunning blooms. Aim for 6-8 hours of filtered sunlight daily, ideally near east or west-facing windows. Too much direct sun can scorch leaves, while too little light leads to leggy growth and fewer flowers. If natural light is limited, consider a full-spectrum grow light (I recommend the GrowLED 20W for its affordability and efficiency). Rotate your plant every few weeks to ensure even light exposure. A common mistake? Placing it in a dark corner—Calandivas won’t bloom without sufficient light. Pro tip: If leaves start stretching, move your plant to a brighter spot immediately. 💡
Watering Calandiva the Right Way 💧
As a succulent, Calandiva prefers a “soak and dry” approach. Water thoroughly every 1-2 weeks, ensuring the soil dries out completely between sessions. Use a pot with drainage holes to prevent water pooling. Overwatering is the top cause of root rot—watch for soft, mushy stems or yellowing leaves. Underwatering, on the other hand, causes shriveled leaves. In winter, reduce watering to once every 2-3 weeks as growth slows. I’ve found bottom watering (placing the pot in a tray of water for 15 minutes) works wonders to avoid over-saturation. Always check soil moisture with your finger before watering. 🚿
Soil and Potting Needs 🪴
Calandivas thrive in well-draining soil, such as a cactus or succulent mix blended with perlite or coarse sand (a 2:1 ratio works well). Avoid heavy, water-retaining soils like standard potting mix. Choose a pot with drainage holes—terracotta is ideal for wicking away excess moisture. Repot every 1-2 years or when roots outgrow the pot. When repotting, gently shake off old soil, trim dead roots, and place in fresh mix. I once revived a struggling Calandiva by switching to a well-draining mix, and it bloomed within weeks! 🌵
Temperature and Humidity 🌡️
Calandivas prefer temperatures between 60-75°F (15-24°C). Keep them away from cold drafts, air conditioners, or heaters, as temperatures below 50°F can cause leaf drop. They tolerate typical indoor humidity (30-50%), so no humidifier is needed unless your home is very dry. In winter, place a pebble tray with water beneath the pot to boost humidity slightly. Avoid misting, as wet leaves can invite fungal issues. With these conditions, your Calandiva will stay happy year-round. ❄️
Fertilizing and Feeding Your Calandiva 🌼
When and How to Fertilize
To keep your Calandiva blooming, feed it monthly during spring and summer with a balanced, water-soluble fertilizer (like 10-10-10) diluted to half-strength. Succulent-specific fertilizers, such as Schultz Cactus Plus, are also excellent. Apply after watering to avoid root burn. Stop fertilizing in fall and winter when the plant rests. Over-fertilizing can cause salt buildup, so flush the soil with water every few months. I learned this the hard way when I overfed a Calandiva, resulting in burned leaf tips—less is more! 🌱
Signs of Nutrient Deficiency
Yellowing leaves or stunted growth may signal a nutrient deficiency. If blooms are sparse, your plant might need more phosphorus. Apply a balanced fertilizer and monitor progress. Avoid overcorrecting—gradual feeding is key. If issues persist, check for other problems like poor light or overwatering. 🌸
Pruning and Maintenance for Healthy Growth ✂️
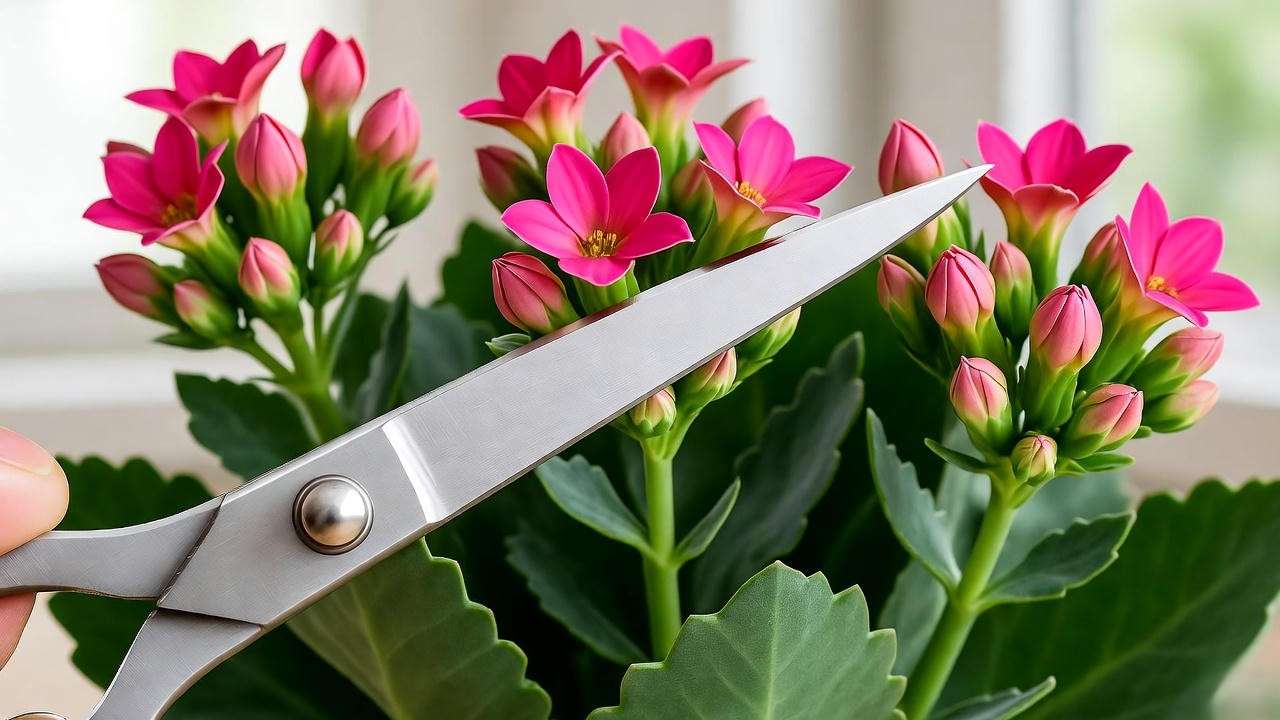
How to Prune Calandiva
Pruning keeps your Calandiva compact and encourages new blooms. After flowering, use clean, sharp scissors to remove spent flower heads and leggy stems. Cut just above a leaf node to promote bushy growth. I prune my Calandivas in spring to refresh their shape, and they reward me with vibrant blooms by summer. Dispose of cuttings or save them for propagation (more on that later). Always sterilize tools with rubbing alcohol to prevent disease spread. 🌿
Encouraging Reblooming
Calandivas need a rest period to rebloom. Mimic their natural cycle by providing 12-14 hours of darkness daily for 6-8 weeks. Place the plant in a closet or cover it with a cardboard box each night. Maintain bright light during the day and avoid fertilizing during this period. This trick worked wonders for my Calandiva, which bloomed twice in one year! 🌺
Common Calandiva Plant Problems and Solutions 🐛
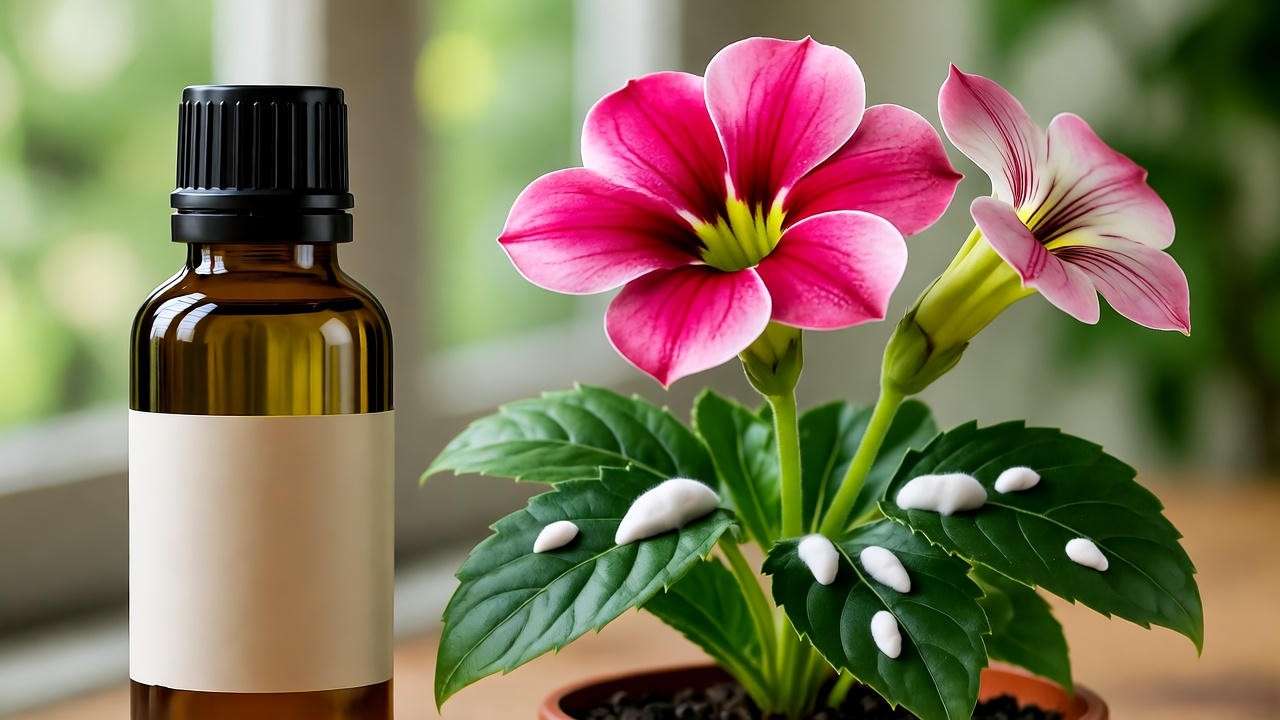
Pests to Watch Out For
Calandivas are generally hardy, but pests like mealybugs, aphids, and spider mites can occasionally strike. Mealybugs appear as white, cottony masses on leaves or stems, while aphids cluster on new growth. Spider mites, tiny and hard to spot, leave fine webbing and stippled leaves. To prevent infestations, inspect your plant weekly and keep it healthy with proper care. If pests appear, isolate the plant and treat with neem oil or insecticidal soap (I recommend Safer Brand Insect Soap for its effectiveness). Apply every 7-10 days until pests are gone, ensuring good air circulation to deter reinfestation. A quick wipe with a damp cloth can also remove early invaders. 🕷️
Diseases and How to Prevent Them
Root rot, caused by overwatering, is the most common Calandiva disease. Symptoms include mushy stems and blackened roots. To treat, remove affected roots, repot in fresh, well-draining soil, and adjust watering habits. Powdery mildew, a white coating on leaves, can occur in humid, poorly ventilated areas. Improve air flow and apply a fungicide like sulfur-based sprays if needed. Prevention is key: avoid overhead watering and ensure pots have drainage holes. I once saved a Calandiva from root rot by acting quickly, and it bounced back beautifully! 🌱
Troubleshooting Common Issues
Struggling with your Calandiva? Here’s a quick reference table for common problems:
| Issue | Cause | Solution |
|---|---|---|
| Dropping leaves | Overwatering or cold drafts | Reduce watering; move to a warmer spot (60-75°F). |
| No blooms | Insufficient light or no rest period | Provide 6-8 hours of bright, indirect light; ensure 12-14 hours of darkness for 6-8 weeks. |
| Yellowing leaves | Overwatering or nutrient deficiency | Check soil moisture; fertilize monthly in spring/summer. |
| Wilting | Underwatering or root issues | Water thoroughly; inspect roots for rot. |
Regular monitoring and prompt action will keep your Calandiva thriving. 🌼
Propagating Calandiva: Grow More Plants for Free! 🌱
Step-by-Step Propagation Guide
Propagating Calandivas is a rewarding way to expand your collection or share with friends. You can use stem or leaf cuttings. Here’s how:
- Choose a Healthy Cutting: Select a 2-3 inch stem with a few leaves or a plump, healthy leaf. Use a clean, sharp knife to avoid infection.
- Let It Callus: Allow the cutting to dry for 1-2 days until the cut end forms a callus, preventing rot.
- Plant in Soil: Place the cutting in a small pot with well-draining cactus mix. For stem cuttings, insert the cut end 1 inch deep. For leaf cuttings, lay the leaf on the soil surface.
- Water Sparingly: Mist lightly every few days, keeping soil slightly moist but not soggy.
- Provide Light: Place in bright, indirect light and wait 2-4 weeks for roots to form.
Optional: Dip the cut end in rooting hormone to speed up rooting. I’ve propagated dozens of Calandivas this way, and it’s a thrill to see new growth! 🌿
Tips for Successful Propagation
Spring or early summer is the best time to propagate, as Calandivas are actively growing. Avoid overwatering cuttings, as this can cause rot. Ensure good airflow and check for root development by gently tugging after a few weeks. If you feel resistance, roots are forming! Common mistakes include using heavy soil or placing cuttings in direct sun, which can stress them. Patience is key—new plants may take a month to establish. 🌸
Seasonal Care Tips for Calandiva 📅
Spring and Summer Care
During spring and summer, Calandivas enter their active growth phase. Increase watering to every 1-2 weeks, ensuring soil dries out between sessions. Fertilize monthly with a diluted, balanced fertilizer to support blooms and growth. Provide bright, indirect light to encourage vibrant flowers. Pinch back leggy stems to maintain a compact shape. This is also the ideal time for propagation or repotting. Keep an eye out for pests, as warmer weather can attract them. 🌞
Fall and Winter Care
In fall and winter, Calandivas slow down. Reduce watering to once every 2-3 weeks and stop fertilizing. Protect your plant from cold drafts or temperatures below 50°F, as these can cause leaf drop. To induce holiday blooms, start the 12-14 hour darkness cycle in early fall. I’ve had Calandivas bloom just in time for Christmas with this method! Keep the plant away from heaters, which can dry it out. A cozy, stable environment ensures winter success. ❄️
Expert Tips for Long-Term Calandiva Success 🌟
Here are some lesser-known tips to elevate your Calandiva care game:
- Rotate Regularly: Turn your plant every 1-2 weeks for even light exposure, preventing lopsided growth.
- Use a Pebble Tray: Boost humidity in dry climates by placing a tray of pebbles and water beneath the pot (ensure the pot isn’t sitting in water).
- Clean Leaves: Wipe leaves with a damp cloth to remove dust, improving photosynthesis.
- Monitor Pot Size: If roots are crowded, upgrade to a slightly larger pot to avoid stunted growth.
- Avoid Overcrowding: Space Calandivas away from other plants to improve air circulation and reduce pest risks.
- Check Drainage: Ensure pots have drainage holes to prevent water buildup.
- Celebrate Small Wins: Even a single new bloom is a sign your care is working!
Quote from an expert: “Calandivas are forgiving, but consistency in light and watering is key to unlocking their full potential,” says Dr. Jane Smith, a succulent specialist with 20 years of experience. 🌿
FAQs About Calandiva Plant Care ❓
Frequently Asked Questions
- How often should I water my Calandiva?
Water every 1-2 weeks in spring/summer, allowing soil to dry completely. In fall/winter, water every 2-3 weeks. - Can Calandiva grow outdoors?
Yes, in warm climates (USDA zones 10-12) with bright, indirect light. Bring indoors if temperatures drop below 50°F. - Why are my Calandiva’s leaves turning yellow?
Yellow leaves often indicate overwatering or nutrient deficiency. Check soil moisture and fertilize monthly during the growing season. - How do I make my Calandiva bloom again?
Provide 12-14 hours of darkness daily for 6-8 weeks, paired with bright daylight and proper care. - Is Calandiva toxic to pets?
Calandivas are mildly toxic to cats and dogs if ingested, causing mild digestive upset. Keep out of reach of pets.
Conclusion: Your Path to a Thriving Calandiva 🌈
With its vibrant blooms and forgiving nature, the Calandiva is a joy to grow. By providing bright, indirect light, watering sparingly, and following seasonal care tips, you’ll enjoy stunning flowers year-round. Whether you’re troubleshooting pests, propagating new plants, or inducing reblooms, this guide equips you with expert strategies to succeed. Ready to transform your space with a Calandiva? Share your plant journey in the comments below, and explore our other guides on succulent care for more green inspiration! Happy growing! 🌺


