
Imagine stepping into a garden where vibrant, bell-shaped flowers sway gently in the breeze, their soft pinks, purples, blues, and whites creating a scene straight out of a fairytale. That’s the magic of the Canterbury bells plant (Campanula medium), a biennial beauty that captivates gardeners with its charm and ease of care. Whether you’re a novice gardener dreaming of a cottage-style oasis or a seasoned horticulturist seeking to enhance your borders, this guide will equip you with everything you need to grow and care for Canterbury bells successfully. Written by a plant care expert with over a decade of experience in ornamental gardening, this comprehensive resource draws on proven techniques and real-world insights to ensure your garden flourishes with these stunning blooms. Let’s dive into the world of Canterbury bells and unlock the secrets to a vibrant, pollinator-friendly garden! 🐝
What Are Canterbury Bells? 🌼
Botanical Overview
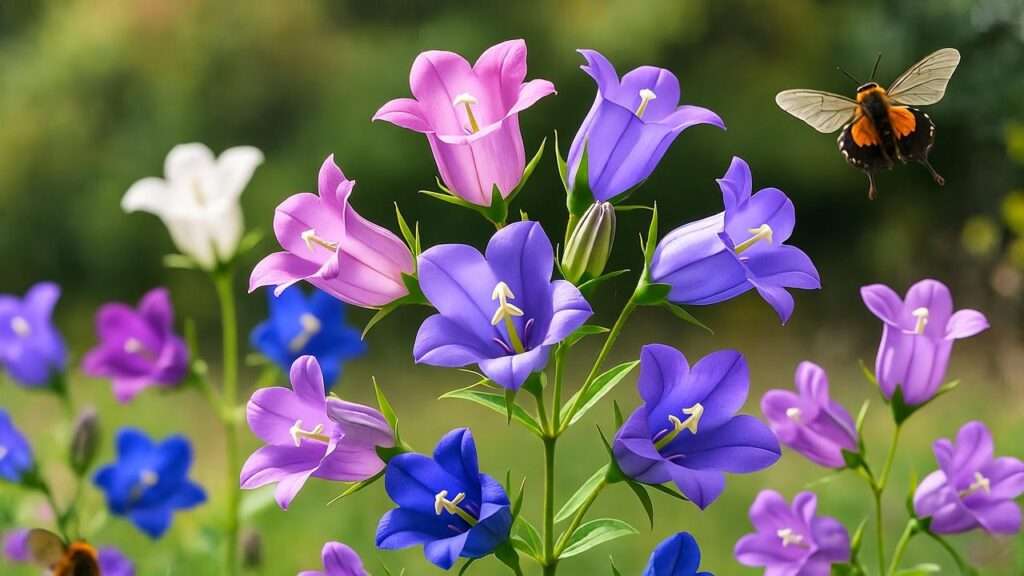
The Canterbury bells plant, scientifically known as Campanula medium, belongs to the Campanulaceae family, a group celebrated for its bell-shaped flowers. Native to Southern Europe, this plant earned its name from its resemblance to the bells of Canterbury Cathedral in England. As a biennial, it completes its life cycle over two years, producing lush foliage in the first year and spectacular blooms in the second.
Key Characteristics
- Lifecycle: Biennial (two years to complete growth and flowering).
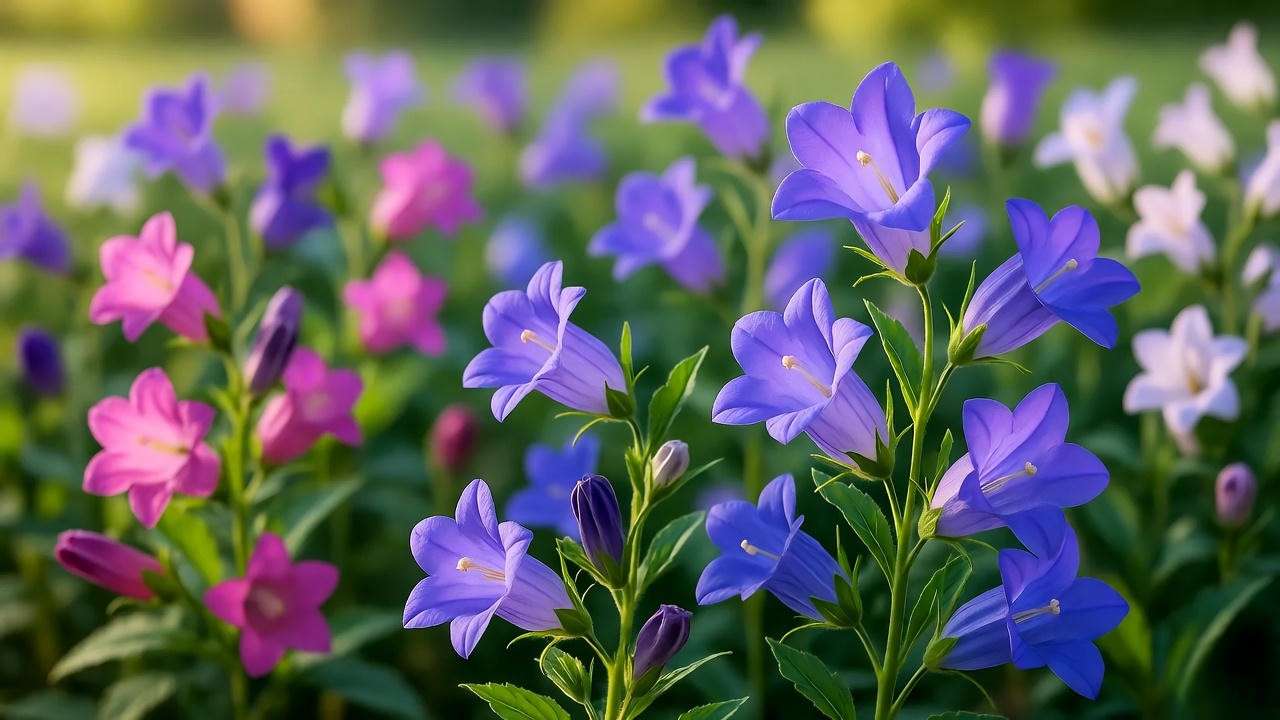
- Flower Colors: Available in shades of pink, purple, blue, and white.
- Height: Grows 2–3 feet tall, making it ideal for borders or as a focal point.
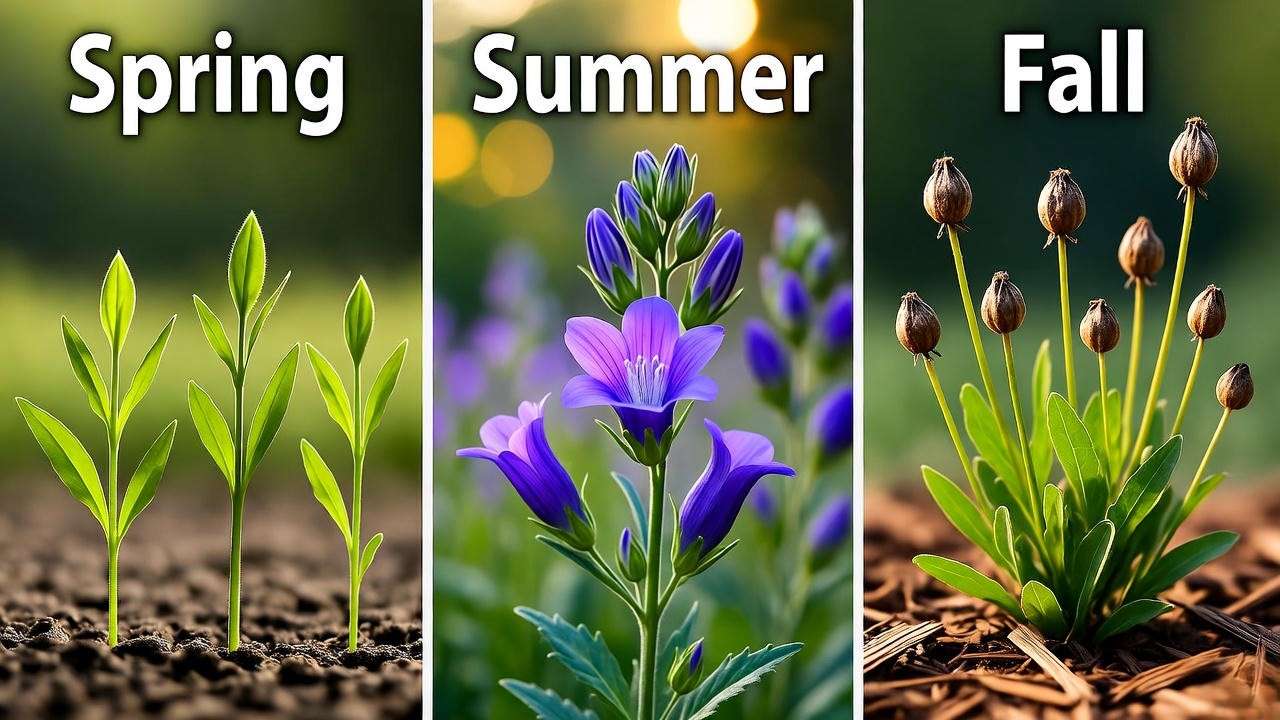
- Bloom Time: Late spring to early summer, typically May to July.
- Appeal: Attracts pollinators like bees and butterflies, perfect for eco-conscious gardeners.
These traits make Canterbury bells a versatile addition to various garden styles, from whimsical cottage gardens to structured mixed borders.
Why Grow Canterbury Bells? 🐝
Canterbury bells are a gardener’s dream, combining low-maintenance care with high-impact beauty. Here’s why they deserve a spot in your garden:
- Vibrant Aesthetics: Their tall spikes of bell-shaped flowers add vertical interest and a pop of color.
- Pollinator-Friendly: Bees and butterflies flock to these blooms, supporting local ecosystems.
- Low Maintenance: Once established, they require minimal fuss, perfect for busy gardeners.
- Versatility: Ideal for cottage gardens, borders, or even container gardening.
Beyond their practical benefits, growing Canterbury bells brings a sense of joy and accomplishment as you watch their delicate blooms transform your outdoor space. Imagine the satisfaction of nurturing a plant that not only enhances your garden but also supports biodiversity! 🌿
Growing Canterbury Bells: Step-by-Step Guide 🌱
When and Where to Plant
Timing and location are critical for healthy Canterbury bells.
- Best Planting Time: Sow seeds in early spring (indoors, 6–8 weeks before the last frost) or late summer (directly in the garden) to align with their biennial cycle.
- Climate and Hardiness: Thrives in USDA zones 4–8, preferring temperate climates with cool winters.
- Location: Choose a spot with full sun to partial shade (at least 4–6 hours of sunlight daily). Well-drained soil is essential to prevent root rot.
Expert Tip: Test your soil’s pH using a home testing kit. Canterbury bells prefer a slightly acidic to neutral range (6.0–7.0) for optimal nutrient uptake.

Soil Preparation
Healthy soil sets the foundation for vibrant blooms.
- Soil Type: Loamy, well-draining soil enriched with organic matter like compost or aged manure.
- Preparation Steps:
- Clear the planting area of weeds and debris.
- Work in 2–3 inches of compost to improve fertility and drainage.
- Avoid heavy clay soils, which can retain too much water and harm roots.
- Common Mistake: Planting in waterlogged soil can lead to root rot, a frequent cause of plant failure. If drainage is an issue, consider raised beds.
Planting Seeds or Seedlings
Whether starting from seeds or seedlings, proper planting ensures success.
- Starting from Seeds:
- Sow indoors in early spring or outdoors in late summer.
- Lightly press seeds into the soil surface, as they need light to germinate.
- Keep soil consistently moist but not soggy. Germination takes 14–21 days.
- Transplanting Seedlings:
- Space plants 12–18 inches apart to allow for mature growth.
- Water thoroughly after transplanting to help roots establish.
- Pro Tip: Cover seed trays with clear plastic to retain moisture during germination, but remove once sprouts appear to prevent mold.
Caring for Canterbury Bells: Essential Tips 🌻
Watering Needs
Proper watering keeps Canterbury bells healthy without encouraging disease.
- Frequency: Water regularly during the first year to establish roots, keeping soil moist but not waterlogged. In the second year, reduce watering as plants become more drought-tolerant.
- Best Practice: Water at the base of the plant to keep foliage dry, reducing the risk of fungal issues.
- Seasonal Adjustments: Increase watering during hot, dry spells and reduce in cooler, wetter months.
Fertilizing
A balanced approach to fertilizing promotes blooms without excessive foliage.
- Type: Apply a slow-release, balanced fertilizer (e.g., 10-10-10) in early spring of the first year.
- Frequency: Fertilize once in spring and again in mid-summer during the first year. Avoid fertilizing in the second year unless growth appears weak.
- Expert Insight: Over-fertilizing can lead to lush leaves at the expense of flowers. Always follow package instructions and err on the side of caution.
Pruning and Deadheading
Pruning enhances plant health and extends blooming.
- Why Prune: Removes spent flowers to encourage new blooms and maintain a tidy appearance.
- How to Deadhead: Pinch or cut off faded flowers just above a leaf node.
- Timing: Deadhead regularly during the blooming season (late spring to early summer) in the second year.
- Additional Pruning: In fall of the second year, cut back dead foliage to prepare for winter or self-seeding.
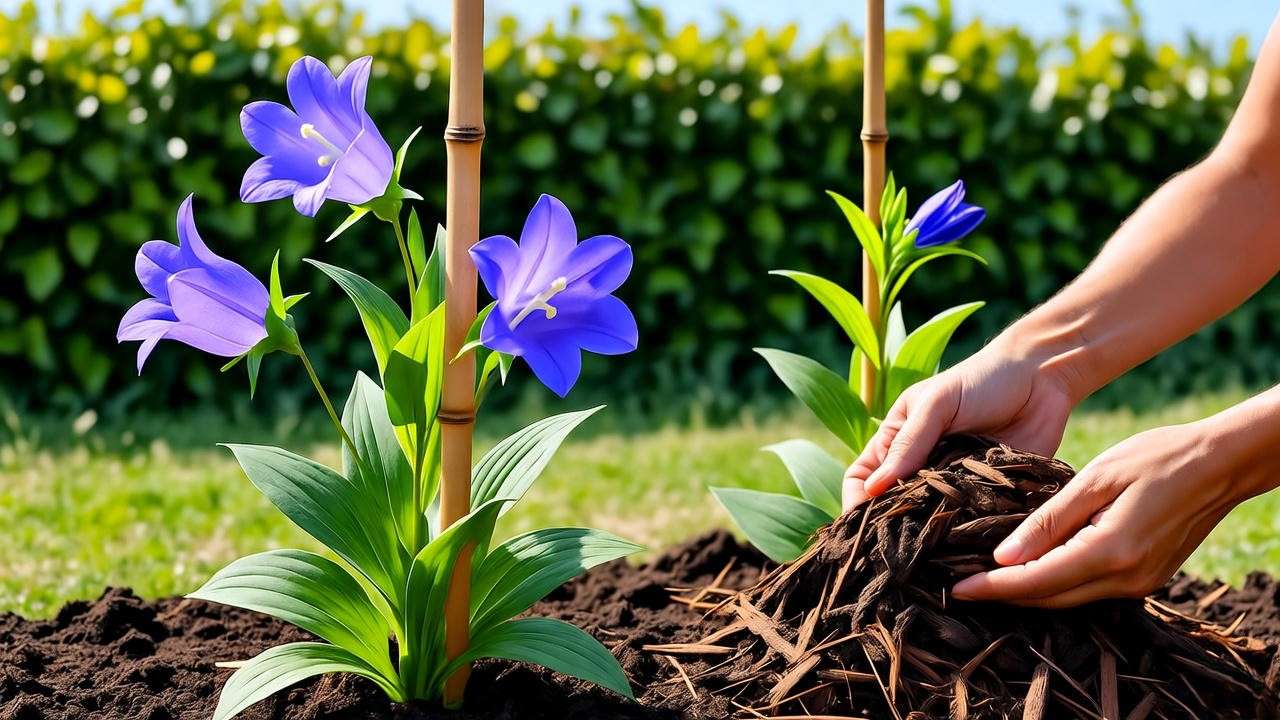
Mulching
Mulch is a gardener’s secret weapon for healthy Canterbury bells.
- Benefits: Retains soil moisture, suppresses weeds, and regulates soil temperature.
- Materials: Use organic mulch like bark, straw, or shredded leaves, applied 2–3 inches thick around the base.
- Caution: Keep mulch 1–2 inches away from stems to prevent rot.
Common Pests and Diseases 🐛
Pests
Canterbury bells are relatively pest-resistant but not immune.
- Common Culprits:
- Aphids: Small, sap-sucking insects that cluster on stems and leaves.
- Slugs: Feed on young foliage, leaving irregular holes.
- Spider Mites: Tiny pests causing stippled leaves in hot, dry conditions.
- Organic Solutions:
- Spray aphids and spider mites with neem oil or insecticidal soap.
- Set up slug traps (e.g., shallow containers of beer) or use diatomaceous earth.
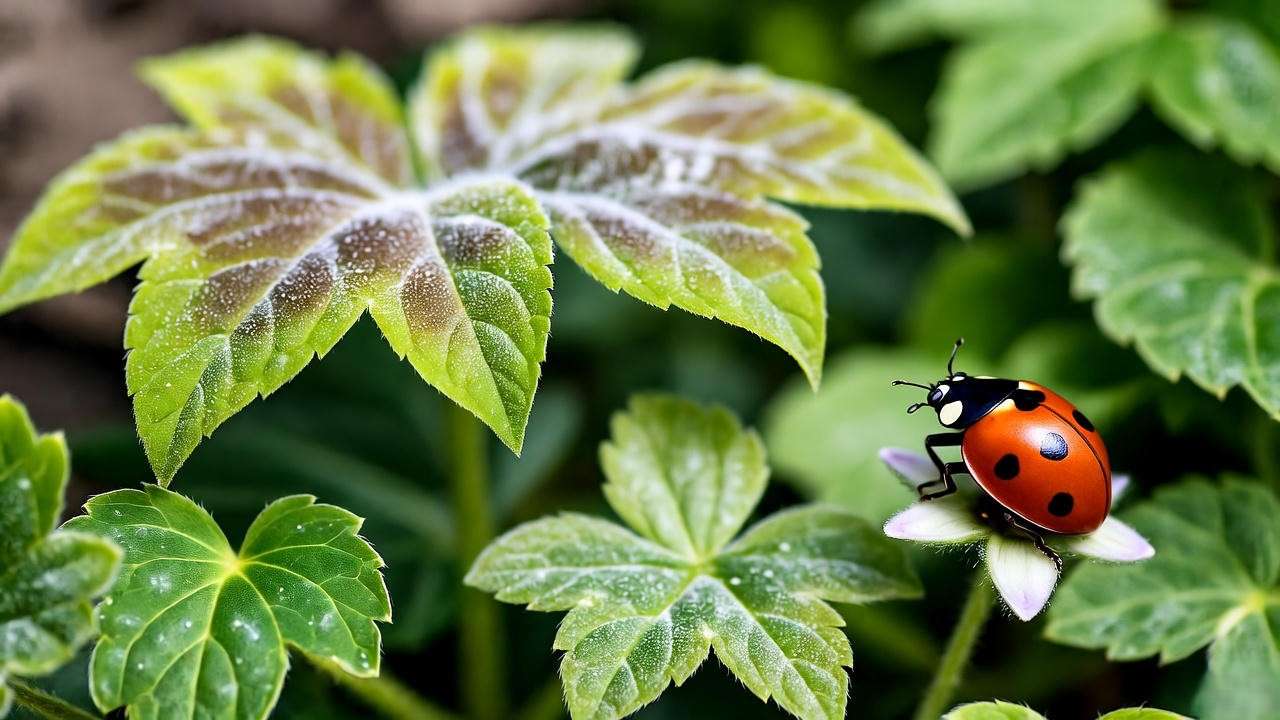
- Pro Tip: Check plants weekly during spring and early summer to catch infestations early. Introducing ladybugs can naturally control aphid populations.
Diseases
Good cultural practices minimize disease risks.
- Powdery Mildew: White, powdery coating on leaves, often in humid conditions.
- Prevention: Ensure proper spacing (12–18 inches) for air circulation and avoid overhead watering.
- Treatment: Apply an organic fungicide like sulfur if symptoms persist.
- Root Rot: Caused by overwatering or poor drainage.
- Prevention: Plant in well-draining soil and water judiciously.
- Solution: Remove affected plants and improve soil drainage for future plantings.
Propagating Canterbury Bells 🌱
Seed Collection
Canterbury bells are prolific self-seeders, making propagation easy.
- When to Collect: In late summer of the second year, collect seeds from dried flower heads.
- How to Store: Place seeds in a paper envelope and store in a cool, dry place until planting.
- Tip: Label envelopes with the collection date and color variety for organization.
Division
While less common, division can rejuvenate older plants.
- When to Divide: Early spring in the second year, before new growth begins.
- How to Divide:
- Dig up the plant, keeping the root ball intact.
- Gently separate root clumps with a clean, sharp knife.
- Replant divisions immediately, spacing 12–18 inches apart.
- Expert Insight: Division is best for expanding your garden or sharing plants with friends, but seeds are the primary propagation method.
Design Ideas for Canterbury Bells in Your Garden 🏡
Canterbury bells shine in various garden settings, adding charm and color. Here are some creative ways to incorporate them:
Companion Planting
Pairing Canterbury bells with complementary plants enhances both aesthetics and garden health.
- Best Companions:
- Roses: Their classic elegance contrasts beautifully with the bell-shaped blooms.
- Foxgloves: Share a similar biennial cycle and cottage garden vibe.
- Lavender: Adds fragrance and attracts pollinators, creating a sensory-rich border.
- Benefits: Companion planting boosts visual appeal, supports pollinator diversity, and can deter pests naturally. For example, lavender’s scent may repel aphids.
- Design Tip: Plant Canterbury bells in clusters with shorter companions like lavender in front and taller foxgloves behind for a layered effect.
Garden Styles
Canterbury bells adapt to multiple garden aesthetics:
- Cottage Gardens: Their whimsical, bell-shaped flowers are a staple in informal, romantic landscapes. Mix with delphiniums and peonies for a classic look.
- Mixed Borders: Combine with perennials like salvia or daylilies for year-round interest. Their height adds structure to borders.
- Container Gardening: Perfect for patios or small spaces. Use large pots (at least 12 inches deep) with good drainage. Pair with trailing plants like lobelia for contrast.
- Inspiration: A gardener in Vermont transformed her small patio into a cottage-style haven by planting white Canterbury bells in rustic terracotta pots, surrounded by trailing ivy. This setup created a cozy, inviting space perfect for morning coffee.
Seasonal Care Calendar 📅
To keep your Canterbury bells thriving, follow this seasonal care schedule:
Year 1: Establishment
- Spring:
- Sow seeds indoors 6–8 weeks before the last frost or transplant seedlings outdoors after the frost risk passes.
- Water consistently to establish roots.
- Summer:
- Apply a light dose of balanced fertilizer (e.g., 10-10-10) in early summer.
- Monitor for pests like aphids and slugs; treat promptly.
- Keep soil moist, especially during hot spells.
- Fall:
- Mulch around young plants with 2–3 inches of organic material to protect roots from frost.
- Reduce watering as growth slows.
Year 2: Blooming and Beyond
- Spring:
- Fertilize lightly as new growth appears.
- Stake taller varieties to prevent flopping, especially in windy areas.
- Summer:
- Deadhead spent blooms to prolong flowering.
- Collect seeds from dried flower heads for future planting.
- Water during dry periods but avoid overwatering established plants.
- Fall/Winter:
- Cut back dead foliage to ground level or leave some for self-seeding.
- Add mulch in colder climates (USDA zones 4–5) to protect roots.
Troubleshooting Common Issues 🔧
Even with the best care, challenges can arise. Here’s how to address common problems with Canterbury bells:
Why Aren’t My Canterbury Bells Blooming?
- Possible Causes:
- Insufficient Sunlight: Less than 4 hours of direct sun can reduce flowering.
- Poor Soil Fertility: Nutrient-deficient soil may prioritize foliage over blooms.
- Over-Fertilization: Excess nitrogen leads to lush leaves but fewer flowers.
- Solutions:
- Relocate plants to a sunnier spot or prune nearby plants to reduce shade.
- Amend soil with compost or a phosphorus-rich fertilizer to encourage blooms.
- Cut back on nitrogen-heavy fertilizers; switch to a bloom-boosting formula (e.g., 5-10-10).
Why Are My Plants Wilting?
- Possible Causes:
- Overwatering: Leads to root rot, especially in poorly draining soil.
- Pest Damage: Slugs or root-feeding insects can weaken plants.
- Heat Stress: Prolonged heat without adequate water causes wilting.
- Solutions:
- Check soil drainage; improve with organic matter or use raised beds.
- Inspect for pests and treat with organic methods like neem oil or slug traps.
- Water deeply during heatwaves and mulch to retain moisture.
FAQs About Canterbury Bells ❓
To address common reader queries and target long-tail keywords, here are answers to frequently asked questions:
- Are Canterbury bells annual or perennial?
Canterbury bells are biennials, completing their lifecycle over two years. They grow foliage in the first year and bloom in the second, though they may self-seed for a perennial-like effect. - Can I grow Canterbury bells in containers?
Yes, they thrive in large, well-draining pots. Ensure containers are at least 12 inches deep and water consistently. - How do I overwinter Canterbury bells?
In colder climates (zones 4–5), apply a 2–3-inch layer of mulch in fall to protect roots. In milder zones, minimal protection is needed. - Do Canterbury bells attract pollinators?
Absolutely! Their nectar-rich flowers draw bees, butterflies, and hummingbirds, making them a boon for eco-friendly gardens. - SEO Note: These FAQs target queries like “are Canterbury bells perennial” or “Canterbury bells in pots,” boosting search visibility.
Expert Tips for Success 🌟
Drawing from years of hands-on experience, here are advanced tips to elevate your Canterbury bells game:
- Staking: Use bamboo stakes or plant supports for taller varieties, especially in windy areas, to keep stems upright. Install stakes early in the second year to avoid root damage.
- Self-Seeding: Allow some flowers to go to seed in the second year for natural propagation. This can create a self-sustaining patch of Canterbury bells over time.
- Regional Advice: In colder climates (zones 4–5), plant in spring to ensure strong root development before winter. In warmer zones (7–8), late summer planting works well.
- Case Study: A horticulturist in Oregon successfully grew Canterbury bells in a coastal garden despite salty winds by planting them in raised beds with enriched soil and using windbreaks like low shrubs. This approach ensured vibrant blooms even in a challenging microclimate.
Conclusion: Create Your Dream Garden with Canterbury Bells 🌺
Canterbury bells are more than just a pretty face—they’re a low-maintenance, pollinator-friendly addition that brings charm and color to any garden. By following this guide, you’ll master the art of growing and caring for these biennial beauties, from planting seeds to enjoying their stunning blooms. Whether you’re crafting a cottage garden, enhancing a mixed border, or experimenting with containers, Canterbury bells offer endless possibilities. Start planting today and watch your garden transform into a vibrant, buzzing oasis! Have questions or success stories? Share them in the comments below—we’d love to hear about your gardening journey! 🌸


