
If you’re a bonsai enthusiast or just starting your journey, the cascading juniper bonsai tree is a stunning choice for your collection  . Its unique, elegant cascade of foliage can transform any space, but achieving that perfect shape and healthy growth can be a challenge for beginners. Are you struggling with how to care for your cascading juniper bonsai tree? Whether it’s browning leaves, slow growth, or not knowing when to prune, you’re not alone. Many bonsai owners face these issues, but with the right care and techniques, your cascading juniper can flourish beautifully.
In this guide, we’ll walk you through the essential care tips and expert advice to ensure your tree thrives and becomes the focal point of your home. From watering and lighting to pruning and styling, we’ve got you covered. Ready to give your cascading juniper bonsai the attention it deserves? Let’s dive in! 
Understanding the Cascading Juniper Bonsai Tree 
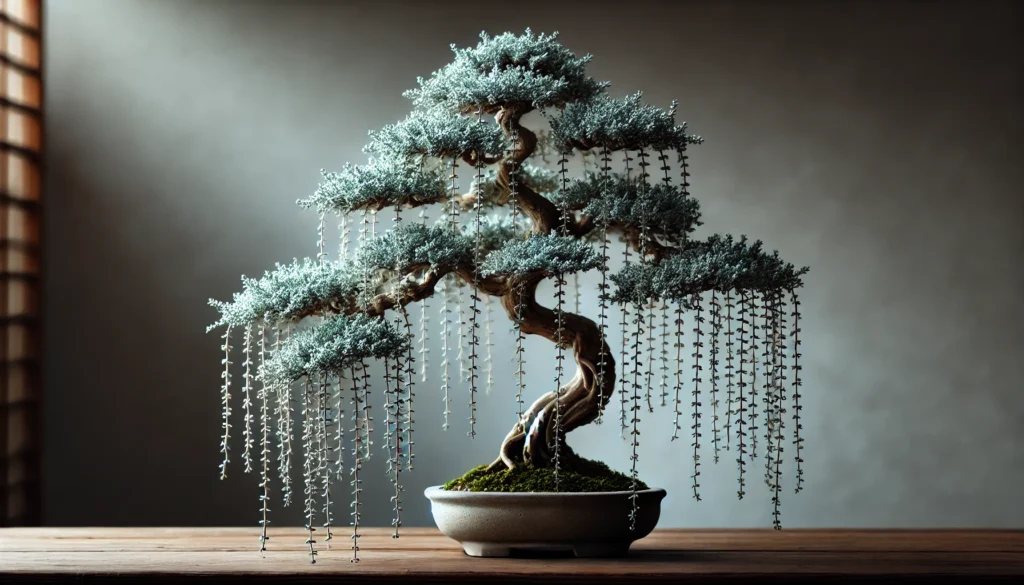
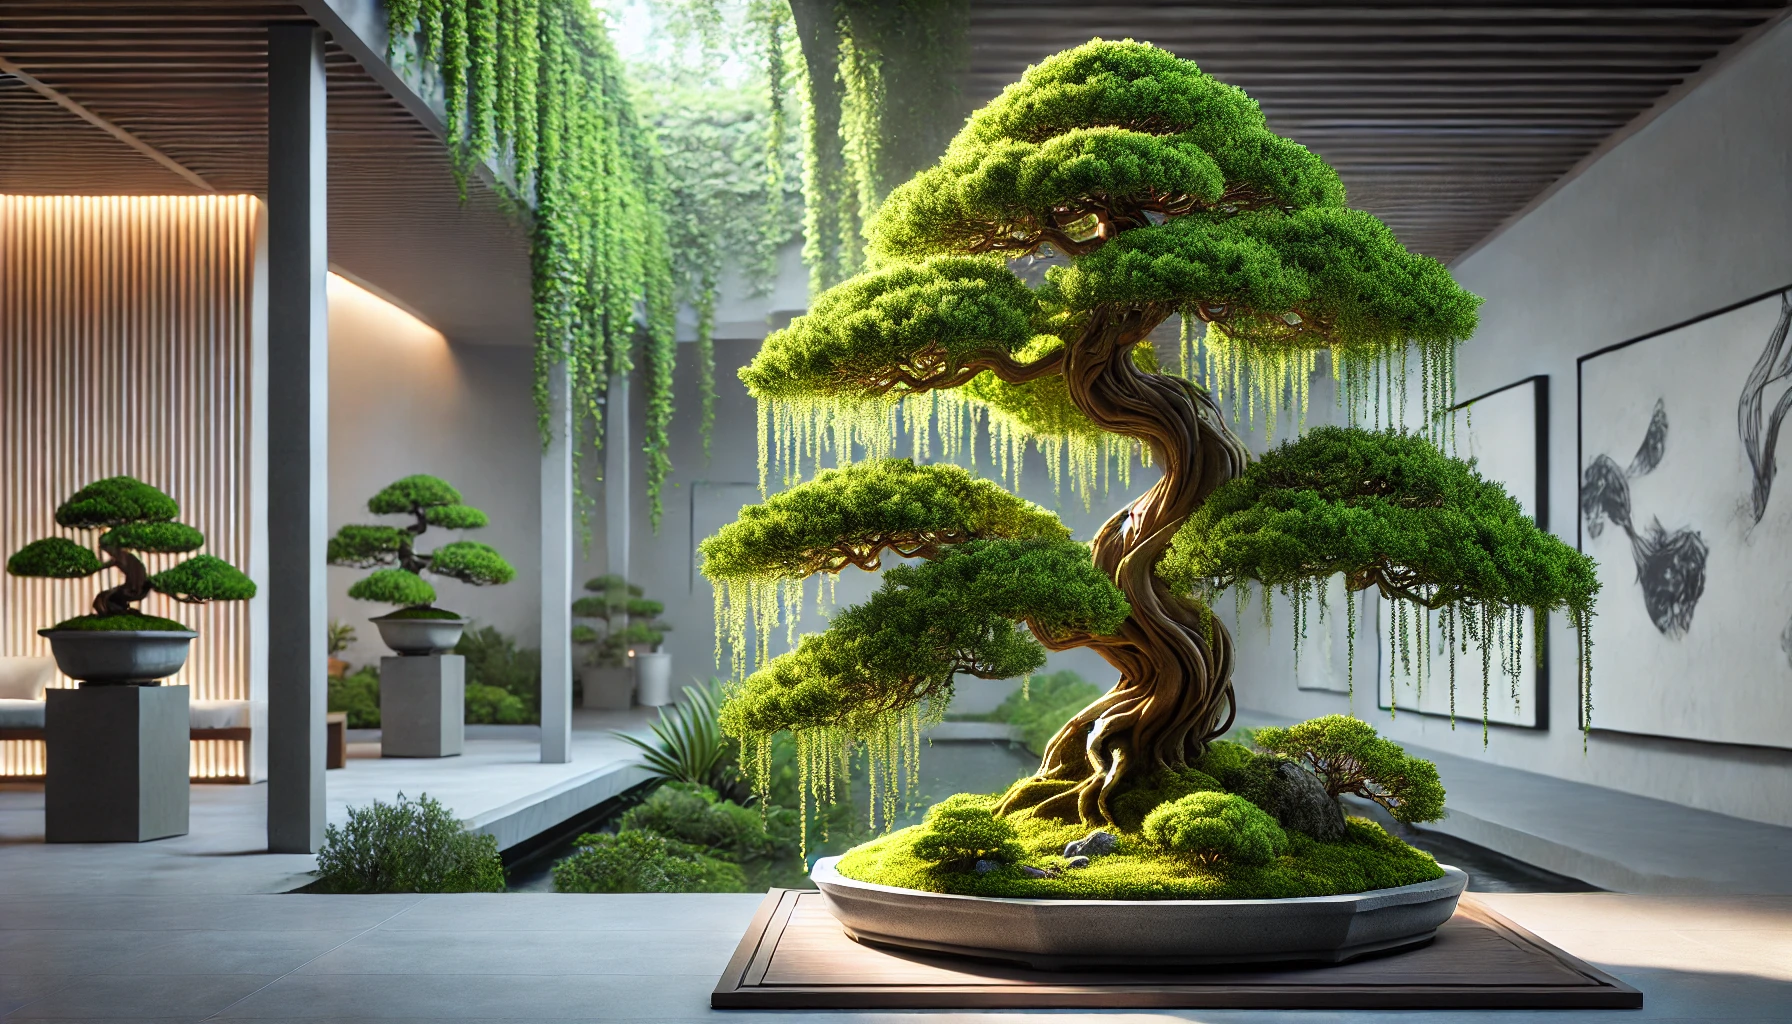
The Cascading Juniper Bonsai Tree is a striking and graceful variety, often admired for its stunning, drooping branches that cascade downward, creating a natural waterfall-like effect. Whether you’re new to bonsai or an experienced enthusiast, understanding this tree’s unique characteristics is key to helping it thrive and adding elegance to your space.
Key Characteristics:
- Compact Size: Despite its cascading branches, the cascading juniper bonsai remains compact, making it perfect for both indoor and outdoor settings. It’s a versatile tree that fits nicely on tables, shelves, or patios.
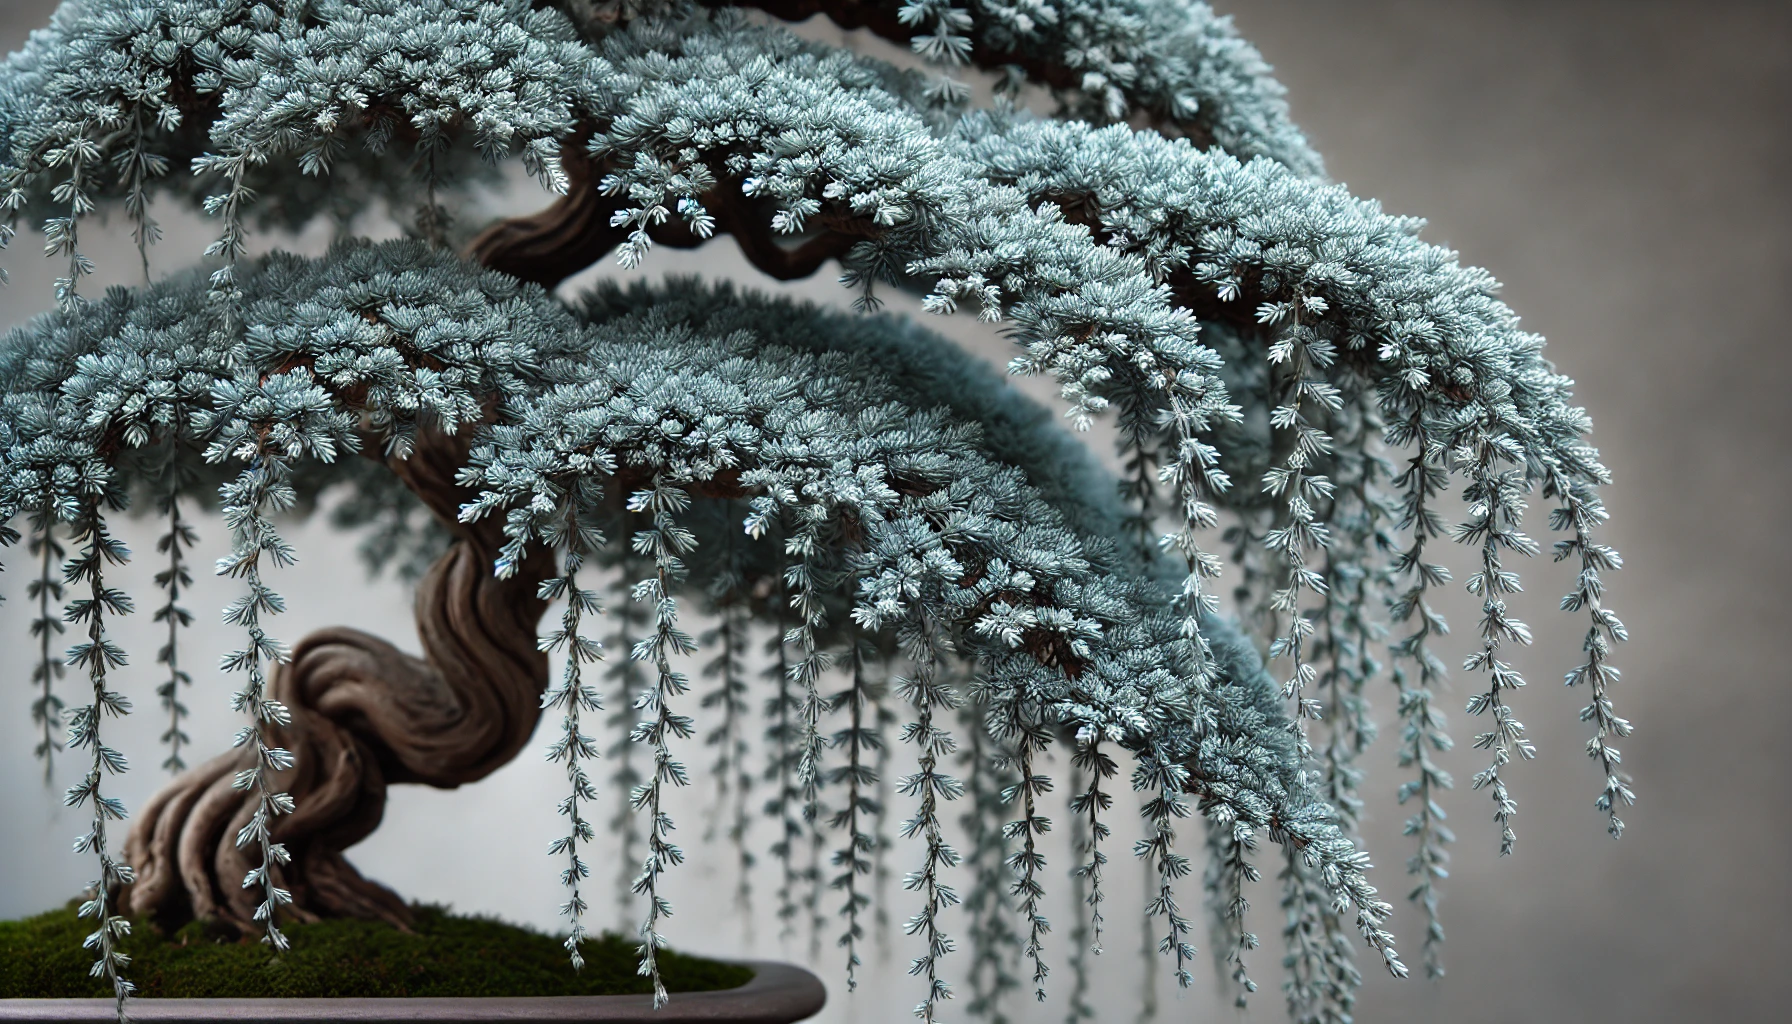
- Dramatic Foliage: The silvery-blue needles create a dramatic visual effect, adding texture and beauty to any bonsai collection. With proper care, the foliage remains lush and vibrant throughout the year.
- Slow Growth: Like many bonsai trees, the cascading juniper grows slowly. This makes it manageable for beginners, as you don’t need to worry about rapid, overwhelming growth.
Ideal Environment:
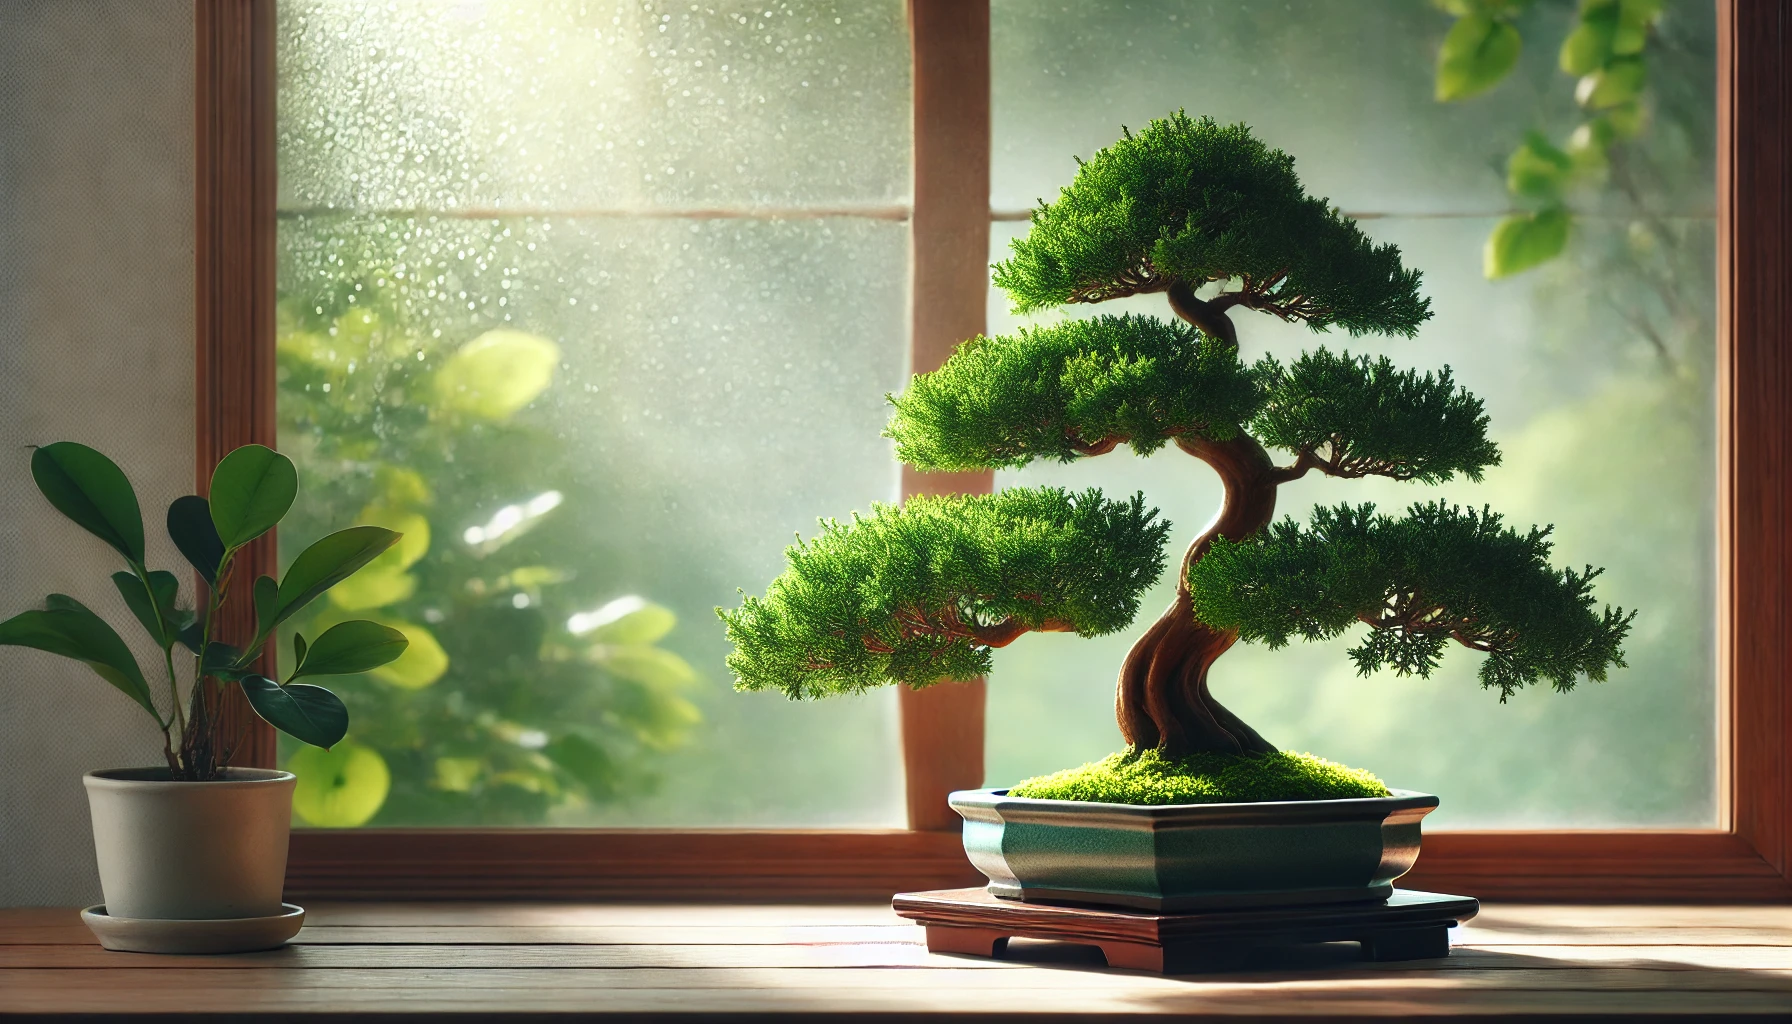
The cascading juniper thrives in well-lit areas but doesn’t need direct sunlight for long hours. Bright, indirect light is ideal. If you’re keeping it indoors, place it near a window where it can soak up the light without the harshness of direct sun rays. 
Soil and Potting Needs:
This bonsai variety requires well-draining soil to avoid root rot. A mixture of akadama, pumice, and lava rock is a popular choice among bonsai enthusiasts, as it mimics the natural environment of the juniper.  Ensure that your pot has proper drainage holes to keep excess water from accumulating.
By understanding these essential traits of the cascading juniper bonsai tree, you’ll be better equipped to care for it and ensure it grows into a stunning, healthy addition to your home or garden. Stay tuned for the next section on watering and humidity tips to keep your tree happy!
Essential Care Requirements for Your Cascading Juniper Bonsai Tree
Caring for a cascading juniper bonsai tree can seem tricky at first, but with the right approach, it’s entirely manageable—and truly rewarding! Here are the essential care tips you need to ensure your tree thrives:
1. Light: Get the Right Balance of Sunlight 
Your cascading juniper bonsai needs plenty of sunlight to grow healthy and strong. Aim for at least 4-6 hours of direct sunlight daily. A south-facing windowsill is usually perfect. If you’re growing your bonsai indoors, place it near a bright window or use grow lights to supplement natural sunlight.
2. Watering: Don’t Overdo It 
Junipers prefer a moderate watering routine. The key is to let the soil dry out slightly between waterings. Overwatering can lead to root rot, so always ensure the soil has good drainage. When you water, make sure to water thoroughly, soaking the soil all the way through. Avoid letting the tree sit in water, as this can harm its roots.
3. Soil: Choose Well-Draining Mix 
For your cascading juniper to thrive, you need to use well-draining soil. A mix that includes components like akadama, pumice, and lava rock works best. This allows water to flow freely while still providing the nutrients your tree needs. Good drainage prevents water from accumulating at the roots and ensures your bonsai remains healthy.
4. Humidity: Keep it Comfortable 
While junipers don’t require high humidity like some other bonsais, they do appreciate a moderate level. If you live in a particularly dry area, consider placing a small humidity tray under the tree or using a room humidifier. This will keep the air around the tree from becoming too dry, especially during colder months.
5. Pruning: Maintain Its Shape 
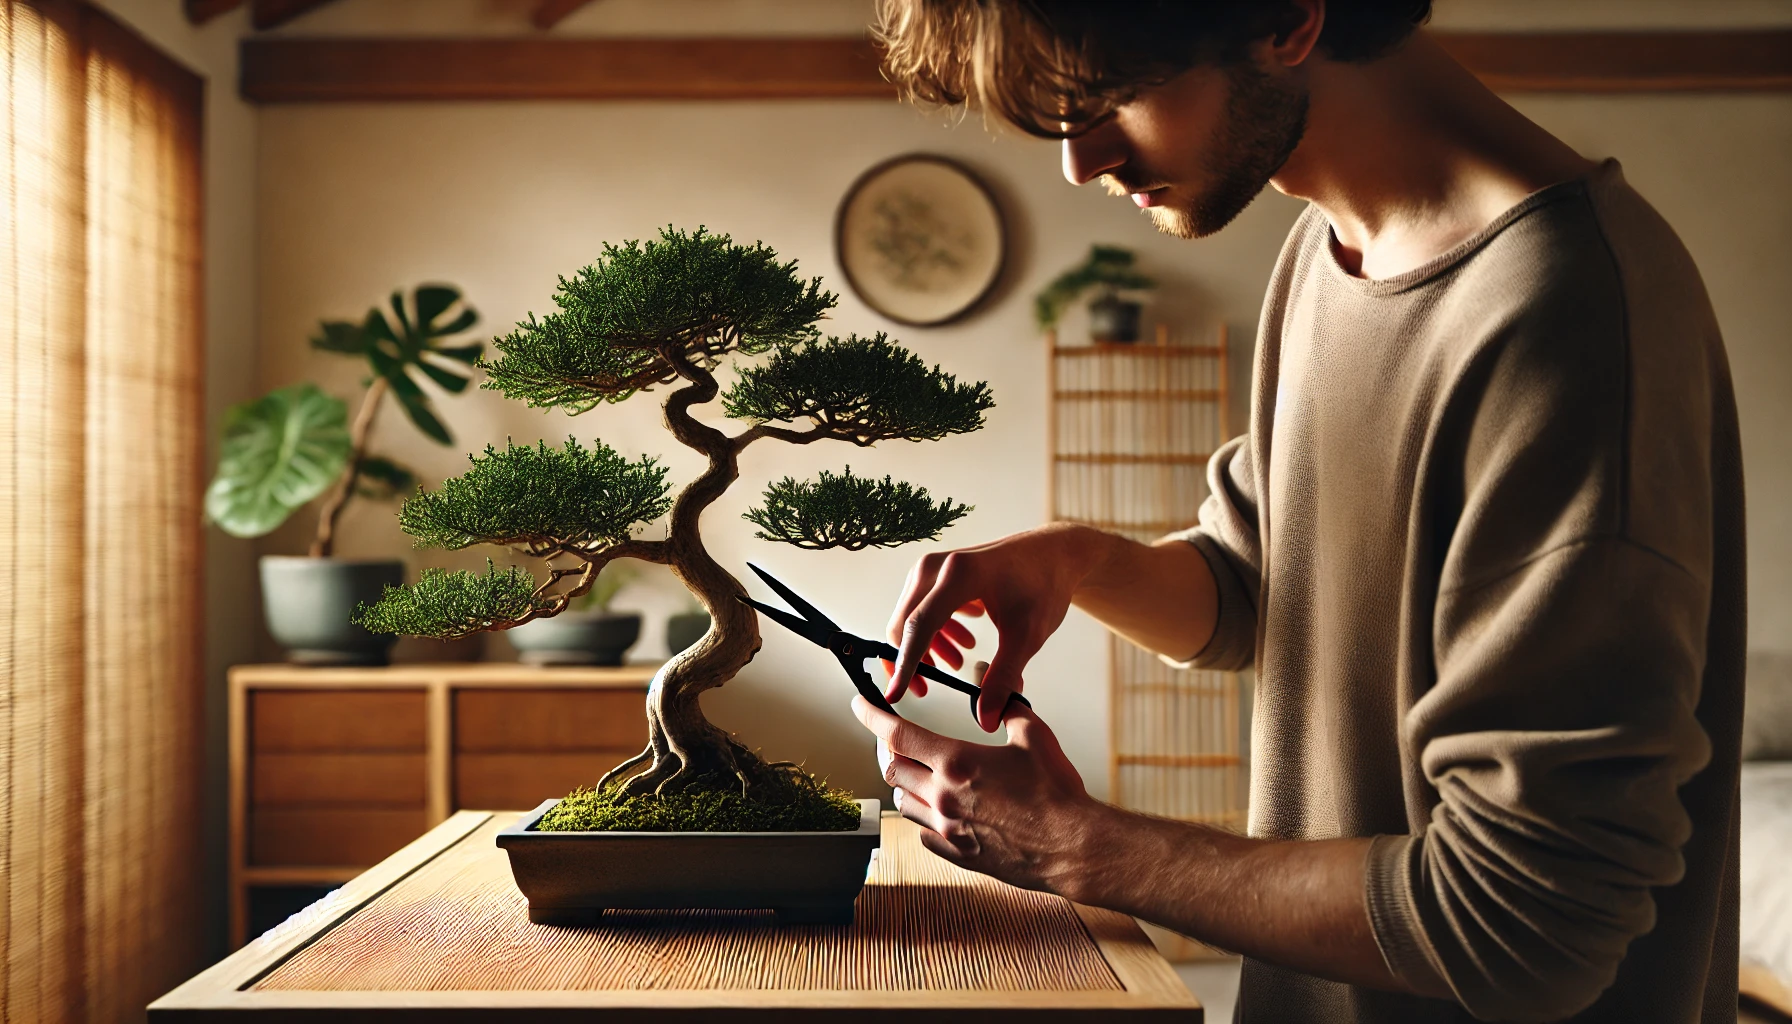
Pruning is crucial for keeping your cascading juniper in top form. Regularly trim any dead or yellowing branches, and shape the tree to maintain the cascading effect. Focus on cutting back the longer branches to encourage a fuller, healthier growth pattern. Always use clean, sharp pruning shears to make neat cuts.
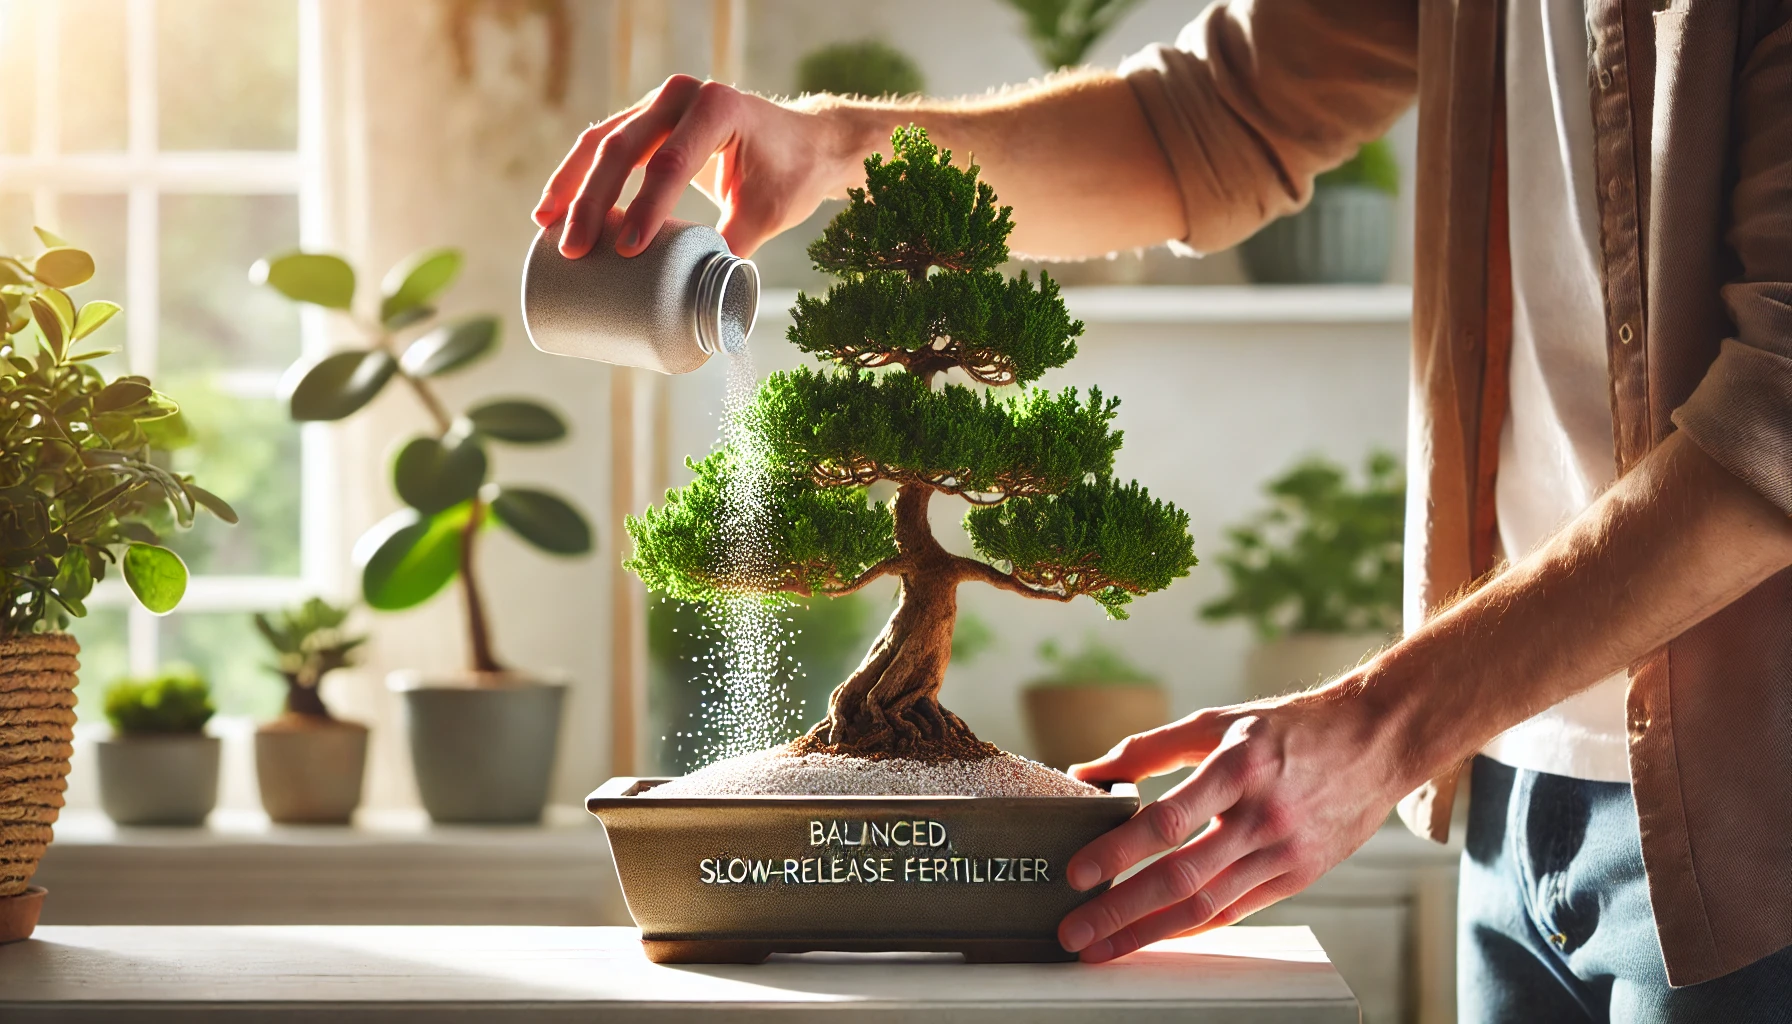
6. Fertilizing: Feed Your Bonsai
Junipers benefit from monthly fertilizing during the growing season (spring to summer). Use a balanced, slow-release fertilizer to provide essential nutrients. Reduce or stop fertilizing during the fall and winter months when the tree is dormant.
7. Repotting: When and How to Repot 
Repotting your cascading juniper bonsai is necessary to prevent the roots from becoming root-bound. Aim to repot your tree every 2-3 years or when the soil seems to have lost its nutrients. Always use fresh, well-draining soil, and trim any long or tangled roots before repotting.
By following these essential care tips, you can ensure your cascading juniper bonsai stays healthy and beautiful for years to come! With proper light, water, soil, and attention to pruning, your tree will flourish and become a stunning focal point in your home.
Pruning and Shaping Your Cascading Juniper Bonsai Trees
Pruning and shaping your cascading juniper bonsai is crucial for maintaining its stunning appearance and promoting healthy growth. This process helps the tree develop a natural, flowing cascade that enhances its aesthetic appeal. But don’t worry—it’s easier than you might think! Here’s how you can prune and shape your cascading juniper bonsai to perfection.
1. Understand the Cascading Style
Before you start pruning, it’s important to understand the cascading style. The cascading juniper bonsai is known for its graceful, downward-growing branches, mimicking the look of a tree growing over a cliff or waterfall. The goal is to encourage the branches to grow in a flowing, downward direction.
2. Choose the Right Tools 
Make sure you use the right tools for pruning:
- Sharp pruning shears: For clean cuts that prevent damage.
- Concave cutters: For cutting thicker branches or removing larger sections.
- Wire for shaping: Used to gently direct branches in the desired direction.
3. Pruning Basics: Where to Cut
Start by removing any dead, damaged, or diseased branches. This helps prevent stress and disease spread.
- Trim tips: To promote branching, trim the tips of the longer branches regularly. This encourages new growth and keeps the cascading effect strong.
- Thinning: Remove some of the inner branches to improve airflow and light penetration. This helps the tree stay healthy by preventing fungal issues and allowing the energy to flow to the more vital parts of the tree.
4. Shaping the Cascading Effect 
Once your tree is pruned, it’s time to shape it:
- Wire the branches: Carefully use wire to bend branches downwards, following the cascading style. Avoid wire that’s too tight, as it can damage the tree. Check the wire regularly and adjust it as the branches grow.
- Encourage natural curves: The cascading effect works best with natural curves, so avoid overly straight lines. Let the branches flow naturally to create a graceful silhouette.
5. When to Prune and Shape 
The best time to prune and shape your cascading juniper bonsai is during its active growing season—usually in late spring or early summer. Avoid pruning in the winter when the tree is dormant, as it might stress the plant.
6. Common Mistakes to Avoid 
- Over-pruning: While it’s tempting to cut too much to speed up the shaping process, remember that bonsai trees need time to develop. A few well-placed cuts are better than cutting too much at once.
- Improper wiring: Be gentle when wiring. If you’re not careful, the wire can leave marks or even cut into the bark. Always monitor your tree to ensure the wire isn’t damaging the branches.
By following these pruning and shaping tips, you’ll ensure your cascading juniper bonsai stays healthy, beautiful, and thriving for years to come. Remember, bonsai care is a long-term commitment, but with patience and attention, you’ll be rewarded with a stunning work of art that’s uniquely yours! 
Common Problems and How to Fix Them
Caring for a cascading juniper bonsai tree can be a rewarding experience, but it comes with its share of challenges. If you notice your tree isn’t thriving as expected, don’t worry! Below are the most common issues you might face, along with easy solutions to get your bonsai tree back on track.
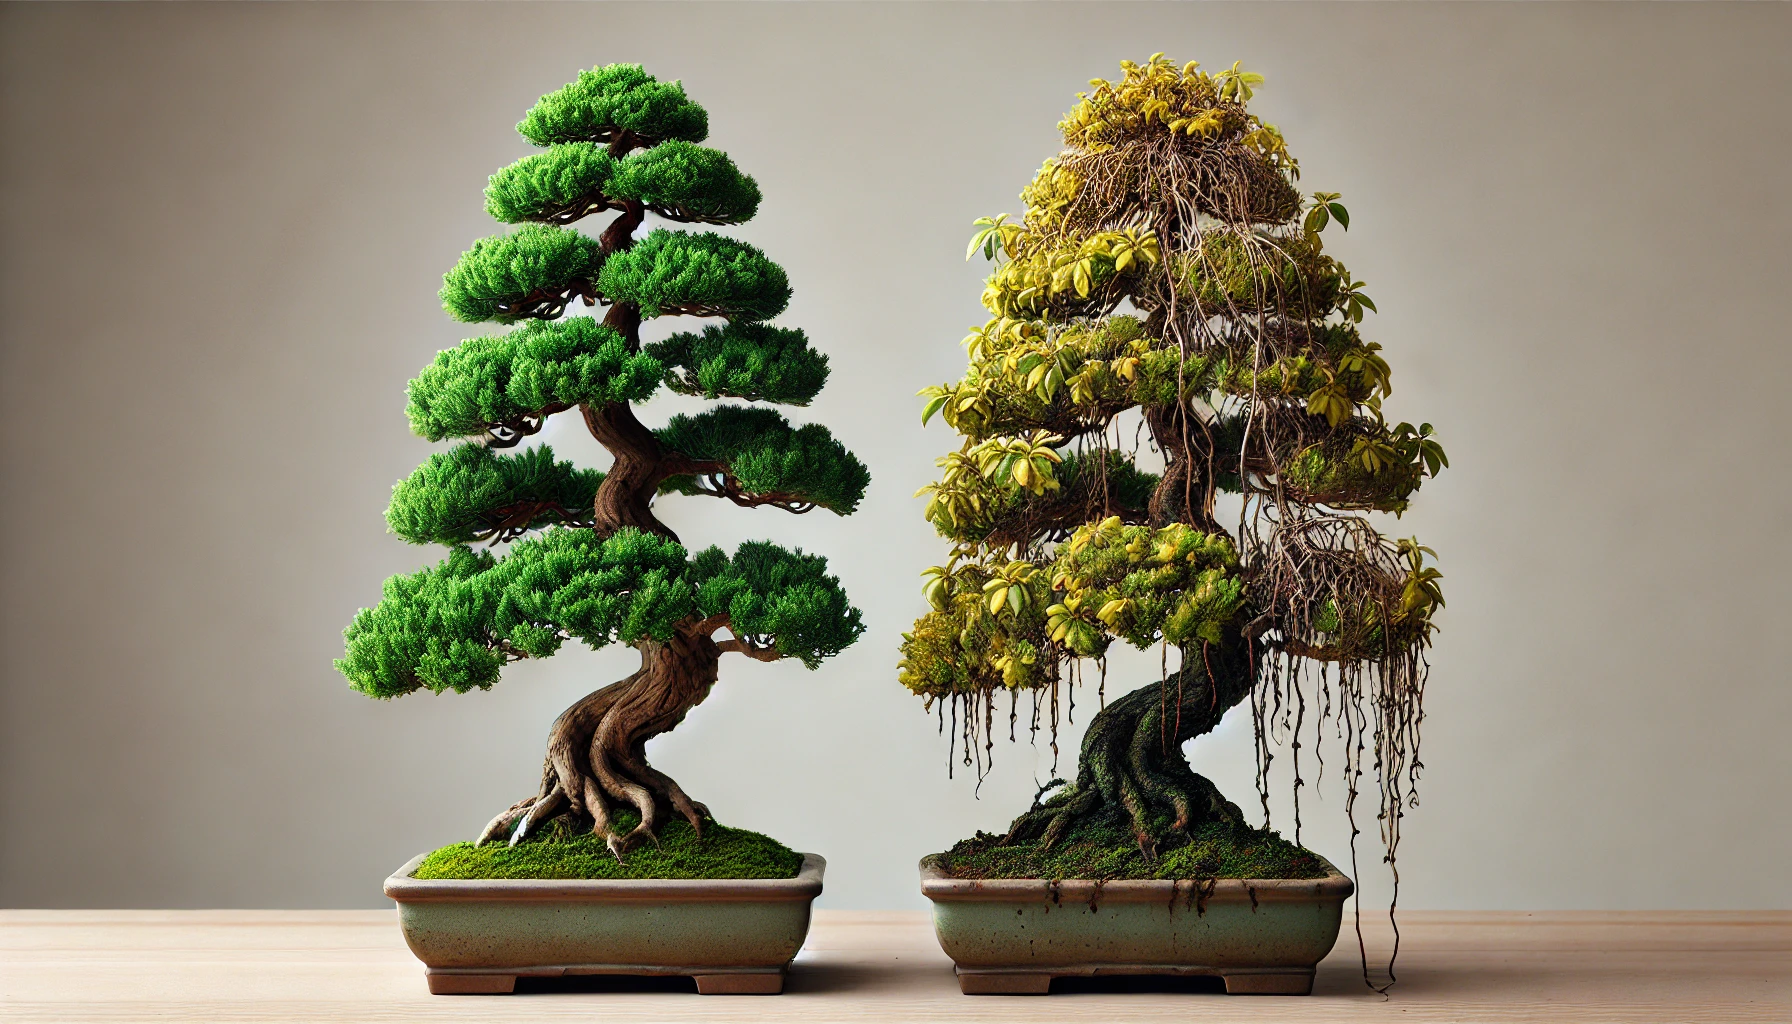
1. Brown or Yellowing Needles 
One of the most common signs of distress in juniper bonsai is brown or yellowing needles. This can be caused by a variety of factors:
- Overwatering: Junipers don’t like sitting in soggy soil. If you’re watering too often or not allowing the soil to dry out between waterings, the roots can suffocate and lead to discoloration.
- Solution: Ensure the soil is well-draining and only water when the top 1-2 inches of soil feel dry. Reduce watering during the colder months when the tree is less active.
- Underwatering: On the flip side, underwatering can also cause the needles to dry up and turn brown.
- Solution: Water your bonsai thoroughly, ensuring water reaches the roots. Keep a consistent watering schedule, especially in warmer weather.
2. Pests or Insects 
If your cascading juniper bonsai has been losing foliage or showing signs of stress, pests could be the culprit. Common invaders like aphids, spider mites, and scale insects can damage the tree.
- Solution: Regularly inspect your tree for any pests. If you find any, use an insecticidal soap or neem oil to gently treat the affected areas. You can also rinse the leaves with a mixture of water and mild soap to remove pests naturally.
3. Weak or Spindly Growth
A cascading juniper bonsai should have a strong, healthy appearance. If the branches are thin and weak, your tree may not be receiving enough sunlight or nutrients.
- Solution: Ensure your bonsai is placed in a bright, sunny spot with at least 4-6 hours of direct sunlight a day. If you’re growing it indoors, supplement with grow lights during the winter months. Additionally, feed your bonsai with a balanced bonsai fertilizer during the growing season to encourage healthy growth.
4. Root Rot 
Root rot is a serious problem that occurs when the roots of your tree sit in waterlogged soil for too long. This can cause your juniper to wilt and leaves to turn yellow.
- Solution: If you suspect root rot, gently remove the tree from its pot and inspect the roots. Trim away any mushy or blackened roots and repot the tree in fresh, well-draining soil. Ensure your pot has good drainage holes and avoid watering too frequently.
5. Leaf Drop 
If your cascading juniper is losing leaves rapidly, it might be stressed due to environmental changes or poor care practices.
- Solution: Place your bonsai in a stable environment with consistent temperatures. Avoid moving it around too much, especially during the growing season. Make sure it’s not exposed to drafts or sudden temperature changes.
6. Incorrect Pruning
Pruning is an essential part of bonsai care, but improper pruning can lead to weak growth and an imbalanced tree shape.
- Solution: Only prune your juniper during the active growing season (spring and summer). Avoid cutting too much at once. Trim sparingly, focusing on shaping the tree rather than removing large sections of foliage. Always use sharp, clean tools to prevent infection.
By staying on top of these common problems and applying the right fixes, you can keep your cascading juniper bonsai tree looking its best! Regular care and attention will help your tree thrive and become a beautiful addition to your space.
Fertilizing Your Cascading Juniper Bonsai Tree
Fertilizing is a key step in ensuring your cascading juniper bonsai thrives. A properly fertilized tree will have vibrant foliage, strong roots, and healthy growth. Here’s how to give your bonsai the best nutrients without overdoing it.
1. Choose the Right Fertilizer
For juniper bonsais, a balanced, slow-release fertilizer works best. Look for a fertilizer with an equal ratio of nitrogen (N), phosphorus (P), and potassium (K), such as 10-10-10. Organic fertilizers, like fish emulsion or compost tea, are also excellent choices for sustainable growth.
2. Fertilizing Frequency
Cascading junipers are slow growers, so they don’t need frequent feeding. During the growing season (spring and summer), fertilize once every 4-6 weeks. In fall and winter, when the tree is dormant, you can skip fertilizing altogether. Too much fertilizer during the dormant period can harm your tree’s health. 
3. Amount to Apply
Follow the instructions on your fertilizer packaging to avoid over-fertilizing. Start with a small amount and increase gradually. Remember, it’s always easier to add more later than to correct an over-fertilized tree. A little goes a long way!
4. Watering After Fertilizing
Always water your bonsai tree thoroughly after fertilizing. This helps to distribute the nutrients evenly and prevents any potential root burn. Plus, it helps wash away any excess fertilizer that could harm the plant.
5. Signs of Over-Fertilizing
Watch out for signs like yellowing leaves, burnt tips, or a sluggish growth rate. If you notice any of these symptoms, flush the soil with water to remove excess fertilizer. If you’re unsure, it’s always safer to under-fertilize than to overdo it.
By following these simple fertilizing tips, you’ll keep your cascading juniper bonsai healthy and looking beautiful. 
Re-potting Your Cascading Juniper Bonsai Tree
Re-potting your cascading juniper bonsai tree is an essential part of its care routine. This process not only provides fresh soil and more room for roots to grow, but it also helps maintain the tree’s health and aesthetic appeal. Here’s a step-by-step guide to make re-potting easy and stress-free for both you and your bonsai.
1. When to Re-pot
Re-pot your cascading juniper bonsai every 2-3 years, typically in early spring, before the tree begins its active growing season. Signs that it’s time for re-potting include roots growing out of the drainage holes or the tree becoming root-bound (when roots form a dense mat). If your tree looks unhealthy or its growth has slowed, re-potting can give it a much-needed boost.
2. Prepare the Materials
Before you start, gather the following:
- A new pot (1-2 sizes larger than the current one)
- Fresh, well-draining bonsai soil (mix of akadama, pumice, and lava rock)
- A small rake or chopstick to tease out the roots
- Scissors or pruning shears for trimming roots (if necessary)
- A mesh screen to cover drainage holes
Having everything ready will make the process smooth and efficient.
3. Remove the Bonsai from Its Pot
Gently remove your cascading juniper from its current pot. You can tap the sides of the pot or gently work around the edges with a knife to loosen the soil. Be careful not to damage the roots. If the tree is stuck, try to ease it out by carefully rocking it back and forth.
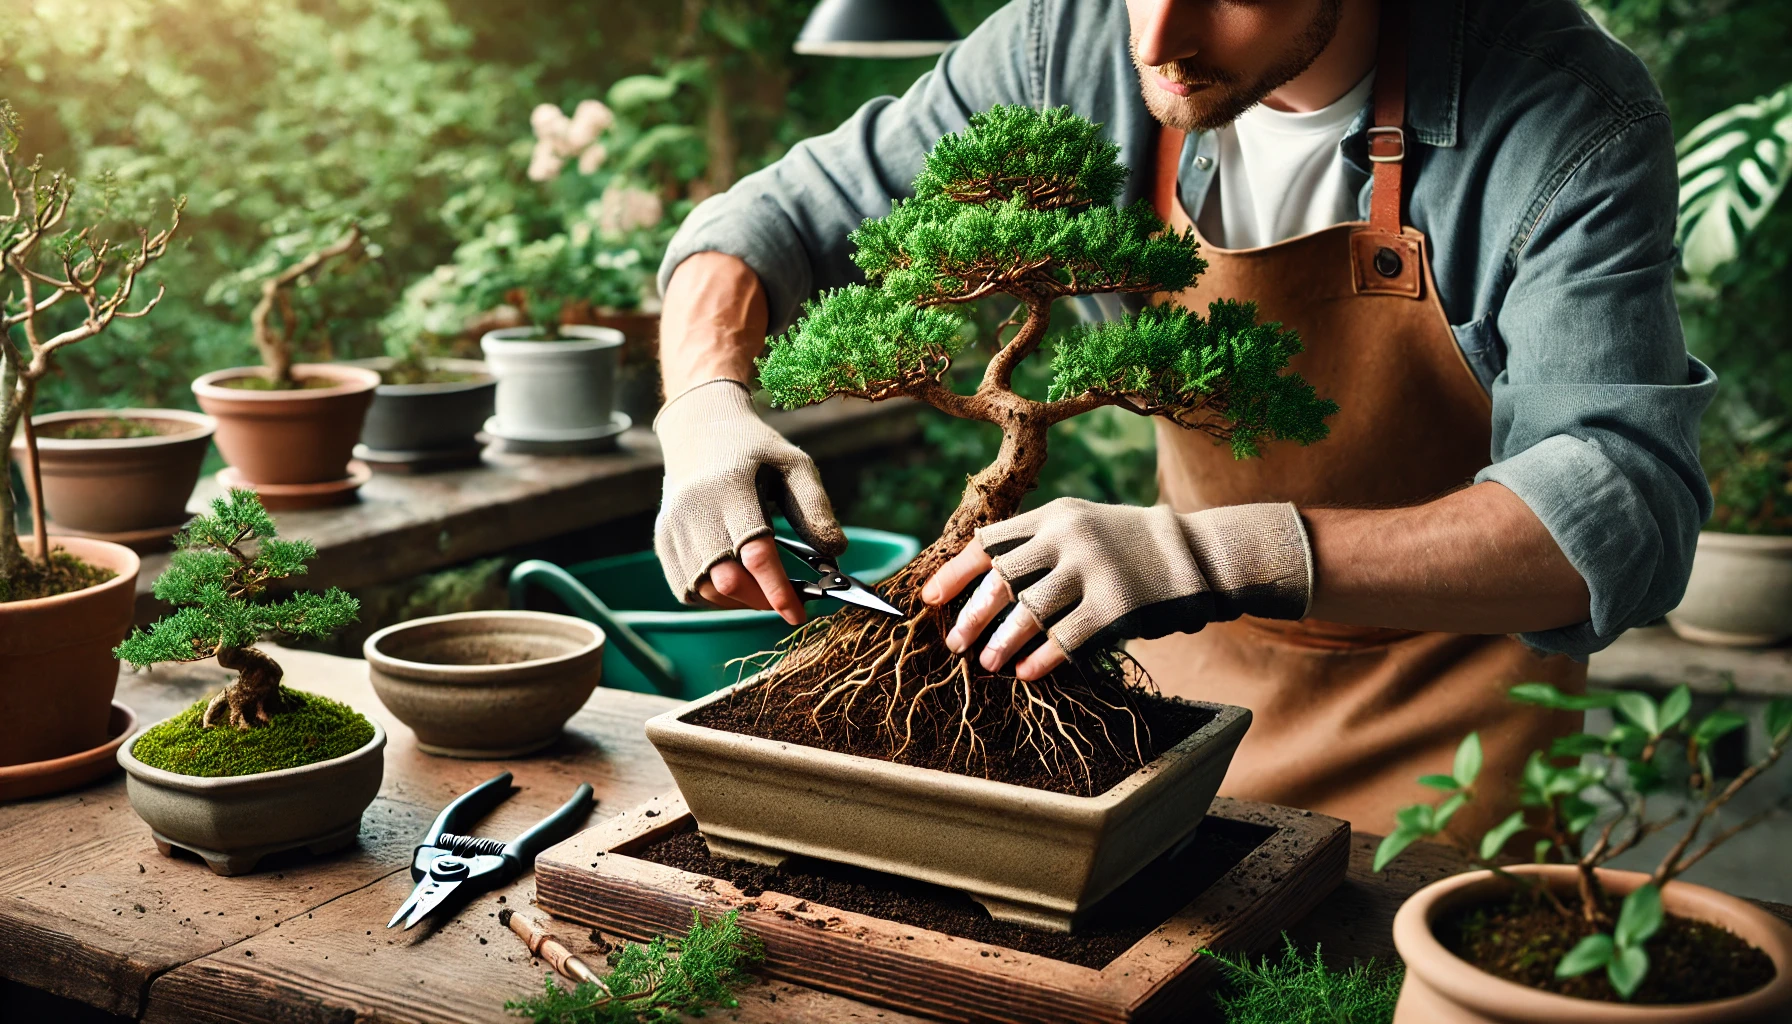
4. Inspect and Trim the Roots
Once the tree is out of the pot, examine the roots. Trim away any dead, damaged, or overly long roots. This will encourage healthy new growth. Make sure to leave a sufficient root mass to support the tree. Avoid cutting too much, as this could stress the tree.
5. Prepare the New Pot
Place a mesh screen over the drainage holes of the new pot to prevent soil from washing out. Then, add a layer of fresh bonsai soil at the bottom. This creates a stable foundation for your tree’s roots.
6. Position the Tree in the New Pot
Place the cascading juniper tree in the center of the pot, ensuring that the roots spread evenly. Fill in the gaps with more bonsai soil, pressing it gently to eliminate air pockets. Make sure the tree sits at the same depth it was in the previous pot—too deep or shallow can cause stress.
7. Water and Settle the Soil
After repotting, water the tree thoroughly to settle the soil around the roots. Let the water drain through, ensuring proper hydration without water logging the roots. Keep the tree in a shaded spot for a few days to help it adjust to its new environment.
8. Monitor the Tree’s Health
Over the next few weeks, keep an eye on your cascading juniper. It may shed some leaves or needles as it acclimates to its new pot, which is perfectly normal. Make sure it gets indirect sunlight and avoid overwatering during this recovery period.
By following these simple steps, your cascading juniper bonsai tree will have the perfect new home to continue growing beautifully. Re-potting might seem intimidating at first, but with the right care, it’s a straightforward process that ensures your bonsai thrives for years to come.
Seasonal Care Tips for a Healthy Cascading Juniper Bonsai Tree
Caring for your cascading juniper bonsai tree requires understanding its seasonal needs. By adapting your care routine to the changing seasons, you can ensure your tree stays healthy and continues to thrive. Here’s a simple guide to help you through the year:
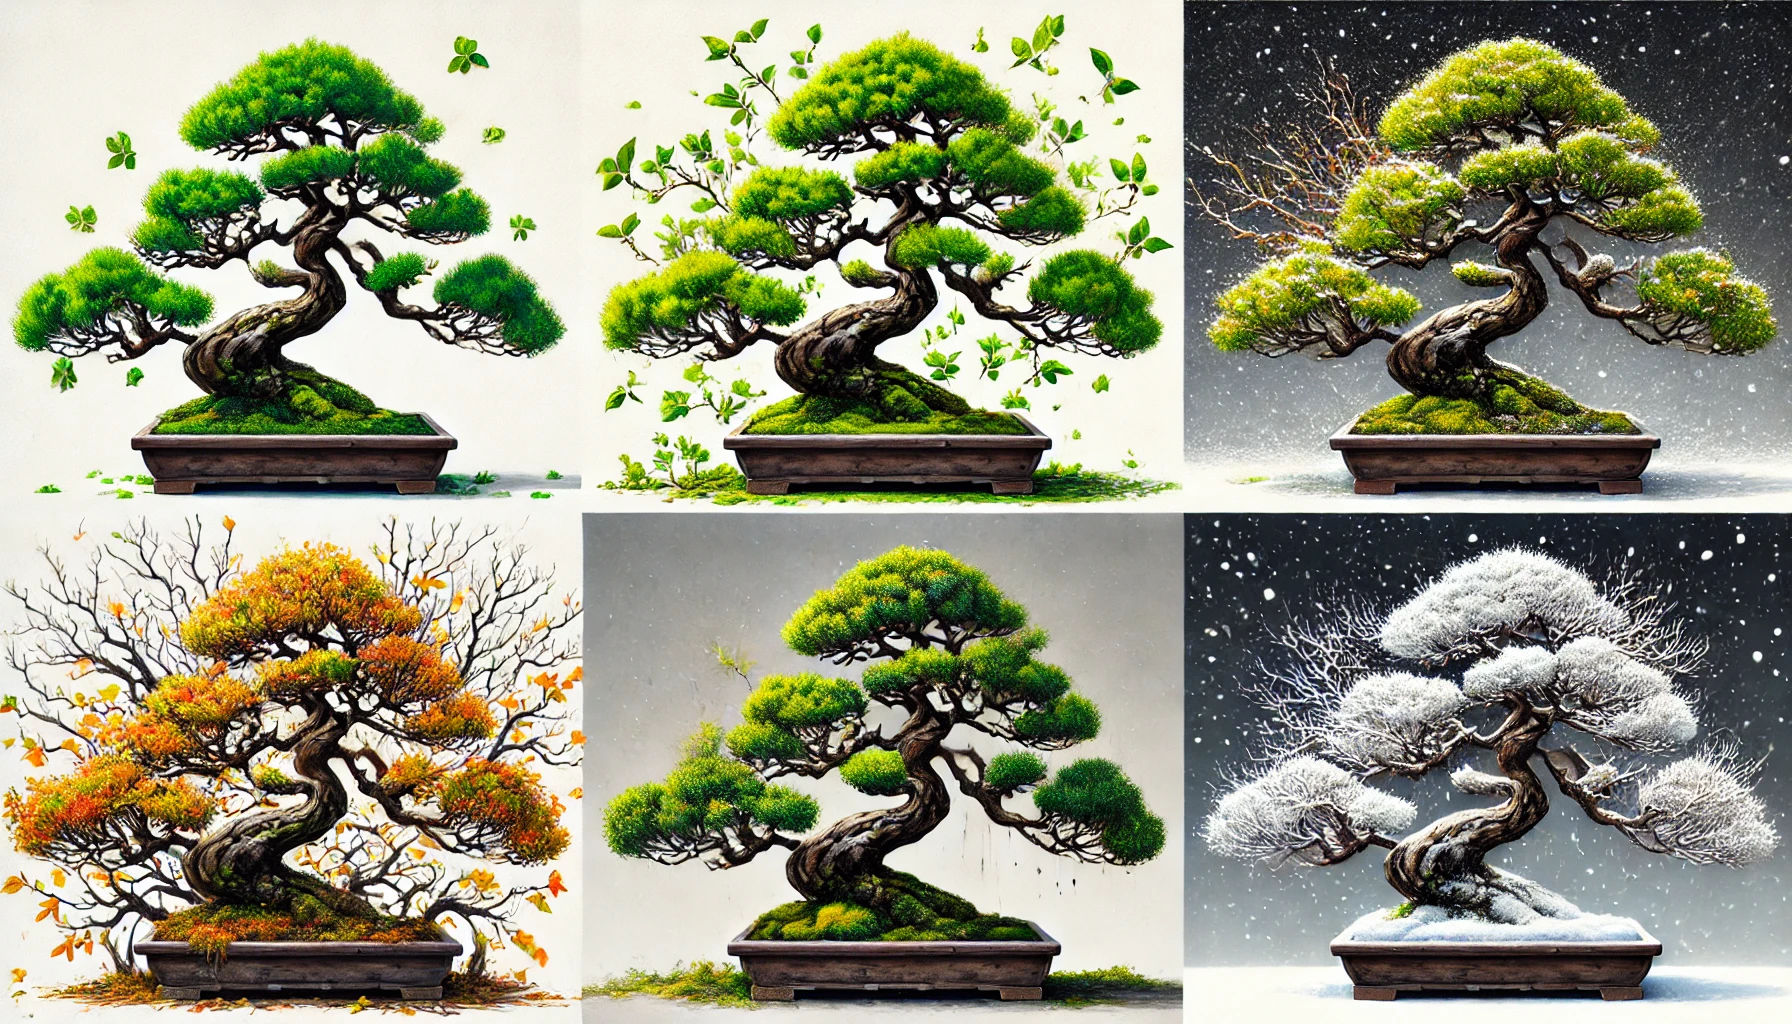
Spring  : Time to Revive and Refresh
- Increase Watering: As temperatures rise, your bonsai will require more water. Make sure the soil stays moist but not soggy.
- Repotting: Spring is the ideal time for repotting your juniper bonsai if it has outgrown its pot. This gives the roots space to grow, ensuring strong and healthy development.
- Pruning: Light pruning is beneficial in spring. Trim any dead or overgrown branches to maintain the tree’s cascading shape.
Summer : Ensure Steady Growth
- Full Sun Exposure: Junipers love the sun! Make sure your tree gets plenty of bright light, but avoid placing it in direct, intense midday sun that can scorch the leaves.
- Consistent Watering: Hot weather can dry out the soil quickly. Check the moisture level daily, watering whenever the top inch of soil feels dry.
- Fertilize Monthly: Use a balanced fertilizer during the growing season to promote vibrant foliage. Avoid over-fertilizing, as this can cause excessive growth.
Fall : Prepare for Cooler Weather
- Reduce Watering: As temperatures cool down, the bonsai’s growth slows. Water less frequently, but ensure the soil doesn’t completely dry out.
- Clean the Tree: Remove any fallen leaves or debris to prevent pests from taking hold during the cooler months. This keeps your bonsai healthy.
- Prune for Shape: Fall is the perfect time to shape your bonsai by trimming back any branches that are growing too long. Be careful not to cut too much, as your tree is entering a resting period.
Winter : Protect and Rest
- Limit Watering: Your bonsai’s growth is minimal during winter. Water sparingly to avoid root rot. Ensure that the pot has good drainage to prevent water from sitting at the bottom.
- Indoor Care: If you live in a region with freezing temperatures, bring your bonsai indoors. Place it in a cool, well-lit spot, away from heat sources like radiators or vents.
- Avoid Pruning: Winter is not the time to prune your juniper. Give the tree a rest, as excessive pruning can stress it during its dormant period.
By following these seasonal care tips, your cascading juniper bonsai will stay healthy and continue to be a stunning feature in your home or garden all year round!
Troubleshooting: Quick Fixes for Common Problems
Caring for a cascading juniper bonsai tree is a rewarding journey, but even the most experienced gardeners face a few bumps along the way. If your tree seems unhappy, don’t worry — most problems have simple solutions! Below are quick fixes for the most common issues you might encounter:
1. Yellowing Leaves
Yellowing leaves can be a sign of a few things. Here’s what you can do:
- Overwatering: Cascading junipers don’t like soggy roots. Make sure the soil drains well and water only when the top 1-2 inches of soil feel dry. Consider switching to a well-draining bonsai soil mix.
- Nutrient Deficiency: If the tree isn’t getting enough nutrients, it might need a boost. Feed your juniper with a balanced, slow-release fertilizer once a month during the growing season.
2. Brown Tips or Edges 
Brown tips are usually caused by:
- Underwatering: Your tree may not be getting enough water, especially during hot weather. Keep an eye on the moisture levels, and ensure it’s properly watered without becoming waterlogged.
- Low Humidity: Junipers thrive in slightly humid conditions. If the air in your home is too dry, especially in winter, try placing a humidity tray under your bonsai or using a room humidifier to improve the air quality around the tree.
3. Leggy Growth (Stretched-out Branches)
Leggy growth often indicates that your tree isn’t getting enough light.
- Solution: Move your bonsai to a brighter spot! A sunny windowsill works great. If natural light is limited, consider investing in a grow light to give it a little extra boost.
4. Pests and Bugs 
If you spot small bugs or webbing on your bonsai, it’s likely a pest infestation. Common culprits include spider mites and aphids.
- Quick Fix: Gently wash the tree with a mild soap solution or use an insecticidal soap to get rid of the pests. Be sure to rinse thoroughly to avoid any residue that could harm the tree.
5. Root Rot 
Root rot can occur if the tree is overwatered or sitting in waterlogged soil.
- Solution: If you notice a foul smell or mushy roots, carefully remove the tree from its pot, trim the rotting roots, and repot it in fresh, dry soil. Be sure to use a pot with good drainage to prevent future issues.
By identifying these problems early and taking action right away, you can help your cascading juniper bonsai thrive. Keeping an eye on its watering habits, light needs, and general health will ensure it stays vibrant and beautiful for years to come!
Conclusion
Caring for a cascading juniper bonsai tree may seem challenging at first, but with the right approach, it can be an incredibly rewarding experience. By providing the proper sunlight, watering routine, and careful pruning, you’ll encourage your bonsai to thrive, producing the stunning, cascading effect that makes it such a sought-after species. Whether you’re a beginner or a seasoned bonsai enthusiast, the key is consistency and patience.
Remember, each tree is unique and may require some trial and error to find the perfect balance. As you follow these essential tips, you’ll gain more confidence in your bonsai care and watch your cascading juniper transform into a true work of art.
Now that you’re armed with the knowledge to nurture your cascading juniper bonsai tree, it’s time to put these tips into action. Start with the basics—ensure proper lighting, watering, and pruning—and enjoy the beauty of your thriving bonsai for years to come. Happy bonsai growing!