
Watching a cherry tree grow from a tiny sapling to a fruit-bearing beauty is an exciting journey for any gardener. But what exactly happens at each stage of growth? Understanding Cherry Tree Growth Stages: What to Expect Year by Year is key to helping your tree thrive and produce the best fruit. Whether you’re a first-time planter or have experience, knowing the milestones your tree will go through allows you to provide the right care at the right time. In this guide, we’ll walk you through each growth stage, ensuring you’re prepared for a flourishing, fruitful cherry tree.
Year 1: Planting and Establishment 
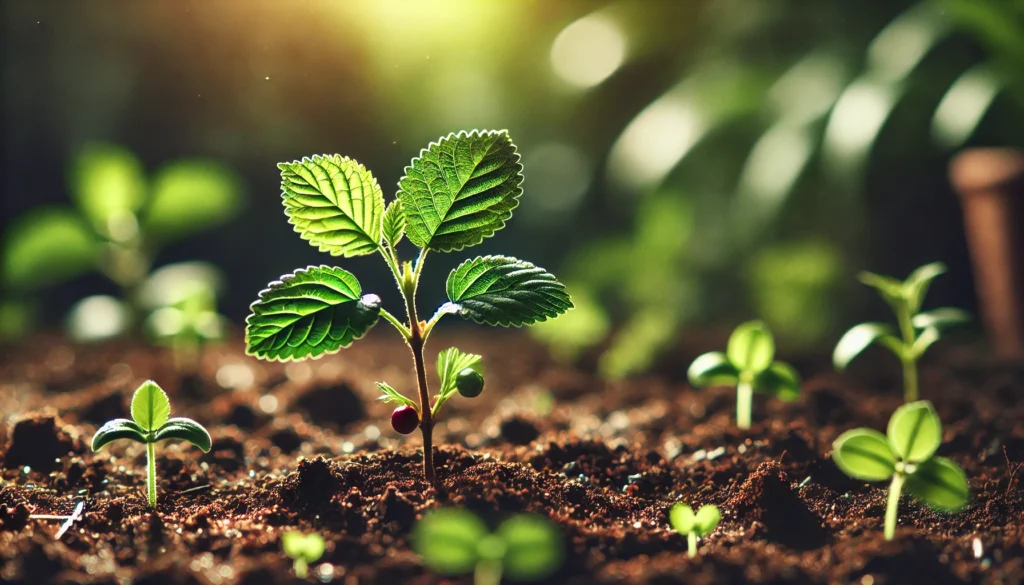
In the first year of growing your plant, focus on creating a strong foundation for healthy growth. Here’s how to get started:
1. Choosing the Right Location 
Pick a spot that offers plenty of sunlight (at least 6 hours a day). Plants need sunlight to thrive, so ensure your chosen area gets consistent light. Consider soil type, as well—well-draining, loamy soil is ideal for most plants.
2. Preparing the Soil 
Before planting, enrich the soil with compost or organic matter. This improves the soil’s structure and nutrient content, ensuring your plant starts off strong. Test the soil pH to ensure it’s within the optimal range for your plant species.
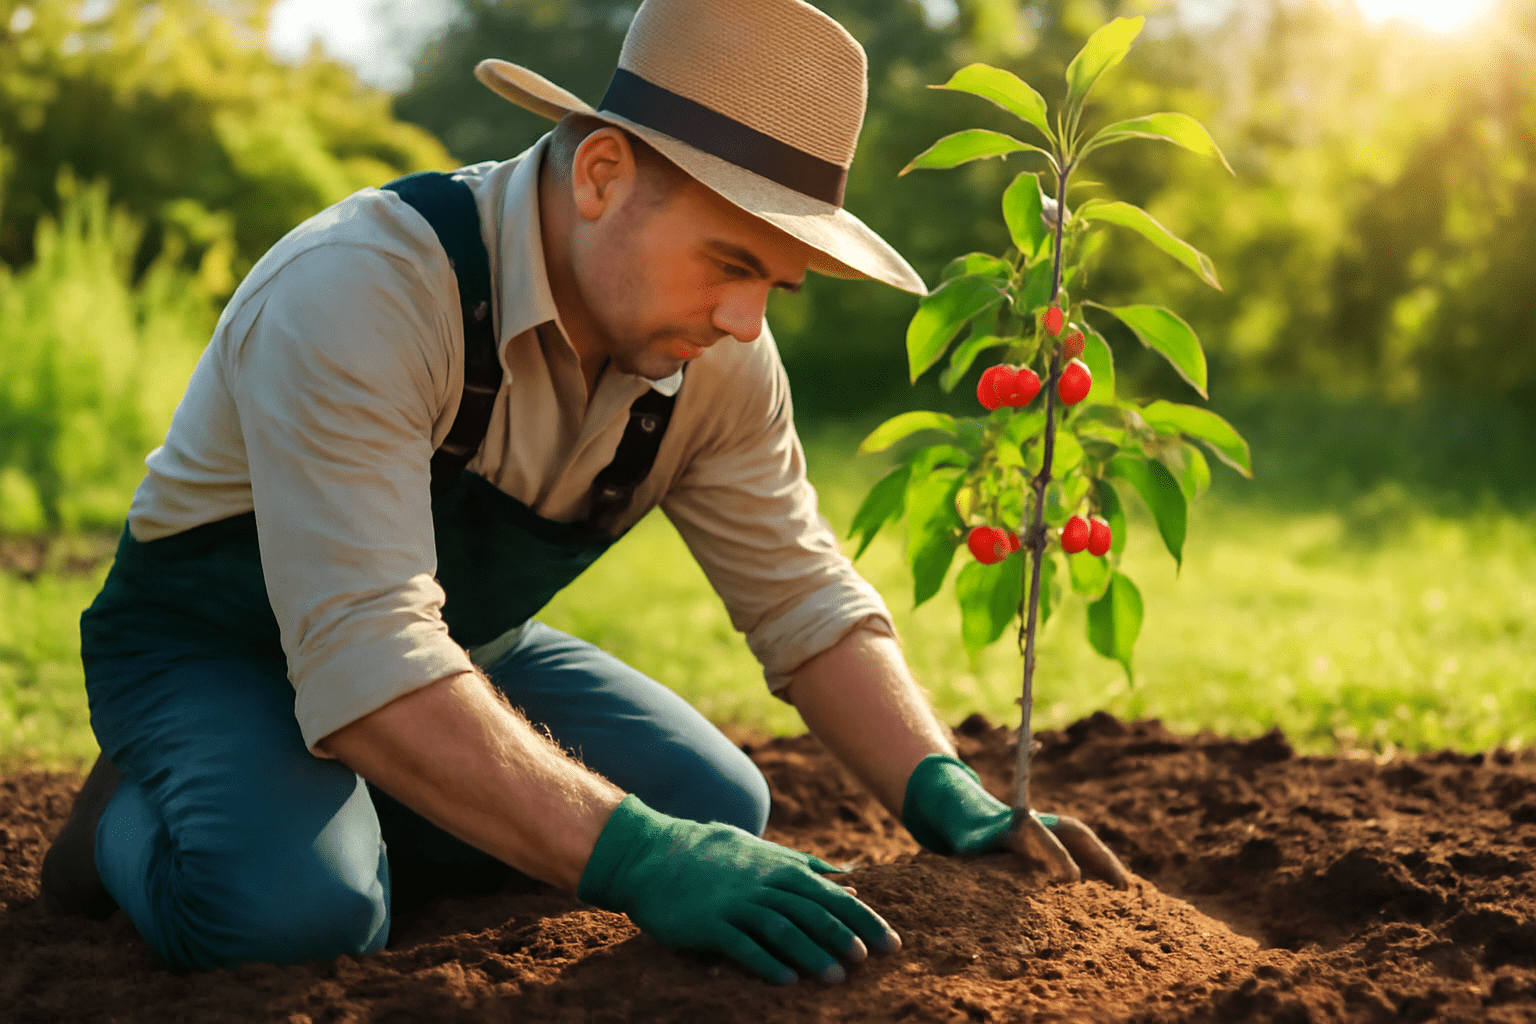
3. Planting Time 
Early spring is the best time for planting. Dig a hole twice the width of the root ball but not too deep—just deep enough so the top of the root ball is level with the soil surface. This helps prevent root rot and encourages proper root development.
4. Watering for Establishment 
Water thoroughly right after planting. Keep the soil consistently moist, but not soggy. During the first few months, water deeply once a week, especially if rainfall is insufficient. A slow-drip system or soaker hose works best to avoid over-watering.
5. Mulching for Protection 
Apply a layer of mulch around the base of the plant. This helps retain moisture, suppresses weeds, and regulates soil temperature. Avoid piling mulch directly against the stem to prevent rot.
6. Initial Fertilization 
Use a balanced, slow-release fertilizer designed for new plants. This provides essential nutrients during their early stages of growth. Follow package instructions carefully—over-fertilizing can harm young plants.
7. Regular Monitoring 
Check your plant for any signs of stress, such as yellowing leaves or wilting. Early intervention can help prevent larger issues later on. Remove dead or damaged foliage to promote healthy growth.
Year 2: Root Development and Early Growth
In the second year of your plant’s growth, the focus shifts to strengthening its root system and encouraging steady, healthy growth. Here’s how you can help your plant thrive during this crucial stage:
- Deepening the Roots

By year two, the plant’s roots should be expanding deep into the soil. Ensure the soil is well-draining and not compacted, allowing the roots to grow freely. You can add organic matter like compost to improve soil structure and fertility.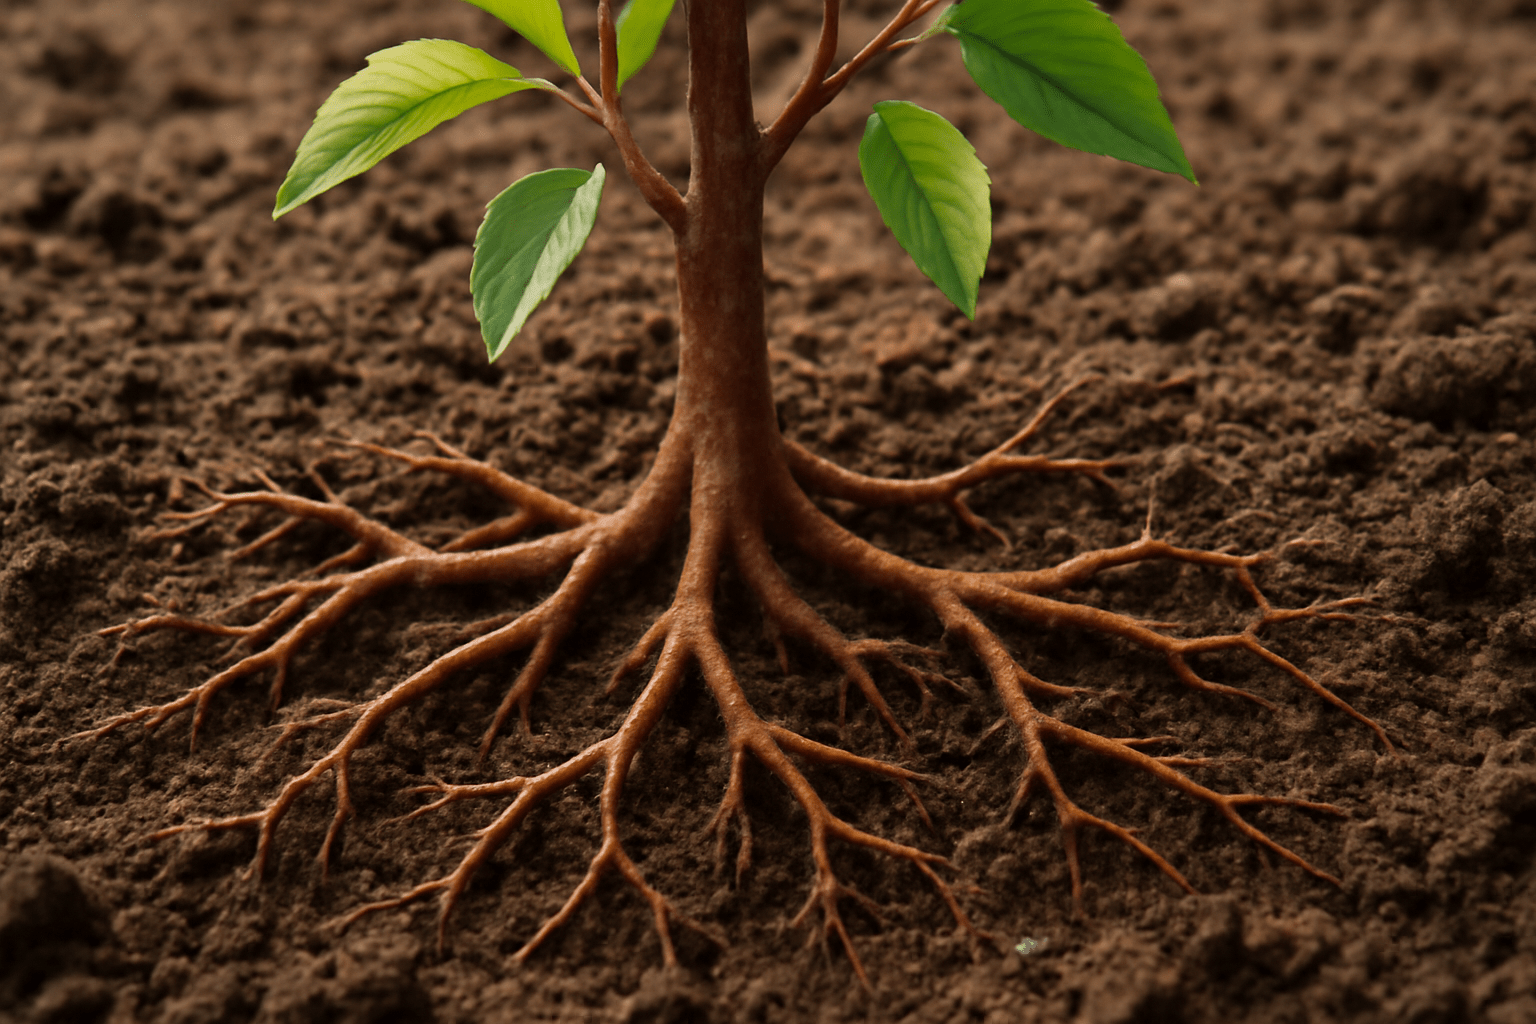
- Consistent Watering
While the plant is still establishing itself, consistent watering is essential. Keep the soil moist, but avoid overwatering. A deep watering session every week should be enough, depending on the climate. If the plant is in a pot, ensure it has drainage holes. - Fertilizing Lightly
Use a balanced, slow-release fertilizer to encourage root and leaf development. Apply it in the early spring before the growing season kicks off. Avoid heavy feeding, as it can cause the plant to grow too quickly, leading to weak roots. - Mulching for Moisture Retention
Add a layer of mulch around the base of the plant to help retain moisture and prevent weeds. This also regulates the soil temperature, helping the roots grow comfortably. - Pruning Early Growth

Light pruning during this stage will help the plant direct energy into strong root growth instead of unnecessary top growth. Focus on removing any dead or damaged stems.
By paying attention to these key factors, you’ll ensure your plant is set up for a healthy, productive life in the years ahead. 
Year 3: Establishing a Strong Framework
By Year 3, your plant should be well on its way to thriving. The focus now is on solidifying its foundation for long-term growth. Here’s how to approach it:
- Prune for Shape & Health

Regular pruning is key to encouraging healthy growth. Trim any dead or damaged branches and shape the plant to maintain a sturdy structure. This will promote better airflow and prevent diseases.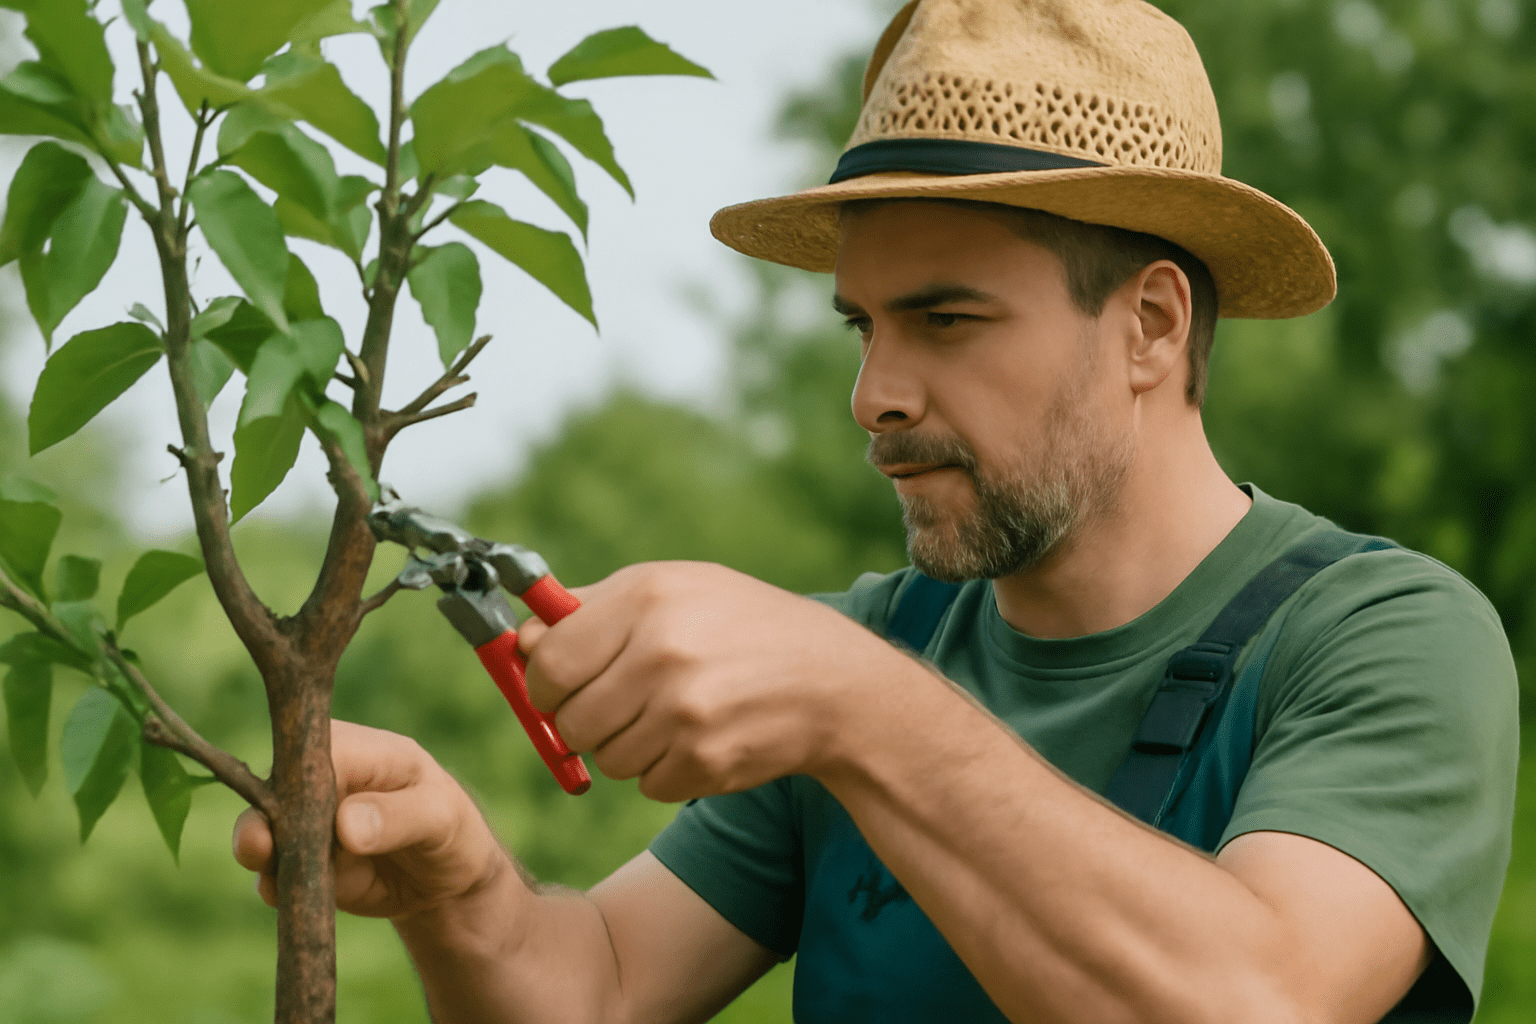
- Reinforce the Root System
At this stage, roots need to expand and strengthen. Consider adding mulch around the base to retain moisture and protect the roots. If growing in a container, repot into a larger one to give roots room to spread. - Fertilize for Continued Growth
Apply a balanced fertilizer to ensure your plant gets all the essential nutrients it needs. Slow-release fertilizers work best at this stage, as they provide continuous nourishment throughout the growing season. - Support with Staking or Trellising

For plants that need vertical support, such as vines or taller shrubs, use stakes or trellises. This helps them grow upright, ensuring a healthy and sturdy framework. - Monitor Watering Carefully
While your plant is now more established, regular watering is still crucial. Water deeply but allow the soil to dry between watering sessions to prevent root rot.
Focusing on these steps will help your plant continue growing strong, setting the foundation for years of vibrant growth ahead.
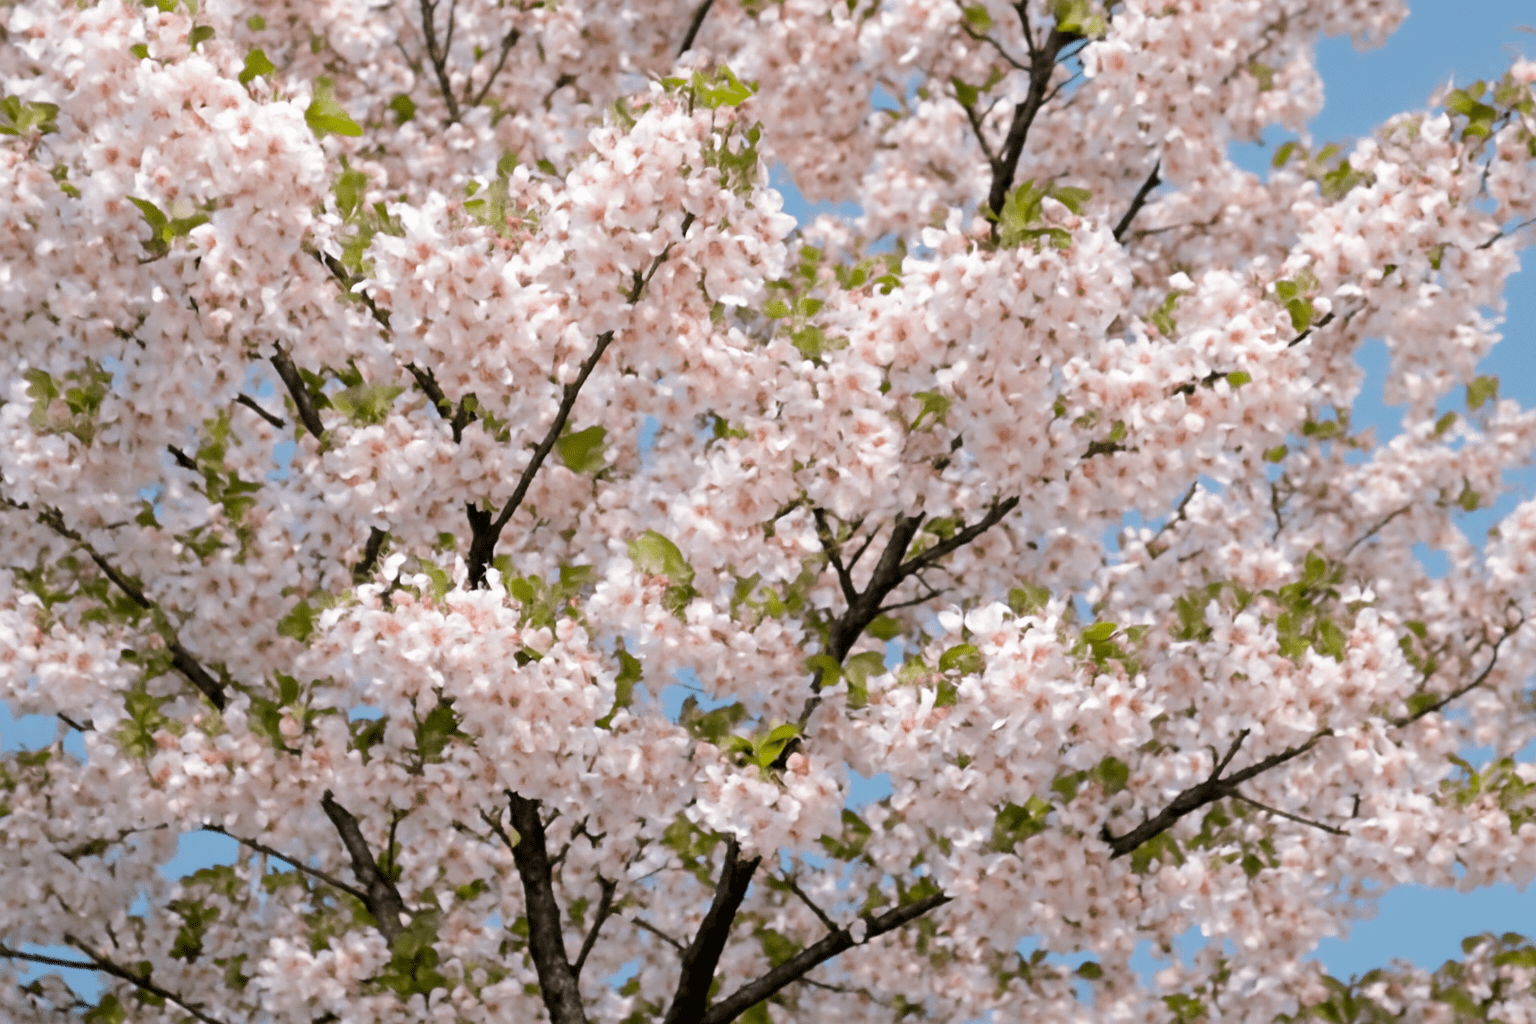
Year 4: Flowering Begins! 
In Year 4, your plant reaches an exciting milestone—flowering!  This is the time when all your hard work and patience start to pay off. Here’s how to make the most of this crucial stage:
1. Monitor Flower Development 
As buds begin to form, keep a close eye on their progress. Ensure the plant receives adequate sunlight (at least 6 hours a day) and proper watering. Too much water or too little can hinder flowering.
2. Fertilize Wisely
Use a balanced fertilizer to support flower production. A low-nitrogen formula is ideal, as too much nitrogen encourages leafy growth over flowers.  Apply fertilizer in early spring and again after flowering for best results.
3. Deadhead Regularly
Remove spent flowers to promote more blooms and keep your plant looking tidy. Deadheading helps the plant focus energy on producing new flowers rather than seeds.
4. Check for Pests 
With flowers in bloom, insects are attracted to your plant. Regularly inspect for pests such as aphids or spider mites, which can damage the flowers. Use natural pest control methods when possible, like neem oil or insecticidal soap.
5. Support Flower Stems
Some plants may need a little extra help to hold up their blooming stems. Consider staking or providing support to prevent the flowers from falling over or becoming damaged in heavy rain or wind.
By Year 4, your plant should be thriving and showing off beautiful blooms! With the right care, you’ll enjoy a flourishing, vibrant garden throughout the season.
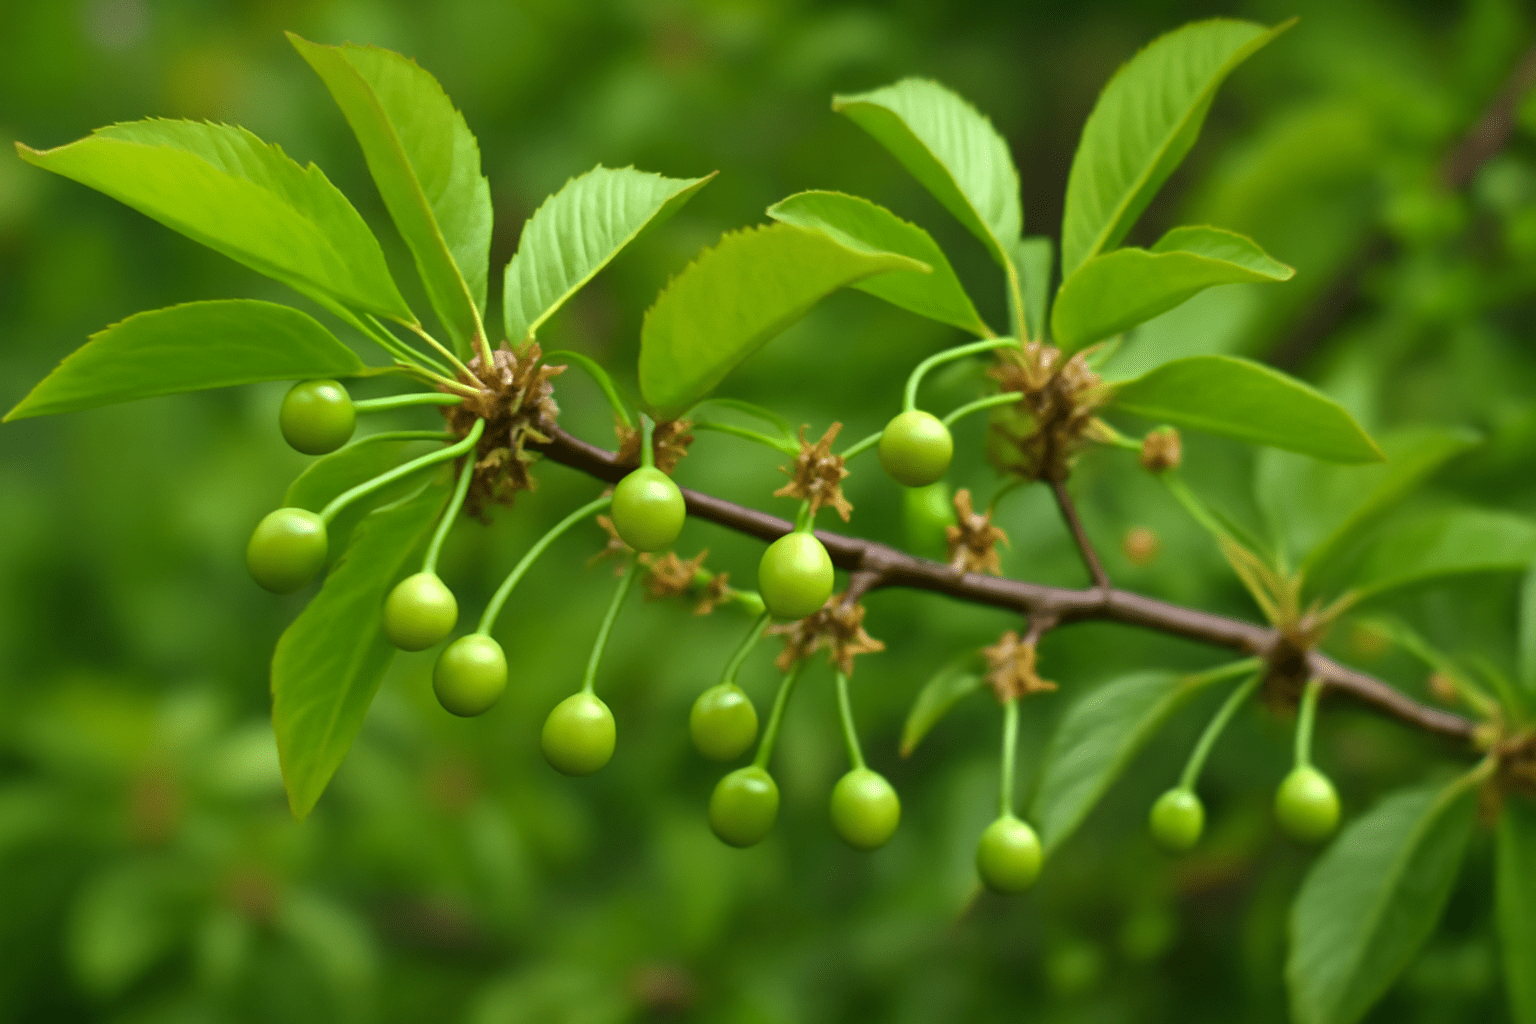
Year 5: The First Fruits 
Year 5 marks an exciting milestone in your tomatillo plant’s journey—the first fruits! By now, your plant has matured, and you’ll start seeing those small, green husks, which eventually burst open to reveal the round, tart fruit. Here’s how to make the most of this critical year:
1. Expect Fruits to Appear
Tomatillos usually begin fruiting in year 5, especially if you’ve provided them with the right conditions: plenty of sunlight, good soil, and regular watering. Look for small, lantern-like husks that form around the growing fruits.
2. Pollination Is Key 
Tomatillos are self-pollinating, but they benefit from pollinator visits, like bees. To encourage pollination, consider planting nearby flowers that attract these beneficial insects.
3. Fruiting Stage 
The husks should begin to swell as the fruits grow inside. Don’t harvest too soon—wait until the husks split, revealing the fully matured fruit. This usually happens 70–90 days after flowering.
4. Check for Ripeness 
Ripe tomatillos are firm but not hard. They will be a vibrant green or slightly yellow. If they’re overripe, they might become mushy inside, so aim for that perfect moment.
5. Harvesting Tips
Gently twist the fruit off the plant to avoid damaging it. Harvest regularly to encourage more growth, but leave some on the plant for continued production.
6. Enjoy the Flavor! 
Now that you’ve successfully harvested your first batch of tomatillos, enjoy them in fresh salsas, sauces, or even roasted dishes. They’re the perfect addition to your garden-to-table meals!
Year 6 and Beyond: Maturing and Maintaining a Fruit-Bearing Tree 
By year 6, your fruit-bearing tree should be well-established and beginning to produce fruit regularly. Here’s how to keep it thriving for years to come:
- Pruning for Health & Shape
Regular pruning helps remove dead or damaged branches and maintains the tree’s shape. This encourages better airflow and sunlight exposure, leading to healthier fruit production. Prune in late winter or early spring before new growth begins. - Watering Wisely
Even mature trees need consistent watering, especially during dry spells. Ensure deep watering to reach the roots. Avoid over-watering, as it can lead to root rot. - Fertilization for Continuous Growth
In year 6 and beyond, your tree still benefits from occasional fertilization. Use balanced, slow-release fertilizers to support fruit production. A good rule is to fertilize in early spring and again in mid-summer. - Mulching for Moisture & Temperature Control
Mulch around the base of your tree to conserve moisture, reduce weeds, and regulate soil temperature. A 3-inch layer of organic mulch works best.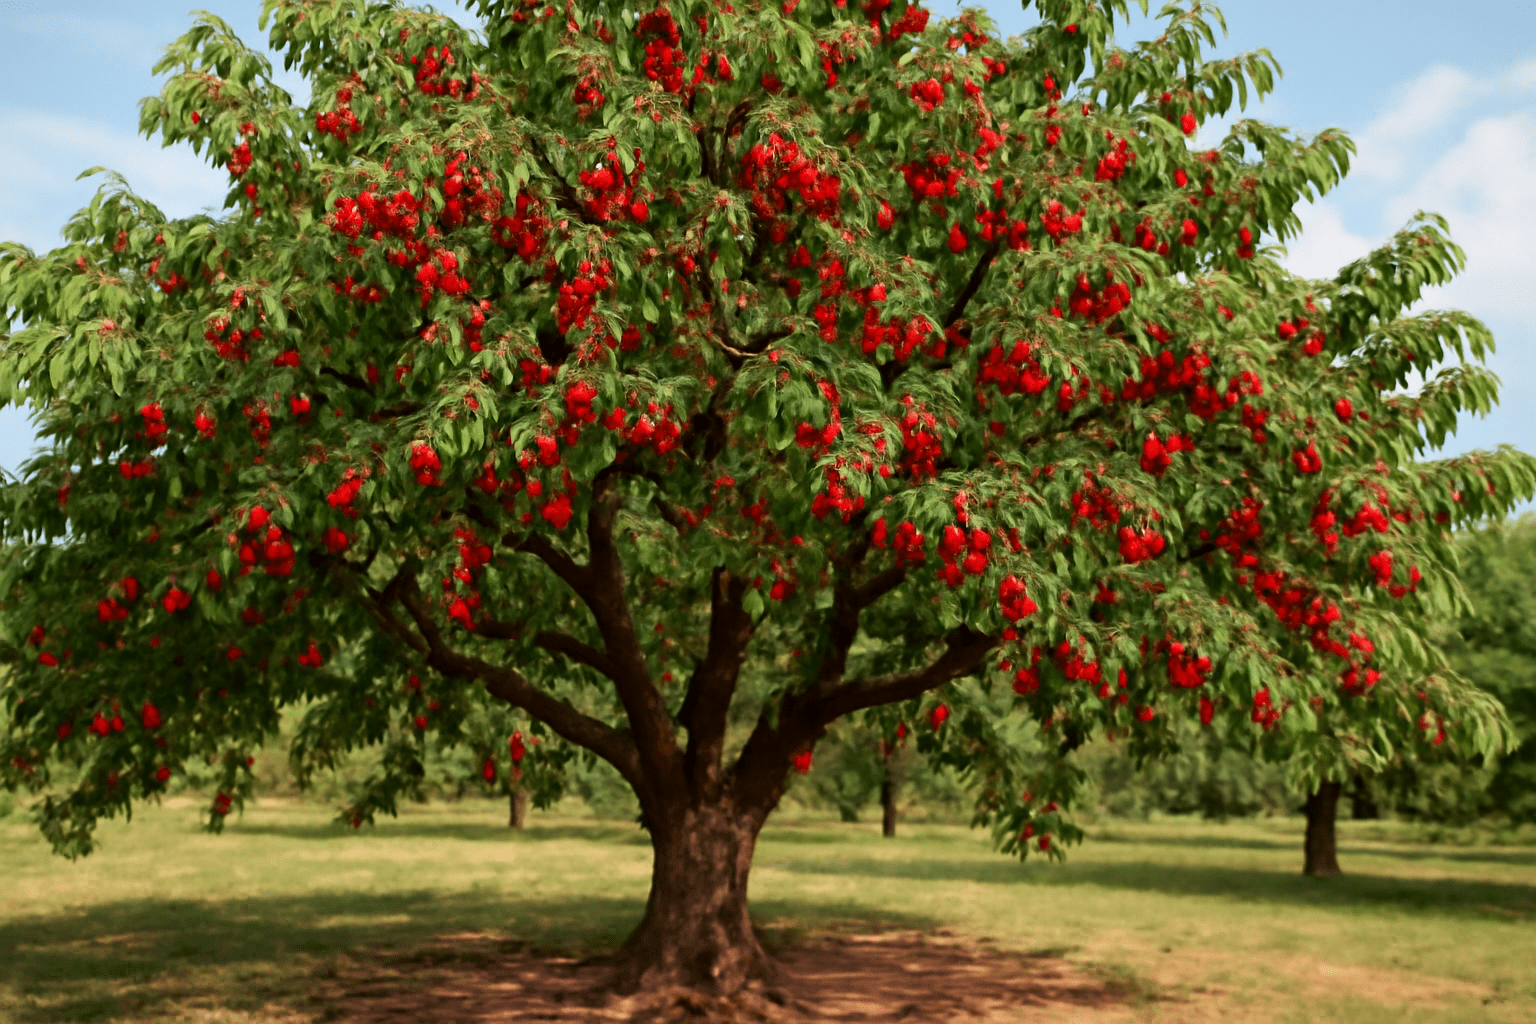
- Pest & Disease Management

As your tree matures, it becomes more susceptible to pests and diseases. Keep an eye out for signs of infestation, such as holes in leaves or discolored fruit. Use organic treatments to protect your tree. - Harvesting at the Right Time

Once your tree starts bearing fruit, timing is key for optimal taste and texture. Harvest when the fruit has reached its full color and size, but before it becomes overripe.
By following these maintenance tips, your fruit-bearing tree will continue to thrive and produce high-quality fruit for many years!
Seasonal Care Tips for Each Growth Stage
Caring for your plants during different growth stages is key to ensuring they thrive year-round. Here’s a quick guide to help you adjust your care routine with the changing seasons:

1. Spring: Awakening & Growth
- Watering: As temperatures rise, increase watering frequency. Ensure the soil is well-drained to prevent waterlogging.
- Fertilizing: Apply a balanced fertilizer to promote healthy growth. This boosts the energy your plant needs to flourish.
- Pruning: Remove dead or damaged leaves to encourage fresh growth and better air circulation.
2. Summer: Vigorous Growth & Flowering
- Watering: Water consistently but avoid overwatering. Check the soil moisture daily, especially during heat waves.
- Mulching: Apply mulch around the base to help retain moisture and keep roots cool.
- Pest Control: Keep an eye out for pests like aphids and spider mites. Use natural remedies like neem oil if needed.
3. Autumn: Transition & Preparation 
- Watering: Reduce watering as temperatures cool. Ensure the soil is drying out between waterings to prevent root rot.
- Fertilizing: Switch to a low-nitrogen fertilizer to prepare the plant for winter dormancy.
- Pruning: Trim back any spent flowers and dead branches to encourage healthy regrowth in the spring.
4. Winter: Dormancy & Rest 
- Watering: Water sparingly, as most plants enter a resting phase. Overwatering can lead to root rot.
- Temperature Control: Keep plants away from cold drafts or heaters. A stable indoor temperature is key to maintaining health.
- Humidity: If indoors, consider using a humidity tray or misting occasionally to prevent dryness in the air.
By adjusting your care routine based on each season, your plants will stay healthy and thrive throughout the year!
 Conclusion
Growing a cherry tree is a rewarding journey that requires patience, care, and attention to detail. By understanding the Cherry Tree Growth Stages: What to Expect Year by Year, you can provide the right care at each stage, from planting your sapling to enjoying your first harvest. Every year brings exciting milestones—whether it’s the early growth of leaves, the first blossoms, or the sweet fruit production.
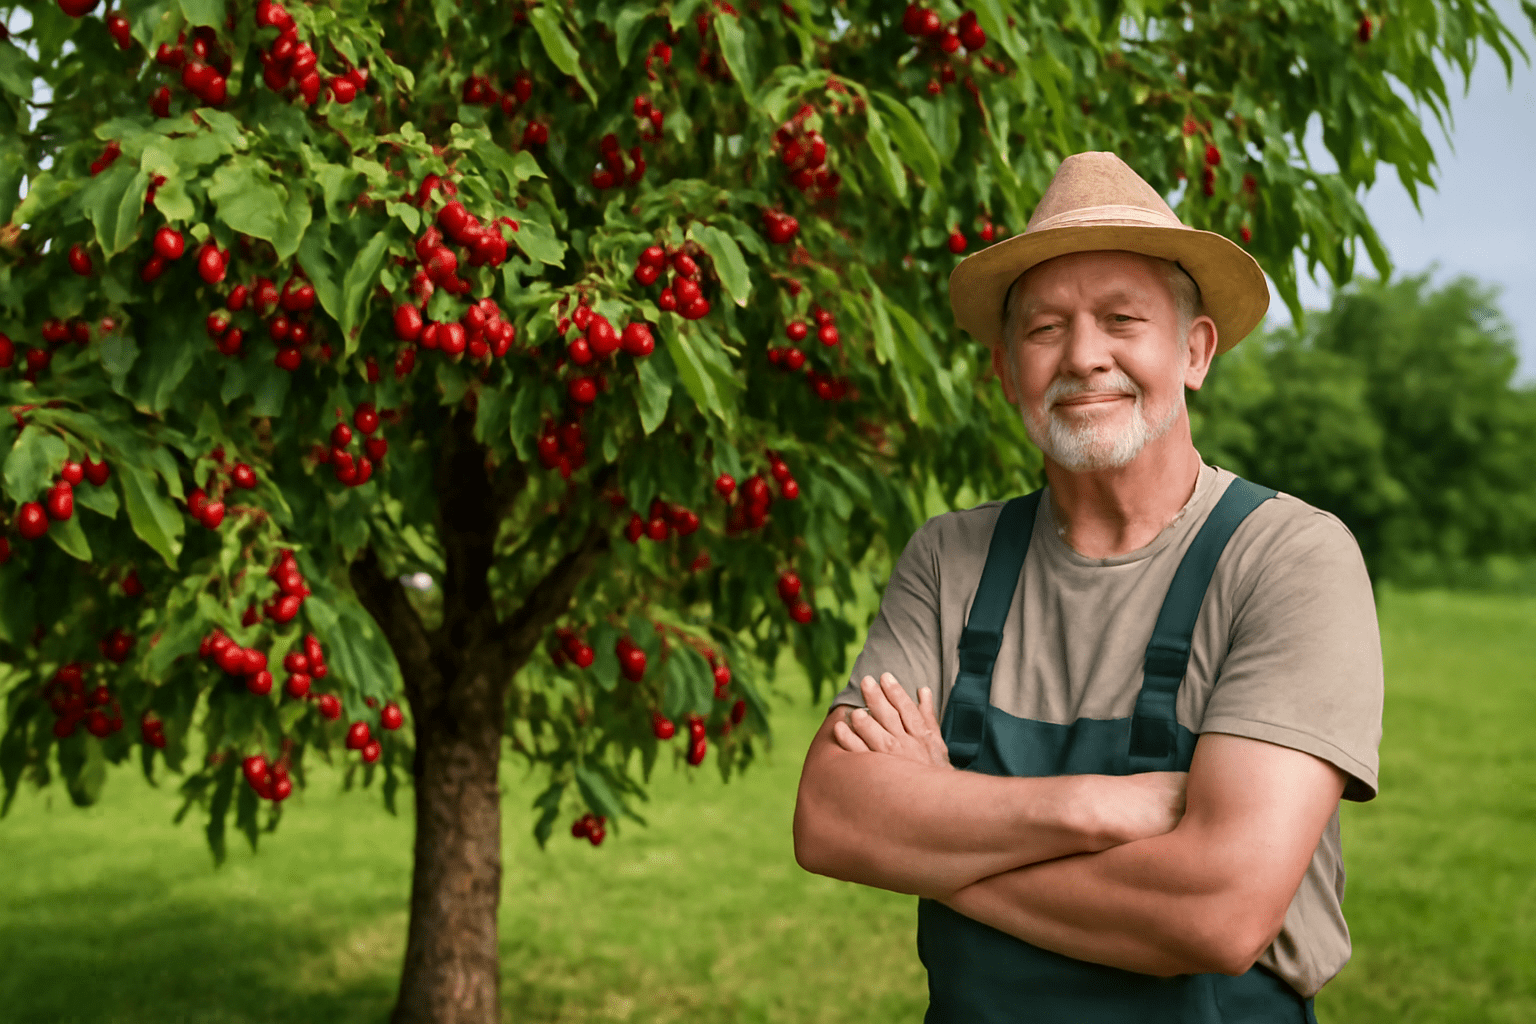
With the right knowledge and consistent effort, your cherry tree will not only thrive but produce bountiful fruit for years to come. Remember, each stage is a building block for long-term success. Stay patient, follow best practices, and enjoy watching your tree grow into a beautiful, fruitful addition to your garden. Happy planting! 