
Low-light houseplants are a lifesaver for plant lovers who don’t have access to bright, sunny windows. However, many indoor gardeners unknowingly make common mistakes with low-light houseplants that can lead to wilting, yellowing leaves, and even plant death. Have you ever wondered why your supposedly “easy-care” plant is struggling despite your best efforts? The truth is, small errors in watering, placement, and maintenance can have a huge impact. In this article, we’ll uncover the most frequent pitfalls and how to avoid them, ensuring your low-light plants thrive for years to come.
Understanding Low-Light Houseplants
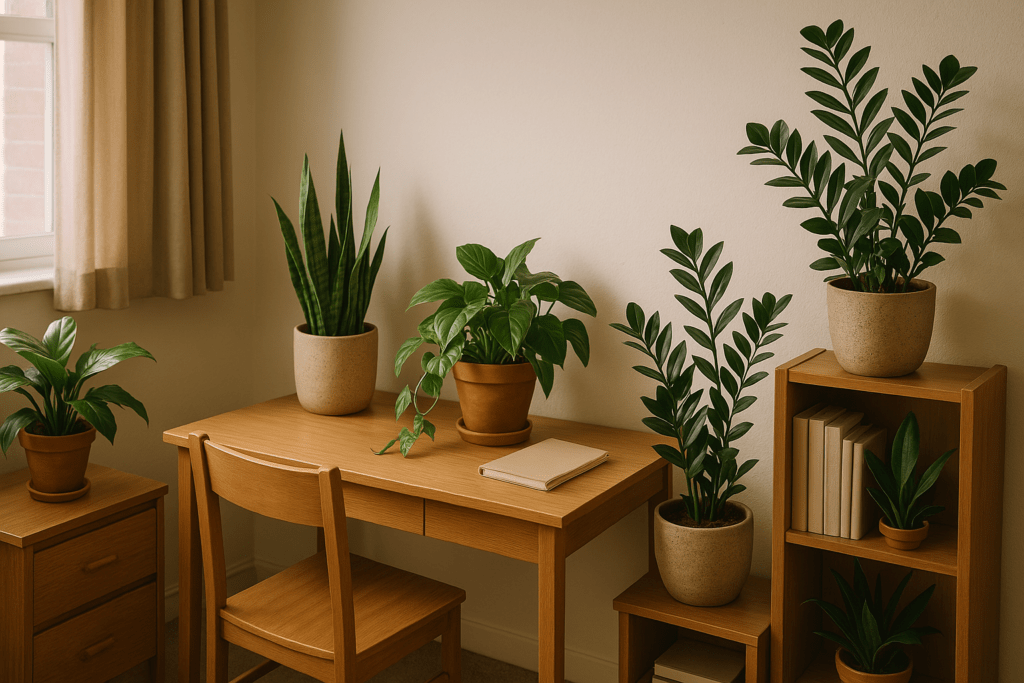
Low-light houseplants thrive in conditions where direct sunlight is limited. These plants are adapted to survive under canopies, in shaded areas, or in indoor spaces with artificial lighting. Understanding their needs ensures they stay healthy and vibrant in your home.
What Are Low-Light Houseplants?
Low-light houseplants are species that can grow in indirect or minimal natural light. Unlike sun-loving plants, they have adapted to photosynthesize efficiently even in dim conditions. These plants are ideal for rooms with small windows, offices, or shaded corners.
Key Characteristics of Low-Light Plants
- Slow Growth: They often grow at a slower pace due to reduced light exposure.
- Deep Green Leaves: Many have dark green foliage, which helps maximize light absorption.
- Drought Tolerance: Most can handle irregular watering since low light reduces evaporation.
- Shade Adaptability: They naturally thrive in understory environments, making them perfect for indoor settings.
Best Low-Light Houseplants
- Snake Plant (Sansevieria) – Tolerates low light and infrequent watering.
- ZZ Plant (Zamioculcas zamiifolia) – Thrives in dim light with minimal care.
- Pothos (Epipremnum aureum) – Grows well in indirect light and is great for hanging baskets.
- Peace Lily (Spathiphyllum) – Survives in low light and improves air quality.
- Cast Iron Plant (Aspidistra elatior) – Extremely hardy and can tolerate neglect.
Common Mistakes to Avoid
- Overwatering: Low-light plants need less water due to slower evaporation.
- Placing in Total Darkness: They still require some indirect light to thrive.
- Using the Wrong Soil: Ensure well-draining soil to prevent root rot.
- Ignoring Humidity Needs: Some plants need occasional misting for proper growth.
By choosing the right plants and providing proper care, you can enjoy lush greenery in any indoor space, even with limited sunlight.
Mistake 1 – Overwatering
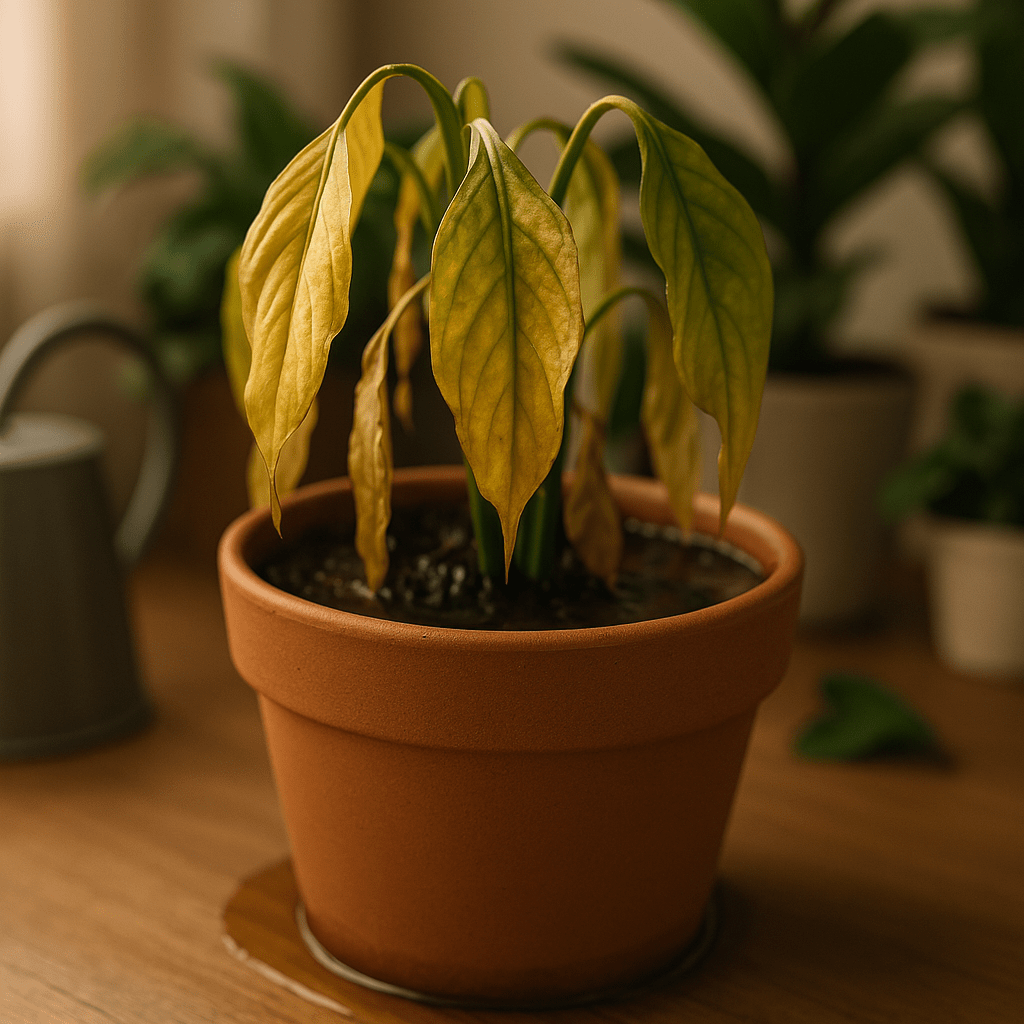
Overwatering is one of the most common mistakes gardeners make. While plants need water to thrive, too much can do more harm than good. Overwatering suffocates roots, leading to root rot, fungal growth, and nutrient deficiencies.
Signs of Overwatering
- Yellowing Leaves – Too much water prevents roots from absorbing nutrients.
- Wilting Despite Moist Soil – Excess moisture reduces oxygen availability, causing roots to weaken.
- Mold or Fungus on Soil Surface – Consistently wet soil encourages harmful fungal growth.
- Mushy or Black Roots – A clear sign of root rot from excessive water retention.
How to Fix Overwatering
- Check Soil Moisture – Insert a finger into the soil; if it feels damp, wait before watering again.
- Improve Drainage – Use well-draining soil and ensure pots have drainage holes.
- Adjust Watering Schedule – Water only when the top inch of soil is dry.
- Repot if Necessary – If root rot has set in, trim damaged roots and replant in fresh soil.
Preventing Overwatering
- Water early in the morning to allow evaporation throughout the day.
- Choose pots with drainage holes to prevent standing water.
- Use a moisture meter to track soil hydration levels.
- Opt for plants suited to your climate and watering habits.
By understanding the risks of overwatering and adopting proper watering techniques, you can help your plants grow strong and healthy.
Mistake 2: Underwatering
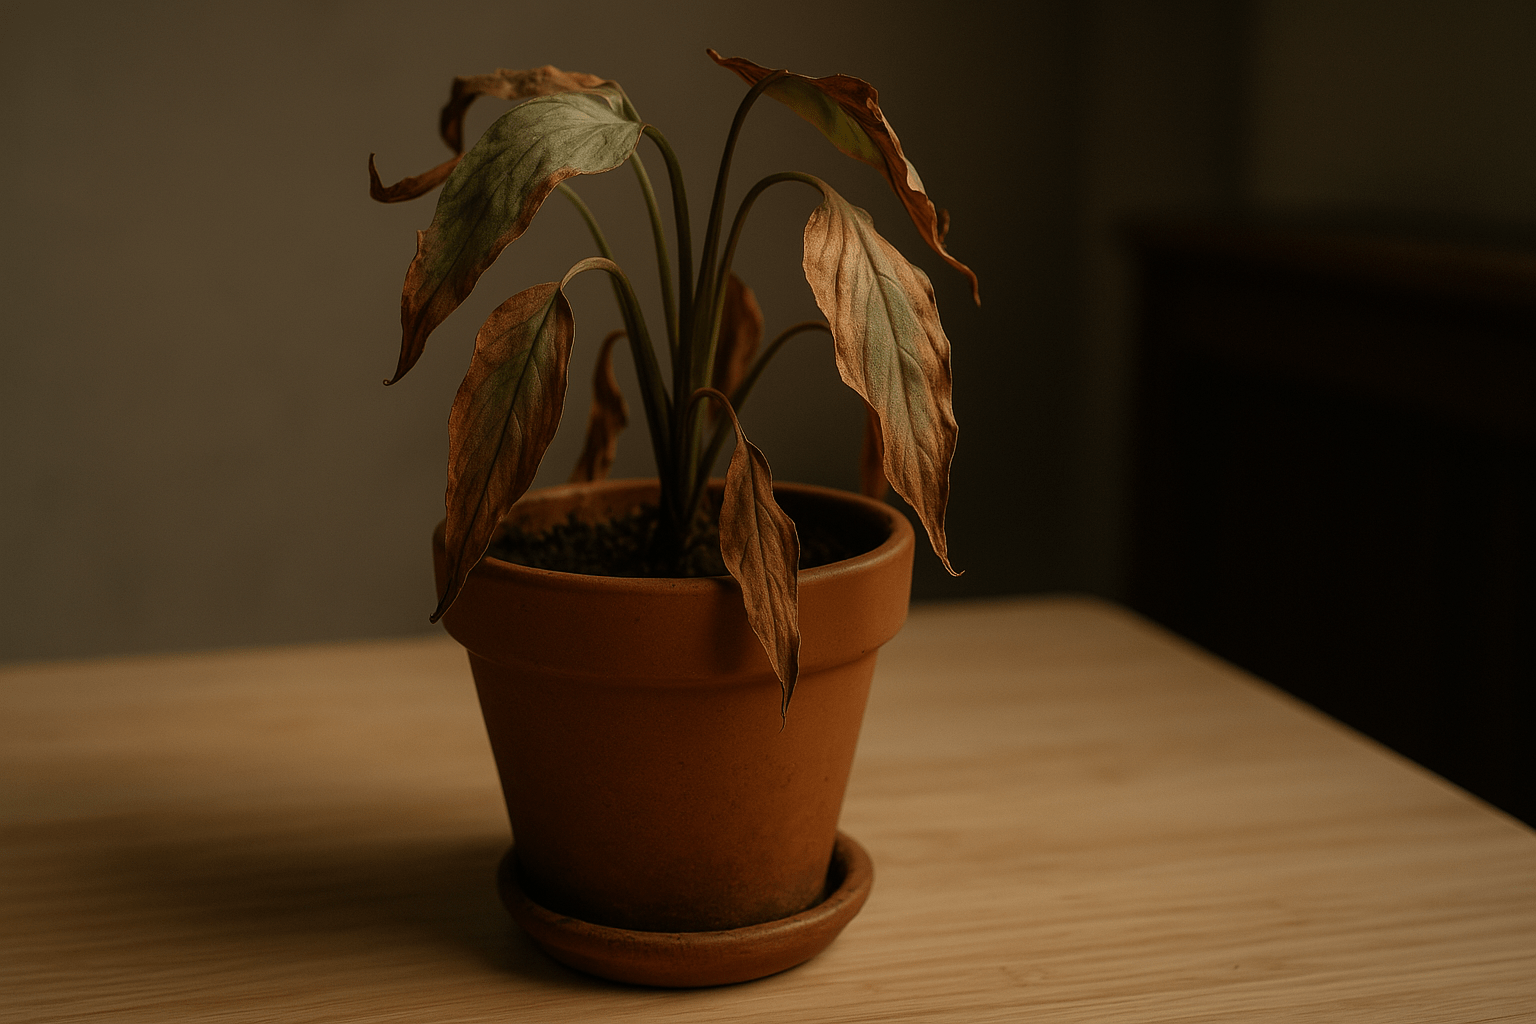
Underwatering is a common mistake that can severely impact plant health. While overwatering gets more attention, not giving your plants enough water can be just as damaging.
Signs of Underwatering
- Wilting leaves – The leaves droop and lose their firmness.
- Crispy or dry edges – Brown, brittle leaf tips signal dehydration.
- Slow growth – Plants struggle to develop without enough moisture.
- Dry soil – The soil feels hard and pulls away from the pot’s edges.
Why Underwatering Happens
- Forgetting to water regularly.
- Using fast-draining soil that dries out too quickly.
- Hot, dry conditions increasing water evaporation.
- Small pots that can’t hold enough moisture.
How to Fix and Prevent Underwatering
- Follow a Consistent Watering Schedule – Check soil moisture regularly and water when the top inch feels dry.
- Use the Right Soil – Choose soil that retains moisture but drains well.
- Water Deeply – Give enough water to reach the roots rather than just wetting the surface.
- Mulch to Retain Moisture – Adding mulch helps slow down evaporation.
- Adjust for Seasons – Plants need more water in summer and less in winter.
By recognizing the signs of underwatering and adjusting your watering habits, you can keep your plants healthy and thriving.
Mistake 3 – Using the Wrong Soil
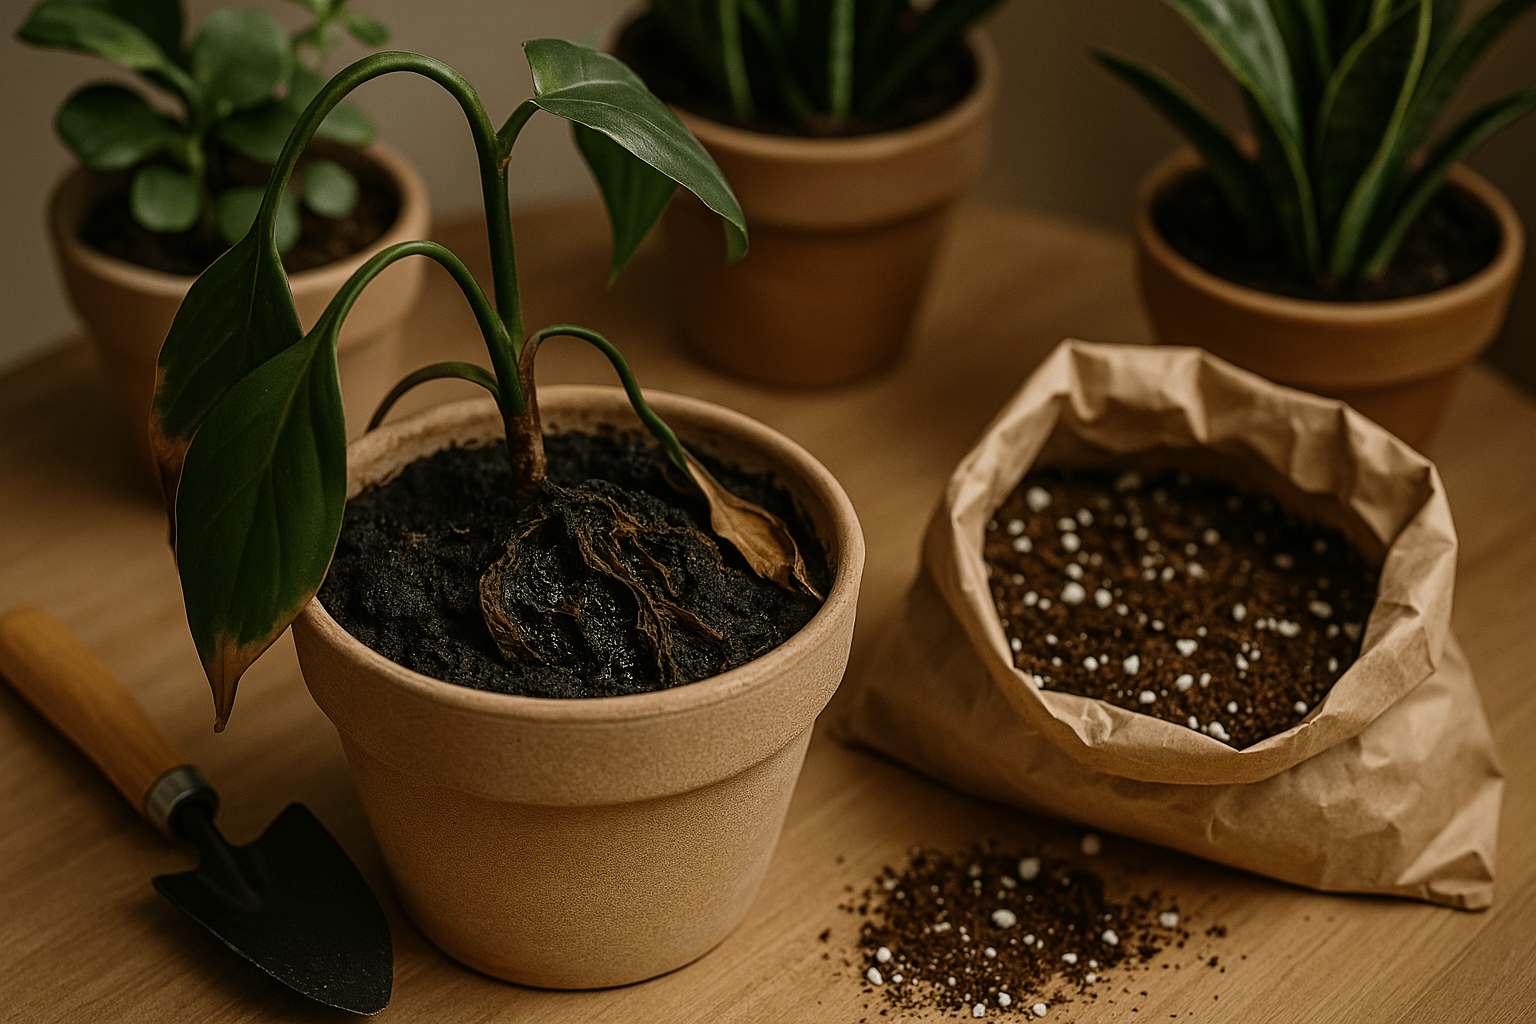
Soil is the foundation of plant health, yet many gardeners make the mistake of using the wrong type. The right soil provides essential nutrients, proper drainage, and ideal aeration for roots to thrive. Here’s what you need to know to avoid this common error.
Understanding Soil Types
Different plants require different soil conditions. Using the wrong soil can lead to poor growth, yellowing leaves, or even plant death. The three main soil types are:
- Sandy Soil – Drains quickly but lacks nutrients and moisture retention.
- Clay Soil – Holds water but drains poorly, leading to root rot.
- Loamy Soil – The ideal mix of sand, silt, and clay, offering balance in drainage and nutrition.
Importance of Drainage and Aeration
Compacted or waterlogged soil suffocates roots, leading to disease and slow growth. To improve drainage:
- Add organic matter like compost to enrich nutrients.
- Use perlite or sand to loosen heavy soils.
- Ensure pots have drainage holes to prevent excess moisture buildup.
Matching Soil to Plant Needs
Each plant has unique soil requirements:
- Succulents & Cacti – Well-draining, sandy soil with minimal moisture retention.
- Vegetables & Herbs – Rich, loamy soil with compost for nutrients.
- Ornamental Flowers – Balanced soil with proper aeration and organic matter.
Testing and Amending Soil
Before planting, test your soil’s pH and nutrient levels using a simple kit. Based on the results:
- Add lime to raise pH (for alkaline-loving plants).
- Use sulfur to lower pH (for acid-loving plants like blueberries).
- Mix in compost or manure to improve fertility.
Final Thoughts
Choosing the right soil is a game-changer for healthy, thriving plants. Pay attention to soil type, drainage, and nutrients to create the perfect growing environment. Making small adjustments can lead to stronger roots, lush foliage, and better yields.
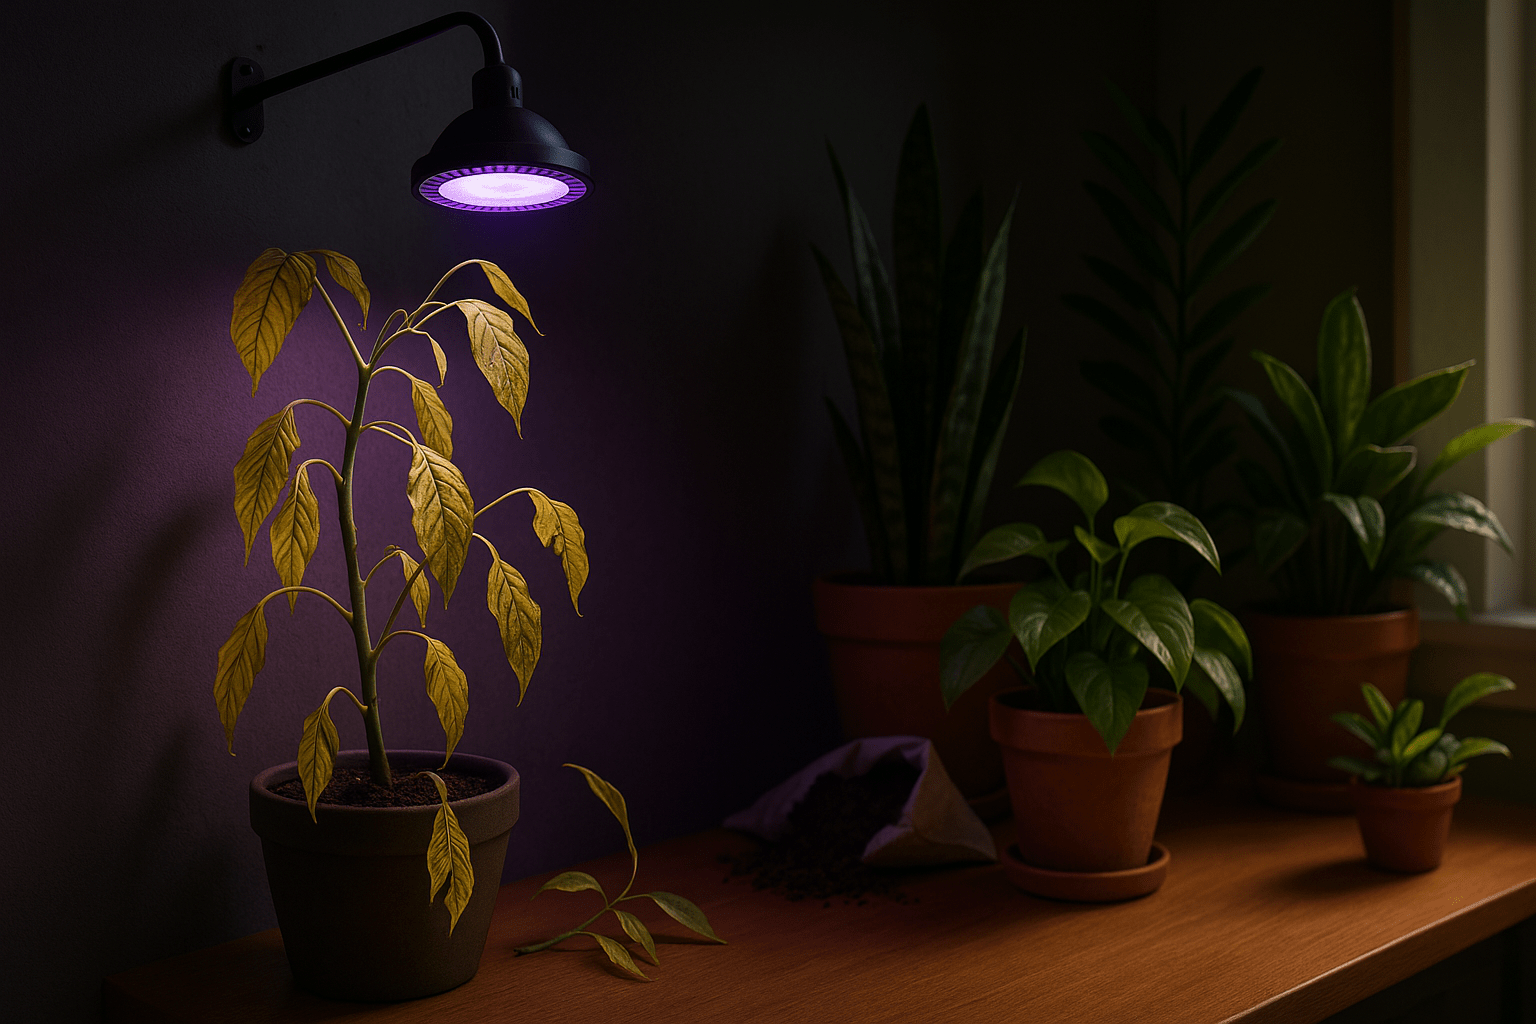
Mistake 4 – Placing Plants in Complete Darkness
One of the biggest mistakes plant owners make is keeping plants in total darkness. While some plants tolerate low light, no plant can survive without some level of brightness.
Why Darkness Is Harmful to Plants
Plants rely on photosynthesis to produce energy, and without light, this process stops. When kept in complete darkness:
- Leaves turn yellow and drop.
- Growth slows or stops entirely.
- The plant becomes weak and leggy as it stretches for light.
How to Fix This Mistake
If your plant is struggling due to a lack of light:
- Move it closer to a window with indirect sunlight.
- Use grow lights if natural light is insufficient.
- Rotate plants regularly to ensure all sides receive light.
Even low-light plants like snake plants or ZZ plants need some exposure to indirect light. Avoid keeping any plant in closets, windowless rooms, or completely dark corners for long periods. A little light goes a long way in keeping your plant healthy!
Mistake 5 – Ignoring Humidity Needs
One of the biggest mistakes plant owners make is overlooking humidity requirements. Many plants, especially tropical varieties, thrive in high humidity. When the air is too dry, plants can suffer from brown leaf tips, curling edges, and slow growth.
Why Humidity Matters
Plants lose moisture through their leaves, a process called transpiration. In low-humidity environments, moisture loss happens too quickly, causing dehydration. This is especially problematic for humidity-loving plants like ferns, orchids, and calatheas.
Signs Your Plant Needs More Humidity
- Dry, crispy leaf edges
- Wilting or drooping leaves
- Stunted growth
- Leaves turning yellow or brown
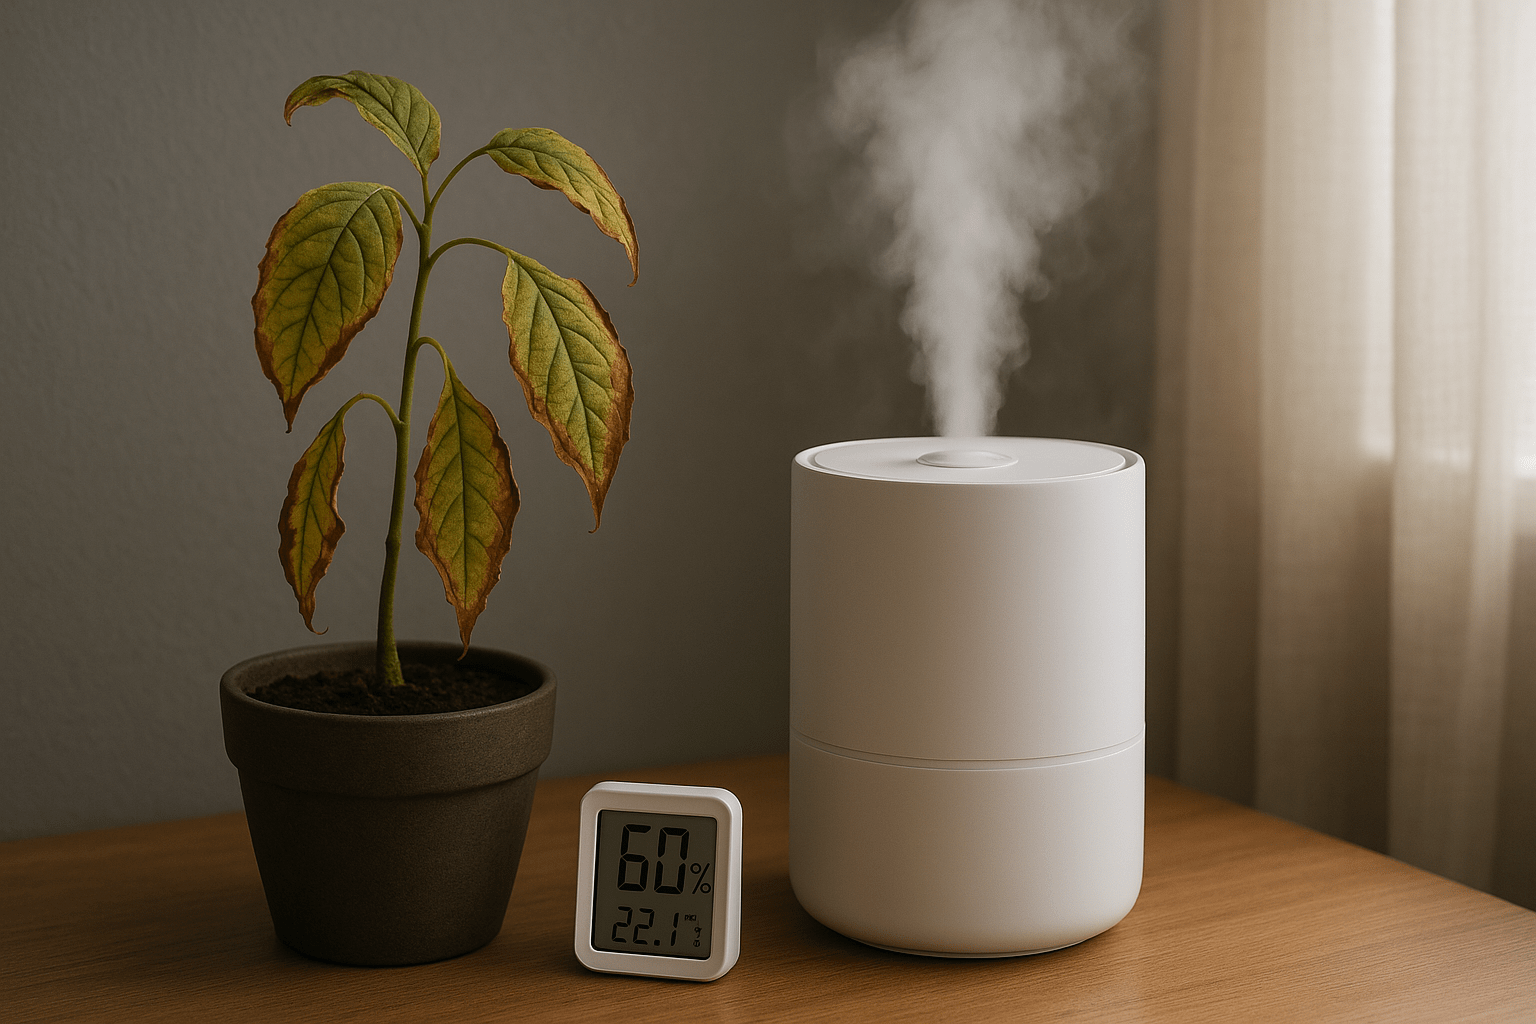
How to Increase Humidity
- Use a Humidifier – The most effective way to maintain consistent humidity.
- Group Plants Together – Creates a mini humid environment as plants release moisture.
- Mist Leaves Occasionally – Provides temporary relief but isn’t a long-term fix.
- Place a Pebble Tray – Fill a tray with water and pebbles; place the plant pot on top.
- Move Plants to Humid Areas – Bathrooms and kitchens often have higher humidity.
Final Tip
Monitor humidity levels with a hygrometer and adjust as needed. By providing the right humidity, your plants will stay lush, healthy, and vibrant!
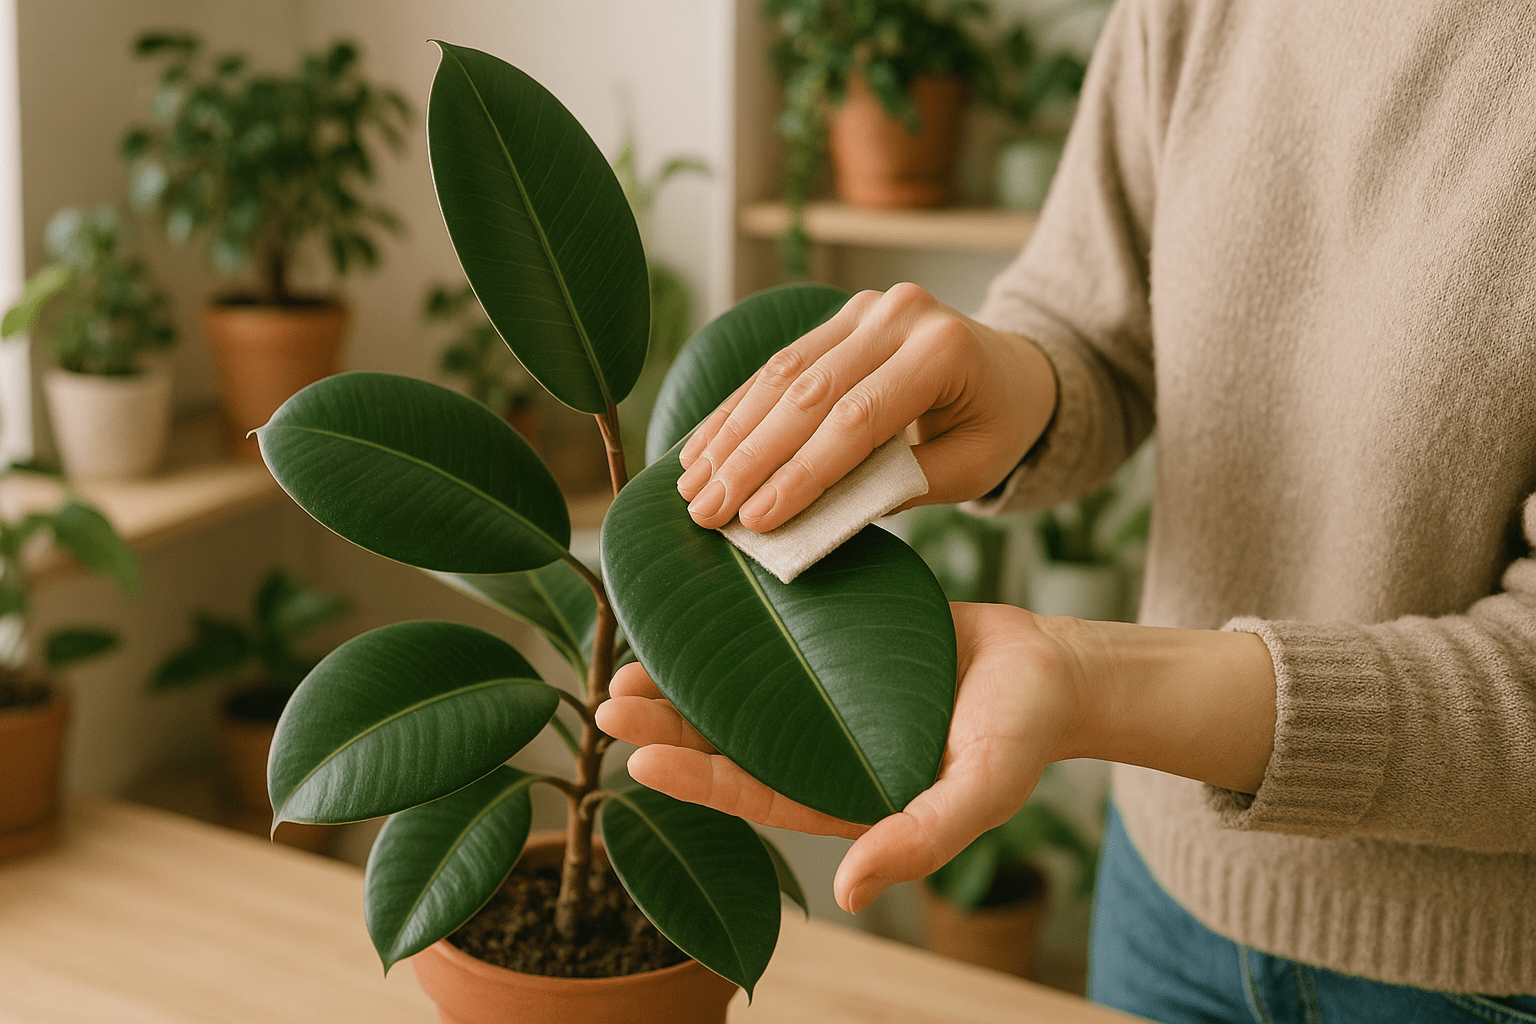
Mistake 6: Not Cleaning the Leaves
One of the most common mistakes when caring for plants is neglecting to clean their leaves. Over time, dust, dirt, and even pests can accumulate on the surface of plant leaves. This buildup can block sunlight, reduce the plant’s ability to photosynthesize, and hinder its overall health.
Why Leaf Cleaning Matters
Cleaning the leaves of your plants not only helps improve their appearance but also ensures they are getting enough light. Dust can act as a barrier, preventing light from reaching the plant’s cells. Regular cleaning allows your plant to absorb more sunlight, promoting better growth.
How to Clean Plant Leaves
- Use a Damp Cloth: For most indoor plants, gently wipe the leaves with a soft cloth soaked in water. This helps remove dust without damaging the plant.
- Mild Soap Solution: If the leaves are particularly dirty or have sticky residues, use a mixture of water and mild dish soap. Apply it gently with a soft cloth and rinse the leaves afterward.
- Avoid Harsh Chemicals: Never use chemical cleaners, as they can harm the plant. Stick to natural, non-toxic options to protect both the plant and the environment.
Frequency of Cleaning
Aim to clean your plant leaves at least once a month. However, plants in dusty areas may require more frequent attention, especially if you have air conditioning or heating that stirs up dust. Regular leaf cleaning contributes to a healthier, more vibrant plant.
By making leaf cleaning a part of your regular plant care routine, you’ll ensure your plant thrives and continues to add beauty to your home.
Mistake 7: Choosing the Wrong Pot Size
Choosing the right pot size for your plants is crucial for their health and growth. Using a pot that’s too large or too small can lead to various problems, including poor root development and water drainage issues.
Why Pot Size Matters
When the pot is too small, the roots don’t have enough space to grow, restricting the plant’s ability to absorb nutrients and water. On the other hand, a pot that’s too large can hold excessive moisture, leading to root rot because the soil doesn’t dry out properly.
How to Choose the Right Pot Size
- For Small Plants: Choose a pot that’s just slightly larger than the root ball. This gives the roots enough room to expand without overwhelming them with too much soil.
- For Larger Plants: Opt for a pot that’s 2-3 inches larger in diameter than the current root ball. This allows for healthy growth without overwatering risks.
- Consider Drainage: Ensure the pot has drainage holes to prevent excess water from accumulating. Good drainage is key to maintaining healthy roots.

Final Tip: If you’re repotting, avoid choosing a pot that’s too big. A gradual increase in pot size will help your plant thrive without stressing it.
Caring for low-light houseplants doesn’t have to be a daunting task. By avoiding these common mistakes with low-light houseplants, you’ll set yourself up for success and help your plants thrive in their environment. Whether it’s watering correctly, choosing the right soil, or understanding the lighting needs of your plants, each small change you make can lead to a healthier, happier houseplant. Remember, these plants are resilient, but they do require a bit of care and attention.
Now that you’re equipped with the knowledge to avoid these common pitfalls, take a step back and assess your plants’ needs. With a few adjustments, you can create a thriving indoor garden full of lush, vibrant foliage. Don’t forget to share your plant care experiences with us—whether you’ve faced any of these mistakes or have tips of your own to offer! Your plants are waiting for the best care you can give them. Happy gardening! 