
Tired of kitchen scraps rotting in the trash while your garden soil stays poor and plants struggle? 🌿 You’re not alone—millions of home gardeners face this exact frustration every day. Composting transforms those “wastes” into nutrient-rich “black gold” that supercharges plant growth, improves soil structure, boosts water retention, and reduces the need for chemical fertilizers. But here’s the big question most beginners (and even experienced gardeners) wrestle with: should you go for a neat, enclosed compost bin or a classic open compost pile?
The answer isn’t one-size-fits-all. Your choice depends on your yard size, climate, waste volume, time commitment, and even local pests. In this ultimate, in-depth guide, we’ll break down every key difference between compost bin vs. compost pile so you can confidently pick the method that delivers the richest compost for your trees, flowers, veggies, and overall garden health. Whether you’re in a small urban plot or sprawling rural acreage, we’ll help you avoid common pitfalls and get faster, better results. Let’s dig in! 👩🌾✨
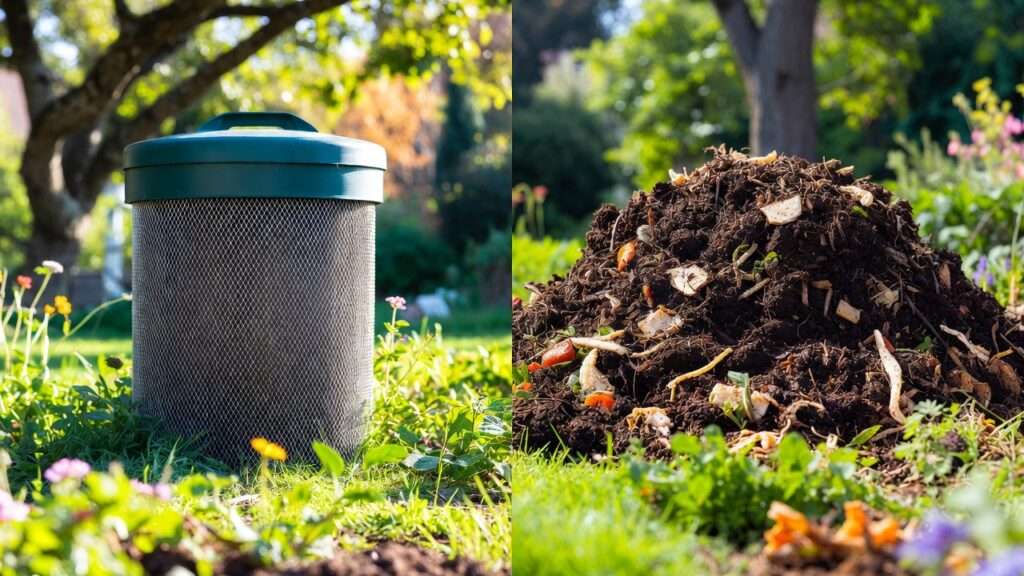
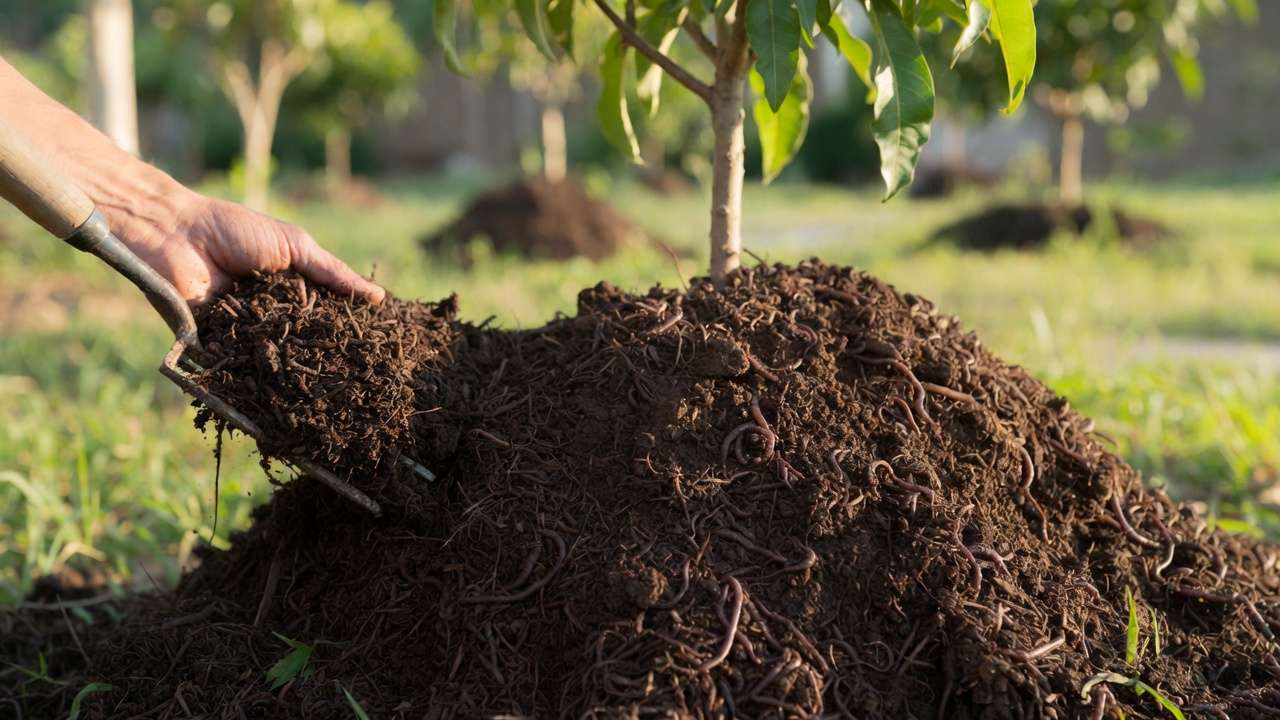
What Is a Compost Pile? The Traditional Open Heap Method 🌍
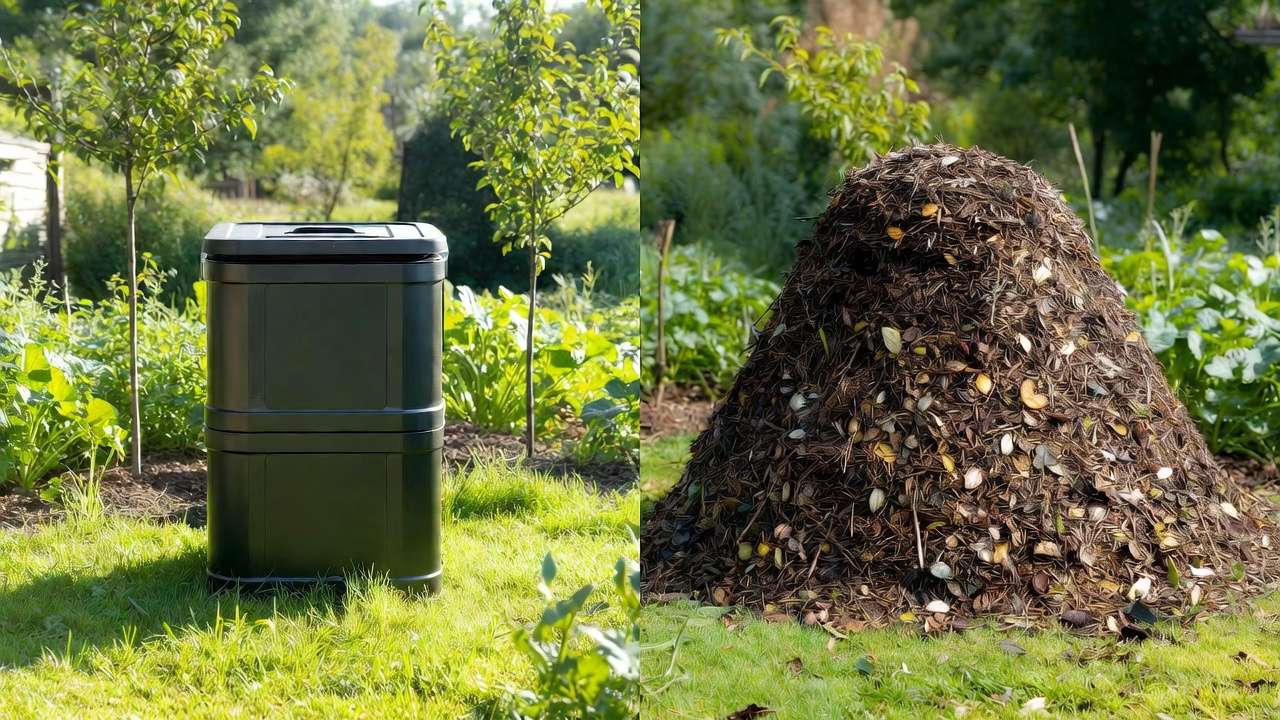
A compost pile (also called a compost heap) is the simplest, most ancient form of composting: a loose mound of organic materials placed directly on the bare ground. No fancy equipment—just layer “greens” (nitrogen-rich items like veggie scraps, grass clippings, fresh plant trimmings) with “browns” (carbon-rich like dry leaves, cardboard, straw) and let nature do the work.
Pros of a Compost Pile
- Zero to minimal cost — Completely free if you use yard waste and kitchen scraps. No need to buy anything!
- Handles massive volumes — Ideal for large yards with tons of fall leaves, branches, or garden cleanups. You can scale it up easily to 5×5 ft or larger.
- Natural aeration and biology — Direct soil contact attracts earthworms 🪱, beneficial microbes, and fungi right from the ground, creating a thriving ecosystem.
- Excellent for passive, low-effort composting — In “cold” or slow methods, you add materials as you go with little turning needed.
Cons of a Compost Pile
- Slower decomposition — Typically 6–12+ months for finished compost, especially in cooler climates or without regular turning.
- Weather vulnerability — Heavy rain can make it soggy (leading to anaerobic smells), while drought dries it out. Heat escapes easily.
- Pest and odor issues — Open piles attract rodents, flies, raccoons, or neighborhood dogs if food scraps aren’t buried deep. Odors can develop if unbalanced.
- Messy appearance — Not HOA-friendly or ideal for visible spots near patios/homes.
Best for: Rural or large suburban gardens, patient gardeners focused on yard waste, budget-conscious folks who don’t mind a rustic look.

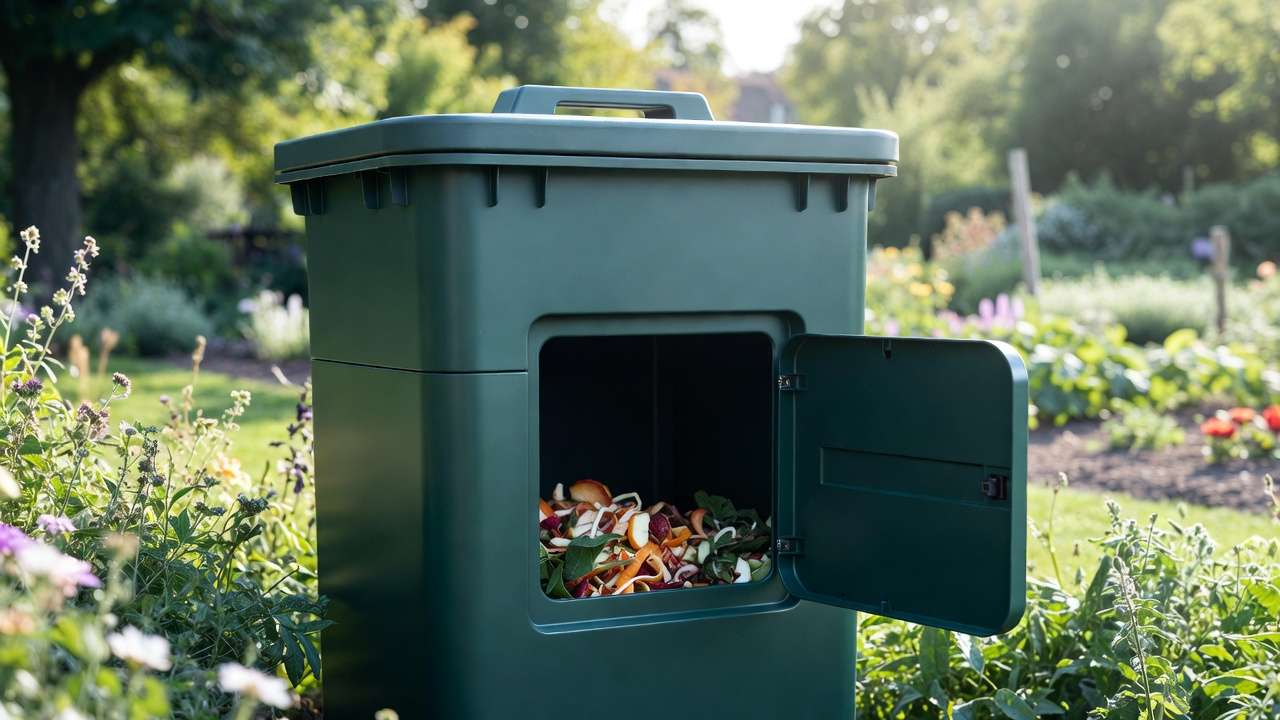
What Is a Compost Bin? The Enclosed, Contained Approach 🗑️
A compost bin is any enclosed structure—plastic tumblers, wooden pallets wired together, commercial bins with lids, or DIY three-bin systems—that contains your composting materials. It creates a controlled environment for faster, cleaner breakdown.
Common types include:
- Stationary bins (simple plastic or wood boxes)
- Tumbler bins (rotatable drums for easy turning)
- Multi-bin setups (for continuous composting: one active, one curing, one finished)
Pros of a Compost Bin
- Faster results — Often 2–6 months with proper management, thanks to better heat retention 🔥 and moisture control.
- Superior pest and odor control — Lids, solid sides, and rodent-proof designs keep animals out and smells contained.
- Neater and more aesthetic — Looks tidy in small yards, balconies (with compact models), or urban settings.
- Better moisture and temperature management — Insulated walls hold heat (ideal for cooler climates) and prevent drying or sogginess.
- Easier harvesting — Many designs allow bottom access or easy turning for finished compost.
Cons of a Compost Bin
- Upfront cost — $30–$300+ for commercial units (though DIY options using pallets or trash cans keep it low).
- Limited capacity — Smaller footprint means you may need multiples for big waste loads.
- More maintenance in some cases — Tumblers need regular spinning; stationary bins often require manual turning with a pitchfork.
- Less natural worm activity — Enclosed bottoms reduce direct soil contact (though many still get worms over time).
Best for: Urban/suburban gardeners, those adding lots of kitchen scraps, anyone wanting quicker compost for spring planting, or dealing with pests/climate extremes.
Key Differences: Compost Bin vs. Compost Pile – Head-to-Head Comparison 📊
To make your decision crystal clear, here’s a detailed side-by-side look at the most important factors:
| Aspect | Compost Pile | Compost Bin | Winner Depends On… |
|---|---|---|---|
| Cost | Free or very low | $0–$300+ (DIY cheap, commercial higher) | Tight budget? Pile wins! |
| Space Required | Larger footprint (min 3×3×3 ft, often more) | Compact, vertical options available | Small yard/balcony? Bin! |
| Speed of Composting | 6–12+ months (cold method) | 2–6 months (hot/active with turning) | Need quick results? Bin edges out |
| Pest & Odor Control | Prone to rodents, flies, smells | Excellent with lids/solid sides | Urban/pest-heavy area? Bin! |
| Maintenance Effort | Turning + monitoring weather/moisture | Easier access, but some need spinning | Low effort? Depends on type |
| Heat Retention | Variable, loses heat to air/ground | Superior insulation for hotter piles | Cold/wet climate? Bin shines |
| Aesthetics | Messy, visible heap | Neat, contained look | Visible spot/HOA? Bin! |
| Volume Capacity | Unlimited—scale as needed | Limited per unit (add multiples) | Huge yard waste? Pile! |
| Natural Biology | Direct ground contact = worms/microbes | Slightly less unless open-bottom design | Want max earthworms? Pile |
Each factor ties back to your real-life needs. For example, if rodents raid open piles in your area (common in many regions), a bin’s enclosure is a game-changer.
Factors to Consider When Choosing Between a Bin and a Pile 🏡
Deciding between a compost bin vs. compost pile comes down to your unique situation. Here are the most important factors to weigh—think of this as your personal decision checklist:
- Garden Size & Location
- Small urban yards, balconies, or patios? A compact tumbler or stationary bin fits perfectly and keeps things tidy.
- Large rural or suburban properties with room to spare? An open pile (or even multiple piles) lets you process huge amounts of yard waste without buying equipment.
- Types and Volume of Materials
- Mostly kitchen scraps (veggie peels, coffee grounds, eggshells)? A bin’s pest-proof design prevents smells and critters.
- Heavy on yard waste (leaves, grass clippings, small branches, fallen fruit from trees)? A pile handles bulk better and costs nothing.
- Local Climate 🌤️
- Hot, humid regions (like parts of Bangladesh): Bins help retain moisture and prevent soggy, smelly anaerobic conditions.
- Cooler, wet winters: Bins maintain internal heat longer, allowing year-round composting. Piles often slow dramatically or freeze.
- Dry seasons: Both need monitoring, but piles dry out faster unless covered.
- Time & Effort You’re Willing to Invest ⏰
- Want “black gold” in a few months for spring planting? Choose a bin (especially a tumbler) and commit to regular turning/aeration.
- Prefer low-maintenance “set it and forget it”? A cold compost pile works with minimal intervention—just keep adding layers.
- Budget & DIY Comfort
- Zero budget? Build a free pile or DIY bin from free pallets, old trash cans, or chicken wire.
- Willing to invest $50–$200? Commercial bins (e.g., popular models like Envirocycle tumblers or Geobin wire bins) save time and effort.
- Pest Pressure & Aesthetics
- Rodents, stray dogs, or monkeys common in your area? A secure bin with a tight lid is almost essential.
- Neighbors close by or strict HOA rules? Bins look cleaner and contain odors better.
- End Goal for Your Plants & Trees 🌳
- Need nutrient-rich compost quickly for fruit trees, vegetables, or new plantings? Bins often produce hotter, more uniform compost faster.
- Long-term soil building for established trees? Either works—piles can create massive quantities over time.
How to Get Started with Each Method – Step-by-Step Guides
Starting & Maintaining a Successful Compost Pile 🌳
- Choose the Right Spot Pick a level, well-drained area in partial shade (full sun dries it out; deep shade slows decomposition). Keep it 10–20 feet from your house to minimize odors/pests.
- Build the Base Minimum size: 3 ft × 3 ft × 3 ft (larger = better heat retention). Start with a layer of coarse browns (twigs, straw) for airflow.
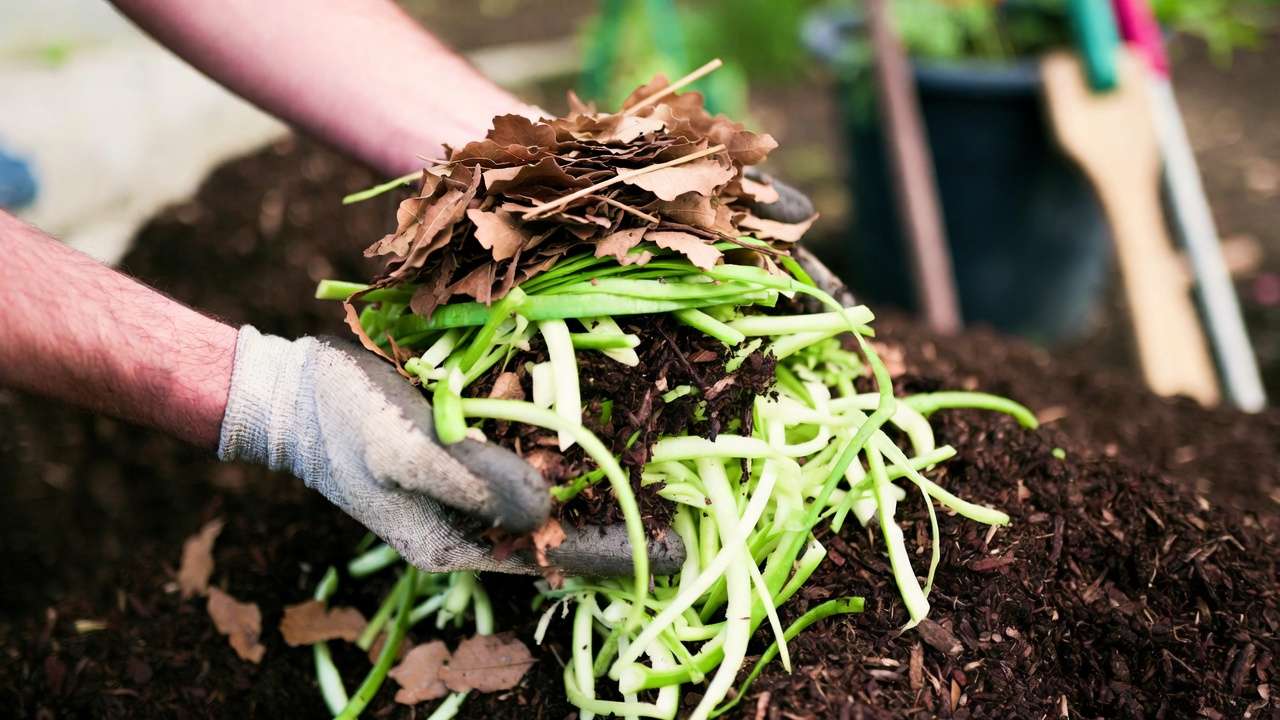
- Layer Properly (The 30:1 Carbon-to-Nitrogen Rule) Alternate 4–6 inches of browns (dry leaves, shredded paper, cardboard) with 2–4 inches of greens (kitchen scraps, fresh grass). Aim for roughly 2–3 parts browns to 1 part greens by volume.
- Moisture Check The pile should feel like a wrung-out sponge. Too dry? Add water. Too wet? Add more browns and turn.
- Turning & Monitoring Turn every 1–2 weeks with a pitchfork to aerate and speed breakdown. Hot composting (130–160°F / 55–70°C) kills weed seeds and pathogens—monitor with a long compost thermometer.
- Troubleshooting
- Smells bad (rotten eggs)? Too wet/anaerobic—add browns and turn.
- Slow progress? Too dry, too cold, or unbalanced—adjust moisture or add nitrogen source.
- Pests? Bury food scraps deep and avoid meat/dairy.
Harvest when the pile is dark, crumbly, and earthy-smelling (usually 6–12 months).
Starting & Maintaining a Compost Bin 🗑️
- Select Your Bin Type
- Beginners: Affordable stationary plastic bin (~$50–$100) or DIY pallet bin.
- Speed lovers: Tumbler (spin daily for fastest results).
- Continuous users: Three-bin system (add to one, turn to next, harvest from third).
- Site & Setup Place on soil (for worm access) or concrete with good drainage. Ensure easy access for turning.
- Filling & Balancing Same greens/browns layering as piles. Chop larger items for faster breakdown. Fill to ¾ full before starting serious turning.
- Turning & Aeration Tumblers: Rotate every 1–2 days. Stationary: Use an aerator tool or pitchfork every 5–7 days. Keep moist but not soggy.
- Harvesting Most bins have bottom doors or removable sides—scoop finished compost from below while adding fresh material on top.
- Winter Tip Insulate with straw bales or old carpet in cold months to keep the process going.
Expert Tips to Supercharge Either Method for Healthier Plants & Trees 🌟
- Ideal C:N Ratio — 25–30:1 is perfect. Too much nitrogen = smelly pile; too much carbon = slow progress.
- Best Greens: Kitchen scraps, coffee grounds, fresh grass, manure (chicken, rabbit, horse—well-aged), young weeds.
- Best Browns: Dry leaves, shredded cardboard, straw, sawdust (untreated), small twigs.
- Natural Accelerators: A handful of garden soil, finished compost, or worm castings jumpstarts microbes.
- Avoid These: Meat, dairy, oily foods, diseased plants, perennial weeds with seeds, pet waste.
- Using Your Compost
- Top-dress around tree bases (2–3 inches, keep away from trunk).
- Mix 20–30% compost into planting holes for veggies/flowers.
- Use as mulch to retain moisture and suppress weeds.
Real-Life Examples & Case Studies 📖
To make this more concrete, here are a few realistic scenarios based on common gardener experiences in tropical/subtropical climates like Bangladesh (warm, humid, heavy monsoon rains, lots of kitchen + yard waste).
Example 1: Small Urban Backyard in Barisal – “Why I Switched to a Compost Bin” Ama, a home gardener with a 200 sq ft backyard and rooftop pots, used to dump kitchen scraps (banana peels, vegetable trimmings, tea leaves) into an open pile near the wall. Within weeks she had fruit flies, occasional rat visits during monsoon, and strong odors bothering neighbors. After switching to a simple 100-liter plastic compost bin with a lid (cost ~৳1500–2000), she noticed:
- No more flies or smells
- Compost ready in 3–4 months instead of 10+
- Easier to turn with a small hand aerator
- Perfect dark, crumbly compost for her papaya, chili, and flower pots Result: Healthier plants, less wasted food scraps, and happier family/neighbors.
Example 2: Medium Rural Homestead – “The Classic Pile That Saved Money” Rahim bhai has a 1-acre homestead with coconut, mango, and jackfruit trees plus seasonal vegetables. Every year he generates huge piles of dry coconut fronds, mango leaves, rice straw, and grass clippings after weeding. He built a free 5×5 ft open compost pile behind the cowshed:
- Zero cost
- Handles 2–3 cubic meters of material at once
- Earthworms appear naturally within weeks
- After 8–10 months he spreads thick layers around tree bases as mulch/compost Result: Dramatically reduced fertilizer bills, noticeably better fruit size and soil moisture retention during dry months.
Example 3: Hybrid Approach – Best of Both Worlds Many serious gardeners use both:
- A small enclosed bin near the kitchen door for daily food scraps (pest-proof, quick turnaround)
- One or two large open piles farther away for bulk yard waste and slow “cold” composting This combo gives fast kitchen-compost for seedlings + massive quantities for orchard/landscape use.
FAQs: Compost Bin vs. Compost Pile – Your Top Questions Answered ❓
1. Which makes better quality compost for fruit trees? Both can produce excellent compost if balanced properly. Bins often give more uniform, hotter compost (better pathogen/weed seed kill), while piles can incorporate more diverse yard materials and natural worm castings. For most fruit trees in Bangladesh, either works beautifully when applied as top-dressing or mixed into soil.
2. Can I compost during the monsoon or winter? Yes! In monsoon: cover piles with tarpaulin/plastic sheet or use a bin to prevent waterlogging. In cooler “winter” months (Dec–Feb): bins retain heat better; piles slow down but still work if large enough.
3. Do compost bins really stop rats and monkeys? Good ones do—choose models with secure lids and no large gaps. Metal mesh or heavy-duty plastic bins perform best against persistent pests. Open piles need food scraps buried deep and regular turning.
4. How do I know when compost is finished? It’s dark brown to black, crumbly, smells like forest soil (earthy, not rotten), and you can no longer recognize original materials. Temperature drops to ambient, and worms often move to the edges.
5. Is it okay to add diseased plants or weeds with seeds? Avoid diseased plants unless your pile reaches sustained 55–65°C (hot composting). Most weed seeds survive cold piles—better to solarize or burn problem weeds instead.
6. Which is more eco-friendly? Both reduce landfill waste and create free fertilizer. Piles have a lower carbon footprint (no manufacturing/plastic), but bins often lead to more consistent composting (less methane from anaerobic zones).
7. Can I speed up a compost pile without buying a bin? Yes—chop materials small, maintain moisture, turn frequently, add nitrogen-rich activators (cow dung slurry, urine diluted 10:1, fresh grass), and build at least 1 cubic meter for heat retention.
8. What if I live in an apartment with only a balcony? Go for a compact countertop bokashi bin (fermentation first) or small tumbler/bin system. Many urban gardeners in Dhaka and Barisal successfully compost on balconies with 20–50 liter bins.
Conclusion: Which Should You Choose? Our Final Recommendation 🌟
There is no universal “best” method between a compost bin vs. compost pile—it truly depends on your space, waste type, climate, time, budget, and pest situation.
Quick decision guide:
- Small space • urban • kitchen scraps • want fast results • pests nearby → Choose a compost bin (start with a simple stationary or tumbler)
- Large yard • lots of leaves/branches • low budget • okay with slower process → Choose a compost pile (or multiple piles)
- Want the best of both? Start with a small bin for kitchen waste and add a larger pile for yard debris later.
The most important step? Just start. Even imperfect composting is far better than sending organic waste to landfills. Your plants, trees, and soil will thank you with stronger growth, better drought resistance, and richer harvests.
Ready to begin? Grab a pitchfork or pick out a bin, layer those first greens and browns, and watch the magic happen. 🌱


