
Want more plants without spending a dime? If your garden is home to thriving perennials, you already have everything you need. Division propagation for perennial plants is one of the simplest and most rewarding ways to multiply your greenery while keeping your existing plants healthy and vibrant. Whether you’re a beginner or a seasoned gardener, learning this technique can transform how you grow and care for your plants. In this guide, we’ll walk you through everything you need to know—when to divide, how to do it right, and how to ensure your newly divided plants flourish.
🌿 What Is Division Propagation? 🌿
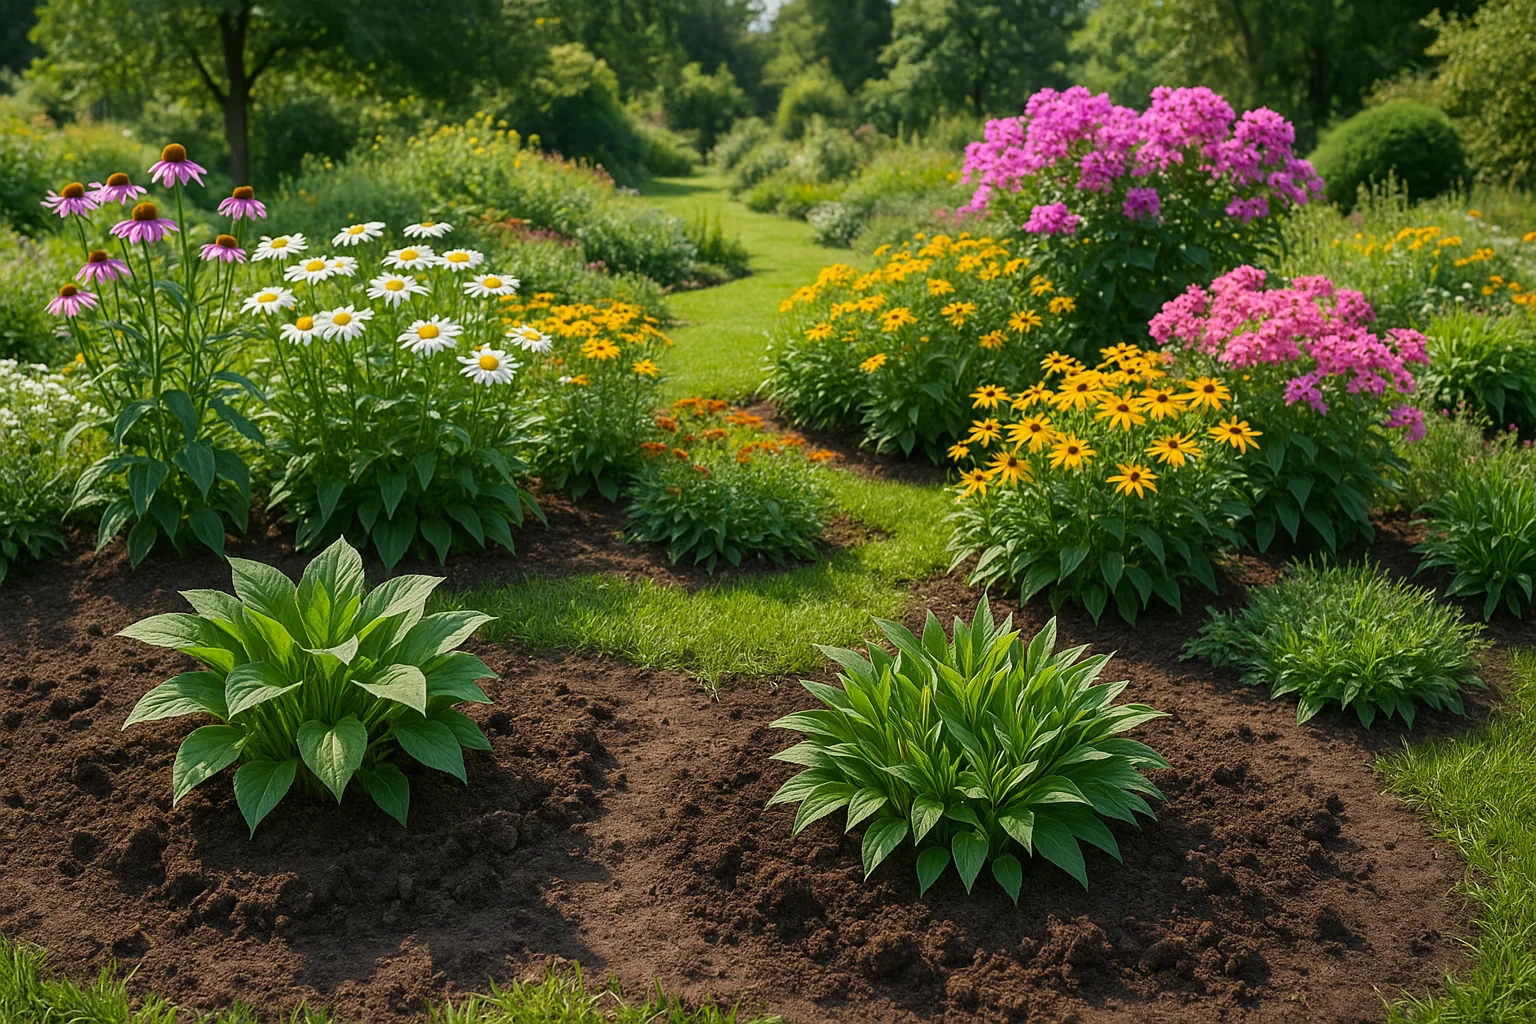
Division propagation is a simple gardening technique where you split one mature perennial plant into two or more smaller plants 🌿➡️🌱🌱. Each new piece, called a division, contains roots and shoots—ready to grow on its own!
 It’s one of the easiest ways to multiply your garden without buying more plants 💸❌. This method works best with perennials that grow in clumps and naturally spread over time.
Some popular plants that love division:
- 🌸 Hostas
- 🌼 Daylilies
- 🌾 Ornamental grasses
- 🌺 Irises
- 🌿 Ferns
Besides creating new plants, division helps rejuvenate tired or crowded perennials, giving them space to grow stronger and bloom better 🌞✨.
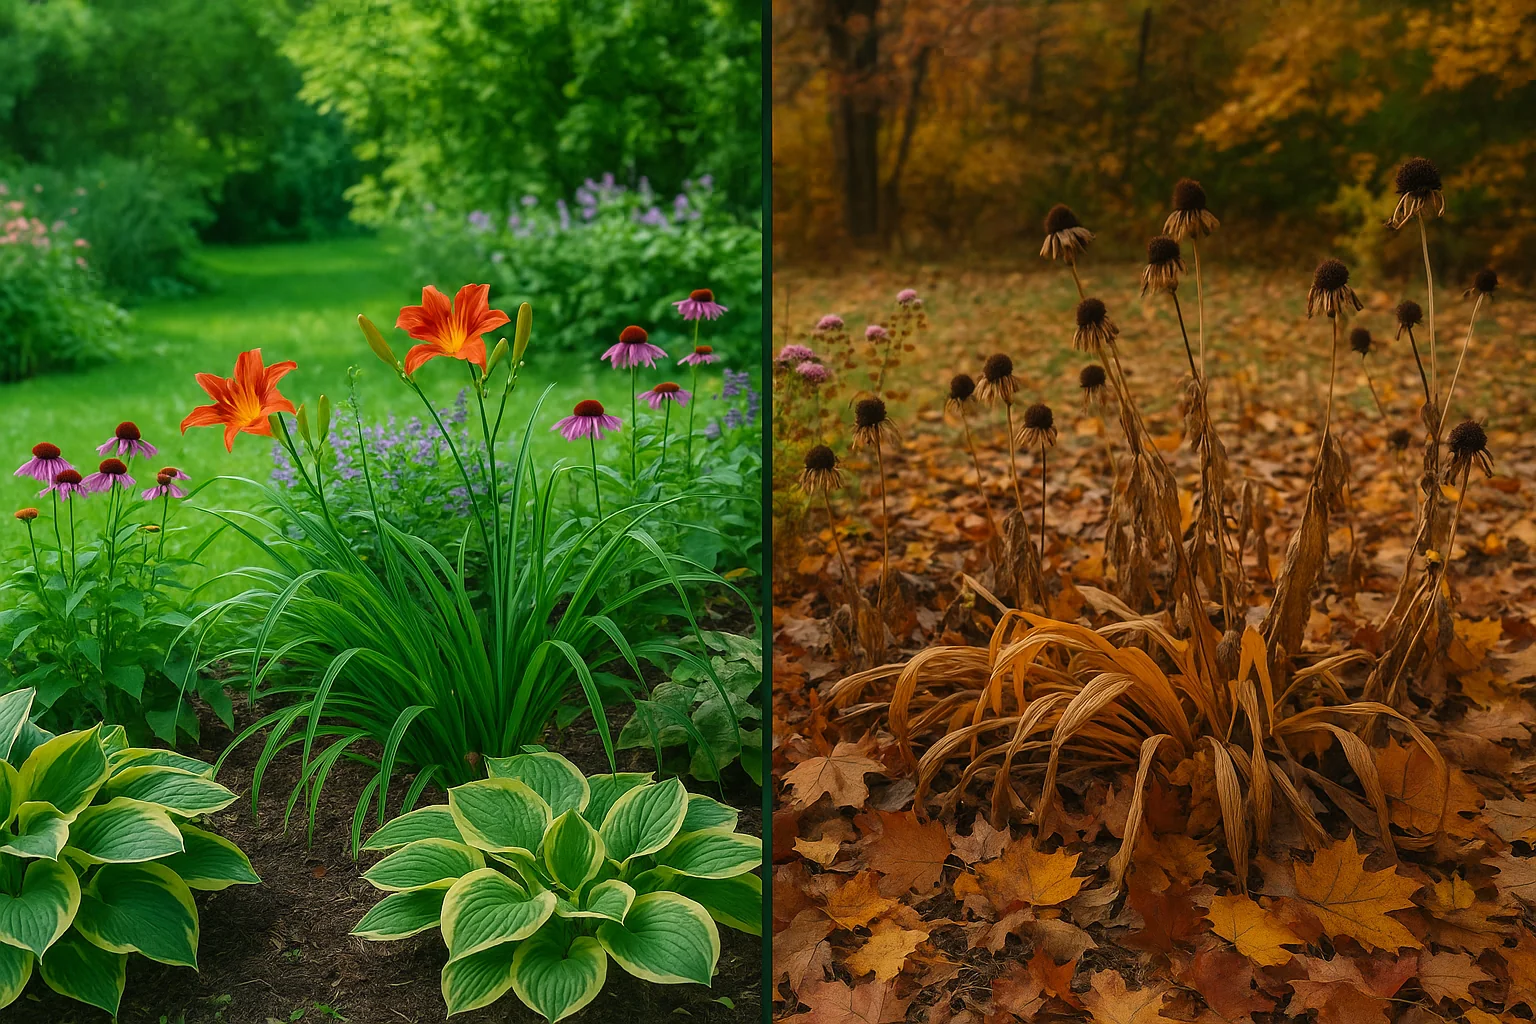
🕰️ When to Divide Perennial Plants 🕰️
Timing is everything when it comes to division propagation for perennial plants ⏰🌱. Dividing at the right moment helps the new plants settle in faster and thrive!
🌸 Spring or Fall? 🌸
These two seasons are the best times to divide most perennials:
- Spring 🌼 – Ideal for summer and fall-blooming plants. Cool weather helps reduce transplant shock.
- Fall 🍁 – Great for spring bloomers. Plants go dormant soon after, focusing on root growth.
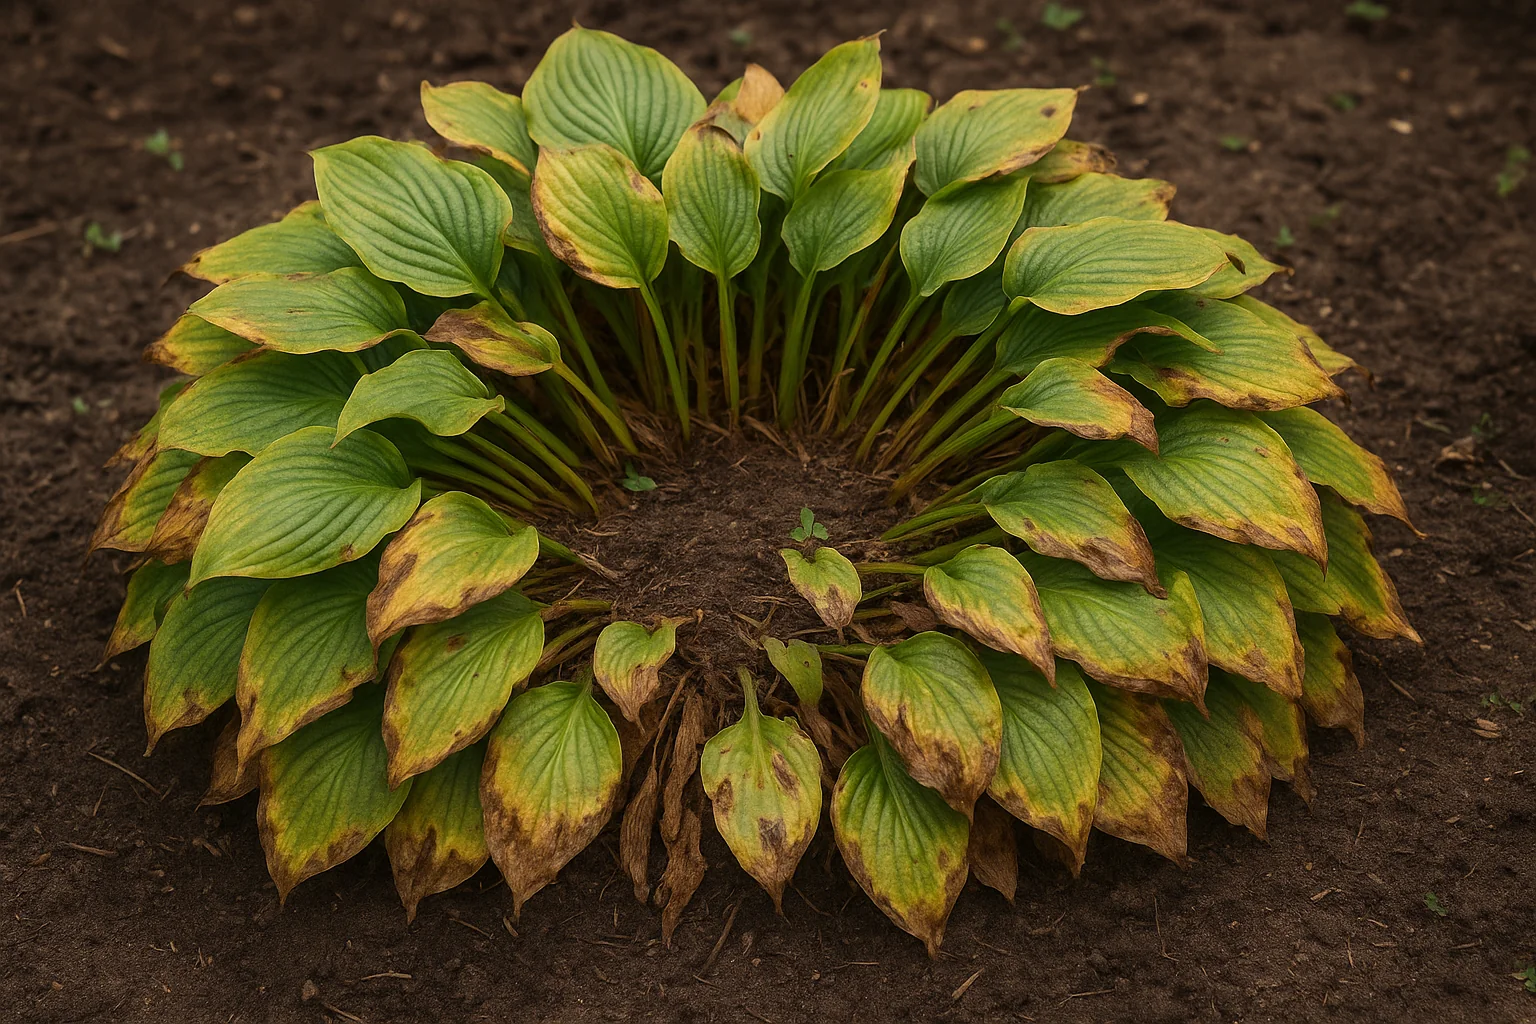
👀 Signs It’s Time to Divide:
- The center of the plant looks dead or hollow 😕
- Flowering has decreased 📉
- Leaves are smaller than usual 🍃
- Plant is overgrown or pushing out of its space 😵💫
🗓️ Quick Guide:
| Plant Type | Best Time to Divide |
| Spring Bloomers | Fall 🌾 |
| Summer Bloomers | Spring 🌞 |
| Fall Bloomers | Early Spring or Fall 🍂 |
🌟 Pro Tip:
Always divide on a cool, cloudy day or in the early morning to keep plants from drying out.
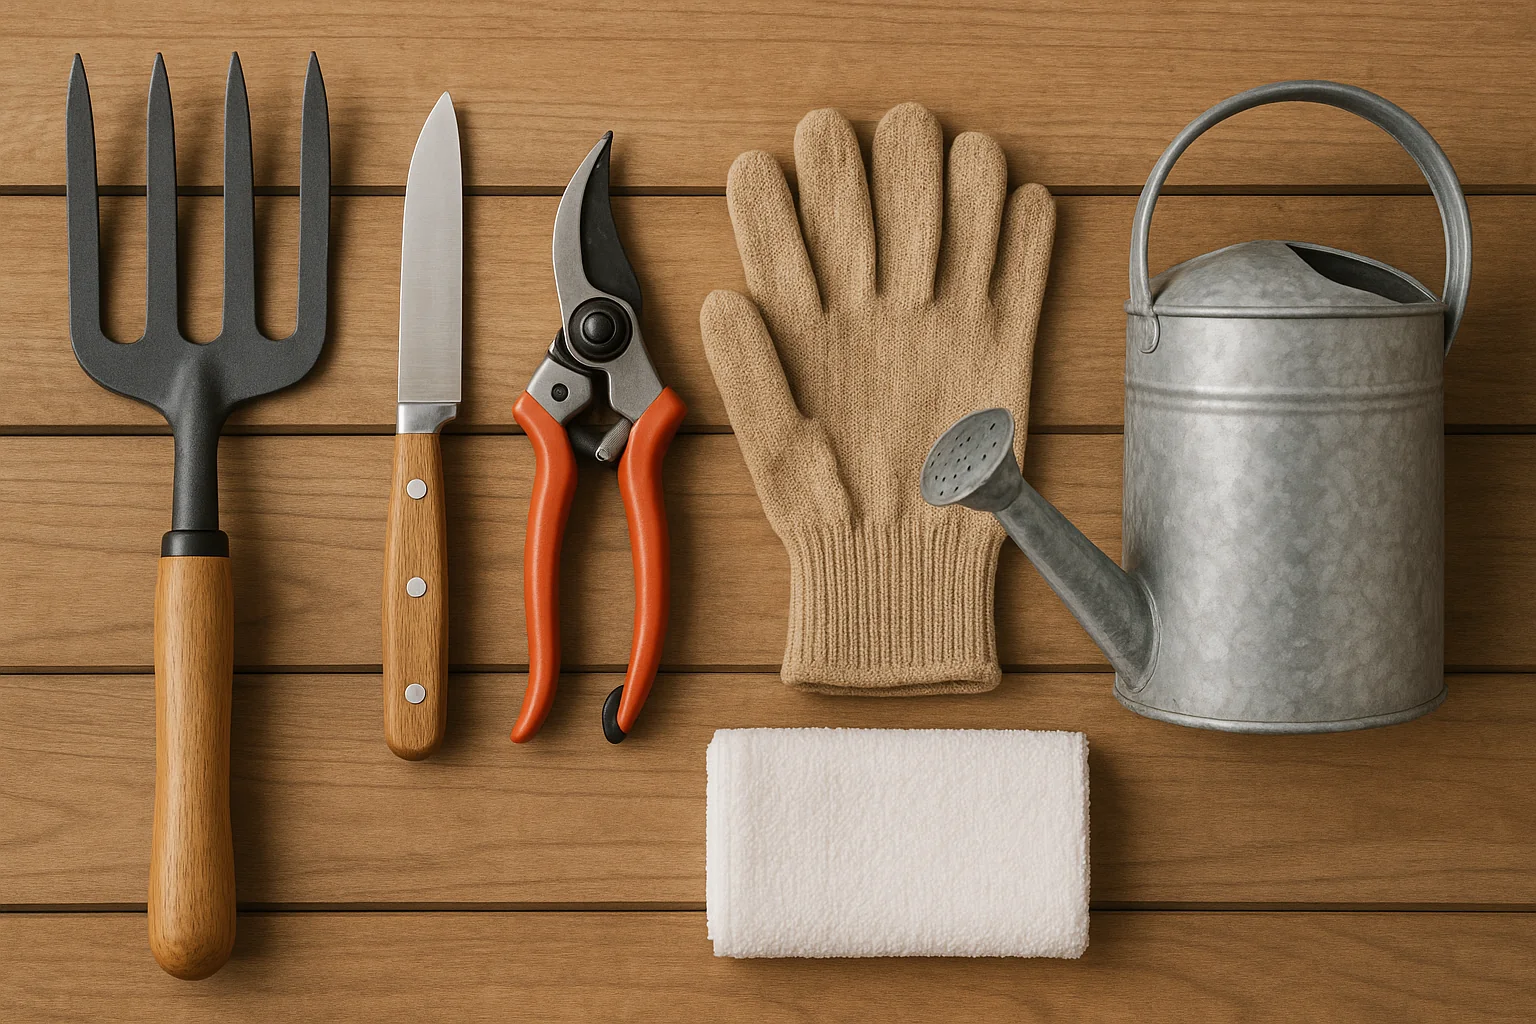
🧰 Tools and Materials You’ll Need 🧰
Before you begin division propagation for perennial plants, gather a few basic tools to make the process smoother and safer 🪴✨. Having the right materials ready helps protect your plants and makes cleanup easy!
🛠️ Must-Have Tools:
- Garden fork or spade 🥄 – To gently dig up the plant without damaging roots
- Sharp knife or pruning shears ✂️ – For cutting through thick root clumps
- Garden gloves 🧤 – To protect your hands from dirt and sharp edges
- Bucket or tub 🪣 – To hold divisions while you work
- Watering can or hose 💦 – For keeping roots moist before and after planting
- Clean towel or cloth 🧽 – To wipe tools between plants (prevents disease spread)
🧼 Bonus Tip:
Always clean and disinfect your tools before and after dividing to keep your plants healthy and avoid passing on pests or diseases 🦠❌.
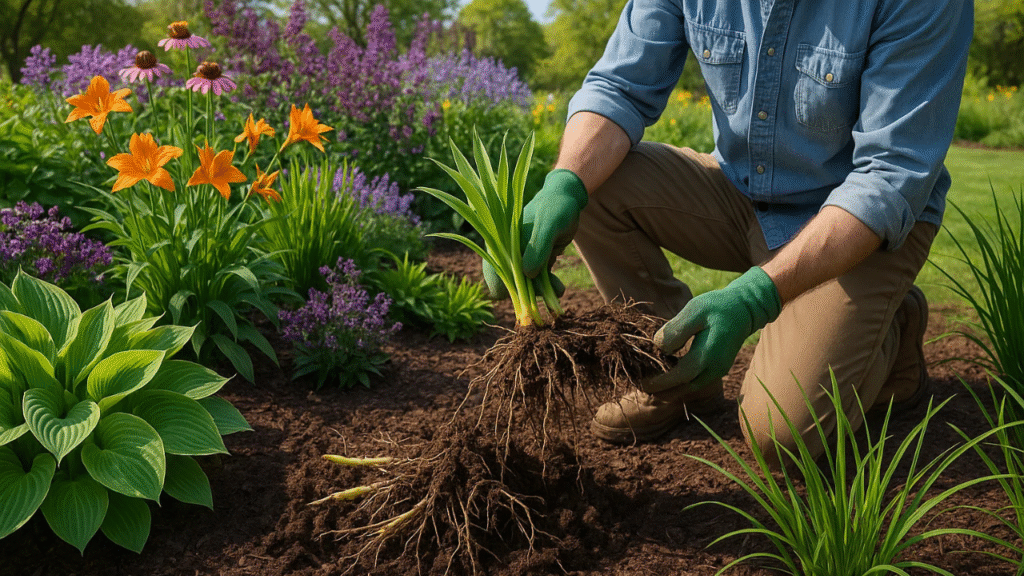
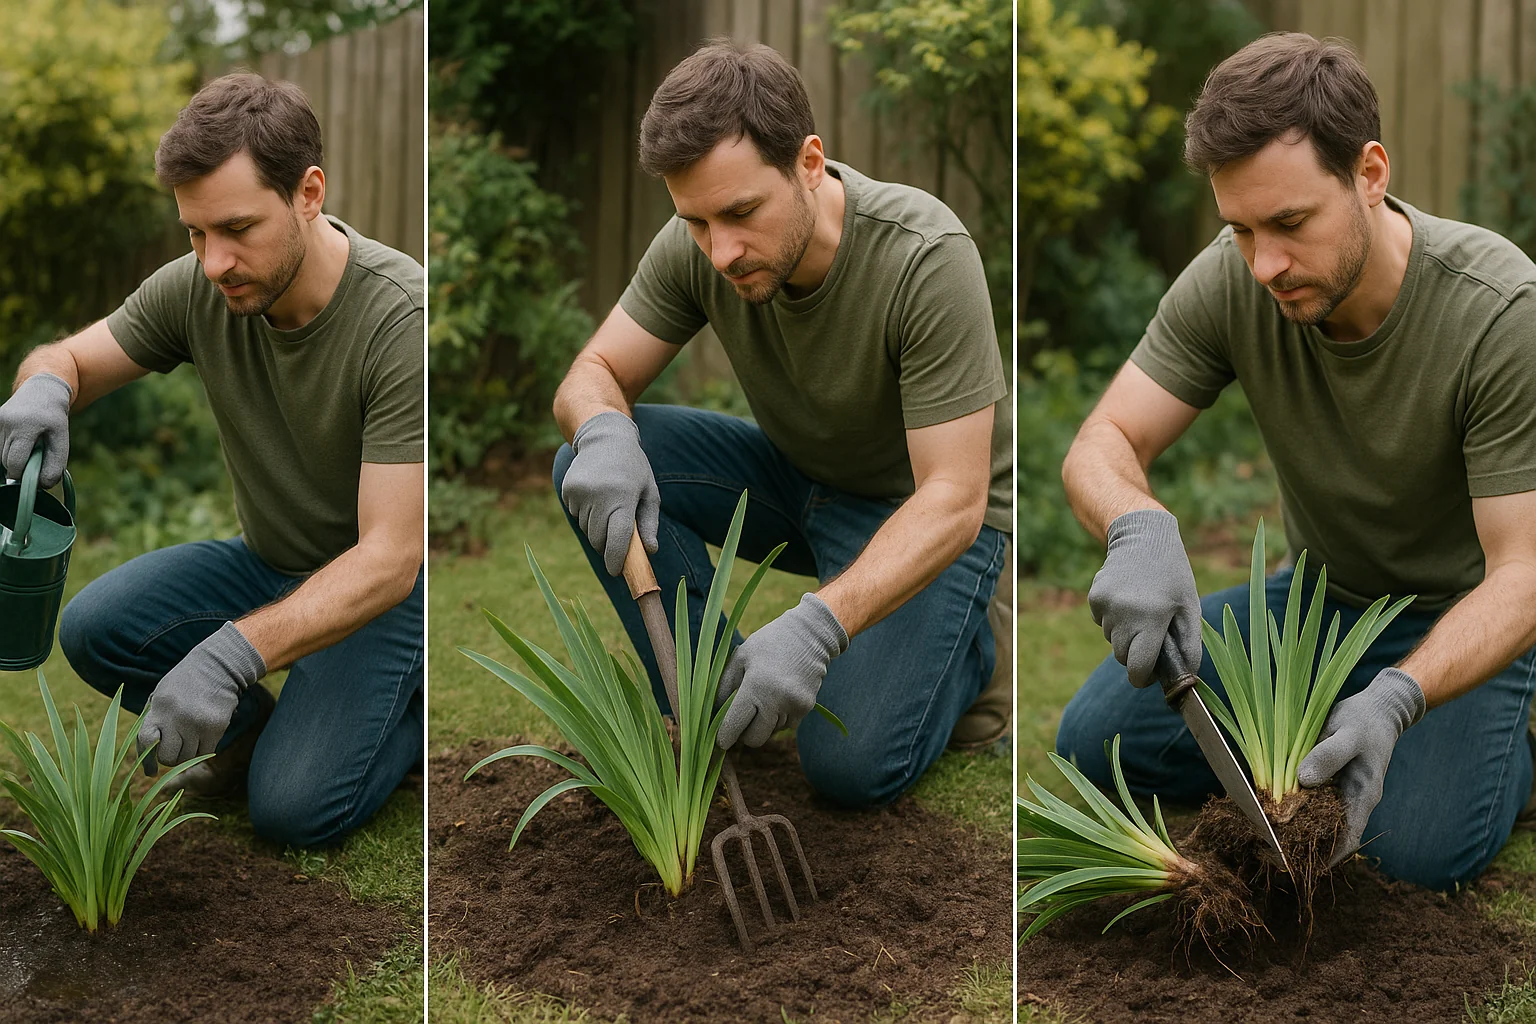
✂️ Step-by-Step Guide to Division Propagation ✂️
Let’s get our hands dirty! 🌱 Dividing your perennials isn’t complicated when you follow these simple steps. Whether you’re growing hostas, daylilies, or ornamental grasses, this method works like a charm 💚✨
1️⃣ Choose a Healthy, Mature Plant
Pick a well-established plant that’s at least 2–3 years old. Make sure it looks healthy and has multiple shoots or clumps.
2️⃣ Water the Plant Before Dividing
Water the plant a day before to soften the soil and reduce root stress 💧. This makes digging easier and helps the plant bounce back faster.
3️⃣ Dig Up the Whole Plant
Use a spade or garden fork to carefully loosen the soil around the plant. Dig deep enough to lift the entire root ball without damaging roots.
4️⃣ Gently Separate the Roots
Shake off extra soil and gently pull the plant apart into smaller sections 🌿. Each division should have a good amount of roots and 1–2 healthy shoots. Use a clean knife or pruners for tough or tangled roots ✂️.
5️⃣ Trim Damaged Roots and Foliage
Snip away any broken or dead roots and cut back long leaves to reduce water loss. This helps the plant focus energy on root growth 🌱❤️.
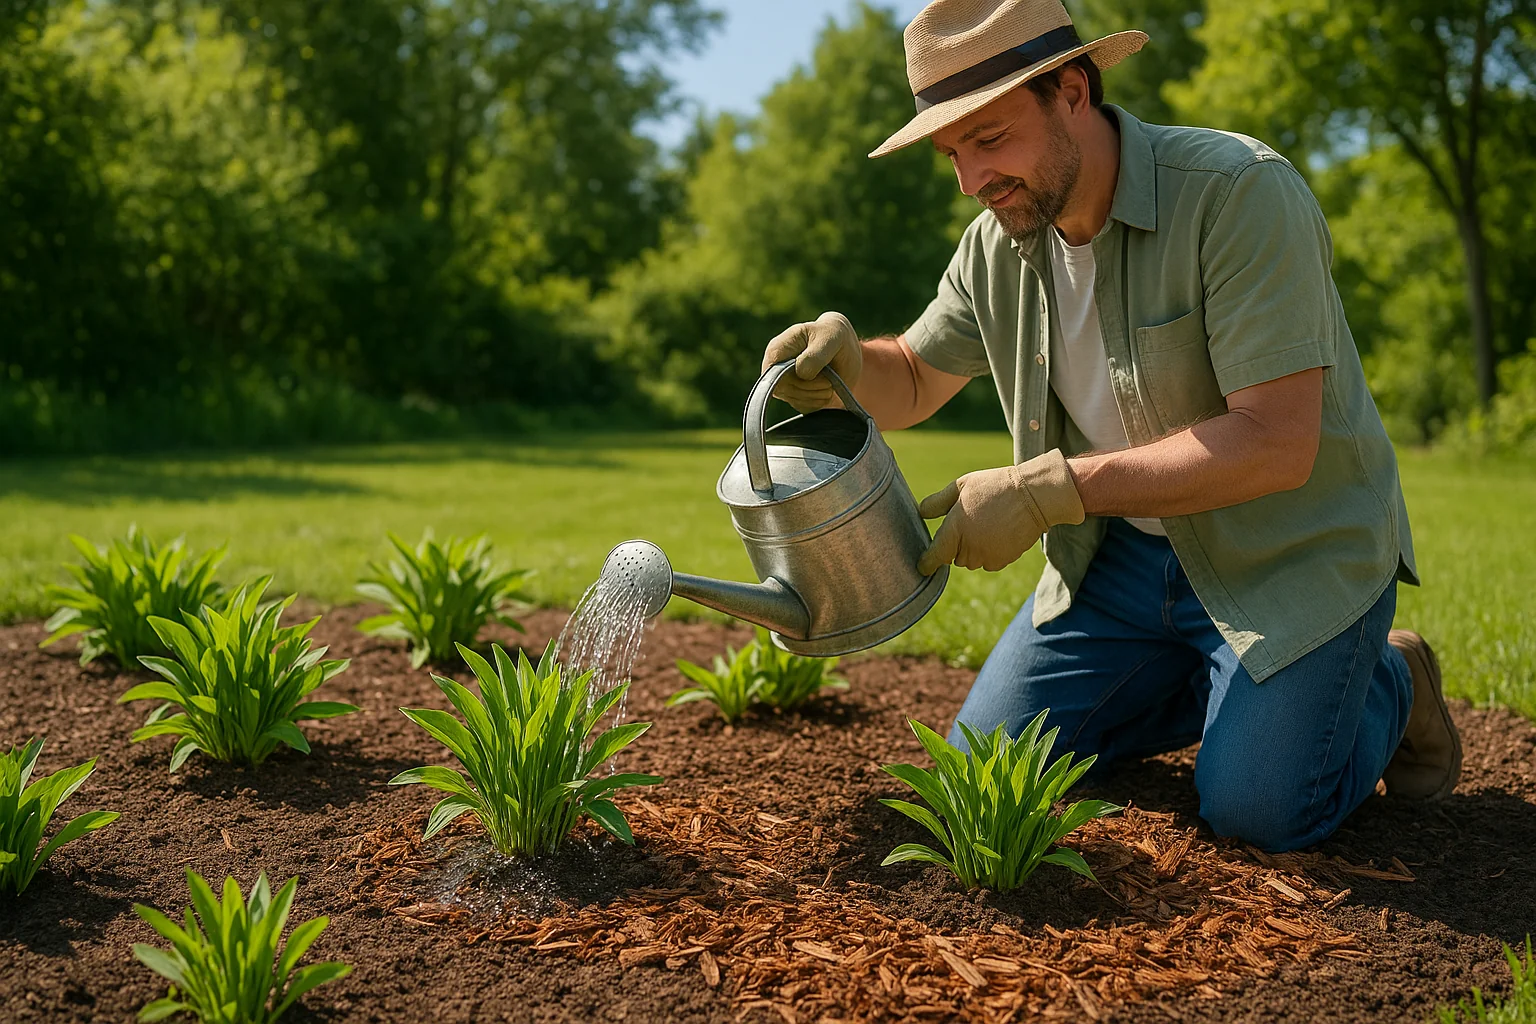
6️⃣ Replant the Divisions Promptly
Plant the new sections at the same depth as the original. Space them properly and choose a spot with good soil and light ☀️. Press soil gently around each division and water well.
7️⃣ Keep Soil Moist Until Established
Water regularly for the next few weeks, especially in dry weather 💦. Avoid letting the soil dry out completely while the roots settle in.
🎉 That’s it! Your divided perennials are ready to grow into happy, healthy new plants!
📍 Aftercare for Divided Plants 📍
You’ve done the hard part—now it’s time to help your new divisions settle in and thrive 🌿💚. Proper aftercare is the secret to strong roots, lush growth, and beautiful blooms!
💦 1. Water Consistently
Keep the soil evenly moist for the first 2–4 weeks. New roots are delicate and need regular hydration to grow strong. Avoid soggy soil, but don’t let it dry out either.
🌥️ 2. Provide Some Shade (If Needed)
If it’s sunny or hot, offer light shade to reduce stress. A row cover or umbrella can protect young divisions from harsh sunlight until they adjust ☂️🌤️.
🌿 3. Don’t Fertilize Right Away
Hold off on feeding for at least 4–6 weeks. Freshly divided plants need time to focus on root development—not top growth 🚫🌱.
🍂 4. Add Mulch
A thin layer of mulch helps retain moisture, regulate soil temperature, and keep weeds out. Just don’t pile it against the stems!
👀 5. Monitor for Stress
Watch for signs of wilting, yellowing, or pests. Most divisions will look a little tired at first—that’s normal! But with a little TLC, they’ll perk up soon 💪✨.
🌟 Bonus Tip:
Label your new plantings so you remember what’s what later on—especially if they’re not blooming yet!
❌ Common Mistakes to Avoid ❌
Even though division propagation for perennial plants is beginner-friendly, a few common slip-ups can lead to unhappy plants 😢. Avoid these mistakes to give your divisions the best chance to thrive!
🕒 1. Dividing at the Wrong Time
Doing it in extreme heat or right before a frost can stress your plant out. Stick to early spring or early fall for the best results 🗓️🌱.
🧼 2. Using Dirty or Dull Tools
Unclean tools can spread disease, and dull blades may tear roots. Always use sharp, clean tools for smooth cuts and healthier plants ✂️🧽.
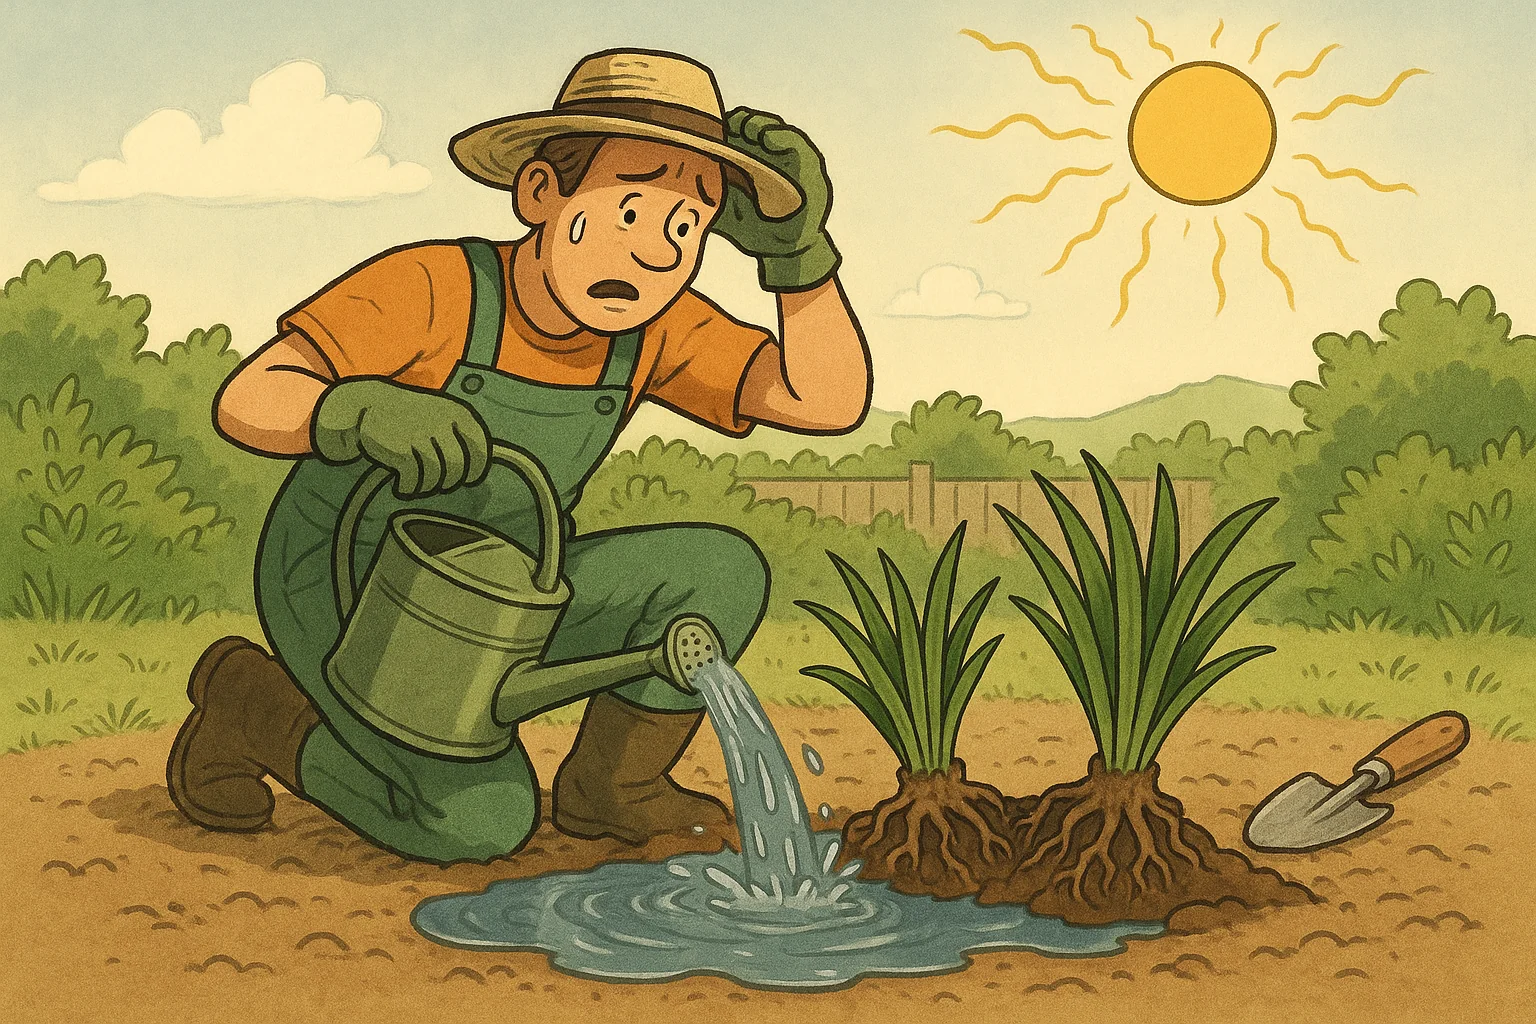
🌧️ 3. Overwatering or Underwatering
Both can damage new roots. Keep soil consistently moist, but never soggy. Check often during the first few weeks 💧👀.
🪴 4. Replanting Too Deep or Too Shallow
Plant each division at the same depth it was growing before. Too deep = rot. Too shallow = dry out 🙃.
🚫 5. Dividing Weak or Diseased Plants
Don’t divide plants that are already struggling. Only divide healthy, vigorous perennials for the best outcome 💪🌼.
🛑 6. Forgetting Aftercare
Skipping mulching, watering, or shading can undo all your good work. Take a little extra time now to enjoy long-term success 🌟🪻.
🌱 Benefits of Division Beyond Propagation 🌱
While division propagation for perennial plants is an effective way to grow your garden, it offers a range of additional benefits that will keep your plants healthy and vibrant for years to come 🌿✨. Let’s explore some of the top perks!
🌱 Rejuvenates Overcrowded Plants 🌱
As perennials age, they can become overcrowded, leading to smaller blooms and weaker growth. Division helps “refresh” the plant by giving it more room to spread and thrive 💪🌸. You’ll see healthier, stronger plants with bigger flowers!
🦠 Prevents Disease and Pest Issues 🦠
Crowded plants are more susceptible to pests and diseases, as moisture and air circulation are limited. Dividing your plants helps reduce these risks by creating healthier, well-spaced growth 🍃🦋.
💸 Cost-Effective Gardening 💸
Instead of buying new plants every season, division gives you free plants! It’s a budget-friendly way to expand your garden, whether you’re filling in empty spaces or sharing with friends 👩🌾💚.
🌞 Encourages Better Blooms and Foliage 🌞
When you divide, you’re giving each new section more access to nutrients and sunlight 🌞. This leads to stronger roots, more vigorous foliage, and better blooms! It’s like giving your plant a fresh start every few years 🌸✨.
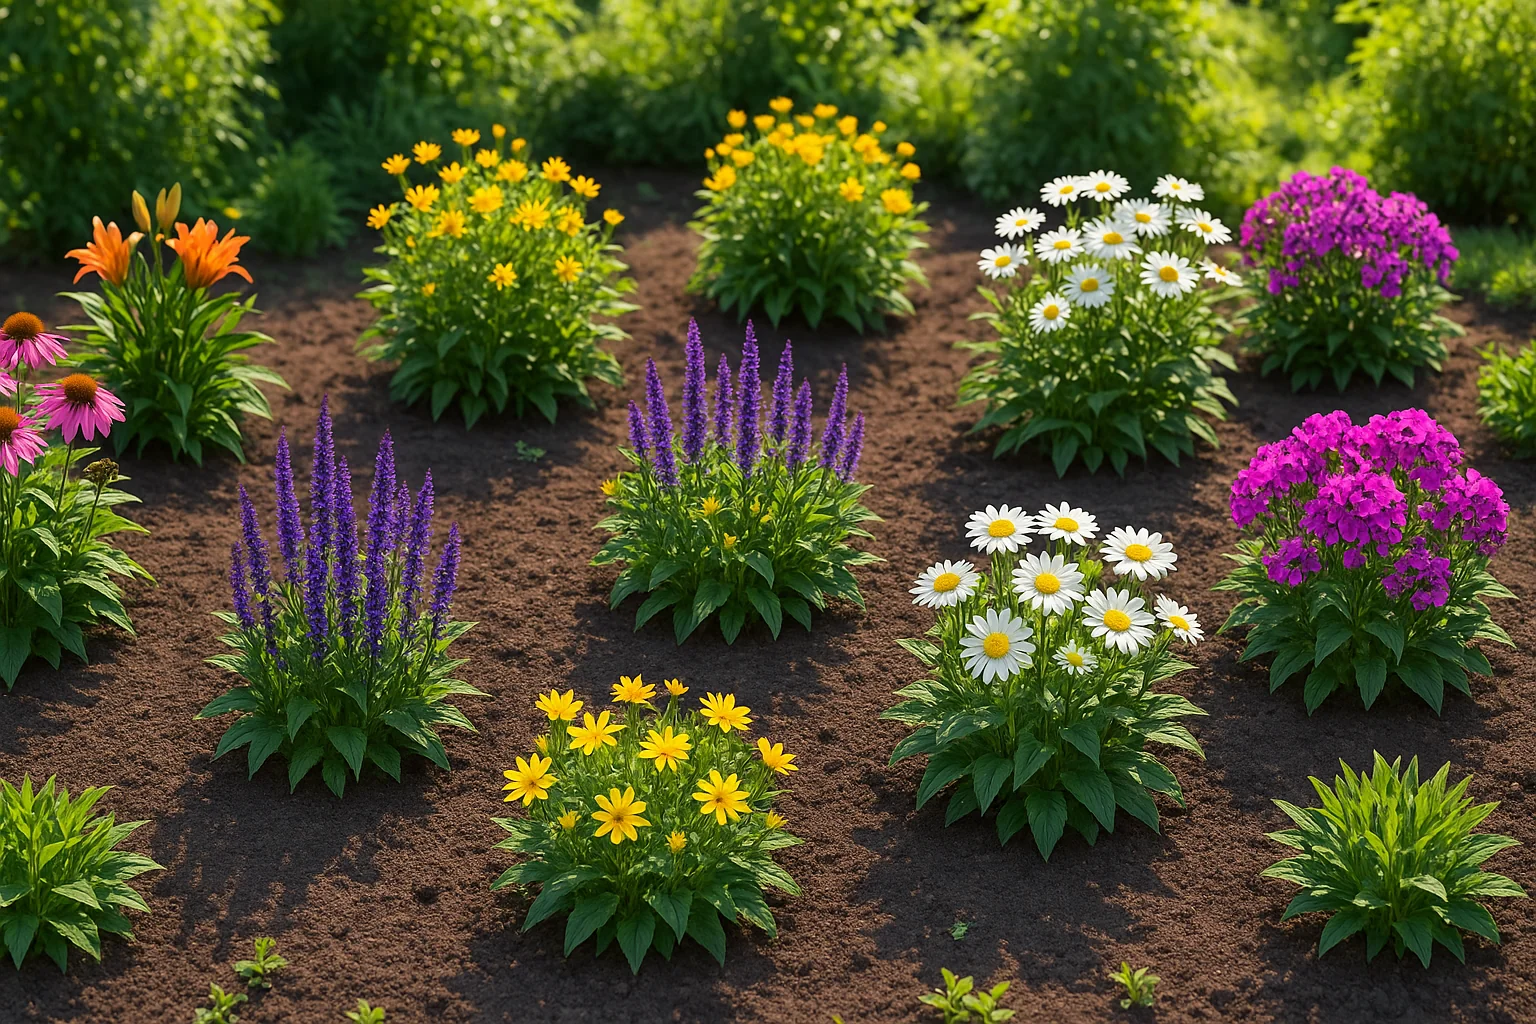
🌳 Promotes a Thriving Garden Ecosystem 🌳
Dividing plants helps create a more diverse garden, with a variety of heights, textures, and blooming times 🌿🌼. This encourages a balanced and resilient garden ecosystem, attracting beneficial pollinators and beneficial insects 🐝🌷.
With all these benefits, it’s easy to see why division propagation is a win-win for both you and your plants! 🌱💚
🌟 Final Thought ☀️🌵
Now that you know how to master division propagation for perennial plants, it’s time to put your newfound knowledge into practice! 🌿 Whether you’re expanding your garden, rejuvenating older plants, or simply enjoying the process, dividing perennials is an easy, rewarding, and cost-effective way to grow your collection.
Remember, patience is key—plants may look a little tired at first, but with proper care, they’ll quickly bounce back stronger and more vibrant than ever 💪🌸. By dividing your perennials at the right time, using the right tools, and providing great aftercare, you’ll ensure long-lasting beauty and health in your garden.
So go ahead—grab your garden fork and start dividing your favorite perennials! 🌿✨ You’ll be amazed at the results!