
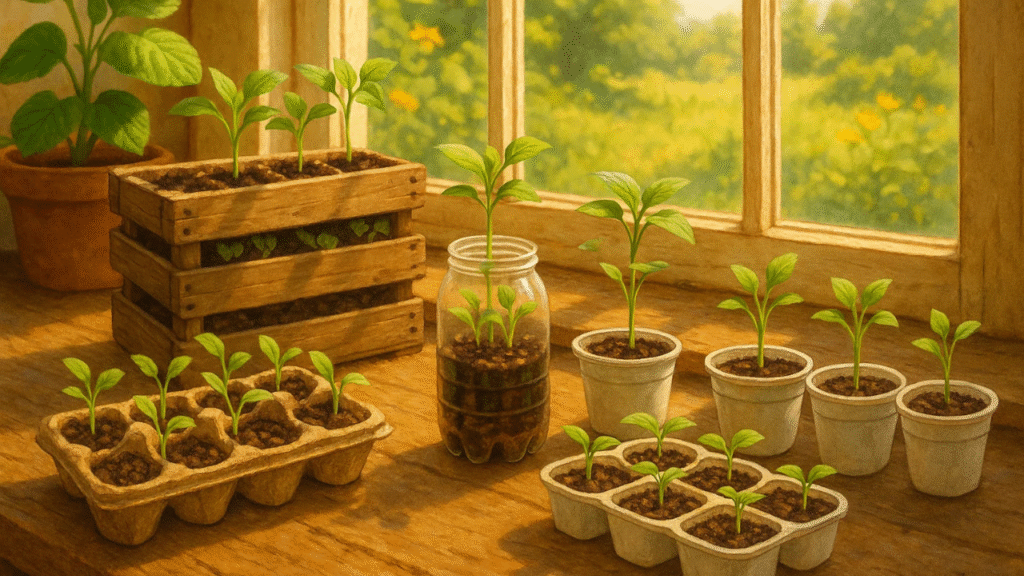
Starting seeds at home can be an exciting and cost-effective way to grow your own garden, but having the right tools is key to success. One essential item every gardener needs is a reliable seedling tray. If you’re looking for affordable and creative solutions, you’re in the right place. In this article, we’ll explore 10 unique DIY seedling tray ideas that not only save you money but also help you create the perfect environment for your plants to thrive. Whether you’re a seasoned gardener or just starting out, these simple ideas will get your seedlings off to a great start! 🌿
🍳 Repurposed Egg Carton Tray 🥚
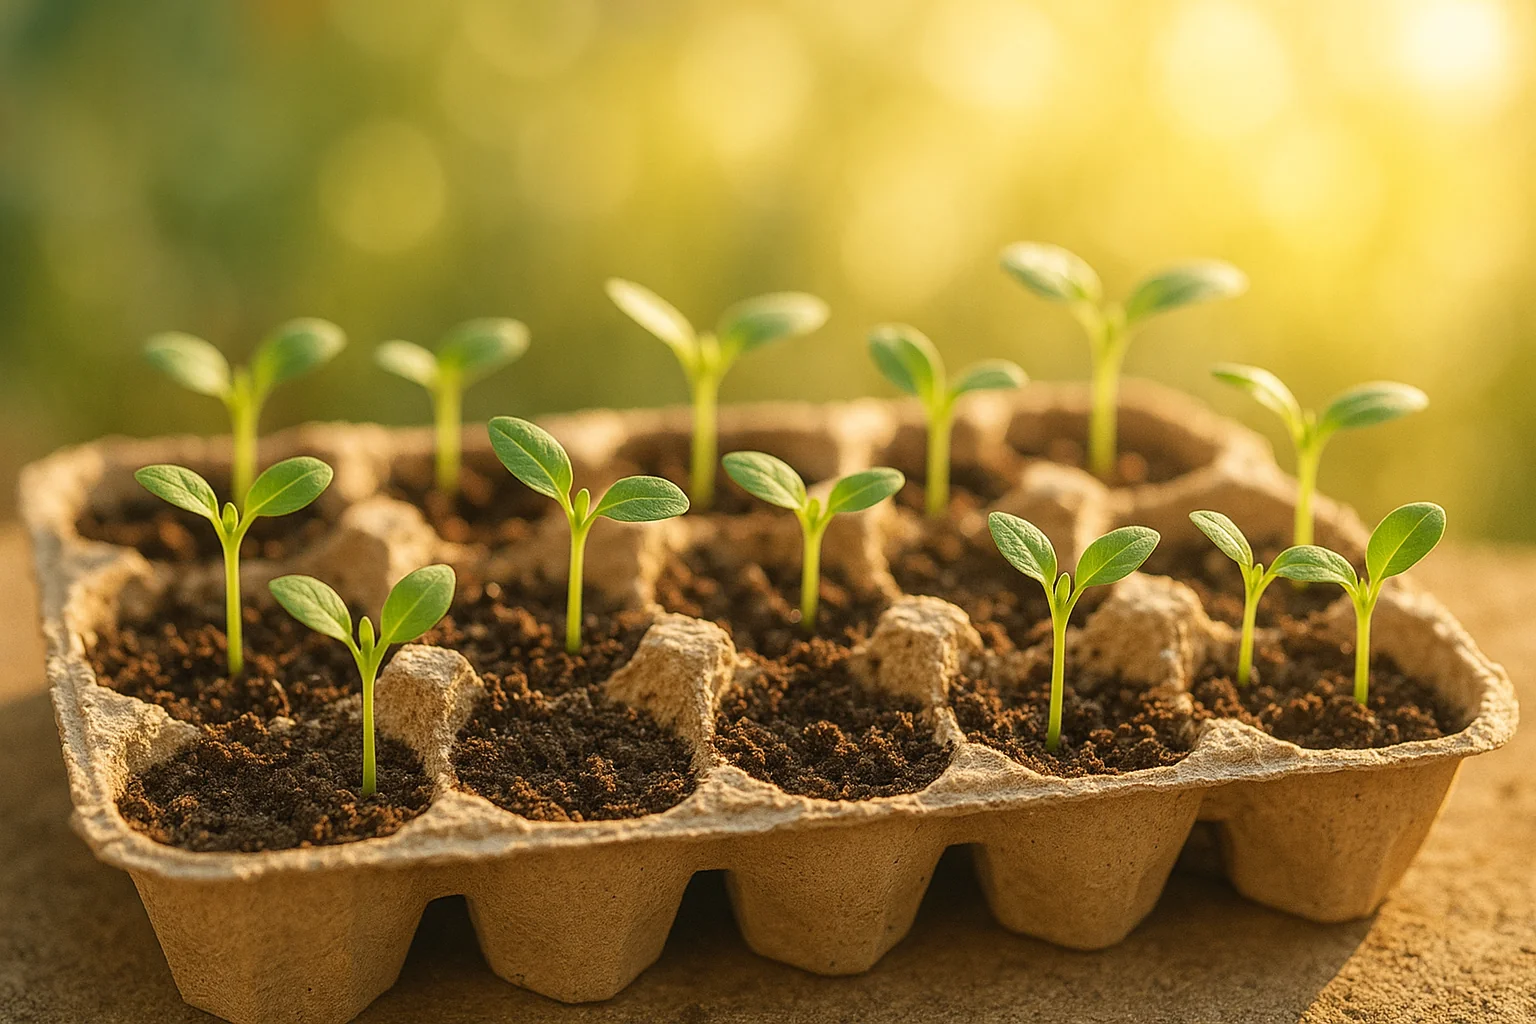
Repurposing an egg carton to start your seeds is a simple, eco-friendly solution that offers both functionality and sustainability. This method is ideal for gardeners with limited space or those looking for a cost-effective seed-starting option. For more creative approaches, check out these DIY seedling tray ideas to expand your gardening possibilities.
🌱 Why Choose an Egg Carton? 🍂
Egg cartons are made of lightweight material, usually paper or cardboard, which makes them an ideal medium for seed starting. They are shallow enough to promote good root development and easy for young seedlings to thrive.
🛠️ How to Use the Egg Carton Tray: 🪴
1. Prepare the Carton: 🧴
Choose a clean, empty egg carton and cut the lid off if necessary. Ensure the carton has drainage holes in the bottom to prevent water buildup.
2. Fill with Potting Mix: 🌱
Use a lightweight, well-draining potting mix. Fill each compartment of the egg carton to the top, gently pressing the soil to remove any air pockets.
3. Plant Your Seeds: 🌸
Place 1-2 seeds in each section, following the seed packet instructions for depth and spacing. Lightly cover with a small amount of soil.
4. Water and Position: 💧
Water gently, ensuring the soil stays moist but not soggy. Place the egg carton in a sunny spot or under grow lights to encourage germination.
5. Transplant When Ready: 🌿
Once your seedlings are large enough and the risk of frost has passed, simply cut the sections of the egg carton apart and plant the whole section into your garden. The cardboard will decompose in the soil, providing a natural barrier.
🌟 Benefits of This Approach: 🌻
- Eco-friendly: Using repurposed cartons reduces waste, making this an environmentally conscious choice.
- Cost-effective: Egg cartons are often available for free or at a very low cost, saving you money on seed-starting trays.
- Space-saving: The compact size of the egg carton tray is perfect for small spaces, such as windowsills or balconies.
Repurposing an egg carton tray is a great, sustainable method to start your seeds early, giving your plants the best start in life. 🌷 Get inspired by these DIY seedling tray ideas to make seed starting both fun and eco-friendly.
🍼 Plastic Bottle Seedling Trays 🍶
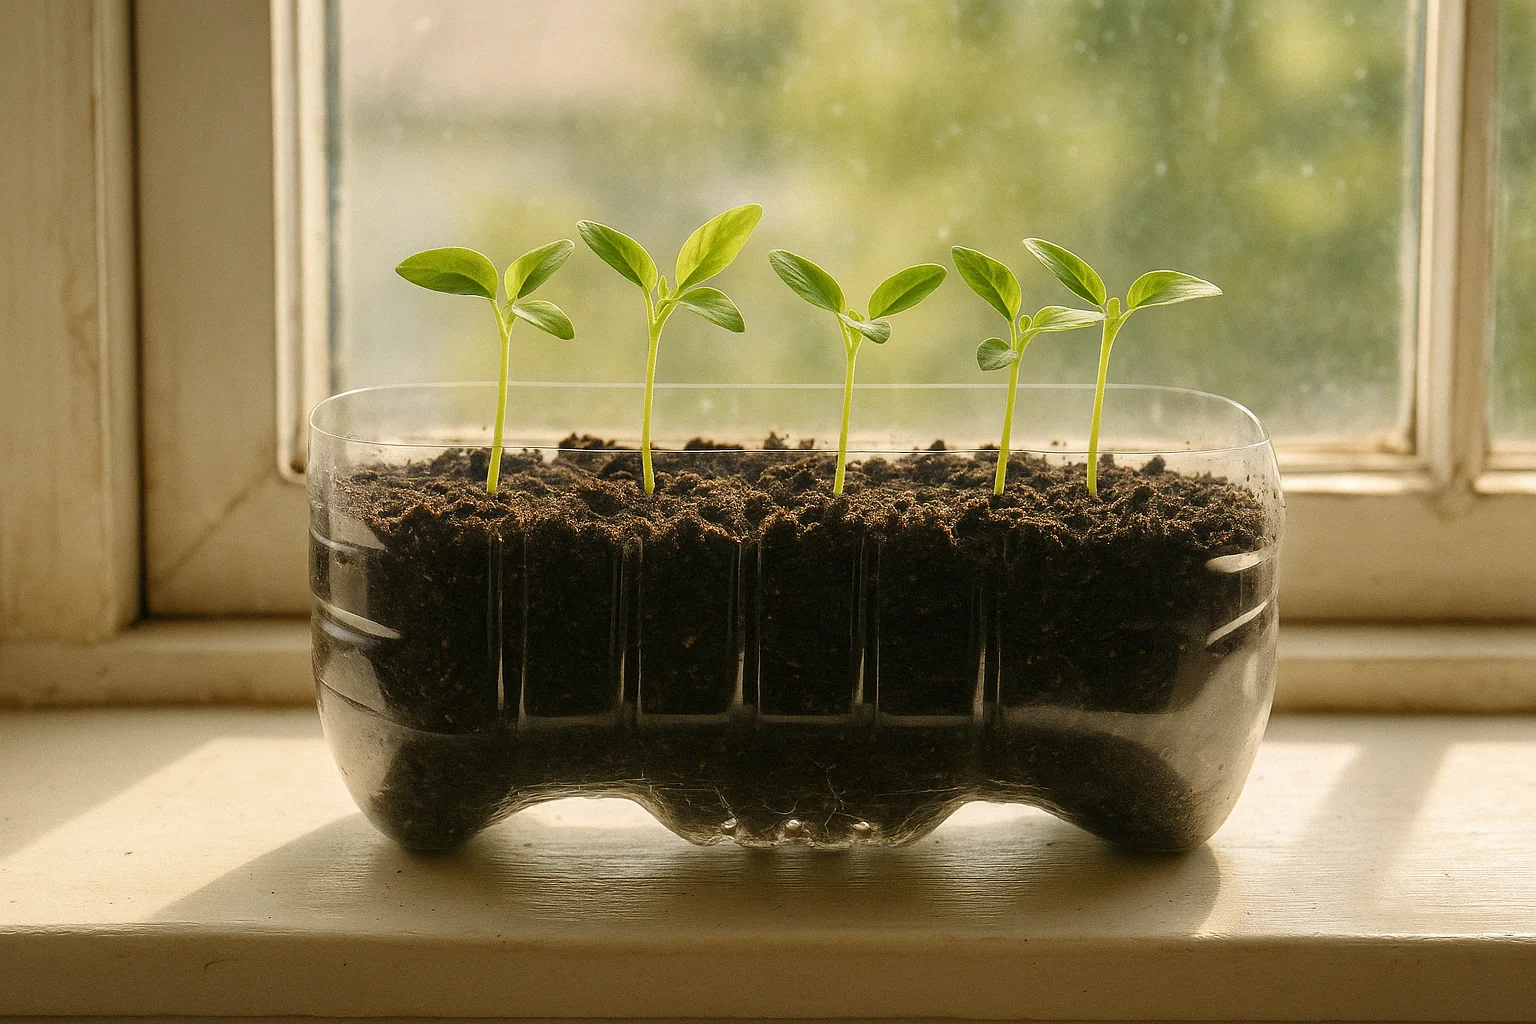
Plastic bottle seedling trays are a cost-effective and eco-friendly way to start your plants. These trays are simple to create and offer several advantages for gardeners, especially those with limited space or a tight budget.
🛠️ How to Create Plastic Bottle Seedling Trays: 🌻
1. Choose Your Bottles: 🍾
Select plastic bottles with a wide neck, such as 2-liter soda bottles. These provide enough space for seedlings to grow.
2. Cut the Bottles: ✂️
Use scissors or a utility knife to cut the bottle in half, leaving about 3-4 inches from the bottom. This becomes the base for your tray.
3. Add Drainage Holes: 🌧️
Poke small holes in the bottom of each tray to allow excess water to drain, preventing root rot.
4. Fill with Soil: 🌿
Add a nutrient-rich potting mix to each tray, making sure the soil is slightly moist before planting your seeds.
5. Plant the Seeds: 🌼
Sow your seeds according to their specific planting depth requirements. Keep them evenly spaced to allow for healthy growth.
🌟 Benefits of Using Plastic Bottle Seedling Trays: 💧
- Space Efficiency: The compact design fits well on windowsills, patios, or small garden areas.
- Recycled Materials: Using plastic bottles reduces waste and is an eco-friendly way to repurpose materials.
- Easy to Transport: These trays are lightweight, making it easier to move your seedlings to different locations based on sunlight and temperature needs.
💡 Tips for Success: 🌞
- Monitor Watering: Overwatering can cause the seedlings to drown. Water the seedlings lightly when the soil feels dry to the touch.
- Provide Sunlight: Place the trays in a location with plenty of indirect sunlight, as seedlings need light to thrive.
- Harden Off Before Transplanting: Gradually introduce your seedlings to outdoor conditions before planting them in the garden to reduce transplant shock.
By repurposing plastic bottles for seedling trays, you create a sustainable and effective solution for starting plants indoors. 🌿
🪵 Wooden Pallet Seedling Tray 🌸
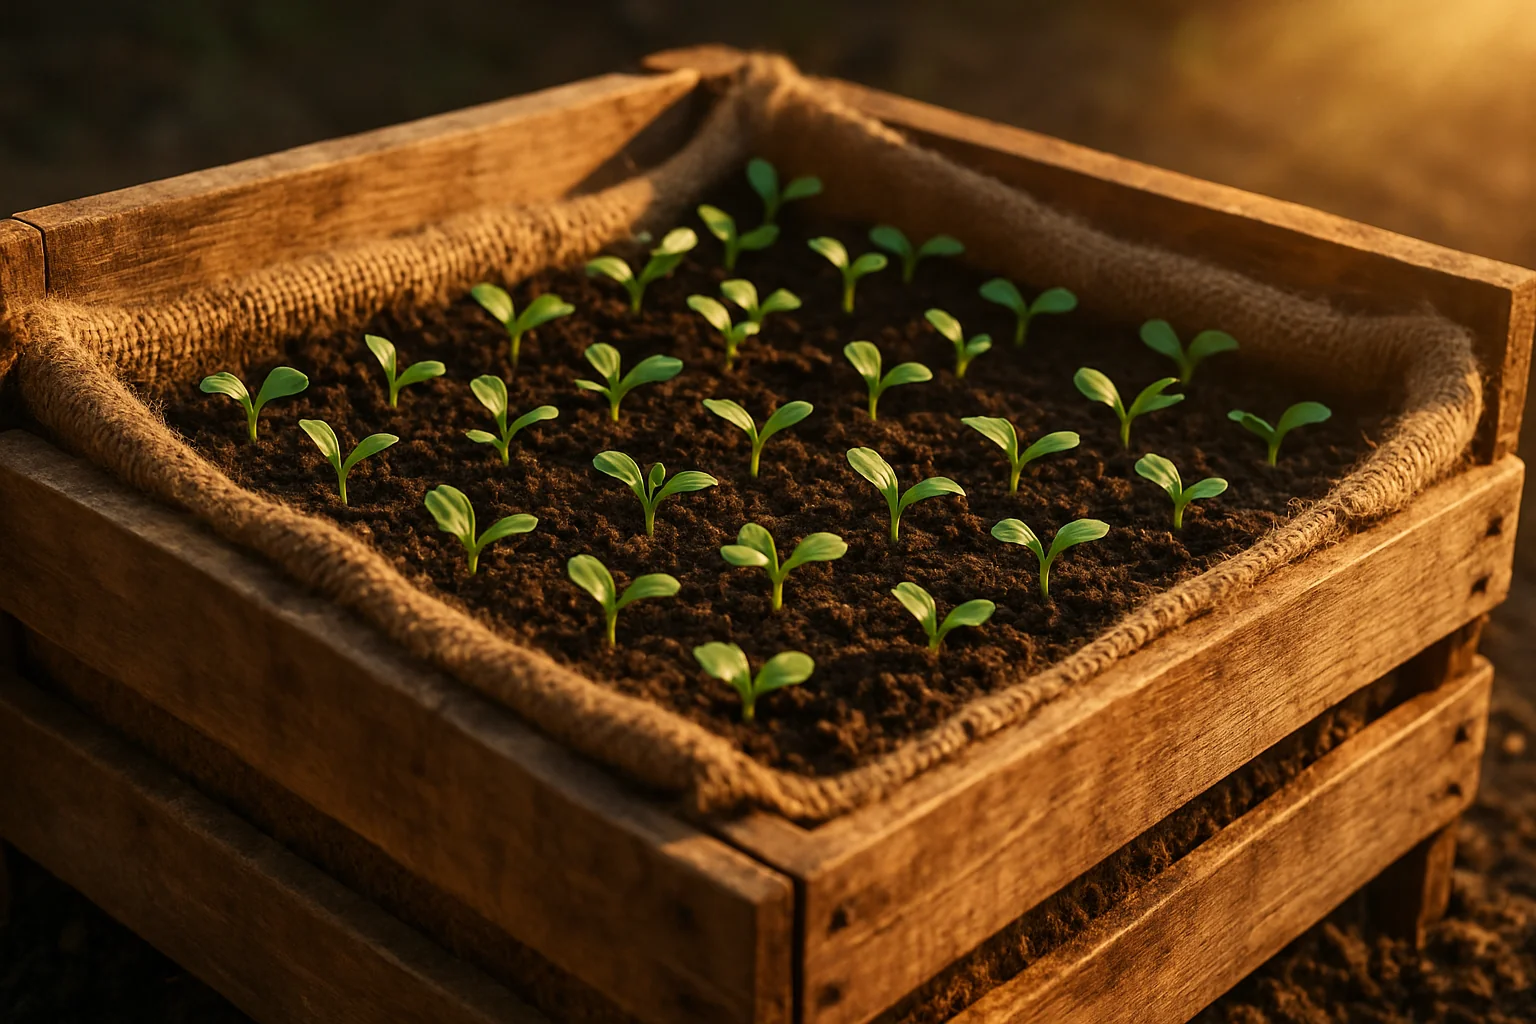
Using wooden pallets for seedling trays is an eco-friendly, cost-effective solution for gardeners looking to maximize space while starting their plants. Here’s how you can approach creating and using a wooden pallet seedling tray for your garden:
🌳 Why Choose a Wooden Pallet Seedling Tray? 🌱
Wooden pallets are durable and versatile, making them ideal for creating DIY seedling trays. They provide excellent drainage for your seedlings and allow for airflow around the roots, promoting healthy growth. Plus, pallets are easy to find and repurpose, making them an affordable choice for gardeners on a budget.
🛠️ Materials Needed: 🧰
- Wooden pallet (standard size)
- Landscape fabric or burlap (to line the tray)
- Staple gun or nails
- Potting soil
- Seedling trays or small pots (optional)
🏗️ Steps to Build Your Wooden Pallet Seedling Tray: 🪴
1. Select a Pallet: 📦
Choose a sturdy wooden pallet that is in good condition, free of splinters and nails. Ideally, use a pallet with slats spaced wide enough to allow water drainage.
2. Prepare the Tray: 🌿
Lay the pallet flat and line the inside with landscape fabric or burlap. This will help retain the soil while allowing water to drain through.
3. Secure the Liner: 🔨
Staple or nail the fabric around the edges to ensure it stays in place. Be sure to leave enough fabric around the sides to tuck in and hold the soil in.
4. Fill with Soil: 🌾
Add a layer of potting soil to the pallet. Make sure the soil is level and firm to create a solid base for your seedlings.
5. Plant Your Seedlings: 🌻
Use small pots or directly plant seeds into the soil. Arrange your seedlings to maximize space and light exposure.
6. Watering and Care: 💦
Regularly water your seedlings, ensuring the soil stays moist but not soaked. The pallet’s open design helps prevent waterlogging, but be mindful not to overwater.
🌟 Benefits of Using Wooden Pallet Seedling Trays: 🍃
- Cost-effective: Pallets are often free or low-cost and can be repurposed for multiple gardening projects.
- Better Drainage: The slats and fabric liner allow excess water to escape, reducing the risk of root rot.
- Easy to Move: Wooden pallet trays are lightweight and can be easily moved around to find the best sunlight for your plants.
- Space Efficiency: A pallet can accommodate multiple seedlings, making it perfect for smaller spaces like balconies or patios.
By utilizing a wooden pallet seedling tray, you’re not only saving money but also creating an efficient and sustainable solution for starting your garden. 🌼 Whether you’re growing vegetables, herbs, or flowers, this method provides a practical way to give your plants the best start possible. 🌿 For more creative options, explore these DIY seedling tray ideas to customize your garden setup.
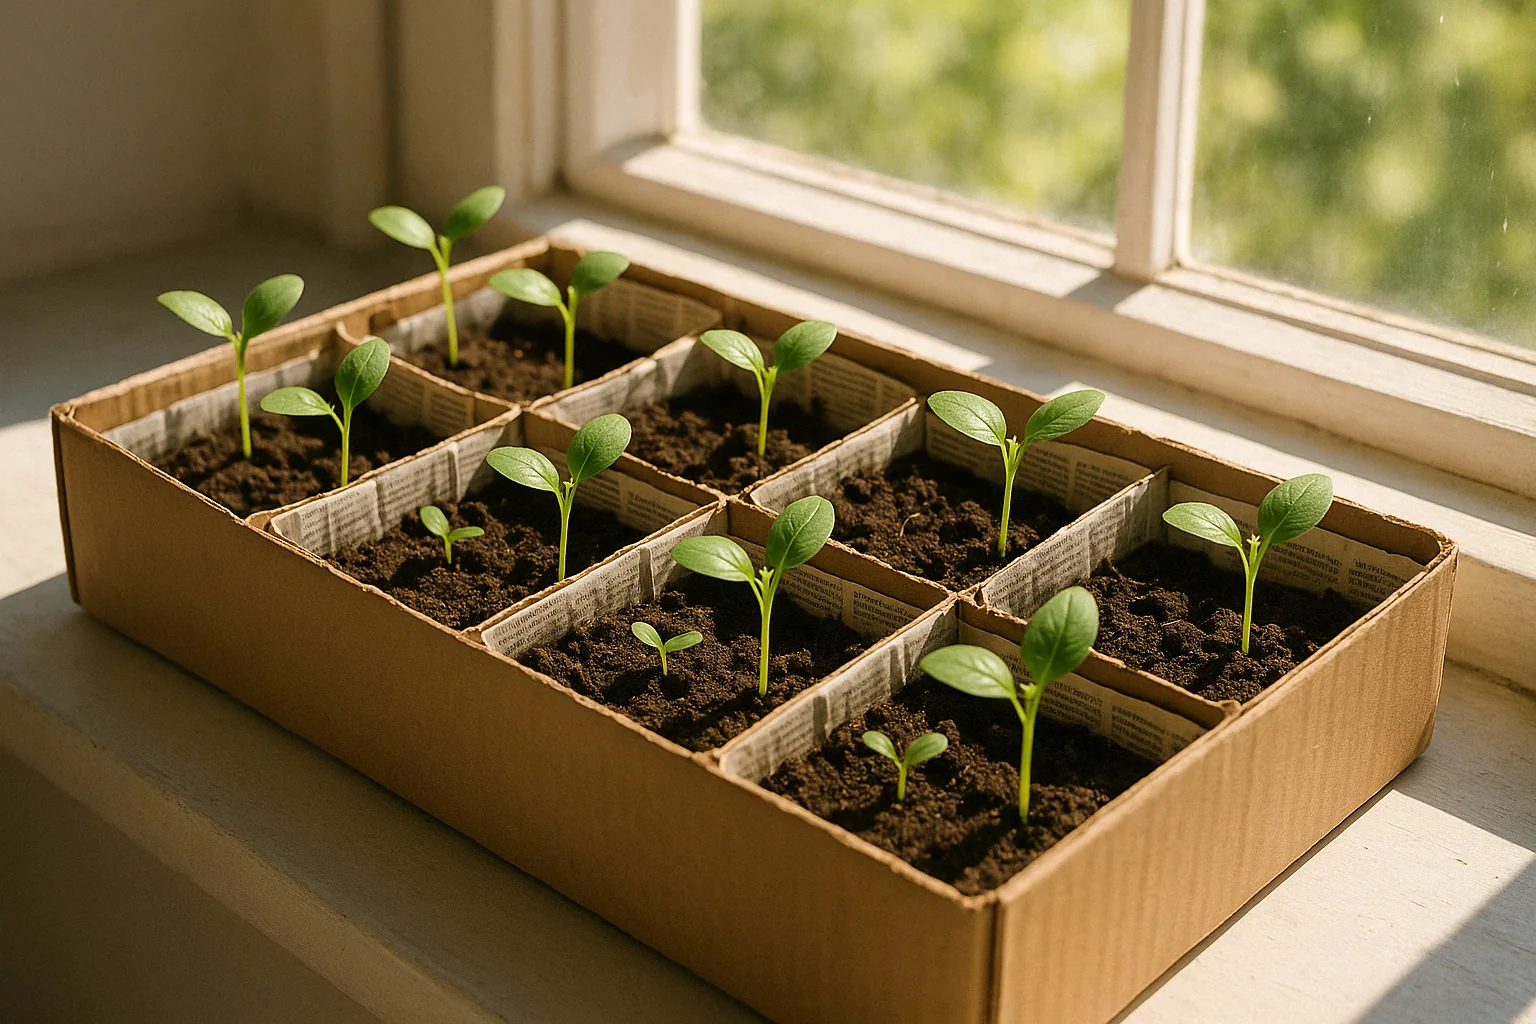
📦 Cardboard Box Seedling Tray 🌱
The Cardboard Box Seedling Tray method is an affordable, eco-friendly approach to starting seedlings. By repurposing cardboard boxes, you can create custom seedling trays that are both functional and sustainable. Here’s how to make the most of this method:
🌟 Benefits of Cardboard Box Seedling Trays: 🌿
- Cost-Effective: You can often find cardboard boxes for free, making this a budget-friendly option.
- Eco-Friendly: Cardboard is biodegradable, reducing waste while nurturing your plants.
- Versatile: Cardboard trays come in various sizes, allowing you to tailor them to your garden needs.
🛠️ How to Create a Cardboard Box Seedling Tray: 🌱
1. Choose the Right Box: 📦
Pick a sturdy cardboard box that can hold moisture but is not too heavy to move. Ensure it’s large enough to accommodate multiple seedlings.
2. Line the Box: 📰
Place a layer of newspaper, or a plastic liner if desired, to prevent water from soaking through the bottom.
3. Add Drainage: 🌧️
Make small holes in the bottom for drainage. This is crucial for avoiding waterlogging, which can harm young plants.
4. Fill with Soil: 🌾
Use a lightweight, well-draining potting mix to fill the box. Leave enough space at the top to water the seedlings without spilling.
5. Plant the Seeds: 🌸
Gently plant your seeds according to the spacing and depth recommendations on the seed packet.
6. Water and Care: 💧
Keep the soil moist but not soggy. Place the box in a sunny spot or under grow lights, depending on the type of plants.
🌟 Tips for Success: 🌞
- Watch for Overwatering: Cardboard can absorb moisture, so check the tray regularly to ensure it’s not too wet.
- Transfer Plants Early: Once the seedlings develop a few sets of leaves, it’s time to transplant them into your garden or larger pots to prevent overcrowding.
- Reuse Cardboard: After the seedlings have been transplanted, you can recycle the cardboard box or compost it if it’s biodegradable.
The Cardboard Box Seedling Tray method provides a simple and effective way to start your plants. By using items you likely already have, you save money and help the environment, all while growing healthy seedlings. 🌱 For more sustainable gardening hacks, explore these DIY seedling tray ideas and start planting with purpose.
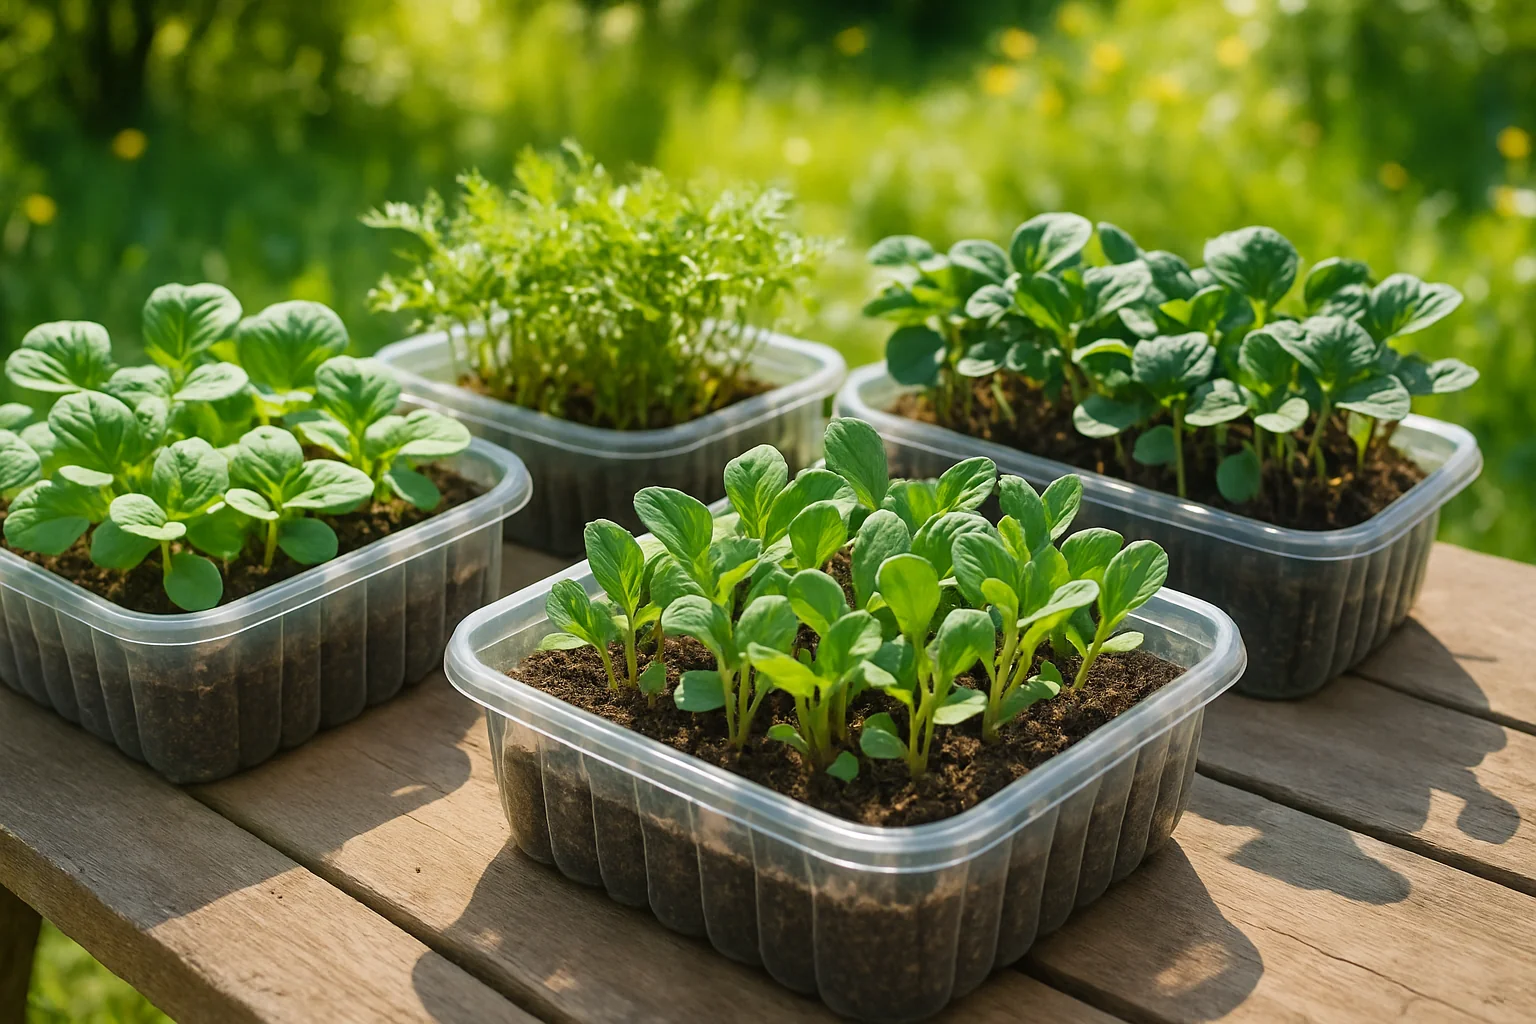
🍽️ Plastic Food Containers 🍴
Plastic food containers are a popular choice for storing food due to their affordability, versatility, and convenience. They come in various shapes and sizes, making them suitable for a wide range of uses, from storing leftovers to packing lunches. However, it’s essential to understand their benefits and limitations when choosing the right container for your needs.
🌟 Benefits of Plastic Food Containers: 🥡
- Lightweight and Durable: Plastic containers are easy to handle, lightweight, and durable enough to withstand daily use. Unlike glass containers, they’re less prone to breaking.
- Affordable: Plastic containers are generally more budget-friendly compared to glass or stainless steel alternatives, making them a practical option for most households.
- Variety of Sizes: Available in a wide range of sizes, plastic containers can be used for small snacks, large meals, and everything in between.
- Stackable: Many plastic containers are designed to be stackable, making them ideal for organizing food in the fridge or pantry.
⚠️ Considerations When Using Plastic Containers: 🌍
- Heat Sensitivity: Some plastic containers may warp or leach chemicals when exposed to high temperatures, especially in the microwave or dishwasher. Always check the manufacturer’s guidelines before using them in heat-related situations.
- Staining and Odors: Plastic containers, particularly those used for storing tomato-based or oily foods, may absorb stains or odors. Opt for BPA-free, food-safe plastic if possible, and avoid using containers that have become discolored or retain smells.
- Environmental Impact: While plastic containers are reusable, they contribute to plastic waste over time. Look for containers made from recycled plastic or those designed for long-term use to minimize environmental impact.
💡 Tips for Choosing Plastic Food Containers: 🧴
- Look for BPA-Free Options: Bisphenol A (BPA) is a chemical found in some plastics that can leach into food and pose health risks. Always opt for BPA-free plastic containers for safety.
- Choose Containers with Tight-Fitting Lids: A secure lid ensures your food stays fresh and prevents spills during storage.
- Check for Microwave and Dishwasher Safety: Make sure the plastic container is microwave and dishwasher safe for convenience and long-term use.
In summary, plastic food containers are an excellent, cost-effective solution for storing food, but it’s essential to choose quality options and use them properly to maximize their benefits. You can also repurpose them with DIY seedling tray ideas to give them a second life in your garden. Always prioritize health and safety by selecting BPA-free containers and following care guidelines. 🍽️
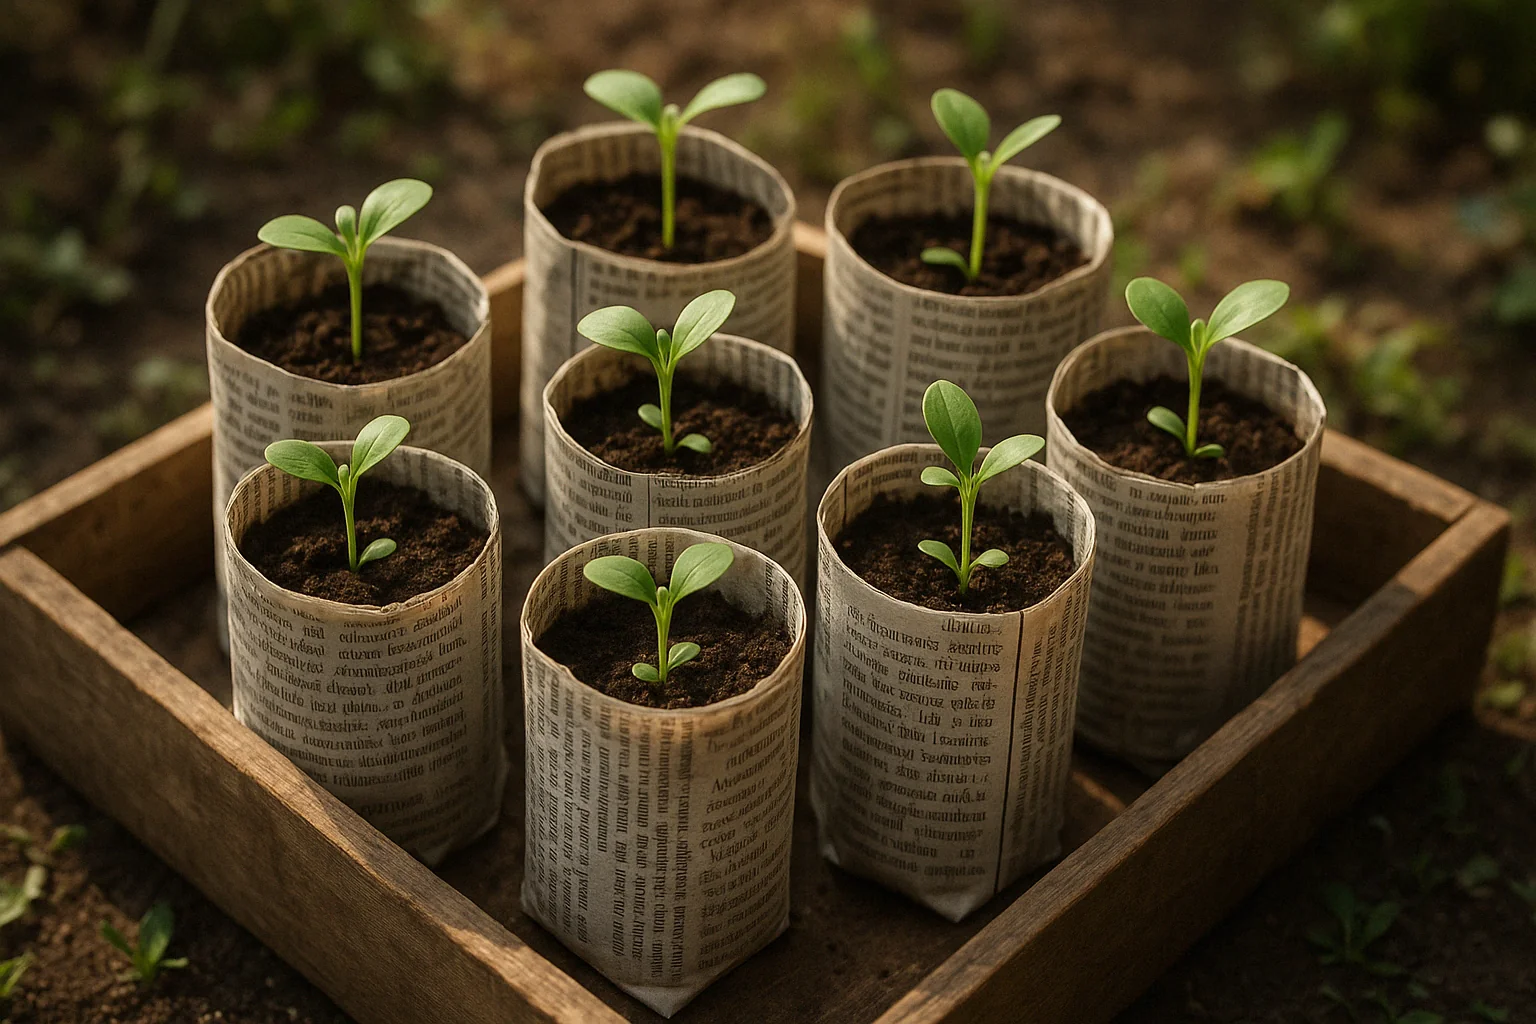
📰 Newspaper Pots and Trays 🌱
Newspaper pots and trays are an eco-friendly, cost-effective solution for starting plants from seeds. They’re simple to make and perfect for gardeners who want a sustainable way to grow their plants. Here’s how to use them effectively:
🌍 Why Use Newspaper Pots and Trays? 🌿
- Eco-friendly: Made from recycled materials, newspaper pots reduce waste and promote sustainability.
- Cost-effective: If you already have newspapers at home, it’s a budget-friendly option for seed starting.
- Biodegradable: As the plants grow, the pots can be planted directly in the ground, eliminating the need to remove them.
- Customizable: You can make pots of any size, giving flexibility depending on the plants you want to grow.
🛠️ How to Make Newspaper Pots: 📝
1. Gather Materials: 📃
You’ll need old newspapers, scissors, a pencil or wooden dowel, and tape.
2. Cut the Newspaper: ✂️
Cut strips of newspaper about 4-6 inches wide.
3. Wrap Around the Dowel: 🌀
Lay a strip of newspaper on a flat surface, then roll it around the pencil or dowel, leaving a few inches at the bottom to form the base.
4. Secure the Base: 🏠
Fold the extra newspaper at the bottom inward to create a sturdy base. Tape to hold the shape.
5. Fill with Soil: 🌱
Add your potting mix and plant your seeds.
🌟 Making Newspaper Trays: 🪴
Newspaper trays are ideal for starting multiple plants in a confined space. Simply fold and stack layers of newspaper to create a shallow tray, then fill it with soil and plant your seeds. These trays can be placed in a sunny area to promote growth.
💡 Tips for Success: 🌞
- Use sturdy newspaper: Heavier paper like newsprint works best.
- Water carefully: Newspaper pots can dry out quicker than plastic, so check moisture levels regularly.
- Plant in the ground: When your seedlings are ready, you can plant the pots directly in the garden, as they will decompose.
By using newspaper pots and trays, you not only help the environment but also create a smooth transition for your plants from indoors to the garden. Give it a try to save money and reduce plastic waste while growing your plants in a sustainable way! Explore these DIY seedling tray ideas to make your gardening even more eco-friendly and budget-friendly. 🌍
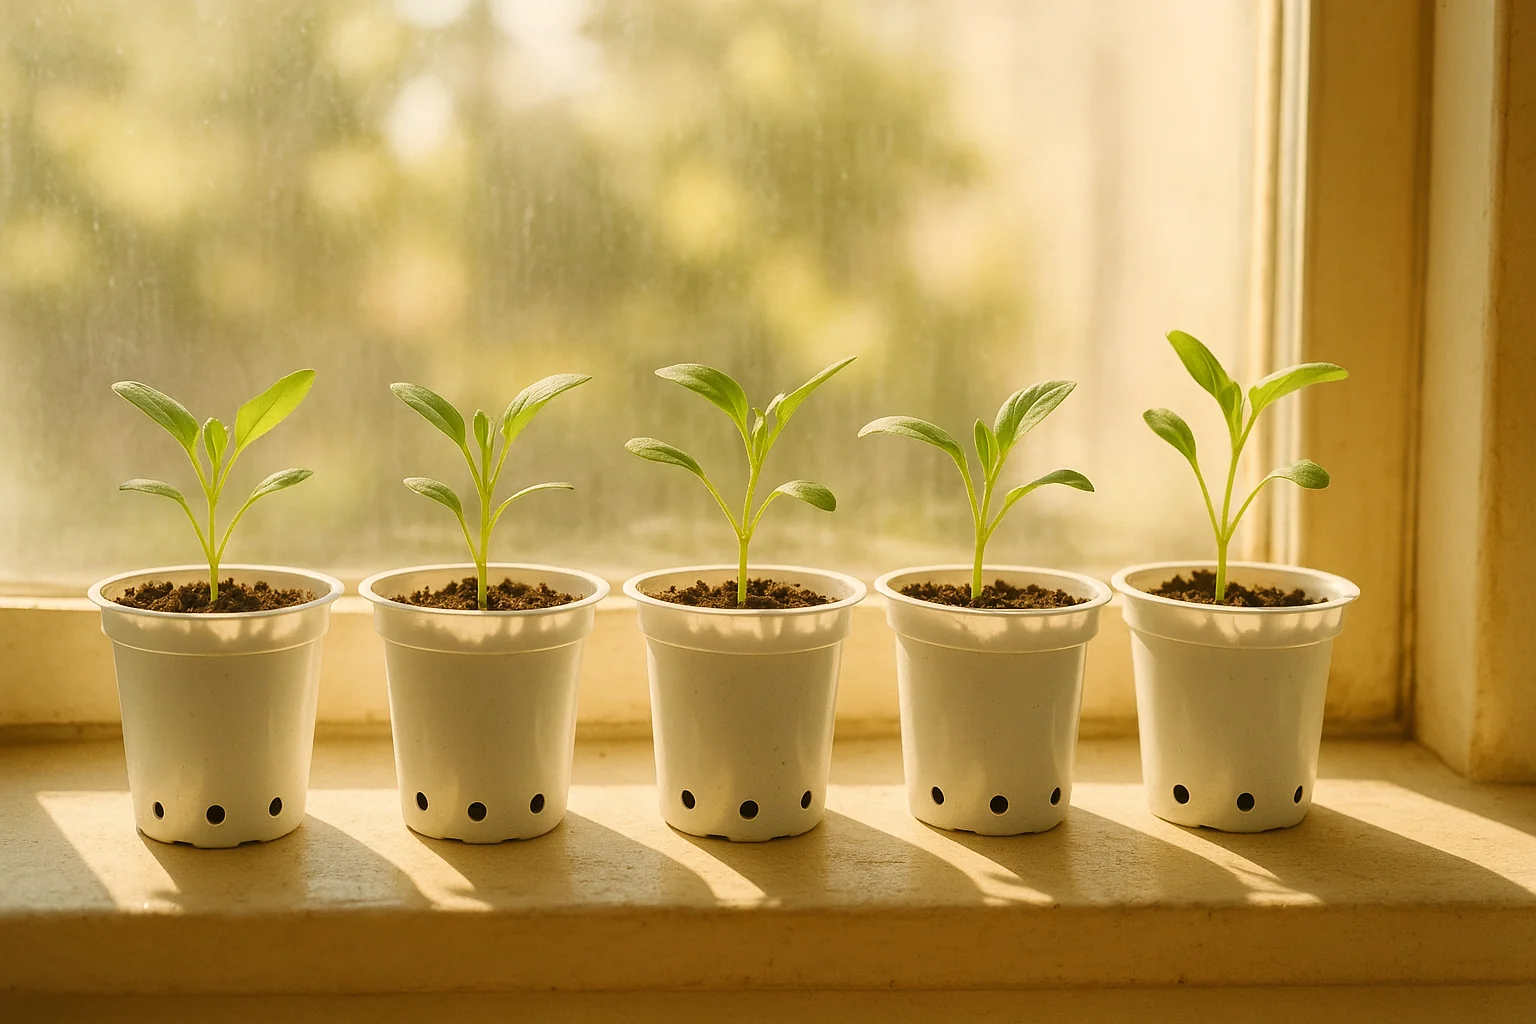
🍦 Yogurt Cup Seedling Trays 🍃
Using yogurt cups as seedling trays is an easy and eco-friendly approach to starting your plants. These common household items are perfect for gardeners looking for a cost-effective way to grow seeds. For more creative and budget-friendly options, try out these DIY seedling tray ideas to kickstart your garden. Here’s how to make the most of yogurt cups for your seedlings:
🧼 Prepare the Cups: 🥄
First, thoroughly clean the yogurt cups to remove any remaining yogurt residue. You can use a small drill or nail to create drainage holes at the bottom of each cup. Proper drainage is crucial to prevent waterlogging, which can lead to root rot.
🌱 Fill with Soil: 🌿
Use a lightweight, well-draining potting mix to fill your yogurt cups. Avoid heavy garden soil, as it may compact too easily and restrict root growth. Leave about an inch from the top of the cup to allow for water retention and easy watering.
🌻 Plant the Seeds: 🌸
Plant your seeds according to their specific depth requirements. Generally, a small hole (about 1/4 to 1/2 inch deep) is sufficient for most seeds. Gently cover the seeds with soil and water them lightly.
☀️ Place in a Sunny Spot: 🌞
After planting, place your yogurt cups in a warm, sunny location. Most seedlings require a minimum of 6-8 hours of light each day. If natural sunlight is scarce, consider using a grow light.
💧 Water Regularly: 🪴
Keep the soil moist, but not soggy. Use a spray bottle or gentle watering can to avoid disturbing the seeds. Check for moisture daily, especially in the early stages of growth.
🌱 Transplanting: 🌿
Once your seedlings have grown large enough and developed a strong root system, it’s time to transplant them into your garden or larger containers. Gently squeeze the sides of the yogurt cup to loosen the roots before transplanting.
🗄️ Old Drawer Seedling Tray 🌱
If you’re looking for an affordable and effective way to start your seeds indoors, the old drawer seedling tray method is a perfect solution. Repurposing an old drawer not only saves you money but also helps reduce waste. Here’s how to get started:
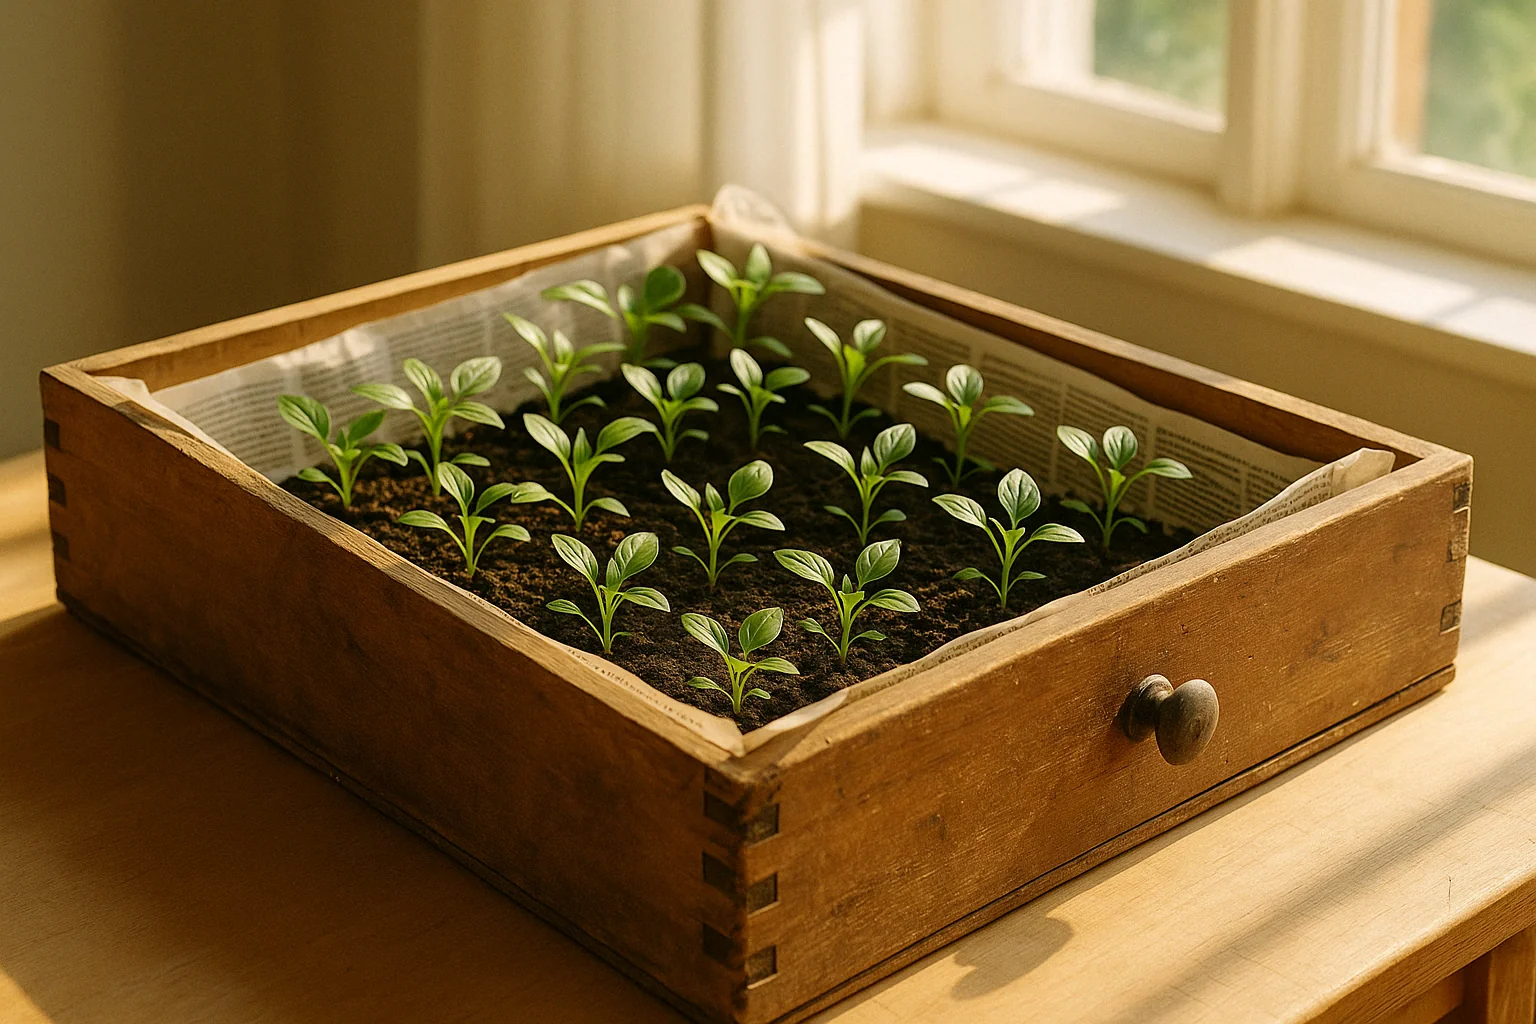
📏 Choose the Right Drawer: 🧳
Start by selecting a drawer that’s deep enough to hold soil and allow for proper root growth. An old kitchen or desk drawer works perfectly. The size of the drawer should accommodate the number of seedlings you want to grow.
🔨 Prepare the Drainage: 🌧️
While most drawers aren’t designed with drainage in mind, it’s essential to have proper water flow to prevent root rot. Use a drill to create small holes in the bottom of the drawer for drainage. If you don’t have a drill, you can also use a hammer and nail to create holes.
🧻 Add a Liner: 🧵
Line the bottom of the drawer with a layer of newspaper or burlap. This helps prevent the soil from escaping through the drainage holes while still allowing excess water to flow out.
🌿 Fill with Quality Soil: 🌾
Fill the drawer with a good-quality seed-starting mix. Avoid garden soil, as it may contain pests or diseases. The mix should be light and fluffy to provide excellent drainage and support healthy seedling growth.
🌱 Plant Your Seeds: 🌻
Follow the seed packet instructions for planting depth and spacing. Gently press the seeds into the soil, then lightly cover them with soil. Be sure not to overcrowd the seeds to give them enough room to grow.
💧 Water Carefully: 🌧️
Water the seedlings gently using a watering can with a fine spout or a spray bottle. Keep the soil consistently moist but not waterlogged. You may want to cover the drawer with clear plastic or a plastic dome to retain humidity until the seeds germinate.
🌞 Place in a Sunny Spot: 🌞
Place the drawer in a location with plenty of indirect sunlight or under grow lights. Ideal temperatures for seed starting are between 65°F and 75°F (18°C – 24°C).
🌱 Monitor Growth: 🌿
As your seedlings start to sprout, ensure they get enough light to grow strong and healthy. Thin them out as needed to prevent overcrowding and ensure each seedling gets enough space.
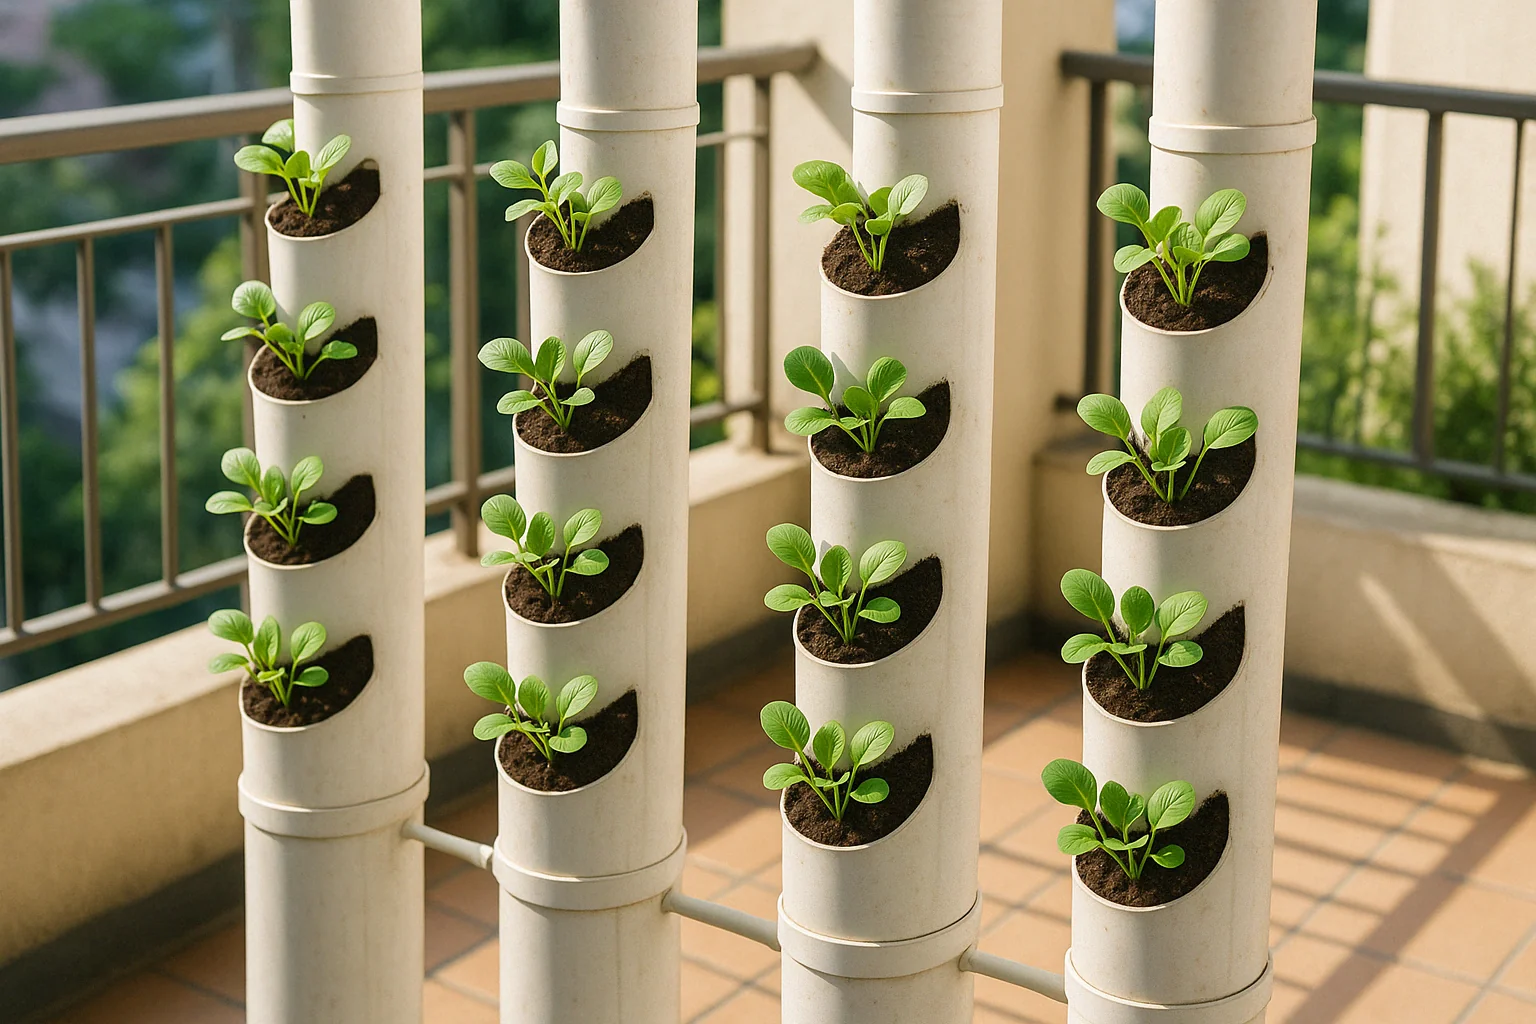
🚪 PVC Pipe Seedling Planters 🌱
PVC pipe seedling planters offer a budget-friendly, efficient, and space-saving solution for starting plants. This method is perfect for gardeners with limited space or those looking for a simple way to grow healthy seedlings before transplanting them into the garden. Here’s why PVC pipe planters are a great choice for your gardening needs:
💰 1. Cost-Effective Materials 🏷️
PVC pipes are inexpensive and easy to find at most hardware stores. They’re a great option for those looking to grow multiple seedlings without breaking the bank. The versatility of PVC allows for creative designs, whether you’re building vertical or horizontal planters.
🛠️ 2. Easy to Assemble 🧰
Creating a PVC pipe seedling planter is simple. All you need are PVC pipes (cut to the desired length), a saw, and some PVC end caps. You can customize the size and shape of your planter to fit your space or aesthetic preferences. Adding drainage holes is key to preventing waterlogging and promoting healthy root growth.
🏡 3. Space Efficiency 🌿
One of the biggest advantages of PVC pipe planters is their ability to save space. The vertical design allows you to grow a large number of seedlings in a small area, ideal for small yards, patios, or balconies. This method also helps reduce the need for traditional garden rows, making it easier to maintain plants.
💧 4. Drainage and Airflow 🌬️
Proper drainage is crucial for seedling health. PVC pipes are easy to drill with small holes at the bottom, allowing excess water to escape and ensuring roots receive adequate airflow. Good drainage helps prevent root rot, which is a common issue with container gardening.
🌡️ 5. Temperature Regulation 🌞
PVC pipes provide natural insulation against temperature fluctuations. The material helps maintain consistent soil temperature, promoting healthier seedlings. This is especially helpful when growing in areas with extreme weather conditions.
🚚 6. Mobility and Flexibility 💡
The lightweight nature of PVC means you can move your planters easily, ensuring that your seedlings get optimal sunlight or protection from harsh conditions. This flexibility allows you to adapt your growing environment as needed.
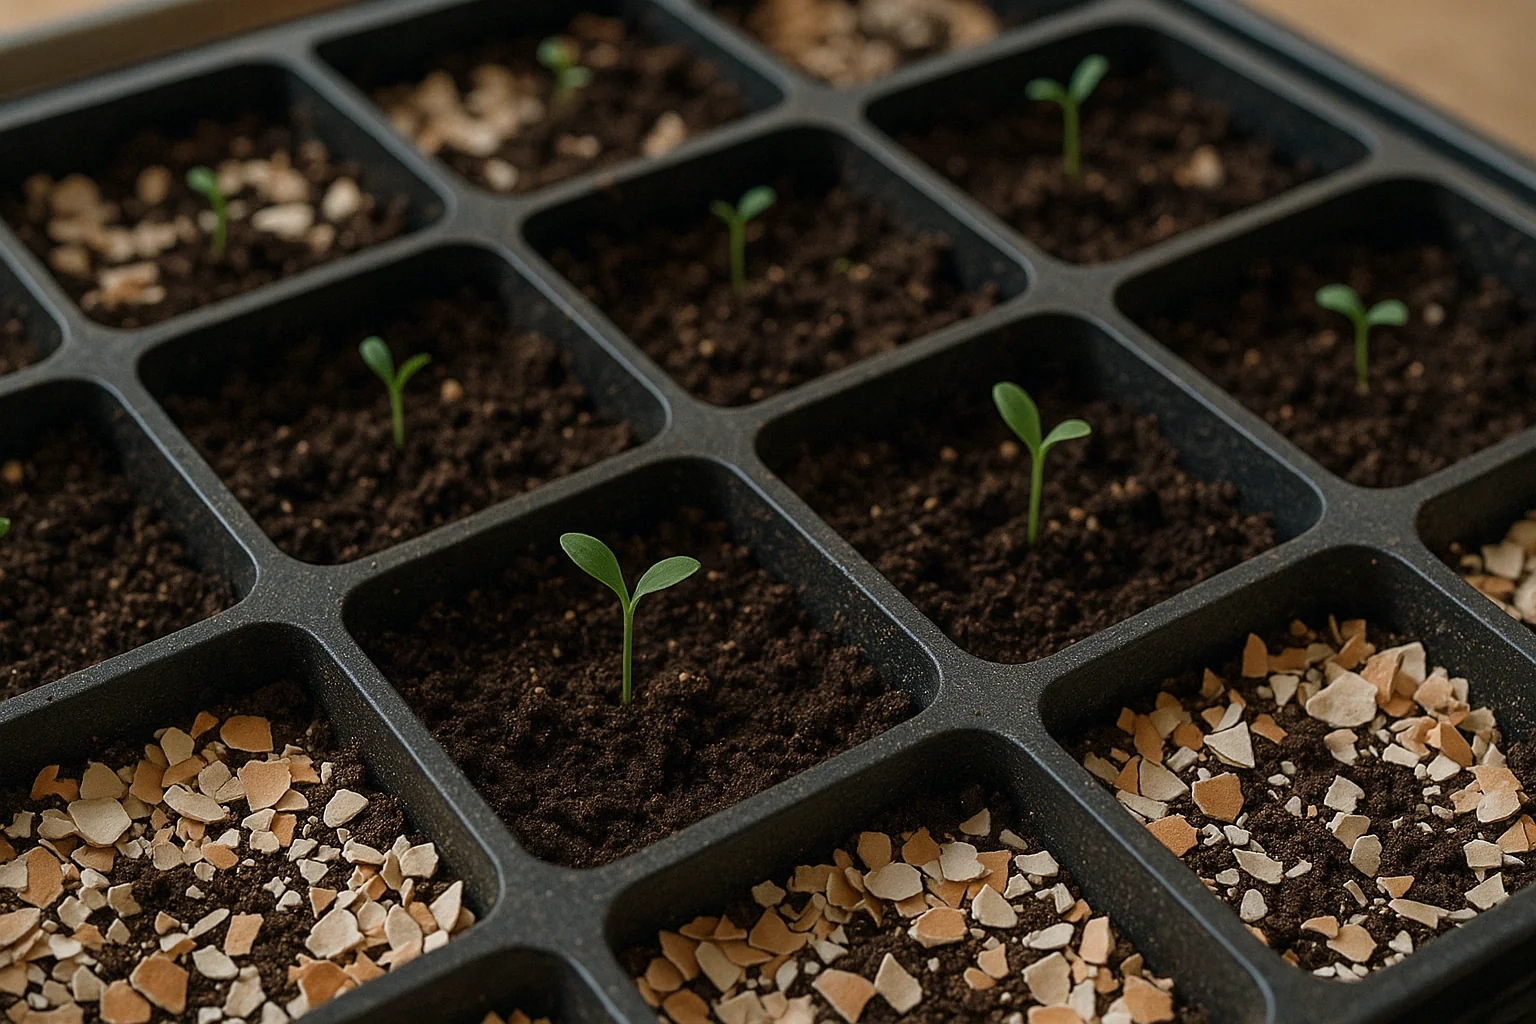
🥚 Recycled Eggshells for Seedling Trays 🌱
Using recycled eggshells in seedling trays is an eco-friendly and cost-effective way to start your plants. Eggshells provide essential nutrients and help create a healthier growing environment for young plants.
🧐 Why Eggshells? 🌿
Eggshells are rich in calcium, which strengthens cell walls and helps prevent blossom end rot in tomatoes and peppers. They also offer trace amounts of other minerals like potassium and magnesium, supporting robust plant growth.
🧱 How to Use Eggshells for Seedling Trays 🏡
1. Prepare the Eggshells: 🥄
Gently crush eggshells into small pieces. You can break them by hand or use a mortar and pestle for a finer texture.
2. Place in Trays: 🍽️
Place the crushed eggshells at the bottom of each seedling cell. This serves as a natural drainage layer, preventing soil from compacting and allowing excess water to escape.
3. Fill with Soil: 🌾
Add potting mix on top, ensuring the seedlings can root into the rich soil while benefiting from the minerals in the eggshells.
🌱 Additional Benefits of Eggshells 🌸
- Pest Control: 🐌 Crushed eggshells create a sharp barrier around seedlings, deterring slugs and snails from attacking.
- pH Balance: ⚖️ Eggshells can help neutralize overly acidic soils, improving overall soil health.
Using eggshells not only helps recycle kitchen waste but also gives your seedlings a healthy start, making them stronger and more resilient as they grow.
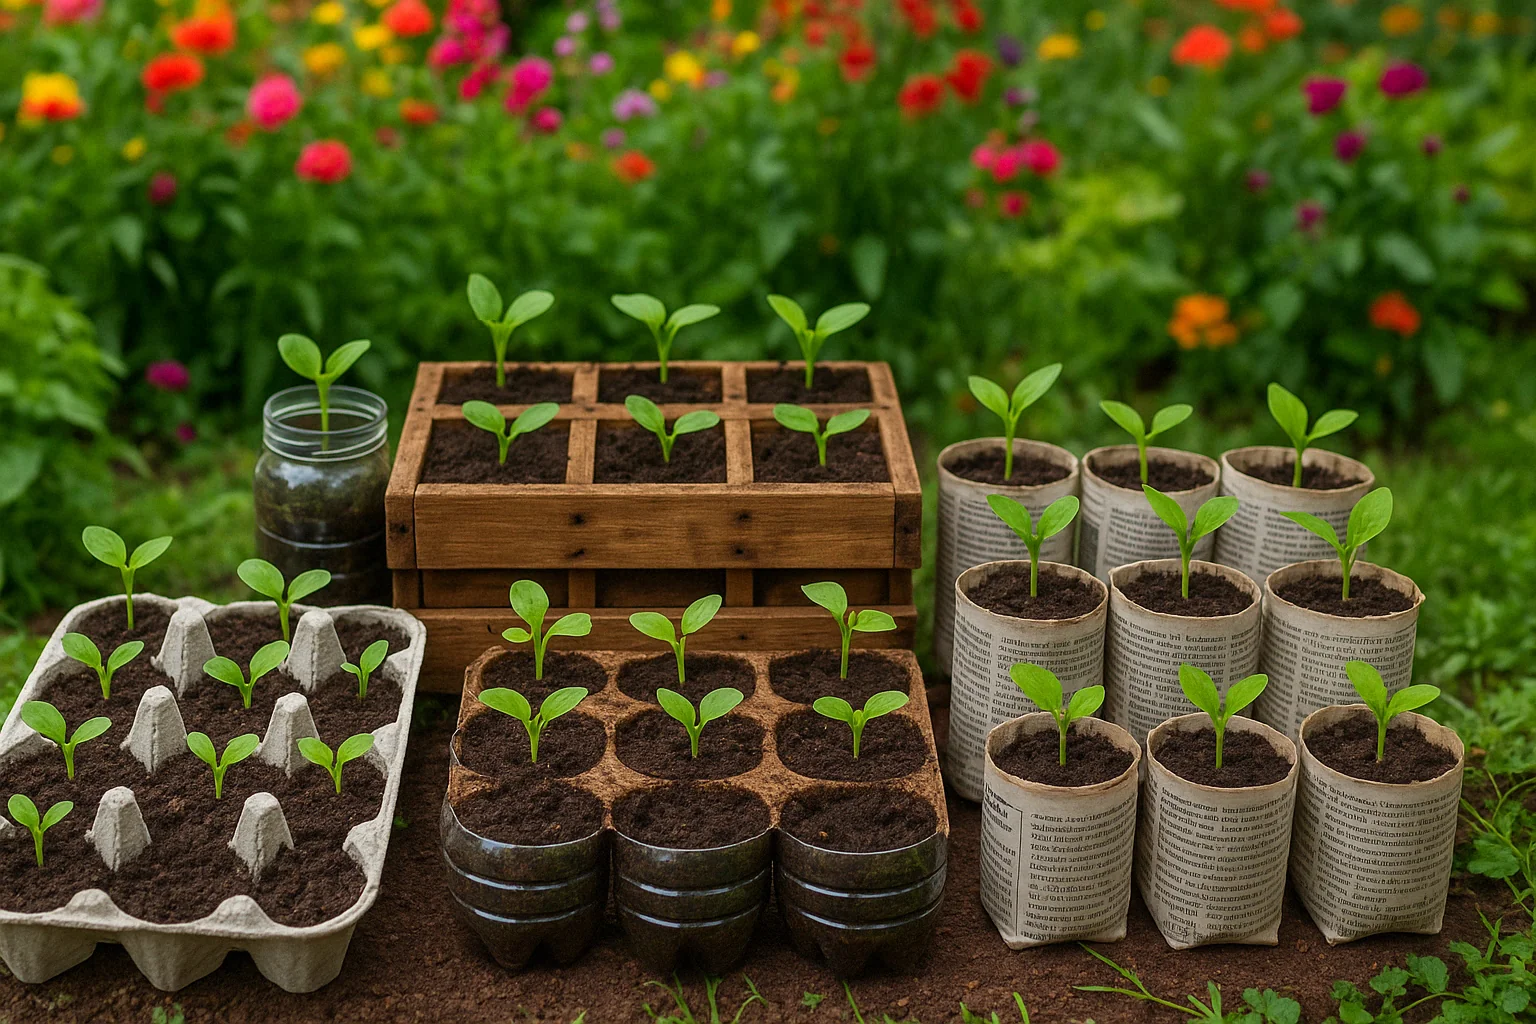
🌱 Wrapping Up: Creative Seedling Trays 🌸
Creating your own seedling trays is a simple and cost-effective way to kickstart your gardening journey. From repurposing common household items like egg cartons and yogurt cups to using eco-friendly materials like newspaper and eggshells, the possibilities are endless. Not only will these DIY seedling tray ideas help you save money, but they also contribute to a more sustainable gardening practice. Whether you’re growing a few plants or a full vegetable garden, these budget-friendly solutions can provide the perfect environment for healthy seedling growth.
So, get creative with your choices and have fun experimenting with different materials. Your plants will thank you for the extra care and attention, and you’ll feel great knowing you’re helping the planet while growing a thriving garden. Looking for inspiration? Try these DIY seedling tray ideas to kickstart your eco-friendly gardening journey.🌿 Happy planting! 🌱