

Commercial elderberry syrups easily cost upwards of $20 for a tiny bottle, yet cultivating elderberry plants in a backyard garden can yield a massive, virtually free supply of this powerful superberry. Many gardeners treat elderberries like standard wild brambles, planting them in a forgotten corner and hoping for the best. This approach usually results in wild, tangled foliage and surprisingly sparse fruit. With the right site selection, targeted moisture management, and a dedicated cane-renewal pruning strategy, a single mature bush can easily yield 12 to 15 pounds of rich, dark berry clusters every single year. 🫐🌿
Cultivating heavy-bearing Sambucus requires navigating a few specific nuances, from critical cross-pollination requirements to specialized pruning techniques that direct the plant’s energy into berry production rather than useless vegetative suckers. This guide breaks down the exact steps to establish, maintain, and maximize the harvest from your home elderberry orchard.
-
Understanding Elderberry Plants: Botany, Species & Top Cultivars
-
Site Selection: Creating the Ideal Microclimate & Soil Preparation
-
Step-by-Step Planting Guide: Bare-Root vs. Potted
-
Ongoing Care: Watering, Feeding & Root Protection
-
Pruning Elderberries: The Cane-Renewal Method for Maximum Yield
-
Troubleshooting: Pest Management & Disease Defense
-
Harvest & Safety: Storage hacks and crucial preparation rules
-
Frequently Asked Questions
Understanding Elderberry Plants: Botany, Species & Top Cultivars 🔬🌱
Elderberries belong to the Sambucus genus, characterized by their vigorous, perennial root systems and multi-stemmed cane growth. Before digging your first hole, it is essential to understand the biological differences between the primary species and select cultivars bred specifically for fruit production rather than ornamental landscaping.
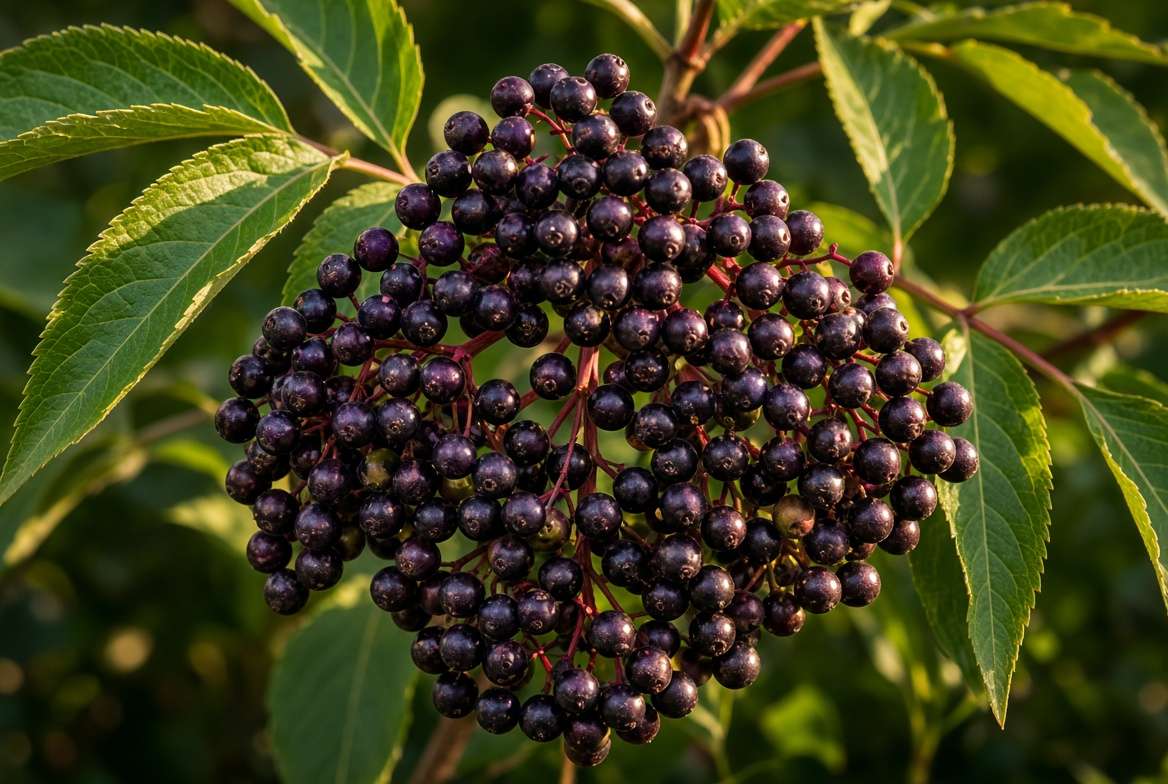
American vs. European Elderberries (Sambucus canadensis vs. Sambucus nigra)
The two dominant species cultivated for medicinal and culinary use behave slightly differently depending on your climate:
-
American Elderberry (Sambucus canadensis): Native to North America, this species thrives in USDA Hardiness Zones 3 through 9. It is highly adaptable, somewhat more tolerant of heat, and typically produces sweeter berries. The American varieties flower and set fruit on both new wood (first-year canes) and older wood, making them incredibly generous producers.
-
European Elderberry (Sambucus nigra): Grown widely across Europe and suited for Zones 4 through 8, this species forms a more tree-like structure. The berries are slightly more tart and astringent, often preferred for traditional wine-making and distinct medicinal extracts.
Best High-Yield Cultivars for Backyard Growers
Wild elderberry bushes are highly variable; their berries ripen unevenly and clusters are often small. For a massive, reliable harvest, plant named cultivars bred for commercial and homestead productivity.
-
‘York’ & ‘Adams’: This is the classic American power pair. ‘York’ produces some of the largest berries of any cultivar, while ‘Adams’ is renowned for its vigor and huge flower clusters. Planting them together guarantees excellent cross-pollination.
-
‘Bob Gordon’ & ‘Wyldewood’: Commercial favorites that have changed the game for backyard growers. ‘Bob Gordon’ is unique because its massive berry clusters naturally hang upside down as they ripen, which physically protects the fruit from thieving birds. ‘Wyldewood’ is a prolific, heavy yielder that thrives in the Midwest and South.
-
Dual-Purpose Edible Ornamentals: If you are strictly doing edible landscaping, Sambucus nigra cultivars like ‘Black Lace’ (dark purple, deeply cut foliage) or ‘Lemony Lace’ (chartreuse foliage) offer stunning aesthetics alongside harvestable fruit, though their yields will not match ‘Bob Gordon’ or ‘York’.
The Cross-Pollination Secret (Why One Bush Isn’t Enough) 🐝
One of the most common reasons for poor fruit set is the myth of self-fertility. While elderberry bushes are technically partially self-fertile, a lone bush will produce loose, sparse clusters. Planting two distinct cultivars within 50 to 60 feet of each other boosts overall fruit set by up to 60%. The genetic diversity improves pollen exchange via wind and native bees, resulting in tighter, heavier cymes (flower clusters) and significantly larger berries.
Site Selection & Soil Preparation: Setting the Foundation ☀️🪵
Elderberries are vigorous survivors, but “surviving” is not the same as “thriving.” Setting up the proper soil ecosystem and microclimate dictates whether you spend the next decade harvesting heavy clusters or battling root rot.
Site Selection: Creating the Ideal Microclimate
-
Light Exposure: Elderberries tolerate partial shade, particularly in the wild under canopy trees. However, for maximum flower development and sugar accumulation (Brix) in the fruit, plant them in full sun, requiring 6 to 8+ hours of direct sunlight daily. Plants in heavy shade will become leggy and prone to fungal diseases.
-
Wind Protection & Spacing: While they need good airflow to prevent powdery mildew, intense, unprotected winds can snap heavy fruit canes in late summer. Space your plants strategically: 6 to 8 feet apart in rows, and 10 to 12 feet between rows. This allows ample room for root expansion, easy harvesting, and crucial air circulation to dry morning dew off the leaves.
Soil Preparation & Drainage (Debunking the “Swamp Plant” Myth) 🪱
There is a persistent gardening myth that elderberries are “swamp plants” that want to be submerged in water. This is false.
-
The “Wet Feet” Nuance: Elderberries love consistent moisture, but their root systems require oxygen. Stagnant, oxygen-depleted standing water will quickly induce Phytophthora root rot, killing a mature bush in a single season. They naturally grow on the banks of streams, not in the stagnant bogs.
-
Ideal Soil Metrics: Target rich, well-draining, loamy soil. Elderberries prefer a slightly acidic to neutral pH ranging from 5.5 to 6.5.
-
Soil Amendments: Before planting, deeply amend the native soil. Work 2 to 3 inches of aged manure, mushroom compost, or broken-down leaf mold into the top 10 inches of the soil bed. This increases organic matter, which simultaneously improves drainage in heavy clay and boosts water retention in sandy soils.
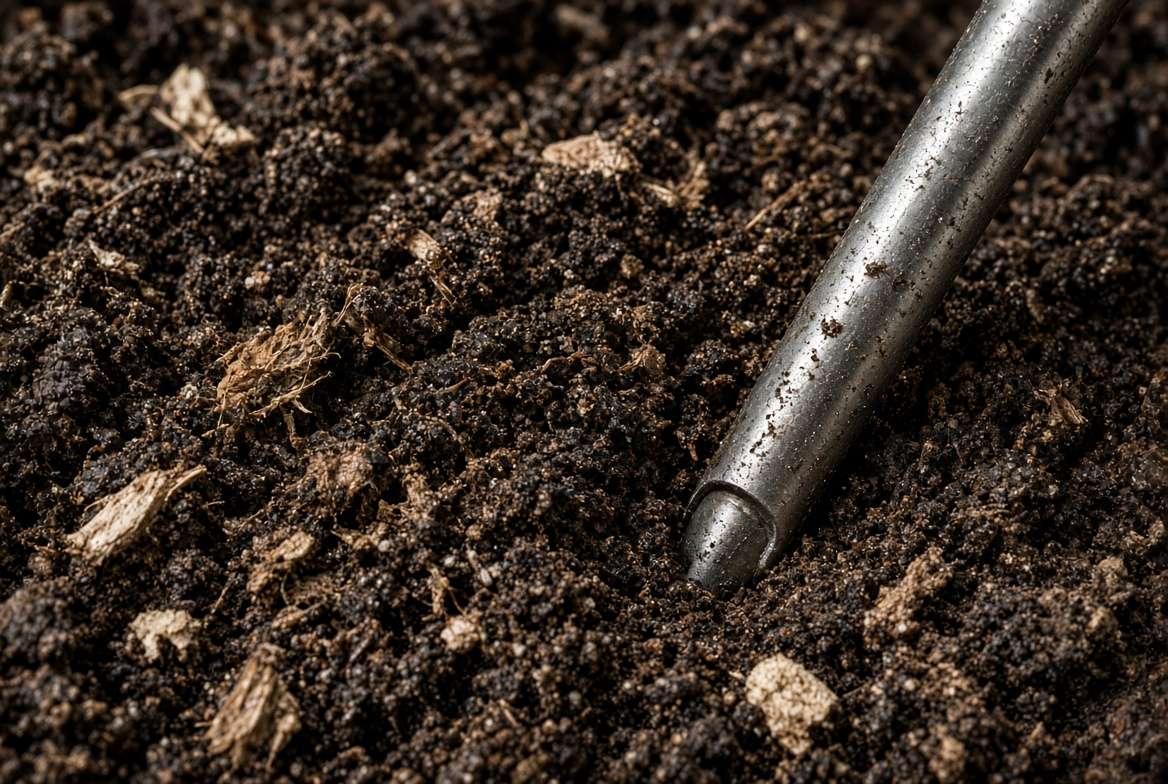
Step-by-Step Planting Guide: Bare-Root vs. Potted 🪴🧤
Your planting technique dictates how quickly the root system establishes. Bare-root dormant plants are best planted in early spring as soon as the soil is workable, while container-grown plants can be planted in early spring or early autumn.
Step 1: Root Prep & Pre-Soaking
If you ordered dormant bare-root canes, their roots will arrive dehydrated. Submerge the root systems in a bucket of room-temperature water or diluted compost tea for 3 to 4 hours prior to ground contact. This wakes the root capillaries up and reduces transplant shock.
Step 2: Digging and Depth Alignment
Dig a hole twice as wide as the root mass but exactly the same depth. Do not plant elderberries too deep. The crown of the plant (where the roots meet the stem) should sit about one inch above the surrounding soil level to accommodate future settling and prevent collar rot.
Step 3: Backfilling, Settling, and Trench Watering
Hold the cane upright and backfill with your native amended soil. Do not aggressively stomp the soil down, as this crushes the delicate, fibrous roots. Instead, water the hole deeply when it is halfway filled to naturally settle the soil and eliminate subterranean air pockets, then finish backfilling.
Step 4: The 3-Inch Woodchip Armor
Apply a 3-inch layer of hardwood mulch, pine straw, or aged woodchips in a 3-foot radius around the plant. This regulates soil temperature and suppresses aggressive weed competition. Crucial detail: Pull the mulch back 2 inches away from the actual woody stems to prevent moisture buildup against the bark, which invites fungal issues and hungry rodents.

Ongoing Care: Watering, Feeding & Root Protection 💧🌾
Seasonal Care Schedule: Water, Fertilizer, and Root Care
Once your elderberry plants are in the ground, their long-term health depends heavily on consistent moisture and nutrient management. Because they are fast growers, their seasonal needs change rapidly from spring bud break to late-summer harvest.
Irrigation Protocols for Fruit Swell
Elderberries are exceptionally thirsty plants, especially during the critical periods of flowering and fruit set. They require 1 to 2 inches of water per week. If natural rainfall falls short, supplemental irrigation is mandatory. Without adequate water during the “fruit swell” phase, your berries will prematurely shrivel, drop, or become unpleasantly bitter.
Expert Tip: Always use drip irrigation or soaker hoses placed beneath the mulch layer. Overhead watering with sprinklers coats the broad foliage in moisture, creating the perfect breeding ground for fungal pathogens like leaf blight and powdery mildew.
Fertilization Without Nitrogen Toxicity
A common mistake novice growers make is blasting their elderberry bushes with high-nitrogen lawn fertilizers or raw poultry manure. Excessive nitrogen forces the plant into aggressive vegetative growth. You will end up with a massive, ten-foot-tall bush covered in giant, fragile leaves—and virtually zero flowers or fruit.
Instead, feed your bushes a balanced organic fertilizer (such as a 10-10-10 or 5-10-10 blend) in early spring just as the green leaf buds begin to break. Broadcasting an organic granular feed beneath the drip line ensures steady, slow-release nutrition that supports root health and flower development without causing a nitrogen spike.
Protecting Shallow, Fragile Roots
Unlike deep-taproot fruit trees, elderberry feeder roots are incredibly shallow, occupying just the top 2 to 4 inches of the soil profile.
The Golden Rule of Elderberry Care: Never use a rototiller, hoe, or deep mechanical cultivator within the drip line of the bush. Slicing through these delicate feeder roots will drastically stunt the plant and invite soil-borne diseases. Rely entirely on a thick mulch layer to suppress weeds, and strictly hand-pull any aggressive weeds that manage to break through.
Pruning Elderberries for Maximum Fruit Yield ✂️🌿
The Cane-Renewal Pruning Method (The Skyscraper Secret)
If there is one master skill that separates backyard amateurs from commercial orchardists, it is pruning. Elderberry plants left to their own devices will quickly become a chaotic thicket of weak, decaying wood that produces fewer and smaller berries every year. The Cane-Renewal Method channels the plant’s energy strictly into heavy fruiting wood.
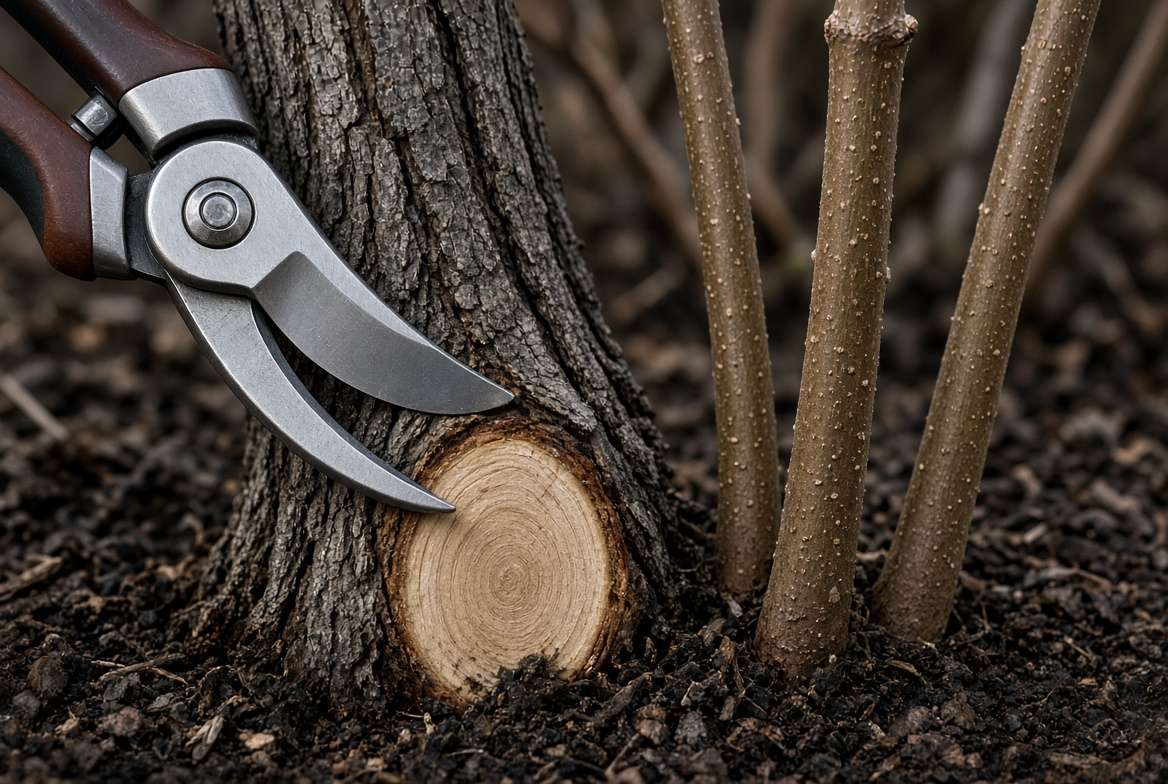
Year 1 & 2 Strategy: Building Structural Framework
Patience is required in the beginning. During the first two years, your primary goal is robust root development, not a massive harvest. Let the plant grow somewhat wildly. In Year 1, it is highly recommended to snip off developing flower heads. While it hurts to sacrifice that first taste, removing the flowers redirects the plant’s energy downward, establishing a massive root system that will support explosive cane growth in Year 2.
Year 3+ Cane-Renewal Protocol: 1-Year vs. 2-Year Wood
Understanding elderberry biology is key: The heaviest, largest fruit clusters develop on vigorous second-year canes, as well as on the lateral shoots of strong first-year canes. By the time a cane is three years old, its productivity plummets, and it merely drains resources from the rest of the bush.
Perform this 3-step dormant pruning protocol every late winter (February or March):
-
Eliminate the Old: Identify any canes that are 3 years or older (they will have deeply furrowed, grayish, peeling bark). Cut them completely flush to the ground. Remove all dead, broken, or diseased wood.
-
Thin the Young: Your bush will likely have pushed up dozens of new, first-year suckers (smooth, light brown/green bark). Thin these out, keeping only the 6 to 8 most vigorous, upright canes. Remove any flimsy, pencil-thin suckers at ground level.
-
Tip the Laterals: On your remaining healthy canes, lightly trim back the lateral side-branches by about 20%. This structural cut encourages the plant to form dense, heavy flower cymes rather than stretching out into weak, leggy growth.
Troubleshooting: Pest Management & Disease Defense 🐛🛡️
Identifying and Managing Common Elderberry Problems Organically
Even the hardiest elderberry bushes face environmental pressures. Swift identification and organic intervention are crucial for protecting your harvest.
Harvest, Kitchen Safety & Post-Harvest Storage 🧺⚠️
Harvesting Elderberries: When & How to Pick Like a Pro
Elderberries do not ripen all at once; you will typically harvest a single bush in 2 or 3 waves over a couple of weeks.
The Brix & Color Test: Do not harvest just because the berries are dark. Wait until the berries achieve a deep, opaque purple-black coloration and become slightly soft to the touch. The ultimate indicator of ripeness is the stem holding the berry cluster (the pedicel): it should transition from bright green to a deep, wine-red or purplish hue.
Harvest Technique: Never try to pluck individual berries off the bush. Use sharp pruning shears to snap or clip the entire main stem of the cluster (umbel). Place the clusters gently in a shallow, wide basket to prevent the bottom layers from crushing under their own weight.
The Freezing De-Stemming Hack ❄️
Processing fresh elderberries by hand is notoriously tedious and stains fingers purple for days. The fastest, cleanest method is the freezing hack:
-
Place the freshly harvested, intact clusters into a deep freezer for 2 to 3 hours until completely solid.
-
Hold the frozen cluster by the main stem inside a large bowl and gently rub the flowers, or use the tines of a fork to comb them.
-
The frozen berries will snap cleanly off the stems without bursting, leaving you with perfect, juice-free berries ready for processing.

Crucial Safety Alert: Sambunigrin Glycosides (Never Eat Raw!) ☠️
Expert Safety Warning: Elderberry plants possess incredible medicinal benefits, but they demand respect in the kitchen. The leaves, stems, roots, unripe green berries, and the seeds of raw ripe berries contain cyanogenic glycosides (specifically sambunigrin), which metabolize into hydrogen cyanide in the human digestive tract. Consuming raw elderberries can cause severe nausea, vomiting, and gastrointestinal distress.
The Fix: These compounds are strictly heat-labile, meaning they are completely neutralized by proper cooking. To safely prepare elderberries for syrups, jams, or extracts, you must simmer the de-stemmed berries, uncovered, for a minimum of 30 to 45 minutes. The boiling process safely evaporates the volatile compounds, leaving behind a nutrient-dense, perfectly safe culinary ingredient.
Frequently Asked Questions ❓💡
Q: Can I grow elderberry plants in large containers?
Yes. While large, standard varieties will struggle, compact or dwarf cultivars can thrive in 15- to 20-gallon half-barrels. Ensure the container has excellent drainage and uses a loose, loamy potting mix. Container-grown elderberries require far more frequent watering and will need root-pruning every few years to prevent them from becoming root-bound.
Q: How long does an elderberry bush take to produce fruit?
Elderberries are fast to establish. You will typically see a modest berry production in year two, with full, commercial-scale harvests achieved by years three and four, provided they are pruned correctly.
Q: Are elderberries toxic to dogs, cats, and livestock?
Yes, all vegetative parts of the plant (fresh foliage, bark, roots) and raw berries are toxic to household pets and livestock like cattle and horses due to the cyanogenic compounds. Keep animals fenced away from new plantings and do not let dogs forage dropped raw berries.
Q: How do you propagate elderberry bushes from cuttings?
Elderberries are exceptionally easy to propagate. Hardwood cuttings (pencil-thick, roughly 8 to 10 inches long with at least two node pairs) taken in late winter root very easily. Stick them into damp potting mix with high humidity; rooting success rates often exceed 85% without the need for synthetic rooting hormones.
Summary & Orchardist’s Quick-Check Sheet 📝✨
Growing a thriving, heavy-yielding elderberry bush comes down to honoring its woodland edge origins: giving it sunshine, mimicking rich forest soil, and renewing its wood aggressively.
The Quick-Check Sheet:
-
Sunlight: Full sun (6–8 hours) for highest yields.
-
Soil: Rich, loamy, well-draining (pH 5.5–6.5).
-
Pollination: Plant at least 2 distinct cultivars (e.g., ‘York’ & ‘Adams’).
-
Moisture: 1–2 inches weekly via drip irrigation.
-
Pruning: Remove 3-year-old wood annually to force new fruiting canes.
-
Safety: Always cook berries fully before consumption!
Are you growing your elderberry plants for immune-boosting winter syrups, or are you planning to craft homemade elderberry wine? Drop a comment below with your hardiness zone and your favorite cultivar—and happy harvesting! 🌿🫐











