
Dreaming of growing your very own elm tree from scratch?  Elm tree seeds are a wonderful starting point for anyone looking to plant a tree that will thrive and add beauty to their landscape. However, growing an elm tree from seed can seem like a daunting task if you’re new to gardening.
The process of germinating and nurturing elm tree seeds requires patience and the right techniques, but don’t worry! In this guide, we’ll break down the step-by-step process, from selecting the right seeds to planting and caring for them to ensure they grow strong and healthy. Whether you’re an experienced gardener or just getting started, you’ll find practical tips and expert advice that will set you up for success. Keep reading to discover how to turn your elm tree seeds into a flourishing tree! 
Understanding Elm Tree Seeds
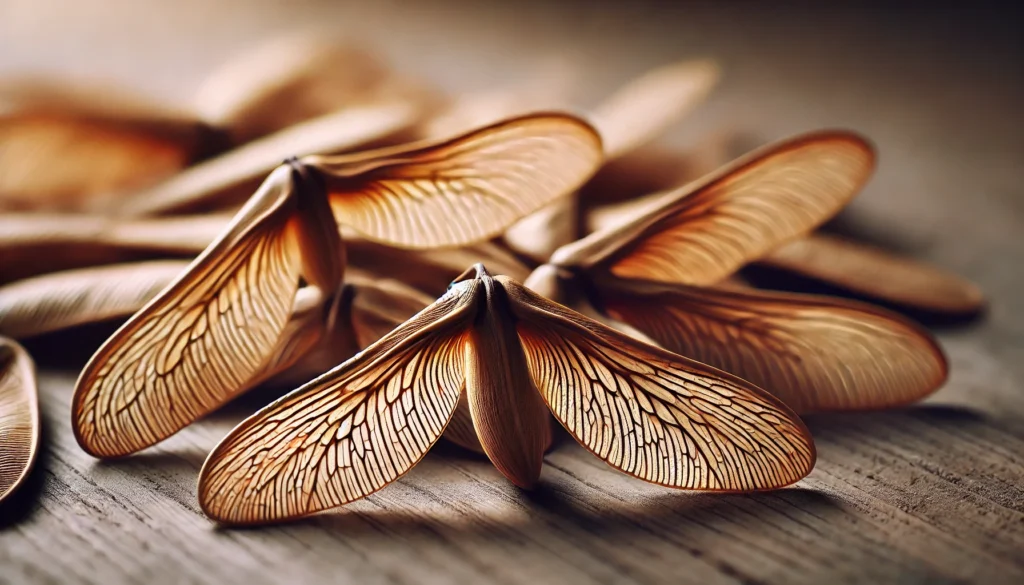
Elm trees are known for their resilience and beauty, making them a popular choice for landscapes and parks. To grow and care for an elm tree, it all starts with understanding its seeds. These seeds, called samaras, are winged and lightweight, designed to travel long distances through the wind. Let’s dive into the essential things you need to know about elm tree seeds for successful germination and growth.
What Are Elm Tree Seeds?
Elm tree seeds are small, flat, and shaped like little wings, often referred to as samaras. They are produced in clusters and can range in size, typically measuring about 1-2 inches long. Their unique winged shape allows them to float and be dispersed by the wind, which is why you’ll often see them scattered in large numbers during the spring and summer months.
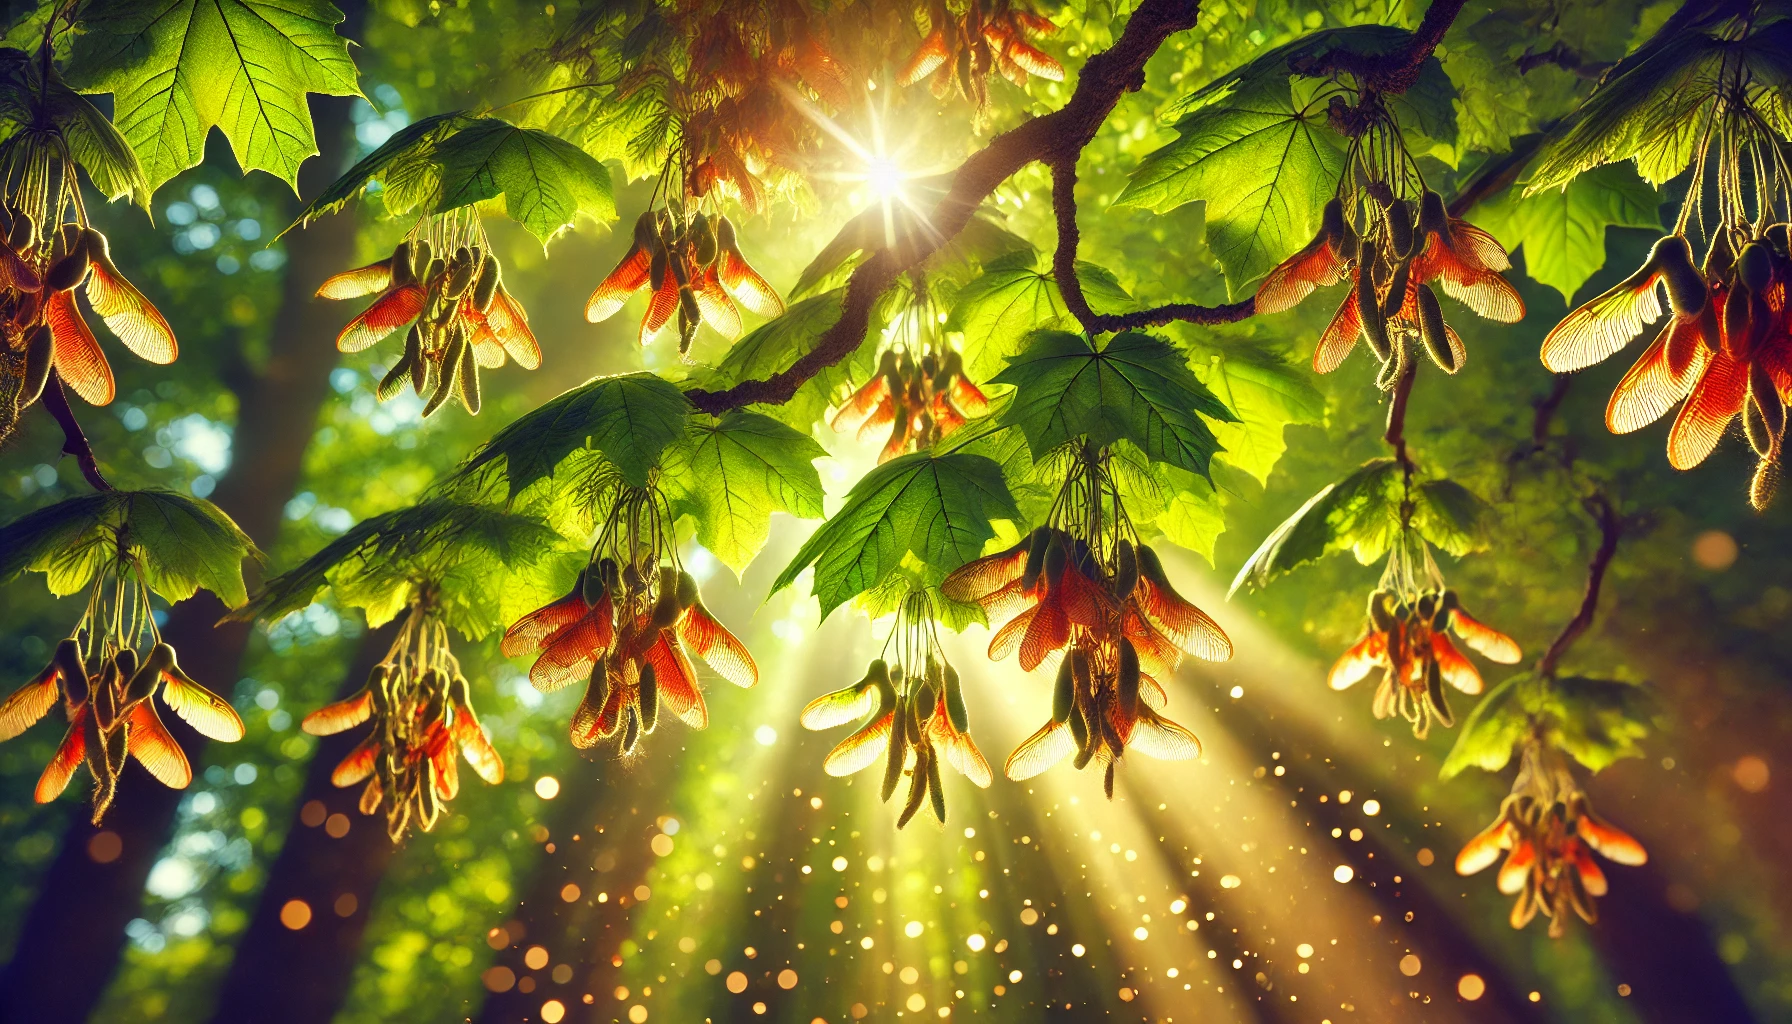
When Do Elm Tree Seeds Ripen? 
Elm seeds usually ripen in late spring to early summer, depending on the climate. During this period, the trees release their seeds, which fall to the ground or are carried away by the wind. It’s important to know that the seeds must be harvested at the right time to ensure the highest chances of successful germination.
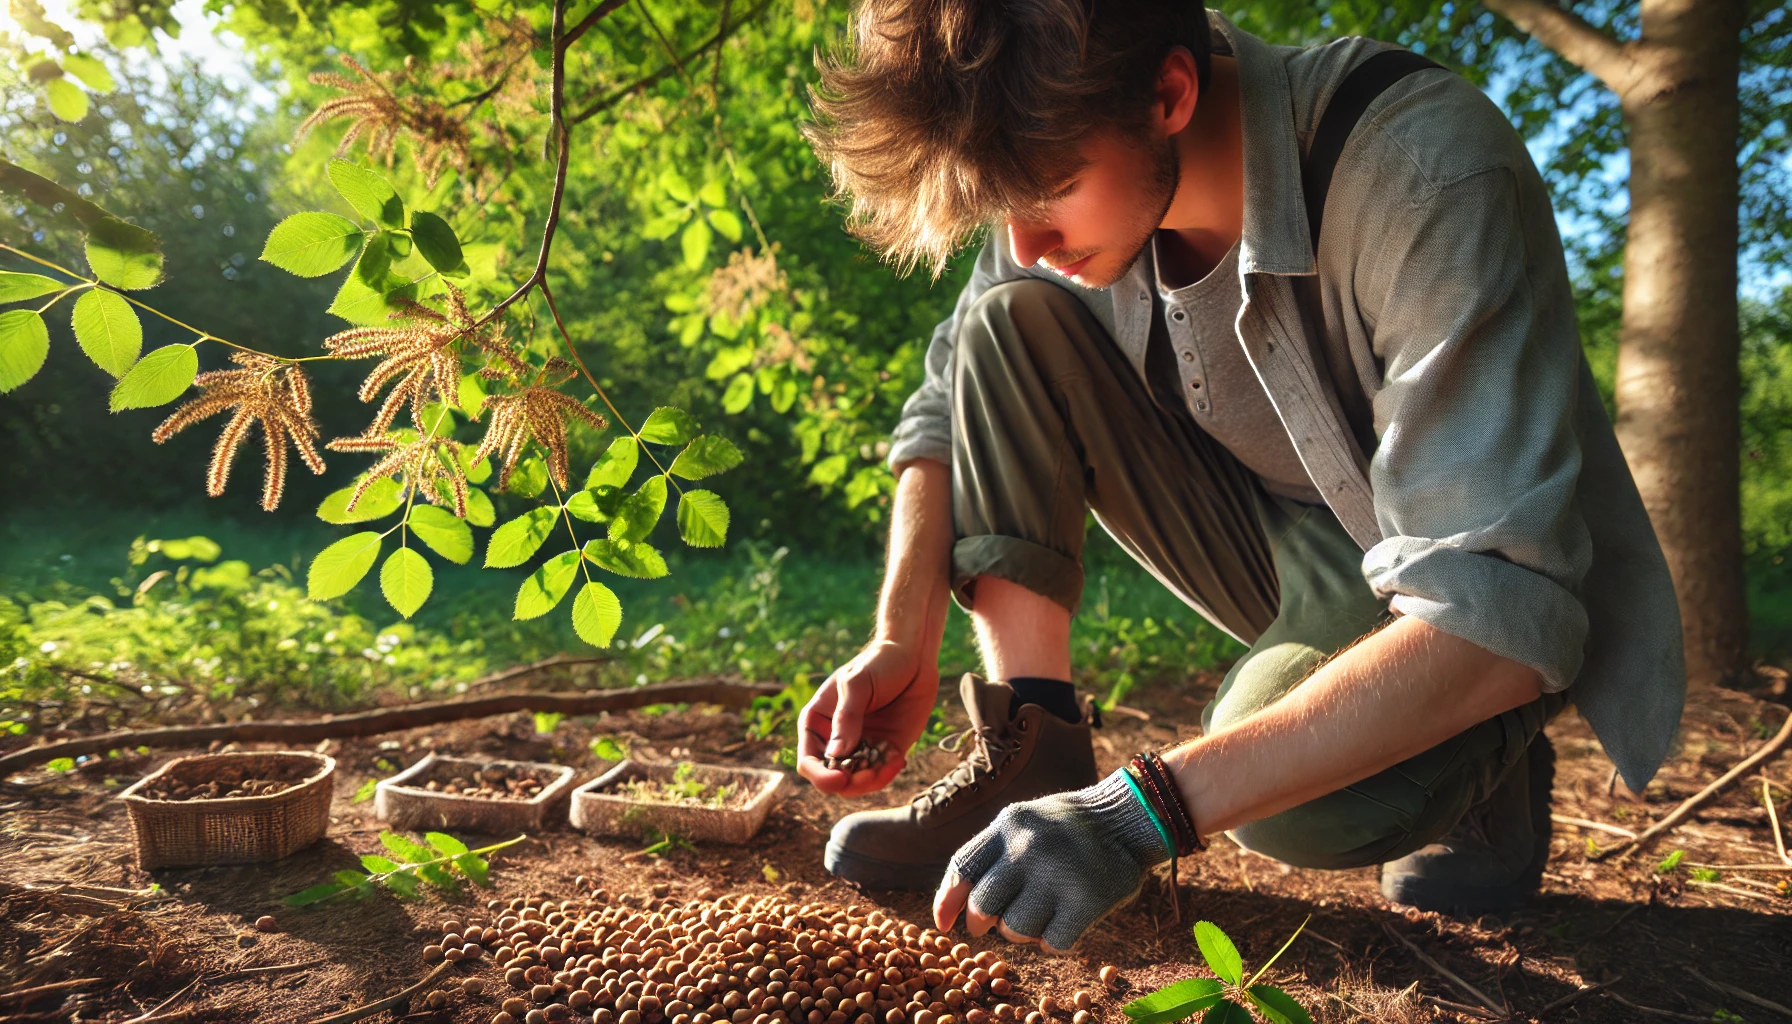
How to Harvest Elm Tree Seeds
If you want to grow your own elm trees from seeds, harvesting them at the right time is crucial. Wait until the samaras turn brown, but before they fully dry out and lose their ability to germinate. Carefully collect the seeds, separating them from the clusters. Store them in a cool, dry place until you’re ready to plant.
The Germination Process: What You Need to Know
Germinating elm tree seeds requires a bit of patience. Here’s what you need to do to ensure success:
- Stratification: Elm seeds need cold stratification (a period of cold exposure) before they can germinate. This mimics the winter conditions they’d experience in nature.
- Soaking the Seeds: Before planting, soak the seeds in water for about 24 hours to soften their tough outer coat, which helps in better seedling development.
- Planting: Once the seeds are prepared, plant them in well-draining soil, about 1/4 inch deep. Ensure they get plenty of light but are not exposed to direct, harsh sunlight initially.
By understanding how elm tree seeds work, you can maximize your chances of successfully growing these beautiful trees from scratch!
Choosing the Right Elm Tree Seeds
When selecting elm tree seeds for planting, the first step is understanding the type of elm that best suits your climate and garden conditions. Elms are hardy trees, but some varieties thrive in specific environments more than others. Here’s how to make the right choice:
- Know Your Local Climate

Elms are adaptable but prefer different climates depending on the species. Some, like the American elm (Ulmus americana), thrive in cooler regions, while the Chinese elm (Ulmus parvifolia) does better in warmer areas. Check your local USDA Hardiness Zone before purchasing seeds to ensure a good match for your environment. - Choose Healthy, Fresh Seeds
The fresher the seeds, the better their chances of germination. Always buy from reputable suppliers, as older seeds can have lower germination rates. Look for seeds that are firm and free from mold or pests. If possible, purchase seeds that are harvested in the current season. - Consider the Variety
There are several elm varieties to choose from. If you’re looking for a tree that provides ample shade, the American elm is a great choice due to its large canopy. For a more ornamental option, the lacebark elm (Ulmus parvifolia) offers beautiful bark and a unique aesthetic. Choose a variety based on your landscaping goals. - Check for Disease Resistance

Some elm species are prone to Dutch elm disease, which has wiped out large populations of these trees in the past. Look for seeds from disease-resistant varieties, like the ‘Valley Forge’ or ‘Princeton’ elms, which are more resilient against this common tree disease. - Test Germination Rates

If you’re unsure about seed quality, consider testing the germination rate before planting. Simply soak the seeds overnight and place them in a moist environment for a few days. If you see sprouting, your seeds are likely viable. - Read Reviews and Ask for Recommendations

Before purchasing elm tree seeds, read reviews or ask gardening experts for their experiences with certain suppliers or varieties. Online forums, gardening blogs, and local nurseries can provide valuable insight to help you make a well-informed decision.
By carefully considering the right variety, ensuring the freshness of your seeds, and accounting for climate conditions, you’ll be on your way to growing a healthy and thriving elm tree . Happy planting!
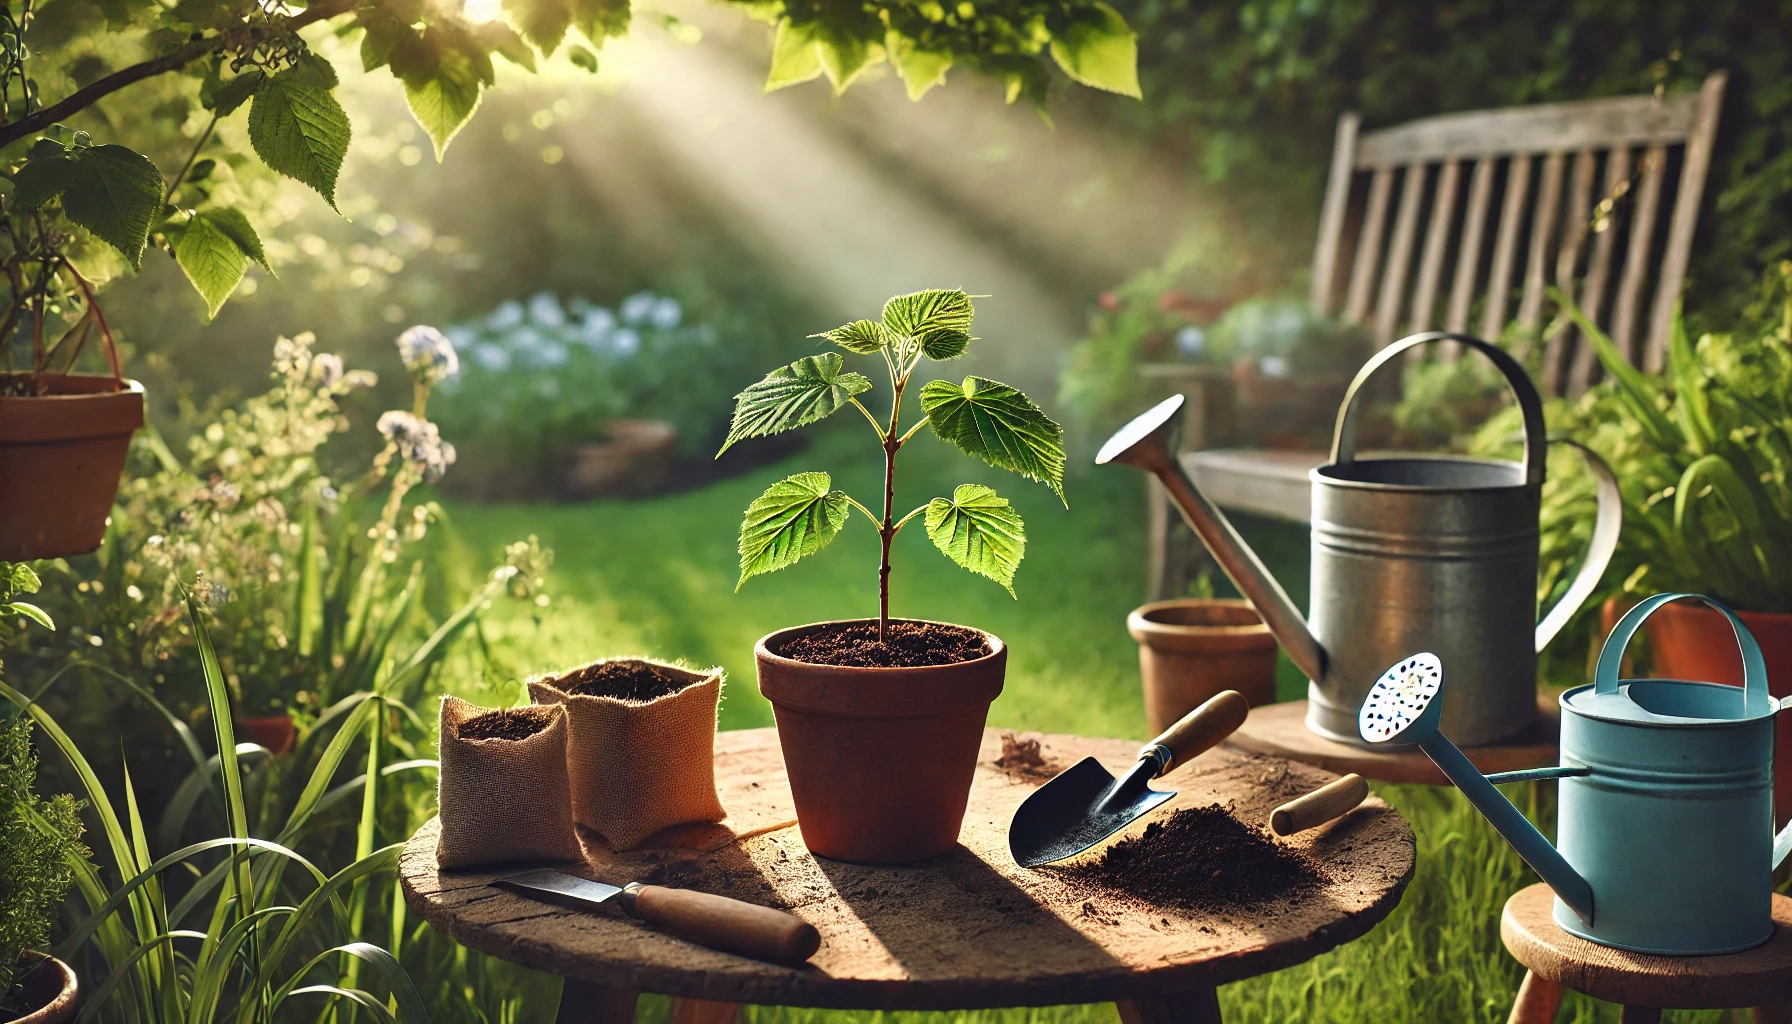
Preparing Elm Tree Seeds for Planting
Getting your elm tree seeds ready for planting is a crucial step in ensuring their successful growth. Here’s how to prepare them for optimal results.
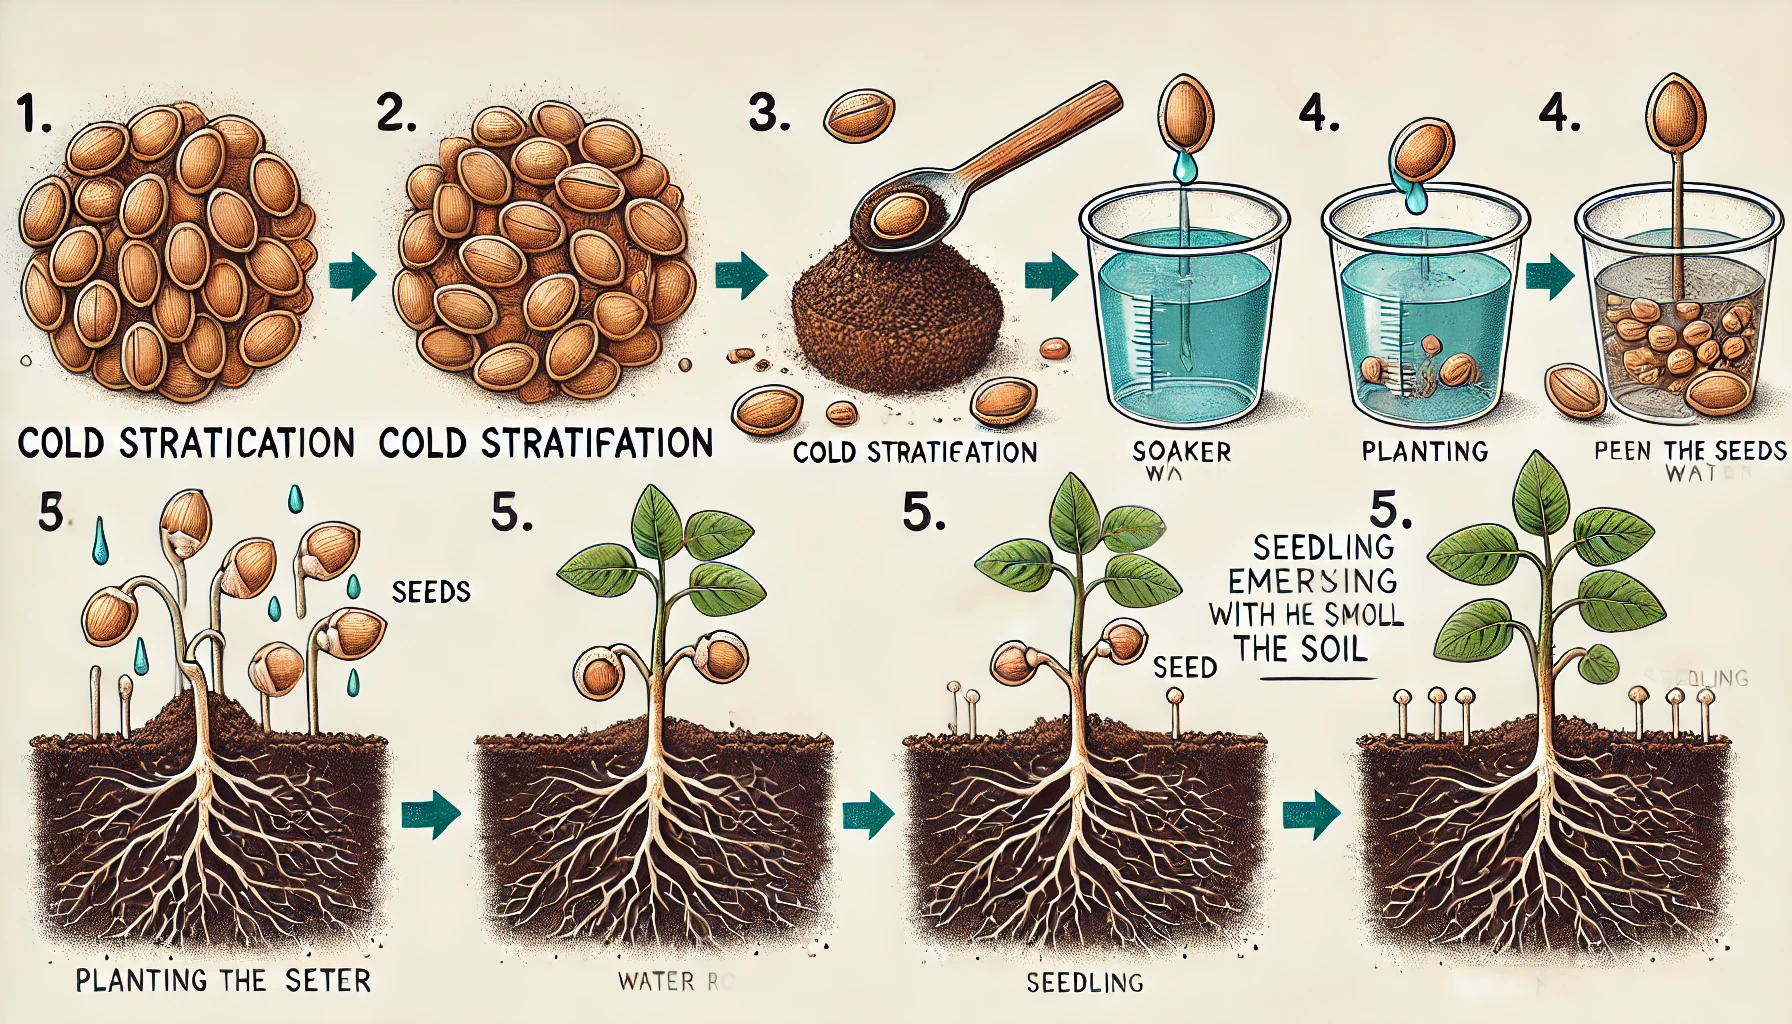
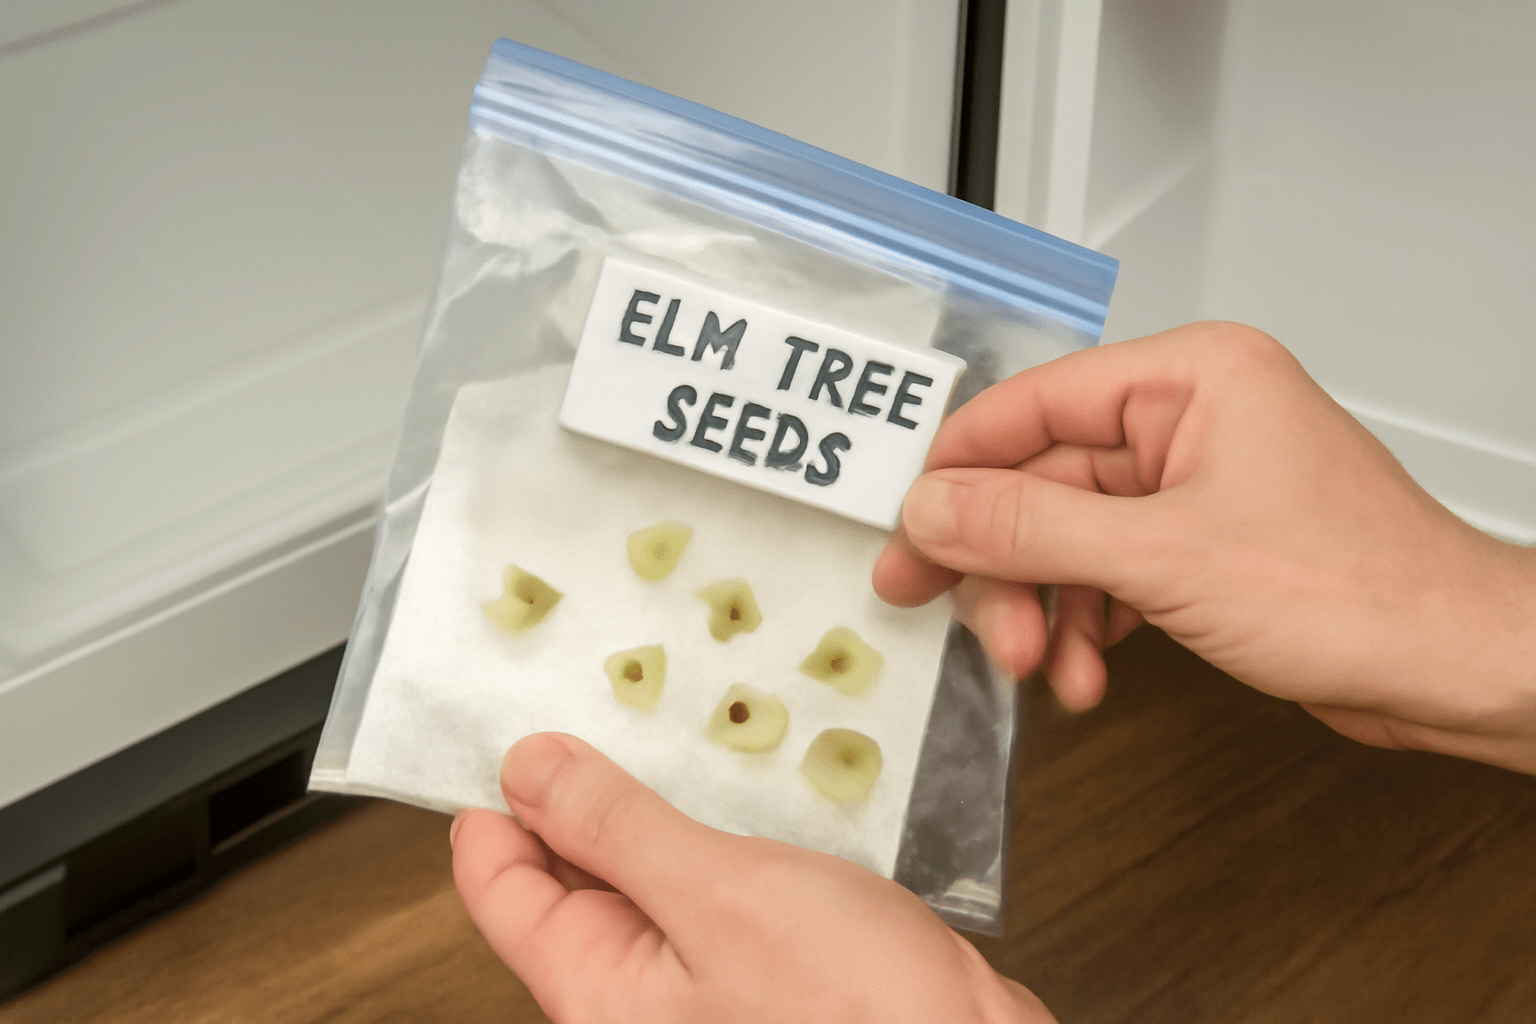
Step 1: Stratification 
Elm seeds typically require cold stratification to break dormancy. This mimics the natural winter conditions and helps the seeds germinate. To do this:
- Place the seeds in a damp paper towel or sand.
- Put them in a plastic bag and store them in the refrigerator for 30-60 days.
- Check regularly to ensure they remain moist but not soaked.
Step 2: Soak the Seeds 
Before planting, soak the seeds in water for 24 hours. This softens the seed coat, encouraging faster germination. Make sure to discard any seeds that float, as they may not be viable.
Step 3: Prepare Your Planting Medium
Elm seeds thrive in well-drained, loamy soil. Prepare a small pot or container with a mix of peat moss, sand, and perlite. This combination ensures good drainage while retaining moisture, which is essential for seedling health.
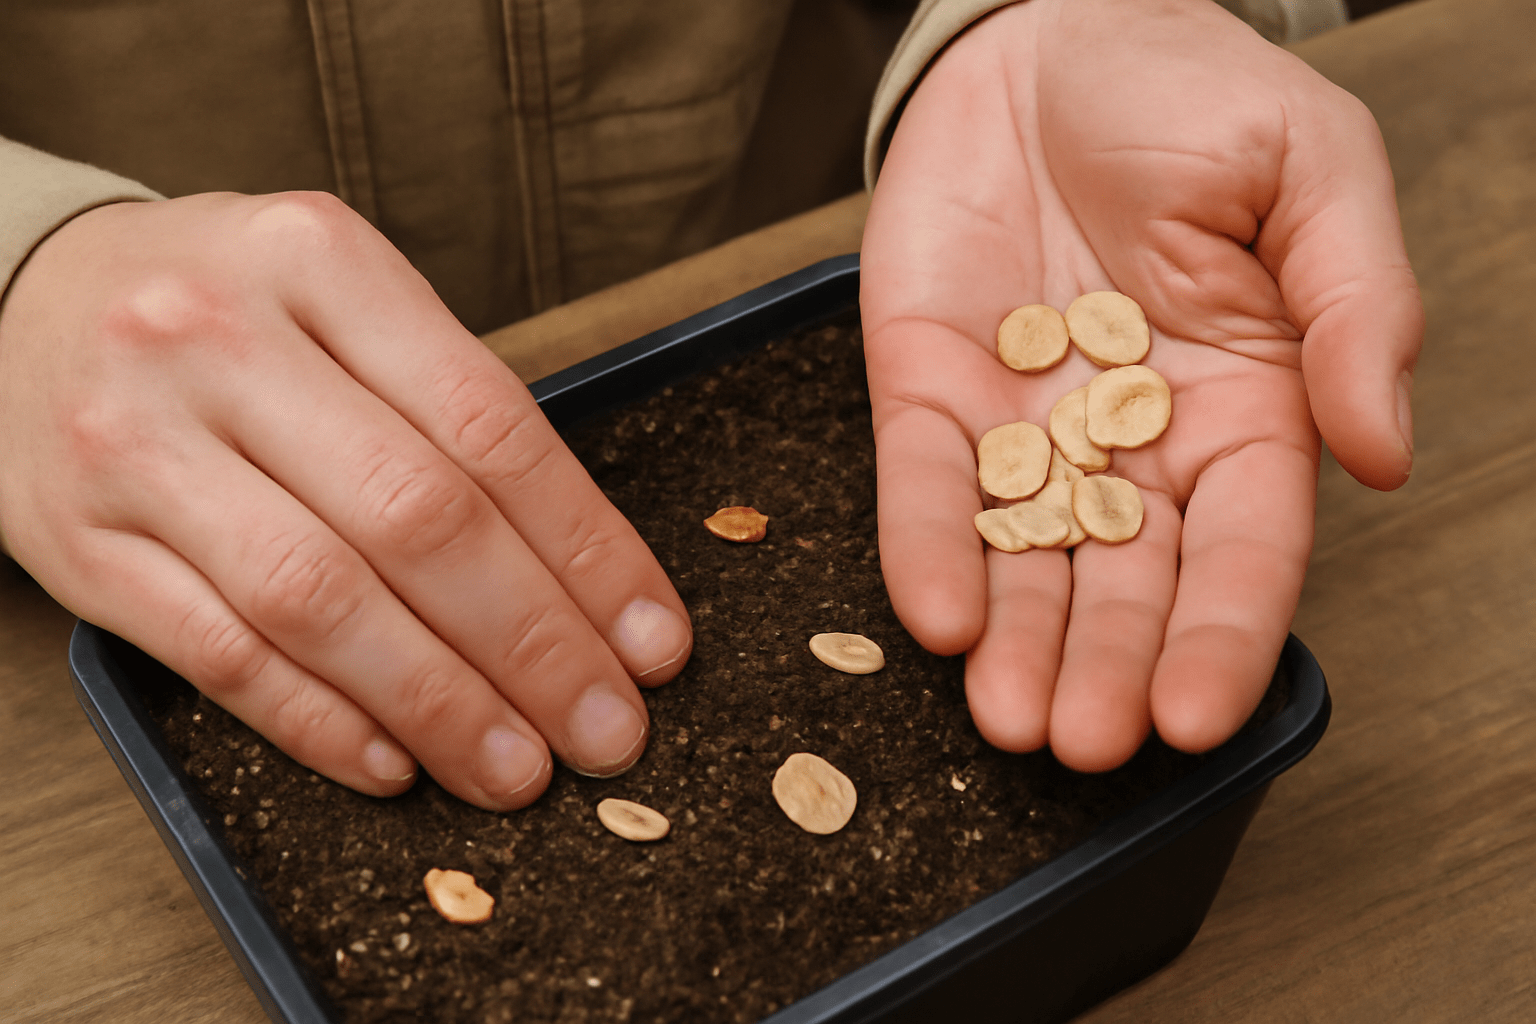
Step 4: Sow the Seeds 
Plant the stratified seeds about 1/2 inch deep in the prepared soil mix. Gently cover them with a thin layer of soil. If you’re planting multiple seeds, space them about 2 inches apart to avoid overcrowding as they grow.
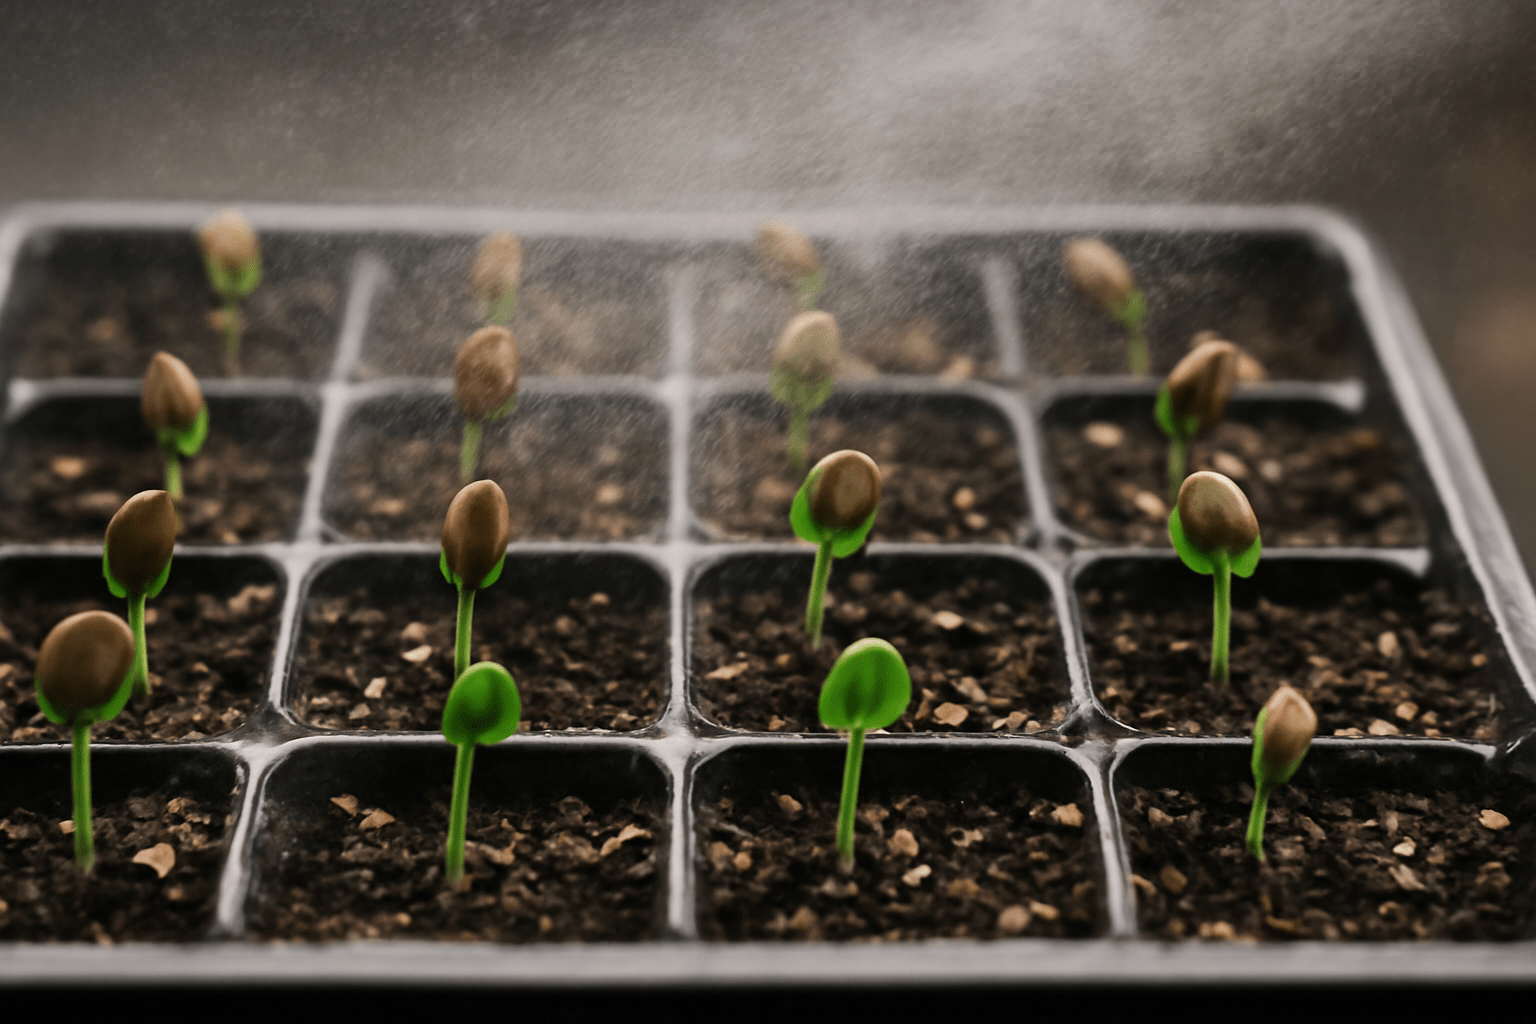
Step 5: Water and Maintain 
After sowing, water the seeds lightly, keeping the soil moist but not soggy. Place the container in a warm, sunny location to encourage germination. Elm tree seeds usually begin sprouting within 2-3 weeks.
By following these simple steps, you’ll give your elm seeds the best chance for successful germination and healthy growth. Happy planting! 
Planting Elm Tree Seeds
Planting elm tree seeds is a straightforward process, but it does require some care to ensure successful germination and healthy growth. Here’s a step-by-step guide to help you get started:
1. Prepare the Seeds
Before planting, it’s important to prepare the elm seeds properly. Elm seeds, especially from the common varieties, need to go through a process called “cold stratification.” This mimics the natural winter conditions and helps break the seed’s dormancy.
- How to Cold Stratify: Place your seeds in a plastic bag with some moist sand or peat moss. Store the bag in the fridge for about 30 days. This will help the seeds germinate faster when you plant them.
2. Choose the Right Location
Elm trees thrive in full sun, so selecting the right spot in your garden is key to healthy growth. Choose a location that gets at least 6-8 hours of direct sunlight each day. Elm trees prefer slightly acidic to neutral soil, well-drained but moist, making it important to check the soil type before planting.
3. Planting the Seeds
Once your seeds are ready, it’s time to plant them.
- Plant Depth: Dig small holes about 1-2 inches deep for each seed. Plant the seeds with the flat side facing down.
- Spacing: Space the seeds about 6 inches apart to allow enough room for each seedling to grow.
Gently cover the seeds with soil and lightly press down to ensure good seed-to-soil contact.
4. Watering and Moisture
After planting, water the area thoroughly. Keep the soil consistently moist, but avoid waterlogging. Elm seeds need a moist environment to germinate, but too much water can lead to rot.
5. Patience is Key
Elm seeds can take anywhere from 2 to 4 weeks to germinate. During this time, ensure the soil remains moist and keep the area free of weeds that could compete for nutrients.
6. Transplanting Seedlings 
Once your elm tree seedlings have grown large enough (typically around 4-6 inches tall), you can begin transplanting them to their permanent spots in the garden. When doing so, be careful not to disturb the delicate roots too much.
7. Ongoing Care
As your elm trees grow, make sure to regularly water them, especially in dry spells, and check for pests or diseases. Mulching around the base can help retain moisture and keep the roots cool in hot weather.
With these simple steps, you’ll be on your way to growing strong, healthy elm trees from seed. Keep monitoring their progress, and soon you’ll enjoy the beauty and shade provided by your flourishing elm trees!
Caring for Your Germinating Elm Tree Seeds
Once your elm tree seeds start germinating, it’s time to give them the proper care to help them grow strong and healthy. With the right attention, your seeds will develop into thriving young trees. Here’s how to ensure their success:
1. Provide Consistent Moisture
Germinating seeds need moisture to grow, but be careful not to overwater them. Keep the soil slightly moist but never soggy. You can use a spray bottle or a gentle watering can to avoid disturbing the seeds.
2. Ensure Proper Light
Place your germinating seeds in a bright location with indirect sunlight. Elm seedlings need light to develop properly, but direct sun can be too harsh for young plants. A spot with morning sunlight or filtered light is ideal.
3. Maintain a Warm Temperature 
Elm seeds germinate best in warm conditions. Keep the temperature between 60°F (15°C) and 70°F (21°C). If it’s too cold, the seeds may struggle to grow, so avoid placing them in drafty areas or near cold windows.
4. Use a Seed Tray or Pots 
If you’re starting your elm seeds indoors, use a seed tray or small pots with drainage holes. This helps prevent waterlogging and gives the roots room to grow. Once your seedlings are a few inches tall, consider transplanting them into larger pots.
5. Thin Out the Seedlings 
If multiple seeds germinate in the same spot, you may need to thin them out. Gently remove the weaker seedlings, leaving only the healthiest one to grow. This ensures each tree has enough space and nutrients to thrive.
6. Fertilize Lightly
Once the seedlings have their first true leaves, you can start fertilizing them lightly. Use a balanced, water-soluble fertilizer to encourage strong root development. Avoid over-fertilizing, as this can cause the plants to grow too quickly and become weak.
By following these simple tips, you’ll provide your elm tree seeds with the best possible environment to grow strong and healthy. With a little care and patience, you’ll soon have beautiful young trees ready to plant in your garden or yard!
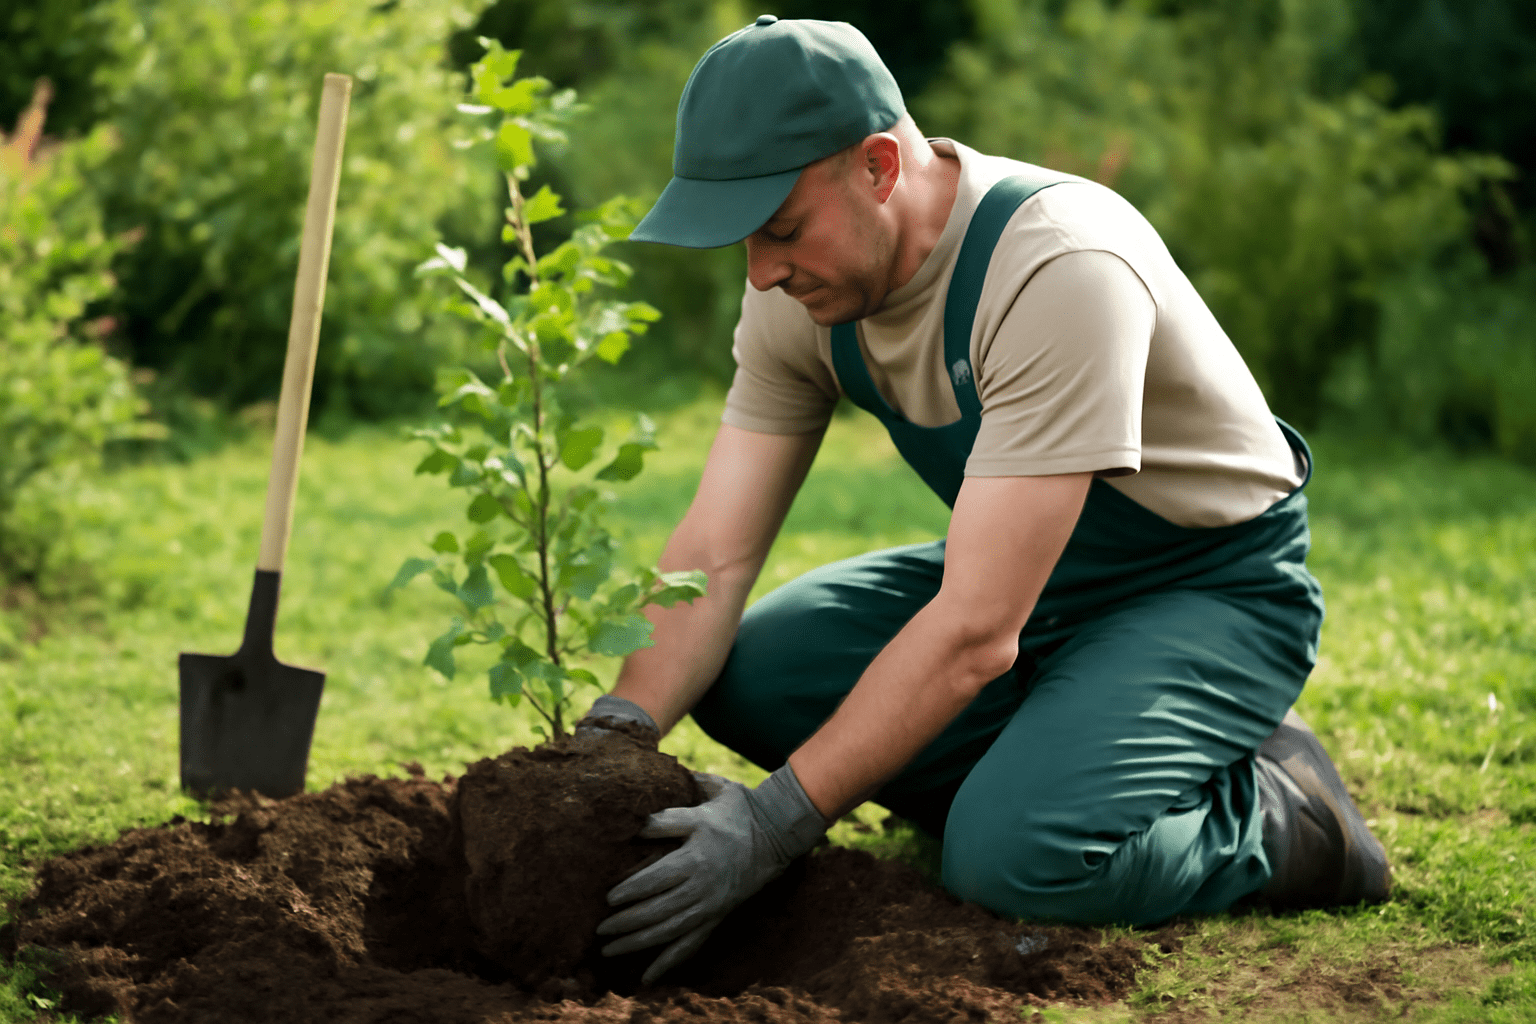
Transplanting and Growing Your Elm Tree
Transplanting an elm tree successfully requires careful planning and execution, but with the right approach, you’ll have a thriving tree in no time! Follow these simple steps to ensure your elm tree grows strong and healthy.
1. Choose the Right Location
Elms thrive in full sunlight, so pick a spot in your garden where the tree will receive at least six hours of direct sunlight daily. Make sure the soil is well-drained to prevent root rot. Elm trees prefer slightly acidic to neutral soil, so aim for a pH between 6.0 and 7.5.
2. Prepare the Hole 
Dig a hole that’s about 2-3 times wider than the root ball of your elm tree. The hole should be as deep as the root ball, ensuring the tree will sit at the same level in the soil as it did in the container or nursery. This helps prevent the roots from being buried too deep, which can stress the tree.
3. Transplanting the Tree
Carefully remove the tree from its container. Gently loosen the roots if they’re tangled or circling around the root ball. Place the tree in the hole, ensuring it’s straight and centered. Fill the hole with soil, pressing lightly to eliminate air pockets. Avoid packing the soil too tightly, as this can restrict root growth.
4. Watering Immediately
After transplanting, water the tree thoroughly to help settle the soil around the roots. Elm trees are thirsty, especially right after transplanting, so keep the soil consistently moist but not soggy. During the first few weeks, check the soil regularly to maintain adequate moisture levels.
5. Mulching
Add a 2-3 inch layer of mulch around the base of the tree to help retain moisture, suppress weeds, and regulate soil temperature. Keep the mulch a few inches away from the trunk to prevent rot.
6. Ongoing Care
Once the tree is established, elm trees are relatively low-maintenance. Continue to water regularly, especially during dry spells, and prune any dead or damaged branches to encourage healthy growth. Monitor for pests and diseases, and take action promptly if necessary.
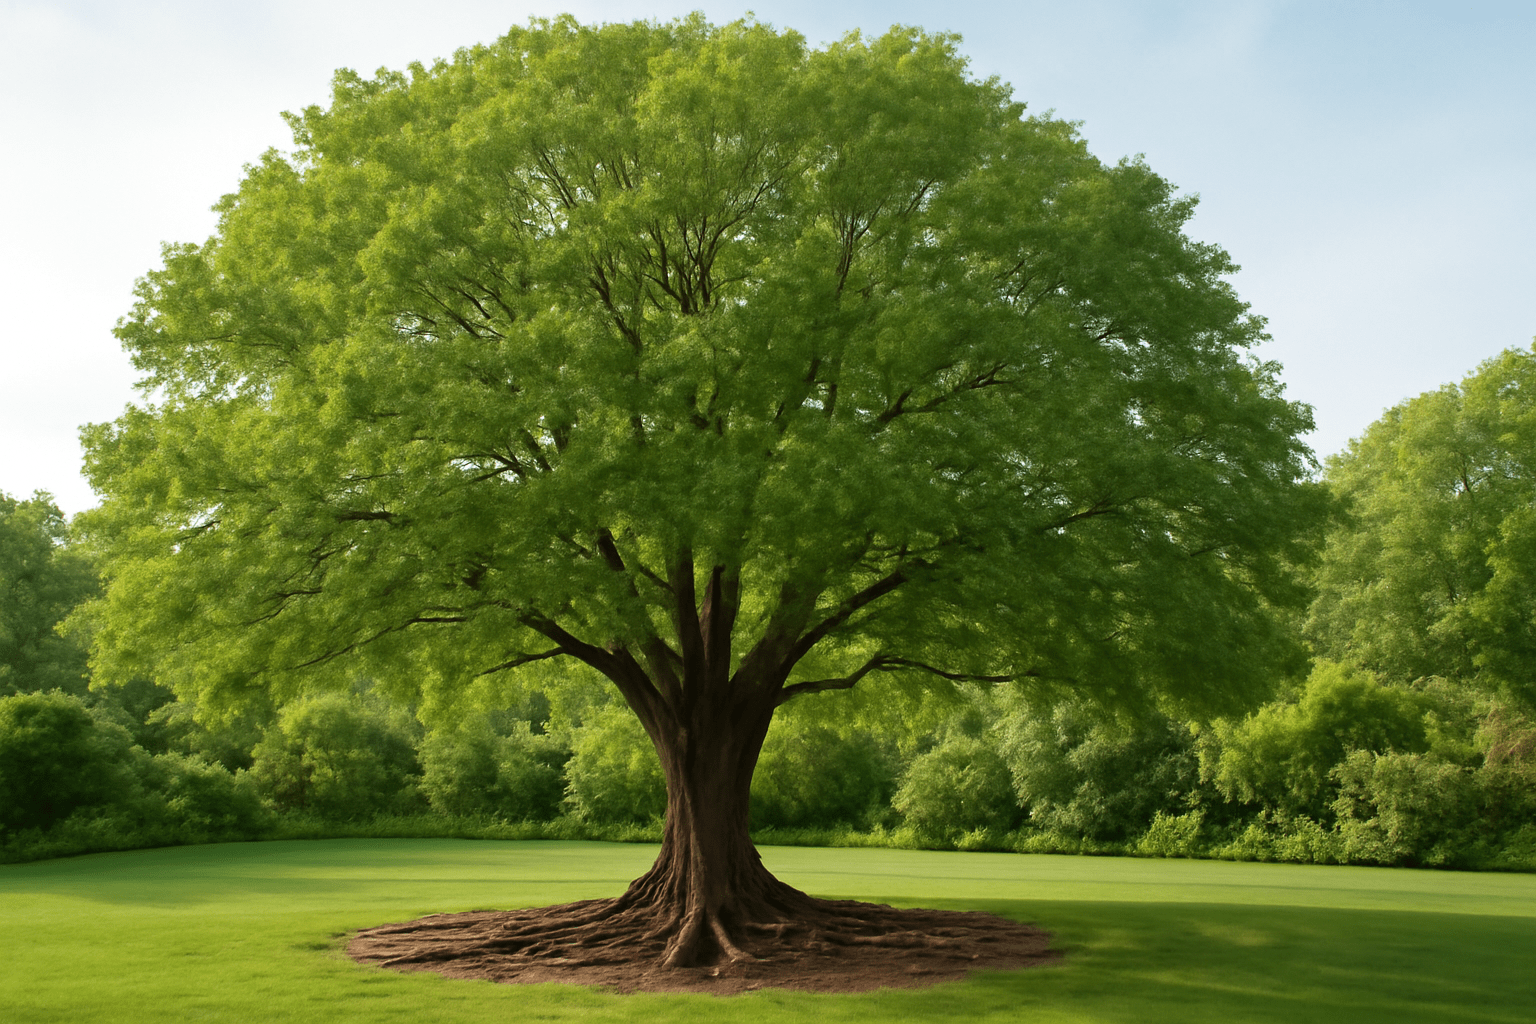
By following these simple transplanting tips, your elm tree will be well on its way to growing strong and healthy. With a bit of attention and care, you’ll soon enjoy the shade and beauty of your thriving tree!
Troubleshooting Common Elm Tree Seed Growing Problems
Growing elm trees from seeds can be incredibly rewarding, but it does come with its fair share of challenges. Don’t worry—every grower faces issues at some point! Here are some common problems you might encounter and practical solutions to help you succeed in growing your elm trees.
1. Poor Germination Rates
If your elm tree seeds aren’t germinating, it can be frustrating. Here’s how to improve your chances:
- Cold Stratification: Elm seeds often need a cold treatment to break dormancy. Make sure to place your seeds in the fridge for about 30 days before planting. This mimics winter conditions and encourages germination.
- Check Seed Freshness: Old seeds might not sprout. Always use fresh seeds for better results!
- Soil Moisture: Keep the soil lightly moist but not soggy. Over-watering can lead to rot, while under-watering can dry out the seeds before they germinate.
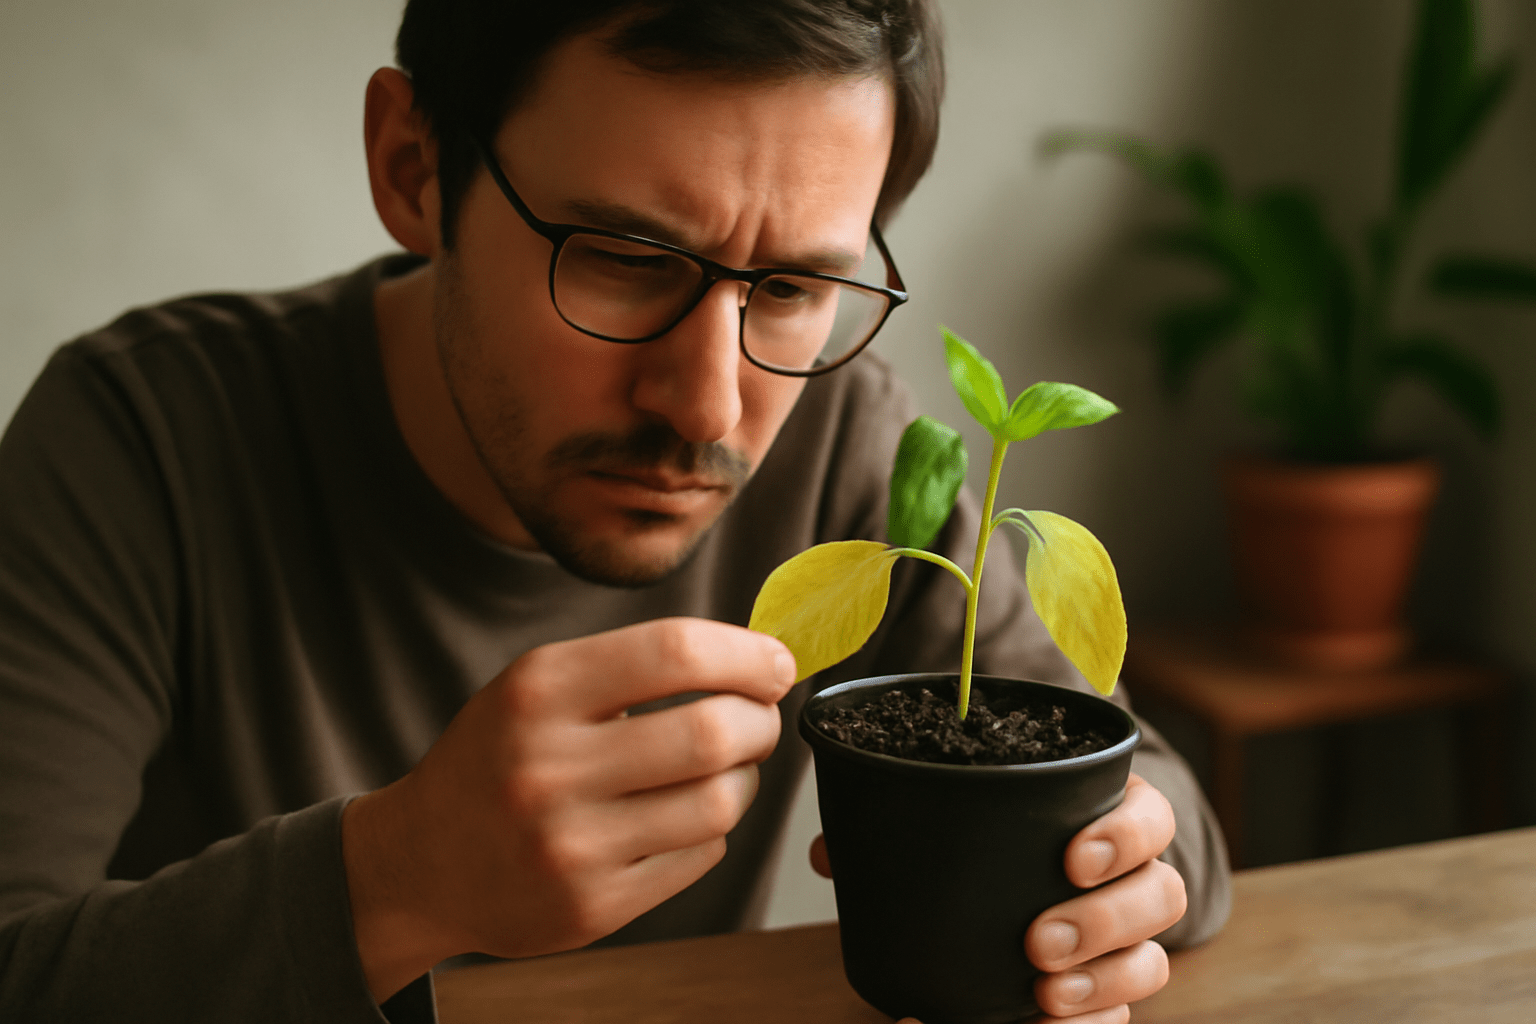
2. Seedling Wilting or Yellowing Leaves
If your seedlings are wilting or their leaves are turning yellow, it might indicate a few potential issues:
- Watering Problems: Ensure you’re watering consistently but not excessively. Elm seedlings need moist soil, but too much water can suffocate the roots.
- Nutrient Deficiency: Yellowing leaves might be a sign of nutrient imbalances, especially nitrogen. Consider adding a balanced, slow-release fertilizer to your soil to encourage healthy growth.
- Sunlight: Elm seedlings need a lot of indirect sunlight. If they’re getting too much direct sun, they may burn. Try moving them to a slightly shadier spot.
3. Pests and Disease 
Pests can damage young elm trees, so it’s essential to monitor your seedlings closely:
- Aphids and Scale Insects: These tiny pests suck sap from the leaves and can weaken your tree. Use insecticidal soap or a mild neem oil solution to gently spray the affected areas.
- Fungal Diseases: Watch for signs of mold or mildew, especially in damp conditions. To prevent this, ensure proper air circulation around the seedlings and avoid overwatering.
- Root Rot: If you notice your seedlings wilting despite the soil being moist, root rot could be the culprit. Make sure your soil has good drainage, and don’t let the seedlings sit in water.
4. Slow Growth or Stunted Development
If your elm seedlings aren’t growing as fast as you’d like, here’s what you can do:
- Proper Lighting: Elm seedlings need plenty of light to thrive. Ensure they’re getting 12-16 hours of bright, indirect light each day, especially during the early stages.
- Temperature: Elm trees prefer cooler temperatures. If your environment is too hot, try to keep your seedlings in a cooler spot or use a fan for better airflow.
- Container Size: If your seedlings are in small containers, they may become root-bound, limiting growth. Make sure you’re transplanting them into larger pots when necessary to give the roots room to expand.
5. Seedling Dying After Transplanting
Transplant shock is common after moving seedlings from pots to the ground. Here’s how to avoid it:
- Hardening Off: Before planting your seedlings outdoors, gradually expose them to the elements by “hardening them off.” Start by placing them outside for a few hours a day, gradually increasing the time over a week.
- Planting Time: Make sure to plant your elm seedlings during the right season. Late spring to early summer is ideal when the risk of frost is gone and the weather is mild.
- Avoid Root Disturbance: When transplanting, be gentle with the roots to avoid causing damage. If possible, try to plant the seedlings with the soil they’ve been growing in to minimize stress.
6. Not Enough Space to Grow
Elm trees can get quite large, so they need space to spread their roots. If they’re cramped in a pot or small garden bed, their growth may slow down.
- Root Room: Make sure your seedlings have enough space for their roots to grow deep and wide. If you’re growing them in containers, choose a pot that’s at least 12-16 inches deep.
- Garden Space: When planting outdoors, make sure your elm trees are spaced about 20-30 feet apart to allow them room to mature fully.
7. Weather Extremes
Elms are hardy, but extreme temperatures or sudden weather changes can hinder growth. Protect your seedlings from the elements:
- Cold Weather: If you’re expecting frost, cover your seedlings with a frost cloth or move them indoors.
- Hot Weather: During heatwaves, provide shade for your young elm trees to prevent leaf scorch. Keep the soil moist but not soggy.
Final Thoughts 
Growing elm trees from seeds may take patience and attention, but with the right care, you’ll be rewarded with a beautiful tree for years to come. Keep these troubleshooting tips in mind, and you’ll be well on your way to growing strong, healthy elms! Happy gardening!
Conclusion
Growing elm trees from seeds is a truly fulfilling experience, and with the right knowledge and care, you can successfully nurture them from tiny seeds into magnificent trees. While there are challenges along the way, troubleshooting common issues like poor germination, pest problems, or transplant shock is all part of the journey.
By following the tips outlined in this guide—such as ensuring proper stratification, maintaining the right soil moisture, and being mindful of pests and diseases—you can overcome these hurdles and set your elm trees up for success.
Remember, patience is key. Elm trees grow slowly at first, but with time and attention, they will reward you with shade, beauty, and the joy of watching them thrive in your garden.
Happy planting, and may your elm trees grow tall and strong for many years to come!