
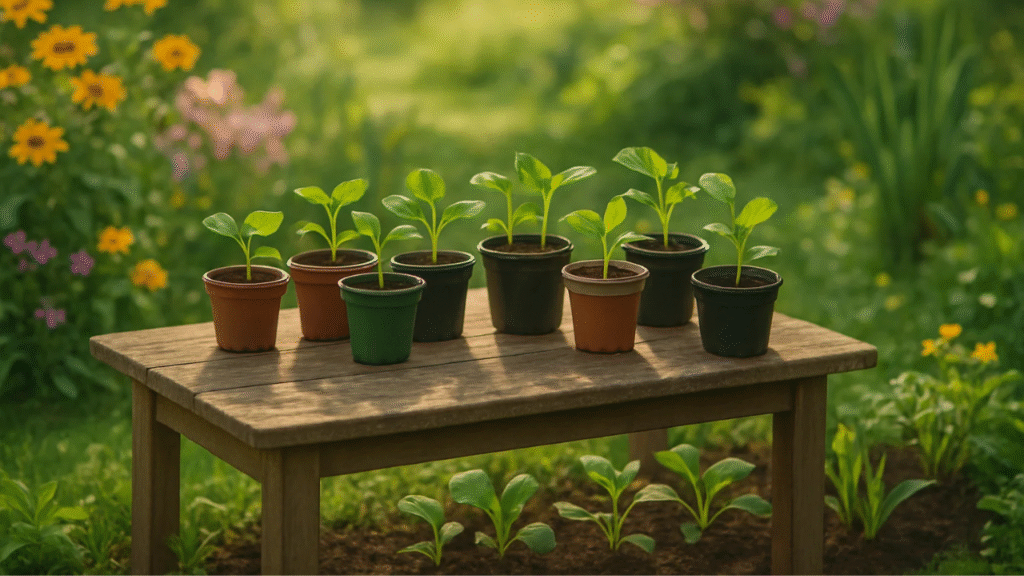
When you’ve nurtured your seedlings indoors, watching them grow strong and healthy, it’s exciting to finally think about transplanting them into the garden. But before you make that move, it’s crucial to go through the process of hardening off seedlings outdoors. This step ensures your young plants don’t experience shock from the sudden change in temperature, light, and wind exposure. Skipping this critical phase can stunt their growth or even kill them. In this article, we’ll walk you through the essential tips to help you transition your seedlings smoothly, giving them the best start in your garden. 🌻
What Does “Hardening Off” Mean? 🌱
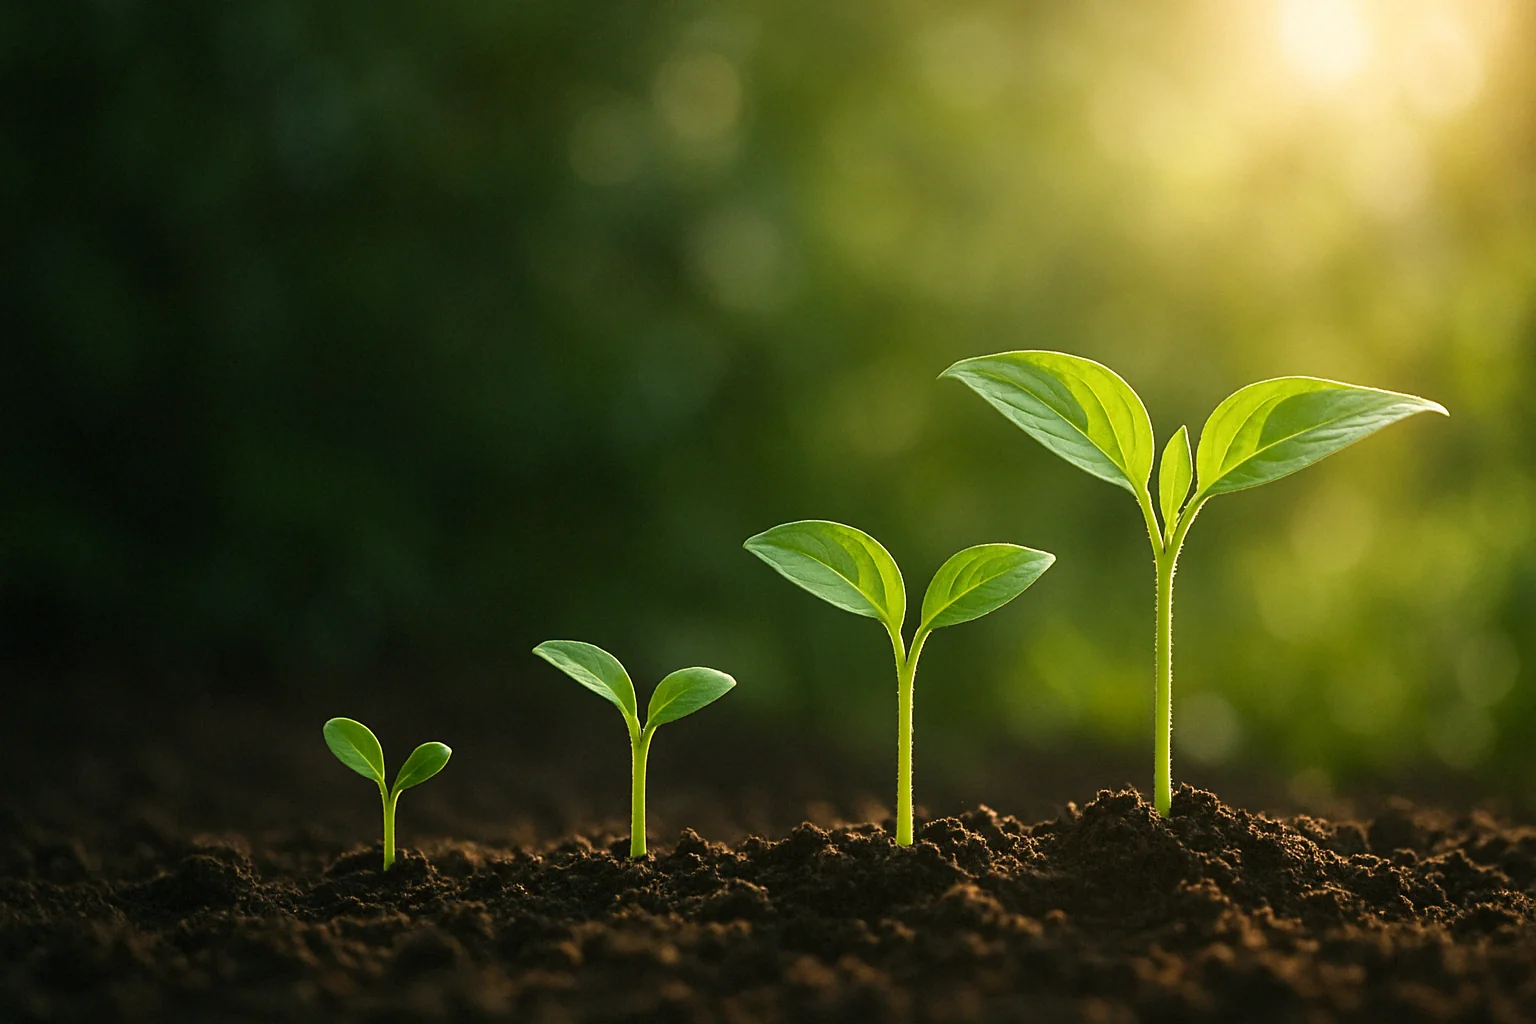
Hardening off refers to the gradual process of acclimating indoor seedlings to outdoor conditions. 🌞 When you start seedlings indoors, they grow in a controlled, temperature-stable environment. Moving them straight outside without preparation can shock them, causing wilting or stunted growth. 😟
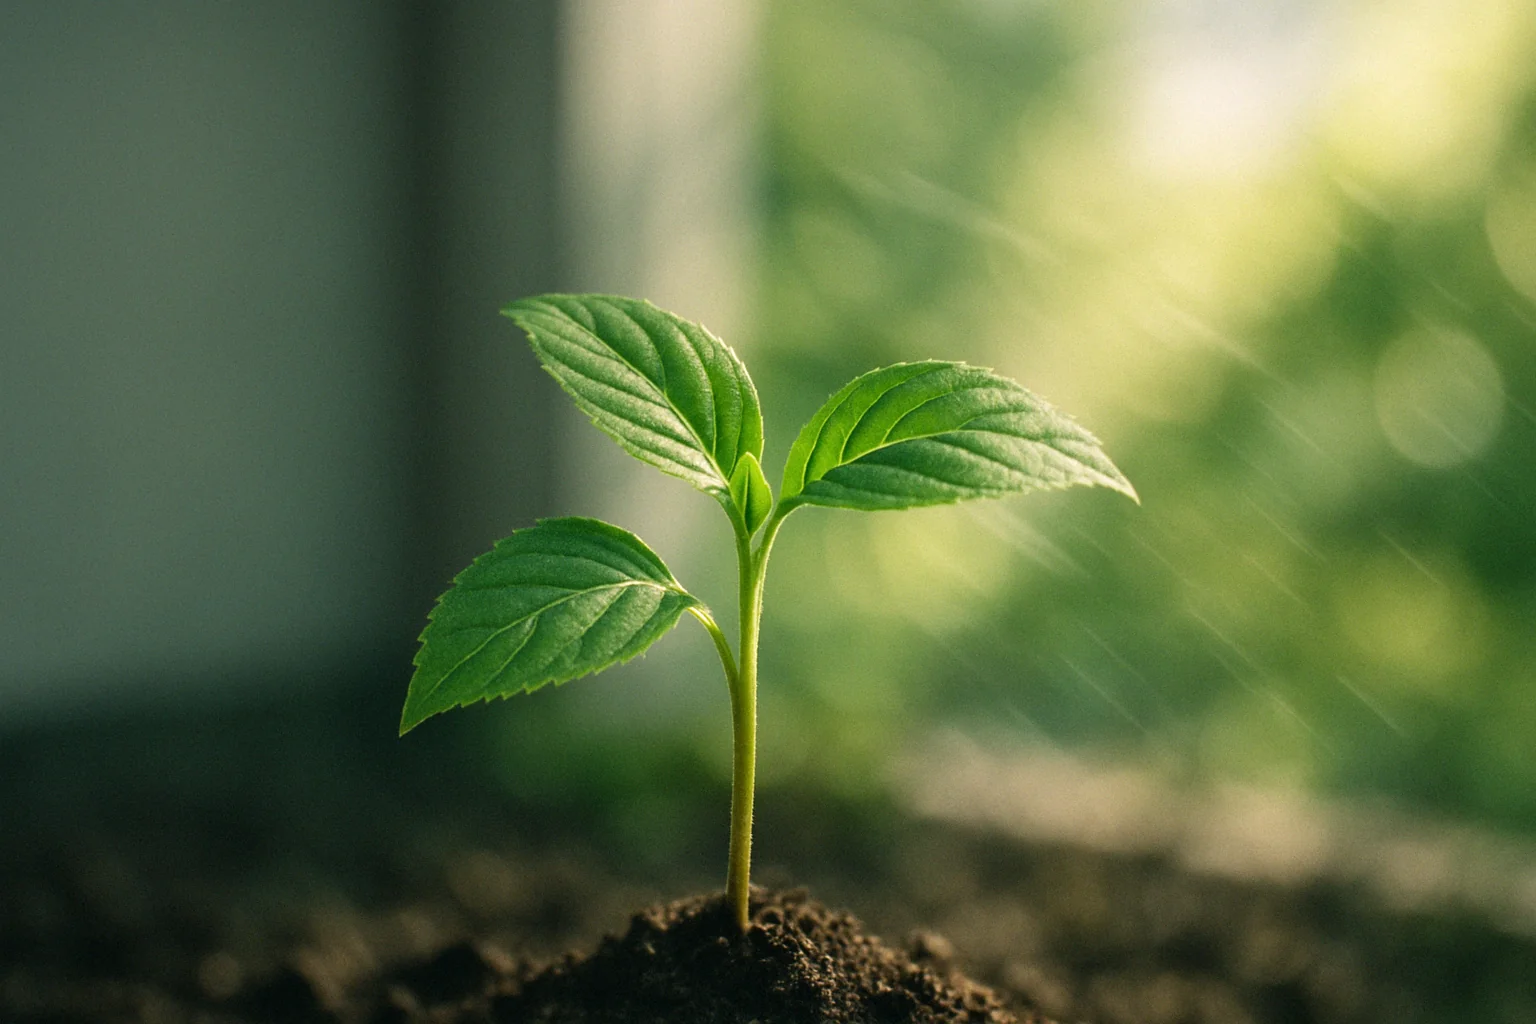
By hardening off seedlings outdoors, you slowly expose them to outdoor elements like sunlight, wind, and fluctuating temperatures. This helps them build resilience, strengthening their roots and leaves. 🌿 After this process, they’ll be ready to thrive in the garden! 🌼
It’s like giving your seedlings a little outdoor “training” before they take on the garden. 💪
When Should You Start Hardening Off Seedlings? 🌸
Timing is everything when it comes to hardening off seedlings outdoors. ⏰ The best time to start is after the last frost date for your area. This ensures the outdoor temperatures are mild enough for your seedlings to adjust without being damaged by cold. 🌡️
You should also wait until your seedlings are strong and healthy, with sturdy stems and leaves. 💪 Typically, this means waiting until they’re about 4-6 weeks old, depending on the plant.
Start the process when daytime temperatures are consistently above 50°F (10°C) and the nights are no longer freezing. 🌙 This gives your plants the perfect conditions for a smooth transition. 🌞
Patience is key—rush it, and your seedlings might suffer! 🌱
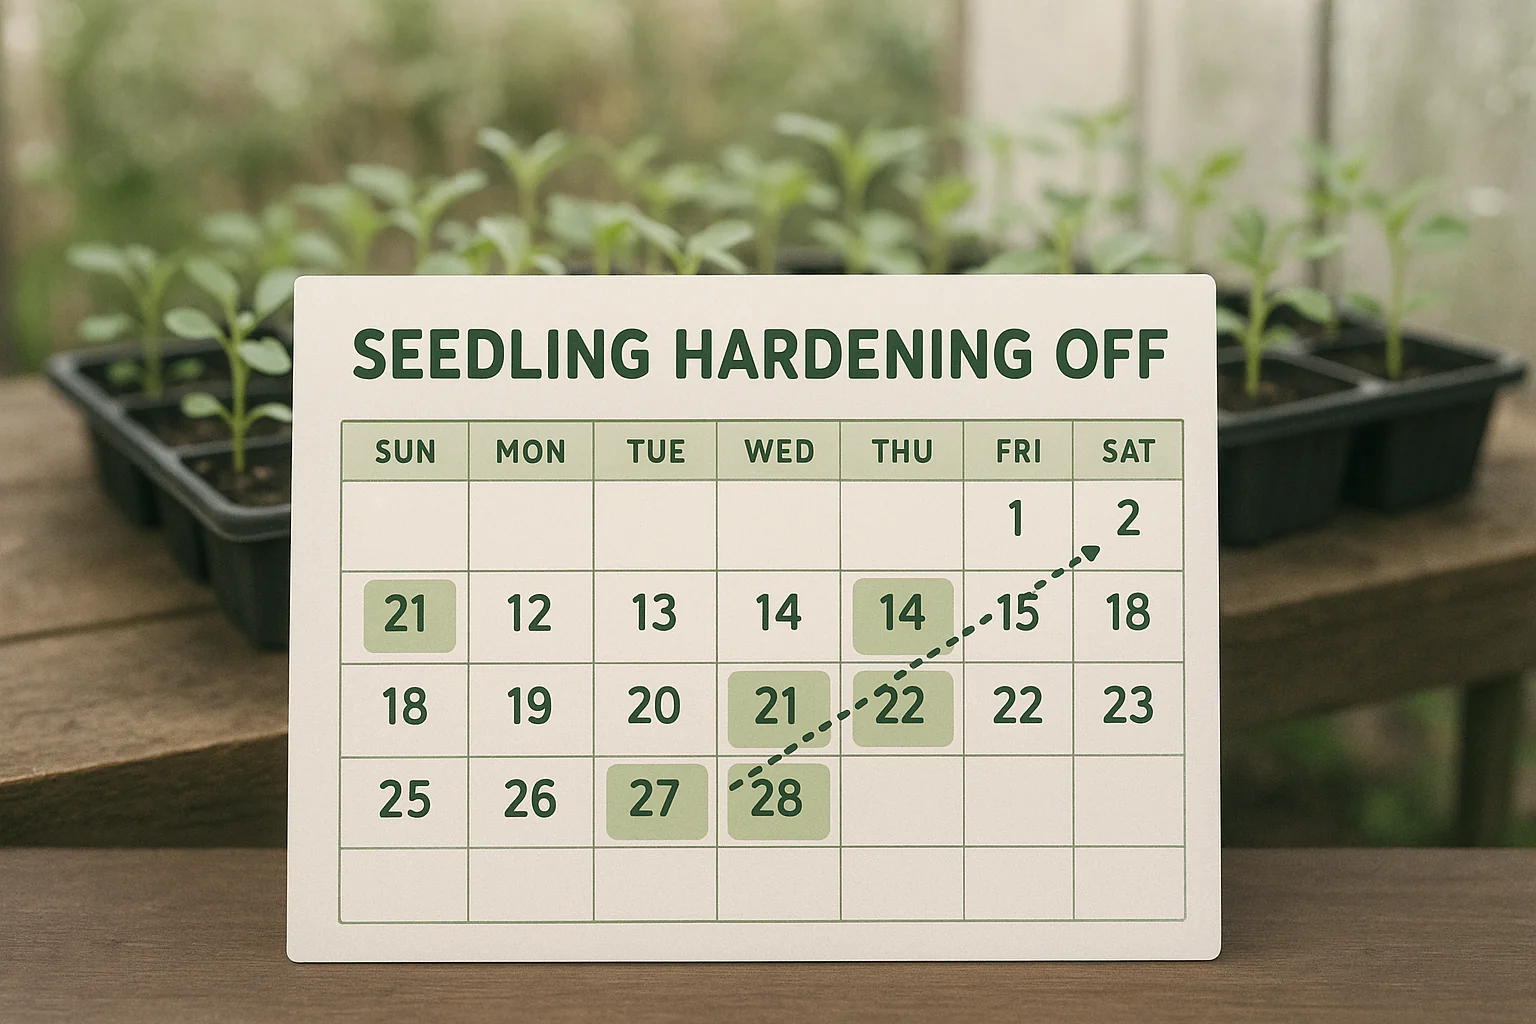
Step-by-Step Guide to Hardening Off Seedlings 🌿
Day 1: Gradual Introduction 🌳
Start by placing your seedlings in a shaded, sheltered spot outdoors for about 1-2 hours. 🌳 This helps them adjust to the outdoor air without being overwhelmed by direct sun or wind. It’s like a mini outdoor vacation for your plants! 🌞
Day 2-3: Increase Exposure 🌿
Increase their outdoor time by 1-2 hours each day. Gradually expose them to more sunlight, but still keep them in a shady area during the hottest part of the day. 🌿 You’re giving them a taste of the real world without overloading them! 🌤️
Day 4-7: Full Sun Exposure 🌞
By now, your seedlings are ready for more direct sunlight. 🌞 Start introducing them to full sun for short periods, like 2-3 hours in the morning or late afternoon. Monitor them for signs of stress, like wilting or leaf burn. If they show any stress, return them to a shaded spot for a while longer. 🌱
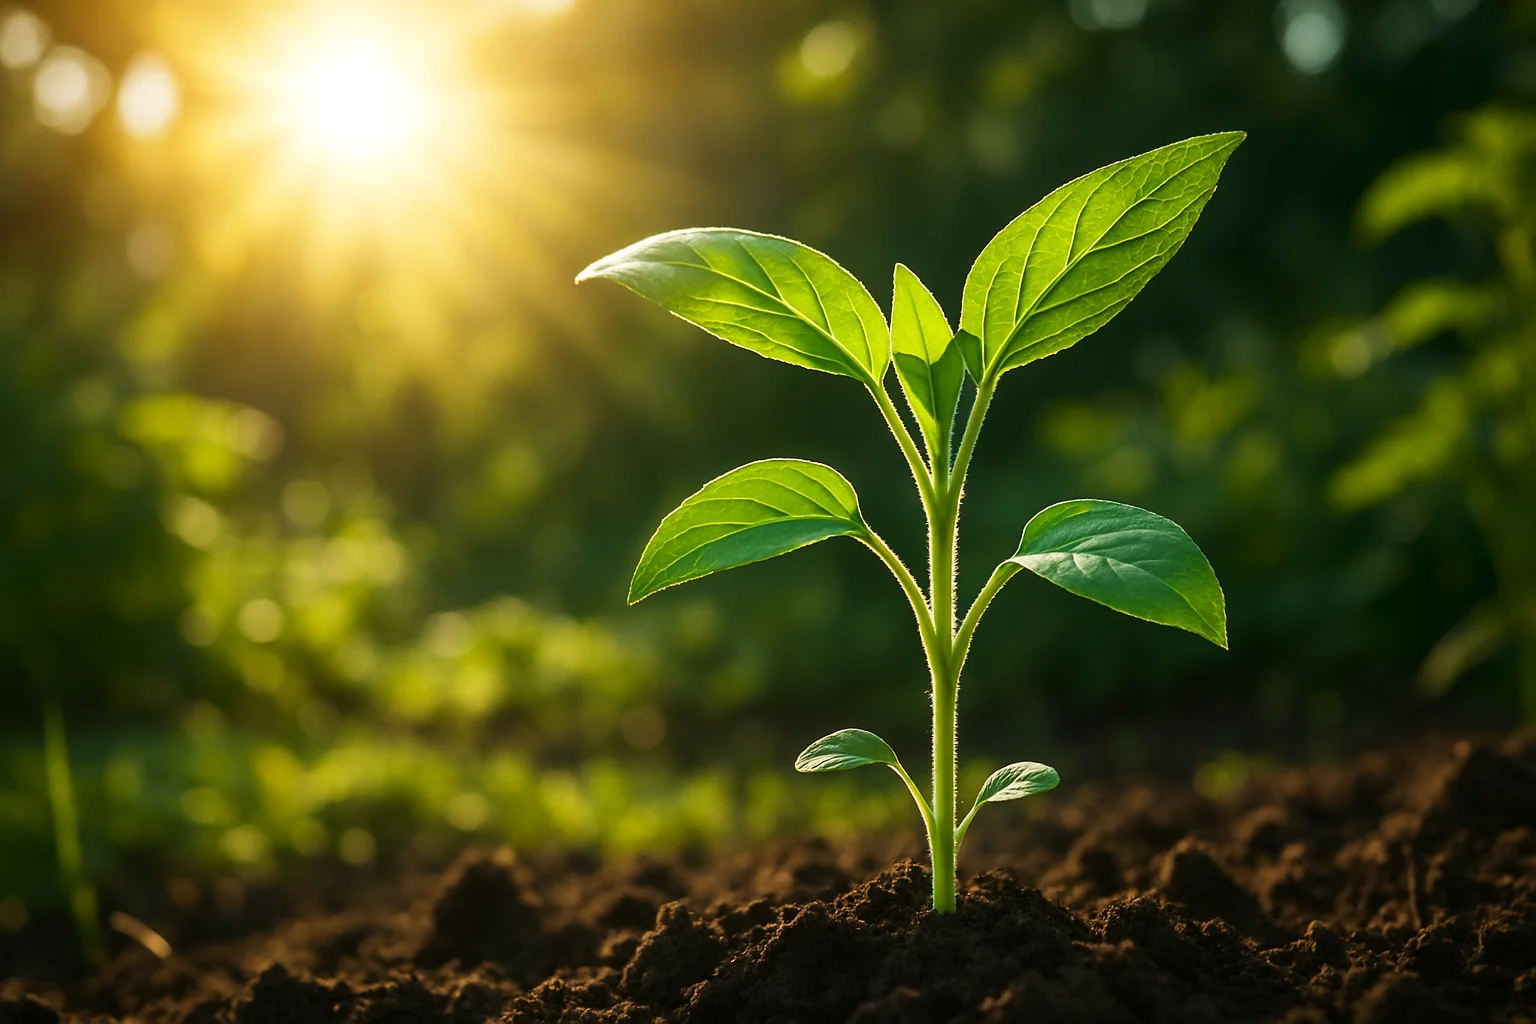
Day 8-10: Hardening Off Completion 🌻
By the end of the week, your seedlings should be ready to handle full days of sunlight. 🌻 At this point, they’ve built up enough strength to be planted in your garden. Check the weather forecast—avoid harsh winds or extreme temperature changes during this final phase. 🌬️
This gradual approach helps your plants build the resilience they need to thrive outdoors! 💚
Common Mistakes to Avoid During the Hardening-Off Process ❌
1. Rushing the Process ⏱️
Don’t try to harden off your seedlings too quickly! 🌱 Skipping gradual exposure can lead to shock. Always increase their outdoor time slowly to prevent stress. 🕒
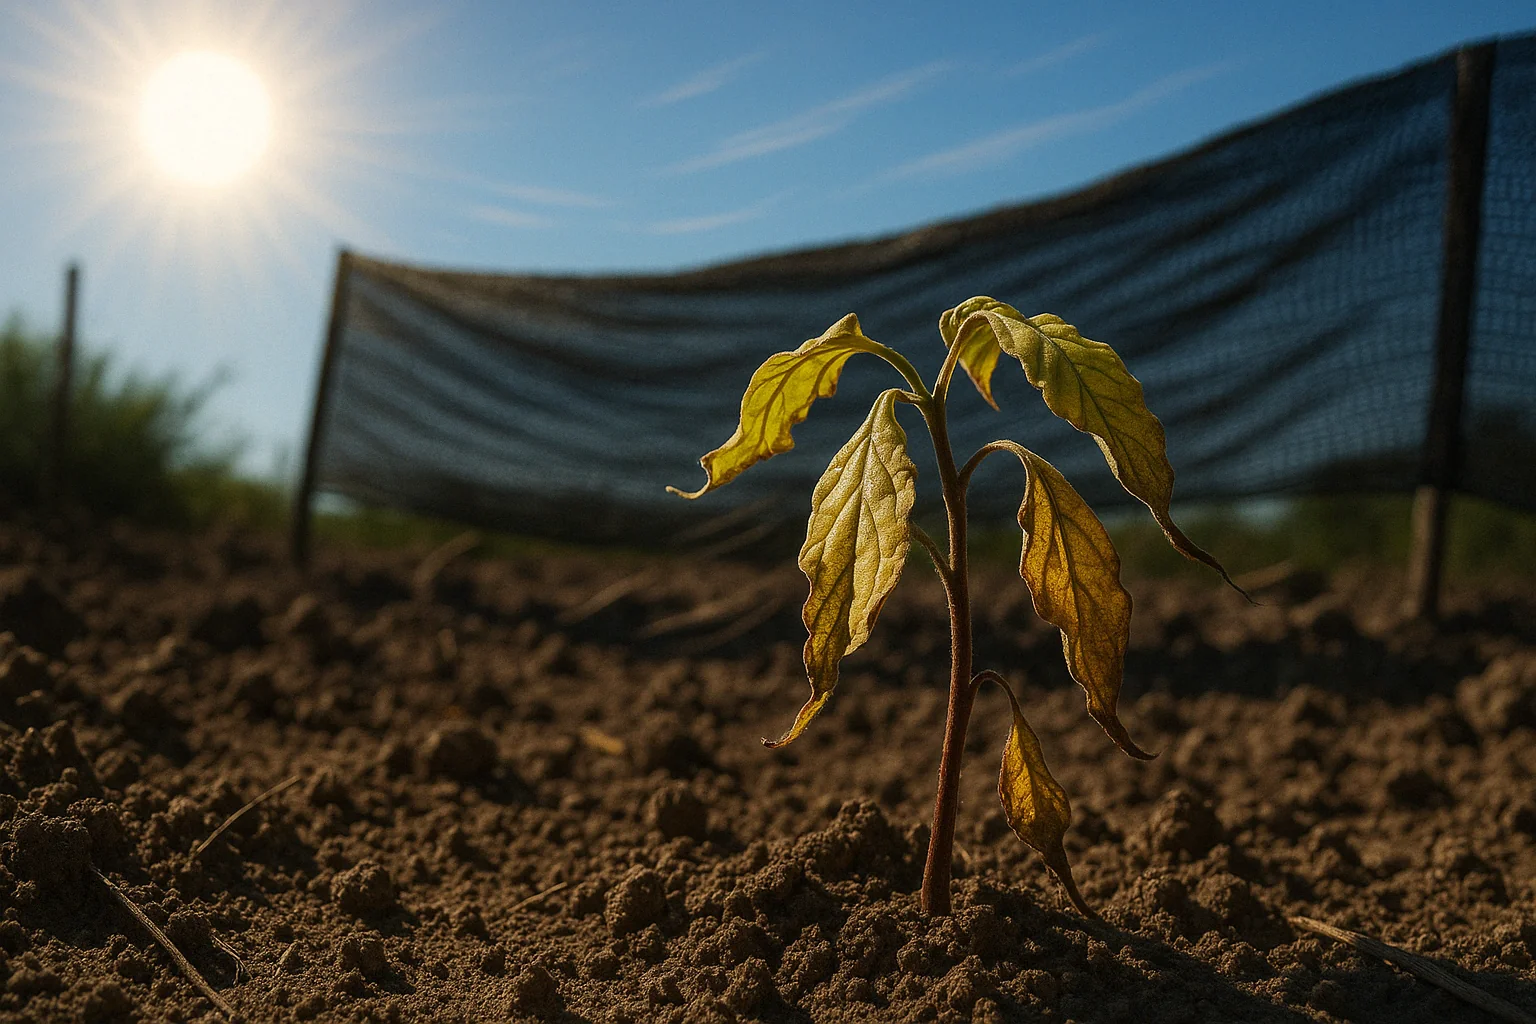
2. Exposing Seedlings to Harsh Conditions Too Soon 🌞🌬️
Avoid placing your seedlings in direct midday sun or strong winds too early. 🌞🌬️ They’re not used to these conditions and can suffer from sunburn or wind damage. Always start with shaded areas and gradually increase exposure.
3. Not Monitoring Plant Health 👀
Check your seedlings every day! 👀 If they show signs of stress, such as wilting, yellowing, or browning, adjust their exposure. 🌿 Always be ready to protect them if conditions become too harsh.
4. Forgetting to Protect from Cold 🌙
If temperatures suddenly dip, bring your seedlings indoors or cover them with a light cloth. 🌙 Even after a few days of hardening off, frost or cold snaps can still harm them.
5. Hardening Off Too Late 😟
Start hardening off seedlings at least 7-10 days before you plan to plant them in the garden. Waiting too long can result in them not being properly adjusted, leading to transplant shock.
By avoiding these mistakes, you’ll help your seedlings make a smooth, stress-free transition outdoors! 🌸
Tips for Success 🌟
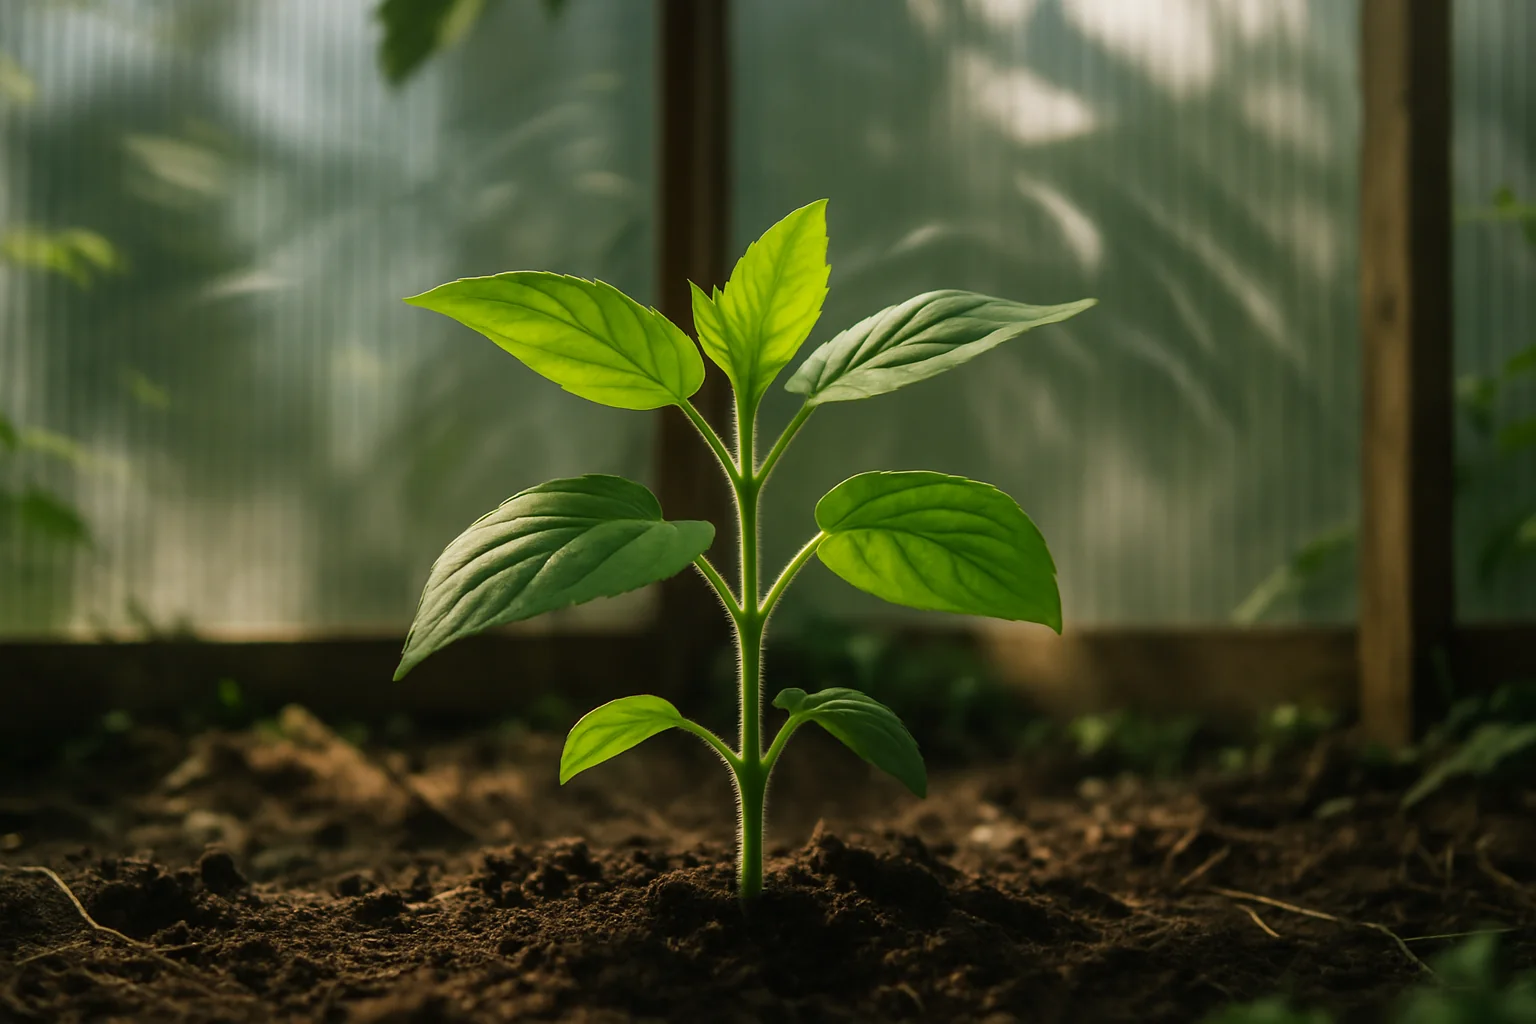
1. Choose the Right Spot 🌳
Select a sheltered area for your seedlings, ideally out of strong winds and harsh sunlight. 🌳 A spot with partial shade is perfect for the first few days. This helps them adjust without being overwhelmed.
2. Water Carefully 🌊
Keep your seedlings hydrated, but don’t overwater. 🌊 The outdoor air can dry them out faster than indoors, so check moisture levels regularly. Just be sure not to leave them sitting in water, as this can cause root rot.
3. Be Patient and Observe 👀
Take your time and watch your seedlings closely. 👀 If they’re showing any signs of stress, like wilting or yellowing, return them to a shadier spot and try again the next day. Patience pays off!
4. Use Shade Cloth 🧣
If the sun gets too strong, especially in the afternoon, use a shade cloth to provide some relief. 🧣 This is particularly helpful for seedlings that are more sensitive to intense sun.
5. Protect From Night Temperatures 🌙
Even when the weather looks sunny, nights can still be chilly. 🌙 If temperatures drop, bring your seedlings back inside or cover them with a light cloth to protect them from the cold.
By following these tips, you’ll give your seedlings the best chance for a healthy and successful transition to your garden! 🌼Hardening off seedlings outdoors ensures they adapt smoothly to outdoor conditions.
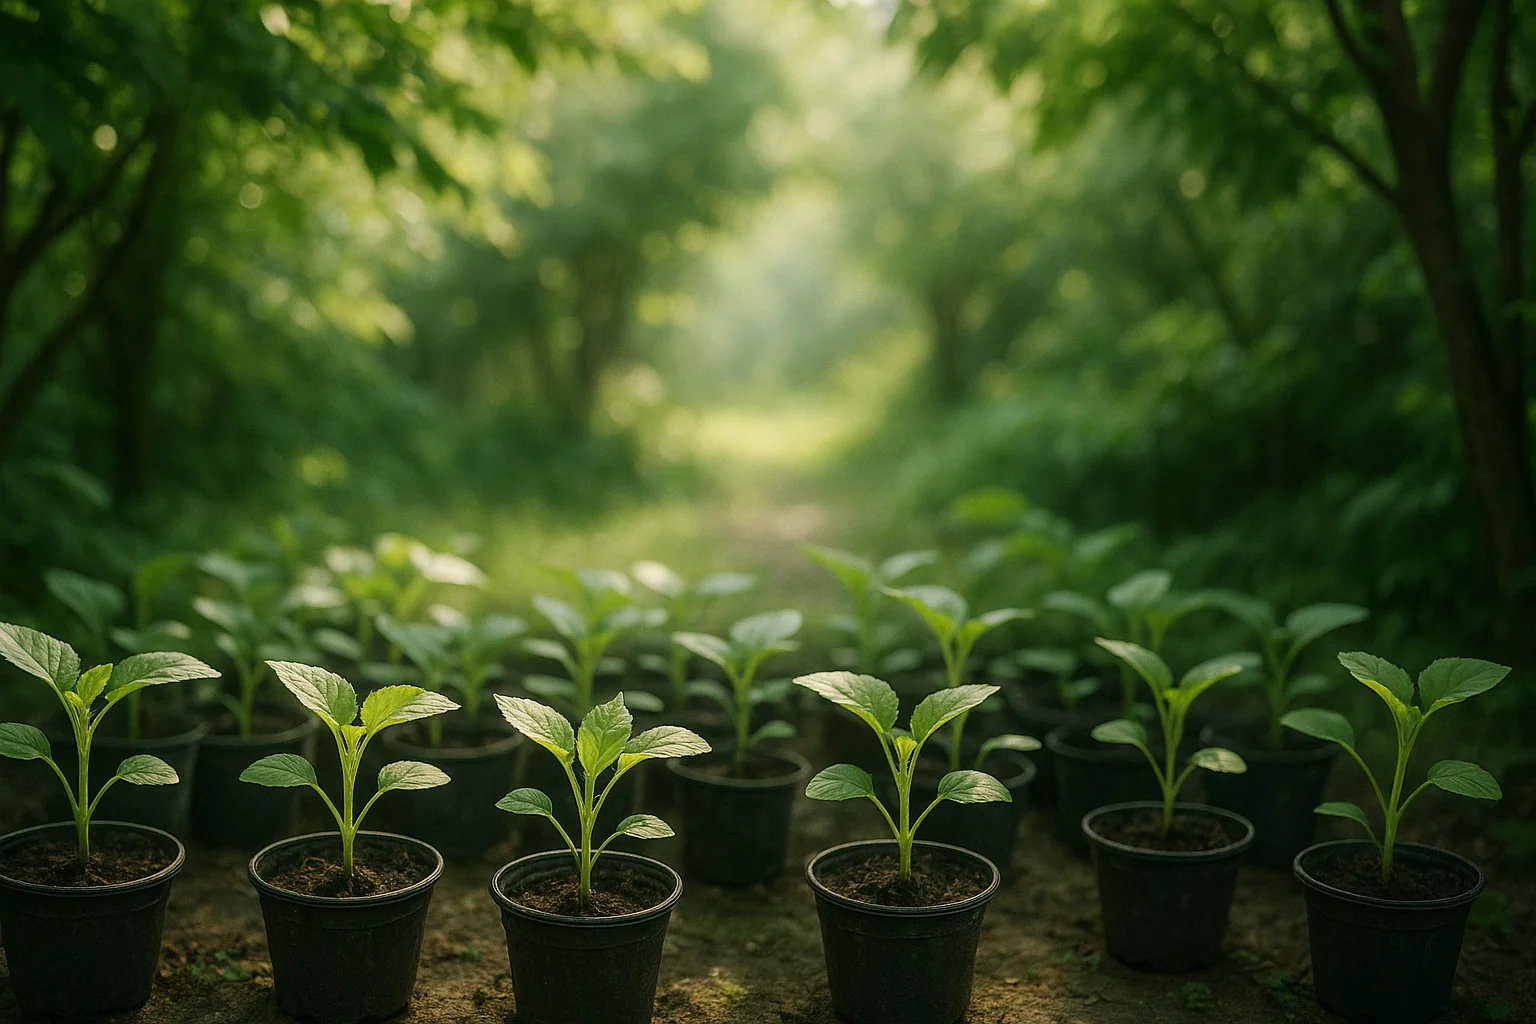
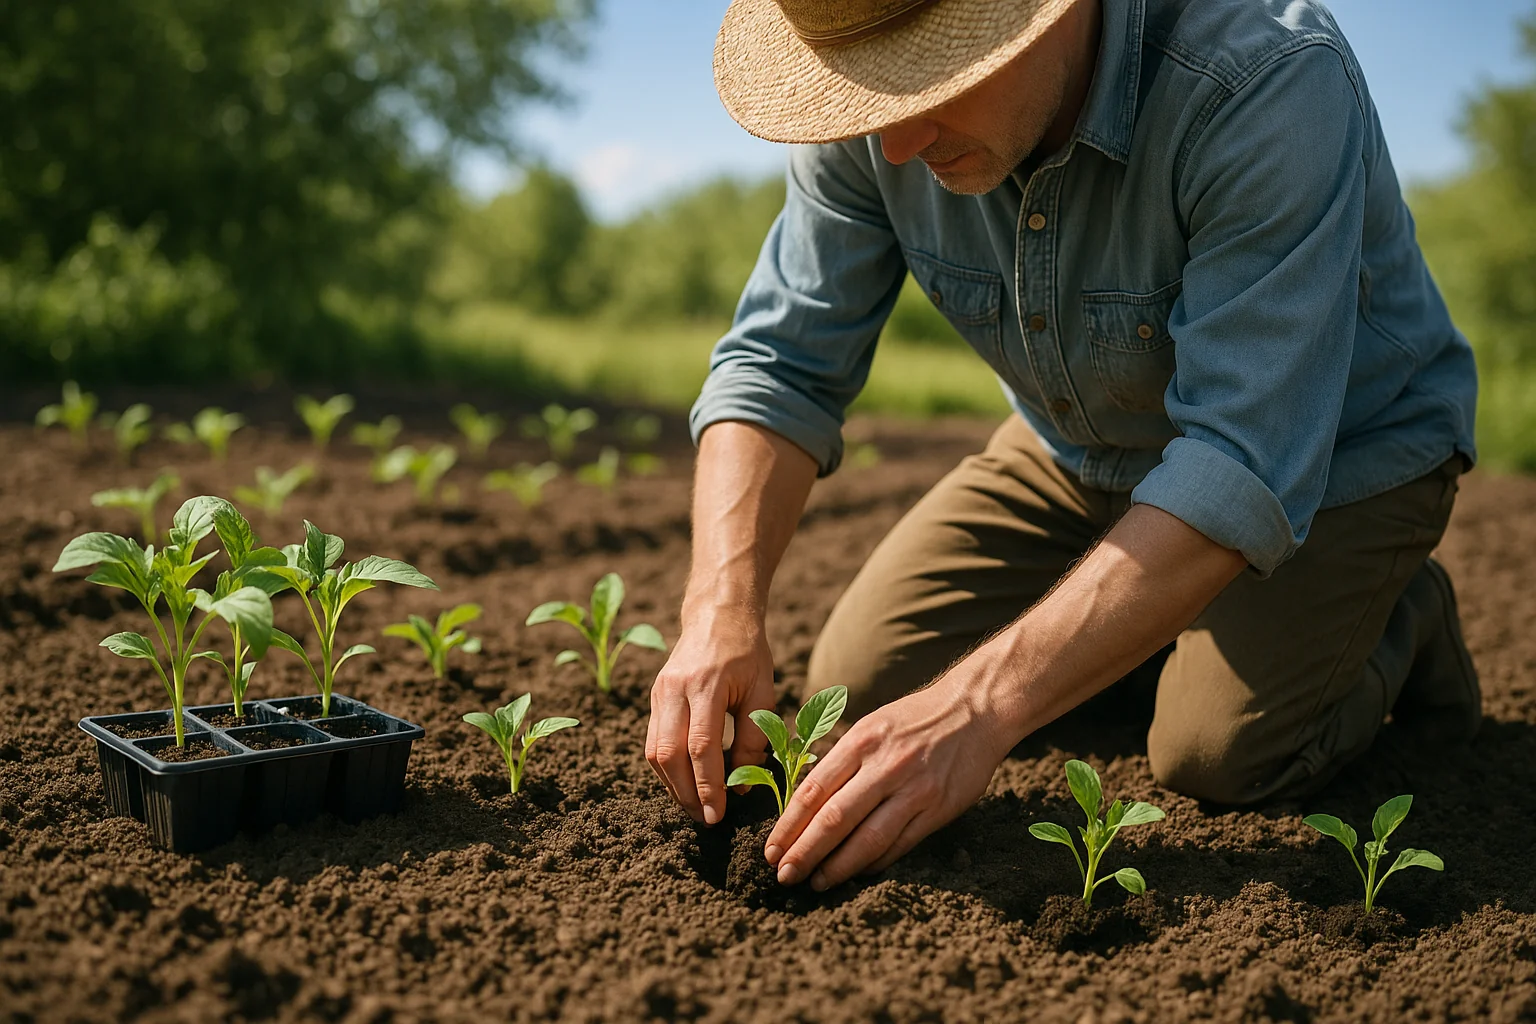
After Hardening Off: Planting Seedlings in the Garden 🌱
Once your seedlings are fully hardened off, it’s time to get them into the garden where they can truly thrive. Here are the key steps to ensure a smooth transition:
1. Timing of Planting 🌤️
Choose a day with mild weather to plant your seedlings. 🌤️ Avoid planting on days when the weather is too hot, too cold, or too windy. The best time is typically in the early morning or late afternoon to avoid midday sun.
2. Prepare the Garden Bed 🌿
Before planting, make sure your garden soil is well-prepared. 🌿 Loosen the soil, remove any weeds, and add compost or organic matter to ensure your plants have the nutrients they need. Good soil = happy seedlings! 🌻
3. Proper Spacing 🌸
Give your seedlings room to grow! 🌸 Follow spacing guidelines for each plant type—this ensures good air circulation and reduces the risk of disease. Overcrowding can stunt growth.
4. Planting Depth 🌱
Make sure to plant your seedlings at the same depth they were in their containers. 🌱 Planting them too deep or too shallow can stress the roots and hinder growth.
5. Watering After Planting 💧
After planting, give your seedlings a good drink of water. 💧 Keep the soil consistently moist (but not soggy) as they settle into their new home. This helps reduce transplant shock.
By following these steps, your seedlings will have the best start in their new garden home! 🌼Hardening off seedlings outdoors is key to helping them thrive outside.🌿
How to Care for Seedlings Post-Planting 🌿
After transplanting your seedlings into the garden, proper care is crucial for their continued growth and success. Here are key tips to help them thrive:
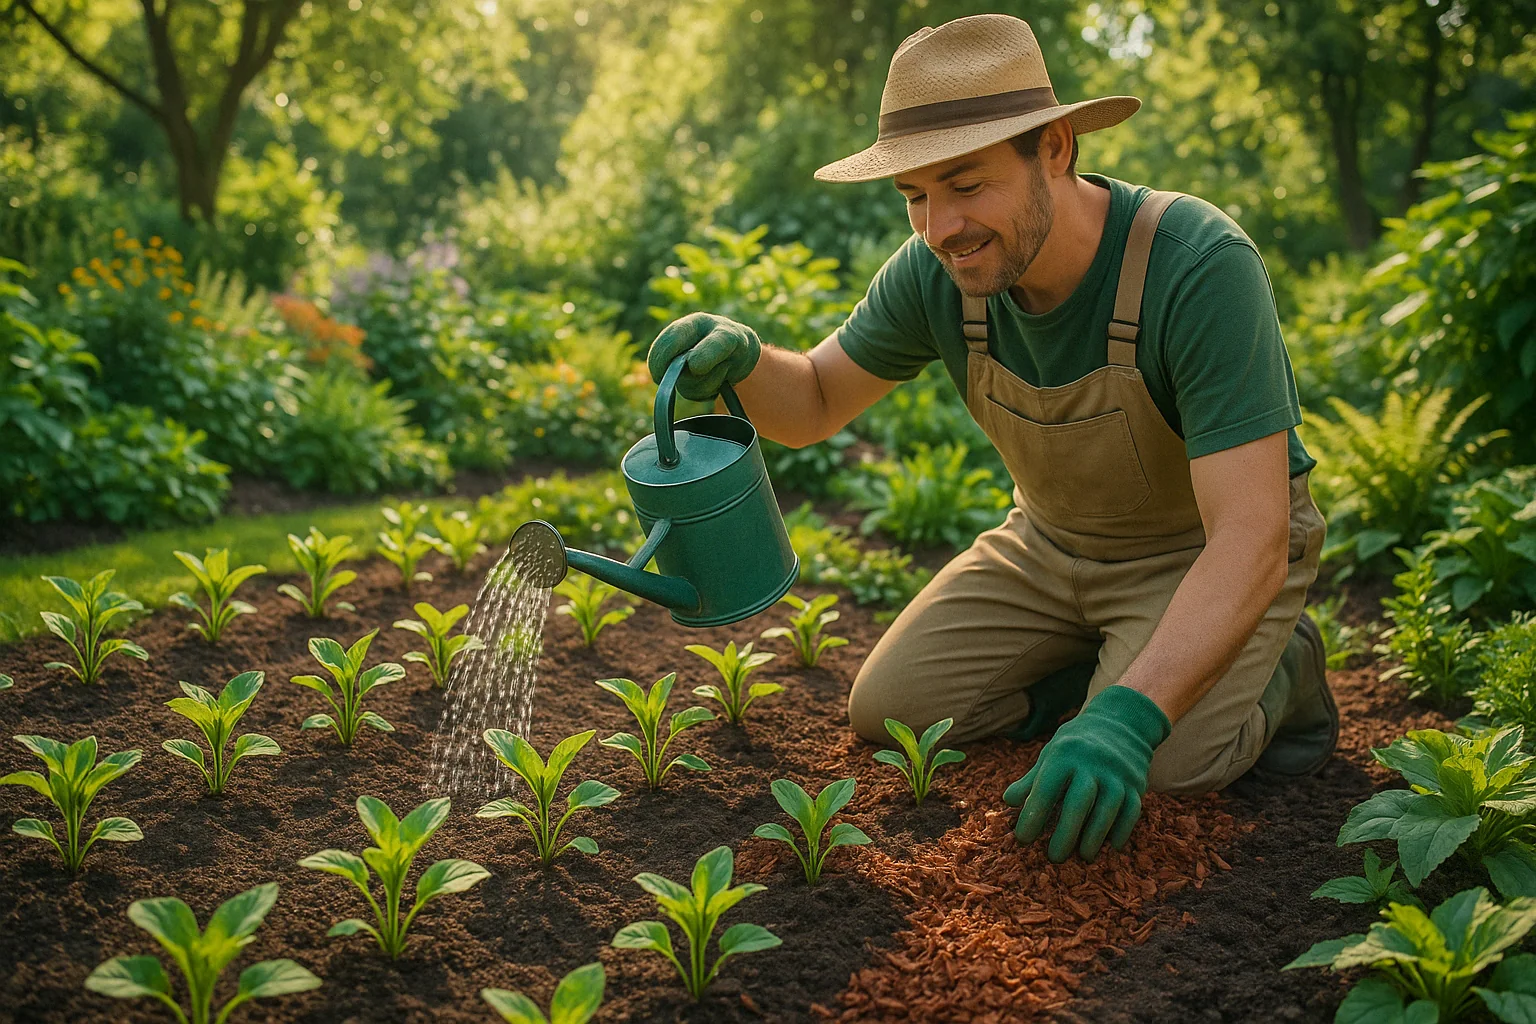
1. Watering 💧
Keep your seedlings well-watered, especially during the first few weeks after planting. 💧 Water deeply but allow the soil to dry out slightly between waterings to prevent waterlogging. Consistent moisture helps the roots establish.
2. Mulching 🌾
Add a layer of mulch around your seedlings to retain moisture, regulate soil temperature, and suppress weeds. 🌾 Organic mulch like straw or wood chips works best. This helps keep the soil around your plants happy and healthy!
3. Monitor for Stress 👀
Keep an eye out for signs of transplant shock, such as wilting, yellowing leaves, or stunted growth. 👀 If your seedlings show stress, ensure they’re receiving adequate water, and provide some shade if needed.
4. Fertilizing 🌱
Once your seedlings have settled in, you can start fertilizing to encourage growth. 🌱 Use a balanced, slow-release fertilizer, or an organic option like compost tea, to nourish your plants without overwhelming them.
5. Protecting from Pests 🐛
Check for any pests, like aphids or snails, that might try to munch on your new seedlings. 🐛 Use natural pest control methods like neem oil or insecticidal soap if necessary, or attract beneficial insects like ladybugs.
6. Pruning and Supporting Growth 🌿
As your seedlings grow, make sure they have enough space and support. 🌿 Some plants may need staking or trellises. Prune any dead or damaged leaves to help direct energy toward new growth.
By giving your seedlings the care they need after planting, you’ll ensure they grow strong, healthy, and ready to thrive in your garden! 🌻
Final Thought 🌱
Hardening off seedlings outdoors is a simple yet crucial step to ensure your young plants thrive in their new garden home. By gradually acclimating them to outdoor conditions, you give them the best chance to avoid shock and grow strong. 🌸
Remember, patience is key. Take your time with each step—starting with gradual exposure, monitoring their health, and planting at the right moment. With the right care, your seedlings will transition smoothly, and you’ll soon be rewarded with a flourishing garden. 🌿
Now that you’re equipped with the knowledge to harden off seedlings like a pro, it’s time to get planting! 🌼 Happy gardening!