
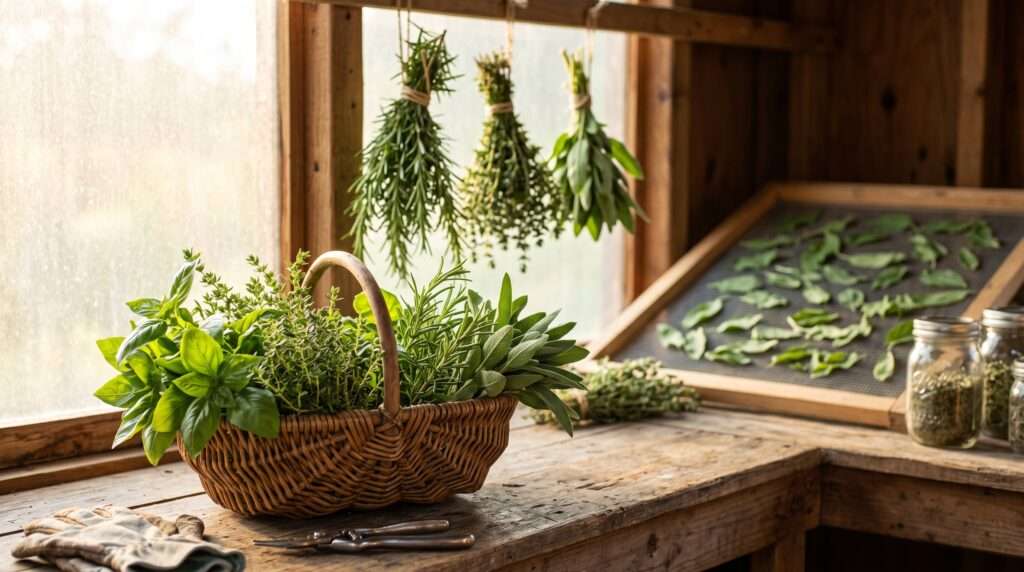
Picture this: You have spent months lovingly tending to your garden. You’ve battled pests, monitored soil moisture, and watched with pride as your culinary plants flourished into vibrant, fragrant bushes. But when it comes time to preserve that hard-earned bounty, things go wrong. Instead of aromatic jars bursting with summer flavor, you end up with brittle, flavorless dust—or worse, a heartbreaking jar full of fuzzy white mold.
If this sounds familiar, you are not alone. When it comes to harvesting and drying homegrown herbs, traditional advice like “just tie them up and hang them upside down” often fails modern gardeners.
In my years of hands-on plant care, soil management, and botanical troubleshooting, I’ve seen countless harvests ruined by improper moisture control and temperature neglect. Preserving herbs is a science. To keep those precious volatile oils intact while eliminating the moisture that breeds mold, you need a precise, calculated approach.
In this comprehensive guide, we are going to dive deep into the ultimate, foolproof method for capturing your garden’s peak flavor. You will learn the exact biological timing for a perfect harvest, the nuanced drying techniques tailored to specific herb types, and the storage secrets that will keep your pantry fragrant all year round. Let’s dig in! 🌻
🌱 The Golden Rules of Harvesting: Timing is Everything
To understand how to dry herbs perfectly, we first have to understand how they grow. The flavor and aroma of your plants come from essential oils trapped in the cellular structure of the leaves. Your goal as an expert gardener is to harvest the plant at the exact moment those oils are at their absolute peak concentration.
The Best Time of Day to Harvest ☀️
When it comes to gathering your yield, the clock matters just as much as the calendar. The absolute best time to harvest is in the “Morning Sweet Spot.”
You want to head out into your garden after the morning dew has completely evaporated from the leaves, but before the midday sun reaches its peak. Why? Moisture from dew invites mold during the drying process, but the intense afternoon heat actually causes the plant’s essential oils to evaporate into the air to protect the plant from heat stress. By harvesting mid-morning (usually between 9:00 AM and 11:00 AM, depending on your climate), you are capturing the plant when it is fully hydrated and packed with maximum flavor.
The Best Stage of Plant Growth 🌸
A common mistake beginners make is waiting too long to harvest. You must harvest your herbs before the plant begins to flower (a process often referred to as bolting).
Once a plant like Basil, Cilantro, or Mint starts producing buds, its biological imperative shifts. It redirects its energy away from producing lush, flavorful leaves and pours it into seed and flower production. As a result, the leaves can become bitter, tough, and lose their signature aroma.
-
Expert Tip 💡: If you notice your herbs starting to form flower heads, pinch them off immediately! This forces the plant to refocus its energy on leaf production, extending your harvesting window.
Proper Pruning Technique ✂️
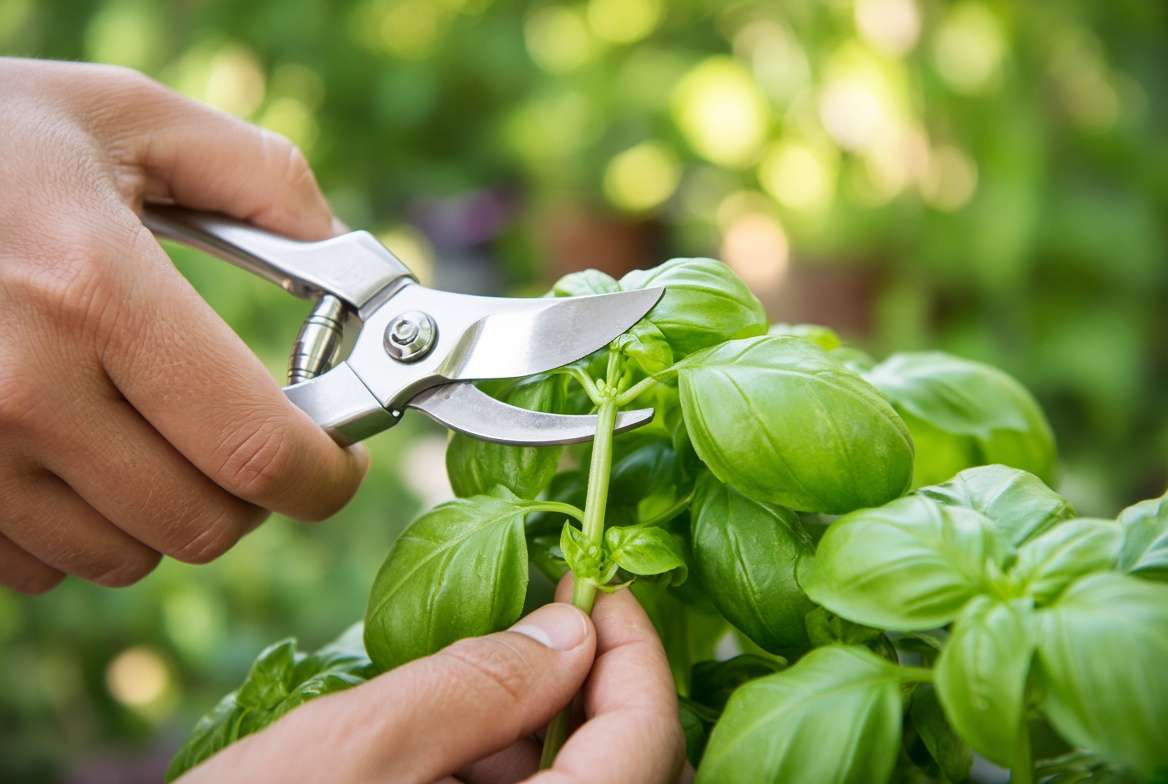
Harvesting isn’t just about taking; it’s about ensuring the future health of your plant. Never just rip or tear stems with your hands, as this damages the vascular tissue of the plant and invites disease.
Always use sharp, high-quality pruning shears or micro-snips. Make a clean cut just above a leaf node (the point on the stem where new leaves emerge). Cutting here encourages the plant to branch out, resulting in a bushier, higher-yielding plant for your next harvest.
-
Safety First 🛡️: Always sterilize your pruning shears with rubbing alcohol before you begin. Just like humans, plants can catch infections. Using dirty shears can easily spread fungal diseases and pathogens from one plant to another, decimating your garden.
🚿 Prep Work: To Wash or Not to Wash?
This is one of the most hotly debated topics in the gardening community. Should you wash your herbs before drying them?
The short answer is: Avoid washing them if you can, but wash them carefully if you must.
Introducing water to the leaves right before you are trying to dehydrate them is counterproductive and is the #1 leading cause of mold in dried herbs. However, reality dictates that outdoor gardens are exposed to the elements.
When Washing is Necessary 🐛
If you grow your herbs indoors or in a controlled greenhouse environment, you can likely skip washing altogether. But, if your plants are outside, you may need to wash them if:
-
There has been heavy rain causing soil splashback onto the lower leaves.
-
You live in a dusty, high-traffic area.
-
You spot signs of pests, like aphids, spider mites, or microscopic insect eggs.
The “Dry Spin” Method 🥗
If you absolutely must wash your herbs, do it using cold water (never warm, which degrades the oils). Gently swish them in a bowl.
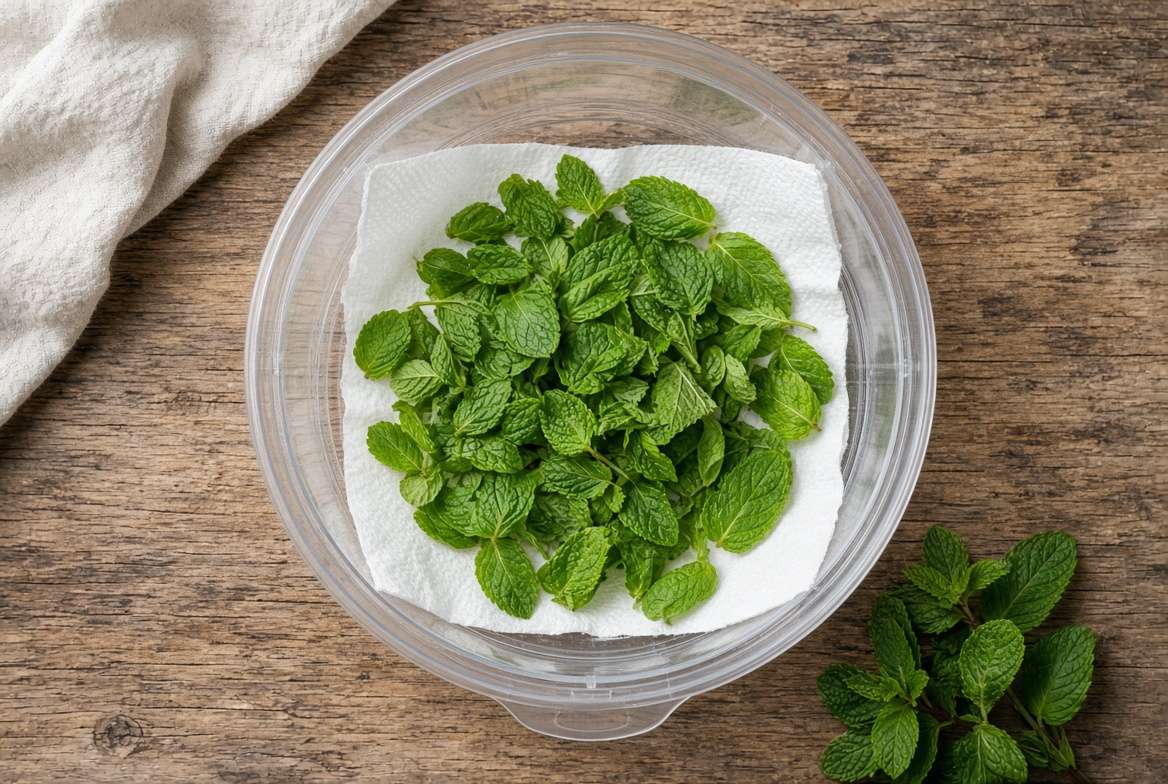
To remove the water, you must act quickly. Do not just lay them on a towel to air dry. Instead, utilize the “Dry Spin” Method. Place the washed herbs into a salad spinner lined with a few dry paper towels. Spin them gently but thoroughly. The centrifugal force, combined with the absorbent towels, pulls the surface moisture off the leaves rapidly without bruising them. Afterward, lay them flat on a fresh, dry microfiber cloth for an hour in a well-ventilated room to ensure zero surface moisture remains.
Sorting and Inspecting 🔍
Before you begin the drying process, you must be ruthless. Inspect every single stem and leaf. Remove any foliage that is yellowed, bruised, speckled with disease, or overly damaged by bugs.
Remember: One rotting or moldy leaf can quickly spread spores and ruin an entire bundle of drying herbs. Only the healthiest, most vibrant leaves should make it to the drying phase! 🌿
🌬️ The Foolproof Drying Methods (Categorized by Herb Type)
The biggest mistake you can make when drying herbs is treating them all exactly the same. Plants are biologically diverse, and their moisture content dictates how they should be preserved. Using an air-drying method on a high-moisture plant like Basil will almost always result in mold, while exposing a low-moisture herb like Rosemary to excessive heat will obliterate its delicate oils.
Here is the breakdown of the most effective methods based on the specific botanical needs of your harvest.
Method 1: Air Drying (Best for Low-Moisture Herbs) 🌿
Air drying is the most traditional method, and it works wonderfully—but only for herbs that have sturdy stems and naturally low moisture levels in their foliage.
-
Ideal for: Rosemary, Thyme, Oregano, Sage, Lavender, and Marjoram.
-
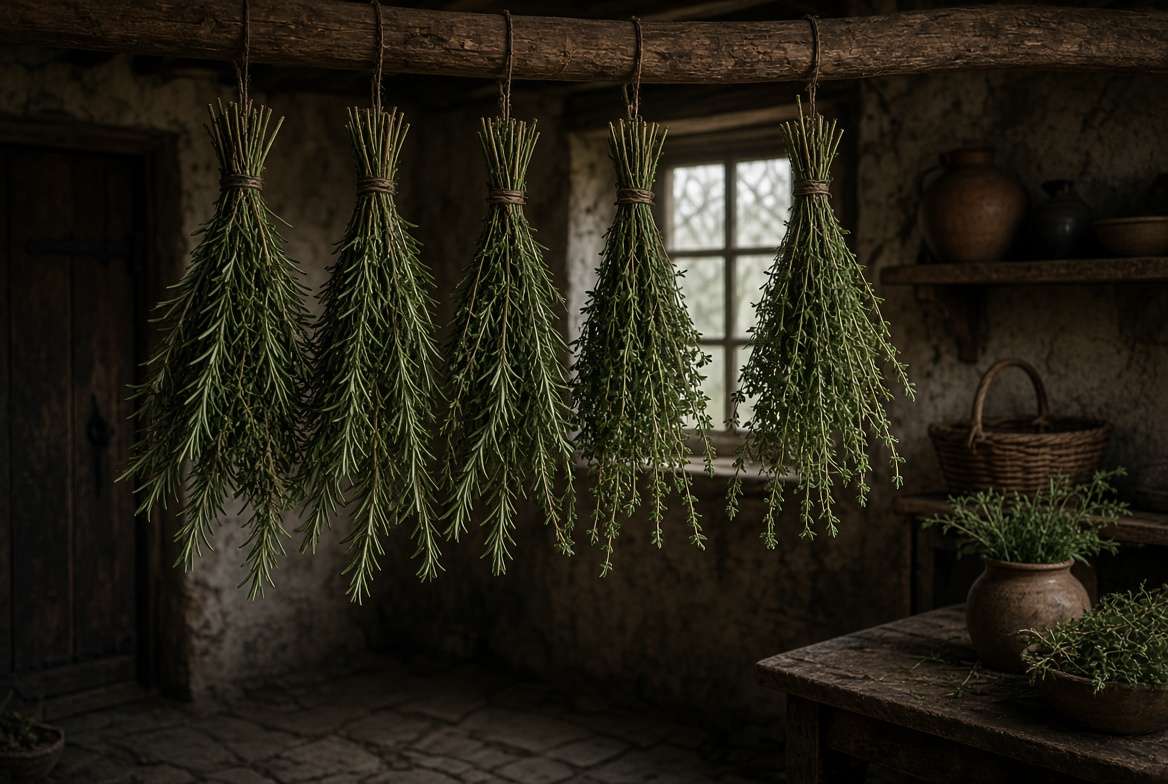
The Technique: Gather 5 to 8 stems and tie them together at the base. Expert Tip 💡: Always use a rubber band instead of twine! As the plant matter dehydrates, the stems will shrink. Twine will loosen, causing your herbs to slip and fall to the floor. A rubber band naturally contracts, keeping the bundle securely tightened.
-
The Paper Bag Trick 🛍️: To create the perfect environment, take a standard brown paper lunch bag and punch several holes in it for ventilation. Place the herb bundle inside, tying the top of the bag around the base of the stems. Hang it upside down in a warm, dry room. The bag serves three critical functions: it blocks out flavor-destroying UV light, acts as a barrier against household dust, and catches any dried leaves that naturally drop off during the process.
Method 2: Food Dehydrator (Best for High-Moisture Herbs) 💨
Herbs with large, succulent leaves hold a tremendous amount of water. If you try to air-dry them, the ambient humidity will allow mold to set in long before the center of the leaf is dry. A food dehydrator provides the controlled environment these plants desperately need.
-
Ideal for: Basil, Mint, Lemon Balm, Tarragon, and Cilantro.
-
The Technique: Strip the leaves from the stems to speed up the process and arrange them in a single layer on the dehydrator trays.
-
Temperature Control 🌡️: Set your dehydrator to its lowest possible setting, ideally between 95°F and 115°F (35°C – 46°C). Anything hotter than this will essentially cook the herbs, vaporizing the volatile essential oils and leaving you with something that tastes like dried grass. Check them every 2 hours until they are completely crisp.
Method 3: The Oven Drying Hack (For Beginners) 🍳
If you don’t own a dehydrator and need to dry high-moisture herbs, the oven can work, but it requires extreme vigilance. Most conventional ovens only go down to about 170°F (76°C), which is far too hot for botanical preservation.
-
The Hack: Turn your oven to its absolute lowest setting. Place your herbs on a parchment-lined baking sheet. To prevent the temperature from climbing too high, prop the oven door open a few inches using a wooden spoon. This allows excess heat to escape while promoting critical air circulation. Check your herbs every 15 minutes. It usually takes between 1 to 2 hours.
Method 4: Herb Drying Racks & Screens 🕸️
If you are dealing with short-stemmed herbs, delicate blossoms like chamomile, or individual leaves that fell off during pruning, a mesh drying rack is your best friend.
-
The Technique: Lay the plant material out in a single layer on a mesh screen (clean window screens or specialized stackable herb racks work perfectly). Elevate the screen so air can flow completely above and below the leaves.
🛡️ The Enemy: How to Prevent Mold and Protect Flavor
No matter which drying method you choose, three environmental factors act as the ultimate enemies of your homegrown harvest. To ensure you lock in that farm-to-table flavor, you must control these variables.
The Danger of UV Light ☀️
Have you ever seen an old, dusty jar of herbs at a flea market that looks completely bleached and colorless? That is the devastating effect of photodegradation. Direct sunlight breaks down chlorophyll and destroys the complex chemical structures of essential oils. Always dry your herbs in a dark room, a closet, or a shaded corner. Never hang them directly in a sunny kitchen window!
The Airflow Equation 🌀
Stagnant air is a breeding ground for bacterial and fungal growth. Fungi thrive in pockets of humidity that surround a drying plant. To combat this, ensure the room you use for air-drying has excellent ventilation. Running an oscillating fan on a low setting in the corner of the room (not pointed directly at the herbs, just enough to keep the air moving) is an expert-level strategy to speed up drying and banish mold.
Temperature Control 🌡️
You are aiming for the “Goldilocks zone.” The space needs to be warm enough to evaporate moisture efficiently (ideally between 65°F and 75°F for air drying) but cool enough to prevent the essential oils from sweating out of the leaves. Avoid drying herbs in damp basements or sweltering attics.
🧪 The “Snap Test”: How to Tell When Your Herbs are Ready
Timing the end of the drying process is critical. If you pull them down too early, you risk ruining the whole batch. This is where The Snap Test comes in.
Take a stem or a large leaf and attempt to bend it.
-
Not Ready: If the stem bends, flexes, or feels slightly pliable, it still holds moisture. If the leaf feels leathery rather than brittle, it needs more time.
-
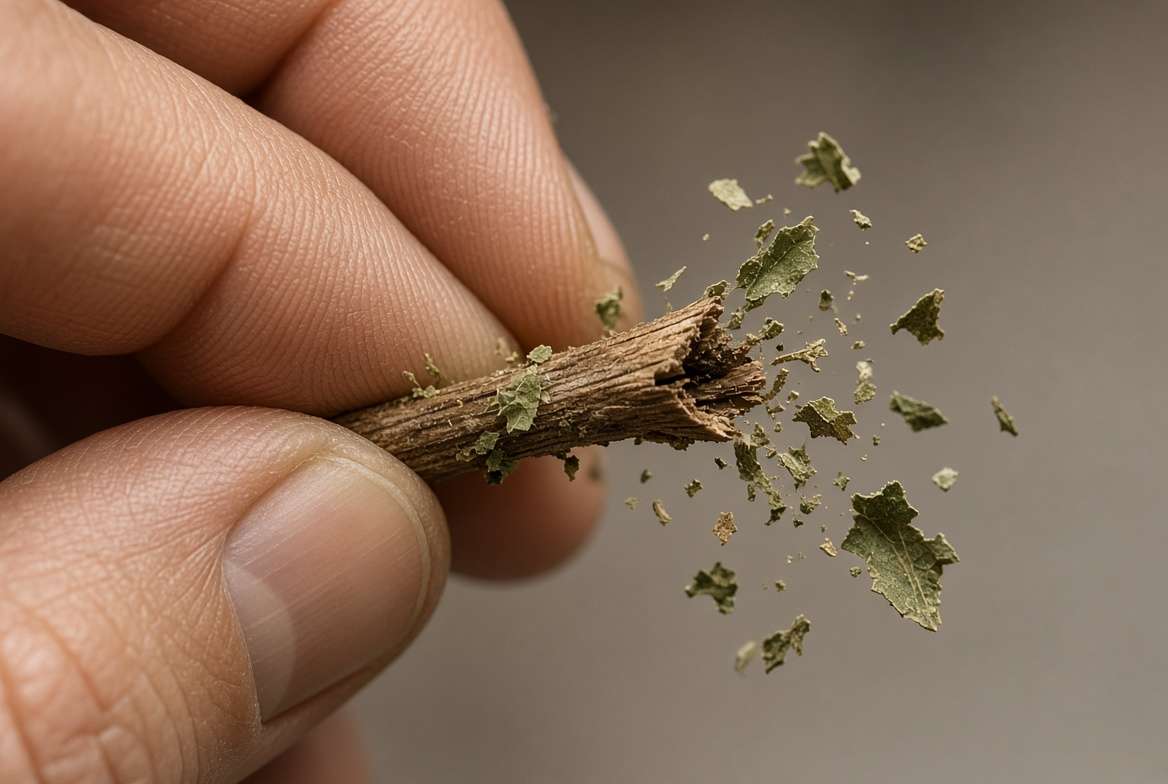
Ready: The stem should break instantly with an audible, satisfying snap, just like a dry winter twig. The leaves should easily crumble into flakes between your fingers.
The 5% Danger Zone ⚠️: Even a minuscule 5% of residual moisture hidden deep within the veins of a leaf is enough to cause an entire sealed jar to turn into a moldy, ruined mess. When in doubt, let them dry for one extra day.
🫙 Proper Storage: Locking in the Harvest
Congratulations! You’ve successfully harvested and dried your homegrown herbs. Now, how do you store them so they taste just as vibrant in a mid-winter stew as they did fresh from the summer garden?
Choosing the Right Containers 🏺
Ditch the plastic. Plastic bags and containers are micro-porous, allowing oxygen exchange that degrades flavor, and they can leach chemicals into your herbs.
-
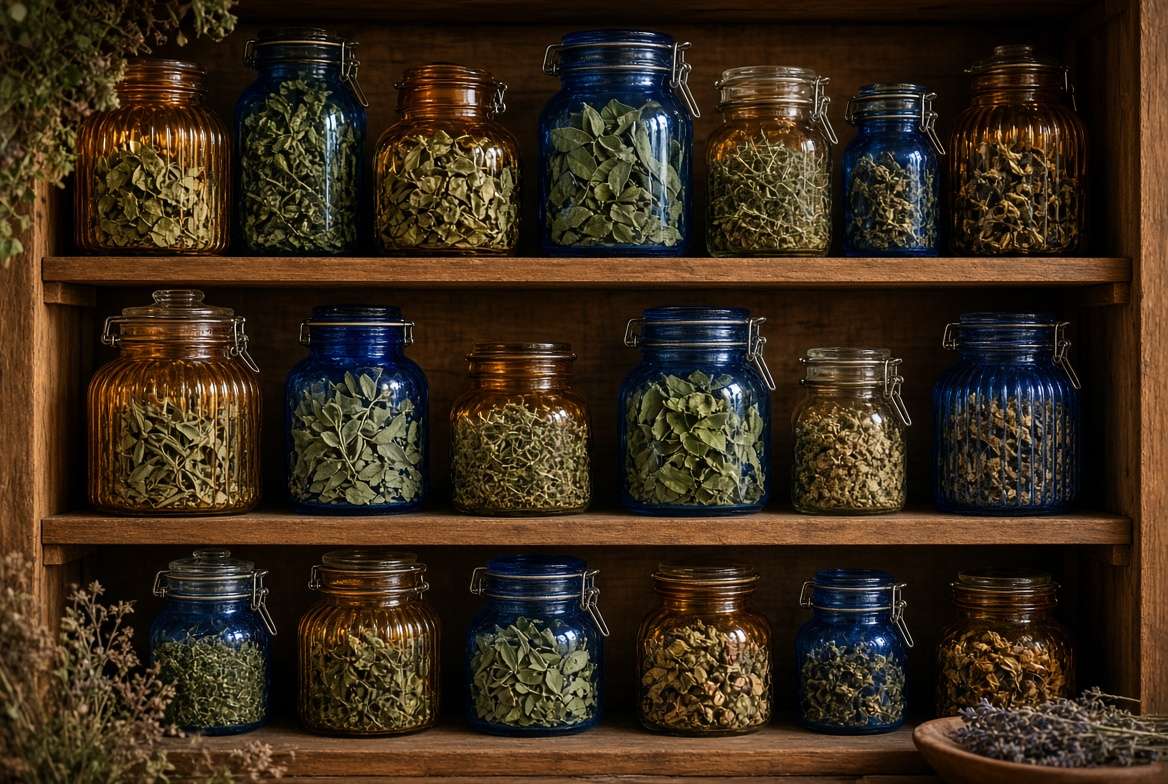
The Gold Standard: Use airtight glass containers, preferably small mason jars with a rubber seal. To truly emulate a master herbalist, invest in amber or cobalt blue glass jars. These colored glasses block out residual UV light, adding an extra layer of protection for your pantry.
Whole Leaves vs. Crushed Leaves 🍂
This is a culinary secret that changes everything: Store your herbs as whole leaves. When you crush an herb, you dramatically increase its surface area, exposing more of its delicate oils to the air. This causes the flavor to degrade rapidly. Keep the leaves as intact as possible in their storage jars. When you are ready to cook, pull out a pinch of whole leaves and crush them between your palms directly over the simmering pot to release that potent, locked-in aroma.
Labeling and Shelf Life 🏷️
Once dried and jarred, Oregano, Mint, and Basil all start to look suspiciously similar—just varying shades of green flakes! Always label your jars with the name of the herb and the date of the harvest.
-
Shelf Life: While perfectly dried herbs won’t “go bad” in the traditional sense, their culinary potency has an expiration date. Expect peak flavor for 6 to 12 months. If a jar smells like dusty hay instead of vibrant herbs, it’s time to toss it into the compost bin.
🙋♀️ Frequently Asked Questions (FAQ)
To make sure absolutely all your bases are covered, let’s address some of the most common hurdles gardeners face when preserving their plants.
Can you dry herbs in the microwave? ⚡ Yes, but it requires extreme caution. Place the herbs between two paper towels and microwave on low power in 30-second bursts. It is fast, but it is very easy to scorch the leaves and destroy the flavor profile. It is best used only in a pinch!
Why did my dried basil turn black? 🖤 Basil is notoriously finicky. It turns black due to oxidation, bruising during the prep phase, or being exposed to temperatures that are too high (or too cold, like a refrigerator). Handle basil gently and use a food dehydrator at a low temperature to keep its beautiful green color.
Can I dry herbs that have already flowered? 🌼 You certainly can, and they are completely safe to eat. However, be aware that the flavor profile will have changed. Herbs that have bolted often taste more bitter and less aromatic. (Bonus tip: Many herb flowers, like chive blossoms and borage, are edible and make beautiful, tasty garnishes!).
How do I substitute dried herbs for fresh in recipes? 🍲 Because dried herbs are much more concentrated in flavor than fresh, water-filled herbs, you should use less. The golden rule is a 1:3 ratio. If a recipe calls for 1 tablespoon of fresh oregano, use 1 teaspoon of dried oregano.
🏁 Conclusion
Preserving the bounty of your garden does not have to be a gamble. By understanding the biology of your plants and respecting the science of moisture and temperature, you can transition from a casual gardener to a true master of your harvest.
Remember the foolproof method: Harvest during the morning sweet spot, skip washing if possible, tailor your drying technique to the herb’s specific moisture content, and store them whole in dark glass away from heat and light. By following these steps, you will easily lock in maximum flavor and completely prevent mold.
Now, go enjoy the fruits (and leaves!) of your labor. A mid-winter bowl of soup seasoned with summer’s homegrown thyme is a reward well worth the effort.
💬 Over to you! What is your absolute favorite herb to grow in your garden? Let us know in the comments below, and don’t forget to save this guide to your gardening boards on Pinterest so you have it ready for your next harvest! 📌🪴











