
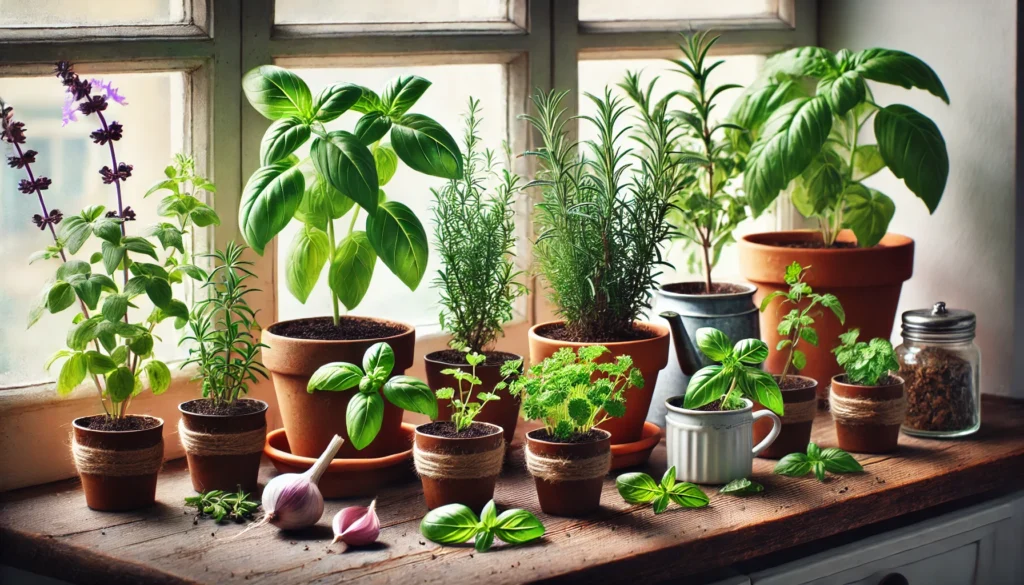
Growing fresh herbs indoors can be a game-changer for your cooking, and the best way to start is with herb cuttings for windowsill gardens. If you’re craving a constant supply of fragrant basil, rosemary, or mint, propagating these herbs from cuttings is a simple and effective method. Not only does it save you money, but it also allows you to have fresh herbs at your fingertips year-round. In this easy-growing guide, we’ll walk you through the steps of successfully rooting herb cuttings, ensuring your windowsill garden flourishes with minimal effort. Let’s get started!
Why Grow Herbs from Cuttings?
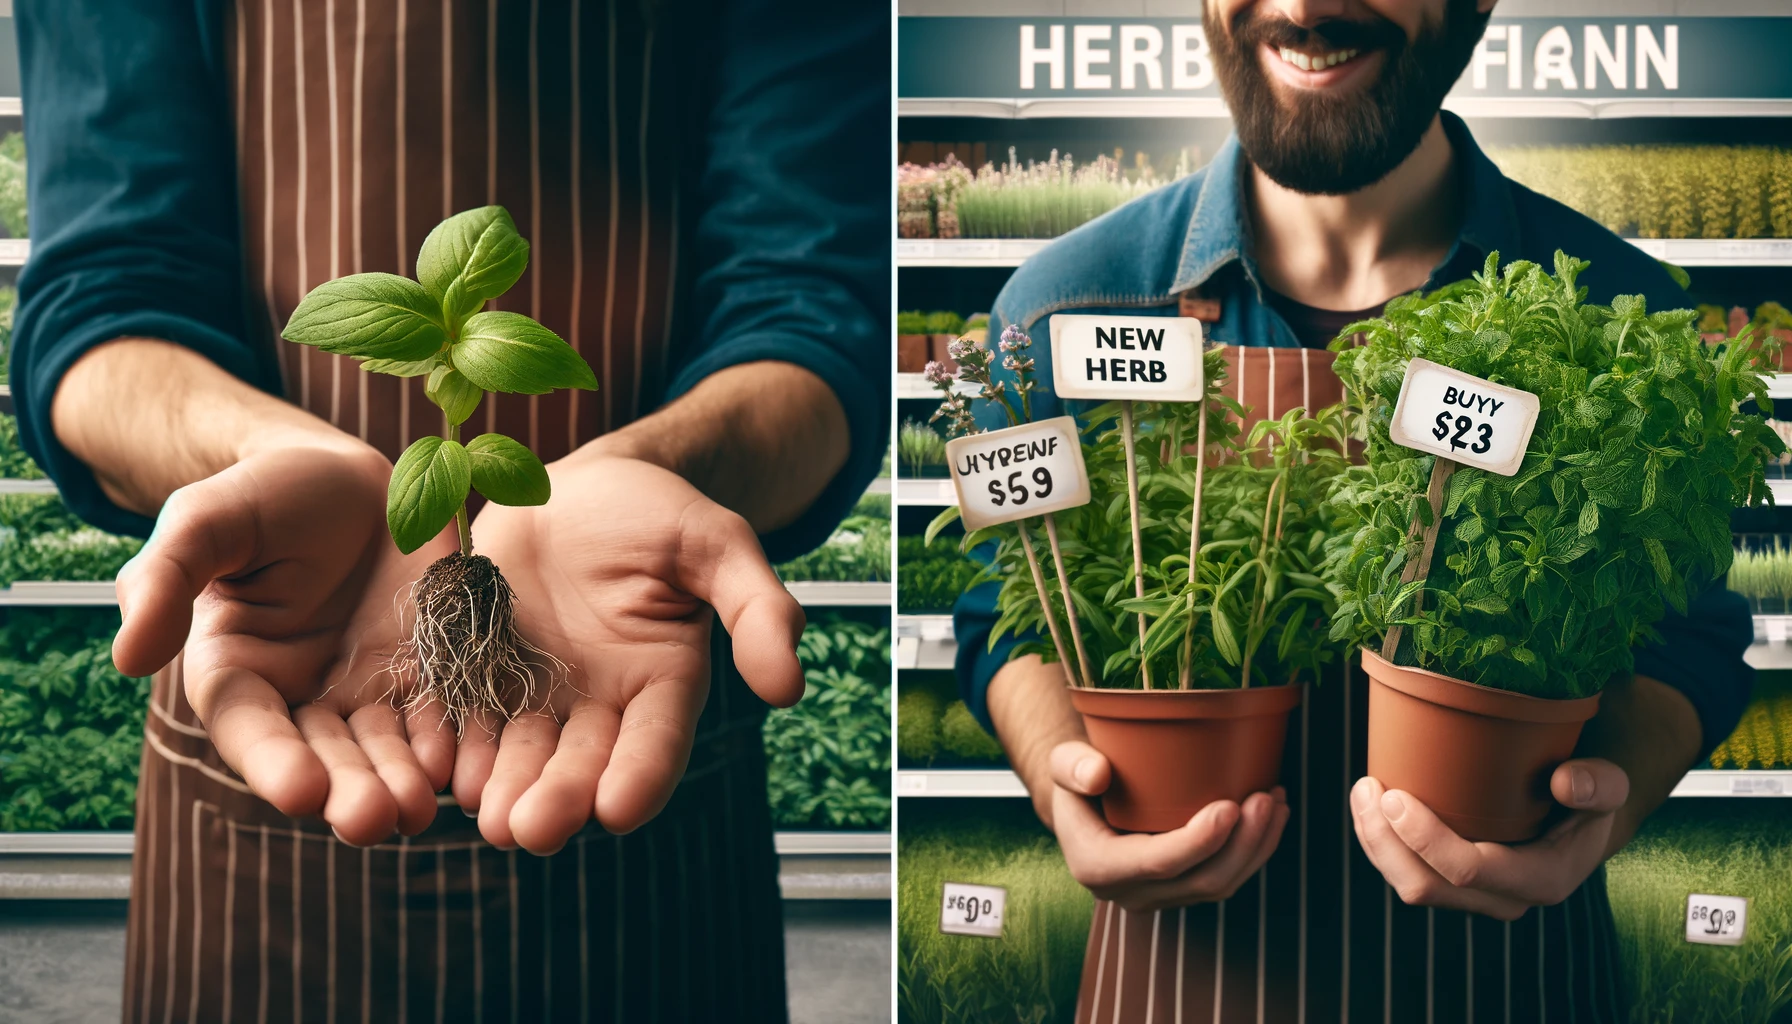
Growing herbs from cuttings offers several advantages for both beginner and experienced gardeners. Here’s why you should consider propagating your favorite herbs this way:
Cost-Effective
Growing herbs from cuttings eliminates the need to buy new plants every season. With just a few healthy stems, you can produce multiple plants, saving money on new purchases.
Quick Results
Herb cuttings root faster than many other types of plants. In just a few weeks, you can have new plants ready for your garden or kitchen, often quicker than starting from seeds.
Clone Your Favorite Varieties
Propagating from cuttings ensures your new plants have the same characteristics as the parent herb. This is especially valuable for herbs with unique flavors or growth habits that you love.
Better Success Rates
Growing herbs from cuttings typically yields higher success rates compared to seed propagation. With the right technique and care, most herbs root easily, allowing you to grow a reliable supply of fresh herbs.
Ideal for Small Spaces
If you’re limited on space, cuttings are perfect for container gardening. Many herbs thrive in small pots, making them ideal for windowsills, balconies, or patios.
Incorporating cutting propagation into your herb gardening routine not only makes growing easier but also helps you maintain a continuous supply of fresh herbs for cooking, teas, or natural remedies. Whether you’re growing basil, rosemary, or mint, cuttings are an efficient, satisfying way to expand your garden.
The Best Herbs to Grow from Cuttings Indoors
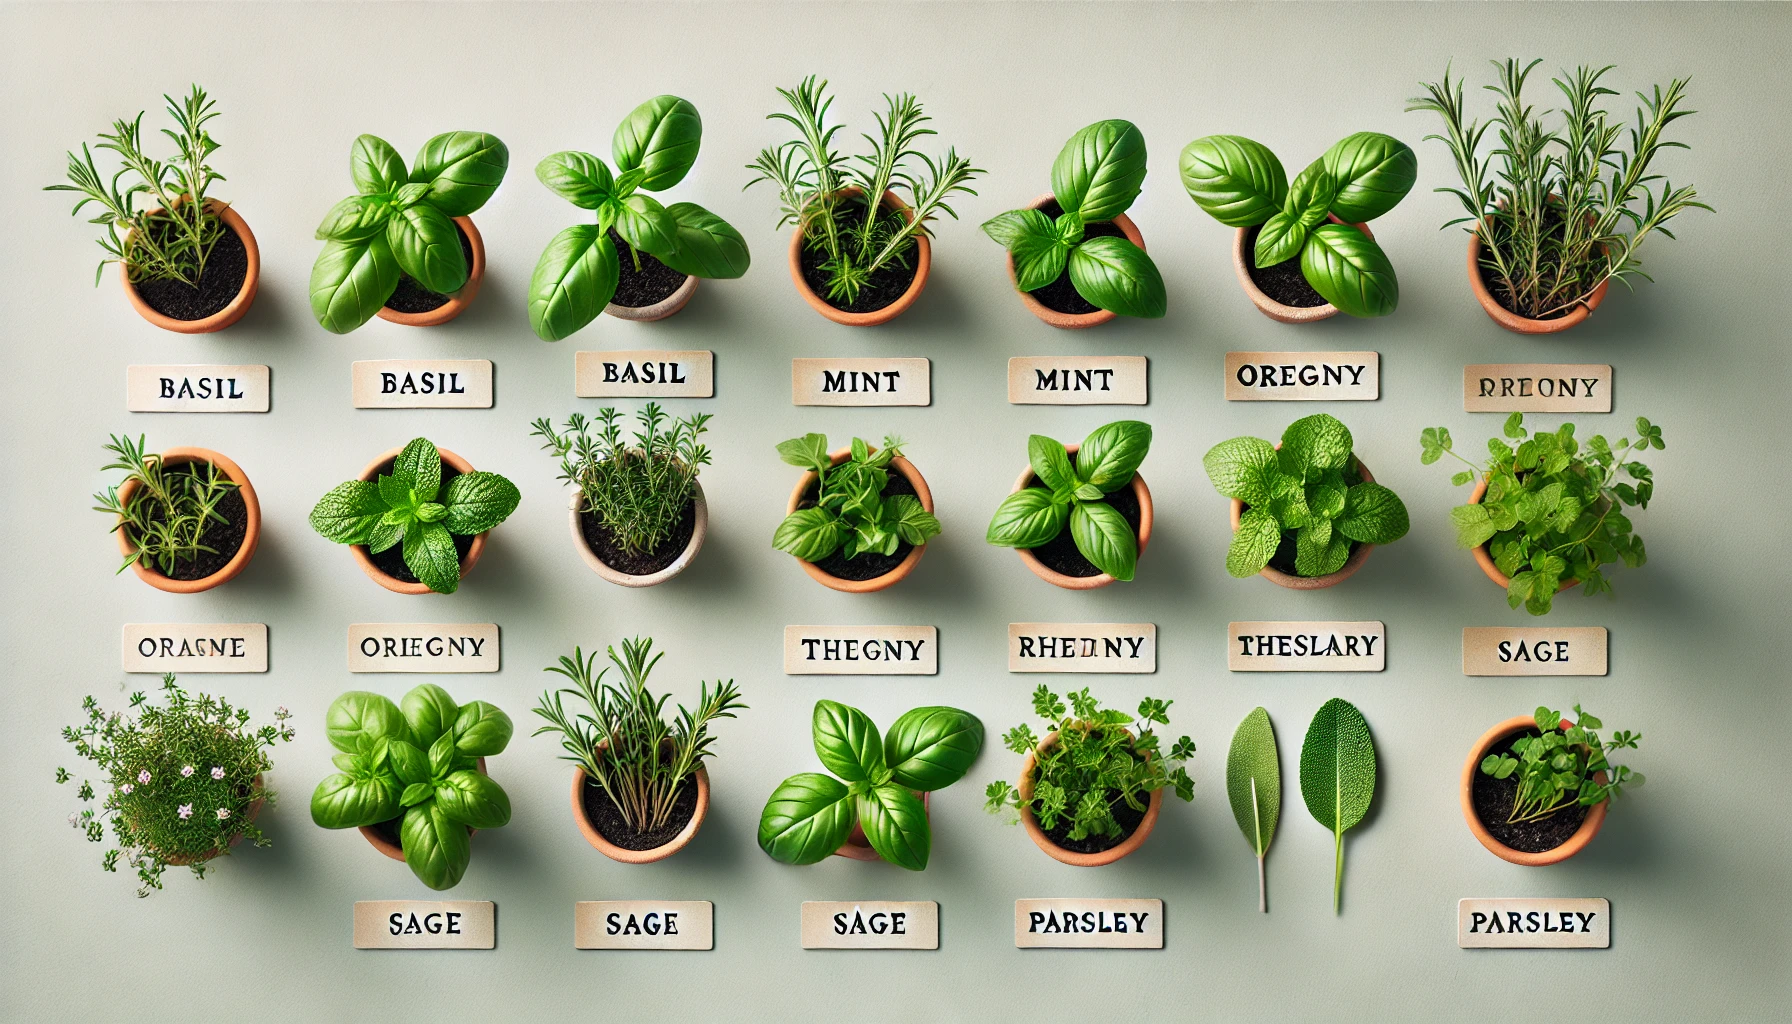
Growing herbs indoors from cuttings is a fantastic way to have fresh, flavorful additions to your meals all year round. Certain herbs are particularly well-suited for indoor propagation, and knowing which ones to choose can help ensure your success. Here are some of the best herbs to grow from cuttings indoors:
1. Basil
Basil is one of the easiest herbs to propagate from cuttings. Simply snip a healthy stem just below a leaf node, place it in water, and watch it grow roots. Basil thrives in warm conditions, so keep it in a sunny window or under grow lights for the best results.
2. Mint
Mint is another herb that roots quickly from cuttings. Just like basil, place the cuttings in water until roots appear, and then transfer them to soil. Mint is a vigorous grower, so be mindful of the space it occupies in your indoor garden.
3. Oregano
Oregano is a hardy herb that is perfect for indoor growing from cuttings. Trim a 4-6 inch stem and place it in water, or directly in a well-draining potting mix. Oregano thrives in a bright, sunny spot and requires minimal care once established.
4. Rosemary
Rosemary cuttings can be a bit slower to root but are worth the wait. Trim a 4-6 inch stem, remove the lower leaves, and place it in water or directly in soil. Rosemary enjoys a lot of sunlight, so place it near a sunny window or under grow lights.
5. Thyme
Thyme is a low-maintenance herb that propagates easily from cuttings. Snip a 4-6 inch stem, remove the lower leaves, and place it in a well-draining potting mix. Thyme prefers bright light and moderate watering.
6. Sage
Sage is another herb that grows well from cuttings. Take a 4-6 inch cutting, remove the lower leaves, and place it in soil or water. Like rosemary, sage needs a sunny spot to grow well and should be watered sparingly.
7. Parsley
Parsley can be propagated from cuttings, but it’s more commonly grown from seeds. However, if you want to propagate an established plant, snip a healthy cutting and place it in water until roots develop. Parsley needs bright, indirect light and moderate watering.
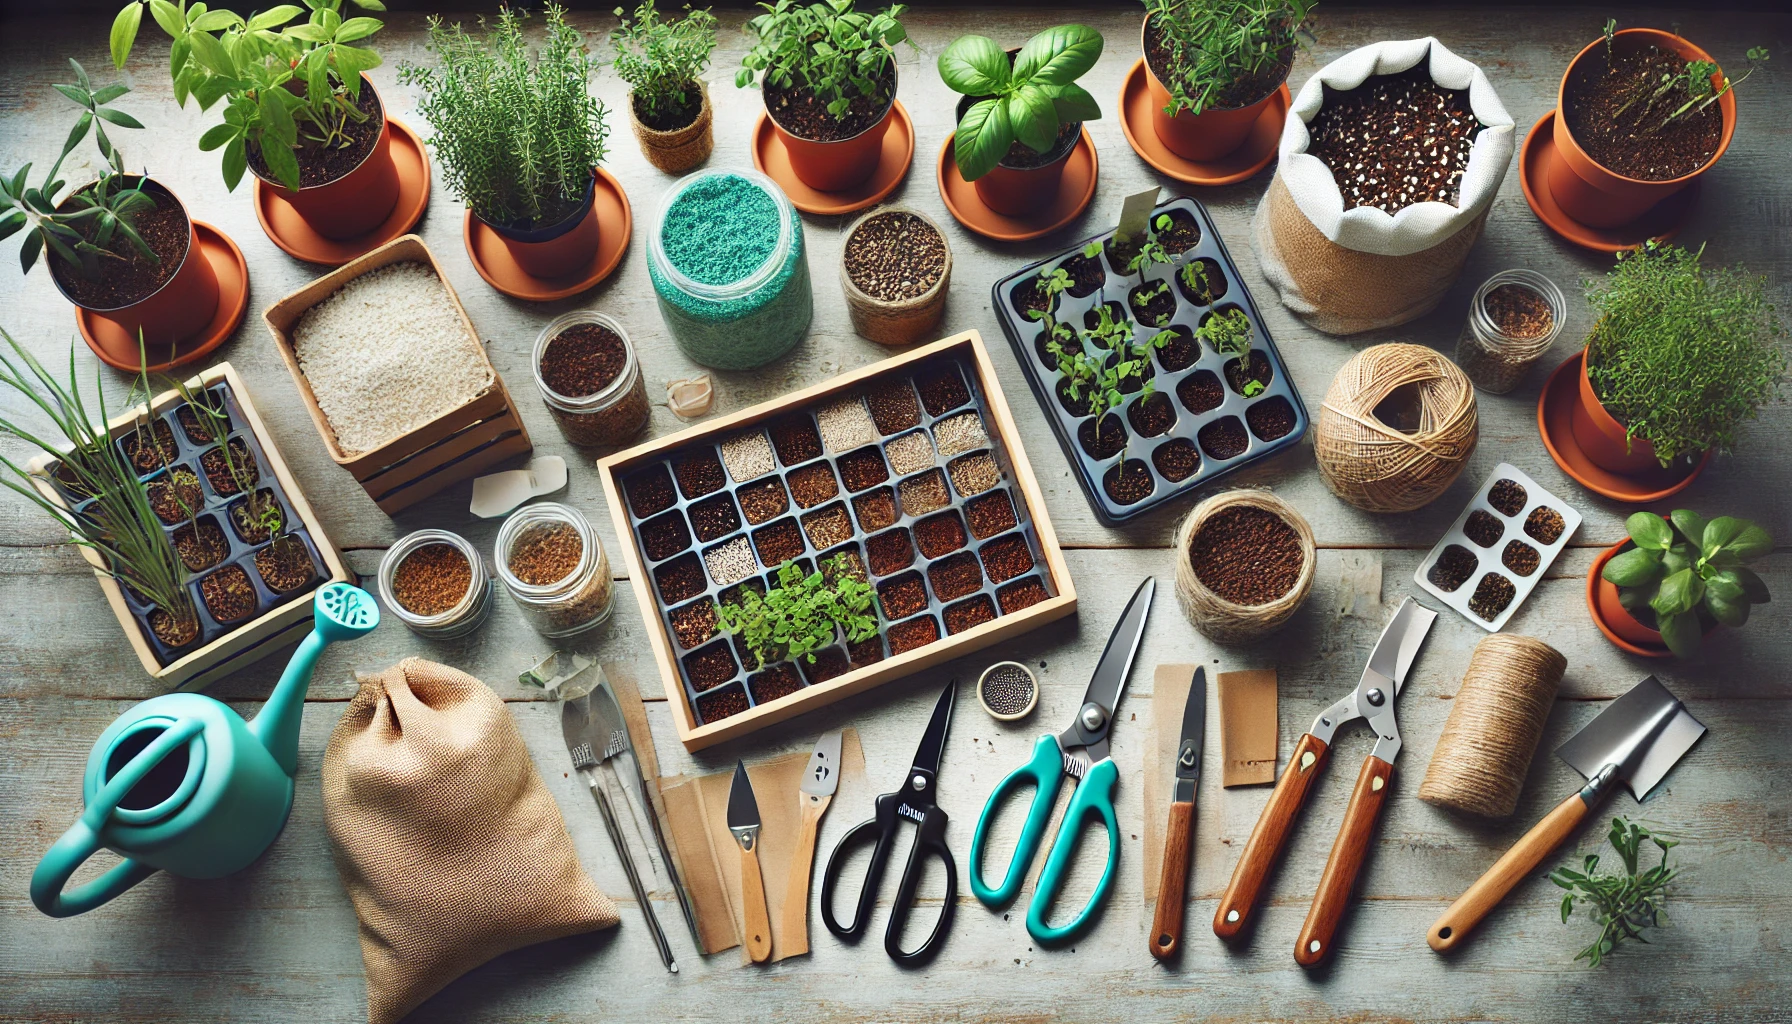
Essential Tools and Materials You’ll Need
When propagating cuttings and preventing cutting rot, having the right tools and materials is essential for success. Here’s a list of the must-have items to get you started:
1. Clean, Sharp Scissors or Pruners
A sharp, clean cutting tool is crucial for taking clean cuts that won’t damage the plant. Dull or dirty scissors can introduce bacteria and fungi, increasing the risk of rot. Always sterilize your tools before use.
2. Rooting Medium
Choosing the right medium is vital for rooting success. You can use:
- Perlite: Lightweight, well-draining, and great for preventing waterlogging.
- Coconut Coir: Retains moisture while promoting air circulation around the roots.
- Peat Moss: Ideal for moisture retention and supports root development.
3. Small Containers or Pots
Use clean pots or containers with drainage holes to prevent water from accumulating, which could lead to cutting rot. Shallow pots or trays are great for supporting multiple cuttings.
4. Plastic Bags or Domes
These will help maintain humidity around the cutting, which is essential for root development. A clear plastic bag or propagation dome allows for a controlled environment, while still letting light in.
5. Homemade Rooting Hormone (Optional but Recommended)
Using homemade rooting hormone can increase your chances of success by promoting faster and stronger root development. Simple recipes include using ingredients like honey, cinnamon, or willow water.
6. Clean Water and Watering Can
Always use room-temperature water to hydrate your cuttings. Be sure to water the medium gently, keeping it moist but not soggy.
7. A Tray for Watering or Draining
Placing your pots or containers on a shallow tray helps catch excess water and avoids making a mess. It also ensures that the soil doesn’t dry out too quickly.
8. Sterilizing Solution (Optional)
To reduce the risk of fungal or bacterial contamination, consider using a mild disinfectant solution to sterilize your tools, containers, and pots before starting your propagation process.
By having these tools and materials ready, you’ll be equipped to propagate your cuttings successfully and avoid issues like cutting rot. Keep everything clean, organized, and ready to use for the best results.
Step-by-Step Guide to Propagating Herb Cuttings
Propagating herbs from cuttings is a simple and rewarding process. With the right approach, you can grow fresh herbs at home and enjoy them year-round. Follow this step-by-step guide to successfully propagate your favorite herbs.
1. Choose the Right Herb
Not all herbs are suitable for cutting propagation, but many are. The best herbs for propagation include basil, rosemary, mint, thyme, oregano, and sage. Choose a healthy, non-flowering plant for the best results.
2. Prepare Your Tools
Before you begin, ensure your tools are clean and sterilized to prevent contamination. You’ll need:
- A sharp, clean pair of scissors or pruning shears
- A small container or pot
- Well-draining soil or rooting medium (e.g., perlite or sand)
- A glass of water (optional, for water propagation)
- Rooting hormone (optional, but can boost success)
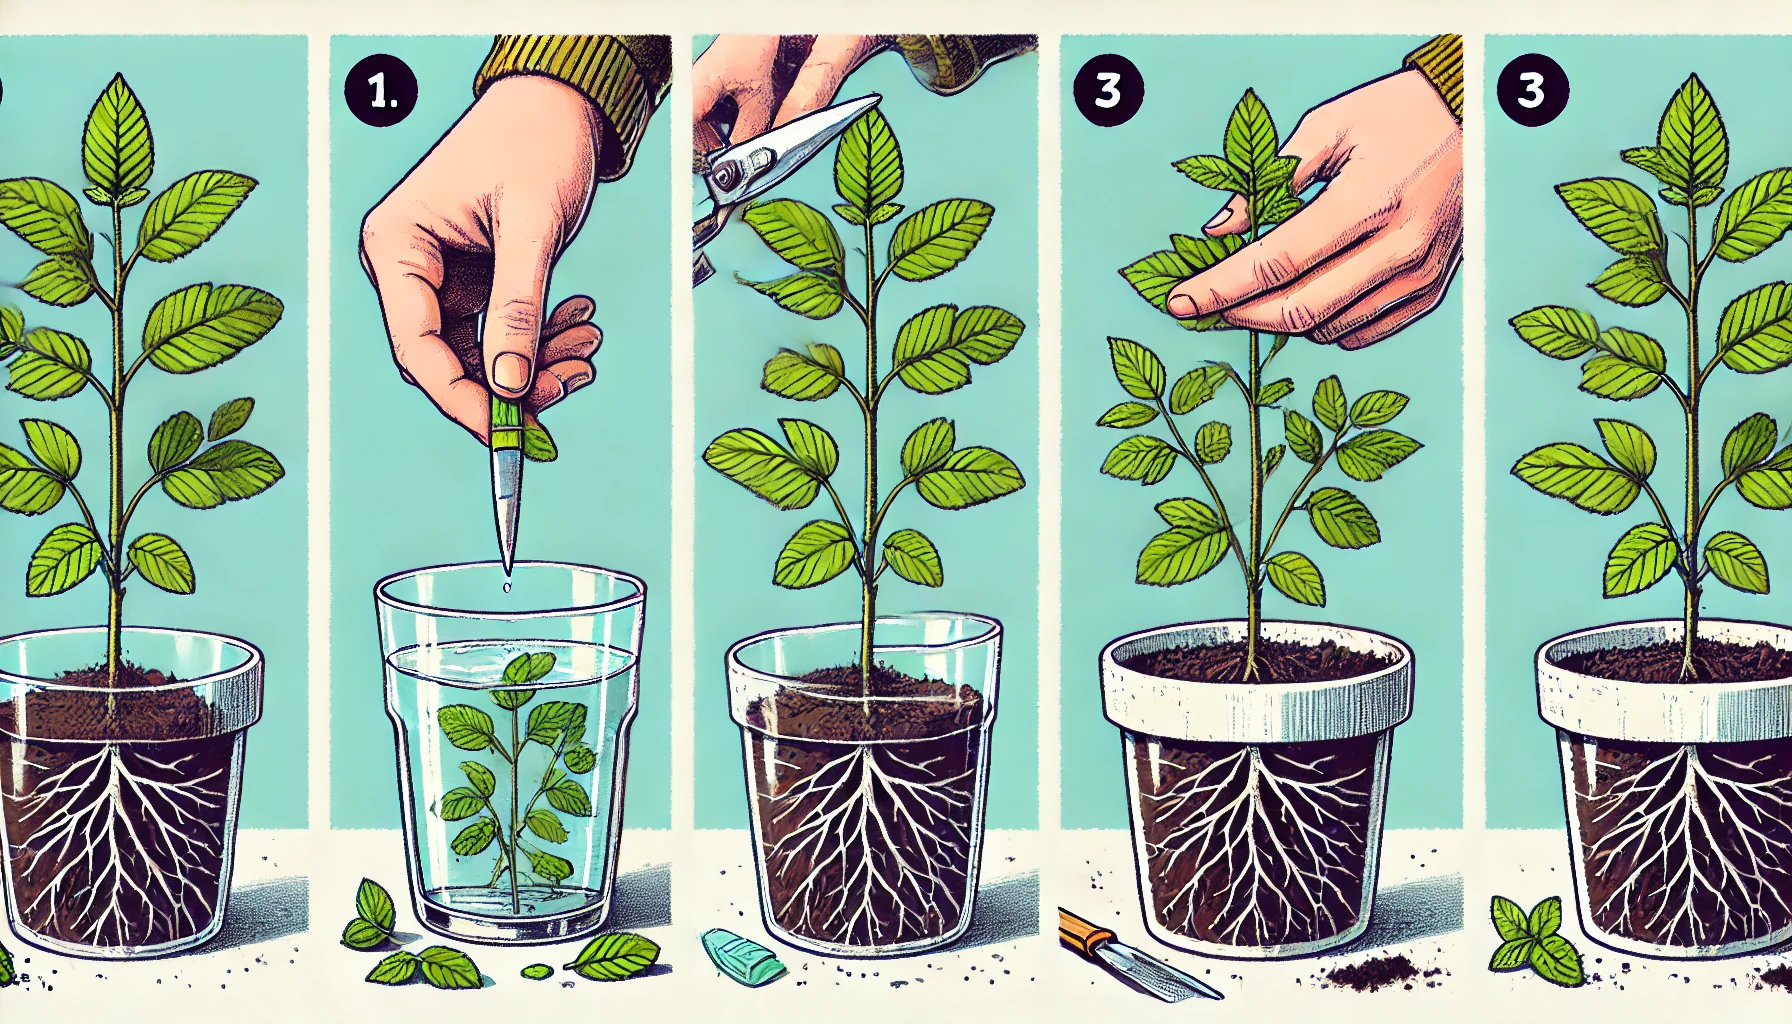
3. Take the Cutting
Select a healthy, non-flowering stem about 4–6 inches long. Cut just below a node (where leaves grow), as this is where roots will form. Remove any leaves from the bottom 2 inches of the stem to avoid rot when submerged in water or buried in soil.
4. Rooting Hormone (Optional)
Dip the cut end of your herb cutting into rooting hormone to encourage faster root development. Although not required, this can be especially helpful for woody herbs like rosemary or sage.
5. Propagate in Water or Soil
You have two options for propagating herb cuttings:
- Water Propagation: Place the cutting in a glass of water, ensuring the node is submerged. Change the water every few days to keep it fresh. In about 1–2 weeks, roots will begin to form.
- Soil Propagation: Plant the cutting directly into a pot filled with well-draining soil. Gently press the soil around the cutting to secure it in place. Water lightly and cover the pot with a plastic bag or clear plastic to maintain humidity.
6. Create the Right Environment
Herb cuttings need warmth, indirect light, and humidity to thrive. Place them in a warm spot with indirect sunlight. If propagating in soil, ensure the soil is moist but not waterlogged. If propagating in water, place the glass in a well-lit spot but avoid direct sunlight.
7. Monitor and Wait for Roots
Be patient. For water propagation, roots should appear within 1–2 weeks. In soil, it may take slightly longer, up to 3 weeks. Once you see healthy roots (about 1-2 inches long), your cutting is ready for transplanting into a larger pot or garden.
8. Transplant and Care
Once the cutting has rooted, it can be moved to a larger pot with fresh soil or directly into the garden, depending on your climate. Continue to care for your herb with regular watering and proper sunlight. Trim the plant to encourage healthy growth.
Caring for Your Herb Cuttings After Rooting
Once your herb cuttings have successfully rooted, it’s crucial to provide the right care to ensure they thrive and grow into strong, healthy plants. Here’s how to give your new herb cuttings the best start:
1. Gradual Transition to the Outdoors (Hardening Off)
- What is hardening off?
After rooting, your cuttings may have been grown in a controlled environment, such as a propagation tray or small pot. Before moving them outdoors, they need to gradually adjust to natural sunlight and outdoor conditions. - How to Harden Off:
Start by placing the cuttings outside in a shaded area for a few hours each day, gradually increasing the exposure to sunlight over a week or two. This helps prevent shock from sudden changes in temperature and light.
2. Proper Watering
- Avoid Overwatering:
While it’s essential to keep the soil moist, overwatering can lead to root rot. Water your herb cuttings only when the top inch of the soil feels dry. Ensure the pot or container has proper drainage to prevent water from sitting at the bottom.
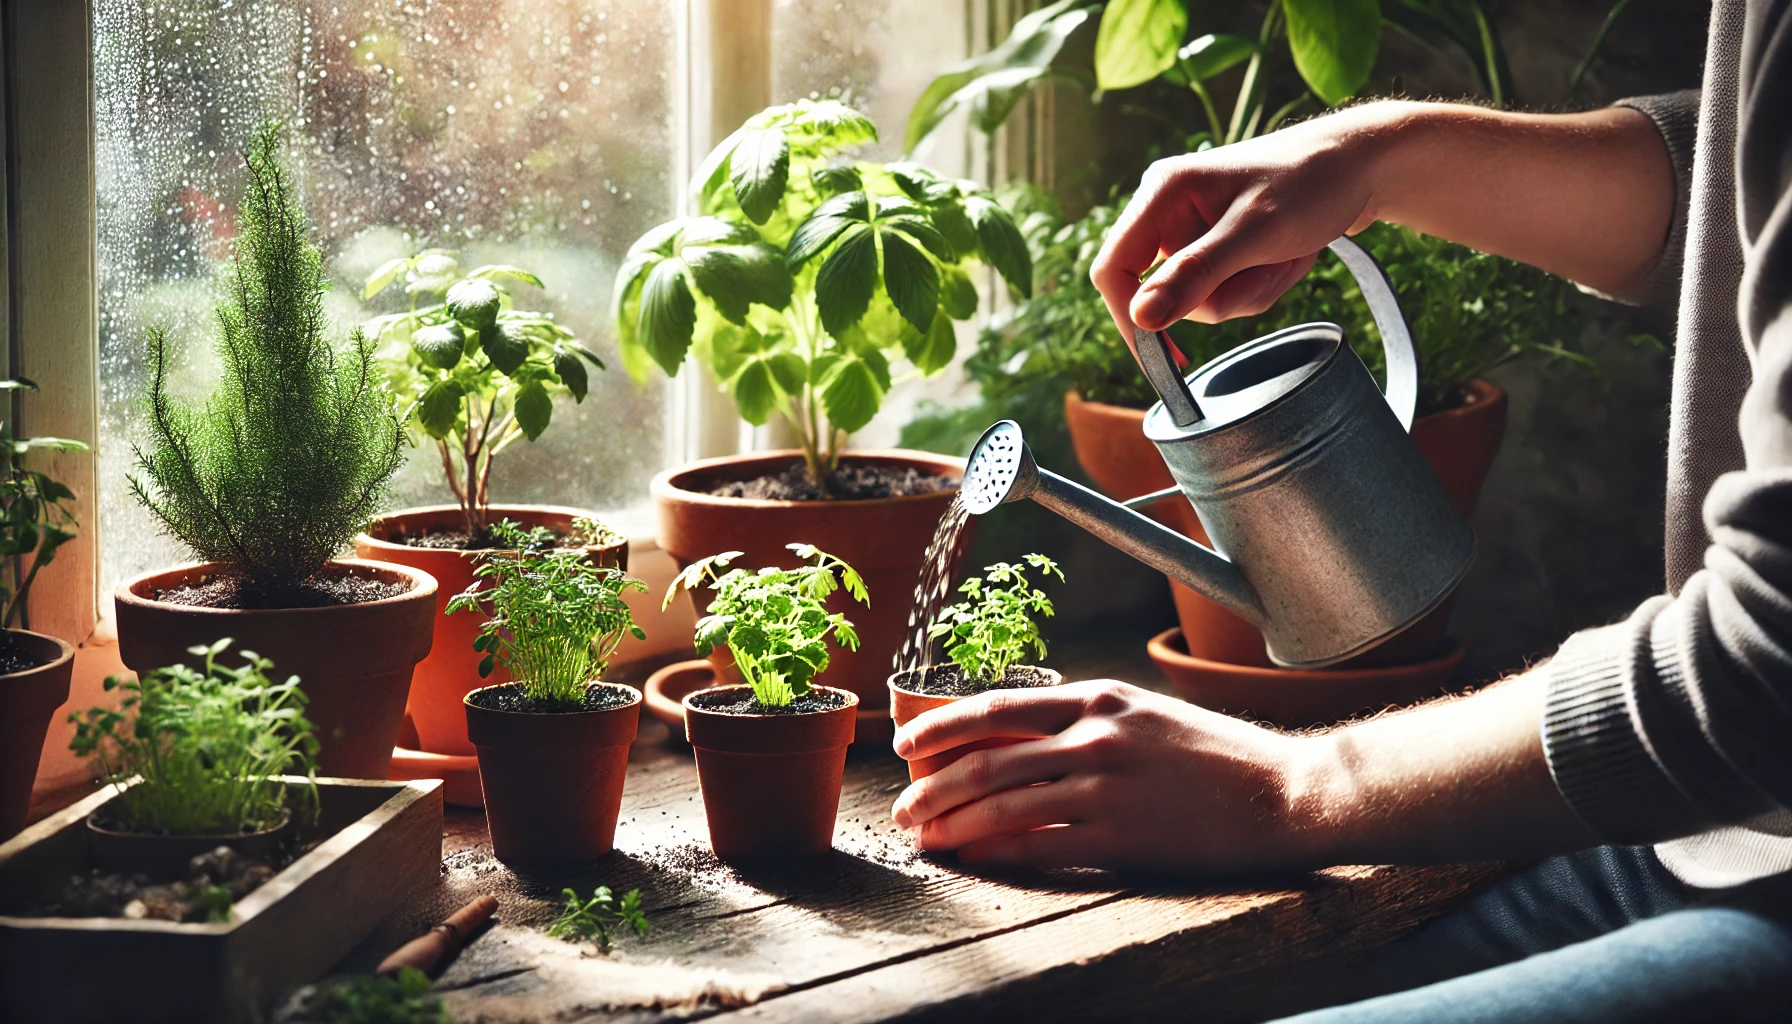
- Consistent Moisture:
Keep the soil evenly moist, but not soggy, especially during the first few weeks after rooting. If your herbs are in pots, consider watering in the morning to allow the soil to dry out by evening.
3. Provide Adequate Light
- Bright, Indirect Light:
Herb cuttings need plenty of light to continue growing strong. Place them in a location with bright, indirect sunlight, such as near a south-facing window. Avoid direct sunlight initially, as this can cause stress or burn the young plants. - Supplement with Grow Lights (if necessary):
If natural light is insufficient, consider using grow lights to ensure your cuttings receive the right amount of light for optimal growth.
4. Fertilizing Your Herb Cuttings
- Start Fertilizing Lightly:
After the cuttings have developed strong roots and are beginning to grow, you can start feeding them with a balanced, water-soluble fertilizer. Use a diluted solution—about one-quarter of the recommended strength—until the plant matures. - Organic Fertilizers:
Organic fertilizers, such as compost tea or fish emulsion, are great for herbs as they provide gentle, slow-release nutrients that promote healthy growth without overwhelming the plants.
5. Repotting When Necessary
- Check for Root Bound:
As your herb cutting grows, it may eventually outgrow its pot. Check the roots by gently removing the plant from its container. If the roots are circling the pot and becoming dense, it’s time to repot into a larger container with well-draining soil. - Choose the Right Pot Size:
When repotting, choose a pot that is just one size larger than the current one—too large a pot can retain too much moisture, leading to root rot.
6. Pest and Disease Control
- Keep an Eye on Pests:
Herb cuttings can attract pests like aphids or spider mites. Regularly inspect your plants for signs of pests, such as discolored or damaged leaves. If you spot any pests, remove them manually or treat the plant with insecticidal soap. - Promote Airflow:
Good airflow around the plant helps prevent fungal infections. Avoid overcrowding and ensure your herbs have room to breathe.
By following these simple care guidelines, your herb cuttings will continue to grow strong and healthy. With a little attention, you can successfully transplant your rooted cuttings into your garden or larger containers, ready to produce fresh herbs all season long.
Troubleshooting Common Problems with Herb Cuttings
Herb cuttings are a great way to expand your garden or bring fresh herbs indoors, but sometimes things don’t go as planned. Here are the most common problems gardeners face when propagating herbs from cuttings, along with practical solutions to help you succeed.
1. Cuttings Not Rooting
Problem: Your herb cuttings aren’t developing roots even after weeks of waiting.
Solution:
- Water Quality: Ensure you’re using clean, chlorine-free water. Tap water with high chlorine levels can inhibit root development.
- Proper Environment: Herbs need warm temperatures (65-75°F) and indirect sunlight to root properly. Too much sunlight or heat can stress the cuttings, while low temperatures can slow root growth.
- Use Rooting Hormone: If your cuttings are still not rooting, try using homemade rooting hormone (such as cinnamon or honey) to encourage root development.
2. Cuttings Rotting
Problem: The cutting starts to rot, turning soft and mushy, often with a foul odor.
Solution:
- Check Watering: Overwatering is a common cause of rot. Make sure the cutting is not submerged in water. Use a well-draining medium or container.
- Ensure Airflow: Poor air circulation can lead to moisture buildup around the cutting, which encourages rot. Keep the cutting in a space with good airflow, such as under a small greenhouse or in a well-ventilated room.
- Remove Rot: If rot occurs, cut away the affected part of the cutting and allow the healthy portion to dry for a few hours before replanting it in fresh, clean soil or water.
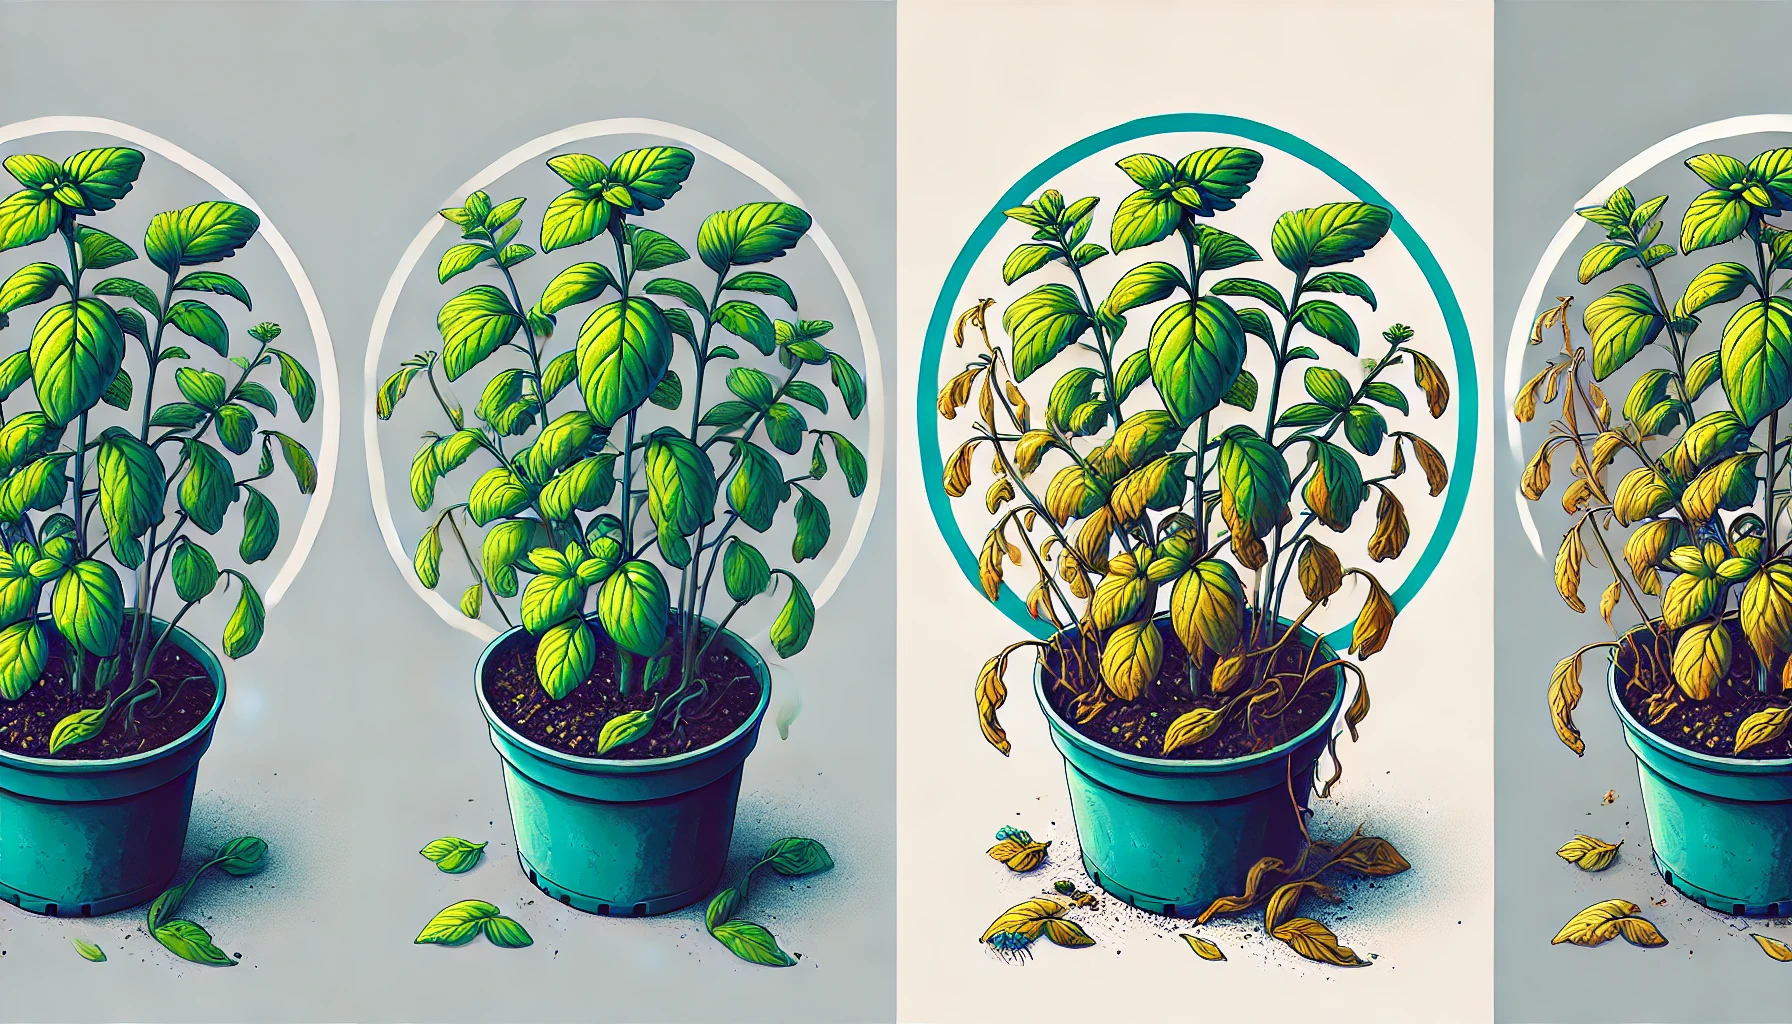
3. Wilting or Yellowing Leaves
Problem: The leaves on your cuttings turn yellow, wilt, or appear weak.
Solution:
- Underwatering: Herb cuttings need consistent moisture but not soggy conditions. Check if the cutting is too dry and adjust watering accordingly.
- Excess Sunlight: While indirect sunlight is ideal, too much direct sun can scorch delicate cuttings. Place the cuttings in a spot with indirect, bright light.
- Nutrient Deficiency: Yellowing could also indicate a lack of nutrients. If propagating in soil, make sure the medium is nutrient-rich or use a mild fertilizer once roots form.
4. Mold Growth on Herb Cuttings
Problem: Mold develops on the cutting or surrounding soil, which can prevent successful rooting.
Solution:
- Reduce Humidity: Excessive humidity can create a perfect breeding ground for mold. Ensure the cuttings aren’t too wet and provide better ventilation to reduce moisture levels.
- Use Fungicide: Applying a mild fungicide or a homemade solution, like a mix of water and vinegar, can help control mold growth. Always use the fungicide sparingly to avoid harming the cutting.
5. Slow Root Development
Problem: Rooting is taking longer than expected, and the cuttings seem to be stuck.
Solution:
- Increase Temperature: Boost the temperature slightly by placing your cuttings in a warmer spot, or use a propagation heat mat to encourage faster rooting.
- Ensure Proper Medium: Check that the soil or water medium is suitable for the specific herb you’re propagating. Some herbs prefer soil-based mediums, while others root better in water.
- Patience: Some herbs are naturally slow to root. Keep the environment stable, be patient, and give them more time to develop roots.
Harvesting fresh herbs from your windowsill garden is a rewarding and simple way to enhance your cooking while enjoying the benefits of indoor gardening. By following the right techniques, such as harvesting at the right time, using clean tools, and not over-harvesting, you can ensure a steady supply of vibrant, flavorful herbs. Remember, the key to a thriving windowsill herb garden is regular care, patience, and attention to the needs of your plants. Whether you’re using them for culinary creations or simply enjoying the beauty of fresh greenery, your herbs will continue to flourish with the right approach. So, grab those scissors and start harvesting—your windowsill garden is ready to give you a bounty of fresh flavors all year round!