
Imagine standing in your garden, surrounded by towering hollyhocks in full bloom, their vibrant petals swaying gently in the breeze. These cottage-garden classics steal the show every summer, but what if you could recreate this magic year after year for free? By learning how to harvest and grow hollyhock seeds from plant, you can propagate these stunning flowers sustainably, saving money and customizing your garden with your favorite varieties. Whether you’re a beginner or a seasoned gardener, this comprehensive guide will walk you through every step—backed by expert insights—to ensure your hollyhocks thrive. From collecting seeds to nurturing vibrant blooms, let’s dive into the art of growing hollyhocks! 🌼
Section 1: Why Hollyhocks Are a Must-Have for Your Garden 🌼
The Beauty and Benefits of Hollyhocks
Hollyhocks (Alcea rosea) are the darlings of cottage gardens, known for their towering stalks that can reach 6–8 feet tall, adorned with colorful blooms in shades of pink, red, white, yellow, and even deep purple. Their dramatic height makes them perfect for creating natural borders along fences, adding vertical interest to mixed beds, or serving as a stunning focal point in any landscape. Beyond their aesthetic charm, hollyhocks are a haven for pollinators like bees and butterflies 🐝, supporting biodiversity in your garden. They’re also remarkably low-maintenance, thriving in various climates and soil types, which makes them a favorite for both novice and experienced gardeners.
Hollyhocks are biennials, meaning they complete their lifecycle over two years—growing foliage in the first year and blooming spectacularly in the second. This unique trait, combined with their ability to self-seed, ensures a continuous display of blooms with minimal effort. According to Dr. Emily Carter, a horticulturist at the University of Illinois Extension, “Hollyhocks are a gardener’s dream for their resilience and ability to bring old-world charm to modern landscapes.”
Why Harvest Your Own Hollyhock Seeds?
Harvesting your own hollyhock seeds is a game-changer for sustainable gardening. It’s cost-effective, allowing you to propagate dozens of plants without spending a dime on nursery stock. By collecting seeds from your healthiest plants, you can preserve specific colors or varieties that suit your garden’s aesthetic. Plus, it’s an eco-friendly practice that reduces reliance on commercial seeds, aligning with the growing trend of self-sufficient gardening.
Take it from Sarah Thompson, a veteran gardener from Oregon, who shares, “I started saving hollyhock seeds five years ago, and now my garden is a riot of color every summer. It’s rewarding to know I’m growing the same flowers my grandmother loved, all from a single plant!” This personal touch adds a sentimental value that makes seed-saving truly special.
Section 2: Understanding Hollyhock Seeds and Their Lifecycle 🌿
What Are Hollyhock Seeds?
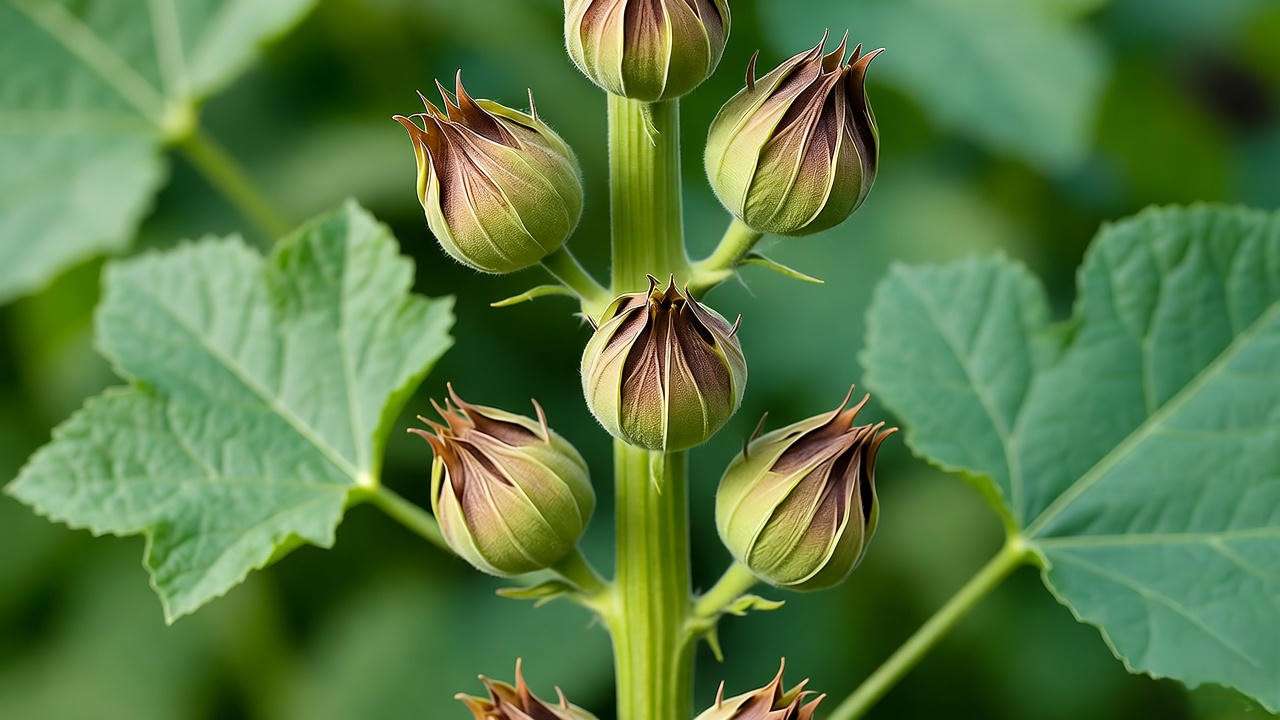
Hollyhock seeds are small, flat, and kidney-shaped, typically dark brown or black, and form inside round, disc-like seed pods. These pods develop at the base of faded flowers, transforming from green to brown as they mature. Each pod contains 20–40 seeds, offering a generous supply for propagation. Understanding the seed’s structure and lifecycle is key to successful harvesting and planting.
As biennials, hollyhocks follow a two-year cycle. In the first year, they produce a rosette of broad, heart-shaped leaves. In the second year, they send up tall flower stalks, bloom, and set seeds. After blooming, the plant may die back, but seeds can self-sow, creating new plants for future seasons.
When and How Hollyhocks Produce Seeds
Hollyhocks typically bloom from mid to late summer, depending on your climate. Once the flowers fade, seed pods form and mature over 3–4 weeks. By late summer or early fall, these pods turn brown and dry, signaling that the seeds inside are ready for harvest. Timing is critical—picking pods too early results in immature, non-viable seeds.
Dr. Michael Reed, a botanist specializing in ornamental plants, advises, “Wait until the pods are fully brown and rattle when shaken. This ensures the seeds are mature and ready for collection.” Checking pods regularly during late summer will help you pinpoint the perfect harvest window.
Section 3: Step-by-Step Guide to Harvesting Hollyhock Seeds 🌾
How to Harvest Hollyhock Seeds from Plant
Harvesting hollyhock seeds is simple but requires attention to detail to ensure quality. Follow these steps for success:
Step 1: Identify Mature Seed Pods
Look for seed pods that are dry, brown, and slightly open at the top. A gentle shake should produce a rattling sound, indicating the seeds inside are mature. Avoid green pods, as their seeds won’t germinate effectively.
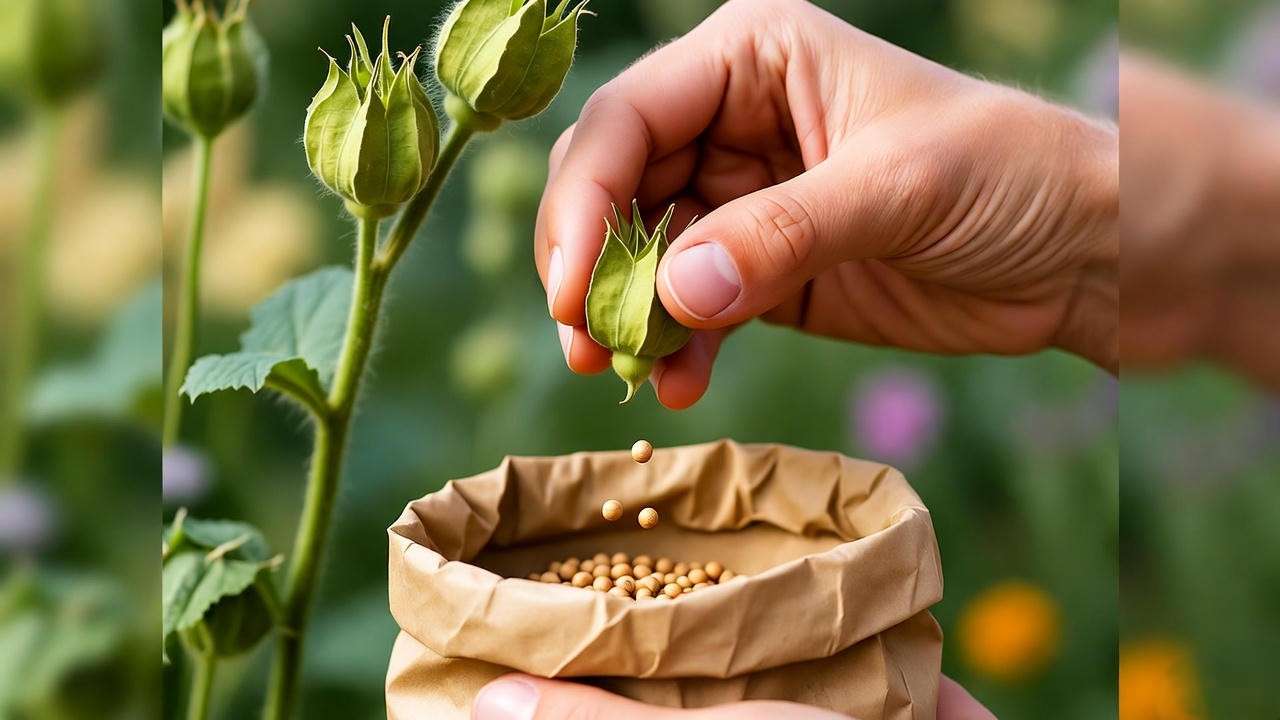
Step 2: Collect Seed Pods Safely
Using clean scissors or pruners, cut the pods from the plant, placing them directly into a paper bag to catch any seeds that may fall. Wear gloves to protect your hands, as hollyhock stems can be slightly prickly. Collect pods on a dry day to prevent moisture from affecting seed quality.
Step 3: Extract and Clean Seeds
Once collected, gently break open the pods over a clean surface to release the seeds. Remove any chaff (pod debris) to ensure clean seeds for storage. A fine sieve can help separate seeds from debris efficiently.
Expert Tip: Master gardener Lisa Nguyen suggests, “Spread seed pods on a tray in a sunny window for a few days before extracting. This extra drying step ensures seeds are fully mature and less prone to mold.”
Common Mistakes to Avoid When Harvesting
To maximize your success, steer clear of these pitfalls:
- Harvesting Too Early: Green pods yield immature seeds that won’t germinate. Wait for full maturity.
- Rough Handling: Crushing pods can damage seeds, reducing viability. Handle gently.
- Not Labeling: If you’re growing multiple hollyhock varieties, label pods by color or type to avoid confusion during planting.
Section 4: Storing Hollyhock Seeds for Long-Term Success 🗃️
Best Practices for Seed Storage
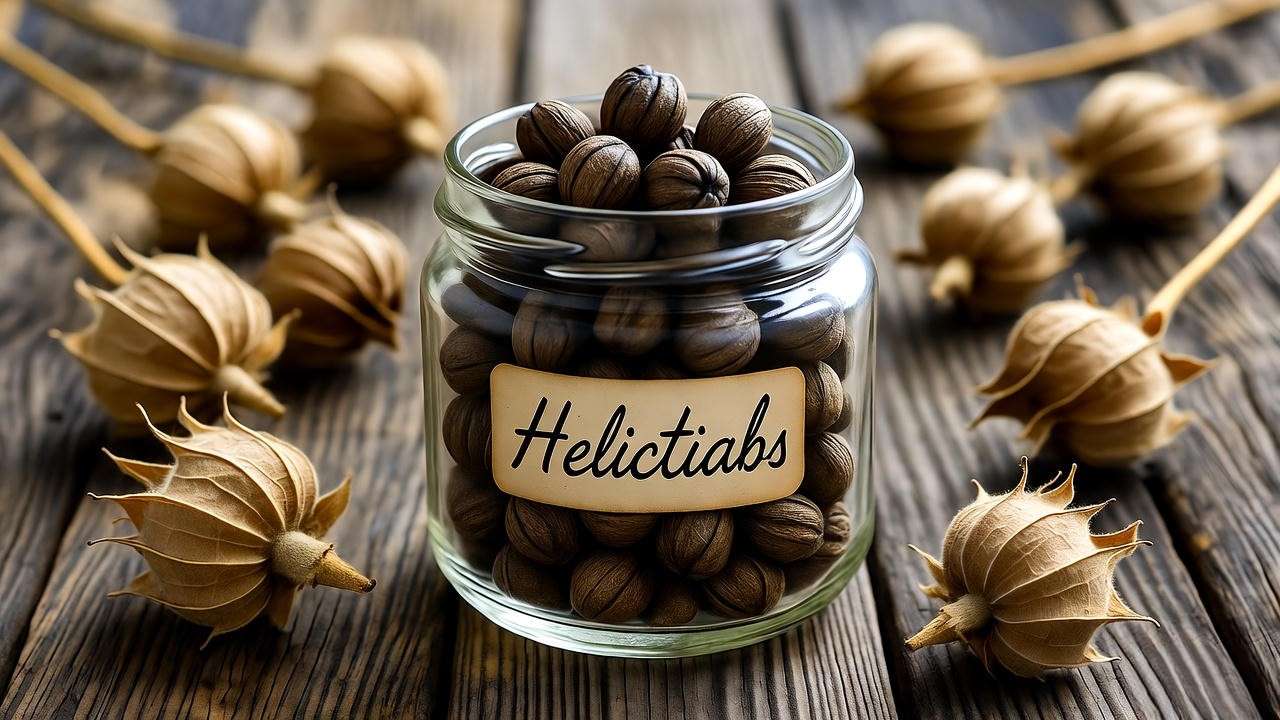
Proper storage is crucial to maintain seed viability for 2–3 years. After harvesting, ensure seeds are completely dry to prevent mold. Place them in airtight containers, such as glass jars or paper envelopes, and store in a cool, dark, dry place (ideal temperature: 40–50°F). Label each container with the variety and harvest date for easy reference.
According to the Seed Savers Exchange, “Hollyhock seeds can remain viable for up to three years if stored correctly, giving gardeners plenty of time to plan their next planting season.” A small packet of silica gel in the container can absorb excess moisture, further protecting your seeds.
Troubleshooting Storage Issues
Common storage problems include:
- Mold: Caused by residual moisture. Ensure seeds are bone-dry before storing.
- Pest Damage: Store in airtight containers to keep out insects.
- Viability Loss: Test older seeds by placing a few in a damp paper towel. If they sprout within 10–14 days, they’re still viable.
Section 5: How to Plant Hollyhock Seeds for Vibrant Blooms 🌻
Preparing to Plant Hollyhock Seeds
Timing and preparation are key to successful germination. Hollyhocks thrive in full sun (6–8 hours daily) and well-drained soil with a pH of 6.0–8.0. Test your soil and amend with compost to boost nutrients. Plant seeds in early spring for blooms the following year, or in late summer for stronger first-year growth.
| Method | Pros | Cons |
|---|---|---|
| Indoor Sowing | Controlled conditions, earlier blooms | Requires space and equipment |
| Outdoor Sowing | Simple, natural process | Weather-dependent, slower start |
Step-by-Step Planting Instructions
Step 1: Soak or Scarify Seeds
Hollyhock seeds have a hard coat, which can slow germination. Soak seeds in warm water for 12–24 hours, or lightly nick the seed coat with sandpaper (scarification) to speed up the process.
Step 2: Sow Seeds
Plant seeds ¼ inch deep in prepared soil, spacing them 18–24 inches apart to allow for their mature size. Cover lightly with soil and water gently to settle the seeds.
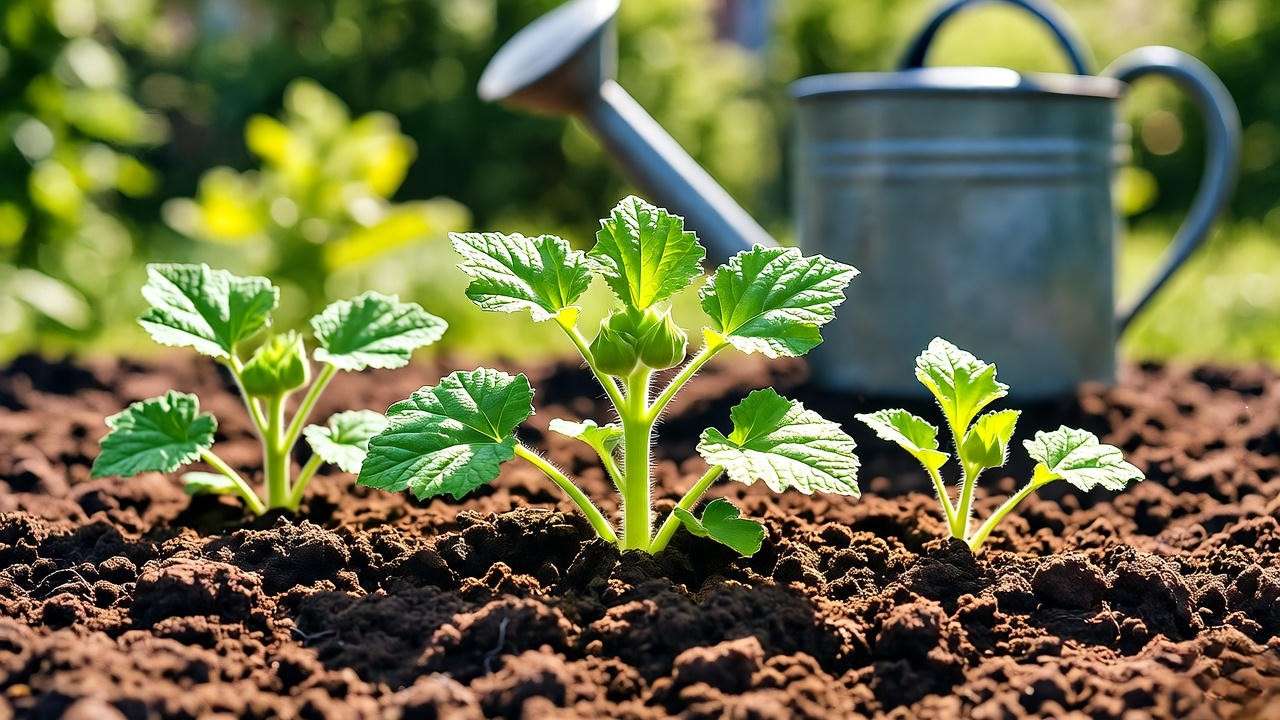
Step 3: Care for Seedlings
Keep the soil consistently moist but not waterlogged. Thin seedlings to the strongest plants once they develop their first true leaves, ensuring proper spacing for healthy growth.
Expert Tip: Nursery owner Jane Patel recommends, “Start seeds in peat pots indoors 6–8 weeks before the last frost. This gives hollyhocks a head start and ensures stronger plants.”
Indoor vs. Outdoor Planting
Indoor sowing offers control over temperature and moisture, ideal for colder climates. Use seed trays or peat pots and transplant seedlings outdoors after the last frost. Outdoor sowing is simpler but requires warm soil (at least 60°F) for best results. Choose the method that suits your climate and gardening style.
Section 6: Caring for Hollyhock Plants After Planting 🌞
Essential Care Tips for Healthy Hollyhocks
Once your hollyhocks are growing, proper care ensures vibrant blooms:
- Watering: Water deeply but infrequently to encourage strong roots. Aim for 1 inch of water per week, adjusting for rainfall.
- Fertilizing: Apply a balanced fertilizer (10-10-10) monthly during the growing season to support foliage and blooms.
- Staking: Tall hollyhock stalks can topple in wind. Use bamboo stakes or trellises to provide support.
- Pest and Disease Management: Monitor for rust (yellow spots on leaves), aphids, and Japanese beetles. Use organic solutions like neem oil or hand-pick pests for eco-friendly control.
Seasonal Care for Biennials
In the first year, focus on building strong foliage. Mulch around plants in winter to protect roots from freezing. In the second year, boost nutrient levels with compost or fertilizer to support blooming. Deadhead spent flowers to extend the bloom period and encourage seed production.
Dr. Susan Lee, a plant pathologist, notes, “Regular deadheading not only prolongs blooming but also reduces the risk of rust by improving air circulation around the plant.”
Section 7: Troubleshooting Common Hollyhock Growing Challenges 🐞
Overcoming Obstacles for Thriving Hollyhocks
Even with the best care, hollyhocks can face challenges. Here’s how to address common issues to keep your plants healthy and vibrant:
- Poor Germination: If seeds fail to sprout, the issue may be old seeds, improper planting depth, or inadequate moisture. Test seed viability before planting by placing 10 seeds in a damp paper towel. If fewer than 7 sprout within 14 days, consider sourcing fresher seeds. Ensure seeds are planted no deeper than ¼ inch and keep soil consistently moist during germination.
- Rust Disease: Hollyhocks are prone to rust, a fungal disease caused by Puccinia malvacearum, which appears as yellow or orange spots on leaves. To manage rust, remove affected leaves immediately and dispose of them (do not compost). Apply an organic fungicide, such as sulfur or neem oil, and improve air circulation by spacing plants adequately. Dr. Susan Lee advises, “Water at the base of the plant, not overhead, to keep foliage dry and reduce rust risk.”
- Weak or Falling Stalks: Tall hollyhock stalks can bend or snap in strong winds. Stake plants early in their second year using bamboo or metal supports, securing them loosely with garden twine. Ensure proper spacing (18–24 inches) to prevent competition for light and nutrients, which can weaken stalks.
| Issue | Symptoms | Solution |
|---|---|---|
| Poor Germination | Seeds don’t sprout | Test viability, plant at correct depth, maintain moisture |
| Rust Disease | Yellow/orange spots on leaves | Remove affected leaves, apply fungicide, improve air flow |
| Weak Stalks | Leaning or snapping stems | Stake early, ensure proper spacing |
Expert Tip: If rust persists, try resistant hollyhock varieties like ‘Mars Magic’ or ‘Chater’s Double’, which are less susceptible to fungal issues, as recommended by the Royal Horticultural Society.
Section 8: Creative Ways to Use Hollyhocks in Your Garden 🎨
Designing with Hollyhocks
Hollyhocks are a designer’s dream, offering height, color, and texture to elevate any garden. Here are creative ways to incorporate them:
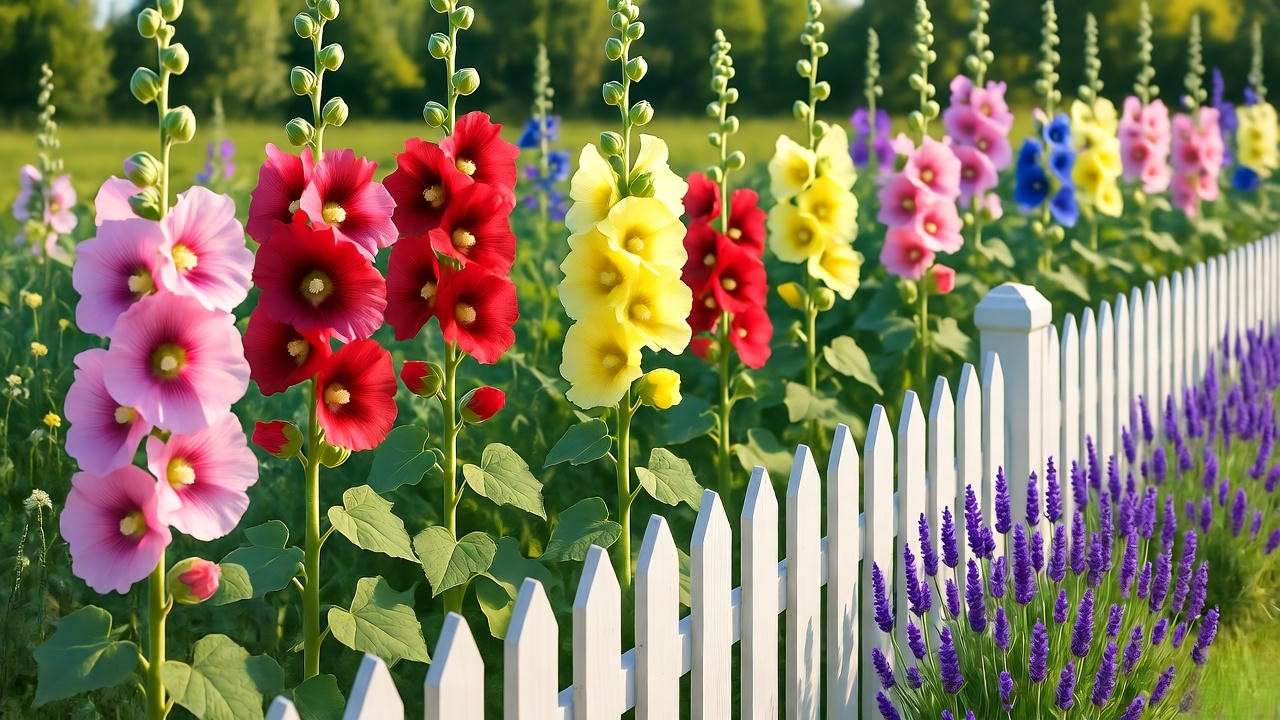
- Cottage Garden Charm: Plant hollyhocks along a picket fence or garden path to create a classic cottage-garden look. Pair with low-growing plants like lavender, catmint, or geraniums for a layered effect.
- Vertical Accents: Use hollyhocks as a backdrop for shorter perennials or annuals, such as zinnias or cosmos, to add depth to your garden beds.
- Focal Points: Group hollyhocks in clusters of mixed colors (pink, white, and purple) to create a stunning focal point in open spaces.
- Companion Planting: Hollyhocks pair beautifully with pollinator-friendly plants like bee balm or coneflowers, enhancing biodiversity. Their height also provides shade for shade-tolerant companions like hostas.
Landscape designer Emily Harper shares, “Hollyhocks are my go-to for adding drama to small gardens. Their verticality draws the eye upward, making spaces feel larger and more dynamic.” For added impact, mix single- and double-flowered varieties to create textural contrast.
Section 9: FAQs About Hollyhock Seeds 🌟
Common Questions and Expert Answers
Q1: How long do hollyhock seeds take to germinate?
A: Under optimal conditions (moist soil, 60–70°F), hollyhock seeds typically germinate in 10–14 days. Soaking or scarifying seeds can speed up the process.
Q2: Can I save seeds from hybrid hollyhocks?
A: Yes, but hybrid seeds may not produce plants identical to the parent due to cross-pollination. For consistent results, grow open-pollinated or heirloom varieties like ‘Blacknight’ or ‘Indian Spring’.
Q3: Do hollyhocks self-seed?
A: Absolutely! If seed pods are left on the plant, hollyhocks often self-seed, producing new plants the following season. To control spread, remove pods before they open.
Q4: How do I know if my seeds are viable?
A: Perform a germination test: Place 10 seeds in a damp paper towel, seal in a plastic bag, and keep in a warm spot. Check after 10–14 days; viable seeds will sprout.
Q5: Can I plant hollyhock seeds directly in fall?
A: In mild climates (USDA zones 7–10), fall planting allows seeds to overwinter and germinate in spring. In colder zones, start seeds indoors or wait until spring to avoid frost damage.
Section 10: Conclusion 🌺
Harvesting and growing hollyhock seeds from plant is a rewarding journey that brings vibrant beauty to your garden while embracing sustainable practices. By following this guide—rooted in expert advice from horticulturists, botanists, and seasoned gardeners—you can confidently collect, store, and plant hollyhock seeds for years of stunning blooms. From their pollinator-friendly flowers to their towering elegance, hollyhocks are a testament to the joy of gardening. Start today, and let these resilient beauties transform your landscape into a vibrant masterpiece!
Call-to-Action: Have you grown hollyhocks from seeds? Share your success stories or questions in the comments below! For more gardening inspiration, check out our related articles on “Top 10 Cottage Garden Plants” or “Organic Pest Control for Flowers.” 🌸


