
Imagine turning your everyday kitchen scraps, fallen leaves, and pruned branches into rich, dark “black gold” that revives tired soil, helps young saplings establish strong roots, and boosts fruit production on your favorite trees — all while cutting down on chemical fertilizers and reducing waste. Sounds magical, right? But here’s the catch most gardeners face: Should you go for the fast, high-heat hot composting method or the effortless, slow-burn cold composting approach? The wrong choice can mean waiting months (or years!) for usable compost, dealing with weeds popping up unexpectedly, or spending weekends turning piles when you’d rather be relaxing.
If you’re passionate about plant care and tree care — whether nurturing mango trees in a tropical backyard, growing vegetables, or maintaining ornamental plants — choosing between hot composting vs. cold composting directly impacts your soil health, time commitment, and garden success. In this in-depth guide, we’ll break down the differences, pros/cons, science, and real-world applications so you can pick the perfect method for your setup and watch your garden thrive like never before. 🌳✨
What Is Composting and Why Does the Method Matter? 🤔
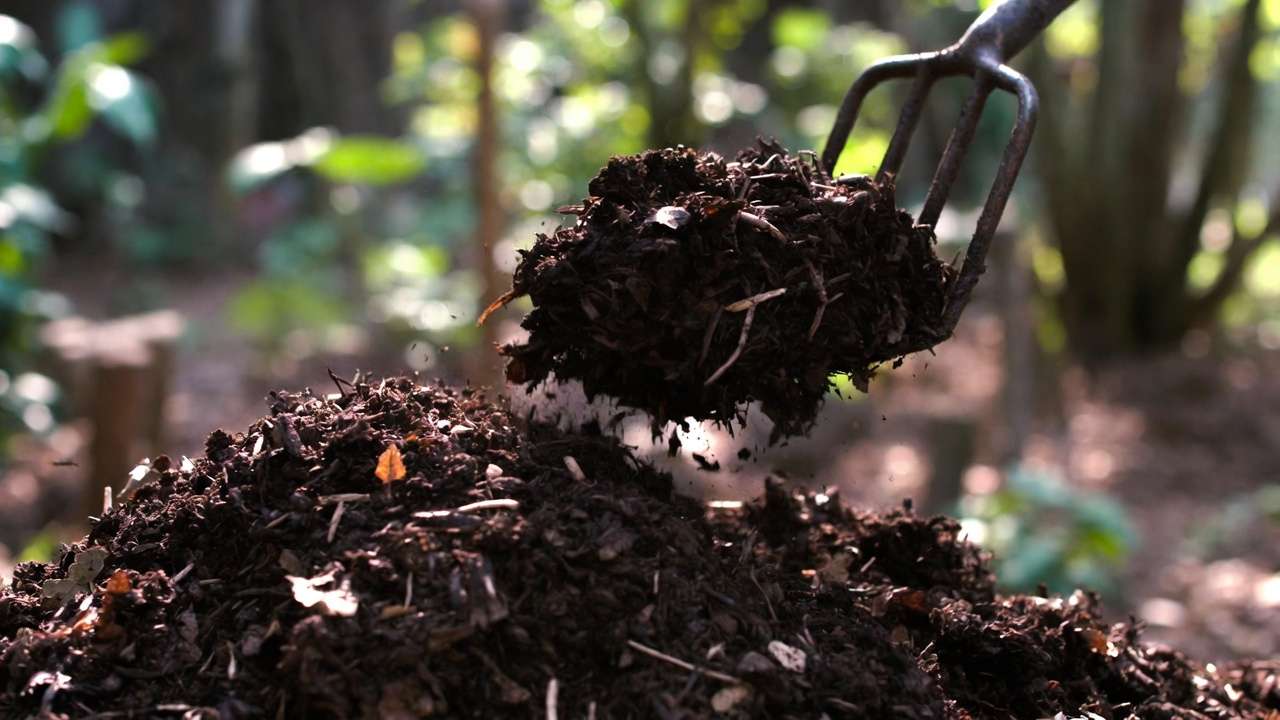
Composting is nature’s ultimate recycling process: microorganisms, fungi, worms, and bacteria break down organic matter (kitchen scraps, yard waste, plant trimmings) into nutrient-rich humus. This humus dramatically improves soil structure, increases water retention, enhances microbial life, and slowly releases essential nutrients like nitrogen, phosphorus, and potassium — exactly what plants and trees crave for healthy growth, disease resistance, and drought tolerance.
But not all composting is equal. The method you choose determines speed, quality, safety (pathogen/weed control), and effort. Hot composting (also called active or thermophilic composting) generates sustained high temperatures through microbial activity, while cold composting (passive or slow composting) relies on ambient conditions. Your choice depends on factors like available time, space, materials, climate (important in humid regions like Bangladesh!), and specific needs — such as quick nutrient boosts for fruit trees or low-maintenance soil building for established landscapes.
Both methods reduce landfill waste, sequester carbon, and create superior amendments compared to synthetic fertilizers. Let’s dive deeper into each. 🔥❄️
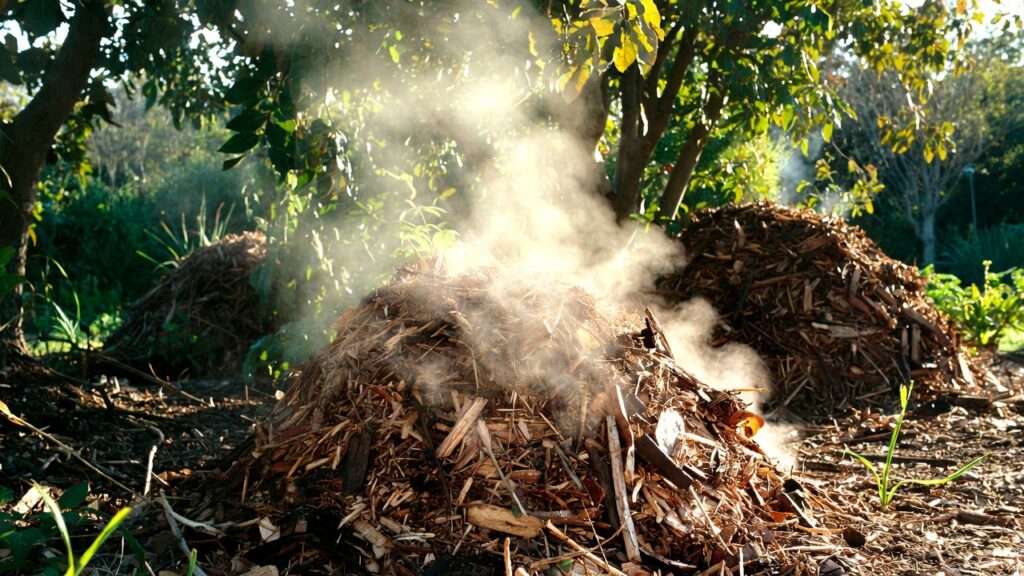
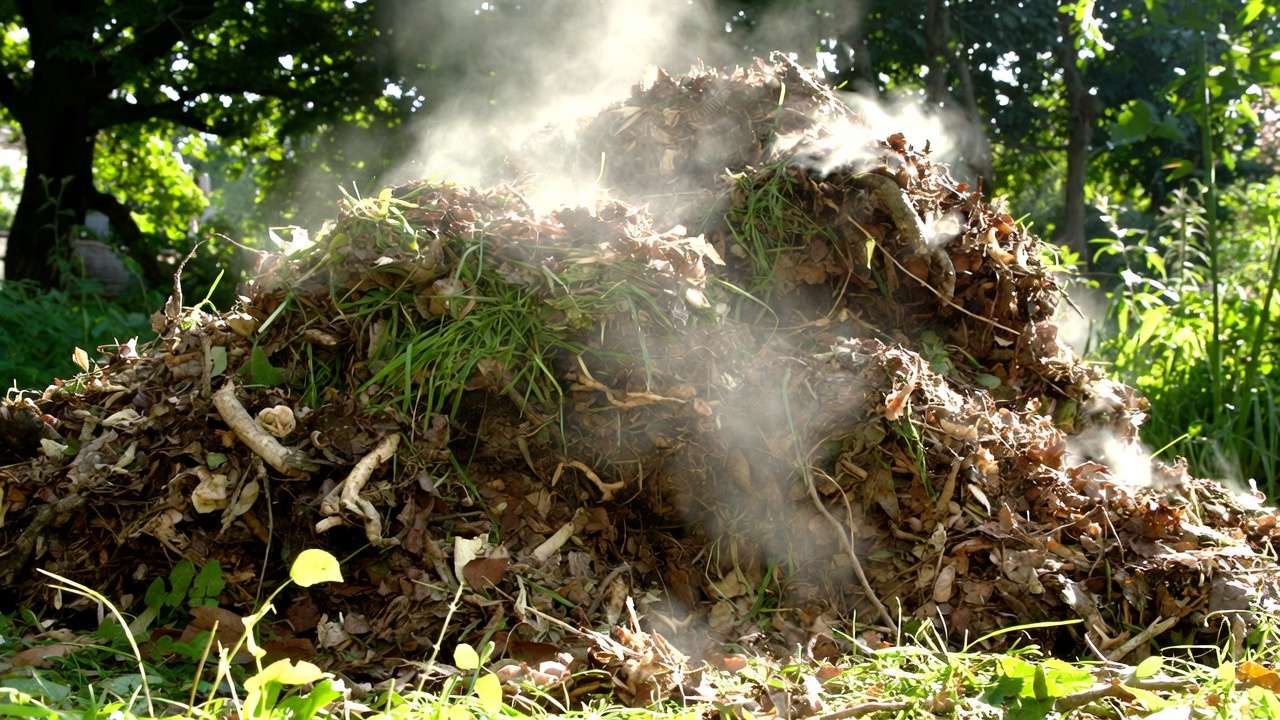
Hot Composting Explained: The Fast-Track Method 🔥
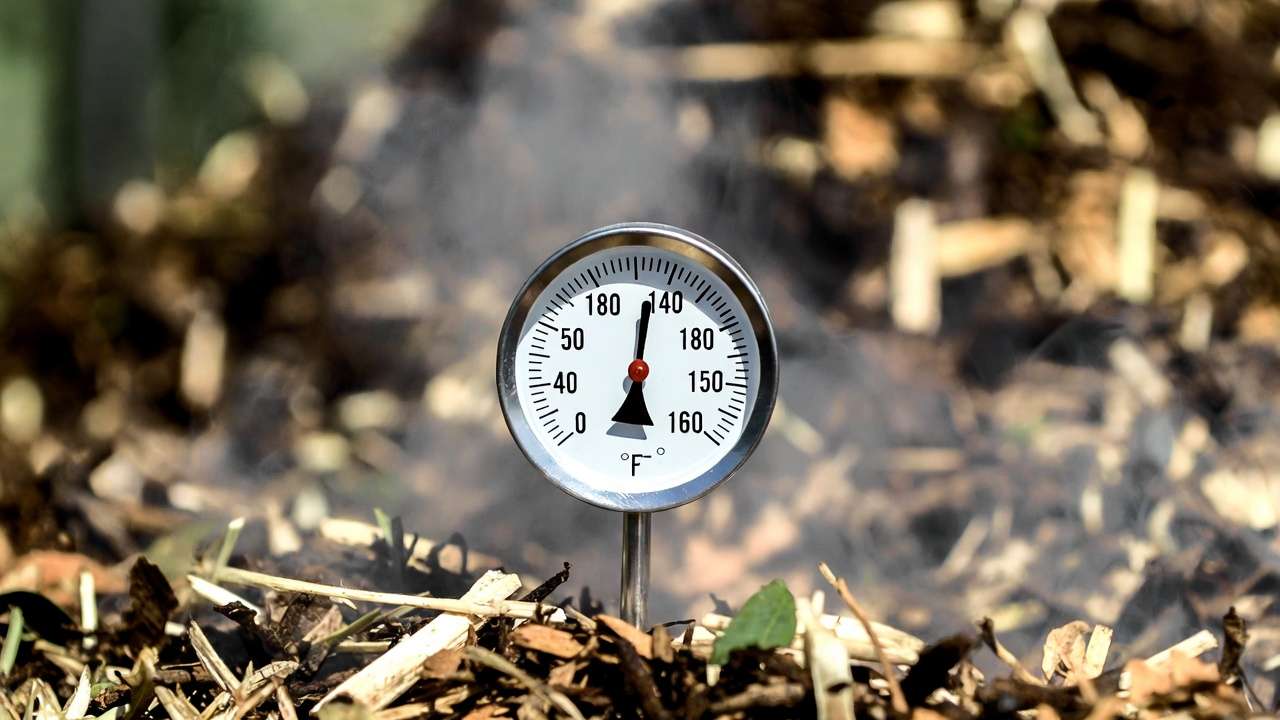
Hot composting harnesses thermophilic (heat-loving) bacteria to rapidly decompose materials at temperatures of 130–160°F (55–70°C). This intense heat accelerates breakdown, kills most pathogens, and sterilizes weed seeds.
How It Works
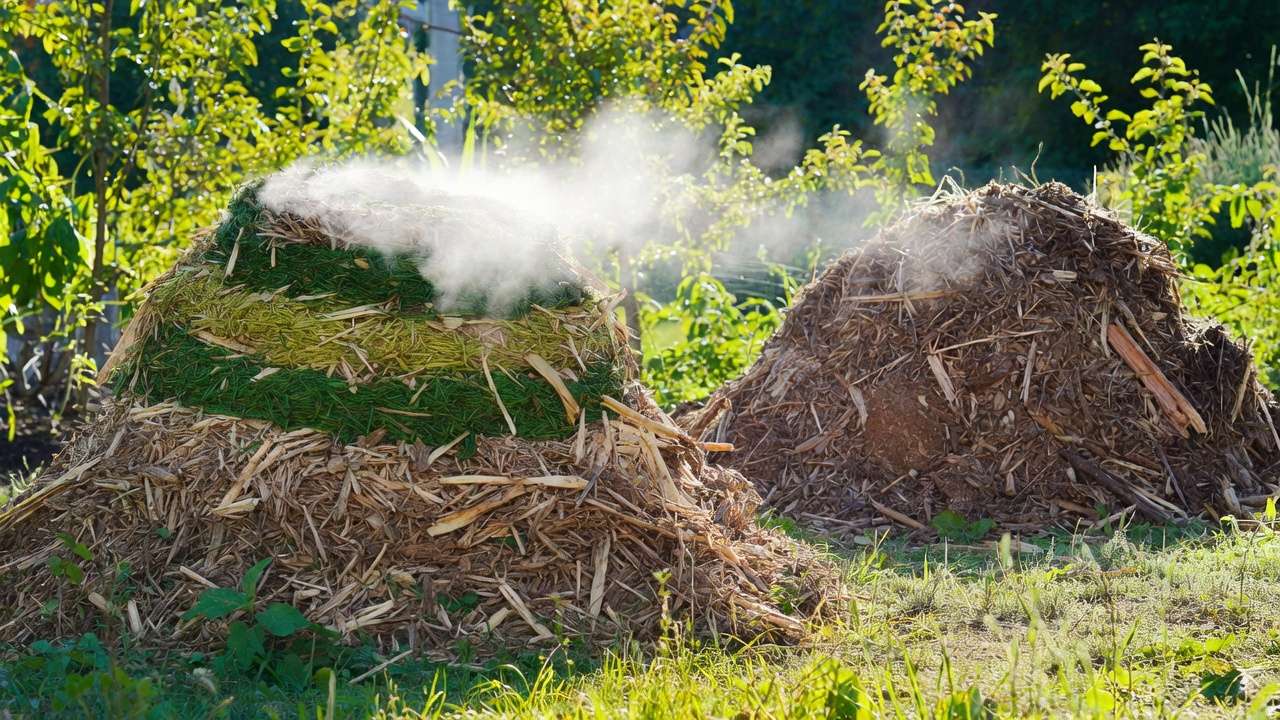
Microbes need four key ingredients: greens (nitrogen-rich), browns (carbon-rich), oxygen, and moisture. When balanced correctly (ideal carbon:nitrogen or C:N ratio around 25–30:1), the pile heats up quickly. Frequent turning reintroduces oxygen, sustains the heat wave, and ensures even decomposition.
Timeframe
With proper management, you can have finished compost in 4–12 weeks — sometimes as fast as 30–90 days using efficient methods like the Berkeley 18-day technique.
Pros 🌟
- Lightning-fast results — perfect when you need compost urgently for new tree plantings or spring soil prep.
- Pathogen and weed seed destruction — Maintain 131–160°F for at least 3 consecutive days to kill most weed seeds, plant diseases, and harmful bacteria (like E. coli). Ideal if your yard has invasive weeds or diseased plant debris.
- Higher nutrient retention — Less leaching and nitrogen loss compared to slow methods.
- Uniform, high-quality output — Dark, crumbly, earthy-smelling compost that’s excellent for mixing into planting holes or top-dressing around tree roots.
Cons ⚠️
- High effort — Requires regular turning (every 3–7 days), monitoring temperature (with a compost thermometer), and precise moisture (like a wrung-out sponge).
- Needs volume — Minimum pile size of about 3x3x3 feet (1 cubic yard) to trap heat effectively.
- More planning — You must gather enough materials at once and balance greens/browns carefully.
Hot composting shines for gardeners who want quick, safe, premium compost to support heavy-feeding trees like mango, jackfruit, or citrus in tropical/subtropical climates. 🌿
Cold Composting Explained: The Set-It-and-Forget-It Approach ❄️
Cold composting is passive decomposition at ambient temperatures, relying on mesophilic microbes, fungi, earthworms, and insects. No sustained heat — just steady, slow progress.
How It Works
Add materials gradually to a pile or bin. Nature does the rest over time, with fungi and worms handling much of the breakdown.
Timeframe
Expect 6–24 months (or longer in cooler/wetter seasons), though occasional turning can speed it slightly.
Pros 🌟
- Ultra-low maintenance — Add scraps anytime; minimal turning or monitoring needed. Perfect for busy gardeners!
- Forgiving — Less strict on ratios; imperfect balances still work.
- Year-round ease — Great for ongoing kitchen/yard waste without big batches.
- Natural diversity — Encourages fungal networks and worms, creating rich, biologically active compost excellent for long-term soil building.
Cons ⚠️
- No pathogen/weed kill — Weed seeds and diseases can survive, so avoid seeding weeds or sick plants.
- Slower nutrient release — May have uneven texture and lower immediate availability.
- Potential issues — Attracts pests if not covered; odors or matting if too wet.
Cold composting is ideal for beginners, small spaces, or when you prefer simplicity over speed — especially for mulching established trees or improving clay/heavy soils gradually. 🐛
Head-to-Head Comparison: Hot vs. Cold Composting 📊
To make your decision easier, here’s a clear, side-by-side breakdown of the two methods across the factors that matter most to home gardeners and tree enthusiasts:
- Speed ⏱️ Hot: 4–12 weeks (can be as fast as 30–60 days with excellent management) Cold: 6–24+ months
- Effort Level 💪 Hot: High – regular turning, temperature checks, precise material balance Cold: Very low – add materials anytime, occasional fluffing at most
- Temperature & Pathogen/Weed Control 🛡️ Hot: Sustained 130–160°F (55–70°C) → kills most weed seeds, plant pathogens, and fly larvae Cold: Ambient temperature (usually 70–100°F / 21–38°C) → little to no kill power
- Nutrient Quality & Volume Retention 🍄 Hot: Excellent nutrient preservation, minimal volume loss (~20–40% reduction) Cold: Good long-term quality, but more volume loss from leaching and slower nutrient release
- Best Materials ♻️ Hot: Needs balanced batches (greens + browns at start), avoid meat/dairy/oily foods Cold: Very forgiving – add almost anything gradually (except persistent weeds, meat, dairy)
- Space & Setup Requirements 📏 Hot: Minimum 3×3×3 ft (1 m³) insulated pile or tumbler for heat retention Cold: Any size – even a simple corner pile, trench, or small bin works
- Cost & Tools Needed 🛠️ Hot: Compost thermometer (~$10–20), pitchfork, possibly tumbler/bin Cold: Almost nothing – use existing space or cheap pallet bin
- Environmental Impact & Suitability for Trees/Plants 🌳 Hot: Faster carbon cycling, pathogen-safe for new plantings and fruit trees Cold: Excellent fungal-dominated compost for established trees and soil structure improvement
Quick Verdict Table (perfect for saving or screenshotting):
| Factor | Hot Composting 🔥 | Cold Composting ❄️ | Winner for Most Tree Gardeners? |
|---|---|---|---|
| Speed | Fast (weeks) | Slow (months–years) | Hot |
| Effort | High | Low | Cold |
| Weed/Pathogen Kill | Excellent | Poor | Hot |
| Ease for Beginners | Moderate | Very easy | Cold |
| Best for New Plantings | Yes | No (unless very mature) | Hot |
| Best for Mulch Around Trees | Good (if screened) | Excellent (slow release) | Cold |
Which Method Is Best for Your Garden and Trees? Decision Guide 🌳
Here’s how to choose based on your real-life situation — especially if you’re caring for fruit trees, ornamentals, or a mixed home garden in a warm, humid climate like Barisal Division:
Choose hot composting if…
- You want compost ready this season for planting new mango, guava, lemon, or jackfruit trees
- Your yard has lots of weeds or you’ve had diseased plants (hot heat = peace of mind)
- You enjoy active gardening and can commit to weekly turning for 1–2 months
- You’re preparing raised beds, potting soil mixes, or want quick nutrient boosts for heavy feeders
- You live in a hot/humid region where piles can reach and hold high temperatures easily
Choose cold composting if…
- You’re short on time or new to gardening
- You prefer a low-stress, “toss and forget” system for daily kitchen scraps + yard trimmings
- You already have established trees and mainly need slow-release mulch or long-term soil building
- You have a small space or don’t want to buy extra tools
- You garden in cooler months and heat buildup is difficult
The Smart Hybrid Strategy (what many experienced gardeners actually do): Use both methods together!
- Maintain a cold pile/bin for ongoing scraps (kitchen waste, small prunings).
- Build occasional hot batches when you collect enough greens (grass clippings, fresh weeds, manure) and browns (dry leaves, shredded cardboard) for a big, fast pile. This gives you the best of both worlds: continuous low-effort input + periodic high-quality output for critical tree care moments (planting, heavy feeding, soil amendment). 🌿✨
How to Get Started with Hot Composting: Step-by-Step Guide 🔥
- Choose location & size Pick a shaded or semi-shaded spot, away from the house (to avoid any temporary odors). Minimum 3×3×3 ft; larger is better for heat retention.
- Gather materials
- Greens (N-rich): kitchen scraps, fresh grass clippings, coffee grounds, young weeds, manure
- Browns (C-rich): dry leaves, straw, shredded cardboard/paper, small twigs Aim for 2–3 parts browns to 1 part greens by volume.
- Build the pile Start with coarse browns at the bottom for aeration. Layer greens and browns, moistening each layer (aim for 40–60% moisture — feels like a wrung-out sponge).
- Kickstart heat Insert a compost thermometer. Pile should heat within 2–5 days. Turn every 3–7 days to re-oxygenate and redistribute heat.
- Monitor & maintain Temperature peak: 140–160°F, then gradually drops. Keep moist but not soggy. Cover during heavy rains.
- When is it ready? Dark, crumbly, earthy smell, no recognizable original materials. Temperature back to ambient. Screen if needed for finer texture around young tree roots.
Pro Tip: In humid Bangladeshi summers, add extra browns and turn more frequently to prevent anaerobic (smelly) zones.
How to Get Started with Cold Composting: Step-by-Step Guide ❄️
Cold composting is beautifully simple — perfect for gardeners in Mathba who want to keep things easy while still feeding their mango, coconut, or vegetable plots over time.
- Pick your system
- Simple pile in a shady corner of the yard
- Wooden pallet bin (cheap and effective — three sides open for easy access)
- Trench composting: dig shallow trenches between tree rows and bury scraps directly
- Small tumbler or black plastic bin if space is limited
- Start layering Begin with a base of coarse browns (twigs, dry leaves) for drainage and aeration. Then just keep adding: kitchen scraps (veggie peels, eggshells, tea bags), yard waste (grass clippings, small prunings), shredded paper, and occasional browns to balance moisture and prevent smells.
- Maintain with minimal effort
- Cover fresh additions with browns or soil to deter flies and reduce odor
- Keep the pile moist (rain often helps in Barisal’s climate — add water only during dry spells)
- Turn or fluff every 1–2 months if you want faster results (optional)
- Avoid adding: meat, dairy, oily foods, diseased plants, or seeding weeds
- When is it ready? The bottom layers will be dark, crumbly, and soil-like after 6–18 months. It may still have some recognizable bits — that’s okay for tree mulching. Scoop from the bottom or screen through ½-inch mesh for finer texture.
Pro Tip for Tropical Climates: In humid, rainy seasons, add extra dry leaves or shredded coconut husk/coir to absorb excess moisture and prevent anaerobic (rotten-egg smell) conditions. 🥥
Using Your Compost in the Garden & Around Trees 🌲
No matter which method you choose, applying compost correctly maximizes benefits for plants and especially trees.
- Application rates
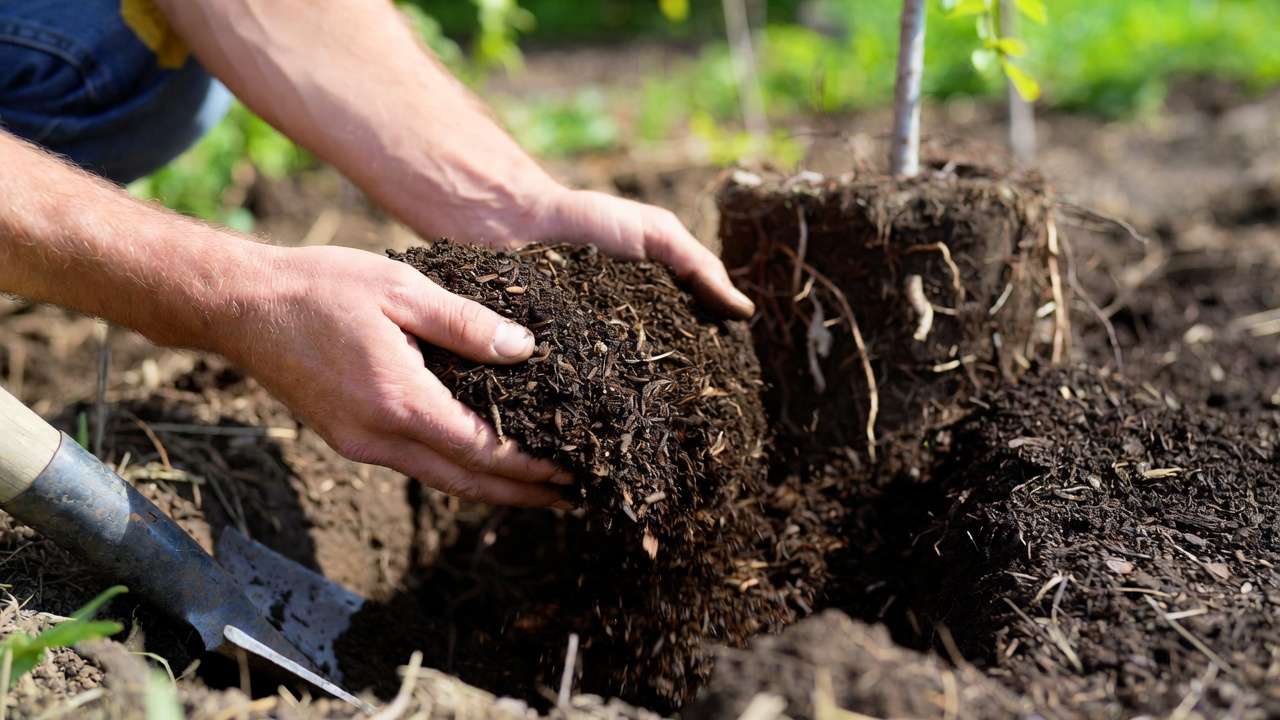
- New tree planting: Mix 20–30% mature compost into the backfill soil (avoid direct root contact with fresh hot compost)
- Established trees: Apply 2–4 inches as a mulch ring (keep 4–6 inches away from the trunk to prevent rot)
- Vegetable beds/potted plants: 1–2 inches worked lightly into the topsoil each season
- Timing
- Best in early spring (pre-monsoon) or late fall/post-rainy season so nutrients soak in before active growth
- Avoid hot, dry periods — compost can heat up and stress roots
- Tree-specific benefits
- Fruit trees (mango, guava, papaya): Hot compost gives quicker nutrient release for flowering/fruit set; cold compost mulch conserves soil moisture during dry months
- Ornamentals & shade trees: Cold compost builds long-term fungal networks that help roots resist drought and disease
- Young saplings: Use fully mature (cool) compost only to avoid burning tender roots
- Bonus: Compost Tea ☕ Fill a bucket 1/3 with mature compost, top with water, steep 3–7 days (stir daily), then dilute 1:10 and use as a soil drench or foliar spray. Great weekly boost for nutrient-hungry citrus or vegetables!
Common Mistakes & Pro Tips from Experienced Gardeners 💡
After years of composting in tropical home gardens, here are the pitfalls to avoid and insider tricks:
- Mistake #1: Adding too many greens → slimy, smelly pile Fix: Always layer with 2–3× more browns
- Mistake #2: Piling compost directly against tree trunks Fix: Leave a 4–6 inch “donut hole” around the trunk — prevents collar rot
- Mistake #3: Using immature hot compost on roots Fix: Wait until temperature drops below 100°F and it smells earthy
- Expert Insight: In Barisal’s humid climate, hot piles can overheat and dry out quickly — shade the pile and check moisture twice weekly during peak summer.
- Speed-up cold composting hack: Chop materials smaller, add a handful of garden soil or finished compost as a starter, and turn once a month — can cut time by 3–6 months.
- Weed & disease safety: If you have nutgrass or persistent weeds, only use hot composting for those materials.
Frequently Asked Questions (FAQs) ❓
Can I compost diseased plant material? Only in a properly managed hot pile (sustained 140°F+ for several days). Otherwise, bag and discard to avoid spreading pathogens.
Is hot compost better for clay soils? Yes — its finer texture and faster nutrient release help improve drainage and structure quicker than cold compost.
How do I speed up cold composting? Chop materials finely, keep moist, turn occasionally, and add nitrogen sources (manure, coffee grounds) or worm castings to boost microbial activity.
What if my pile attracts pests? Bury kitchen scraps deeper, cover with browns, and avoid meat/dairy. For rodents, use a closed bin or elevate the pile.
Can I use compost directly on trees? Yes, but only mature compost. Fresh hot compost can temporarily tie up nitrogen or burn roots if too strong.
Conclusion: Pick Your Method & Start Building Better Soil Today! 🌟
Whether you’re excited to whip up fast, pathogen-free batches with hot composting or prefer the peaceful, hands-off beauty of cold composting, both paths lead to healthier soil, stronger roots, and more vibrant plants and trees.
Start small: Try a cold pile this week with your kitchen scraps, or gather enough materials for one hot batch next month. Experiment, observe, and adjust — that’s the joy of composting in your own backyard.
Your garden (and those precious mango or lemon trees) will thank you with better growth, tastier fruit, and resilience through heat, rain, and everything in between. Happy composting, Shuvo — may your soil always be rich and your trees always thriving! 🌳🍋✨


