
Imagine stepping into your garden and being greeted by a riot of color—vivid purples, blues, and yellows swaying gracefully in the breeze. That’s the magic of irises, and learning how to plant iris can turn this vision into reality. As a horticulturist with over 15 years of experience transforming yards into blooming masterpieces, I’ve seen irises captivate gardeners of all skill levels with their elegance and low-maintenance charm. Whether you’re a beginner or a seasoned green thumb, this comprehensive guide will walk you through every step to plant irises successfully, ensuring your garden bursts with stunning blooms. Ready to create a vibrant, pollinator-friendly oasis? Let’s dig in! 🌱
Understanding Irises: Types, Benefits, and Why They’re Loved 🌷
What Are Irises? A Quick Overview
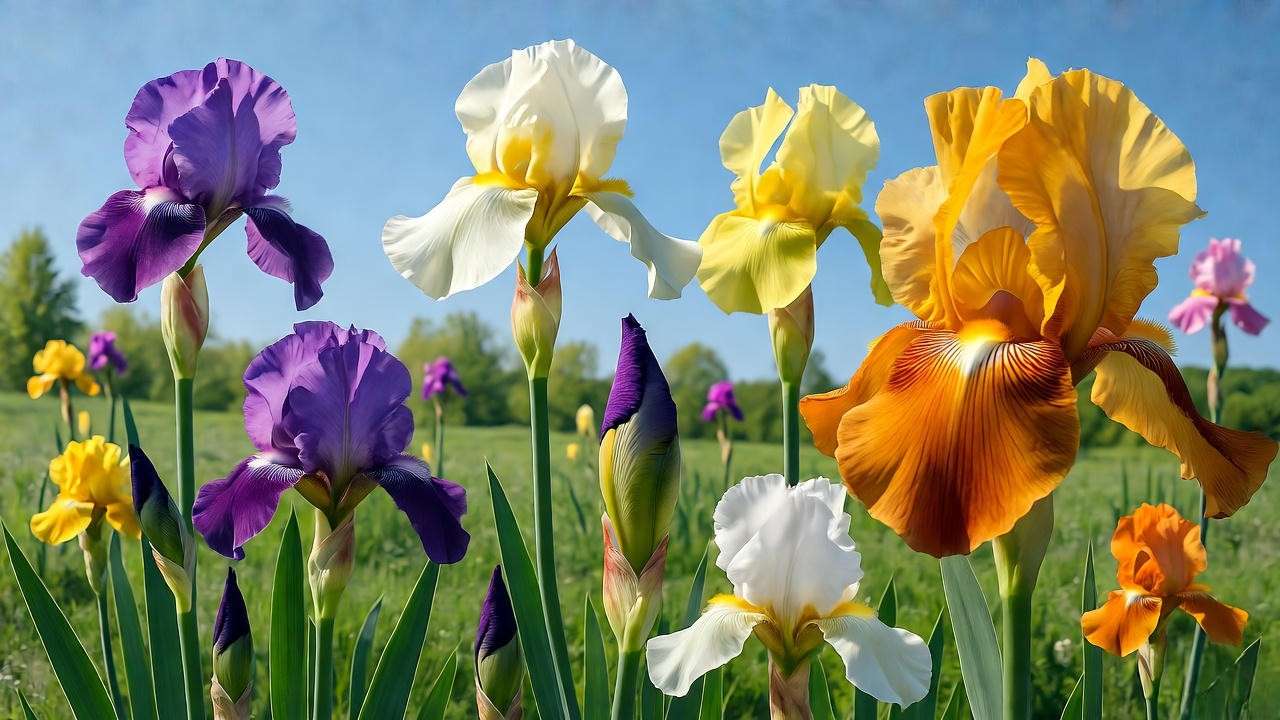
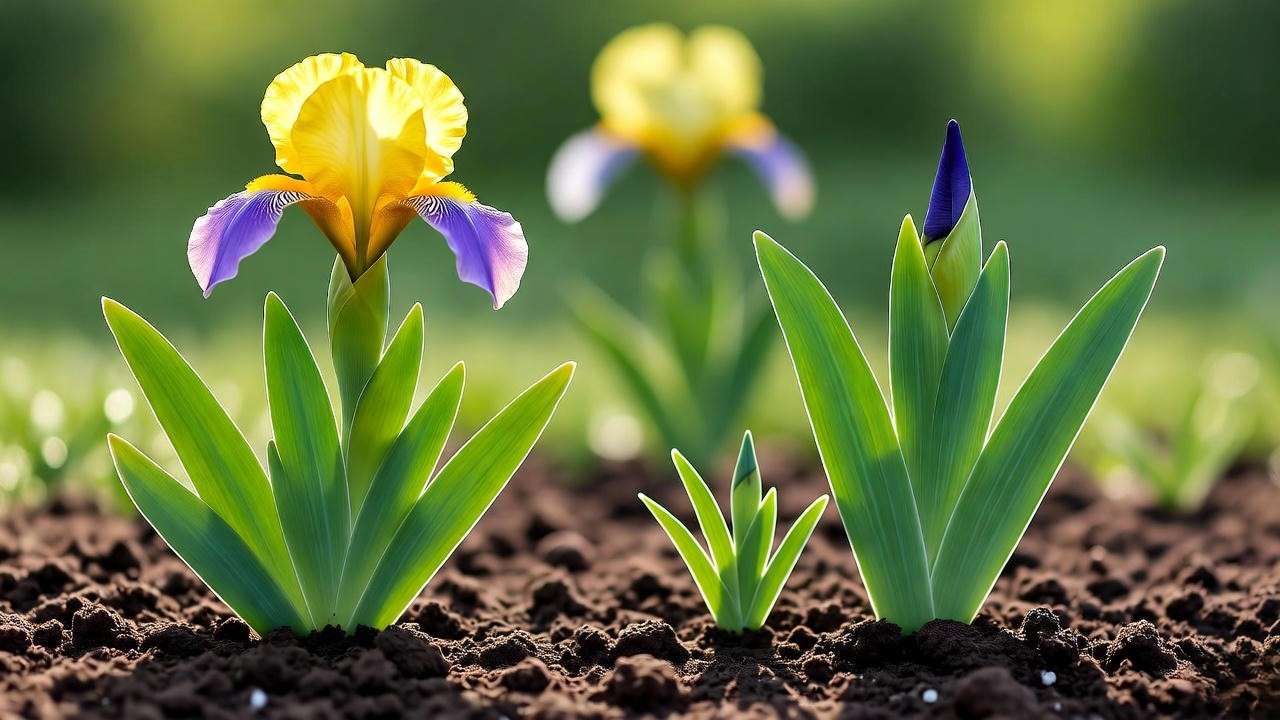
Irises, named after the Greek goddess of rainbows, live up to their mythical inspiration with their dazzling array of colors and graceful petal shapes. These perennial plants belong to the Iridaceae family and are prized for their versatility and resilience. From the classic bearded iris to the water-loving Louisiana variety, irises come in many forms, each with unique characteristics. Their sword-like foliage adds structure to gardens, while their blooms—ranging from deep purples to soft whites—create a show-stopping display.
Why Plant Irises? Benefits for Your Garden
Why choose irises for your garden? For starters, they’re incredibly low-maintenance, making them ideal for busy gardeners. Irises are drought-tolerant once established, perfect for water-conscious landscapes. They also attract pollinators like bees and butterflies 🐝, boosting your garden’s ecosystem. Many varieties, like Siberian irises, offer evergreen foliage for year-round interest, while their long blooming season ensures months of vibrant color. Plus, irises are deer-resistant, a bonus for gardeners in rural areas.
Choosing the Right Iris for Your Garden
With so many iris varieties, selecting the right one is key. Bearded irises, with their fuzzy “beards” on the petals, thrive in sunny, well-drained spots. Siberian irises tolerate wetter soils, while Dutch irises are perfect for cut flowers. Louisiana irises love boggy conditions, ideal for rain gardens. Consider your climate, soil type, and aesthetic goals when choosing. Below is a quick comparison to guide your decision:
| Iris Type | Bloom Time | Height | Hardiness Zones |
|---|---|---|---|
| Bearded Iris | Spring–Early Summer | 12–40 inches | 3–9 |
| Siberian Iris | Late Spring | 24–48 inches | 3–8 |
| Dutch Iris | Early Summer | 18–24 inches | 5–9 |
| Louisiana Iris | Late Spring–Summer | 24–36 inches | 6–9 |
Expert Tip: Match your iris variety to your USDA hardiness zone for optimal growth. Not sure of your zone? Check with your local extension service! 🌍
When and Where to Plant Irises ⏰
Best Time to Plant Irises
Timing is everything when planting irises. For most climates, late summer to early fall (July to September) is ideal, as it allows rhizomes to establish roots before winter. In warmer regions (zones 8–10), early spring planting works well to avoid excessive heat. Planting at the right time ensures strong root development, leading to robust blooms the following season. Avoid planting during peak summer heat or deep winter freezes, as these can stress the plants.
Choosing the Perfect Spot in Your Garden
Irises thrive in full sun, requiring at least 6 hours of direct sunlight daily for optimal blooming. They prefer well-draining soil with a slightly acidic to neutral pH (6.8–7.0). Avoid low-lying areas where water pools, as this can cause root rot. If your soil is heavy clay, consider raised beds to improve drainage. When planning your garden layout, place taller varieties like bearded irises at the back of borders and shorter Dutch irises in the foreground for a layered effect.
Visual Idea: A garden layout diagram showing iris placement alongside companion plants like lavender or peonies can help readers visualize their design. 🌿
Step-by-Step Guide: How to Plant Iris Like a Pro 🌱
Step 1: Preparing Your Soil
Healthy soil sets the stage for thriving irises. Start by testing your soil’s pH using a home testing kit or send a sample to your local extension service. If the pH is too acidic, add lime; if too alkaline, incorporate sulfur. Work in 2–3 inches of organic compost to boost fertility and improve drainage. Break up compacted soil with a garden fork to ensure roots can penetrate easily. Good drainage is critical—irises hate “wet feet.”
Pro Tip: Mix in a handful of bone meal when preparing the soil to give rhizomes a nutrient boost. 💪
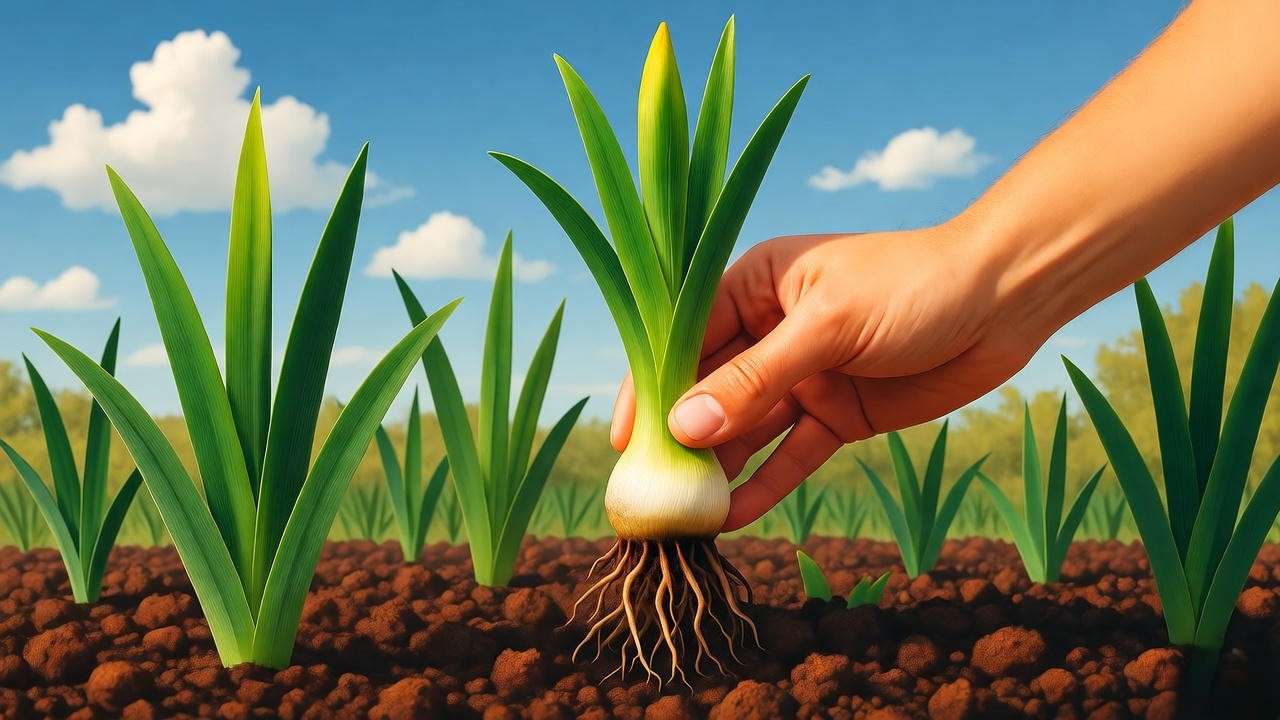
Step 2: Sourcing High-Quality Iris Rhizomes
The quality of your iris rhizomes directly impacts their success. Purchase from reputable nurseries, local garden centers, or trusted online suppliers like Schreiner’s Iris Gardens or the American Iris Society. Look for firm, plump rhizomes with no soft spots or signs of mold. Healthy rhizomes should have visible roots and at least one fan of leaves. Avoid shriveled or discolored rhizomes, as they may struggle to establish.
Expert Insight: “I always check for disease-free certifications when buying rhizomes to ensure a healthy start.” 🌟
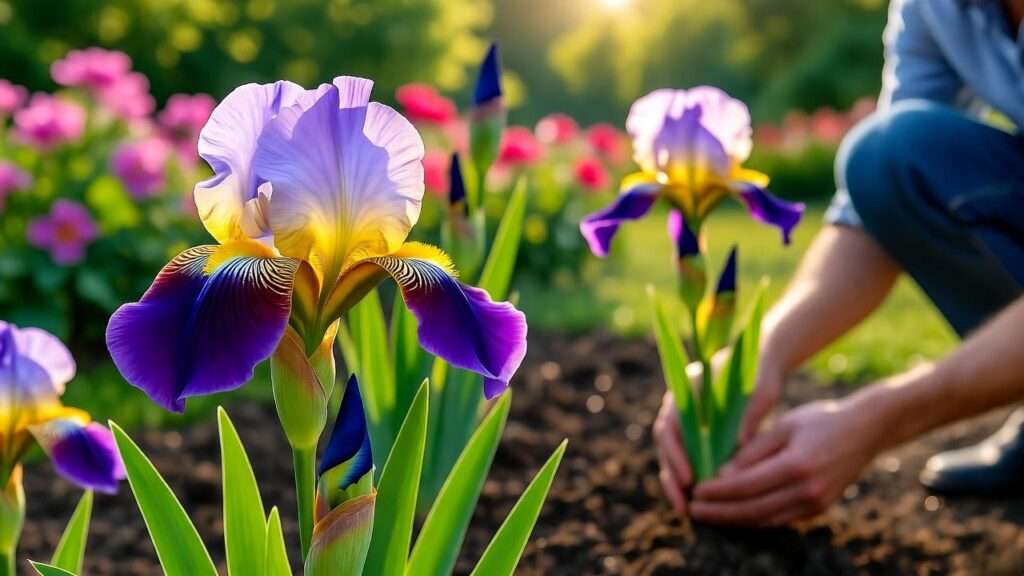
Step 3: Planting Your Irises
Follow these steps for perfect planting:
- Dig a shallow hole: Create a 4-inch deep, 6-inch wide hole with a small mound in the center.
- Place the rhizome: Set the rhizome on the mound, spreading roots downward. The top of the rhizome should be just below or slightly above the soil surface.
- Space properly: Plant rhizomes 12–24 inches apart to allow for growth and air circulation.
- Cover and water: Backfill with soil, pressing gently, and water lightly to settle the soil.
Diagram Idea: Include a visual showing correct rhizome placement (roots down, top exposed) to avoid common mistakes like planting too deep.
Step 4: Mulching and Initial Care
Apply a thin layer of organic mulch, like bark or straw, to retain moisture and suppress weeds. Avoid heavy mulching, as it can trap moisture and cause rot. For the first week, keep the soil lightly moist but not soggy. Check for signs of settling and adjust soil if rhizomes become exposed. By week two, reduce watering unless the weather is unusually dry.
Caring for Your Irises After Planting 🌿
Watering and Feeding Your Irises
Irises need minimal watering once established, but consistent moisture is key during their first season. Water deeply once a week during dry spells, ensuring the soil dries out slightly between sessions. In spring, apply a low-nitrogen fertilizer (e.g., 5-10-10) to encourage blooms without excessive foliage growth. Fertilize again after blooming to support next year’s flowers. Over-fertilizing can lead to lush leaves but fewer blooms, so follow package instructions carefully.
Pruning and Maintenance
To keep irises tidy, deadhead spent blooms by cutting the flower stalk at the base. In fall, trim bearded iris foliage to 4–6 inches to reduce pest hiding spots. For Siberian or Dutch irises, leave foliage intact until it yellows naturally. Every 3–5 years, divide overcrowded rhizomes to maintain vigor:
- Dig up the clump after blooming.
- Cut rhizomes into sections, each with a fan of leaves.
- Replant healthy sections following the planting steps above.
Pest and Disease Management
Irises are relatively pest-resistant, but watch for iris borers (small caterpillars that tunnel into rhizomes) and fungal issues like leaf spot or root rot. Prevent borers by inspecting rhizomes annually and removing affected parts. Use neem oil for organic pest control. Ensure good air circulation by spacing plants properly and removing debris. For fungal issues, avoid overhead watering and apply a fungicide if needed.
Expert Tip: “I check my irises every spring for borer eggs and remove them by hand to keep my plants healthy.” 🕵️♀️
Designing a Stunning Garden with Irises 🎨
Companion Plants for Irises
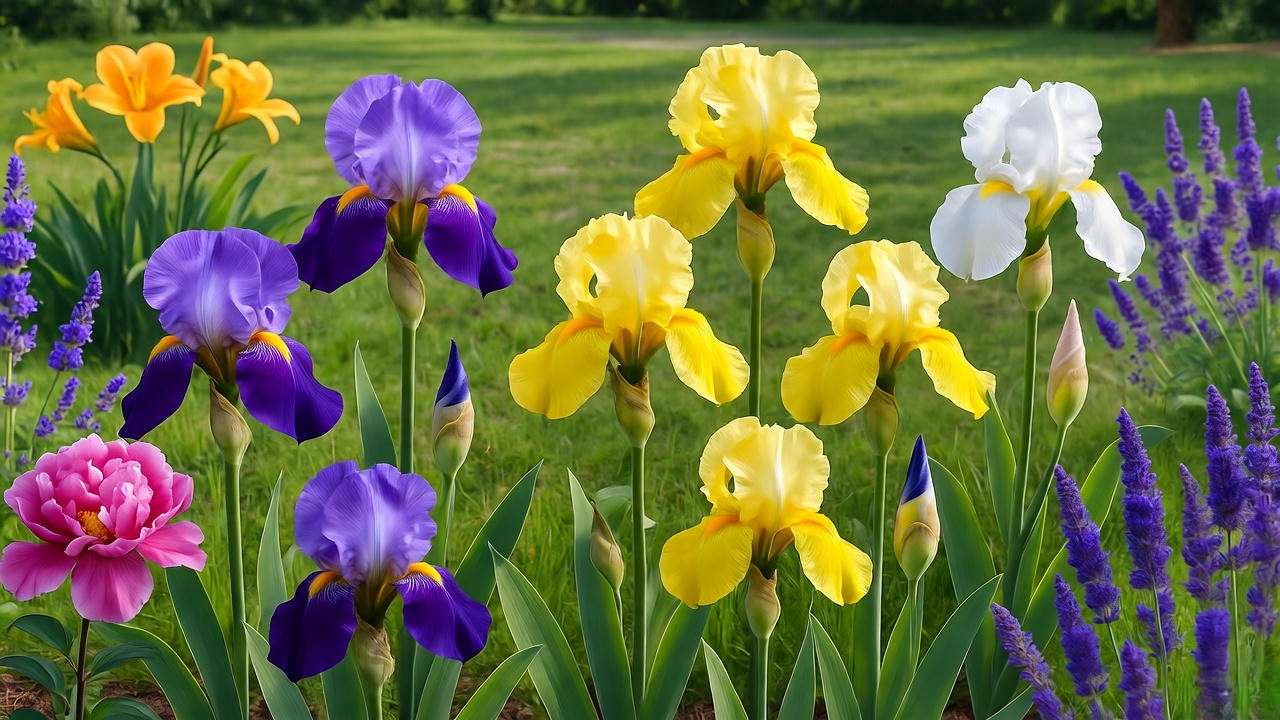
Irises shine brightest when paired with complementary plants that enhance their beauty and support their growth. Consider planting them alongside peonies, whose lush blooms contrast beautifully with iris petals, or daylilies for a succession of summer color. Lavender adds a fragrant, drought-tolerant border that echoes the iris’s low-maintenance nature. Avoid aggressive plants like mint or groundcovers that compete for space and nutrients. For a pollinator-friendly garden, include coneflowers or salvia to attract bees and butterflies 🦋 alongside your irises.
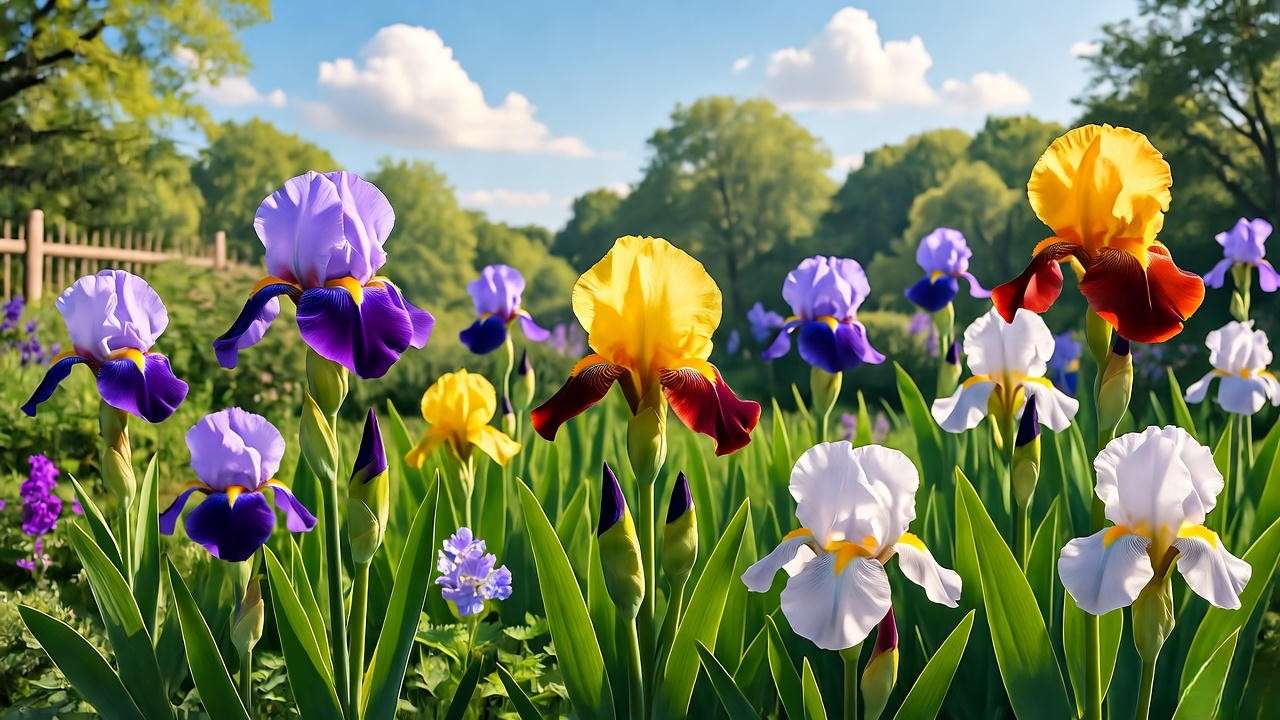
Visual Idea: A photo gallery showcasing iris garden designs—think purple bearded irises with white roses or Siberian irises near a water feature—can inspire readers to get creative.
Creating Focal Points with Irises
Irises are natural showstoppers, perfect for creating focal points in your garden. Use tall bearded irises (up to 40 inches) as dramatic backdrops in borders or as centerpieces in island beds. For smaller spaces, Dutch irises work well in clusters near pathways. Mix colors for a rainbow effect—pair deep purple with sunny yellow—or stick to a monochromatic theme, like soft pinks, for elegance.
Example: “In a recent project, I designed a client’s front yard with a row of ‘Beverly Sills’ coral irises flanked by white roses, creating a timeless, welcoming look.” 🌹
Experiment with textures by combining irises with ornamental grasses for a modern vibe or ferns for a woodland feel. Space plants thoughtfully to ensure each iris has room to shine.
Troubleshooting Common Iris Planting Problems ⚠️
Even with the best care, irises can face challenges. Below are common issues, their causes, and solutions to keep your plants thriving:
| Problem | Possible Cause | Solution |
|---|---|---|
| Irises not blooming | Too much shade, buried rhizomes, or nutrient imbalance | Ensure 6+ hours of sun, plant rhizomes shallowly, use low-nitrogen fertilizer |
| Yellowing leaves | Overwatering, poor drainage, or pests | Check soil drainage, reduce watering, inspect for iris borers |
| Soft or rotting rhizomes | Waterlogged soil or fungal infection | Improve drainage, remove affected rhizomes, apply fungicide if needed |
| Sparse blooms | Overcrowded rhizomes | Divide clumps every 3–5 years |
Expert Insight: “Most iris issues stem from improper planting depth or insufficient sunlight. Always double-check your rhizome placement and sun exposure before troubleshooting further.” 🔍
If your irises still struggle, consult your local extension service for region-specific advice or soil testing. Addressing problems early ensures your garden stays vibrant.
FAQs About Planting Irises ❓
Q: Can irises grow in pots?
A: Yes! Dutch and dwarf bearded irises are ideal for containers. Use a well-draining potting mix and a pot at least 12 inches deep. Ensure full sun and water sparingly to avoid rot.
Q: How long does it take for irises to bloom after planting?
A: Most irises bloom the following spring or summer after planting, though some may take two seasons to establish fully. Be patient—healthy rhizomes will reward you!
Q: Are irises deer-resistant?
A: Yes, irises are generally deer-resistant due to their tough foliage and bitter taste. However, hungry deer may nibble in lean times, so monitor your garden.
Q: Can I plant irises in spring instead of fall?
A: In warmer climates (zones 8–10), spring planting works well. In cooler zones, fall is best to allow root establishment before winter. Adjust based on your region.
Pro Tip: “For container irises, I use a mix of 50% potting soil and 50% sand to mimic their preferred drainage conditions.” 🪴
Conclusion: Transform Your Garden with Irises 🌈
Planting irises is a rewarding journey that brings vibrant color and effortless beauty to any garden. From choosing the right variety to mastering planting techniques, this guide has equipped you with everything you need to grow stunning irises like a pro. Their low-maintenance care, pollinator-friendly blooms, and versatility make them a gardener’s dream. Whether you’re creating a bold border or a cozy container display, irises will elevate your outdoor space for years to come.
Ready to get started? Grab your trowel, pick your favorite iris variety, and plant with confidence. Share your iris garden photos in the comments below or reach out with questions—I’d love to hear about your blooming success! 🌟


