
Have you ever poured your heart into watering, fertilizing, and weeding your garden—only to watch your tomatoes stay small, your roses develop yellow leaves, or your blueberry bushes produce barely a handful of berries? 😔 The hidden reason behind these frustrations is often your soil’s pH level. Soil pH controls how effectively plants absorb vital nutrients like nitrogen, phosphorus, iron, and more. Get it wrong, and even the best care won’t help—nutrients become “locked up” and unavailable.
How to test soil pH at home is a simple, game-changing skill every gardener and tree caretaker should master. In this in-depth guide, you’ll discover reliable at-home testing methods (from free DIY hacks to precise digital tools), step-by-step instructions, accuracy comparisons, common mistakes to avoid, and expert strategies to correct imbalances for thriving plants and trees. Whether you’re growing vegetables in raised beds, fruit trees in the yard, or acid-loving ornamentals, understanding and adjusting pH will lead to healthier foliage, stronger roots, bigger yields, and fewer problems. Let’s uncover the secrets beneath your soil! 🌿🔍
Why Soil pH Matters for Your Plants and Trees 🧪🌳
The pH scale measures acidity or alkalinity from 0 to 14, with 7 being neutral. Below 7 is acidic, above 7 is alkaline (or basic). Most garden plants prefer slightly acidic to neutral soil (pH 6.0–7.0), where nutrients are most available.
When pH drifts outside a plant’s ideal range, nutrient uptake suffers—even if you’ve added plenty of fertilizer. For example:
- In alkaline soil (>7.0–7.5+), iron, manganese, and phosphorus become less soluble → leading to iron chlorosis (yellowing leaves with green veins, especially on new growth).
- In acidic soil (<6.0), aluminum and manganese can become toxic, while calcium, magnesium, and phosphorus lock up → causing stunted growth, purple/reddish leaves, or poor root development.
Common signs of incorrect soil pH include:
- Yellowing (chlorosis) on leaves, often between veins
- Stunted or slow growth
- Poor flowering or fruiting
- Wilting despite watering
- Increased weeds (like moss in acidic soil or certain weeds in alkaline)
- Nutrient deficiency symptoms mimicking other issues
Regional factors play a role too—high rainfall areas (like parts of Bangladesh) often develop more acidic soils from leaching, while drier or limestone-rich zones trend alkaline. Testing pH helps you match plants to your soil or amend wisely. 🌍
Ideal Soil pH Ranges for Common Plants, Vegetables, and Trees 📊
Knowing target ranges prevents guesswork. Here’s a practical reference based on trusted horticultural sources:
Vegetables 🥕🍅
- Tomatoes, Peppers, Cucumbers: 6.0–7.0 (ideal ~6.5)
- Carrots, Beans, Lettuce: 6.0–6.8
- Potatoes: 5.0–6.0 (slightly acidic to avoid scab)
- Brassicas (Broccoli, Cabbage): 6.0–7.5
Fruits & Berries 🍓🍎
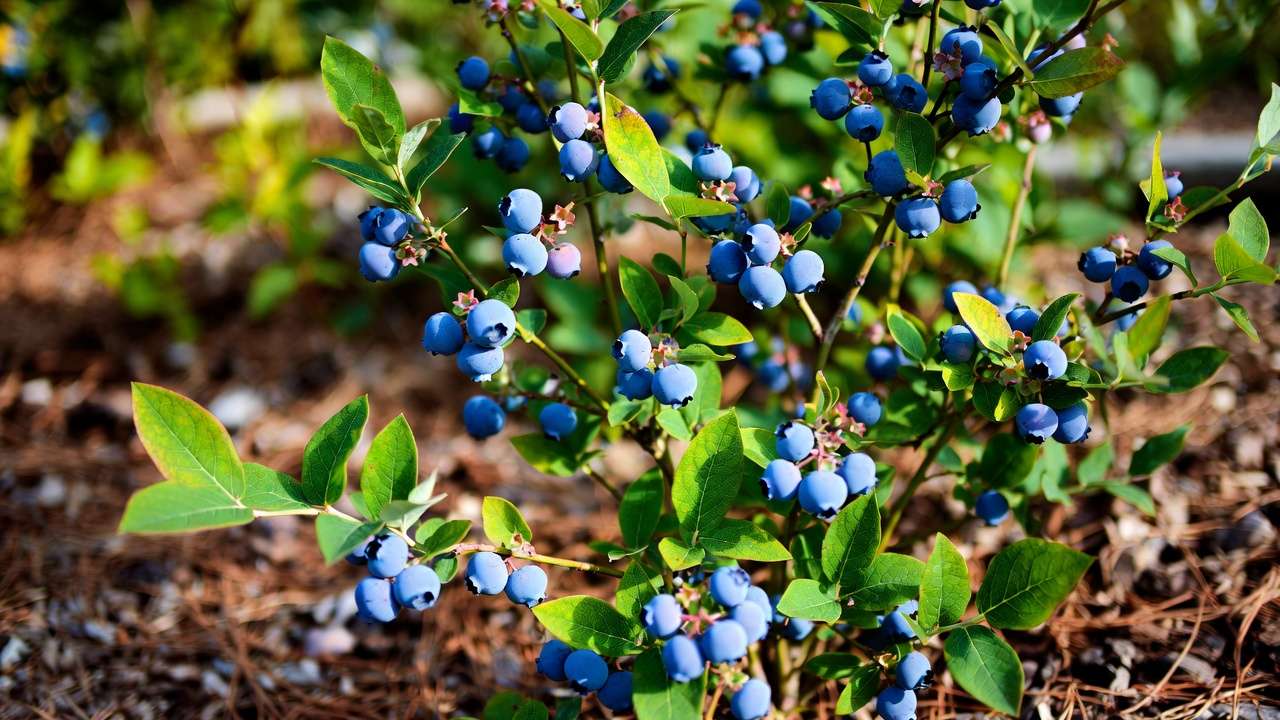
- Blueberries, Cranberries: 4.5–5.5 (strongly acidic!)
- Strawberries: 5.5–6.5
- Apples, Pears: 6.0–7.0
- Citrus: 6.0–7.5
Trees & Ornamentals 🌳🌸
- Most fruit trees (apples, citrus): 6.0–7.5
- Rhododendrons, Azaleas, Camellias: 4.5–6.0
- Oaks, Maples: 6.0–7.5
- Hydrangeas: 5.2–6.2 for blue blooms, 6.0–7.0 for pink
Pro tip: Always choose plants suited to your natural pH, or plan amendments early. Acid-loving plants struggle in alkaline soil, and vice versa! 🌱💡
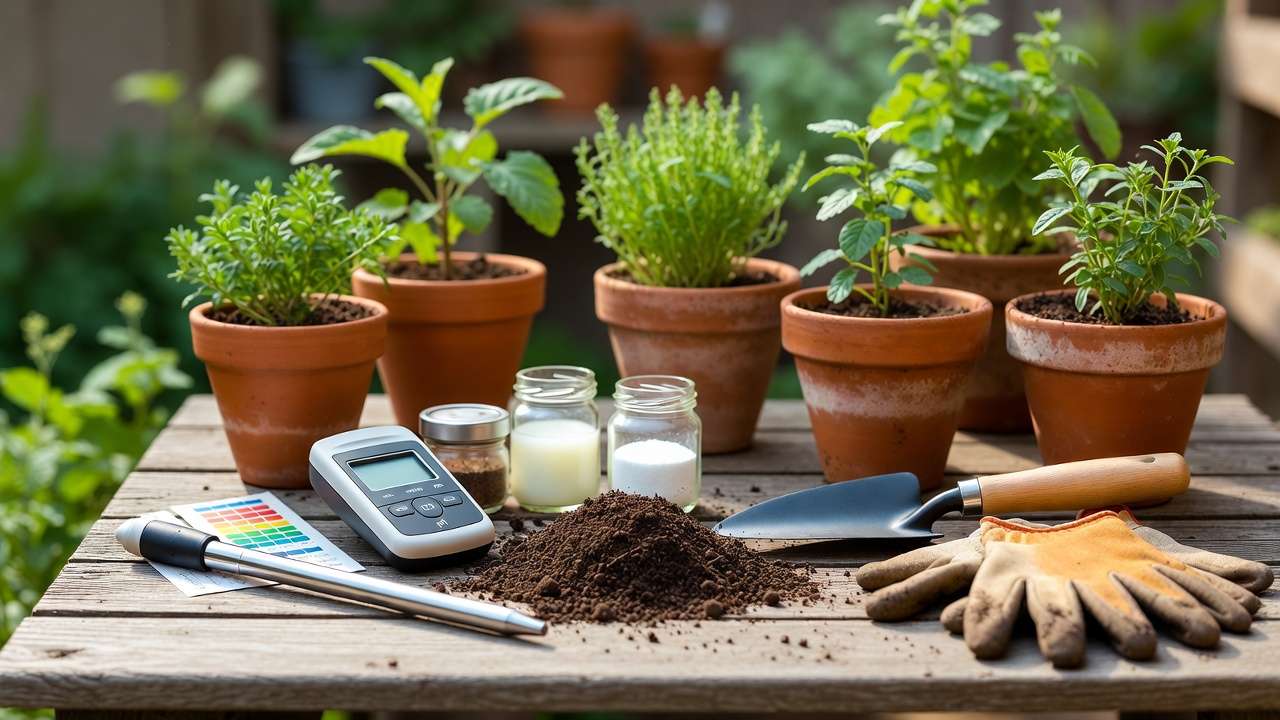
How to Properly Collect Soil Samples for Accurate Testing 🧑🌾
Accurate results start with good sampling—pH varies even in small spaces!
Best time: Fall (post-harvest) or early spring (before planting). Avoid testing right after adding lime, fertilizer, or compost (wait 2–3 months).
Tools needed: Clean plastic trowel or shovel, bucket, gloves, zip-top bag.
Step-by-step:
- Walk your garden in a zigzag pattern.
- Take 5–10 samples from different spots (4–8 inches deep for veggies/flowers, deeper for trees).
- Avoid areas near compost piles, roads, or recent amendments.
- Remove rocks, roots, grass.
- Mix thoroughly in the bucket.
- Air-dry if moist (spread on newspaper), then store in bag.
Multiple samples give a true average—don’t rely on one spot! For potted plants, test the mix directly. 🪴
Method 1: The Vinegar & Baking Soda DIY Test (Quick & Free) 🍎🥄
This classic kitchen hack indicates direction (acidic or alkaline) without numbers.
Materials: White vinegar, baking soda, distilled water, 2 small jars.
Steps:
- Divide a soil sample into two portions (~2 tbsp each).
- Vinegar test: Add a splash of vinegar to one portion. Vigorous fizz = alkaline soil (pH >7).
- Baking soda test: Mix the second portion with distilled water to make mud, then add baking soda. Fizz = acidic soil (pH <7).
- No reaction = likely neutral (~7).
Pros: Zero cost, fun for kids, instant. Cons: No exact value, less reliable for slight variations. Best for: Quick preliminary check before investing in tools. 🧪
Method 2: pH Test Strips or Litmus Paper (Affordable & Easy) 📏
Soil-specific strips give a color-based reading.
How to:
- Mix soil with distilled water (1:1 or per kit).
- Let settle 30 minutes.
- Dip strip, compare to chart.
Accuracy: ±0.5–1.0 units (good for monitoring trends). Pros: Cheap (~$10–20), no calibration. Cons: Color interpretation subjective; dark soil can interfere. Tip: Use strips designed for soil, not pool/aquarium ones. 🌈
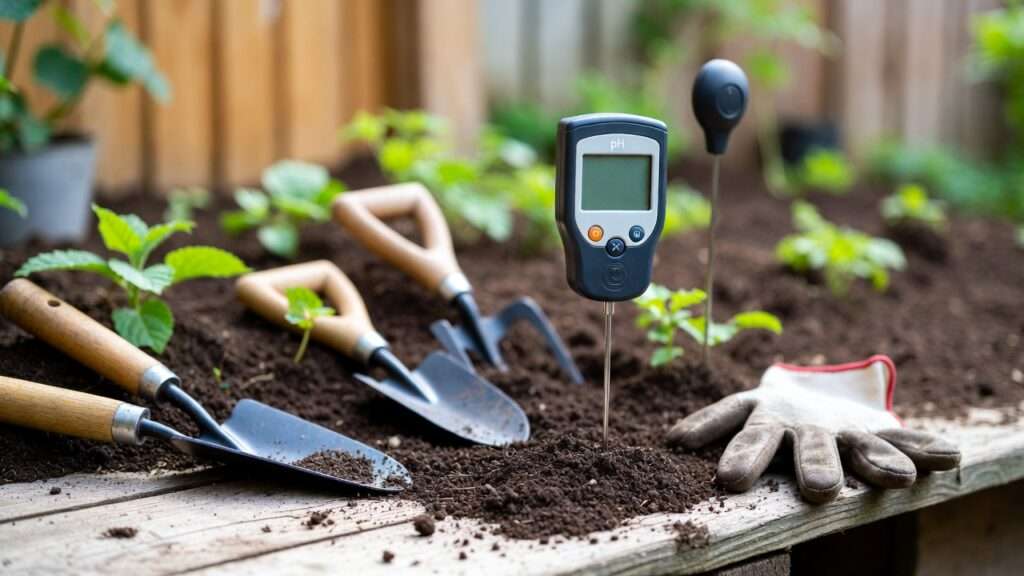
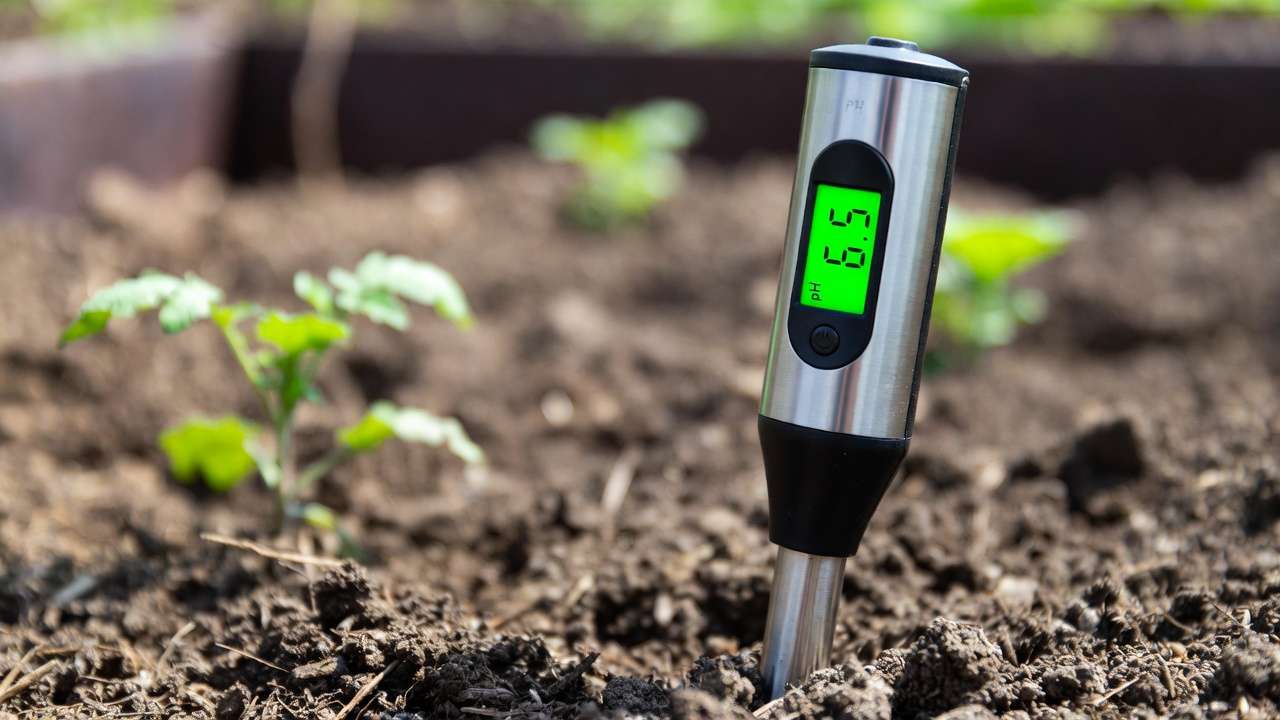
Method 3: Digital or Analog Soil pH Meter (Most Reliable Home Option) 📱🔬
Direct-read probes offer numeric precision.
Types: Analog (needle gauge), digital (LCD screen). Top recommendations: Reputable brands like Bluelab, Apera, or reliable analog probes (avoid $5 cheap ones that stick at 7!).
Steps:
- Calibrate if needed (follow instructions).
- Moisten soil to field capacity or make slurry with distilled water.
- Insert probe, wait 1–2 minutes, read.
- Clean probe after use.
Accuracy: ±0.1–0.2 units with good models. Pros: Reusable, fast, exact numbers. Cons: Probes wear out; needs care/calibration. Expert insight: Calibrate seasonally and test multiple spots for best results. 📊
Method 4: Red Cabbage Indicator (Fun & Visual DIY) 🥬🌈
This natural pH indicator turns gardening into a colorful science experiment—perfect for involving kids or just enjoying the magic of chemistry in your backyard!
Materials needed:
- ½ head of red cabbage
- Distilled water
- Pot for boiling
- Strainer or cheesecloth
- Small clear jars or glasses
- Soil sample
Step-by-step instructions:
- Chop the red cabbage roughly and boil it in distilled water for 10–15 minutes until the water turns deep purple (this is your neutral pH indicator liquid).
- Strain out the cabbage pieces and let the purple liquid cool.
- Take about 2 tablespoons of your soil sample and mix it with distilled water to make a thin slurry (about ¼ cup water).
- Let the slurry settle for 10–15 minutes, then pour off a small amount of the liquid into a jar.
- Add several tablespoons of the cabbage indicator to the soil liquid.
- Observe the color change immediately:
- Bright pink/red = strongly acidic (pH ~4–5)
- Purple/pink = mildly acidic (pH ~5–6)
- Purple (original color) = neutral (~7)
- Blue/green = mildly alkaline (pH ~7–8)
- Green/yellow-green = strongly alkaline (pH 8+)
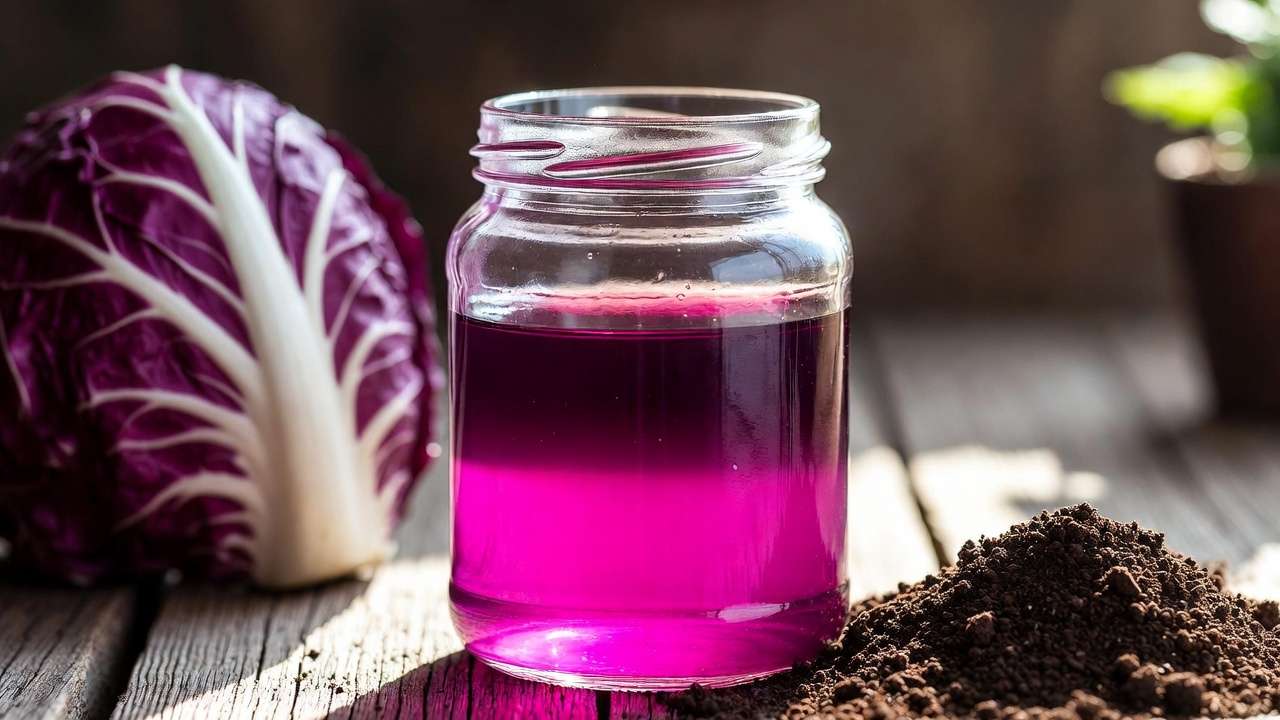
Pros: Completely natural, visually striking, educational, very low cost. Cons: Semi-quantitative (color shades can be subjective), not as precise as meters or strips. Best for: Fun family activities, quick educational checks, or confirming other test results. Many gardeners use this method yearly just to see the “wow” factor! 🌈🧪
Method 5: Professional Lab Testing (Gold Standard for Precision) 🧪📊
While home methods are convenient, sometimes you need laboratory-grade accuracy—especially for valuable fruit trees, large garden beds, or when you’ve battled mysterious plant problems for years.
How to do it:
- Collect a composite soil sample using the method described earlier (5–10 subsamples, mixed well, air-dried).
- Package ~1–2 cups in a clean zip-top bag or the container provided by the lab.
- Choose a reputable service:
- Local agricultural extension office (often low-cost or free for residents)
- University soil labs
- Private labs like Logan Labs, Waypoint Analytical, or regional equivalents
- Fill out the submission form (include what you’re growing so they can give tailored recommendations).
- Mail or drop off the sample.
What you get back (usually within 1–3 weeks):
- Exact pH reading (to 0.1 unit)
- Full nutrient analysis (N, P, K, Ca, Mg, micronutrients)
- Cation Exchange Capacity (CEC)
- Organic matter percentage
- Lime or sulfur recommendations in pounds per 1000 sq ft or per acre
- Sometimes heavy metal screening
Cost: $15–50 depending on the package—money well spent for serious gardeners or when home tests keep showing confusing results.
Expert insight: I recommend lab testing every 3–5 years as your baseline, then use home methods for in-between monitoring. It’s the most trustworthy way to catch subtle drifts before they cause visible damage. 🌟
Interpreting Your Soil pH Results & What to Do Next 📊
Once you have a number (or strong indication), here’s how to act:
- Very acidic (<5.0): Rare in most gardens but common under evergreens or in high-rainfall zones. Add agricultural lime (calcium carbonate) or dolomitic lime (adds magnesium too). Apply in fall; it takes 3–12 months to fully react.
- Moderately acidic (5.0–6.0): Fine for acid-loving plants. For others, add lime at 5–20 lbs per 100 sq ft depending on soil type (sandy needs less, clay needs more).
- Slightly acidic to neutral (6.0–7.0): Ideal zone for most vegetables, fruits, and trees. Maintain with annual compost additions—compost naturally buffers pH swings.
- Slightly alkaline (7.0–7.8): Many plants still grow well. Use elemental sulfur, aluminum sulfate (faster but harsher), or organic acidifiers like pine needles, peat moss, coffee grounds.
- Strongly alkaline (>7.8): Challenging for most crops. Lower gradually with sulfur (apply in spring/fall), generous organic matter, and choose tolerant plants (asparagus, beets, lilacs love it).
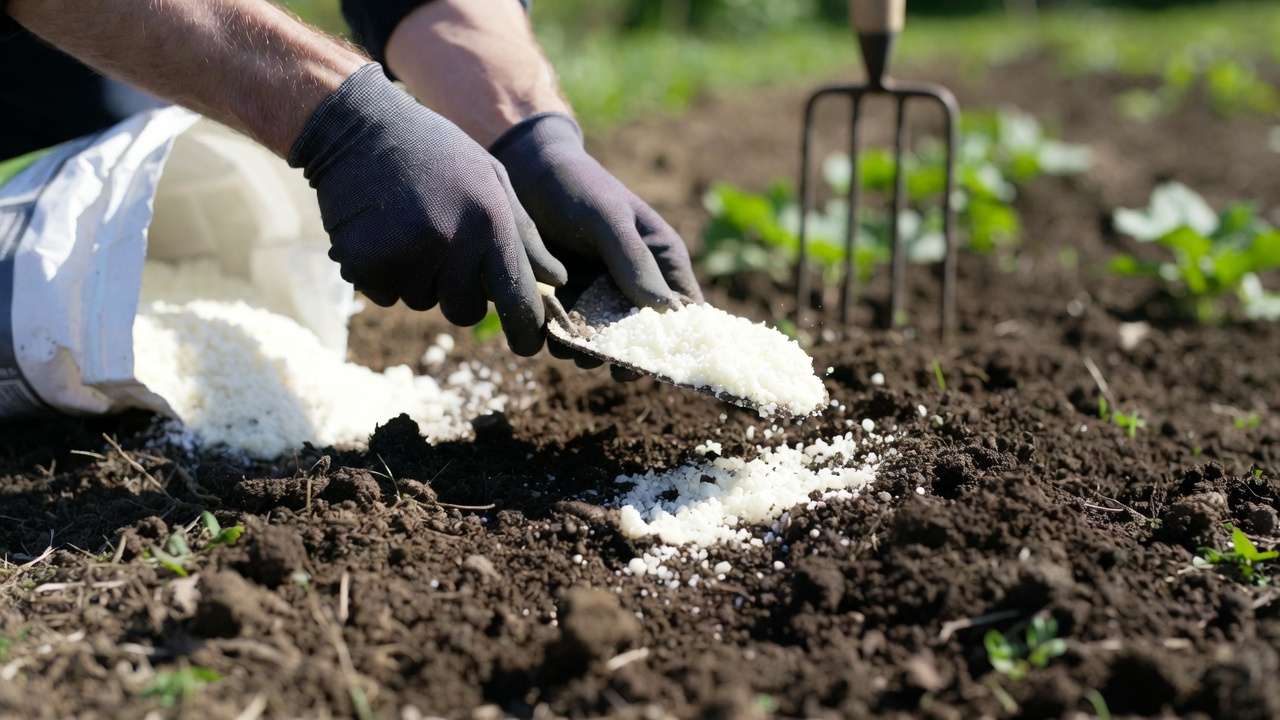
Important rules for amending:
- Never add more than 5–10 lbs of lime or 2–5 lbs of sulfur per 100 sq ft at once—overdoing it causes bigger swings the other way.
- Retest after 3–6 months; changes are slow.
- Water thoroughly after application to help incorporation.
- Use organic methods whenever possible: compost, aged manure, leaf mold, and mulches buffer pH naturally over time.
Common Mistakes When Testing Soil pH at Home (And How to Avoid Them) ⚠️
Even experienced gardeners slip up—here are the top pitfalls:
- Using tap water instead of distilled → tap water often has its own pH/minerals that skew results. Always use distilled or rainwater.
- Testing immediately after adding amendments → wait at least 2–3 months for stabilization.
- Sampling only one spot → pH can vary 1+ unit within 10 feet due to shade, drainage, past fertilizer use.
- Buying the cheapest digital probe → many read “7” forever. Invest $20–60 in a reputable brand and calibrate it.
- Ignoring plant symptoms → yellow leaves aren’t always nitrogen deficiency; pH imbalance mimics many issues.
- Forgetting to clean probes → dried soil ruins them quickly. Rinse with distilled water after each use.
Avoid these, and your home tests become far more trustworthy. 📏
Expert Tips for Maintaining Perfect Soil pH Year-Round 🌟
- Apply 1–2 inches of compost or well-rotted manure annually—it acts as a natural pH buffer.
- Mulch acid-loving plants (blueberries, azaleas) with pine needles, oak leaves, or wood chips to slowly acidify.
- Use raised beds with custom soil mix if your native soil is far off ideal.
- Group plants by pH preference: create “acid zones” and “neutral zones” in the garden.
- Monitor after heavy rains or drought—both can shift pH noticeably.
- Keep records! Note test dates, methods used, results, and amendments applied.
Frequently Asked Questions (FAQs) ❓
How often should I test soil pH at home? Every 1–2 years for established gardens, annually if you’re actively amending or seeing problems. New beds or pots? Test before first planting and after major changes.
Can I test pH in potted plants and containers? Yes! Use the same methods. Potting mixes often start neutral but drift acidic over time from fertilizer salts.
What’s the best all-around pH for a mixed vegetable garden? Aim for 6.2–6.8. Most crops thrive here, and it’s easiest to maintain.
Are those $5–10 digital meters from online marketplaces accurate? Unfortunately, many are not. They often give falsely neutral readings. Spend a bit more on proven brands or stick with quality test strips/lab tests.
How long does it take to change soil pH noticeably? 3–12 months depending on amendment type, soil texture, rainfall, and amount applied. Be patient—rushing causes bigger problems.
By mastering how to test soil pH at home and acting on the results, you’ll unlock healthier roots, greener leaves, more flowers, and tastier harvests. Your plants and trees will show their gratitude with vigorous growth season after season. Happy testing and even happier gardening! 🌿💚🍅


