
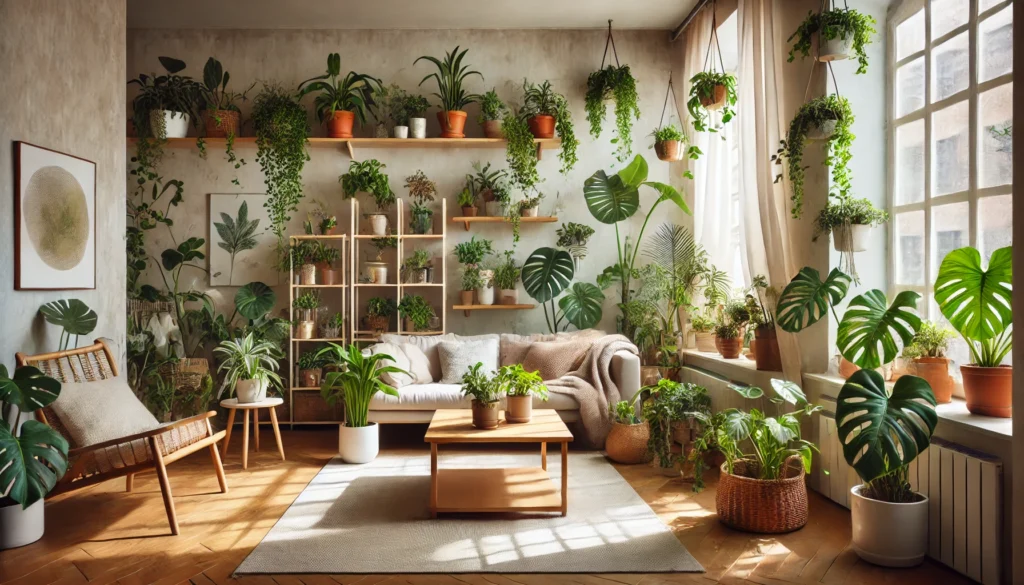
The world of indoor gardening is blossoming like never before. Whether you’re a seasoned green thumb or a complete beginner, cultivating plants indoors has become an exciting and rewarding hobby. Indoor gardening step-by-step allows you to transform your home into a lush, vibrant sanctuary. Not only do indoor plants purify the air and add aesthetic charm to any room, but they also promote mental well-being by reducing stress and boosting mood. In this guide, we’ll walk you through every step—from choosing the right plants to mastering maintenance—so you can enjoy the many benefits of a thriving indoor garden.
Step 1: Choosing the Right Plants
Choosing the right plants is the foundation of a successful indoor garden. In your indoor gardening step-by-step journey, start by considering key factors like light levels, humidity, and maintenance needs. Some plants thrive in bright light, while others can tolerate lower levels, so it’s important to match the plant with your home’s environment.
Different Types of Plants
For beginners, low-maintenance plants are the best choice. Try these easy-care options:
- Pothos: Known for its resilience and ability to adapt to various light conditions.
- Snake Plant: Thrives on neglect, needing minimal watering and indirect light.
- Spider Plant: An air-purifying favourite that grows well in moderate light.
- Peace Lily: Known for its beauty and ability to thrive in low light.
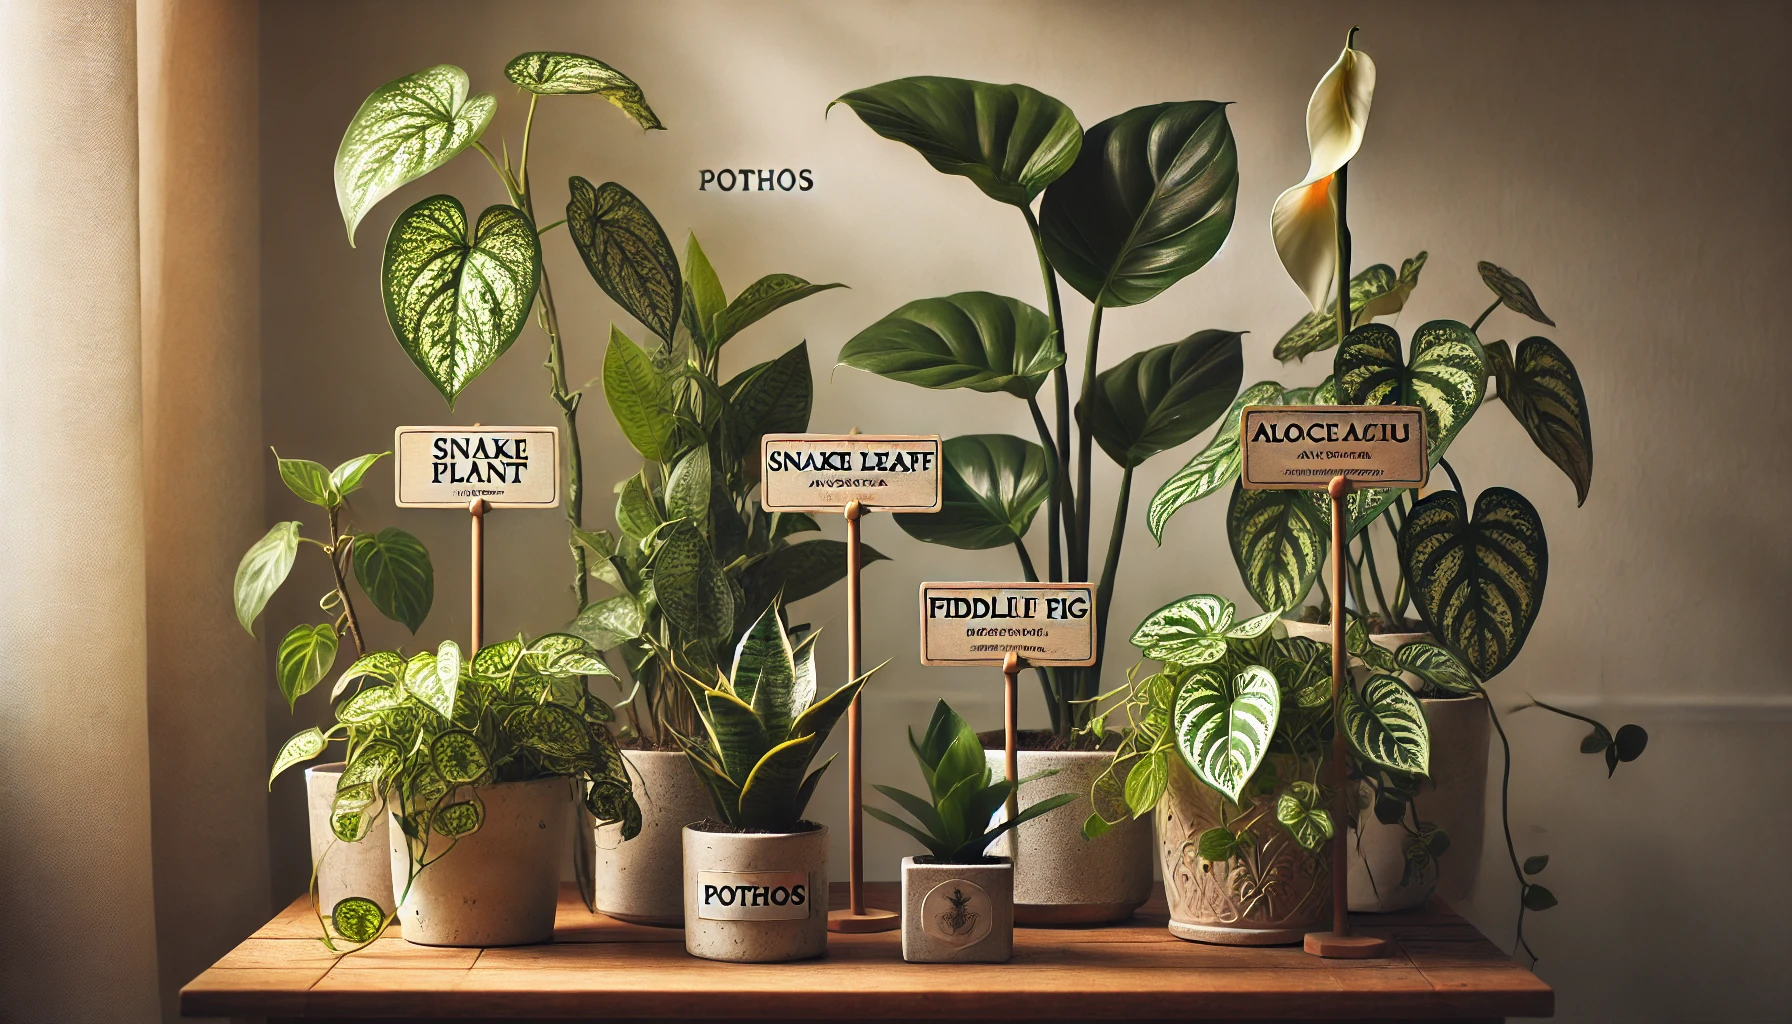
If you’re an experienced gardener and looking for a challenge, consider more exotic options:
- Alocasia: With its striking leaves, it requires high humidity and bright indirect light.
- Fiddle Leaf Fig: A popular, dramatic plant that needs consistent care and bright, indirect light.
- Orchids: These delicate beauties need controlled humidity and specific watering routines.
By carefully choosing plants suited to your home’s conditions, you set yourself up for success and enjoy the beauty of thriving indoor greenery.
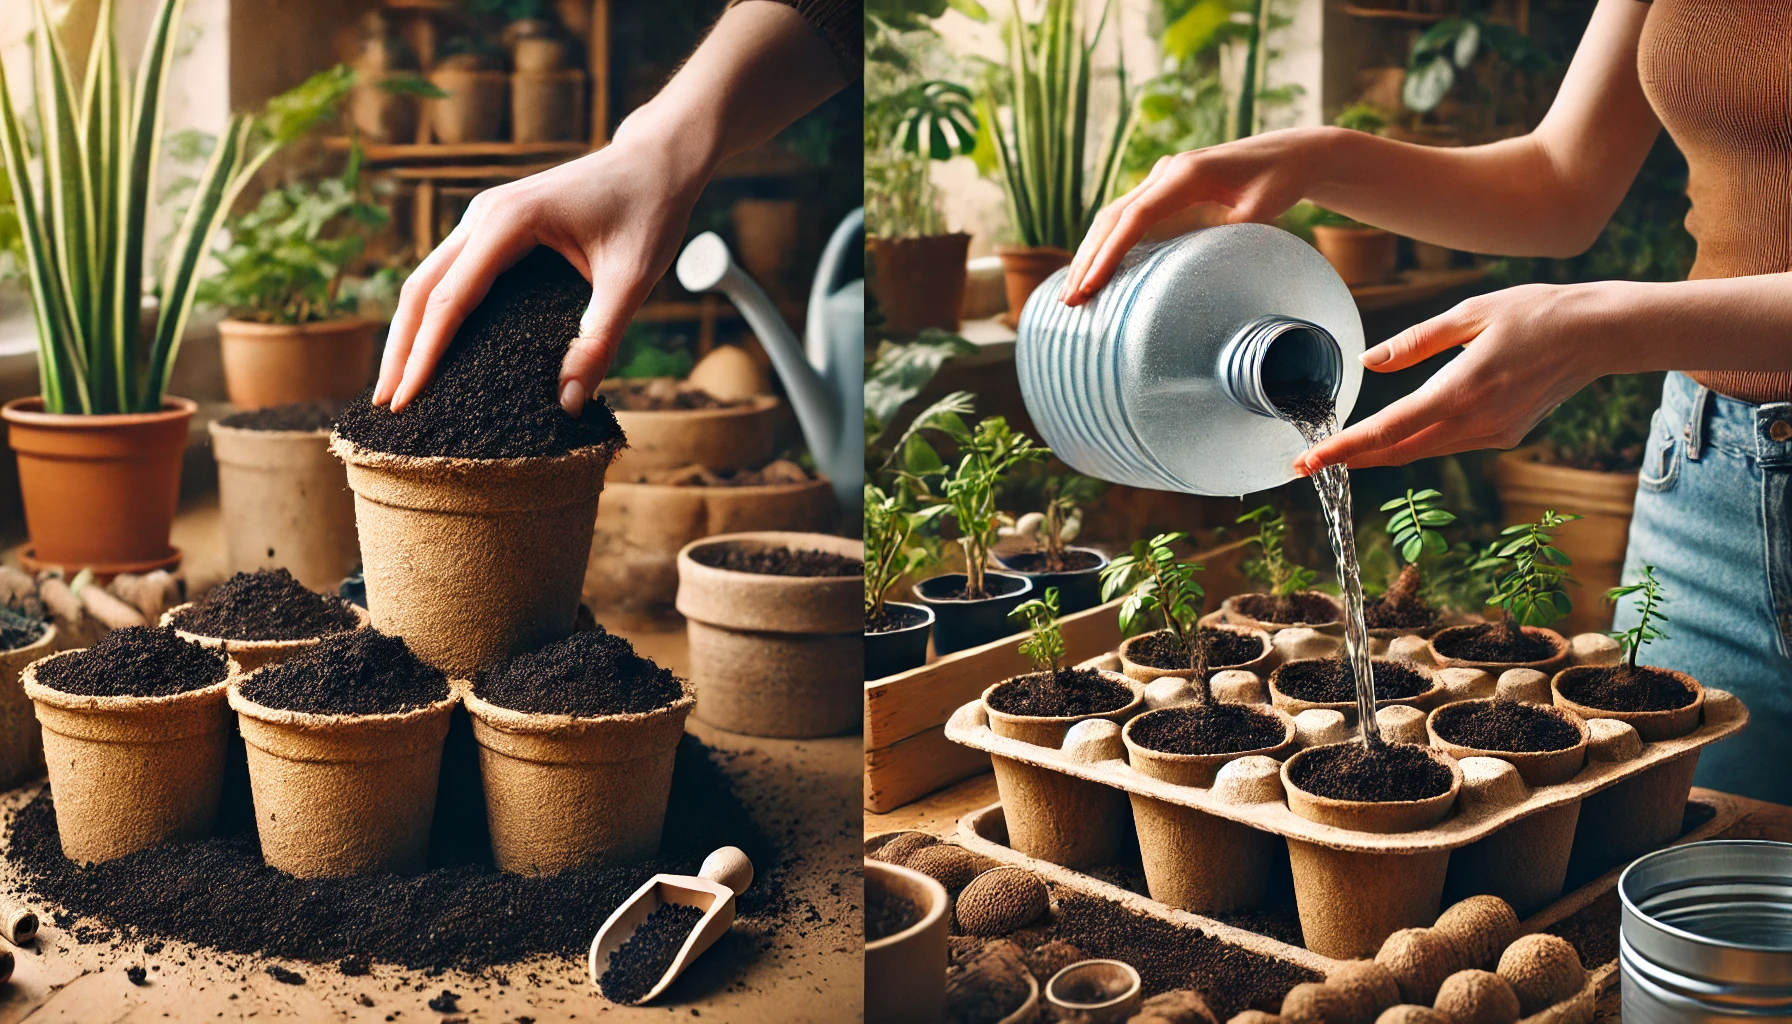
Step 2: Selecting the Right Containers and Soil
Choosing the right container and soil is crucial for healthy plant growth. Here’s how to get it right:
Containers
- Drainage Holes: Always choose pots with drainage holes. These prevent water from accumulating at the bottom, reducing the risk of root rot.
- Material Matters:
- Ceramic and Terracotta: These materials are breathable, allowing moisture to evaporate, but they tend to dry out quickly.
- Plastic Pots: These are lightweight and retain moisture well, but ensure there’s proper drainage.
- Self-Watering Pots: Great for busy gardeners, they have a water reservoir that ensures plants are hydrated without overwatering.
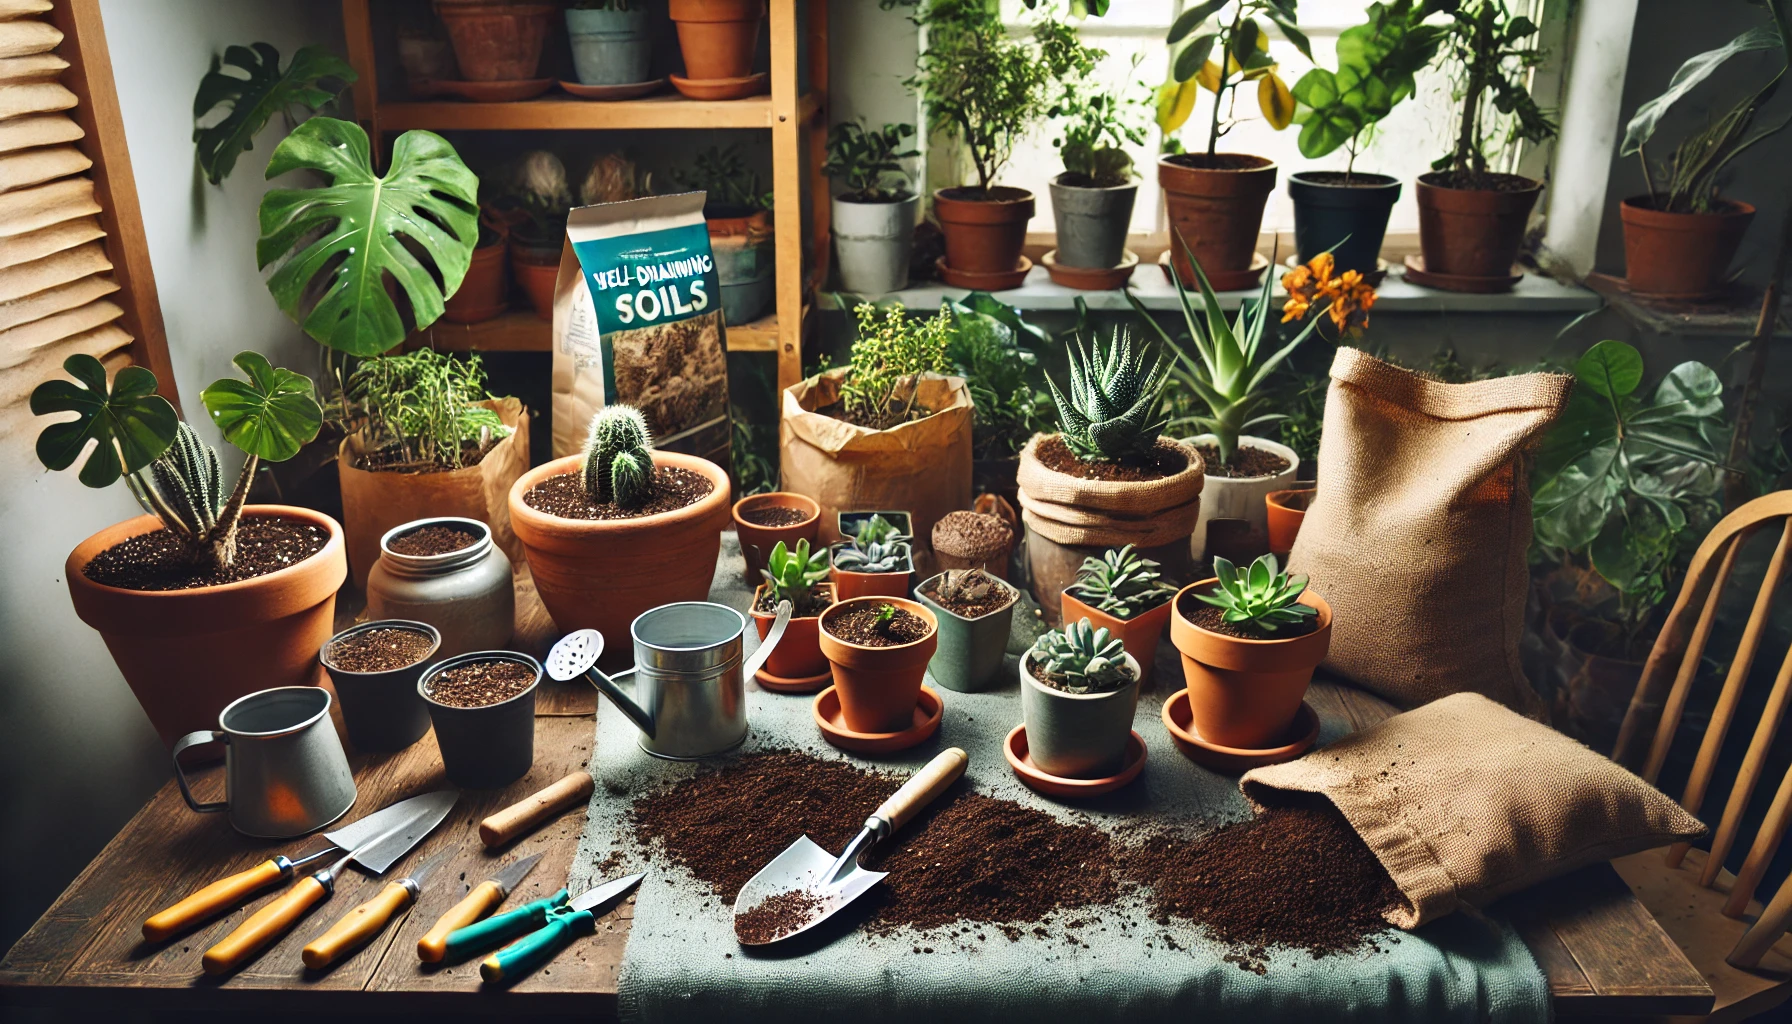
Soil
- Well-Draining Mix: Use a good-quality, well-draining potting mix for most indoor plants. This keeps roots healthy and prevents waterlogging.
- Specialized Soil: Some plants have specific soil needs:
- Succulents: Use a sandy, well-draining mix to avoid root rot.
- Orchids: Opt for a chunky, bark-based mix that allows good air circulation to the roots.
- Ferns: A moisture-retentive mix works best for these humidity-loving plants.
By pairing the right container with the appropriate soil, you create the ideal environment for your plants to thrive.
Step 3: Understanding Light Requirements
Light is one of the most important factors for indoor plant health. In indoor gardening step-by-step, understanding your plant’s light needs ensures vibrant growth and longevity. Here’s a breakdown to help you get it right:
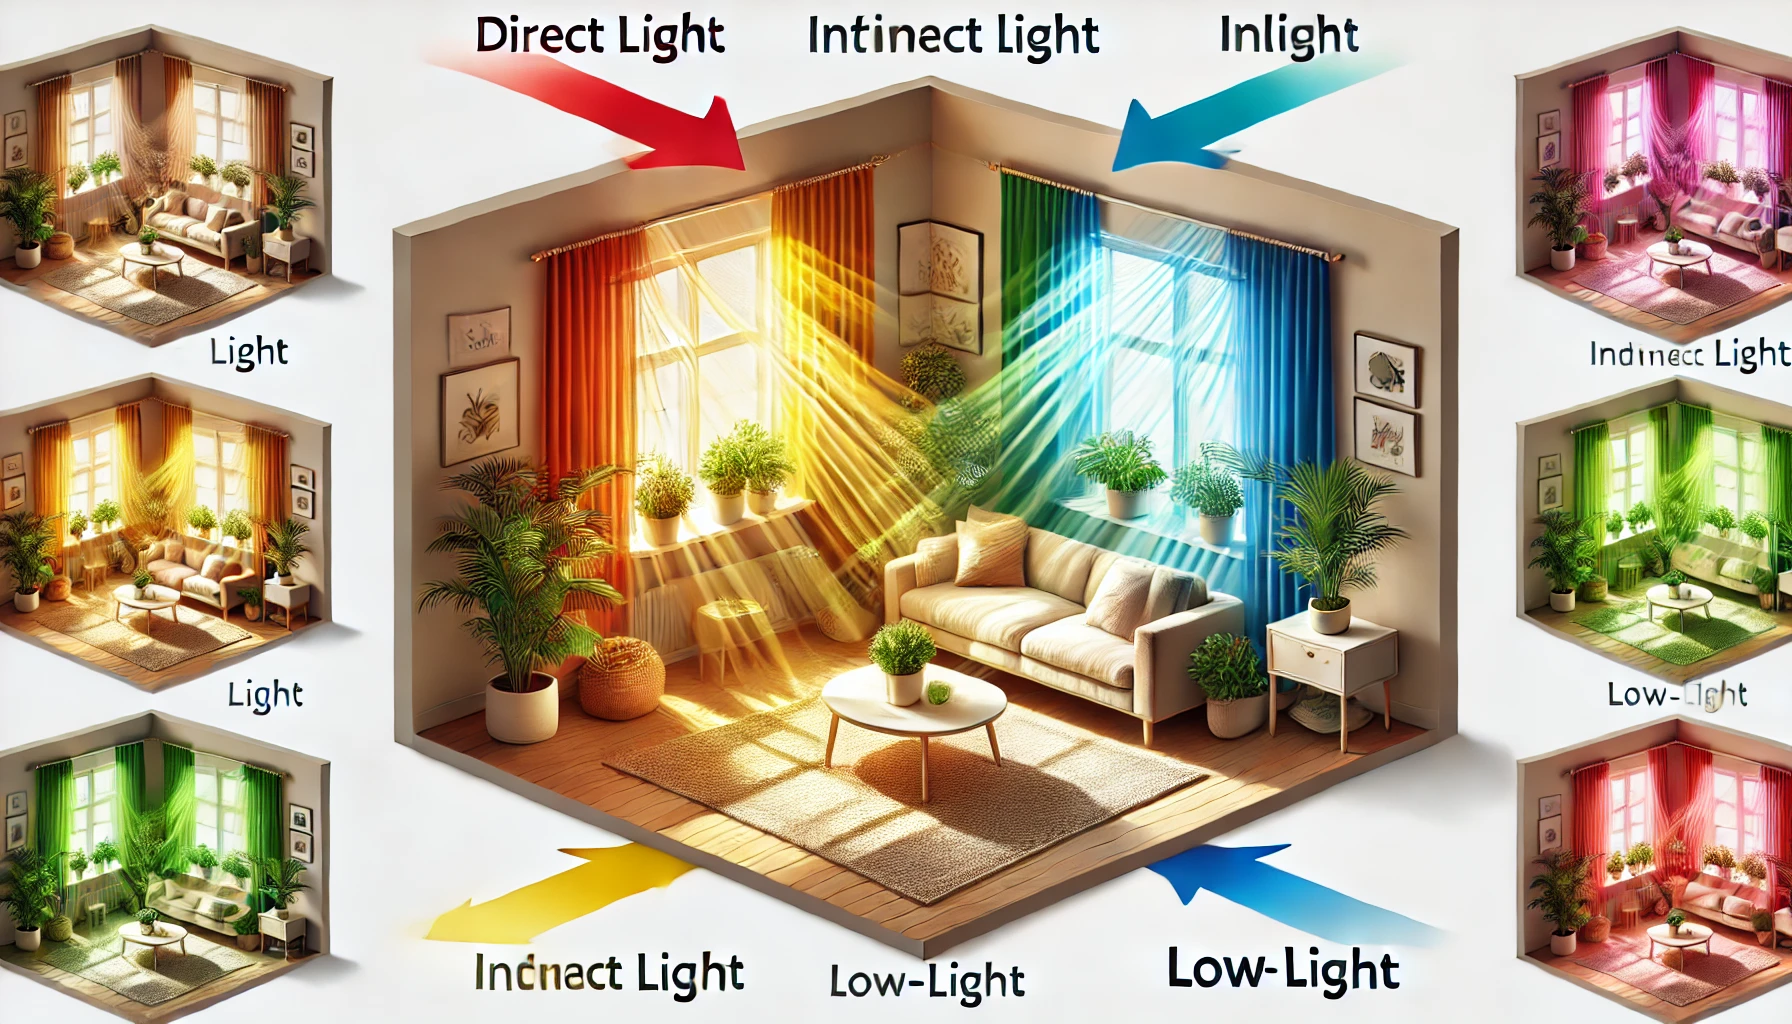
Types of Light
- Direct Light: This is sunlight that shines directly on your plants. It’s ideal for sun-loving plants like succulents and cacti. Place these plants near a south or west-facing window for the most sunlight.
- Indirect Light: This light is diffused, coming through curtains or bouncing off walls. Many indoor plants, such as Peace Lilies and Snake Plants, thrive in indirect light.
- Low Light: Some plants can survive with minimal light, such as the ZZ Plant or Pothos. These are perfect for rooms with limited sunlight.
How to Assess Natural Light
- Observe Sunlight: Check which parts of your home receive the most sunlight and how long it lasts during the day.
- Use a Light Meter: If you want a more precise reading, consider using a light meter to gauge the intensity of light in different spots.
Best Plant Placement
- Bright Light: South or west-facing windows.
- Medium Light: East-facing windows or areas with light-filtering curtains.
- Low Light: Farther from windows or in rooms with minimal natural light.
Alternatives: Grow Lights
If your home lacks sufficient natural light, grow lights are a great option. In your indoor gardening step-by-step process, these artificial lights simulate sunlight and can help plants thrive in any room, especially for light-hungry plants like herbs and orchids.
Understanding your plant’s light needs is essential for healthy growth and helps you create the perfect environment indoors.
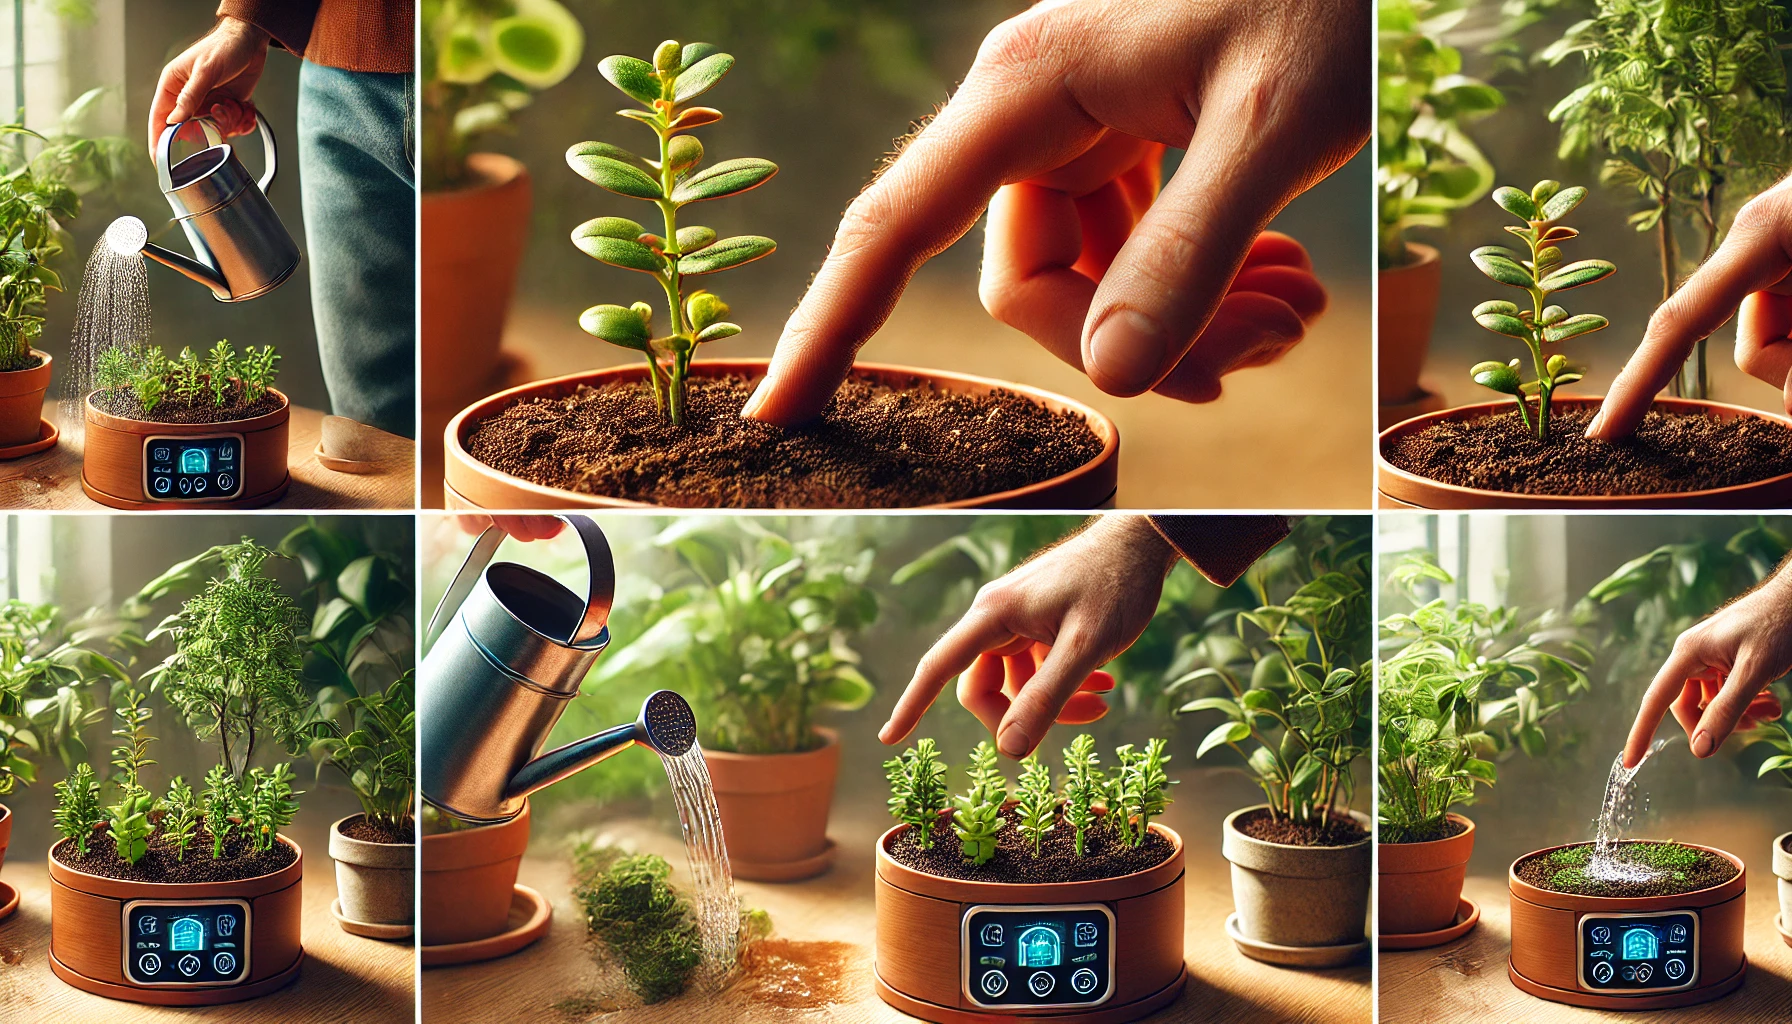
Step 4: Watering Wisely
Proper watering is key to keeping your indoor plants healthy. Too much or too little water can harm plants, so understanding when and how to water is essential.
Signs of Overwatering and Underwatering
- Overwatering: Yellowing leaves, root rot, and a musty smell indicate too much water. Ensure your pots have drainage holes to avoid this.
- Underwatering: Wilting, dry leaves, and brittle stems are signs your plant is thirsty. Check soil moisture regularly to prevent this.
The “Finger Test”
A simple way to check soil moisture is by inserting your finger about 1-2 inches into the soil. If it feels dry, it’s time to water. If it feels damp, wait a bit longer before watering.
Humidity Matters
Some plants, like ferns and orchids, require higher humidity. To maintain moisture:
- Pebble Trays: Place a tray with pebbles and water under your plant pot to increase humidity.
- Misting: Lightly mist plants that thrive in humid conditions, especially in dry indoor air.
Self-Watering Pots
For busy gardeners, self-watering pots can help ensure consistent moisture levels. These pots have a reservoir that allows the plant to absorb water as needed, preventing overwatering.
By watering wisely and adjusting to your plant’s needs in your indoor gardening step-by-step approach, you can avoid common issues like root rot and dehydration, keeping your indoor garden flourishing.
Step 5: Feeding and Fertilizing Your Plants
Plants, like any living thing, need nutrients to thrive. Fertilizing your indoor plants correctly ensures they grow strong and vibrant.
Understanding Plant Nutrient Needs
Plants primarily need three macronutrients:
- Nitrogen (N): Promotes lush, green foliage.
- Phosphorus (P): Supports strong root development and flower production.
- Potassium (K): Boosts overall plant health and helps resist diseases.
Most indoor plants also benefit from micronutrients like iron and calcium, which help with overall growth and vitality.
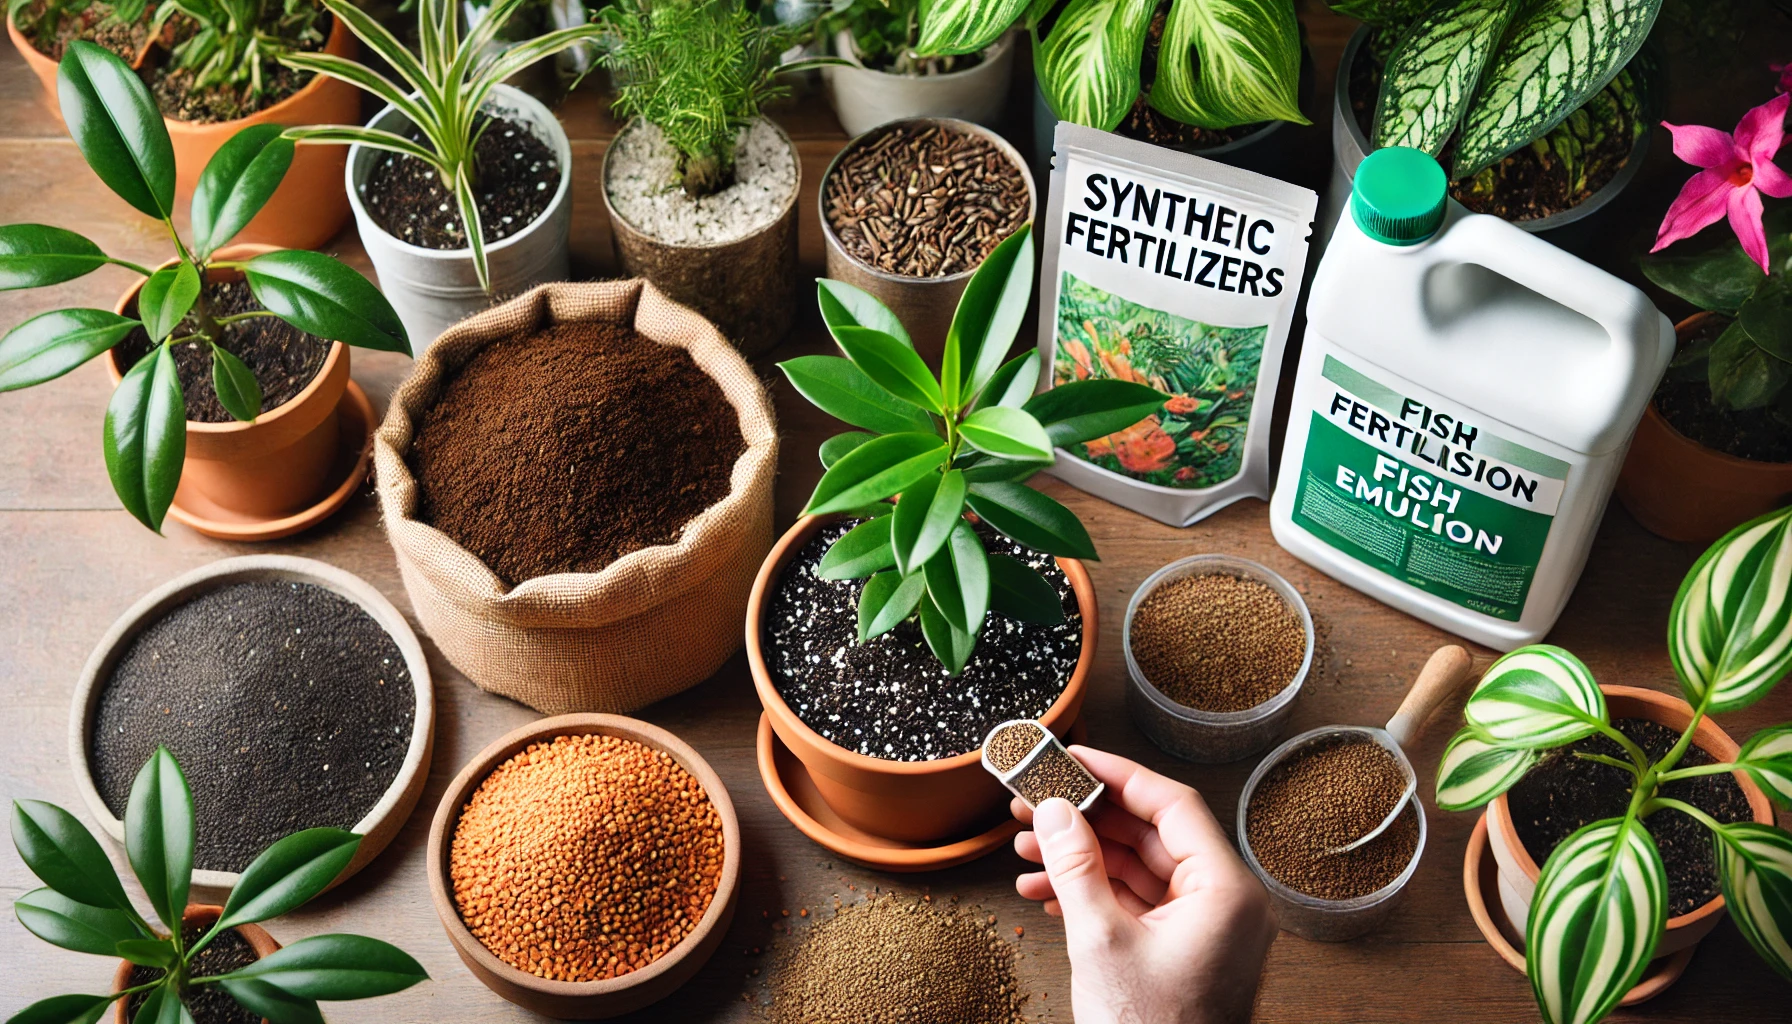
Organic vs. Synthetic Fertilizers
- Organic Fertilizers: Made from natural sources like compost or fish emulsion. They release nutrients slowly, improving soil health over time.
- Synthetic Fertilizers: Fast-acting and highly concentrated, synthetic options can provide quick results but may not improve soil quality in the long run.
Fertilization Schedules
- General Rule: During the growing season (spring and summer), fertilize every 4-6 weeks. In the fall and winter, most plants go dormant and need less feeding.
- For Specific Plants: Follow the instructions on the fertilizer package or seek specific care advice for plants like orchids or succulents, which may need special fertilizers.
Signs of Nutrient Deficiencies
- Yellowing Leaves: Often a sign of nitrogen deficiency.
- Stunted Growth: Could be a phosphorus deficiency.
- Brown Leaf Edges: May indicate a potassium shortage.
By feeding your plants with the right nutrients and schedule, you’ll help them thrive and avoid common deficiencies.
Step 6: Managing Pests and Plant Diseases
Pests and diseases can quickly damage indoor plants, but with the right knowledge, you can keep them at bay and maintain healthy growth.
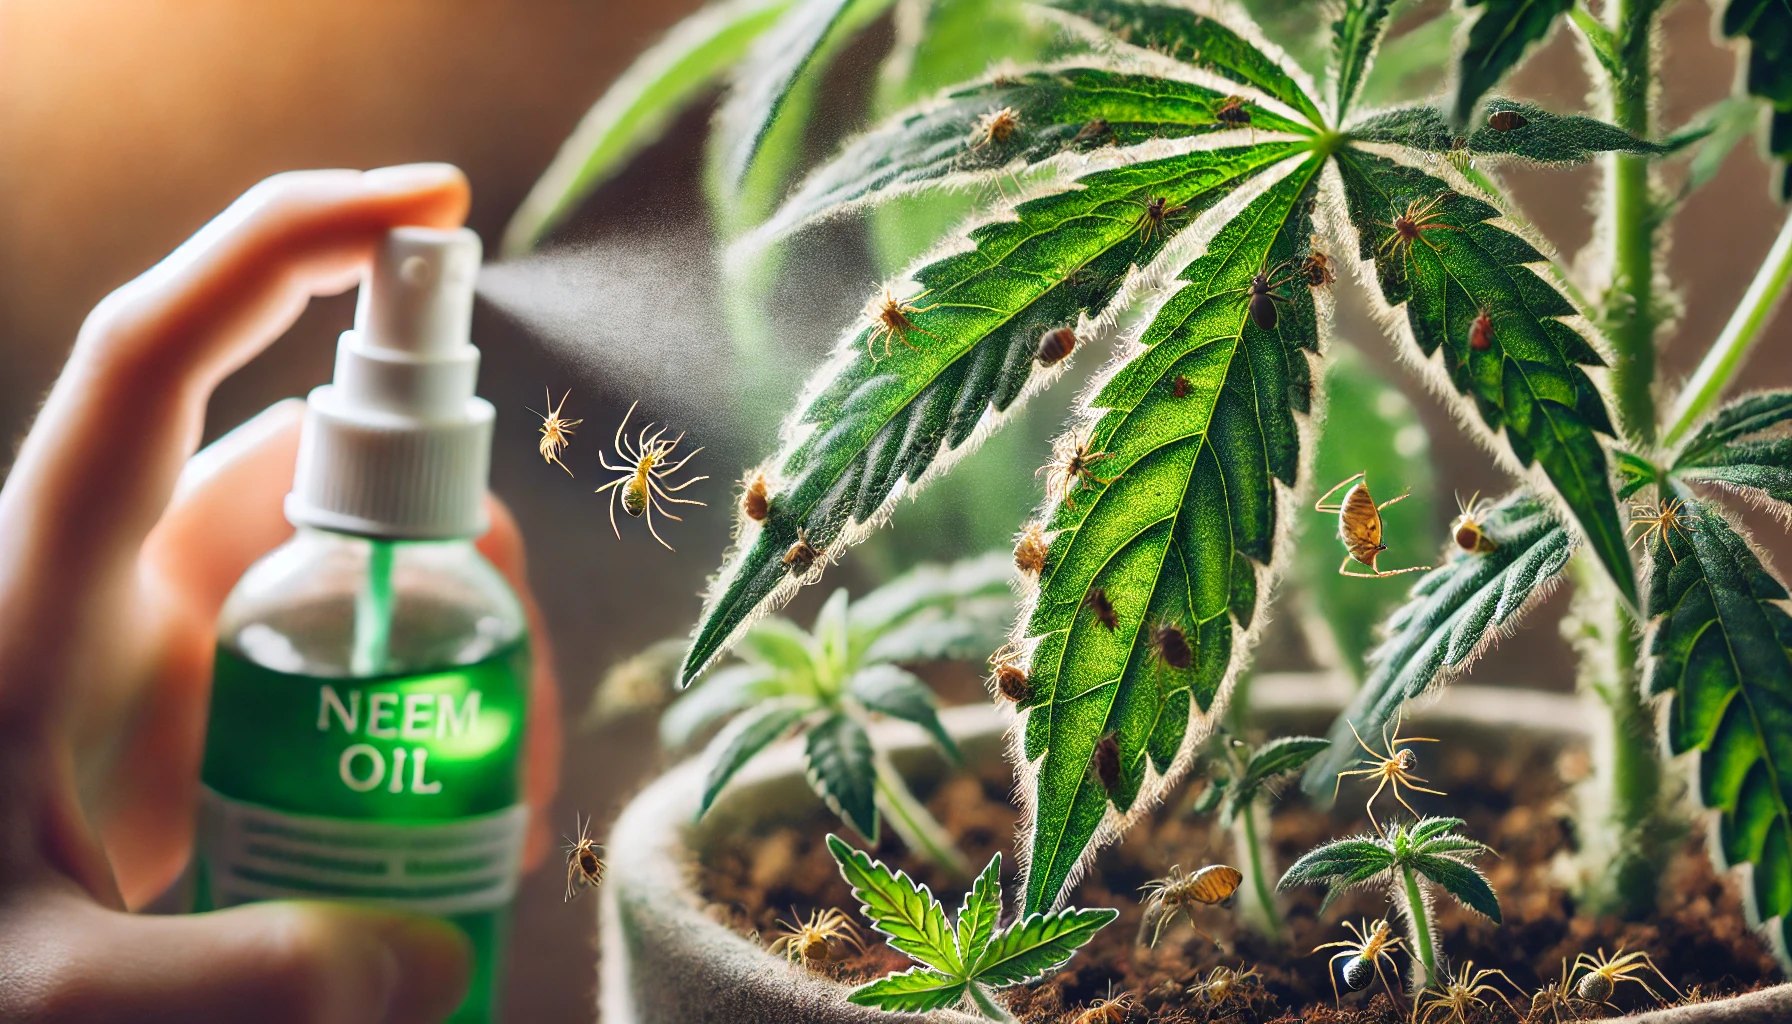
Common Indoor Plant Pests
- Spider Mites: Tiny, red pests that cause webbing and speckled, discolored leaves. They thrive in dry conditions.
- Fungus Gnats: Small flying insects attracted to damp soil, their larvae can damage roots.
- Aphids: Soft-bodied insects that suck sap from plants, leading to curled, yellowed leaves.
Natural Pest Control Methods
- Neem Oil: A natural insecticide that works against most pests. Apply it directly to affected plants.
- Insecticidal Soap: Effective for soft-bodied insects like aphids. It breaks down the pests’ outer shell without harming the plant.
- Predatory Insects: Introduce beneficial insects like ladybugs to help control pests naturally.
Recognizing Common Plant Diseases
- Powdery Mildew: A white, powdery coating on leaves. To treat, remove infected leaves and improve air circulation.
- Root Rot: Caused by overwatering, it can lead to wilting and brown roots. Treat by removing rotting roots and repotting the plant in fresh, well-draining soil.
- Leaf Spot Diseases: Dark, water-soaked spots on leaves. Cut away affected areas and ensure the plant is in a well-ventilated location.
By staying vigilant and using natural treatments, you can prevent pest and disease problems from affecting your indoor plants. Regularly inspect your plants for signs of trouble and take action before issues spread.
Step 7: Pruning and Repotting for Growth
Pruning and repotting are essential practices in your indoor gardening step-by-step routine for maintaining healthy, thriving indoor plants. They help promote new growth, prevent overcrowding, and ensure that your plants stay strong.
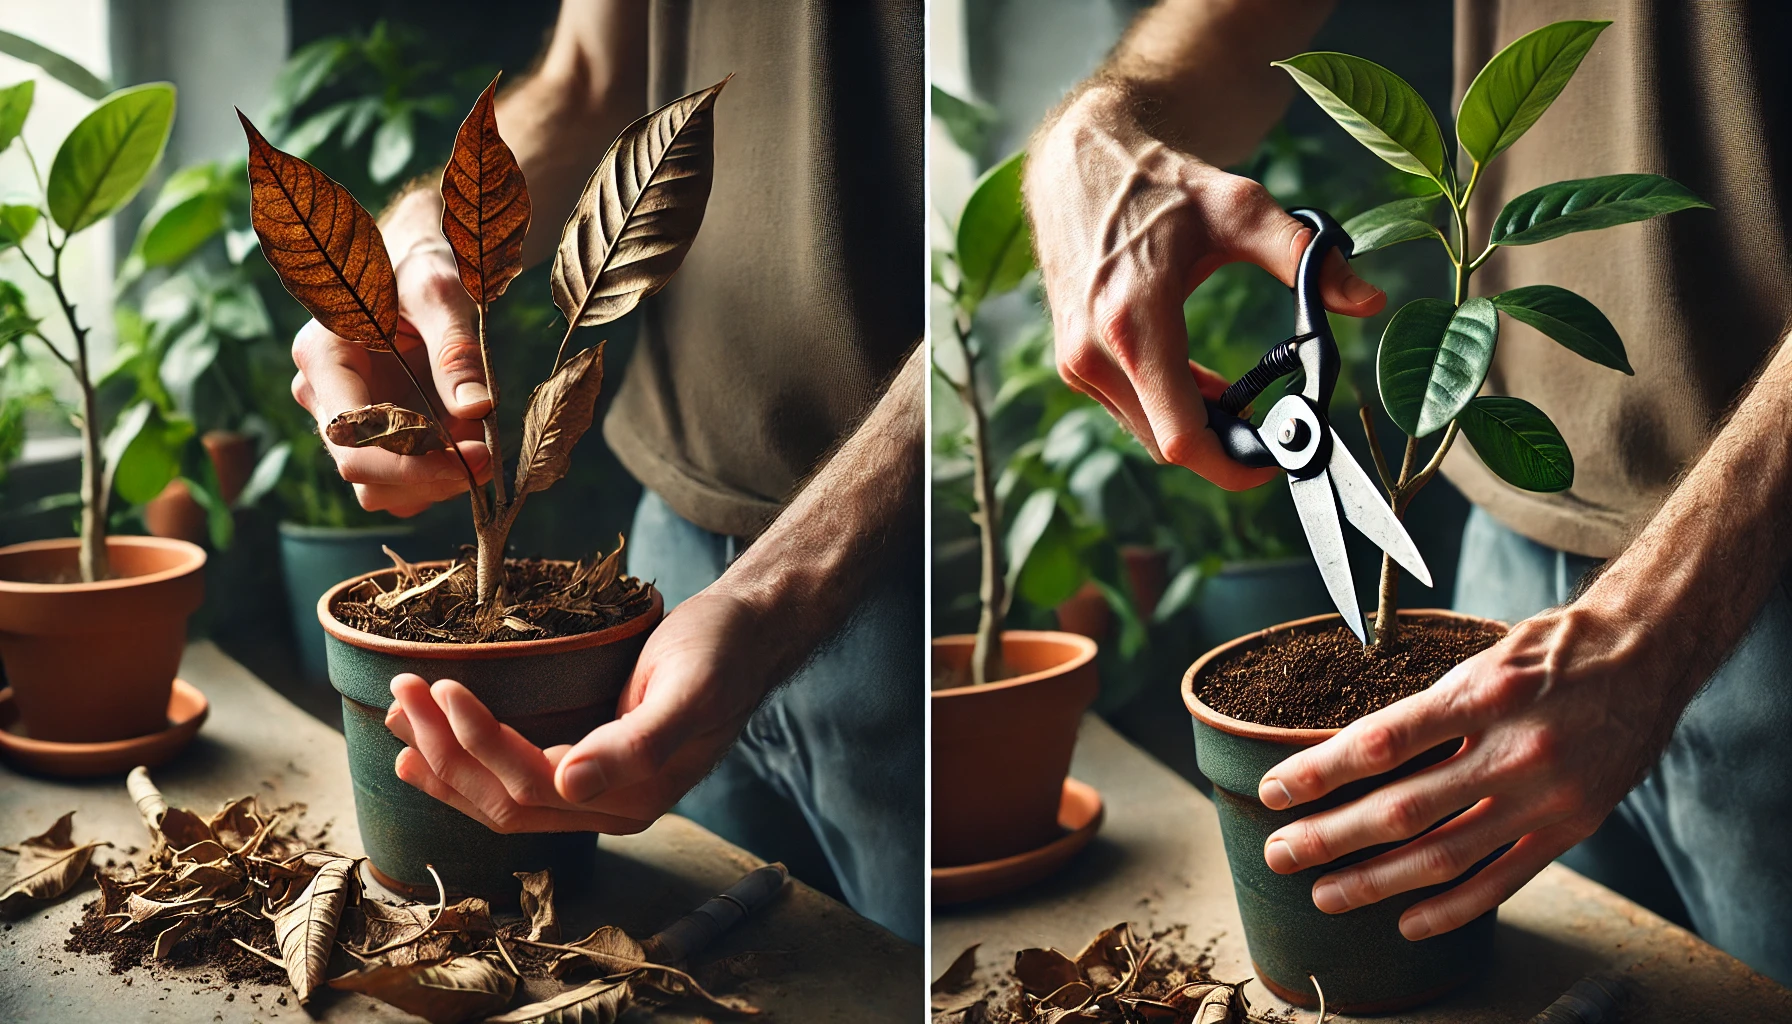
When and How to Prune
- Pruning for Shape: Trim dead or yellowing leaves to encourage fresh growth and maintain the plant’s shape. Use clean, sharp scissors to avoid damaging the plant.
- Pruning for Health: Remove any stems that are leggy or weak. For plants like Pothos, cutting back long vines encourages bushier growth.
- When to Prune: The best time to prune is during the growing season (spring and summer). Avoid pruning during the dormant months (fall and winter) unless necessary.
Signs Your Plant Needs Repotting
- Root Bound: If roots are growing out of the drainage holes or circling the bottom of the pot, it’s time to repot.
- Stunted Growth: If your plant has stopped growing or seems cramped, it may need more space for root expansion.
- Soil Depletion: Over time, potting soil loses nutrients. Repotting refreshes the soil and ensures your plant has the nutrients it needs.
How to Repot Without Damaging Roots
- Choose a new pot that’s 1-2 inches larger in diameter than the current one.
- Gently remove the plant from the pot and loosen the roots if they’re tightly bound.
- Place the plant in the new pot, fill around the roots with fresh, well-draining soil, and gently firm it down.
- Water thoroughly to help the plant settle in.
Pruning and repotting give your plants the space and structure they need to grow strong and beautiful. By doing these tasks regularly, you’ll encourage continued growth and health.
Step 8: Creating a Sustainable Indoor Garden
Building a sustainable indoor garden not only benefits your plants but also helps reduce your environmental footprint. Here’s how you can make your indoor gardening practices more eco-friendly.
Using Organic Compost or Homemade Fertilizers
- Compost: Create your own compost from kitchen scraps like fruit and vegetable peels, coffee grounds, and eggshells. This reduces waste and provides your plants with rich, natural nutrients.
- Homemade Fertilizers: Use natural sources like fish emulsion, seaweed, or diluted coffee grounds as low-impact fertilizers that nourish your plants without synthetic chemicals.
Recycling Water
- Water Collection: Use a water collection system to capture rainwater or leftover water from other household activities. It’s a sustainable way to hydrate your plants and reduce water waste.
- Pebble Trays for Humidity: Recycle water by placing a pebble tray under plants. As the water evaporates, it raises humidity around your plants, reducing the need for frequent watering.
Eco-Friendly Plant Care Methods
- Avoid Chemical Pesticides: Instead of chemical pesticides, use natural methods like neem oil or introduce beneficial insects to manage pests.
- Use Biodegradable Pots: Choose biodegradable pots or materials that decompose over time, such as coconut coir or peat pots.
Propagating Plants
- Propagation: Instead of buying new plants, propagate your existing ones by cutting and rooting stems or leaves. This reduces waste and expands your indoor garden for free.
- Sharing Plants: Share propagated plants with friends or neighbors. It’s a great way to exchange plant varieties without adding to environmental waste.
By incorporating sustainable practices into your indoor gardening routine, you’ll not only create a thriving, eco-friendly garden but also contribute to a healthier planet.
Troubleshooting Common Indoor Gardening Problems
Even the most experienced indoor gardeners face challenges from time to time. Here are some common issues and simple solutions to get your plants back on track.
Why Are My Leaves Turning Yellow?
Yellowing leaves can be caused by a few different factors:
- Overwatering: Check the soil moisture. If it’s soggy, let the soil dry out before watering again.
- Nutrient Deficiency: Lack of nitrogen often causes yellowing. Try fertilizing with a balanced, nitrogen-rich fertilizer.
- Low Light: If your plant is in low light, move it to a brighter spot. Yellowing leaves can also result from too much direct sunlight.
- Pests: Inspect your plant for signs of pests like spider mites or aphids, which can cause leaf damage.
Why Is My Plant Drooping?
A drooping plant is usually a sign of stress:
- Underwatering: Check the soil for dryness. If the soil is dry, give your plant a good drink.
- Overwatering: Too much water can cause root rot, leading to drooping. Ensure your pot has proper drainage.
- Temperature Stress: Plants may droop if placed in a drafty area or near heat sources. Relocate your plant to a stable environment.
How to Fix Leggy Growth?
Leggy growth is a common issue where the plant becomes tall with sparse leaves. This usually happens due to insufficient light.
- Move the Plant to a Brighter Spot: Ensure it gets the right amount of light based on its needs. Most indoor plants need bright, indirect light to thrive.
- Prune and Propagate: Trim back the leggy growth to encourage a bushier appearance. You can also propagate the cuttings to grow new plants.
What to Do If My Plant Stops Growing?
When your plant stops growing, it could be due to:
- Lack of Light: Ensure your plant is getting enough light. Move it to a brighter location or consider using grow lights.
- Nutrient Deficiency: Fertilize your plant with a balanced nutrient mix to encourage growth.
- Root Bound: If the plant has outgrown its pot, it may need repotting to allow for continued growth. Look for roots coming out of the drainage holes.

By addressing these common issues promptly, you can keep your indoor garden flourishing and healthy. Regularly observe your plants and act quickly to resolve any problems.
Indoor gardening is a fulfilling and rewarding hobby that brings beauty, clean air, and mental well-being into your home. This indoor gardening step-by-step guide equips you with the knowledge to choose the right plants, care for them properly, and troubleshoot common problems as they arise. Remember, success in indoor gardening doesn’t happen overnight, so start small and gradually build your confidence as you grow your plant collection. Don’t be afraid to experiment with different varieties, and enjoy the process of learning and nurturing your indoor garden. Happy gardening!