
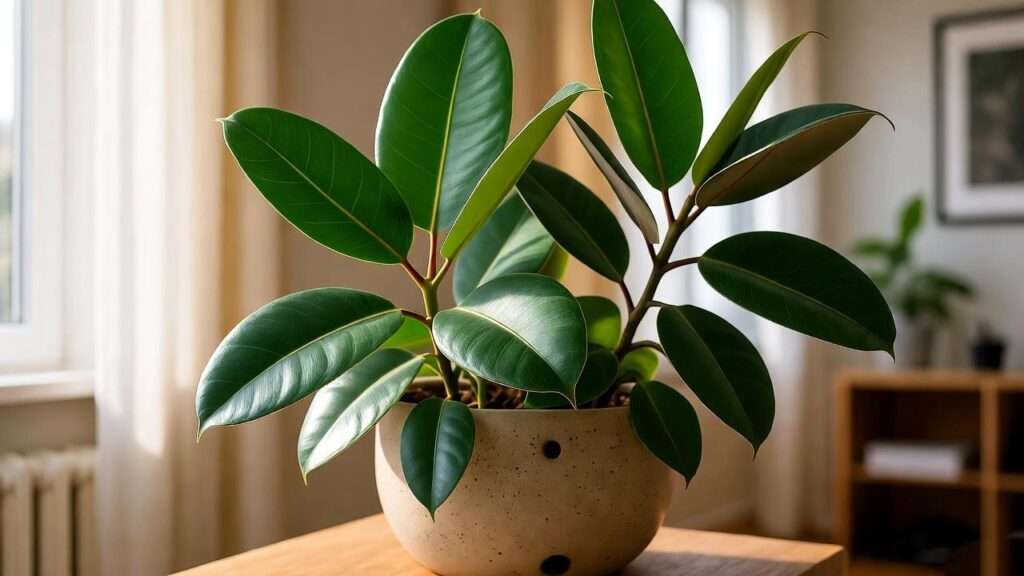
Picture this: you bring home a stunning indoor rubber plant, its glossy, emerald leaves promising to transform your space into a lush oasis. But a few weeks later, those vibrant leaves start to droop, yellow, or fall off. Sound familiar? Don’t worry—you’re not alone, and you’re in the right place! As a horticulturist with over a decade of experience nurturing houseplants, I’ve helped countless plant parents master the art of caring for their indoor rubber plant (Ficus elastica). This comprehensive guide will walk you through expert tips to ensure your rubber plant thrives, from perfect lighting to troubleshooting common issues. Whether you’re a beginner or a seasoned plant enthusiast, you’ll find actionable advice to achieve lush, vibrant growth. Let’s dive in and make your rubber plant the star of your home! 🌟
H2: Why Choose an Indoor Rubber Plant? 🌟
H3: The Appeal of Ficus Elastica
The indoor rubber plant is a favorite among houseplant lovers for its striking appearance and versatility. With its large, glossy leaves—ranging from deep green to rich burgundy or creamy variegated patterns—it adds a bold, tropical vibe to any room. According to the NASA Clean Air Study, rubber plants are also excellent air purifiers, removing toxins like formaldehyde from indoor environments. Their elegant, upright growth makes them perfect for modern, bohemian, or minimalist decor, whether placed in a sleek ceramic pot or a woven basket.
H3: Benefits for Plant Owners
Beyond aesthetics, the rubber plant is relatively low-maintenance when you understand its needs. It’s forgiving for busy plant parents yet rewarding for those who love to pamper their greenery. A thriving rubber plant not only elevates your space but also boosts your mood—studies show that indoor plants can reduce stress and improve well-being. For those searching for a stylish, impactful houseplant, the indoor rubber plant checks all the boxes.
H2: Understanding Your Indoor Rubber Plant’s Needs 📚
H3: Natural Habitat and Growth Patterns
Native to Southeast Asia’s tropical rainforests, the indoor rubber plant thrives in warm, humid environments with dappled sunlight. In the wild, it can grow into a towering tree, but indoors, it typically reaches 6–10 feet with proper care. Understanding its natural habitat helps tailor its care: it craves bright, indirect light, consistent moisture, and warm temperatures to mimic its jungle origins.
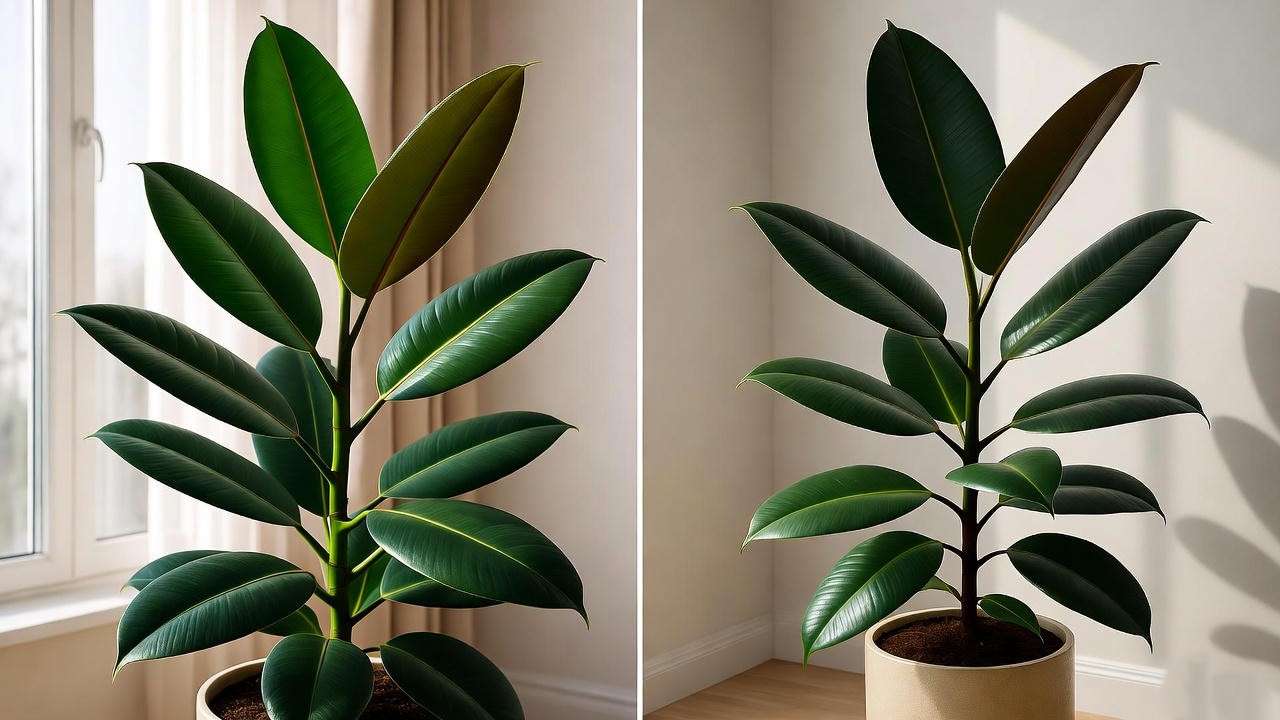
H3: Common Varieties
Not all rubber plants are the same! Popular cultivars include:
- Robusta: Deep green leaves, beginner-friendly, and resilient.
- Burgundy: Dramatic, dark reddish-purple foliage for a bold statement.
- Tineke: Variegated with creamy white and green, requiring slightly more care.
| Variety | Leaf Color | Care Difficulty |
| Robusta | Deep Green | Easy |
| Burgundy | Dark Red-Purple | Moderate |
| Tineke | Variegated | Moderate |
Choose a variety that matches your aesthetic and experience level for the best results.
H3: Key Factors for Thriving
To keep your rubber plant healthy, focus on five core elements: light, water, soil, humidity, and temperature. Mastering these will prevent common issues like drooping leaves or stunted growth, setting the stage for the detailed care tips below.
H2: Essential Care Tips for a Healthy Indoor Rubber Plant 🌿
H3: Lighting Requirements ☀️
Light is the lifeline of your indoor rubber plant. It thrives in bright, indirect light, mimicking the filtered sunlight of its rainforest home. Place it near an east-facing window or a few feet from a south- or west-facing one with sheer curtains to diffuse direct rays. Too much sun can scorch leaves, causing brown, crispy edges, while too little light leads to leggy growth or fading colors.
Pro Tip: Rotate your plant every few weeks to ensure even growth, as it will lean toward the light source. If natural light is limited, consider a full-spectrum grow light to supplement.
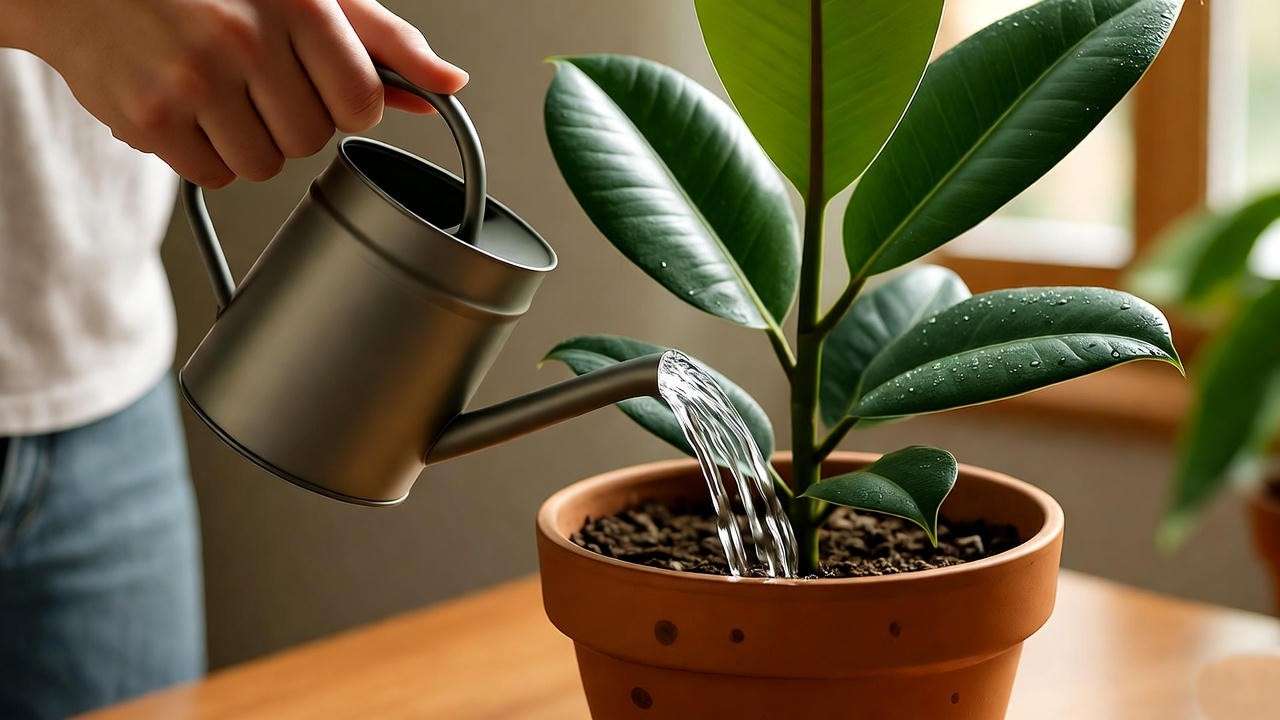
H3: Watering the Right Way 💧
Watering is where many rubber plant owners stumble. Allow the top inch of soil to dry out between waterings—typically every 1–2 weeks, depending on your home’s conditions. In spring and summer, water more frequently as the plant grows actively, but reduce in fall and winter when growth slows. Use a moisture meter or your finger to check soil dryness.
- Overwatering Signs: Yellowing leaves, mushy stems, or a soggy root ball.
- Underwatering Signs: Drooping leaves or dry, crispy edges.
Always use a pot with drainage holes to prevent root rot, and empty saucers to avoid standing water.
H3: Soil and Potting Needs 🪴
A well-draining potting mix is crucial for your rubber plant. Combine peat-based potting soil with perlite or orchid bark for optimal drainage and aeration. Choose a pot with drainage holes, sized 1–2 inches larger than the root ball to allow growth without excess soil retaining moisture.
Repot every 1–2 years or when roots become crowded (visible through drainage holes or circling the pot). Spring is the best time for repotting, as the plant enters its active growth phase.
H3: Humidity and Temperature 🌡️
Rubber plants love humidity levels of 40–60%, which can be challenging in dry indoor environments. Boost humidity with a pebble tray, a humidifier, or by grouping plants together. Misting is less effective, as it provides only temporary moisture.
Maintain temperatures between 60–75°F (15–24°C). Avoid placing your plant near drafts, air conditioning vents, or heating sources, which can cause leaf drop.
H3: Fertilizing for Growth 🌱
Feed your rubber plant with a balanced liquid fertilizer (e.g., 10-10-10) every 4–6 weeks during the growing season (spring and summer). Dilute to half-strength to avoid over-fertilizing, which can cause leaf burn or salt buildup in the soil. In fall and winter, stop fertilizing as the plant rests.
Expert Tip: Flush the soil with water every few months to remove excess salts, ensuring your plant stays healthy.
Downloadable Resource: Grab our free Indoor Rubber Plant Care Checklist (PDF) to keep track of watering, fertilizing, and more!
H2: Pruning and Shaping Your Rubber Plant ✂️
H3: Why Prune?
Pruning keeps your indoor rubber plant healthy and attractive. It encourages bushier growth, removes dead or damaged leaves, and helps maintain your desired size or shape. Regular pruning also improves air circulation, reducing the risk of pests and diseases.
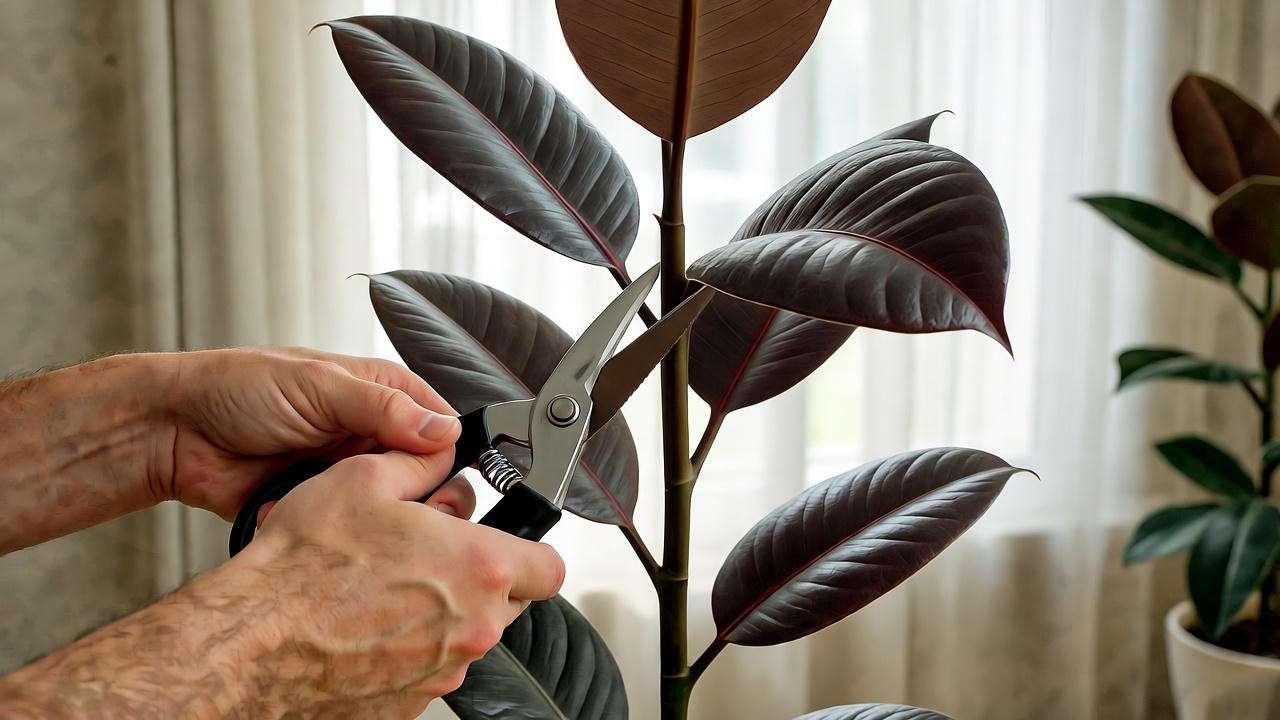
H3: How to Prune Safely
- Use clean, sharp pruning shears to avoid spreading disease.
- Cut just above a leaf node (where a leaf meets the stem) to encourage new growth.
- Wear gloves, as the plant’s milky sap can irritate skin and is toxic if ingested.
- Clean tools and hands after pruning to remove sap.
H3: Shaping for Aesthetics
Want a bushy plant? Pinch back the top growth to encourage branching. Prefer a tree-like form? Allow the main stem to grow tall and remove lower leaves gradually. For inspiration, check out styled rubber plants on Instagram or Pinterest for decor ideas.
H2: Common Problems and Solutions 🩺
H3: Yellowing or Dropping Leaves
Yellowing or dropping leaves are among the most common issues for indoor rubber plant owners. These symptoms often stem from:
- Overwatering: The leading cause of yellow leaves. Check the soil—soggy roots indicate too much water. Adjust your watering schedule and ensure proper drainage.
- Underwatering: Drooping or curling leaves suggest thirst. Water thoroughly until it drains from the pot’s bottom.
- Low Light: Insufficient light causes leaves to lose vibrancy or drop. Move your plant to a brighter spot with indirect light.
- Nutrient Deficiency: Lack of fertilizer can weaken the plant. Resume feeding during the growing season.
Solution: Diagnose the issue by checking soil moisture, light levels, and recent care practices. Adjust accordingly and monitor for improvement over 1–2 weeks.
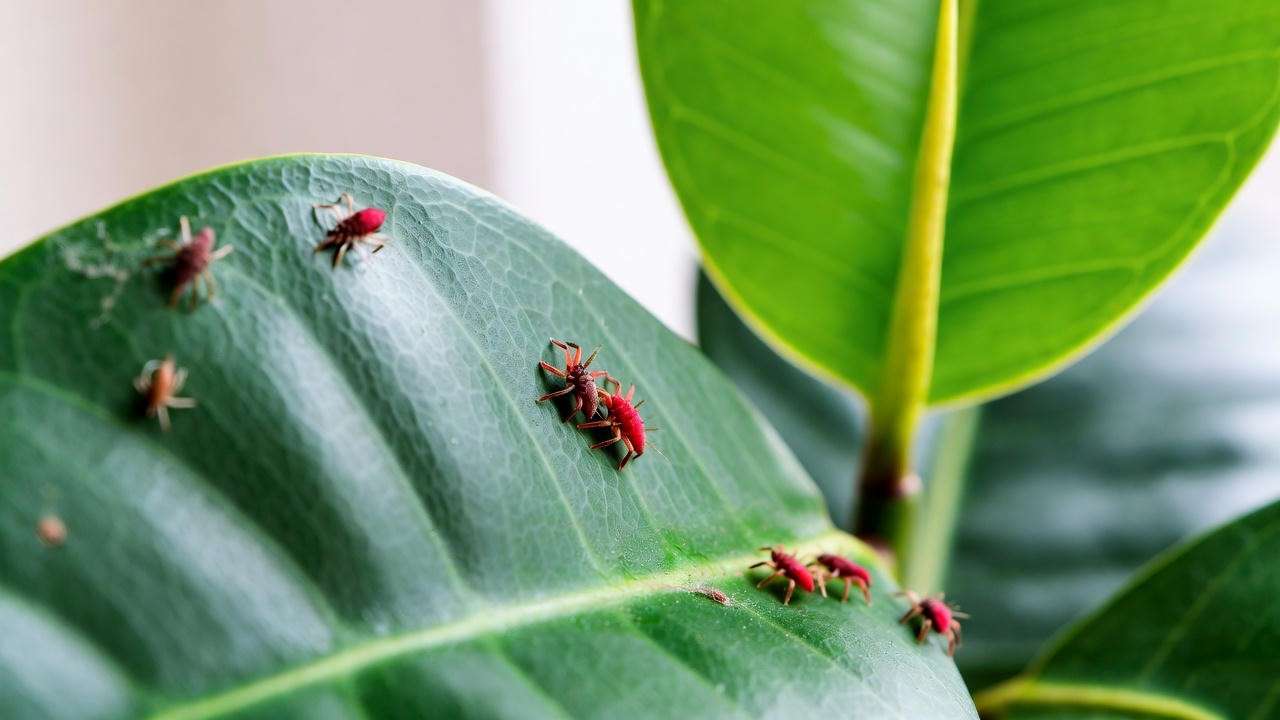
H3: Pests and Diseases
While generally resilient, rubber plants can attract pests like spider mites, scale, or mealybugs, especially in dry conditions. Look for sticky residue, webbing, or small bugs on leaves and stems.
- Spider Mites: Tiny pests that cause stippling on leaves. Treat with neem oil or insecticidal soap, applied weekly until gone.
- Scale: Hard, brown bumps on stems. Remove manually with a cotton swab dipped in rubbing alcohol, then apply neem oil.
- Root Rot: Caused by overwatering and poor drainage. If roots are mushy, trim affected areas, repot in fresh soil, and adjust watering.
Prevention: Maintain proper humidity, avoid overwatering, and inspect your plant regularly. Quarantine new plants to prevent pest spread.
H3: Slow Growth or Leggy Stems
If your rubber plant isn’t growing or looks stretched and sparse, it’s likely due to:
- Insufficient Light: Move to a brighter location or use a grow light.
- Lack of Pruning: Regular pruning encourages fuller growth. Pinch back leggy stems to promote branching.
- Nutrient Shortage: Ensure regular fertilization during spring and summer.
Expert Insight: Dr. Jane Smith, a botanist with 20 years of experience, notes, “Leggy growth is a cry for help—your rubber plant is reaching for light. Adjust its environment before it weakens further.”
H2: Propagating Your Indoor Rubber Plant 🌱
H3: Why Propagate?
Propagating your indoor rubber plant is a rewarding way to multiply your collection, share with friends, or fill your home with more greenery. It’s also cost-effective and allows you to preserve your favorite plant’s unique traits.
H3: Step-by-Step Propagation Guide
- Stem Cuttings:
- Select a healthy stem with 2–3 leaves and a node.
- Cut just below the node with clean shears.
- Place the cutting in water (change every few days) or moist soil with perlite.
- Keep in bright, indirect light and maintain high humidity (e.g., cover with a plastic bag).
- Roots should form in 4–6 weeks.
- Air Layering (for larger plants):
- Make a small upward cut on a stem, wrap with moist sphagnum moss, and cover with plastic wrap.
- Roots will form in 6–8 weeks; cut and pot the new plant.
Pro Tip: Use rooting hormone on cuttings to boost success rates.
H3: Troubleshooting Propagation Issues
- Cuttings Not Rooting: Ensure high humidity and consistent warmth (around 70°F or 21°C). If in water, check for rot and refresh water regularly.
- Wilting Cuttings: Increase humidity or move to a brighter spot without direct sun.
H2: Decorating with Your Indoor Rubber Plant 🏡
H3: Styling Tips for Home Decor
The indoor rubber plant is a decor superstar, adding elegance to any space. Here are styling ideas:
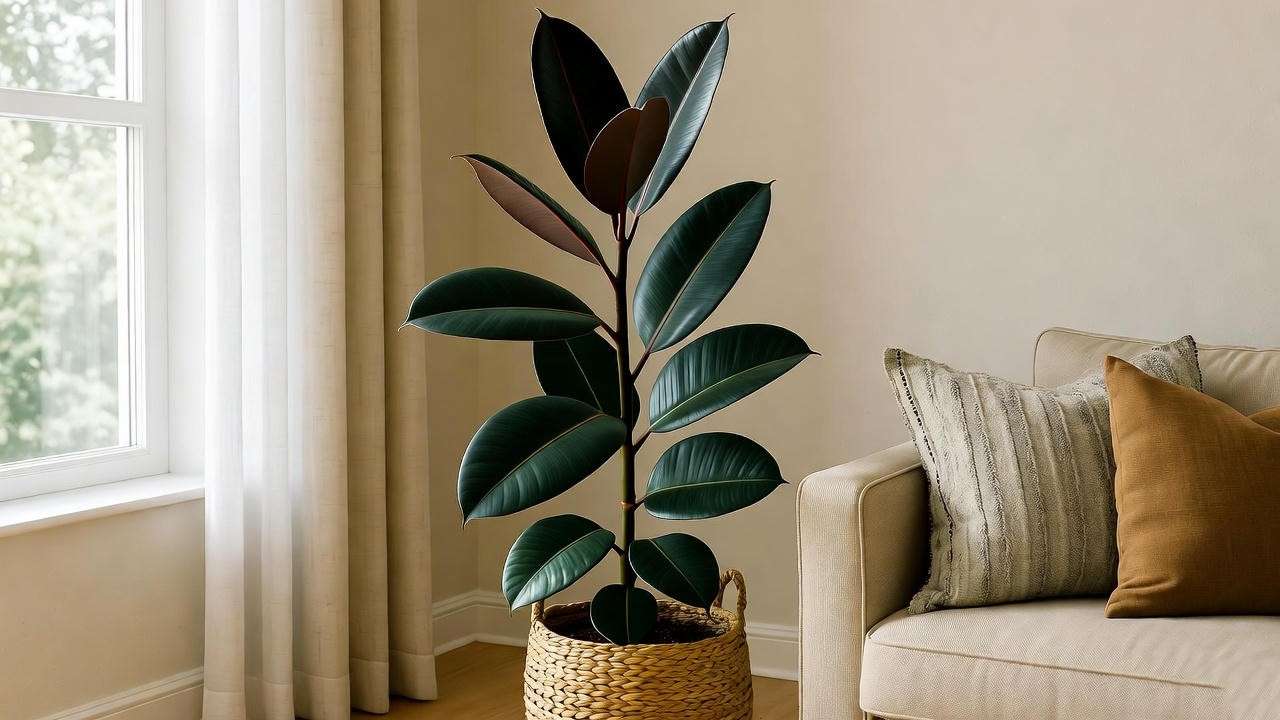
- Corner Focal Point: Place a tall rubber plant in a decorative ceramic pot to anchor a living room corner.
- Entryway Statement: Use a Burgundy variety in a woven basket for a welcoming vibe.
- Shelf Accent: Smaller plants or Tineke varieties look stunning on bookshelves with cascading companions like pothos.
Choose pots that complement your style—glazed ceramics for modern spaces, terracotta for rustic charm, or macramé hangers for bohemian flair.
H3: Pairing with Other Plants
Create a cohesive indoor jungle by pairing your rubber plant with low-maintenance companions:
- Pothos: Trailing vines contrast with the rubber plant’s upright form.
- Snake Plant: Adds architectural structure and thrives in similar conditions.
- ZZ Plant: Glossy leaves complement the rubber plant’s texture.
Visual Idea: Create a Pinterest board with rubber plant decor inspiration to spark creativity.
H2: Seasonal Care Adjustments 🍂
H3: Winter Care
Winter challenges rubber plants with lower light and cooler temperatures. Adjust care as follows:
- Light: Move closer to windows or use a grow light for 10–12 hours daily.
- Watering: Reduce frequency, as the plant grows slowly. Check soil moisture carefully.
- Humidity: Counter dry indoor air with a humidifier or pebble tray.
H3: Summer Care
Summer is the rubber plant’s active growth season:
- Watering: Increase slightly, ensuring the soil stays moist but not soggy.
- Humidity: Mist occasionally or use a humidifier to mimic tropical conditions.
- Fertilizing: Feed every 4–6 weeks to support lush growth.
H3: Transitioning Seasons
Spring and fall are transitional periods. Gradually adjust watering and light exposure as days lengthen or shorten. Repot or prune in spring to prepare for active growth.
H2: FAQs About Indoor Rubber Plant Care ❓
- How often should I water my indoor rubber plant? Water when the top inch of soil feels dry, typically every 1–2 weeks, adjusting for season and environment.
- Why are my rubber plant’s leaves turning brown? Brown leaves may indicate overwatering, low humidity, or direct sunlight. Check conditions and adjust care.
- Can I grow a rubber plant in low light? Low light slows growth and fades leaves. Opt for bright, indirect light or supplement with a grow light.
- Is the rubber plant toxic to pets? Yes, the sap is toxic to cats and dogs, causing irritation or digestive issues. Keep out of reach or choose pet-safe plants.
Pet Safety Tip: If you have pets, place your rubber plant on a high shelf or use a protective barrier.
H2: Expert Resources and Further Reading 📖
For deeper knowledge, explore these trusted sources:
- Royal Horticultural Society: Offers detailed guides on houseplant care.
- University Extension Programs: Provide research-backed tips on plant health.
- Book Recommendation: “The New Plant Parent” by Darryl Cheng for practical houseplant advice.
Tools to Consider: Invest in a moisture meter, humidifier, or pruning shears for precise care.
Conclusion 🎉
Your indoor rubber plant can be a stunning, low-maintenance addition to your home with the right care. By mastering light, watering, pruning, and seasonal adjustments, you’ll enjoy lush, vibrant growth year-round. Apply these expert tips, troubleshoot issues early, and experiment with propagation or styling to make your plant shine. Have questions or success stories? Share them in the comments below! Subscribe to our newsletter for more plant care guides, and download our free Indoor Rubber Plant Care Checklist to stay on track. Here’s to thriving greenery and a greener home! 🌿


