

Imagine plucking handfuls of sweet, vibrant Juliet tomato plants straight from your garden, ready to toss into salads or roast for a burst of flavor! Whether you’re a seasoned gardener or just starting, growing a thriving Juliet tomato plant is achievable with the right know-how. These hybrid grape tomatoes are a gardener’s dream—disease-resistant, high-yielding, and perfect for small spaces. But challenges like pests, poor yields, or blossom end rot can frustrate even experienced growers. In this comprehensive guide, I’ll share expert-backed strategies, honed from years of horticultural experience, to help you cultivate healthy Juliet tomatoes from planting to harvest. Get ready for a bountiful season! 🌞
What Makes the Juliet Tomato Plant Special? 🌟
Overview of the Juliet Tomato
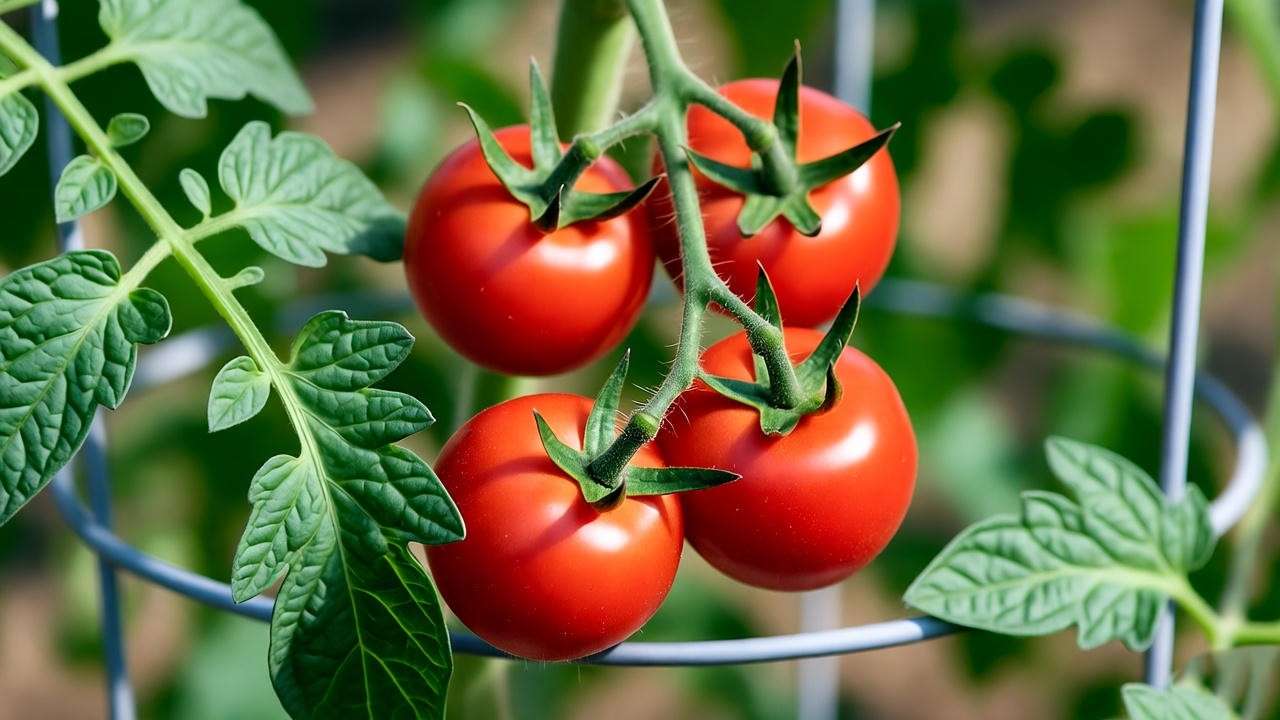
The Juliet tomato plant, a hybrid grape tomato, produces small, elongated fruits about 1–2 inches long, with a sweet, juicy flavor and firm texture. Often compared to Roma tomatoes, Juliets are smaller but pack a punch in taste, making them ideal for salads, sauces, or snacking fresh off the vine. This indeterminate variety grows continuously, offering a steady supply of fruit from mid-summer to the first frost. Its compact vines, typically reaching 4–6 feet, make it versatile for gardens, raised beds, or containers.
Benefits of Growing Juliet Tomatoes
Why choose the Juliet? Its standout features include:
- High Productivity: A single plant can yield up to 100 tomatoes in optimal conditions, perfect for home gardeners seeking abundance.
- Disease Resistance: Juliets resist common tomato diseases like early blight and late blight, reducing the need for chemical treatments.
- Versatility: Their size and flavor suit a variety of dishes, from fresh salsas to roasted sides.
- Long Harvest Season: Unlike determinate varieties, Juliets produce fruit over months, ensuring a steady supply.
Expert Insight: “The Juliet’s disease resistance makes it a low-maintenance choice for busy gardeners,” says Dr. Emily Harper, a horticulturist with 15 years of tomato cultivation experience.
Ideal Growing Zones and Climate
Juliet tomato plants thrive in USDA hardiness zones 3–11, adapting well to diverse climates. They prefer warm temperatures (70–85°F) and full sun. In cooler zones, use row covers or greenhouses to extend the growing season. In hotter climates, provide afternoon shade to prevent heat stress. Understanding your local microclimate—such as areas with reflected heat or wind protection—can boost plant health and yield.
Getting Started: Planting Your Juliet Tomato 🌿
Choosing the Right Time to Plant
Timing is critical for Juliet tomatoes. Plant seedlings in spring after the last frost, when soil temperatures reach at least 60°F (15°C). In most regions, this is late April to early June. For precise timing, use a soil thermometer, available at garden centers for under $15. Starting too early risks cold damage, while late planting may shorten the harvest window.
Tip: Check your local frost dates using resources like the Old Farmer’s Almanac for accurate planning.
Selecting Healthy Seedlings or Seeds
Whether starting from seeds or seedlings, quality matters. Purchase seeds from reputable suppliers like Burpee or Johnny’s Selected Seeds to ensure genetic purity. For seedlings, choose plants with:
- Strong, thick stems (pencil-thick is ideal).
- Vibrant green leaves with no yellowing or spots.
- No signs of pests or disease, such as webbing or wilting.
Starting from seeds gives you control over the growing process but requires 6–8 weeks indoors before transplanting. Seedlings, while more expensive, save time and are ideal for beginners.
Preparing the Perfect Soil
Juliet tomatoes thrive in well-draining, loamy soil with a pH of 6.0–6.8. Test your soil using a home kit or send a sample to your local cooperative extension service. Amend poor soil with:
- Compost: Adds nutrients and improves soil structure.
- Aged Manure: Boosts nitrogen for leafy growth.
- Perlite or Sand: Enhances drainage in clay-heavy soils.
Expert Tip: To adjust pH, add lime to raise it or sulfur to lower it, following package instructions. Retest after a month to confirm optimal levels.
Essential Care Tips for Healthy Juliet Tomatoes 🌞
Watering Requirements
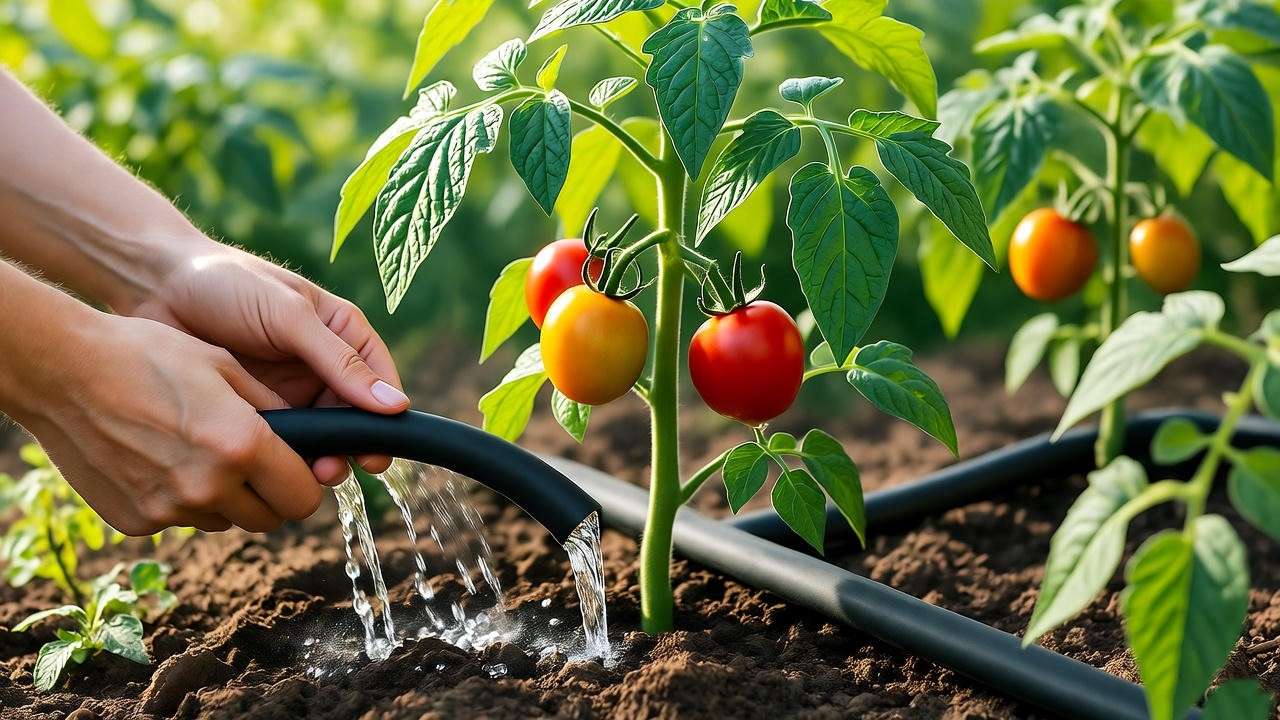
Consistent moisture is key to preventing issues like blossom end rot. Water deeply 1–2 times per week, providing 1–2 inches of water depending on weather and soil drainage. Avoid overhead watering to reduce fungal risks. A drip irrigation system, set to deliver water directly to the root zone, ensures even moisture and saves time.
Example: For a small garden, set up a basic drip system using a soaker hose connected to a timer, costing about $30–$50.
Sunlight and Temperature Needs
Juliet tomatoes need 6–8 hours of direct sunlight daily. Choose a south-facing spot with minimal shade from trees or buildings. They thrive in temperatures of 70–85°F but can tolerate up to 95°F with proper care. In extreme heat, use shade cloth (30–50% shade rating) to protect plants. In cooler climates, black plastic mulch can warm the soil and boost growth.
Fertilizing for Optimal Growth
Feed Juliet tomatoes with a balanced 10-10-10 fertilizer or a tomato-specific formula like 5-10-10. Apply at three key stages:
- Planting: Mix granular fertilizer into the soil.
- Flowering: Use a liquid fertilizer to support bloom development.
- Fruit Set: Boost potassium for fruit quality.
Organic options like fish emulsion or compost tea work well but require more frequent applications. Avoid over-fertilizing, which can lead to lush foliage but fewer fruits.
Expert Insight: “Organic fertilizers release nutrients slowly, reducing the risk of burn,” notes Sarah Kline, a certified organic grower.
Pruning and Staking
Pruning improves air circulation and directs energy to fruit production. Remove suckers (small shoots between the main stem and branches) weekly, pinching them off when they’re under 2 inches long. Also, trim lower leaves touching the soil to prevent disease. Support Juliet tomatoes with:
- Cages: Sturdy wire cages (4–5 feet tall) for easy setup.
- Trellises: Ideal for vertical gardens.
- Stakes: Use 6-foot wooden or metal stakes for single-stem growth.
Example: Build a DIY cage using 4-foot concrete reinforcing wire, cut into a 18-inch diameter cylinder, secured with zip ties.
Common Challenges and How to Solve Them 🐞
Pest Management
Juliet tomatoes face pests like aphids, whiteflies, and tomato hornworms. Organic controls include:
- Neem Oil: Spray weekly to deter soft-bodied pests.
- Companion Planting: Grow marigolds or basil nearby to repel insects.
- Hand-Picking: Remove hornworms manually (look for large green caterpillars).
Inspect plants weekly, focusing on leaf undersides. Early intervention prevents infestations from spreading.
Disease Prevention
While disease-resistant, Juliets can still develop issues like:
- Early Blight: Brown spots on leaves; treat with copper-based fungicides.
- Blossom End Rot: Dark spots on fruit; correct with calcium supplements.
- Powdery Mildew: White coating on leaves; improve air circulation and apply sulfur-based sprays.
Rotate crops annually and space plants 24–36 inches apart to reduce disease risk.
Expert Tip: “Crop rotation is non-negotiable for healthy tomatoes,” says Dr. Harper. “Never plant tomatoes in the same spot two years in a row.”
Troubleshooting Poor Yields
Low yields often stem from:
- Insufficient Sunlight: Relocate containers or prune nearby plants.
- Overwatering: Check soil moisture before watering; aim for damp, not soggy.
- Nutrient Imbalance: Test soil and adjust fertilization.
Case Study: A Michigan gardener doubled their Juliet tomato yield by moving plants to a sunnier spot and reducing watering frequency.
Harvesting and Using Your Juliet Tomatoes 🍅
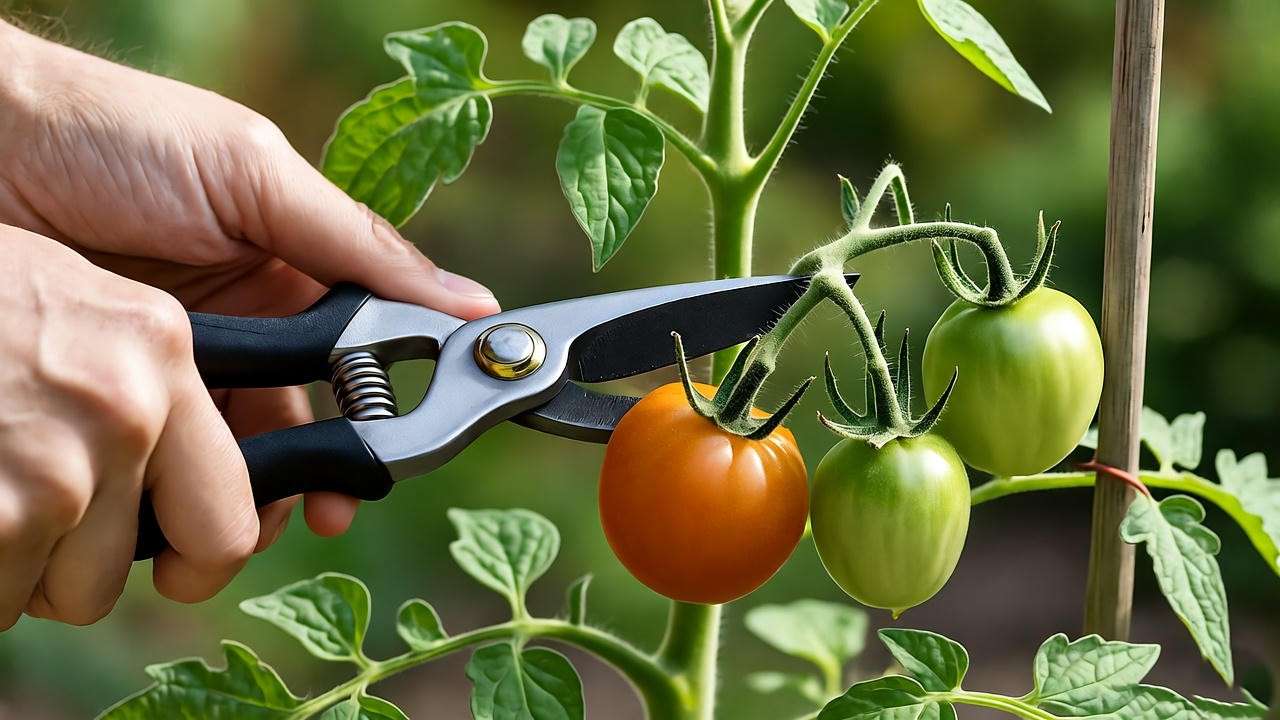
When and How to Harvest
Harvesting Juliet tomatoes at the right time ensures peak flavor and quality. Look for these signs of ripeness:
- Color: Fruits turn a deep, glossy red, typically 60–70 days after transplanting.
- Texture: Tomatoes should have a slight give when gently squeezed.
- Ease of Removal: Ripe Juliets twist off the vine easily without tugging.
Harvest in the morning when temperatures are cooler to preserve flavor. Use clean, sharp pruners or gently twist the fruit to avoid damaging the plant. Regular harvesting encourages the plant to produce more fruit throughout the season.
Tip: If frost is imminent, pick green tomatoes and ripen them indoors in a paper bag with an apple to speed up the process.
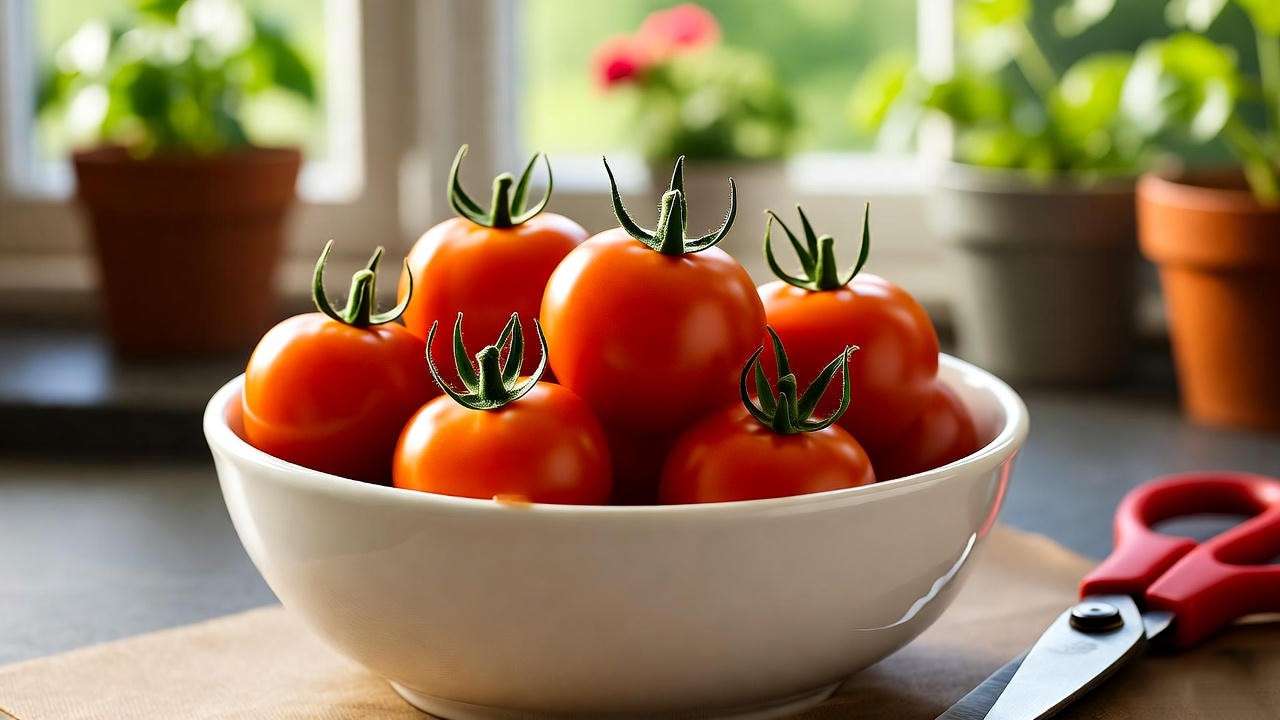
Storing and Preserving Tomatoes
Proper storage keeps your Juliet tomatoes fresh and flavorful:
- Short-Term Storage: Store ripe tomatoes at room temperature (65–70°F) for up to a week. Avoid refrigeration, which dulls flavor and alters texture.
- Long-Term Preservation:
- Canning: Process whole or crushed tomatoes in a water bath canner for sauces or salsas.
- Freezing: Freeze whole tomatoes in resealable bags for cooking later; no blanching needed.
- Drying: Use a dehydrator or oven (140°F for 8–12 hours) to make sun-dried tomatoes.
Recipe Idea: Quick Juliet Tomato Salsa
- Ingredients: 2 cups diced Juliet tomatoes, 1/4 cup chopped onion, 1 minced jalapeño, 2 tbsp lime juice, 1/4 cup cilantro, salt to taste.
- Instructions: Mix all ingredients, chill for 30 minutes, and serve with tortilla chips.
Creative Ways to Use Juliet Tomatoes
Juliet tomatoes shine in a variety of dishes due to their sweet-tart flavor and firm texture:
- Salads: Toss halved Juliets with mozzarella, basil, and balsamic glaze for a Caprese-inspired dish.
- Roasting: Roast with olive oil, garlic, and thyme at 400°F for 20 minutes for a rich side dish.
- Sauces: Simmer with onions and herbs for a quick pasta sauce.
- Snacking: Eat fresh off the vine or pair with hummus for a healthy snack.
Example: Roasted Juliet Tomato Bruschetta
- Ingredients: 1 cup halved Juliet tomatoes, 1 tbsp olive oil, 1 garlic clove, 4 slices baguette, 2 tbsp goat cheese, fresh basil.
- Instructions: Roast tomatoes with olive oil and garlic at 375°F for 15 minutes. Toast baguette slices, spread with goat cheese, top with roasted tomatoes and basil. Serve warm.
Expert Insight: “Juliet tomatoes pair beautifully with Mediterranean herbs like oregano or thyme, enhancing their natural sweetness,” says Chef Maria Lopez, a farm-to-table culinary expert.
Advanced Tips for Maximizing Your Harvest 🚀
Companion Planting
Companion planting boosts Juliet tomato health and deters pests naturally. Plant these allies nearby:
- Basil: Enhances flavor and repels aphids and whiteflies.
- Marigolds: Deter nematodes and attract beneficial insects.
- Onions: Repel pests like spider mites with their strong scent.
Avoid planting near potatoes, fennel, or cabbage, which can compete for nutrients or attract similar pests. Space companions 12–18 inches from tomato plants to prevent overcrowding.
Tip: Interplant marigolds in a grid pattern around your tomato bed for maximum pest protection.

Extending the Growing Season
In cooler climates (zones 3–6), extend your Juliet tomato season with these techniques:
- Row Covers: Use lightweight fabric covers to trap heat and protect from early frosts.
- Greenhouses: Portable mini-greenhouses (starting at $50) maintain warmth and humidity.
- Mulching: Apply straw or black plastic mulch to retain soil heat.
Success Story: A Zone 4 gardener in Minnesota extended their Juliet tomato harvest into October by using a hoop house and row covers, yielding an extra 20 pounds of fruit.
Succession Planting for Continuous Harvests
To enjoy Juliet tomatoes all season, practice succession planting:
- Timing: Plant new seedlings every 2–3 weeks from spring to mid-summer.
- Method: Start seeds indoors or buy additional seedlings to stagger growth.
- Benefits: Ensures a continuous supply of ripe tomatoes through fall.
Expert Tip: “Label each planting batch with dates to track progress and plan harvests,” advises Sarah Kline. Use a garden journal to monitor planting schedules and yields.
FAQs About Growing Juliet Tomato Plants ❓
Q1: How long does it take for Juliet tomatoes to ripen?
A: Juliet tomatoes typically ripen 60–70 days after transplanting, depending on climate and care. Check for deep red color and slight softness.
Q2: Can I grow Juliet tomatoes in containers?
A: Yes! Use a 5-gallon container with drainage holes, filled with a mix of potting soil and compost. Ensure 6–8 hours of sunlight and regular watering.
Q3: What causes yellow leaves on my Juliet tomato plant?
A: Yellowing leaves may indicate overwatering, nutrient deficiency (especially nitrogen), or early blight. Test soil, adjust watering, and inspect for fungal spots.
Q4: Are Juliet tomatoes determinate or indeterminate?
A: Juliet tomatoes are indeterminate, meaning they grow and produce fruit continuously until frost, requiring staking or caging.
Q5: How do I prevent blossom end rot?
A: Ensure consistent watering and adequate calcium in the soil. Add crushed eggshells or a calcium supplement like gypsum at planting.
Conclusion
Growing a thriving Juliet tomato plant is within your reach, whether you’re cultivating in a backyard garden or a balcony container. By following these expert-backed tips—choosing the right planting time, optimizing soil and water, and tackling pests and diseases—you’ll enjoy abundant harvests of sweet, versatile tomatoes. From pruning to companion planting, every step you take builds a stronger, healthier plant. Start your Juliet tomato journey today, and savor the fruits of your labor in salads, sauces, or straight off the vine! 🌞 Share your success stories or questions in the comments, and explore more plant care guides on our site for a flourishing garden.


