
Imagine starting your garden with great enthusiasm 🌿, only to find yourself confused about which seedling is which as they begin to sprout. This common dilemma can easily be avoided by labeling seeds and seedlings properly from the very beginning 🏷️. Proper labeling not only helps you keep track of plant varieties 🌾 but also ensures they receive the right care and attention throughout their growth 🌸. In this article, we’ll explore why labeling is essential for garden success and provide you with practical, easy-to-follow tips that will make your gardening experience smoother and more organized. Let’s get started! 🌼
Why Labeling Seeds and Seedlings is Important 🌱
Properly labeling seeds and seedlings is a game-changer for gardeners, and here’s why:
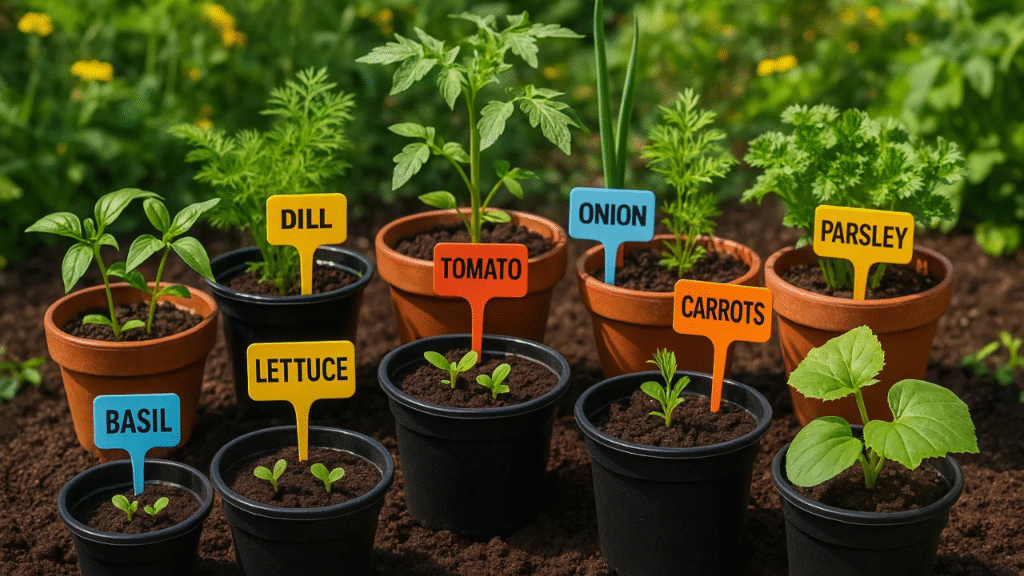
1. Prevents Confusion 🏷️
As seedlings grow, it’s easy to mix them up, especially when you’re growing multiple varieties. Labels help you identify each plant and avoid mistakes!
2. Tracks Growth 📅
With labels, you can monitor your plants’ progress. Knowing when you planted each seed helps you track germination times and growth patterns.
3. Tailored Care 💧☀️
Different plants need different care. Labels remind you of each plant’s specific requirements—whether it’s sunlight, water, or soil type.
4. Aids in Crop Rotation 🔄
For those with large gardens, labeling ensures you’re practicing effective crop rotation, helping maintain soil health year after year.
Labeling isn’t just for organization—it’s an essential step in growing healthy, thriving plants! 🌿
Materials Needed for Labeling Seeds and Seedlings 🛠️
To label your seeds and seedlings properly, you’ll need the right materials. Here’s what you’ll need to get started:
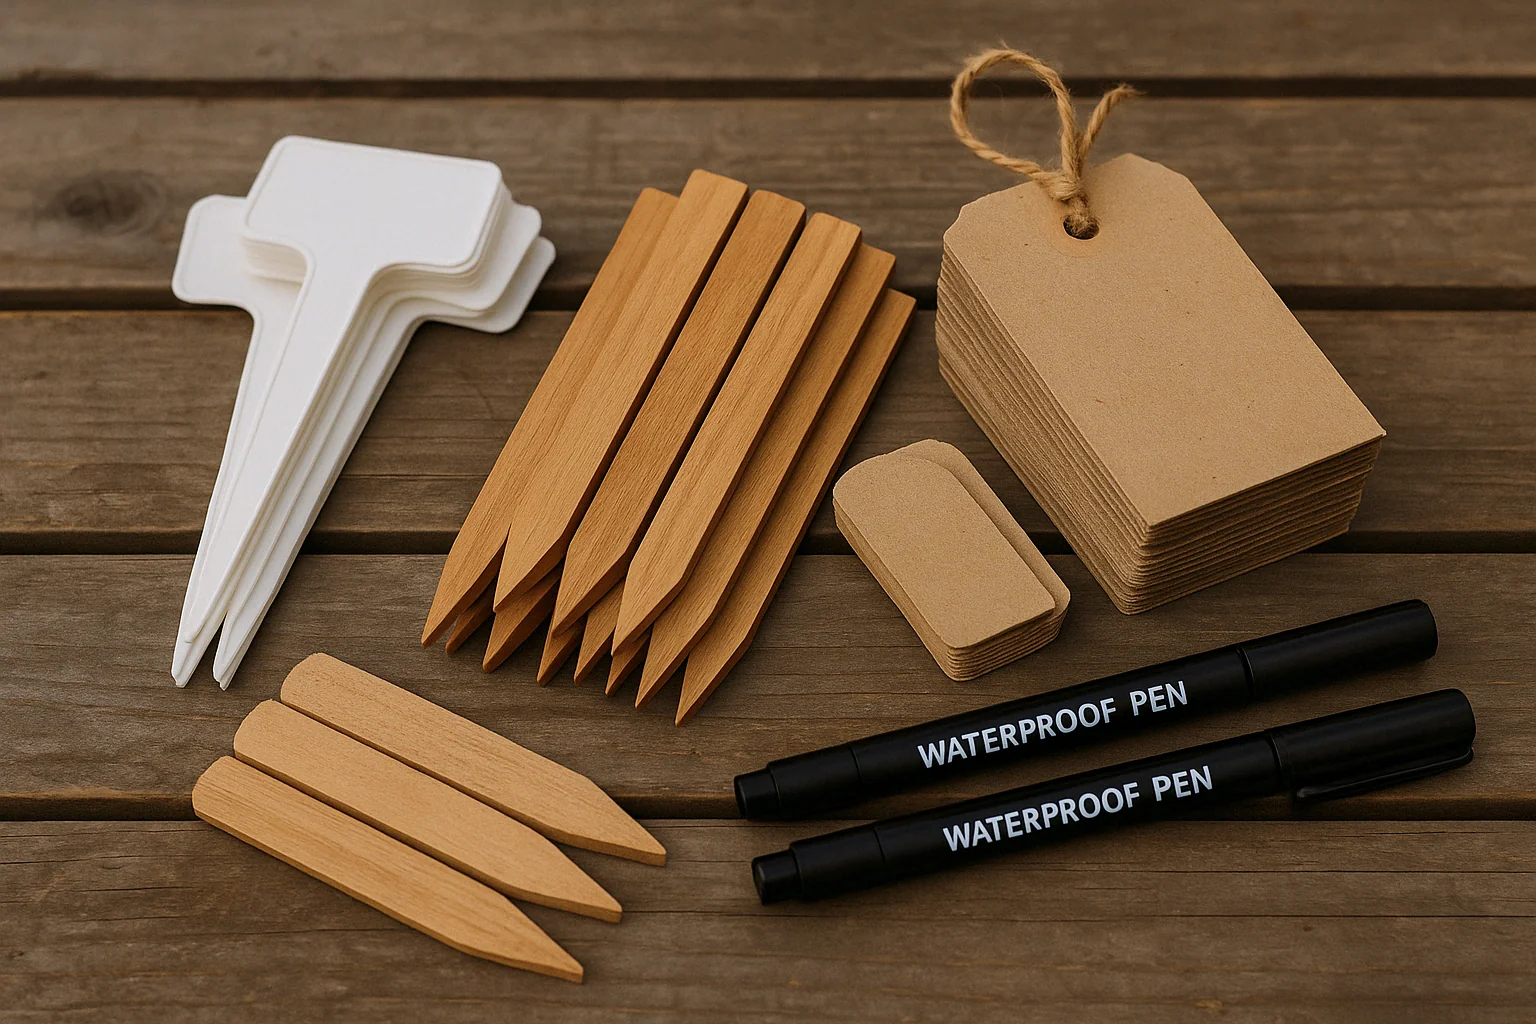
1. Plant Labels 🏷️
- Plastic Labels: Durable and reusable, perfect for all weather conditions.
- Wooden Markers: Eco-friendly and charming for a rustic look.
- Biodegradable Labels: Ideal for organic gardening, breaking down naturally over time.
2. Markers and Pens ✍️
- Waterproof Markers: Essential to ensure your labels remain legible even through rain or watering.
- Permanent Ink Pens: Avoid fading with high-quality ink that will last through the seasons.
3. Labeling Tools 🖨️
- Label Maker: For neat, uniform labels that look professional.
- DIY Options: Get creative by using popsicle sticks, stones, or even recycled materials like old wine corks.
Having these materials on hand will make the labeling process quick and easy, helping you stay organized and your plants properly cared for! 🌻
Step-by-Step Guide to Labeling Seeds 🌱✍️
Labeling seeds properly is essential to ensure a smooth and organized planting process. Here’s a simple guide to get you started:
1. Choose Your Labels 🏷️
Select the material that suits your gardening style—whether plastic, wood, or biodegradable labels. Make sure they’re durable enough to withstand weather and watering.
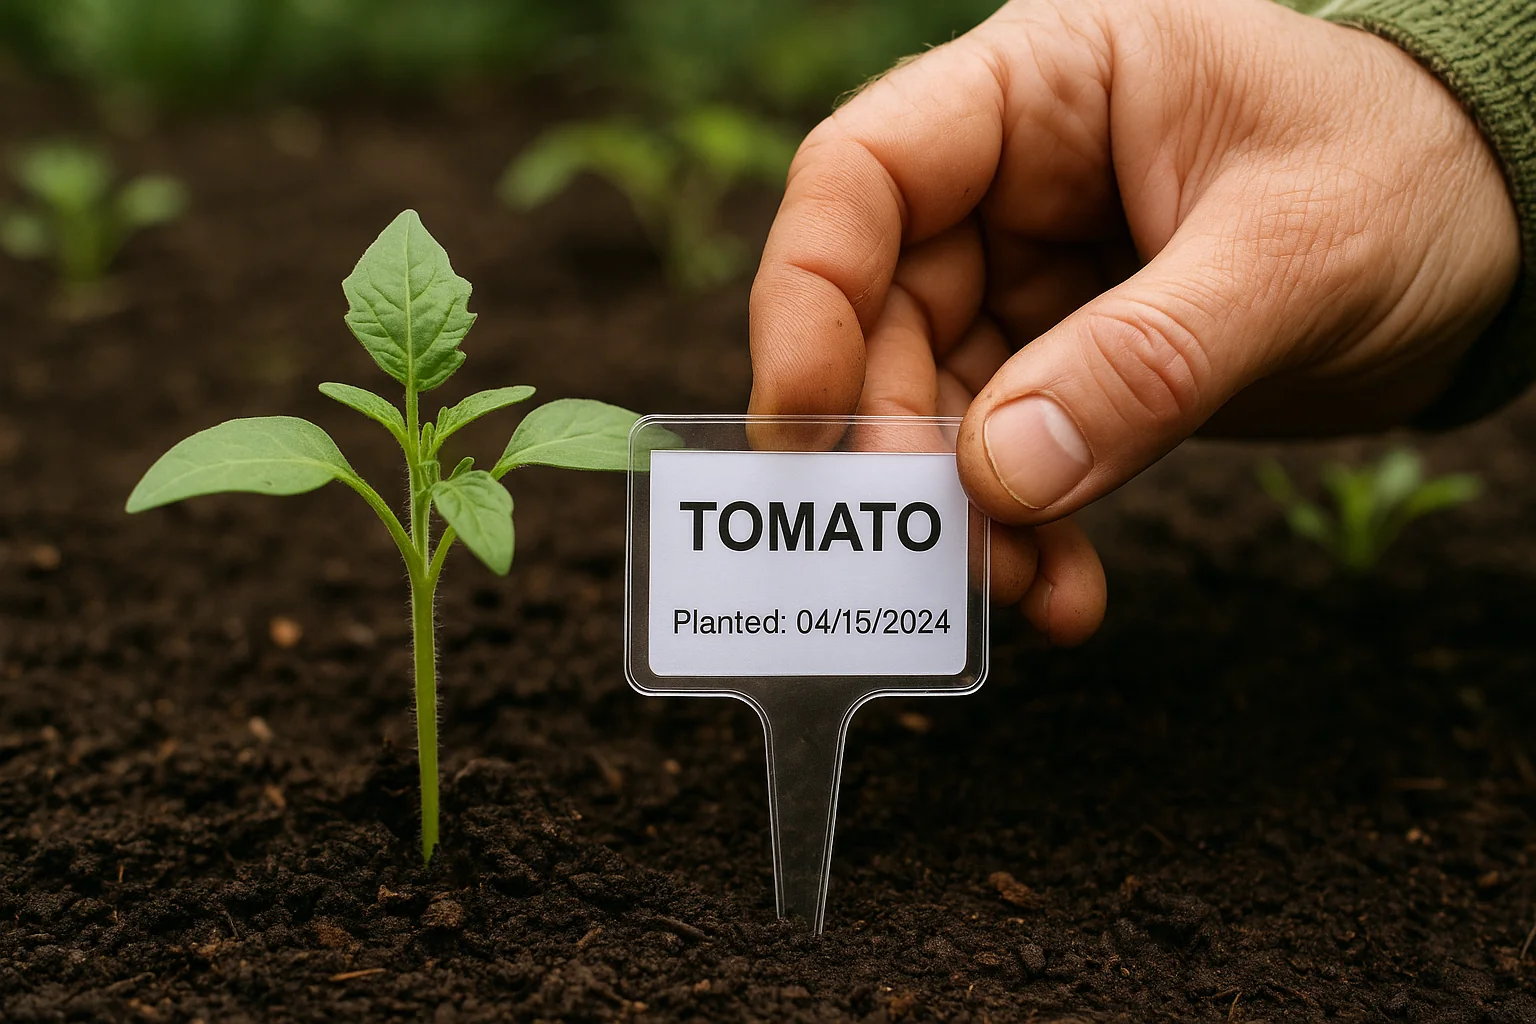
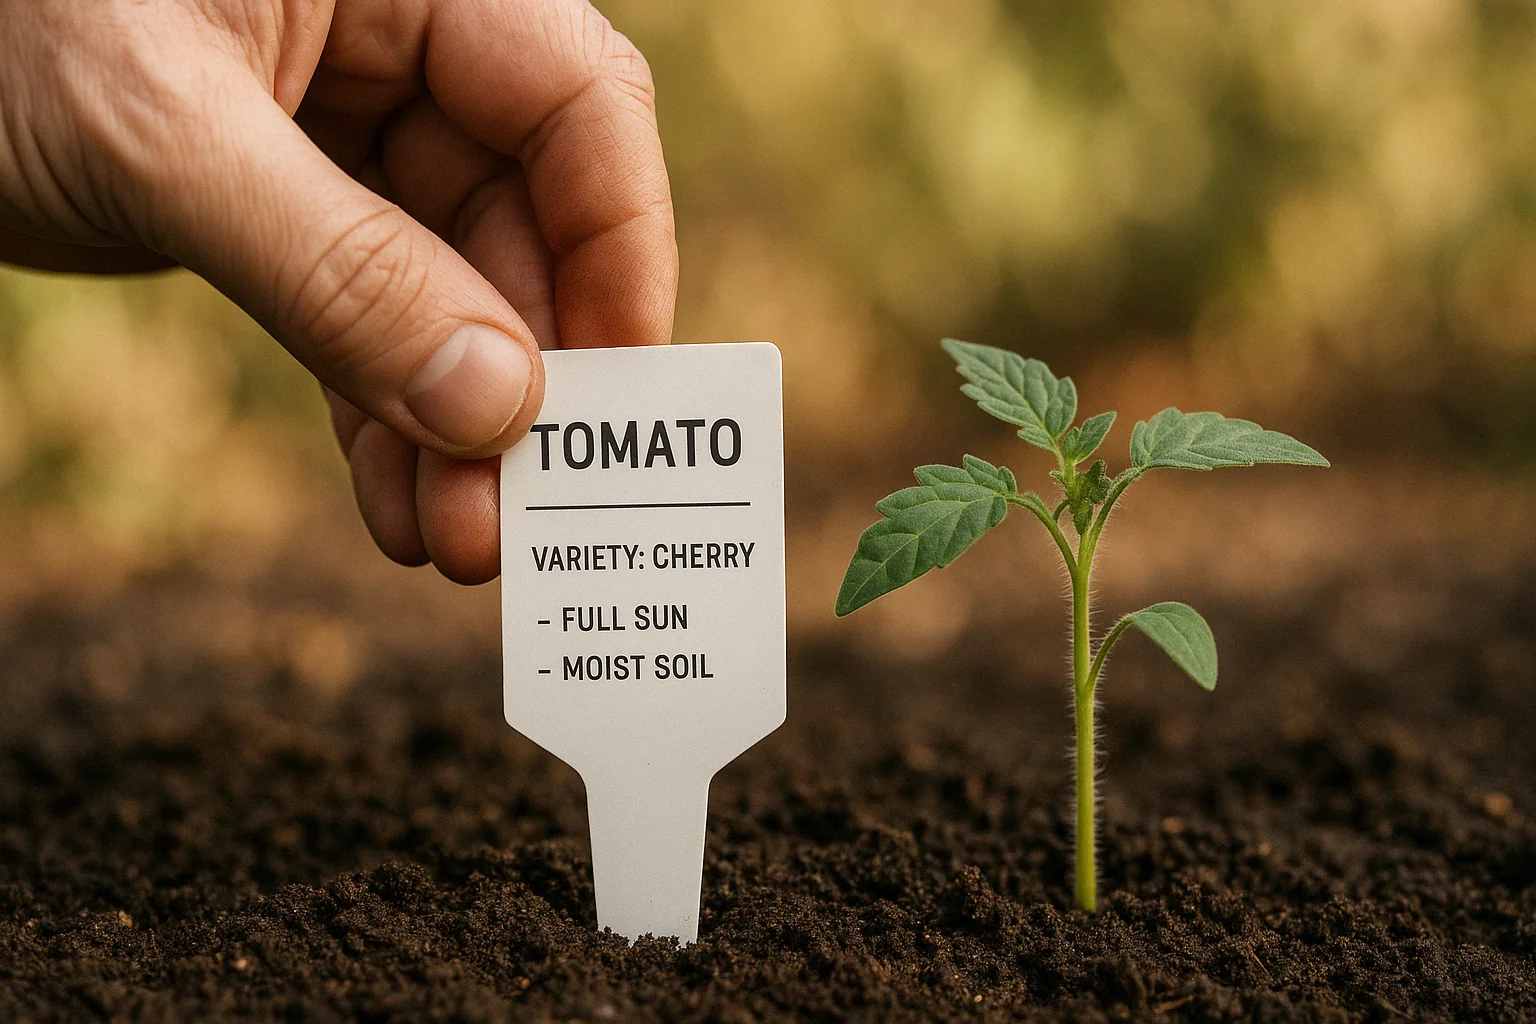
2. Write Clear Information ✨
On each label, write the following:
- Plant Name: Include the variety if necessary (e.g., “Roma Tomato” or “Cucumber”).
- Planting Date: This helps you track growth and know when to expect sprouts.
- Germination Time: If relevant, note how long it usually takes for seeds to germinate.
3. Place Labels in the Right Spot 🧭
Insert labels at the edge of each planting tray or pot where they’re easy to read. Be sure they’re not too close to seeds, as they could shift when you water.
4. Keep Labels Visible 👀
Make sure labels stand out, especially once seeds start sprouting. This will help you identify young seedlings and avoid confusion.
5. Consider Additional Notes 📋
If needed, add extra info like sowing depth or special care instructions. This can be especially useful if you’re growing different types of plants that require varied attention.
Following these simple steps will ensure you stay organized and keep track of your plant progress! 🌿
How to Label Seedlings Properly 🌱📋
Labeling seedlings is just as important as labeling seeds. Here’s how to do it right for healthy, organized growth:
1. Choose the Right Labeling Material 🏷️
Opt for durable labels that can withstand the moisture from watering and the growth of your plants. Plastic or wooden markers work great, but biodegradable options are also perfect for those looking for an eco-friendly choice.
2. Place Labels Gently 🖋️
When labeling seedlings, ensure you don’t damage the delicate stems or roots. Gently insert the label into the soil or at the edge of the pot to avoid disturbing the plant.
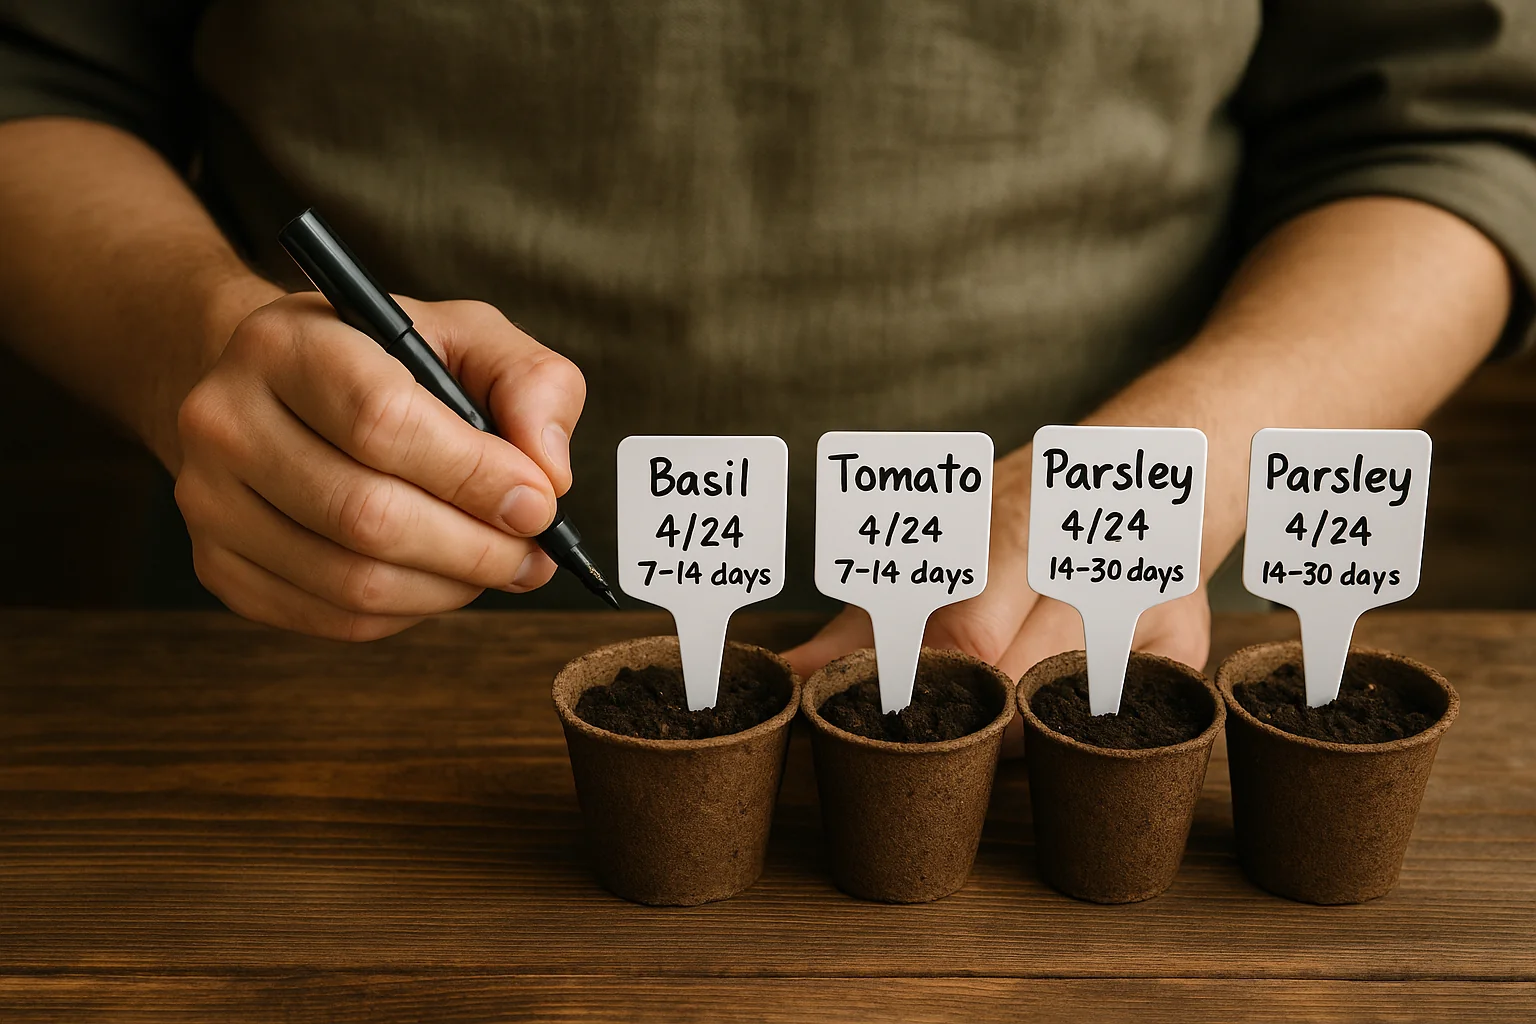
3. Write Essential Information ✍️
On each label, include:
- Plant Variety: Be specific, especially if you’re growing multiple varieties.
- Planting Date: This helps you track growth and care needs.
- Special Care: If seedlings require extra attention, like a specific watering schedule, note it.
4. Keep Labels Visible 👀
As seedlings grow, make sure labels are still easy to see. You might need to adjust them as plants expand, but keep them in a spot where you can easily identify each one.
5. Consider Color-Coding 🌈
If you have a variety of seedlings, consider color-coding your labels. This simple system can make it easy to identify different plants at a glance.
By following these simple steps, your seedlings will stay organized, and you’ll avoid any confusion as they grow! 🌻
Creative Labeling Ideas 🎨🌿
Get creative with how you label your seeds and seedlings! Not only will it help you stay organized, but it can also add some charm to your garden. Here are some fun and unique ideas:
1. Personalize with Paint or Markers 🎨
Use colorful paints or permanent markers to decorate your labels. You can add patterns, plant illustrations, or even plant names in fun fonts. This adds a personal touch to your garden!
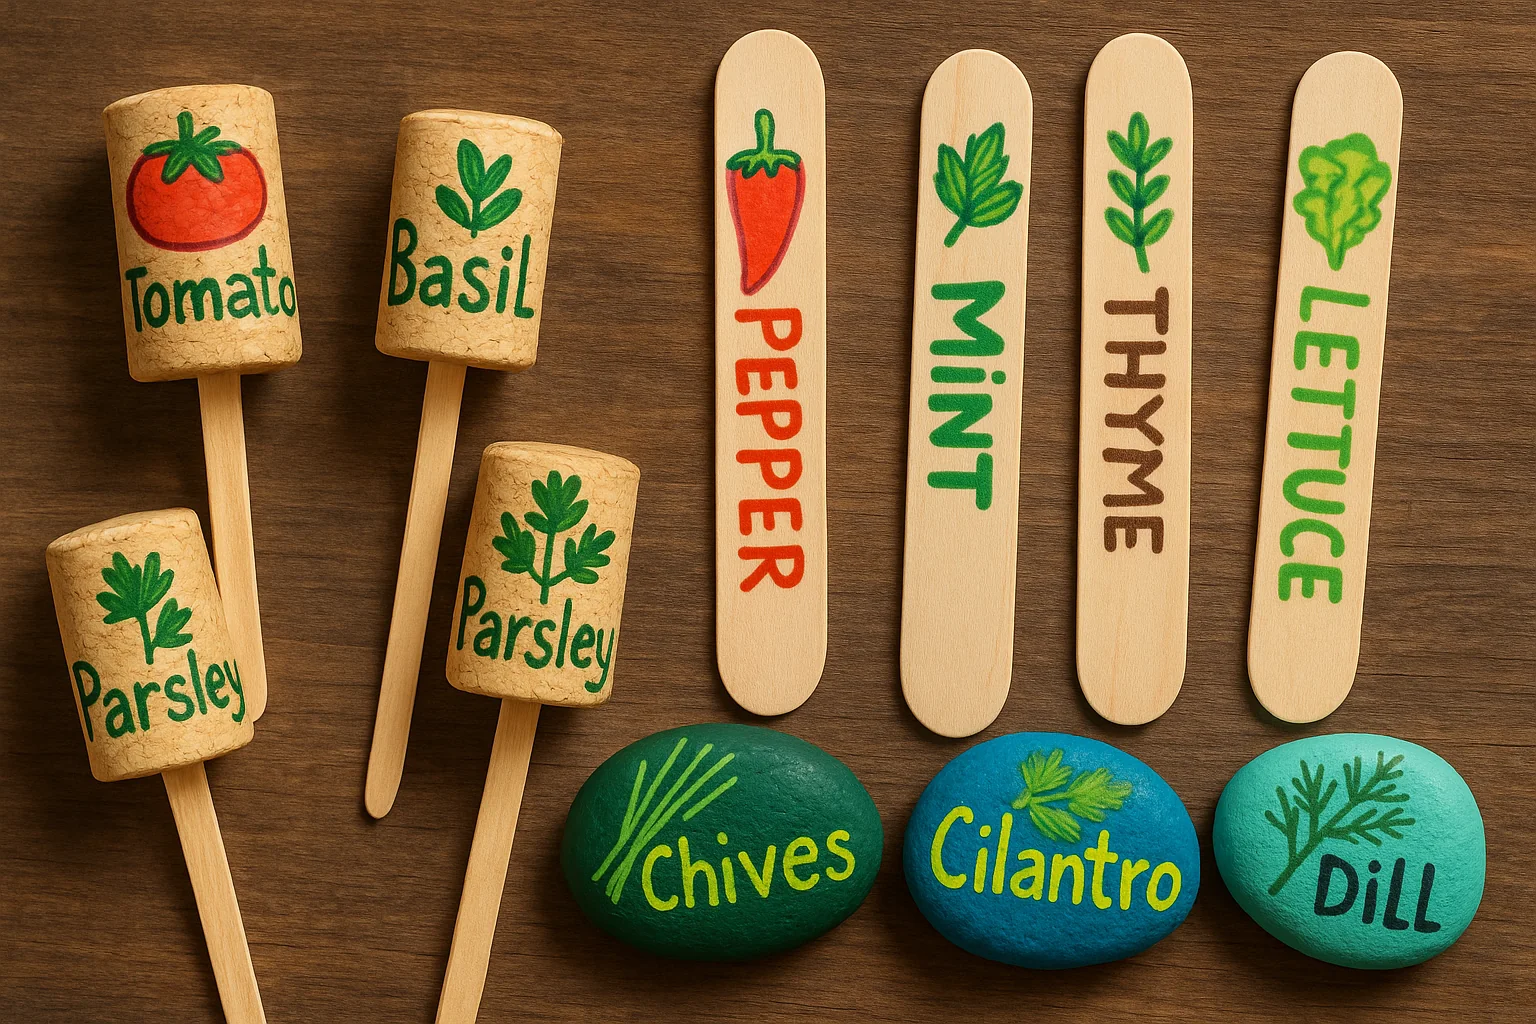
2. Upcycled Materials ♻️
- Popsicle Sticks: A classic choice! Use them as labels and decorate with paint or markers.
- Wine Corks: Cut corks in half and write plant names on them. Eco-friendly and rustic!
- Old Wooden Spoons: Repurpose unused wooden spoons into stylish plant markers.
3. Create a Herb Garden Sign 🌿
For herb gardens, get creative by using mini chalkboards. You can write the name of each herb with chalk and change it as needed—perfect for indoor or outdoor herb gardens!
4. Use Natural Materials 🍂
For a more eco-friendly approach, consider using rocks, twigs, or even bamboo sticks. These materials blend beautifully with outdoor gardens and give a rustic, natural vibe.
5. Labeling with Twine or String 🧵
Tie small tags with plant names to a piece of twine or string and hang them near your plants. This is a great option for hanging baskets or vertical gardens.
These creative labeling ideas make organizing your garden fun while also helping you stay on top of plant care! 🌸
Common Mistakes to Avoid When Labeling ⚠️🌱
Proper labeling is key, but there are a few common mistakes that gardeners often make. Avoid these to ensure your labeling system works smoothly:
1. Using Fading Markers ✍️
Avoid using regular markers or pens that fade over time, especially when exposed to rain or sunlight. Instead, opt for waterproof or permanent markers that will stay legible through the seasons.

2. Labeling Too Close to the Plant 🌱
Placing labels too close to seedlings or seeds can disturb their growth. Make sure your labels are placed at the edge of the pots or trays to avoid damaging delicate roots or stems.
3. Not Updating Labels 🔄
As your plants grow, their needs change. If you’ve written down basic information (like sowing depth), revisit the labels and add any new details, like the plant’s stage of growth or specific care instructions.
4. Overcrowding Labels 📚
If you’re growing many different plants, it’s easy to overload the planting area with labels. Keep your labels clear and minimal, with only the essential details, to avoid cluttering the space.
5. Ignoring Weather Conditions 🌦️
Outdoor gardens face the elements! Don’t forget to choose weather-resistant labels that can withstand rain, sun, and wind without falling apart or getting illegible.
6. Forgetting to Label Transplants 🪴
When you transplant seedlings or young plants into your garden, don’t forget to transfer or add new labels to match their new locations. This will help you track their growth and care in the long run.
By avoiding these simple mistakes, you’ll make sure your labeling system stays organized, durable, and effective throughout the growing season! 🌼
Long-Term Labeling Strategies 🗂️🌿
For gardeners who grow year-round or maintain large plant collections, long-term labeling strategies help keep everything organized over time. Here’s how to make your labels last and stay useful:

1. Use Weatherproof Materials ☀️🌧️
Choose labels made from UV-resistant plastic, metal, or coated wood. These hold up against sun, rain, and wind without fading or breaking.
2. Laminate Paper Labels 📄✨
If you prefer writing on paper, laminate your labels to protect them from moisture and dirt. This works well for indoor seed trays and greenhouses.
3. Maintain a Garden Journal or Digital Log 📓💻
Record plant names, planting dates, and care notes in a dedicated notebook or spreadsheet. This backup helps if labels get lost or damaged.
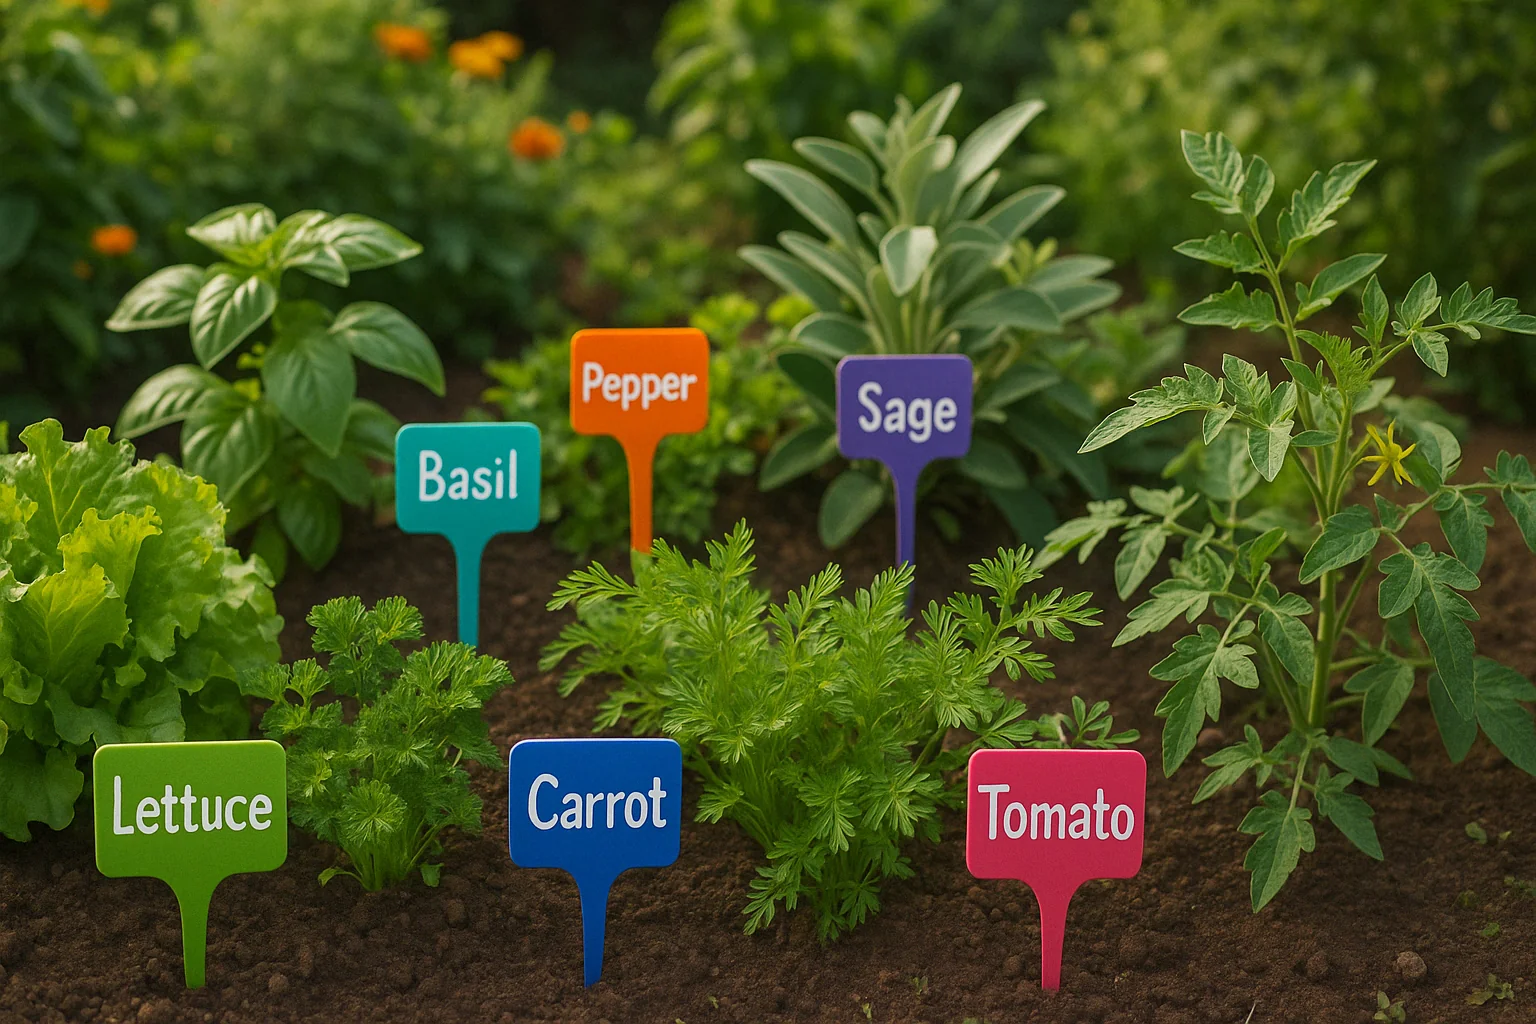
4. Color-Coding for Plant Types 🌈
Use colored labels or tape to group plants—like blue for herbs, green for veggies, and yellow for flowers. This makes identification quick and easy, especially in large gardens.
5. Reinforce Labels When Transplanting 🔁
As you move plants from seed trays to garden beds or bigger pots, update or move labels with them. You can even attach waterproof tags directly to plant stakes.
6. Store Extra Labels and Markers Together 🎒🖊️
Keep a small box or bag with spare labels, markers, and cleaning supplies. Having them ready saves time and keeps your system consistent.
With these long-term strategies, you’ll enjoy a more efficient and stress-free gardening experience—season after season! 🌼🌱
Final Thought 🌿✅
Labeling seeds and seedlings properly might seem like a small task, but it plays a big role in your gardening success. From avoiding mix-ups to providing the right care at every stage, good labeling keeps your garden organized, healthy, and stress-free. 🌱✨
By choosing the right materials, following simple labeling steps, and avoiding common mistakes, you set your plants up for strong growth and happy blooms. Whether you’re a beginner or a seasoned gardener, a clear labeling system is your best friend in the garden. 🏷️💚
So grab your markers, pick your favorite label style, and start labeling with confidence—your plants will thank you! 🌸🌼🌿