
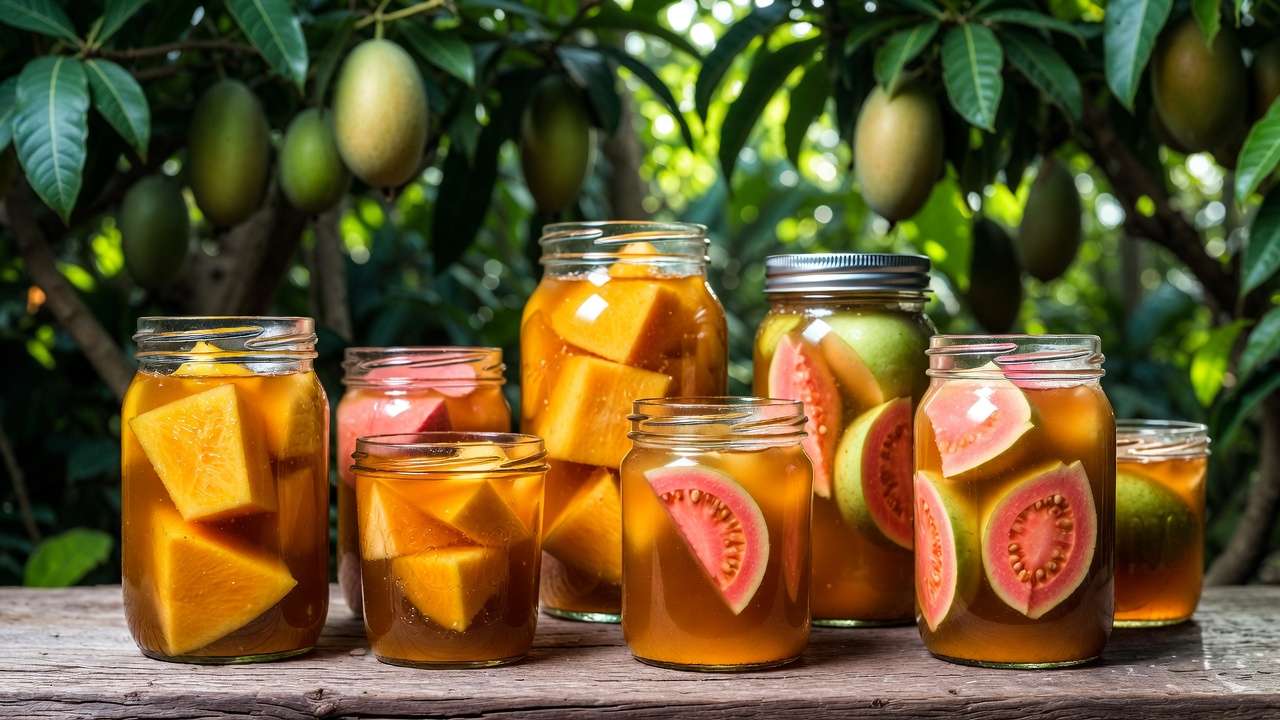
Imagine stepping into your backyard in Khulna, picking ripe, sun-kissed mangoes or fragrant guavas from the trees you’ve carefully pruned and nurtured all year—only to see half the harvest spoil before you can savor it. 😔 That’s the heartbreak many home gardeners face with abundant tropical fruit yields. But what if you could capture that fresh-from-the-tree flavor in beautiful jars, ready to enjoy months later on toast, in yogurt, or as a sweet glaze?
Making fruit preserves at home is the perfect solution! This timeless skill transforms your excess homegrown harvest into shelf-stable, flavorful pantry staples that reduce waste, save money, and let you taste your garden’s bounty year-round. As someone deeply passionate about plant care and tree maintenance in subtropical climates like ours in Bangladesh, I’ve seen how proper tree pruning, soil enrichment, and seasonal care lead to bumper crops—and preserving them properly turns that abundance into lasting joy. 🍯✨
In this in-depth guide, you’ll discover safe, research-backed methods drawn from trusted sources like the National Center for Home Food Preservation (NCHFP) and USDA guidelines. We’ll cover everything from equipment and science to step-by-step instructions, tropical fruit recipes suited to our region (think mango, guava, papaya, and citrus), troubleshooting tips, and expert insights on linking tree care to superior preserves. Whether you’re a beginner gardener or seasoned tree owner, this comprehensive resource will help you create delicious, homemade preserves with confidence.
Why Make Your Own Fruit Preserves? Benefits for Home Gardeners & Tree Owners 🌱
Preserving your own fruit isn’t just about saving leftovers—it’s an extension of your plant and tree care efforts. Here are the key advantages:
- Preserve peak-season flavor from your homegrown trees: Home fruits like mangoes from well-pruned orchards or guavas from healthy bushes taste infinitely better than store-bought when captured at ripeness.
- Reduce food waste dramatically: Tropical trees often produce more than a family can eat fresh—preserves prevent spoilage and honor your hard work in watering, fertilizing, and pest management.
- Full control over ingredients: Skip artificial preservatives, colors, or excessive sugar found in commercial products. Customize for lower-sugar options or add homegrown spices.
- Cost-effective & sustainable: Homemade preserves cost far less long-term, especially with your free harvest, and support self-sufficiency in our humid, fruit-rich climate.
- Deeper connection to your garden: After months of caring for mango, jackfruit, or citrus trees, turning the fruit into jars feels incredibly rewarding. 🌳❤️
Plus, in regions like Khulna with hot, humid seasons, preserving extends enjoyment beyond the short harvest windows.
Understanding the Basics: Jam vs. Jelly vs. Preserves vs. Conserves 🍑
These terms are often used interchangeably, but they differ in preparation and texture—important for choosing what suits your homegrown fruit:
- Jam 🍓: Made from crushed or finely chopped fruit, resulting in a thick, spreadable consistency with fruit pieces throughout.
- Jelly 🍇: Clear and smooth, made only from strained fruit juice—no solids.
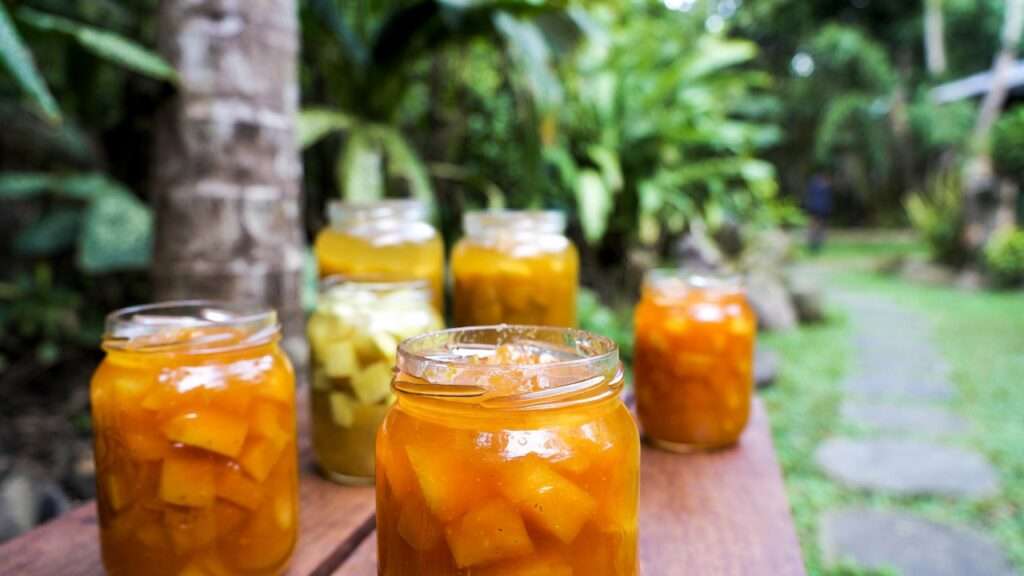
- Preserves 🍑: Feature larger chunks or whole pieces of fruit suspended in a thick syrup or gel. This is our focus—perfect for showcasing beautiful homegrown slices like mango or papaya.
- Conserves 🥭: Similar to jam but often include nuts, dried fruits, raisins, or spices for extra texture and flavor.
The key to great preserves is balancing fruit chunks with a syrupy gel that holds everything together without being too stiff. In tropical climates, high-moisture fruits like papaya benefit from preserves-style prep to highlight their natural juiciness.
Essential Equipment & Safety First (Trusted Guidelines) 🧼🔥
Safety is non-negotiable—botulism risk is low with high-acid fruits, but improper processing can lead to spoilage or mold. Always follow tested methods from NCHFP or USDA.
Must-have tools:
- Large, heavy-bottomed stainless steel pot (non-reactive to avoid flavor changes)
- Canning jars (half-pint or pint Mason-style), new lids, and bands
- Wide-mouth funnel, ladle, bubble remover, and jar lifter
- Water bath canner (or deep pot with rack)
- Candy thermometer (for gel testing)
- Clean towels and labels
Safety essentials:
- Sterilize jars by boiling 10 minutes (or keep hot in dishwasher).
- Use new lids each time—old ones may fail to seal.
- Process in boiling water bath to destroy molds/yeasts (high-acid fruits are safe this way).
- Never skip acidity: Add lemon juice if needed for low-acid fruits.
- Work in small batches—doubling recipes often leads to poor sets.
Follow USDA/NCHFP guidelines strictly for peace of mind.
Choosing & Preparing Your Homegrown Fruit ⚖️
Success starts with quality fruit from your cared-for trees:
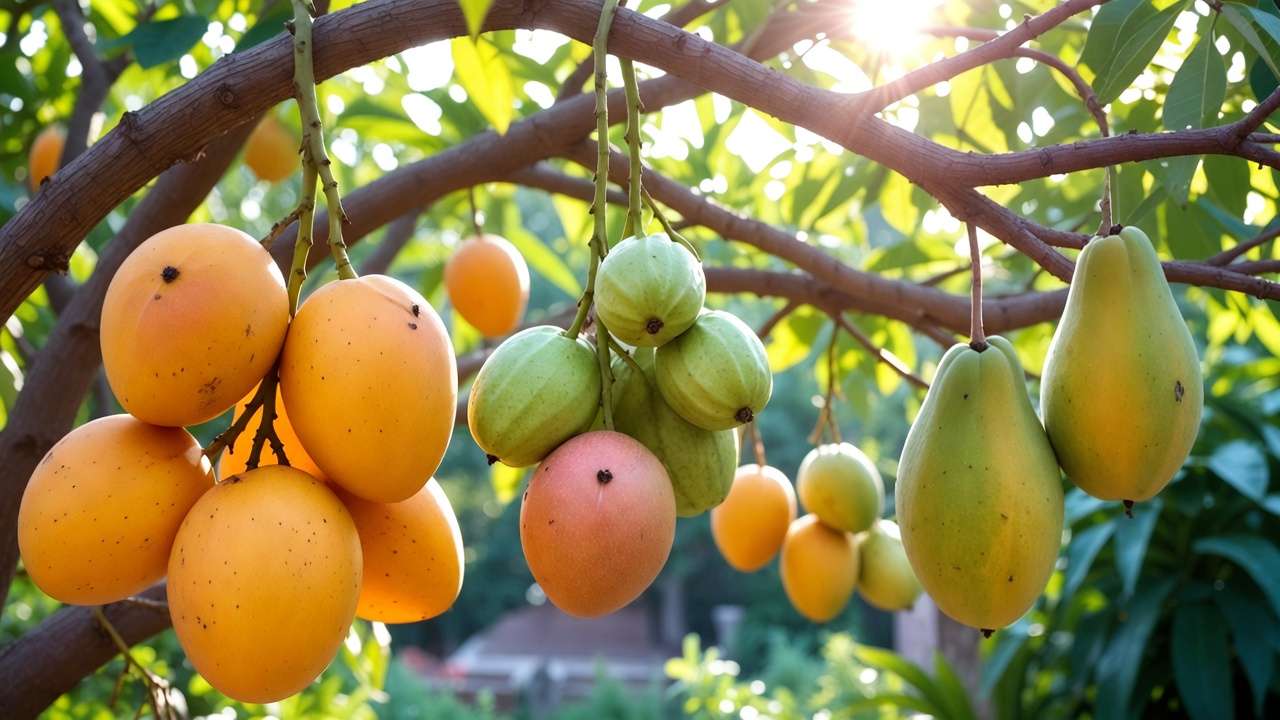
Best tropical/subtropical fruits for preserves:
- Mango 🥭: Sweet, fiber-rich varieties like langra or fazli—peak in summer.
- Guava 🌿: Naturally high in pectin; pink or white flesh works beautifully.
- Papaya 🍈: Ripe but firm for chunks; add ginger for zing.
- Citrus (lime, lemon, orange) 🍋: High acid/pectin; great alone or mixed.
- Others: Pineapple, jackfruit (young for savory twist), or berries if you grow them.
Harvest tips:
- Pick at peak ripeness but slightly firm (underripe has more natural pectin).
- Wash thoroughly; use a vinegar soak (1 part vinegar: 3 parts water) for 5 minutes to reduce surface bacteria.
- Peel, pit, and chop uniformly—measure after prep for accurate ratios.
Weigh fruit post-prep for best results—volume measurements vary with ripeness.
The Science of Perfect Preserves: Pectin, Sugar, Acid & Heat 🧪
Creating beautiful, shelf-stable fruit preserves relies on a delicate balance of four key elements: pectin, sugar, acid, and heat. Understanding this science—backed by guidelines from the National Center for Home Food Preservation (NCHFP) and USDA—helps you achieve that perfect gel every time without guesswork.
- Pectin is a natural carbohydrate in fruit cell walls that gels when combined with acid and sugar. High-pectin fruits (like guava, citrus, and slightly underripe mango) set easily without added pectin. Low-pectin fruits (fully ripe papaya, pineapple) often need commercial pectin (powdered or liquid) for reliable results.
- Sugar preserves by drawing out moisture (preventing microbial growth), sweetens, and helps pectin form a firm gel. Traditional recipes use a 1:1 fruit-to-sugar ratio, but lower-sugar versions (with special pectin) work well—aim for at least 55-65% soluble solids for safety and set.
- Acid (from lemon/lime juice or citric acid) brightens flavor, preserves color, and activates pectin. Most tropical fruits need added acid for safe pH below 4.6. Add 1–2 Tbsp bottled lemon juice per 4 cups fruit if natural acidity is low.
- Heat concentrates the mixture and deactivates enzymes. Cook to the gel point (around 220°F/104°C at sea level—adjust +1°F per 1,000 ft elevation) or use tests:
- Wrinkle test: Chill a plate; drop jam on it, push—if it wrinkles, it’s set!
- Sheet test: Dip a cold spoon; jam should sheet off in one drop rather than drip.
Overcooking breaks down pectin (runny result); undercooking leaves it soft. Small batches cook evenly—never double large recipes.
Step-by-Step Guide to Making Fruit Preserves at Home 📝
Follow these steps for safe, delicious results:
- Prepare fruit & ingredients — Wash, peel, pit, and chop uniformly. Measure accurately after prep.
- Macerate (optional) — Mix fruit with sugar and let sit 1–24 hours in the fridge. This draws out juice for better flavor and faster cooking.
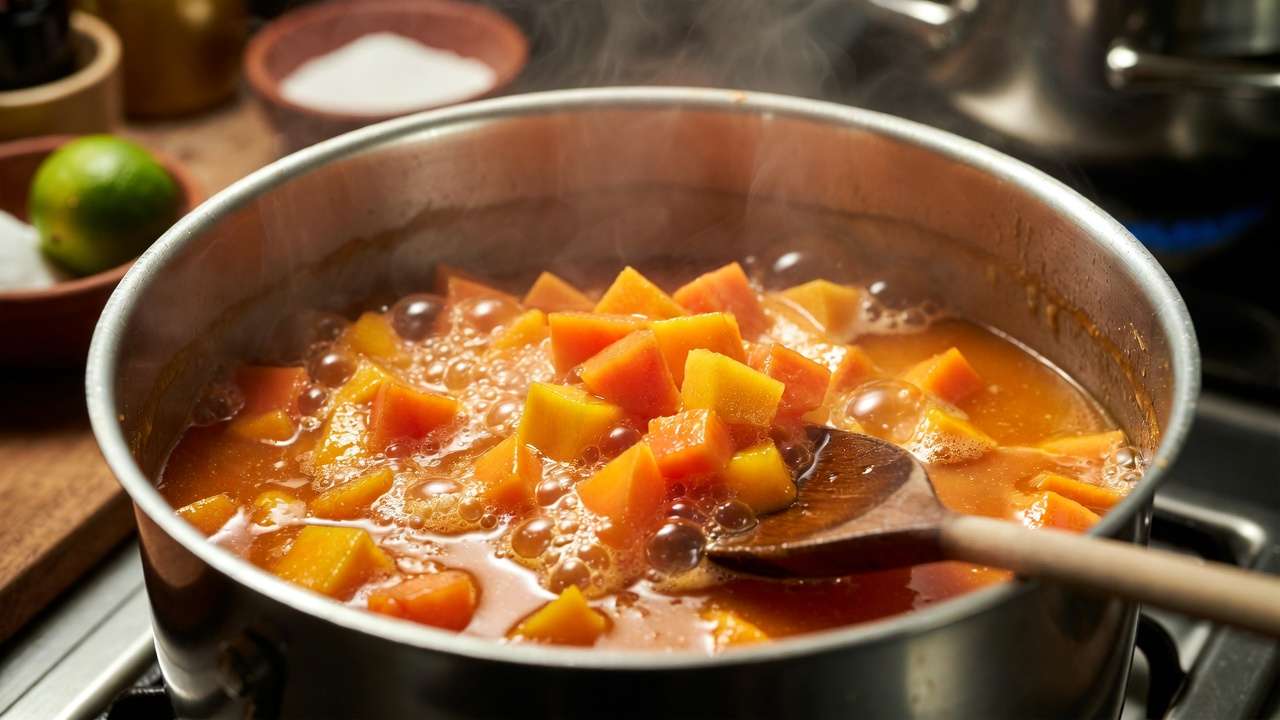
- Cook the mixture — In a wide, heavy pot, bring to a full rolling boil over high heat, stirring constantly. Skim foam for clearer preserves. Add pectin (if using) per package instructions—usually at the end for liquid pectin.
- Test for set — Use multiple methods (thermometer + wrinkle/sheet test). Remove from heat immediately when ready.
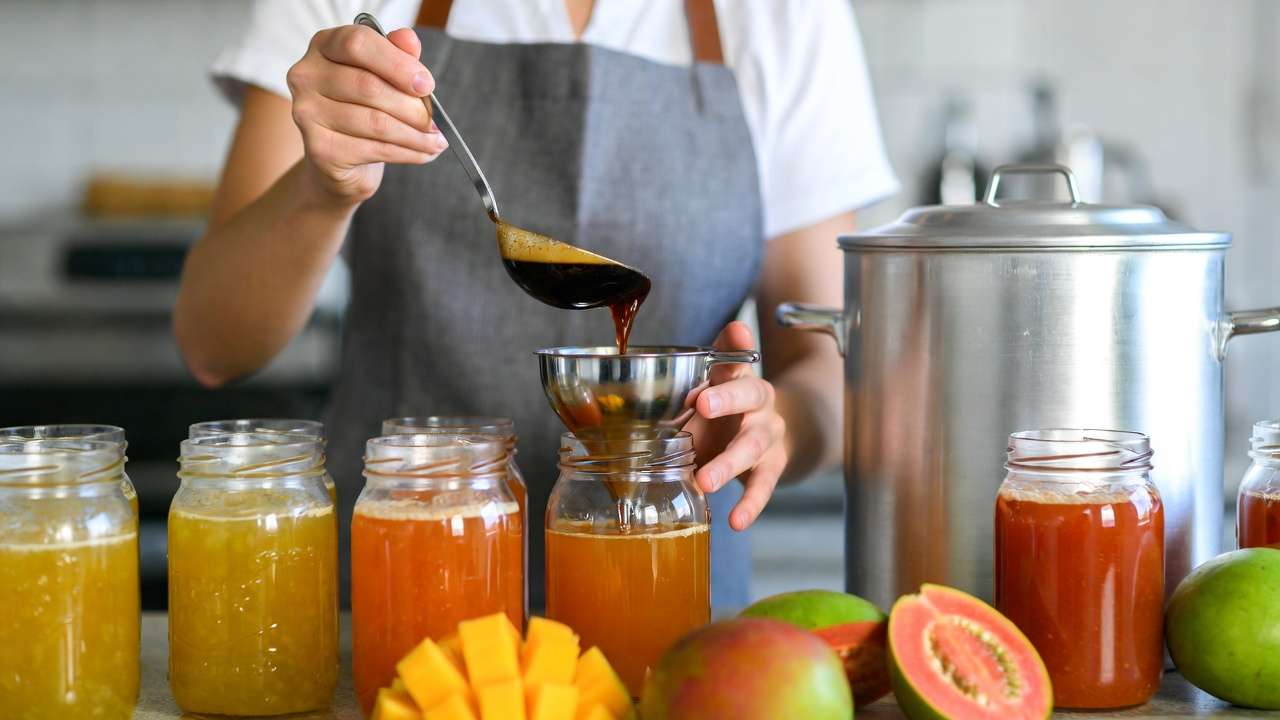
- Fill & process jars — Ladle hot preserves into hot, sterilized jars, leaving ¼-inch headspace. Wipe rims, apply lids, and tighten fingertip-tight. Process in boiling water bath: 10 minutes for half-pints/pints (adjust for altitude).
- Cool & check seals — Let jars sit undisturbed 12–24 hours. Press lids— they shouldn’t flex. Refrigerate any unsealed jars and use within weeks. Label with date and contents. 📅
Always use tested recipes for canning safety—botulism risk is low with high-acid fruits, but never skip processing.
Delicious Homegrown Fruit Preserves Recipes (Tested & Adapted) 🍑
These recipes suit tropical home orchards in regions like Khulna, using common fruits from well-cared-for trees. Yields vary; always follow safe canning practices from NCHFP.
Classic Mango Preserves 🥭 (Makes about 4–5 half-pints)
- 4–5 cups peeled, pitted, diced ripe mango (about 5 large mangoes)
- 3 cups granulated sugar
- ¼ cup fresh lime juice (bottled for safety)
- 1 tsp lime zest (optional)
- Pinch of salt
Combine mango, sugar, lime juice/zest, and salt. Let macerate 1 hour. Bring to boil, cook 15–25 minutes until thick, stirring often. Test for set at 220°F or wrinkle test. Process 10 minutes in water bath.
Guava Preserves with a Hint of Lime 🌿 (Makes about 5 half-pints) Guava’s natural high pectin makes this easy—no added pectin needed!
- 2 lbs ripe guava (pink or white), washed, ends trimmed
- 3–4 cups sugar (adjust to taste; lower for less sweet)
- ¼–½ cup lime juice
- 2 cups water (for initial cooking)
Cut guava into chunks, simmer in water until soft (20 min). Mash or blend for texture, strain seeds if desired. Add sugar and lime juice, boil to gel point (about 15–20 min). Process 10 minutes.
Papaya & Ginger Preserves 🍈 (Makes about 4 half-pints) Great for digestion—ginger adds warmth!
- 4 cups peeled, seeded, diced ripe but firm papaya
- 3 cups sugar
- ¼ cup fresh lemon/lime juice
- 2–3 Tbsp grated fresh ginger
- Optional: 1 pouch liquid pectin if set is soft
Combine all, cook to rolling boil, simmer until thick (20–30 min). Test set. Process 10 minutes.
Mixed Citrus Preserves 🍋 (Makes about 4 half-pints) Use homegrown lemons, oranges, or limes.
- 4 cups mixed citrus segments (peeled, pith removed) + zest
- 3½ cups sugar
- ¼ cup lemon juice
Cook slowly to break down membranes, boil to gel point. Process 10 minutes.
Low-Sugar Variations — Use low/no-sugar pectin (follow package ratios, often 2–3 cups fruit to 1–2 cups sugar). Add extra lemon juice for safety.
Pro Tips for Superior Flavor & Texture ✨
- Use 60:40 fruit-to-sugar for brighter, fresher taste (many pros prefer this over 1:1).
- Cook in small batches—large ones cook unevenly and overcook edges.
- Add spices like cardamom, cinnamon stick, or vanilla bean for depth (remove before jarring).
- For vibrant color: Short cook times + acid prevent browning.
- Freezer option for beginners: Skip canning, cool, and freeze in jars (up to 1 year). ❄️
Common Mistakes & How to Fix Them (Troubleshooting Guide) 🔧
Even experienced home preservers run into issues sometimes—especially when working with tropical fruits that vary in moisture and pectin content. Here are the most common problems and their fixes, based on decades of extension service advice and real gardener feedback:
- Runny or syrupy preserves (doesn’t set properly) Causes: Undercooked mixture, insufficient pectin/acid/sugar, overripe fruit (low natural pectin), or altitude not accounted for in gel point. Fixes:
- Re-cook the batch with added commercial pectin + extra lemon juice. Bring back to boil and test again.
- For future batches: Use slightly underripe fruit, measure ingredients precisely, and cook longer/smaller batches.
- If already jarred: Refrigerate and use as syrup over pancakes or ice cream.
- Too firm or rubbery textureCauses: Overcooked (pectin breaks down past gel point), too much added pectin, or excessive sugar. Fixes: Gently reheat with a splash of water or fruit juice to loosen. Avoid boiling hard again. Prevent by removing from heat the moment gel point is reached.
- Sugar crystals forming in the jarCauses: Sugar didn’t fully dissolve before boiling, undissolved sugar on pot sides, or too much sugar relative to liquid. Fixes: Stir constantly at the start until sugar melts completely. Wipe pot sides with a wet pastry brush during cooking. For crystallized jars: Gently reheat jar in warm water bath until crystals dissolve.
- Fruit floating to the top of the jarCauses: Fruit pieces not cooked long enough to absorb syrup, or mixture cooled too much before jarring. Fixes: Cook fruit thoroughly until it looks translucent and syrupy. Stir gently before filling jars to distribute evenly. Turn jars upside down for 5–10 minutes after processing (then upright) to help distribute fruit.
- Mold, fermentation, or spoilage after openingCauses: Poor seal, insufficient processing time, low headspace, or contamination during filling. Fixes & Prevention: Always use new lids, leave proper ¼-inch headspace, process full recommended time (adjust for altitude), and store in cool, dark place. Discard any jar that shows bulging, leaking, off odors, or mold—never taste-test questionable preserves.
Quick rule: When in doubt, throw it out. Safety first!
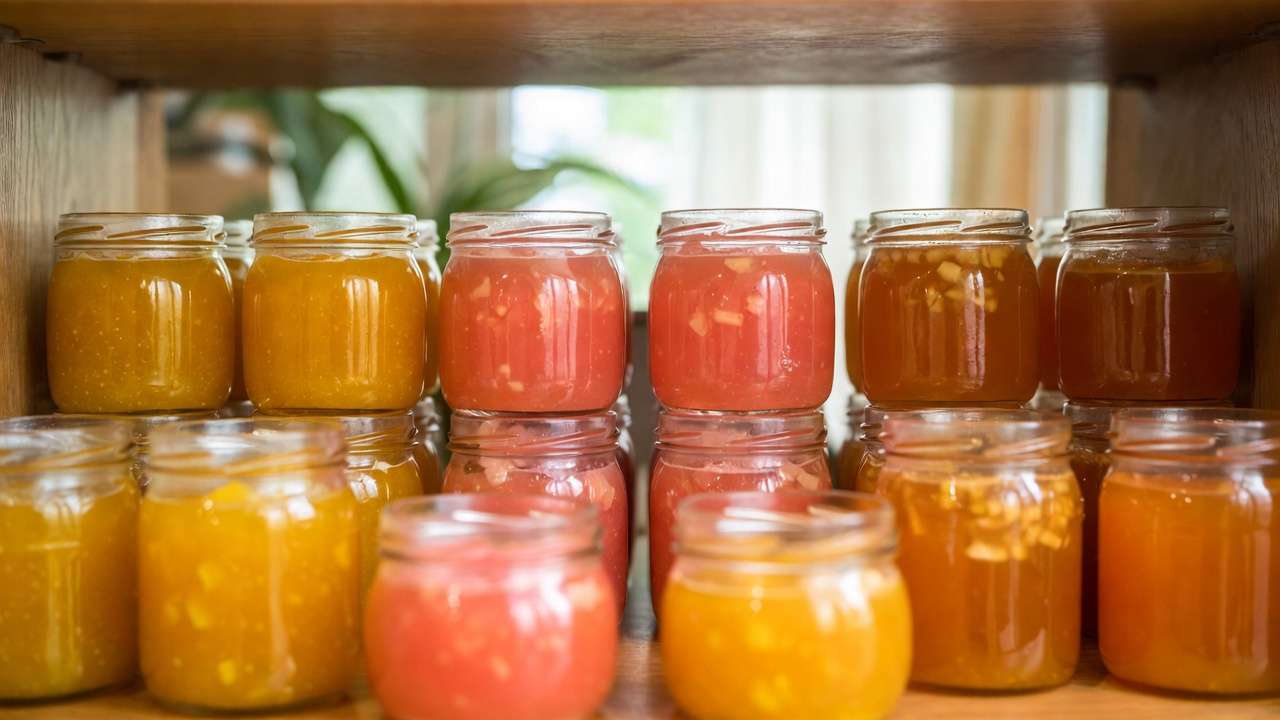
Storing & Enjoying Your Homemade Preserves 🏡🍞
Once sealed and cooled, your hard work pays off for months (or longer):
- Unopened storage: Keep in a cool, dark, dry pantry or cupboard (50–70°F / 10–21°C ideal). Properly processed high-acid preserves last 12–18 months with excellent quality.
- After opening: Refrigerate immediately. Use within 3–4 weeks for best flavor and texture.
- Signs of spoilage: Bulging lid, leaking, fizzing when opened, unusual color/odor—discard without tasting.
Creative ways to enjoy your preserves:
- Classic: Spread on fresh roti, paratha, toast, or biscuits
- Breakfast boost: Swirl into yogurt, oatmeal, or chia pudding
- Baking: Use as filling for cakes, cookies, thumbprint biscuits, or puff pastry tarts
- Savory twist: Glaze grilled chicken, fish, or paneer; mix into salad dressings
- Gifting: Tie a ribbon around the jar, add a cute handwritten label with fruit variety and date—perfect for friends, neighbors, or family 🎁🌸
Expert Insights from a Plant & Tree Care Perspective 🌳
As someone who’s spent years helping gardeners in subtropical areas like Khulna maximize their home orchards, I can tell you: the quality of your preserves directly reflects the health of your trees and plants.
- Pruning pays off — Regular annual pruning (after harvest for most tropical fruits) increases sunlight penetration, improves air circulation, and results in larger, more flavorful fruit with better sugar-acid balance—ideal for preserves.
- Soil & nutrition matter — Balanced organic fertilization (compost + potassium-rich amendments for fruiting) leads to sweeter mangoes and firmer guavas that hold their shape in the jar.
- Seasonal preserving calendar for our region (approximate Khulna timings):
- Late spring–summer: Mango, jackfruit, lychee
- Monsoon–early autumn: Guava, papaya, pineapple
- Winter: Citrus (lime, lemon, orange, pomelo) Plan small batches throughout the year to enjoy fresh preserves without overwhelming your kitchen.
By preserving, you’re closing the loop on sustainable home gardening—zero food miles, minimal waste, maximum flavor. 🌍💚
Frequently Asked Questions (FAQs) ❓
Do I need pectin for every fruit? No—high-pectin fruits like guava, citrus, and slightly underripe mango or apple set beautifully without added pectin. Low-pectin fruits (ripe papaya, pineapple) usually need it for reliable results.
How long do homemade preserves last? Unopened: 12–18 months in cool, dark storage. Opened: 3–4 weeks refrigerated.
Can I reduce sugar safely? Yes, using low/no-sugar pectin and adding extra acid. Never go below tested recipe guidelines—sugar helps with preservation and gel. Follow a tested low-sugar recipe.
What if my preserves don’t set? Re-cook with added pectin + lemon juice, or enjoy as a sauce/syrup. Test multiple methods next time.
Is water bath canning safe for all fruit preserves? Yes—for high-acid fruits (pH < 4.6). Always add lemon juice if unsure, and follow USDA/NCHFP processing times.
Best fruits for beginners in home gardening? Guava (naturally high pectin, forgiving) and mango (abundant and delicious) are excellent starters in our climate.
Conclusion: From Garden to Jar – Your Preserving Journey Begins! 🌟
You’ve spent months watering, pruning, protecting, and harvesting from your beloved trees—now it’s time to seal that love into sparkling jars of homemade goodness. Start small with one batch of your favorite fruit, follow the steps carefully, and soon your pantry shelves will glow with the colors of your garden: golden mango, rosy guava, sunny papaya.
Making fruit preserves at home isn’t just about food—it’s about honoring your hard work, reducing waste, and savoring the seasons long after the trees rest. Experiment, taste as you go, and don’t be afraid of a “learning batch” or two. Every jar tells a story of your garden.
I’d love to hear about your first (or next!) preserving adventure—drop a comment below with your favorite fruit or any questions. Happy preserving, fellow gardeners! 🏡🍯🌳


