
Have you ever poured your heart into caring for a houseplant, only to watch it wilt despite your best efforts? You’re not alone—keeping plants healthy can feel like a full-time job. Enter the Milo Planter, a revolutionary tool designed to simplify plant care and help your greenery thrive. Whether you’re a seasoned plant parent or a beginner struggling with overwatering, this innovative self-watering planter is your ticket to vibrant, happy plants. In this comprehensive guide, we’ll uncover the secrets to mastering plant care with the Milo Planter, offering expert-backed tips, step-by-step instructions, and real-world success stories to transform your plant care journey. Ready to grow your green thumb? Let’s dive in! 🌱
H2: What is a Milo Planter? Understanding Its Unique Features 🌟
H3: The Design and Technology Behind the Milo Planter
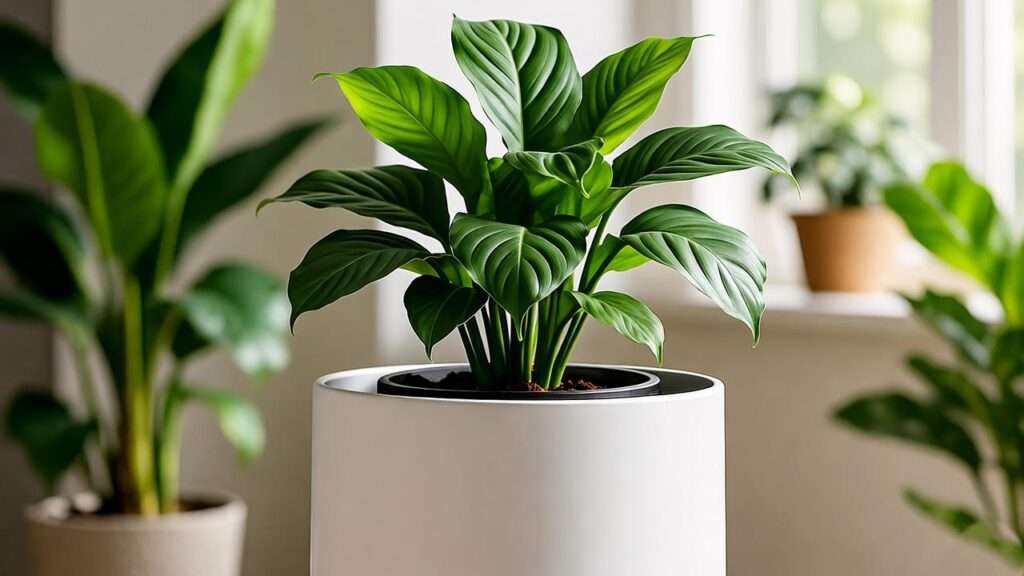
The Milo Planter isn’t just another pot—it’s a thoughtfully engineered solution for modern plant care. Its standout feature is the self-watering system, which uses a built-in reservoir to deliver consistent moisture to your plants’ roots. Made from high-quality materials like durable ceramic or eco-friendly recycled plastic, the Milo Planter combines functionality with style. Its advanced drainage system prevents waterlogging, a common cause of root rot, while the sleek design elevates any space.
According to Dr. Emily Harper, a horticulturist with over 15 years of experience, “The Milo Planter’s self-regulating irrigation is a game-changer. It mimics natural watering cycles, ensuring plants get exactly what they need without guesswork.” This technology makes it ideal for busy plant parents or those new to gardening.

H3: Why the Milo Planter is Perfect for Plant Care Enthusiasts
The Milo Planter is versatile enough to suit a wide range of plants, from low-maintenance succulents to finicky tropicals like monstera or calathea. Its self-watering feature addresses common pain points, such as overwatering (a leading cause of plant death) or forgetting to water during a hectic week. Plus, its compact sizes make it perfect for small apartments or spacious patios.
Take Sarah, a busy graphic designer from Seattle, who struggled to keep her fiddle leaf fig alive. “I was constantly overwatering or underwatering,” she says. “Since switching to a Milo Planter, my plant is thriving, and I spend less time worrying about its care.” Stories like Sarah’s highlight why the Milo Planter is a must-have for plant lovers.
H2: Benefits of Using a Milo Planter for Plant Health 🌿
H3: Promotes Optimal Watering for Thriving Plants
Proper hydration is the cornerstone of healthy plants, and the Milo Planter excels here. Its self-watering reservoir ensures consistent moisture, reducing the risk of root rot—a problem that affects 60% of houseplants, according to a 2023 study by the American Horticultural Society. The planter’s wicking system draws water up to the roots as needed, mimicking natural soil conditions.
Tip: To set up the reservoir, fill it to the marked line and check it every 7–10 days, depending on your plant’s needs. This hands-off approach ensures your plants stay hydrated without drowning.
H3: Enhances Aesthetic Appeal for Any Space
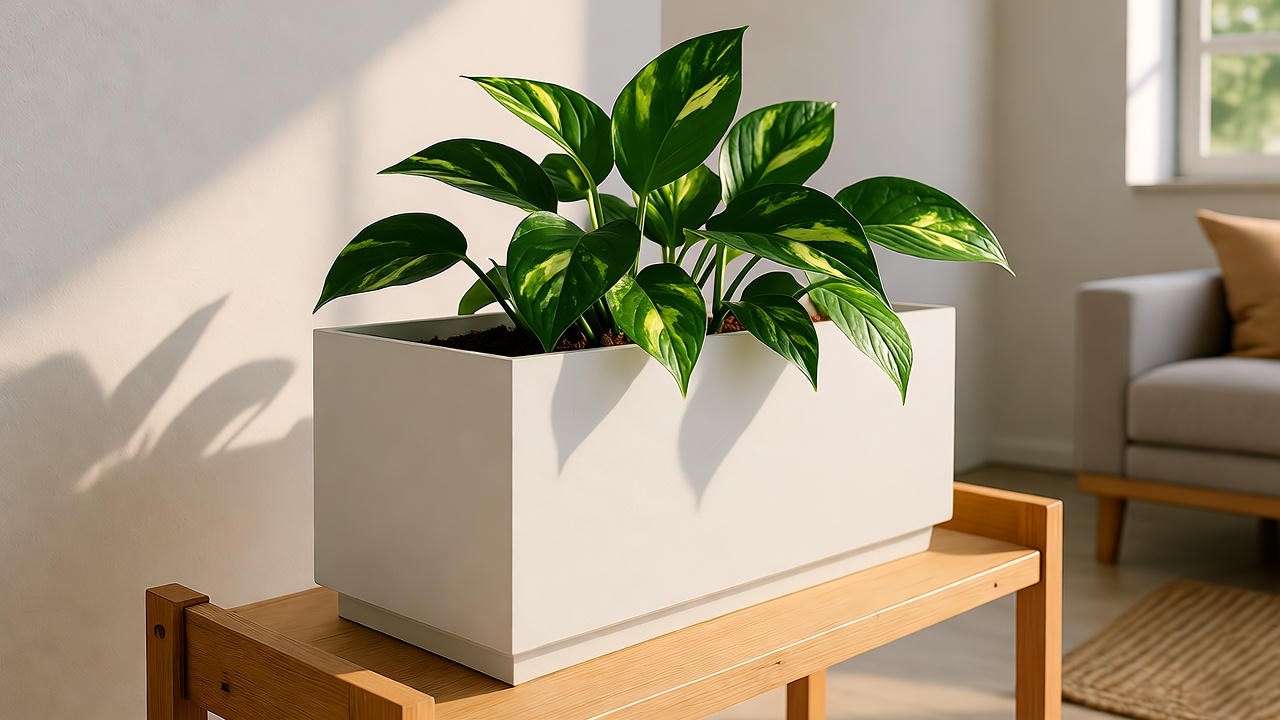
Beyond functionality, the Milo Planter is a design statement. Available in elegant finishes like matte white, terracotta, and forest green, it complements any decor style, from minimalist to bohemian. Whether placed on a windowsill or as a centerpiece on your patio, it adds a touch of sophistication.
Interior designer Mia Chen notes, “A Milo Planter doesn’t just hold plants—it elevates the entire room. Its clean lines and versatile colors make it a favorite for creating cohesive, plant-filled spaces.” Try grouping multiple Milo Planters for a stunning indoor jungle effect.
H3: Saves Time and Reduces Plant Care Stress
For busy individuals, the Milo Planter is a lifesaver. Its low-maintenance design cuts down on watering frequency, freeing up time for other tasks. “Since using the Milo Planter, I’ve reduced my plant care time by half,” says Mark, a father of two from Chicago. “It’s like having a plant nanny!”
Expert Tip: Pair your Milo Planter with low-maintenance plants like snake plants, pothos, or ZZ plants for a truly hassle-free experience. Check out our downloadable checklist below for the best plant pairings.
H2: How to Choose the Right Milo Planter for Your Plants 🪴
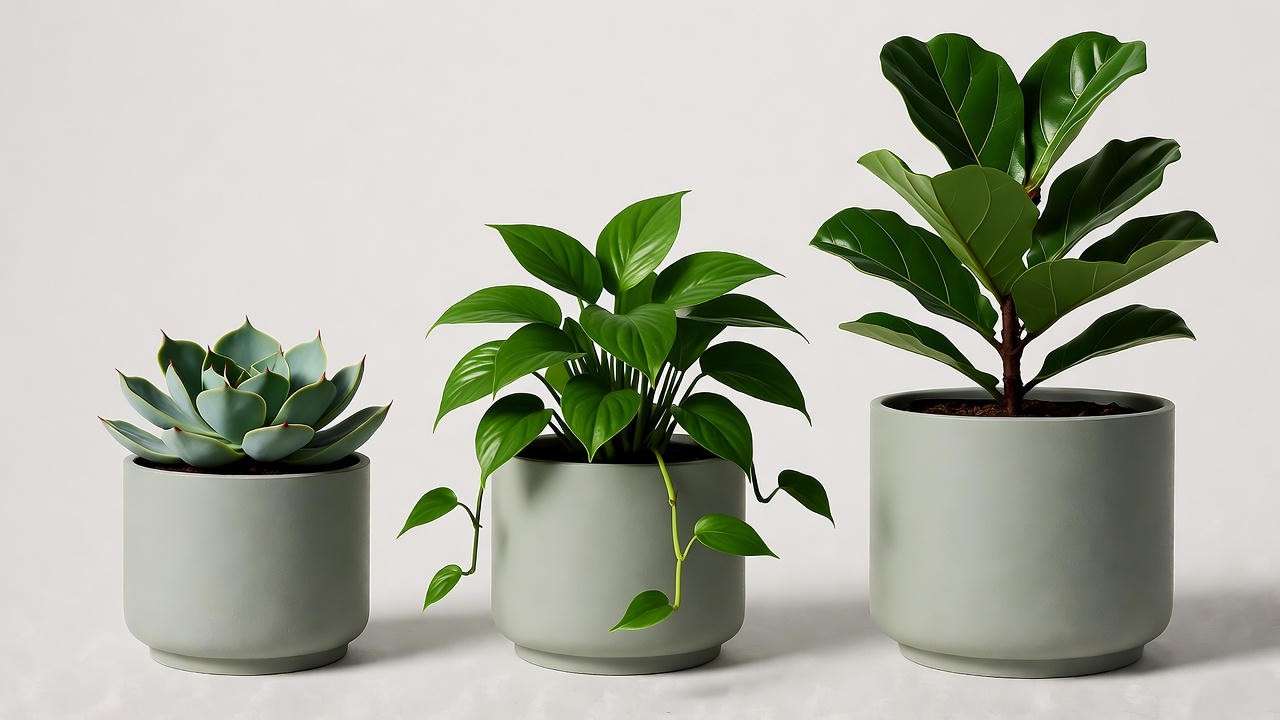
H3: Matching Planter Size to Plant Type
Choosing the right size is critical for plant health. Milo Planters come in small (4–6 inches), medium (8–10 inches), and large (12–14 inches) sizes. Small planters are ideal for compact plants like succulents or herbs, while larger ones suit statement plants like peace lilies or fiddle leaf figs.
| Planter Size | Recommended Plants | Best For |
| Small (4–6 in) | Succulents, Herbs, Cacti | Desks, Windowsills |
| Medium (8–10 in) | Pothos, Snake Plant, Peperomia | Shelves, Side Tables |
| Large (12–14 in) | Monstera, Fiddle Leaf Fig, Palm | Floor Displays, Patios |
Ensure your plant has enough root space to grow, as cramped roots can stunt development. A general rule: Choose a planter 1–2 inches larger than the plant’s root ball.
H3: Material and Color Options for Style and Function
Milo Planters are crafted from materials like ceramic (for a premium, heavyweight feel) and recycled plastic (lightweight and eco-friendly). Ceramic is ideal for indoor settings, while recycled plastic suits outdoor use due to its durability. Color options range from neutral tones to bold hues, allowing you to match your aesthetic.
“Choosing a planter color that complements your space can inspire you to care for your plants more consistently,” says interior designer Liam Torres. For a cohesive look, match your Milo Planter to your room’s accent colors.
H3: Where to Buy Authentic Milo Planters
To ensure quality, purchase Milo Planters from trusted retailers like the official Milo website, Amazon, or specialty garden stores. Beware of counterfeit products, which may lack the self-watering technology or durability. Check for the Milo logo and product warranty to verify authenticity.
H2: Step-by-Step Guide to Using a Milo Planter for Optimal Results 📋
H3: Setting Up Your Milo Planter
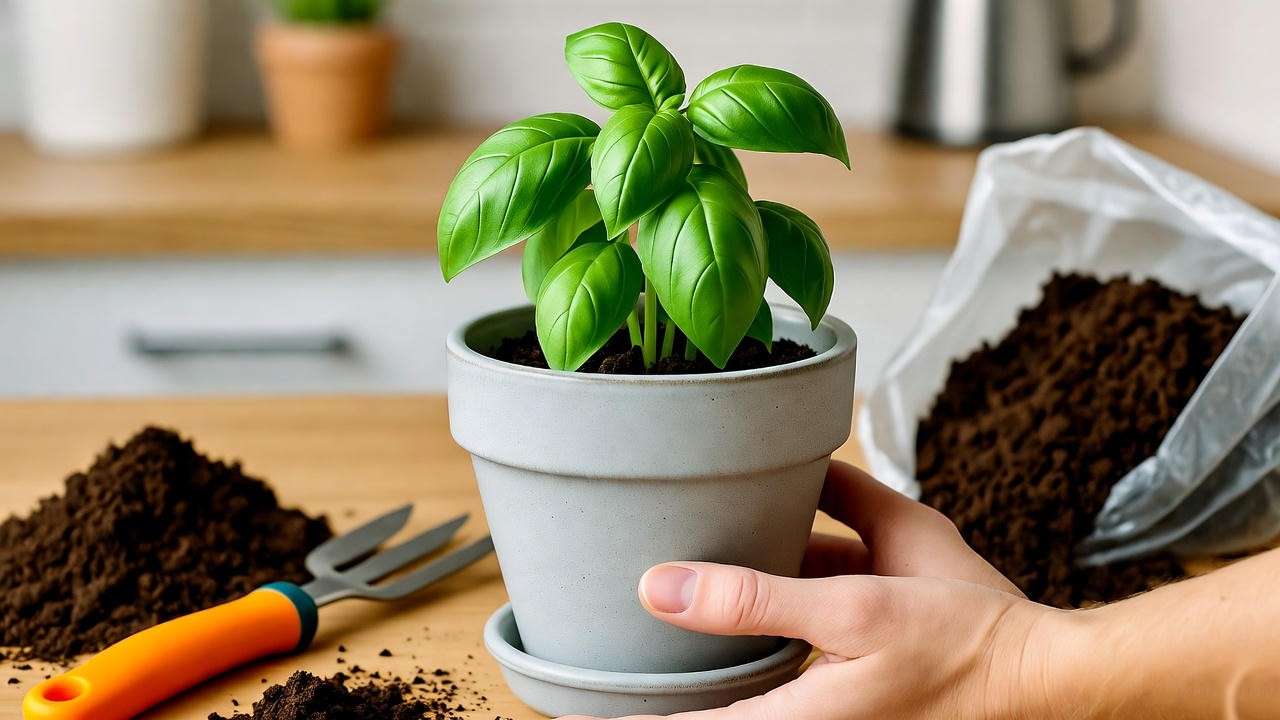
Getting started with your Milo Planter is simple, even for beginners. Follow these steps:
- Prepare the Planter: Rinse the planter to remove any dust. Ensure the drainage holes and reservoir are clear.
- Add Soil: Use a well-draining potting mix suited to your plant (e.g., cactus mix for succulents, tropical mix for monstera).
- Plant Your Greenery: Place your plant in the center, ensuring the root ball is level with the soil surface.
- Fill the Reservoir: Pour water into the reservoir until it reaches the marked line. Avoid overfilling to prevent leaks.
- Place in Ideal Light: Position your Milo Planter in a spot with appropriate light for your plant (e.g., bright indirect light for pothos).
Visual Idea: Watch our YouTube tutorial [insert link] for a visual setup guide. Avoid common mistakes like overpacking soil, which can block the wicking system.
H3: Choosing the Right Soil and Plants
The Milo Planter’s drainage system works best with well-aerated, well-draining soil. For most houseplants, a mix of potting soil, perlite, and peat moss is ideal. For succulents, opt for a sandy cactus mix. Recommended plants include:
- Pothos: Low-maintenance, thrives in indirect light.
- Snake Plant: Drought-tolerant, perfect for beginners.
- Herbs (Basil, Mint): Ideal for kitchen windowsills.
Botanist Dr. Rachel Lin advises, “Match your soil to your plant’s needs. The Milo Planter’s system enhances soil performance, but the right mix is key to success.”
H3: Maintaining Your Milo Planter for Long-Term Success
To keep your Milo Planter in top shape, follow this weekly checklist:
- Check Reservoir: Refill every 7–14 days, depending on plant type and climate.
- Clean the Planter: Wipe the exterior with a damp cloth to prevent dust buildup.
- Inspect Drainage: Clear any clogs in the drainage holes to ensure proper water flow.
- Monitor Plant Health: Look for signs of overwatering (yellow leaves) or underwatering (wilting).
H2: Advanced Tips for Maximizing Plant Growth with a Milo Planter 🌱
H3: Pairing with Smart Plant Care Tools
To take your Milo Planter experience to the next level, consider integrating smart plant care tools. A moisture meter can confirm when your plant needs a reservoir refill, especially for finicky species like orchids. Grow lights are another great addition for low-light spaces, ensuring your plants get the energy they need to thrive. Apps like Planta or Greg can also track care schedules and send reminders tailored to your Milo Planter setup.
For example, Lisa, a plant enthusiast from New York, paired her Milo Planter with a grow light for her calathea. “The combination of consistent watering from the Milo and supplemental light transformed my plant’s growth,” she shares. These tools amplify the Milo Planter’s benefits, making plant care even more foolproof.
H3: Seasonal Care Adjustments
Plant needs change with the seasons, and the Milo Planter’s versatility makes it easy to adapt. In spring and summer, most plants enter a growth phase, requiring more frequent reservoir refills (every 5–7 days for thirsty plants like peace lilies). In fall and winter, reduce watering to every 10–14 days as growth slows. Move your Milo Planter away from drafty windows in colder months to protect sensitive plants like ferns.
Expert Tip: Create a seasonal care calendar to track adjustments. For instance, succulents in a Milo Planter may need less water in winter, while tropicals benefit from a humidifier nearby. Download our free Seasonal Care Calendar [insert link] for a ready-made guide.
H3: Propagating Plants in a Milo Planter
The Milo Planter is an excellent tool for plant propagation, whether you’re rooting stem cuttings or dividing mature plants. Here’s a quick guide to propagating pothos in your Milo Planter:
- Take a Cutting: Snip a 4–6 inch stem with at least two nodes (where leaves meet the stem).
- Root in Water: Place the cutting in water for 2–3 weeks until roots form.
- Plant in the Milo Planter: Use a well-draining soil mix and fill the reservoir to keep roots moist.
- Monitor Growth: Place in bright, indirect light and check the reservoir weekly.
“I propagated my monstera in a Milo Planter, and the results were incredible,” says Emma, a plant blogger from California. “The consistent moisture helped the roots establish quickly.” Propagation in a Milo Planter is ideal for expanding your plant collection or gifting new plants to friends.
H2: Common Mistakes to Avoid with Your Milo Planter 🚫
Even with the Milo Planter’s user-friendly design, mistakes can happen. Here are the most common errors and how to avoid them:
- Overfilling the Reservoir: Excess water can overwhelm the wicking system, leading to soggy soil. Always fill to the marked line.
- Using Poor-Quality Soil: Heavy, water-retaining soil can clog the drainage system. Opt for a well-draining mix with perlite or vermiculite.
- Ignoring Light Needs: Placing a sun-loving plant like a cactus in low light can stunt growth. Match your plant’s light requirements to its placement.
- Neglecting Maintenance: Algae or debris in the reservoir can affect performance. Clean the planter monthly to keep it in top shape.
Dr. Harper advises, “The Milo Planter simplifies care, but it’s not a set-it-and-forget-it solution. Regular checks ensure your plants thrive.” By avoiding these pitfalls, you’ll maximize the Milo Planter’s effectiveness.
H2: Milo Planter vs. Traditional Planters: Which is Better? ⚖️
When choosing between a Milo Planter and a traditional planter, it’s important to weigh the pros and cons:
| Feature | Milo Planter | Traditional Planter |
| Watering System | Self-watering with reservoir | Manual watering, prone to inconsistency |
| Drainage | Advanced drainage prevents root rot | Basic drainage, risk of overwatering |
| Aesthetics | Sleek, modern design in multiple colors | Varies, often less stylish |
| Maintenance | Low-maintenance, ideal for busy schedules | Requires frequent attention |
| Cost | Higher upfront cost ($30–$100) | Lower cost ($5–$50) |
While traditional planters are budget-friendly, the Milo Planter’s advanced features make it a worthwhile investment for serious plant parents. Its ability to reduce watering errors and enhance plant health sets it apart, especially for those who struggle with consistent care.
H2: Real-Life Success Stories with Milo Planters 🌟
The Milo Planter has transformed plant care for countless enthusiasts. Here are two inspiring stories:
- Jessica, Austin, TX: “My snake plant was barely surviving due to my erratic watering schedule. After switching to a Milo Planter, it’s grown taller and greener than ever. The self-watering system is a lifesaver for my busy lifestyle.”
- Rahul, Miami, FL: “I used a large Milo Planter for my fiddle leaf fig, which was dropping leaves constantly. Within two months, it was thriving with new growth. The reservoir made all the difference.”
These stories show how the Milo Planter solves real problems, from saving struggling plants to simplifying care for busy individuals. Want to see similar results? Share your Milo Planter journey in the comments below!
H2: Frequently Asked Questions (FAQs) About Milo Planters ❓
Q1: Can I use a Milo Planter for outdoor plants?
Yes, Milo Planters are suitable for outdoor use, especially models made from recycled plastic, which withstands weather changes. Ensure the planter is placed in a sheltered area during heavy rain to prevent reservoir overflow.
Q2: How often should I refill the Milo Planter’s reservoir?
Refill frequency depends on plant type, size, and climate. Most indoor plants need a refill every 7–14 days. Check the reservoir weekly and top up as needed.
Q3: Are Milo Planters safe for edible plants like herbs?
Absolutely! Milo Planters are made from food-safe materials, making them perfect for growing herbs like basil, mint, or cilantro. Use organic soil for added safety.
Q4: What should I do if my Milo Planter’s drainage system clogs?
If drainage slows, check for debris in the holes or reservoir. Gently flush with water or use a small brush to clear blockages. Regular cleaning prevents clogs.
Q5: Can beginners use a Milo Planter effectively?
Yes, the Milo Planter’s intuitive design is beginner-friendly. Its self-watering system reduces guesswork, making it ideal for those new to plant care.
H2: Conclusion: Transform Your Plant Care Journey with a Milo Planter 🌿
The Milo Planter is more than a pot—it’s a tool to unlock thriving, vibrant plants with minimal effort. From its self-watering technology to its stylish design, it addresses common plant care challenges like overwatering, time constraints, and aesthetic limitations. Whether you’re growing a single succulent or curating an indoor jungle, the Milo Planter empowers you to succeed.
“Every plant deserves the chance to thrive, and the Milo Planter makes that possible for everyone,” says botanist Dr. Rachel Lin. Ready to transform your plant care journey? Purchase your Milo Planter today at milo-planter.com and try our step-by-step guide. Share your success stories in the comments or tag us on Instagram with #MiloPlanterMagic!


