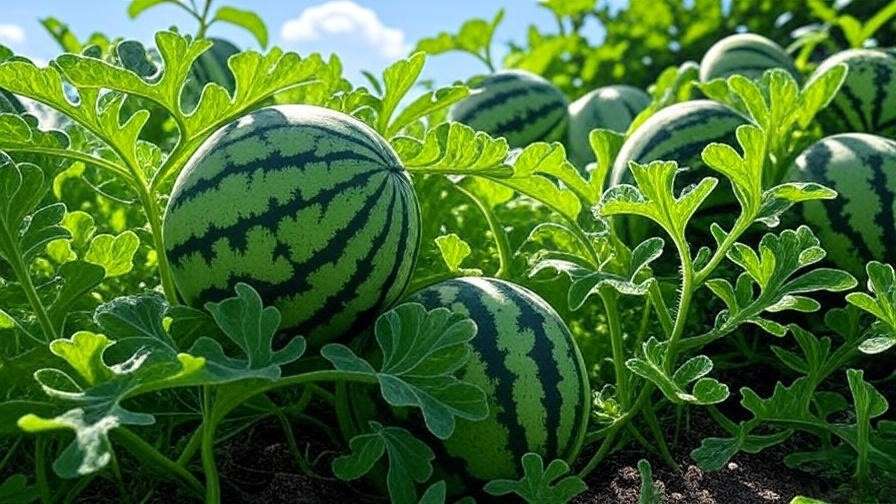
Picture this: you step into your backyard, pluck a perfectly ripe, seedless mini watermelon from the vine, and slice it open to reveal sweet, juicy flesh that melts in your mouth. 😋 Growing mini watermelon seedless varieties at home is not only rewarding but also surprisingly achievable, even for beginners! These compact, flavorful fruits are perfect for small gardens, patios, or urban spaces, delivering all the summer sweetness without the hassle of seeds. In this comprehensive guide, we’ll walk you through every step—selecting the best varieties, preparing your garden, nurturing your plants, and harvesting a bountiful crop. Backed by horticultural expertise and practical tips, this article will empower you to grow mini watermelons like a pro. Let’s dig in! 🌞
Why Choose Mini Watermelon Seedless Varieties? 🌟
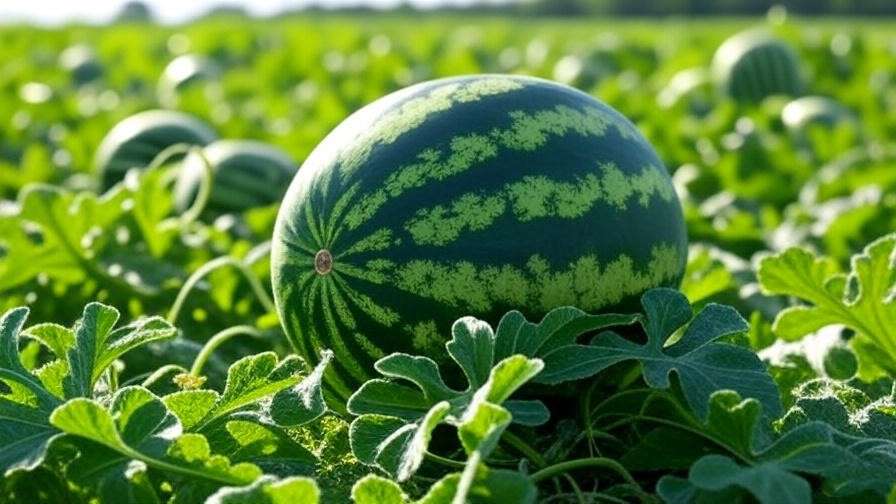
Mini watermelon seedless varieties are a gardener’s dream, combining convenience, flavor, and versatility. Unlike their larger counterparts, these pint-sized fruits are easier to grow, require less space, and mature faster, making them ideal for home gardeners.
Benefits of Growing Seedless Mini Watermelons
- Space-Saving: Mini watermelons thrive in small gardens, raised beds, or even large containers, perfect for urban gardeners or those with limited space. 🏡
- Sweet and Juicy: These varieties, like ‘Mini Love’ or ‘Sugar Baby Seedless,’ offer the same refreshing taste as full-sized watermelons without the seeds.
- High Demand: Their petite size (typically 3–7 pounds) makes them a hit for families, farmers’ markets, or farm-to-table enthusiasts.
- Low Maintenance: With a shorter growing season (70–90 days) and less pruning, they’re less labor-intensive than traditional watermelons.
Popular Mini Watermelon Seedless Varieties to Try
Choosing the right variety sets the foundation for success. Here are some top picks:
- ‘Mini Love’: A compact, 3–5-pound melon with crisp, sweet flesh and a short 70-day growing cycle.
- ‘Sugar Baby Seedless’: Slightly larger (6–8 pounds), this variety boasts deep red flesh and a classic watermelon flavor.
- ‘Little Darling’: Known for its vibrant rind and juicy texture, ideal for warm climates.
Expert Tip: Select varieties suited to your region’s climate and growing season. Check with local nurseries or university extension services for recommendations. 🌼
Preparing to Grow Mini Watermelon Seedless Varieties 🌍
Success starts with preparation. From understanding your climate to gathering supplies, here’s how to set up for a thriving watermelon patch.
Understanding Your Climate and Growing Zone
Mini watermelons love warmth, thriving in temperatures between 70–85°F. They grow best in USDA Hardiness Zones 4–11, but timing is key:
- Plant after the last frost date in spring to avoid cold damage.
- Ensure a growing season of at least 70–90 days for most varieties.
- In cooler climates, consider starting seeds indoors or using row covers to extend the season.
Selecting the Perfect Location
Location is everything for healthy watermelon plants:
- Sunlight: Choose a spot with 6–8 hours of direct sunlight daily. ☀️
- Soil Type: Opt for well-drained, sandy loam with a pH of 6.0–6.8. Test your soil with a home kit or send a sample to a local extension service.
- Space: Mini watermelon vines spread 6–10 feet, so plan for ample room or use a trellis for vertical growth in smaller spaces.
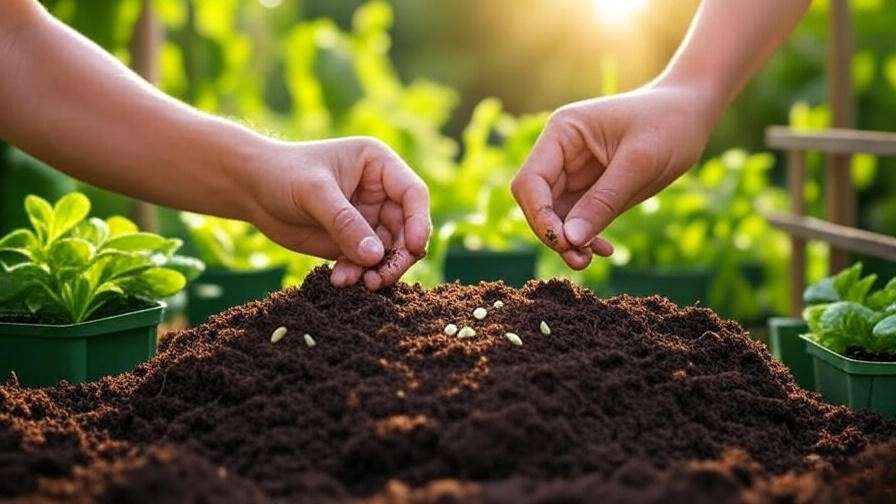
Gathering Supplies and Seeds
Stock up on these essentials:
- Seeds: Purchase certified disease-free mini watermelon seedless seeds from reputable sources like Burpee, Johnny’s Selected Seeds, or local nurseries.
- Tools: Invest in a trellis (for vertical growth), mulch, drip irrigation, and organic fertilizers like compost or 10-10-10 blends.
- Expert Insight: Disease-resistant seeds reduce the risk of common issues like fusarium wilt. Always check seed packets for variety-specific tips. 🧑🌾
Step-by-Step Guide to Planting Mini Watermelon Seedless Varieties 🌱
With your supplies ready, it’s time to plant. Follow these steps for a strong start.
Starting Seeds Indoors vs. Direct Sowing
- Indoor Seed Starting: Ideal for cooler climates. Start seeds 4–6 weeks before the last frost in seedling trays with a heat mat (75–85°F). Transplant seedlings when they have 2–3 true leaves.
- Direct Sowing: Best for warm regions. Plant seeds directly in the garden after soil temperatures reach 70°F. Create mounds or hills (12–18 inches high) to improve drainage.
- Pros and Cons: Indoor starting extends the season but requires more effort; direct sowing is simpler but riskier in cooler climates.
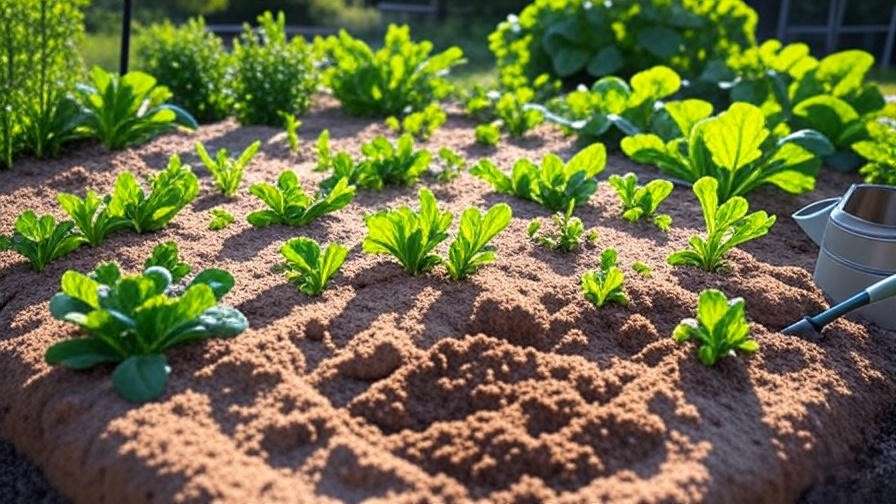
Soil Preparation and Amendments
Healthy soil equals healthy plants:
- Test and Adjust: Use a soil test kit to check pH and nutrient levels. Amend with lime (to raise pH) or sulfur (to lower pH) as needed.
- Add Organic Matter: Mix in compost, aged manure, or leaf mold to boost fertility and improve drainage.
- Fertilizer: Apply a balanced 10-10-10 fertilizer before planting to provide essential nutrients. 🌿
Pro Tip: Aerate heavy clay soils with sand or perlite to prevent waterlogging.
Planting Techniques for Success
- Spacing: Plant seeds 2–3 feet apart in rows 4–6 feet apart to avoid overcrowding.
- Depth: Sow seeds 1 inch deep for optimal germination.
- Companion Planting: Pair with marigolds or nasturtiums to repel pests like aphids and beetles. 🌸
Example: A gardener in Zone 7 planted ‘Mini Love’ seeds in raised beds with marigolds, reporting fewer pest issues and a 90% germination rate.
Caring for Your Mini Watermelon Plants 🌿
Proper care ensures vigorous vines and plump, juicy fruits. Here’s how to nurture your plants.
Watering and Irrigation Best Practices
Watermelons are thirsty plants:
- Consistency: Provide 1–2 inches of water per week, adjusting for rainfall.
- Method: Use drip irrigation or soaker hoses to deliver water directly to the roots, avoiding wet foliage.
- Expert Tip: Water early in the morning to reduce evaporation and prevent fungal diseases like powdery mildew. 💧
Fertilizing for Healthy Growth
Feed your plants for optimal fruit production:
- Schedule: Apply a starter fertilizer (10-10-10) at planting, then side-dress with nitrogen-rich fertilizer (like 5-10-10) when vines start flowering.
- Organic Options: Use fish emulsion, compost tea, or seaweed extract for eco-friendly nutrition.
- Warning: Over-fertilizing with nitrogen can lead to lush vines but fewer fruits. Balance is key!
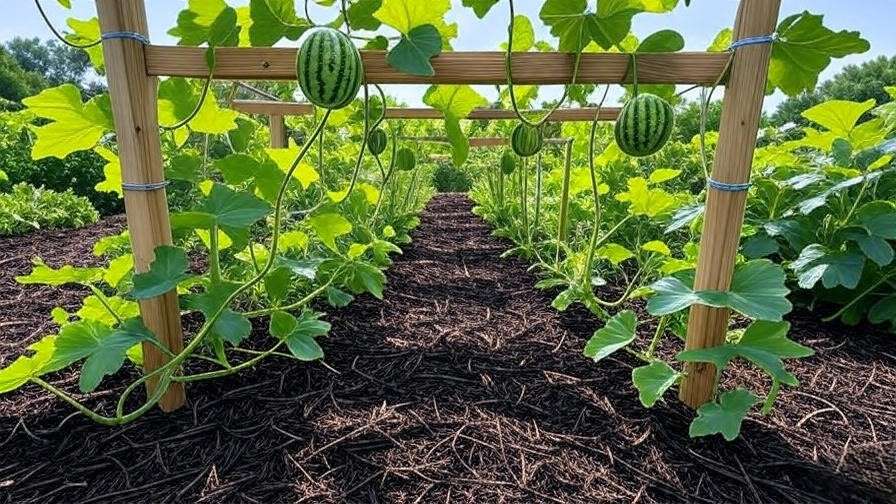
Managing Vines and Supporting Growth
Mini watermelon vines can sprawl or climb:
- Trellising: Use sturdy A-frame trellises or netting for vertical growth, saving space and improving air circulation.
- Pruning: Trim excessive vines to focus energy on fruit development. Leave 2–3 main vines per plant.
- Support: Use slings (made from old t-shirts or pantyhose) to cradle growing melons on trellises. 🕸️
Case Study: A California gardener used a trellis system for ‘Little Darling,’ harvesting 10 melons from a 4×4-foot plot.
Pest and Disease Management
Protect your crop from common threats:
- Pests: Watch for aphids, cucumber beetles, and spider mites. Use neem oil or insecticidal soap for organic control.
- Diseases: Prevent powdery mildew, fusarium wilt, and anthracnose with proper spacing, crop rotation, and resistant varieties.
- Expert Insight: Scout plants weekly and remove infected leaves immediately to stop disease spread. 🔍
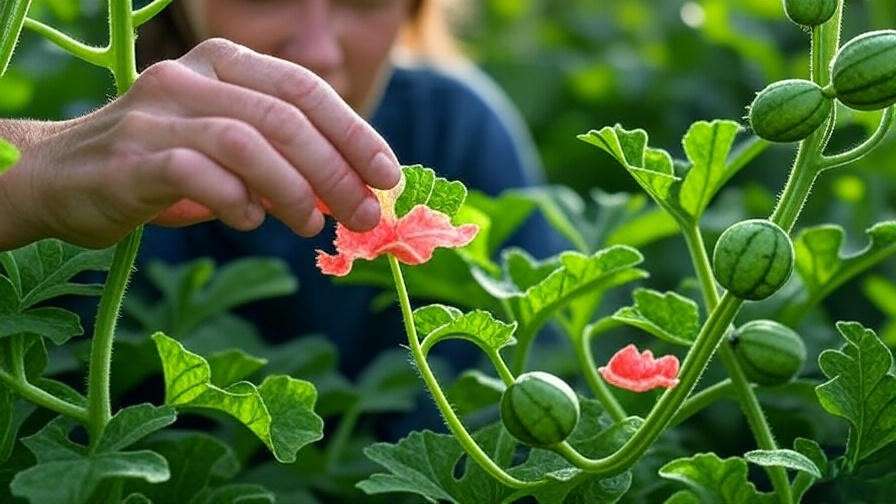
Pollination and Fruit Development 🐝
Seedless watermelons require special attention to pollination for fruit to form.
Understanding Seedless Watermelon Pollination
- Pollinator Plants: Seedless varieties are sterile and need a diploid (seeded) watermelon nearby to produce pollen. Plant one seeded variety (like ‘Sugar Baby’) for every 3–4 seedless plants.
- Hand-Pollination: Transfer pollen from male flowers (thin stems) to female flowers (small fruit at base) using a paintbrush if bee activity is low.
- Attracting Pollinators: Plant bee-friendly flowers like lavender or borage nearby to boost pollination.
Pro Tip: Morning is the best time for hand-pollination when flowers are fully open.
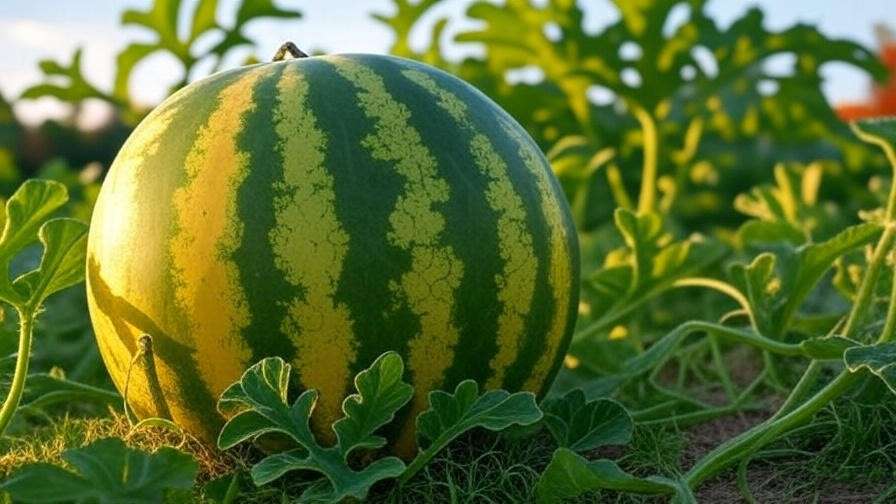
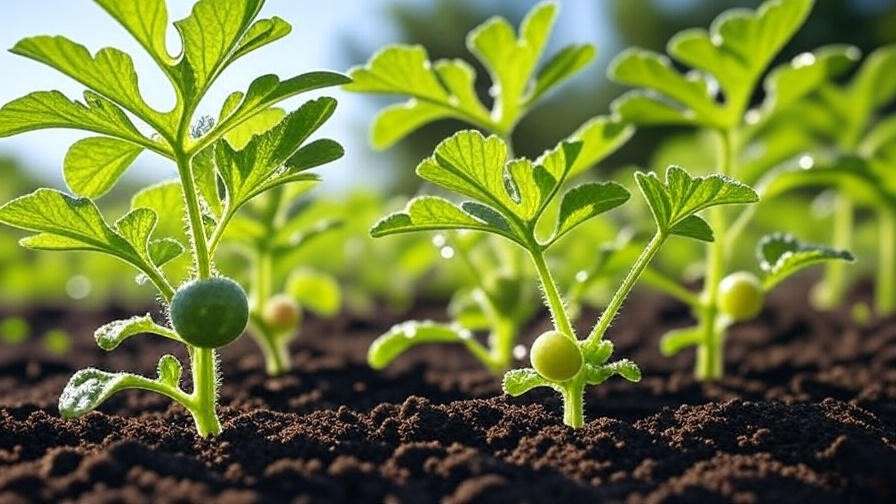
Recognizing Fruit Set and Growth Stages
- Signs of Success: Small melons form at the base of pollinated female flowers within 7–10 days.
- Growth Timeline: Expect 70–90 days from planting to harvest, depending on variety and conditions.
- Ripeness Clues: Look for a yellowing underside, dull rind, and a hollow sound when tapped. 🍈
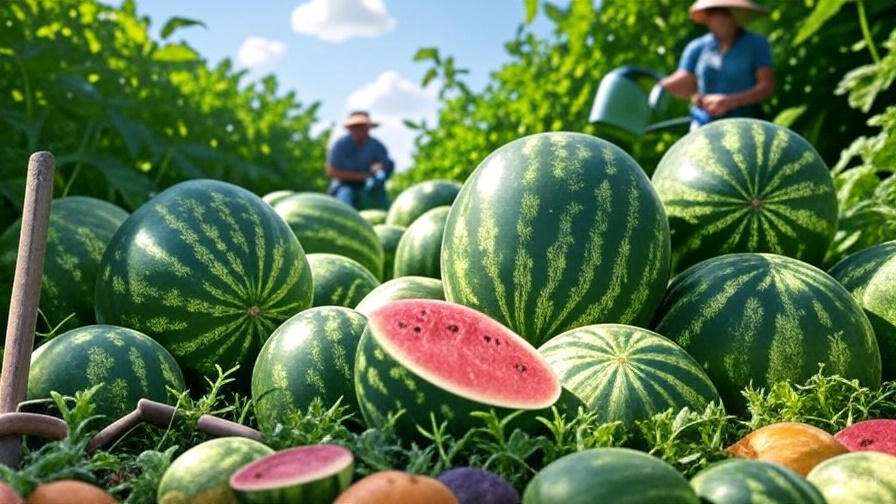
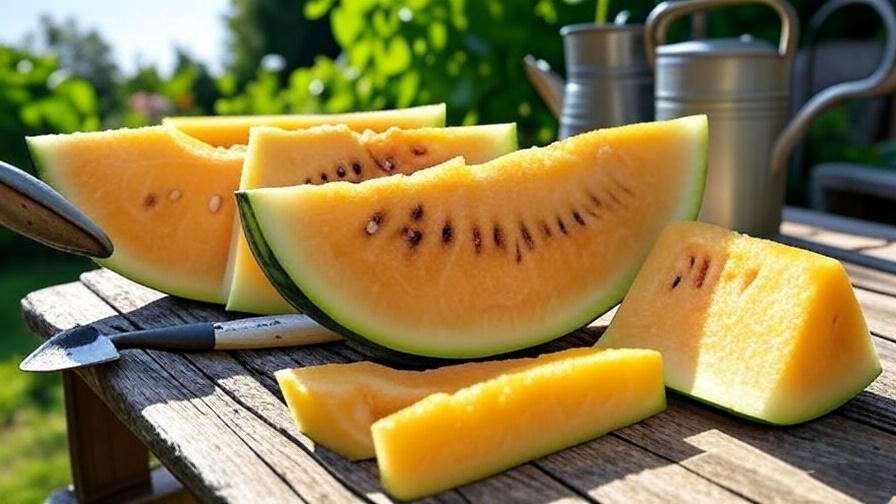
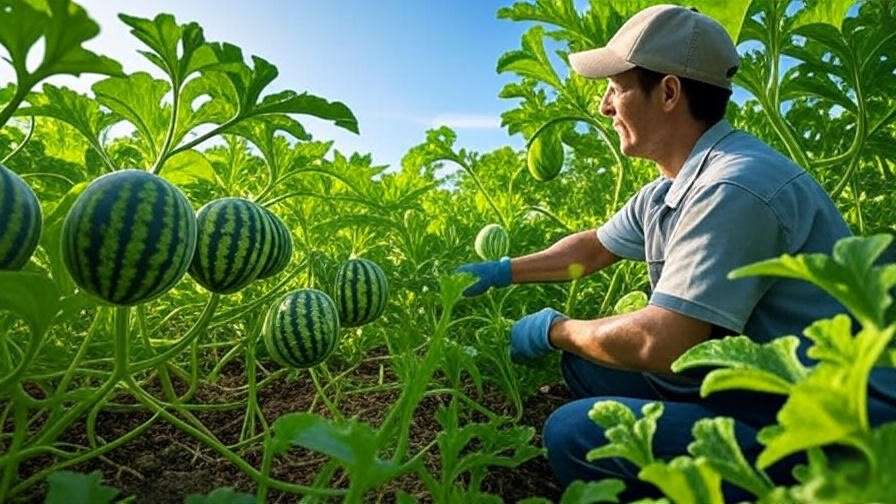
Harvesting and Storing Your Mini Watermelons 🍉
Once your mini watermelons reach peak ripeness, it’s time to enjoy the fruits of your labor! Proper harvesting and storage techniques ensure maximum flavor and longevity.
When and How to Harvest
Timing is critical for harvesting sweet, juicy mini watermelons:
- Ripeness Indicators: Check for these signs to know your melons are ready:
- A yellow or creamy patch on the underside where the melon rests on the ground.
- A dull, matte rind (shiny rinds indicate immaturity).
- A hollow, resonant sound when you tap the melon gently.
- Harvesting Technique: Use clean, sharp garden shears to cut the stem, leaving about 2 inches attached to the fruit to prevent rot. Avoid pulling or twisting the melon off the vine, as this can damage the plant.
- Expert Tip: Harvest in the early morning when temperatures are cooler to preserve flavor and prevent heat stress on the fruit. 🌄
Example: A gardener in Texas reported that harvesting ‘Mini Love’ melons at the yellow-patch stage resulted in consistently sweet, crisp fruit.

Storing and Enjoying Your Harvest
Maximize the shelf life and enjoyment of your mini watermelons:
- Storage: Store whole melons at room temperature (around 70°F) for 1–2 weeks or refrigerate at 45–50°F for up to a month. Avoid storing near apples or bananas, as ethylene gas from these fruits can accelerate spoilage.
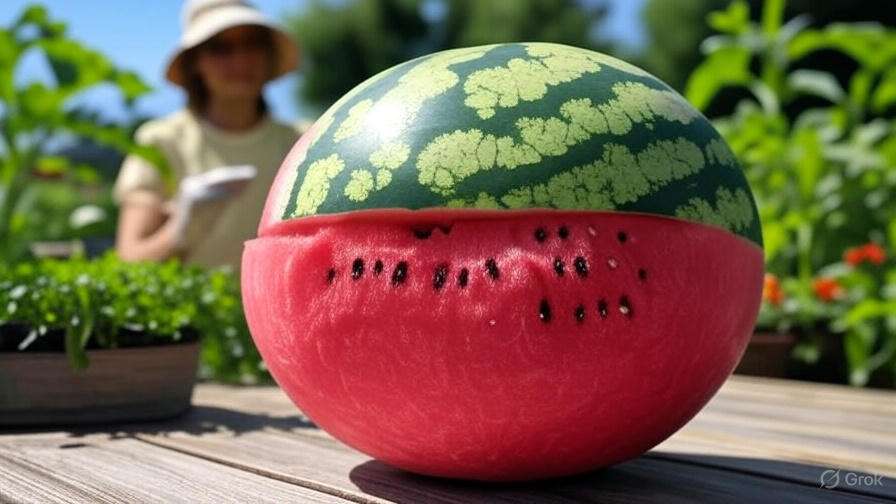
- Serving Ideas: Enjoy fresh slices, blend into smoothies, or create a refreshing watermelon feta salad with mint. 😋
- Preserving Pollinator Seeds: If you planted a seeded pollinator variety, save seeds from ripe melons for next season. Clean, dry, and store them in a cool, dry place.
Pro Tip: Chill mini watermelons before serving for an extra-refreshing treat, but avoid freezing whole melons, as it can ruin their texture.
Troubleshooting Common Challenges ⚠️
Even with the best care, issues can arise. Here’s how to address common problems to keep your mini watermelon crop thriving.
Why Aren’t My Watermelons Growing?
If your plants aren’t producing fruit, consider these culprits:
- Poor Pollination: Insufficient pollinator plants or low bee activity can prevent fruit set. Ensure a 1:3 ratio of seeded to seedless plants and consider hand-pollination.
- Inadequate Sunlight: Less than 6 hours of direct sun can stunt growth. Relocate containers or trim overhanging plants to maximize light exposure.
- Nutrient Imbalance: Too much nitrogen leads to leafy vines but no fruit. Switch to a phosphorus-heavy fertilizer (like 5-10-10) during flowering.
Solution: Test soil nutrients and adjust watering to maintain consistent moisture without waterlogging.

Dealing with Small or Misshapen Fruit
Small or oddly shaped melons can be frustrating:
- Causes: Overcrowding, irregular watering, or incomplete pollination.
- Fixes:
- Space plants properly (2–3 feet apart) to reduce competition.
- Use drip irrigation for steady moisture, avoiding fluctuations that stress plants.
- Ensure robust pollination by planting pollinator varieties or hand-pollinating.
Case Study: A Florida gardener corrected misshapen ‘Sugar Baby Seedless’ melons by spacing plants further apart and using a drip system, yielding uniform 5-pound fruits.
Preventing and Treating Diseases
Mini watermelons are susceptible to certain diseases, but proactive measures can minimize risks:
- Common Diseases:
- Powdery Mildew: White, powdery spots on leaves. Treat with organic fungicides like sulfur or neem oil and improve air circulation.
- Fusarium Wilt: Wilting vines despite adequate water. Use resistant varieties and practice crop rotation.
- Anthracnose: Dark, sunken spots on fruit. Remove affected plants and apply copper-based fungicides.
- Prevention: Space plants for airflow, avoid overhead watering, and rotate crops every 2–3 years.
- Expert Insight: Regular scouting (checking plants weekly) catches issues early. Remove and destroy infected plant parts to prevent spread. 🔍
Expert Tips for a Bountiful Harvest 🎉
Take your mini watermelon game to the next level with these pro tips:
- Mulching: Apply a 2–3-inch layer of straw, wood chips, or black plastic mulch to retain moisture, suppress weeds, and keep fruits clean.
- Row Covers: Use lightweight row covers in early spring to protect young plants from pests and cold snaps, removing them once flowering begins to allow pollination.
- Timing: In cooler climates, start seeds indoors or use black plastic mulch to warm the soil, extending the growing season.
- Case Study: An urban gardener in Chicago grew ‘Little Darling’ in 5-gallon containers with a trellis, harvesting 8 melons per plant by using mulch and consistent drip irrigation.
Frequently Asked Questions (FAQs) ❓
Here are answers to common questions about growing mini watermelon seedless varieties:
- Q: Can I grow mini watermelon seedless varieties in containers?
A: Absolutely! Use a 5-gallon or larger container with excellent drainage and a sturdy trellis to support vines. Ensure full sun and regular watering. - Q: How long does it take for mini watermelons to ripen?
A: Most varieties take 70–90 days from planting to harvest, depending on climate and care. Check ripeness indicators like the yellow patch. - Q: Do seedless watermelons need a special pollinator?
A: Yes, plant a seeded (diploid) watermelon variety nearby (1:3 ratio) to provide pollen for fruit set. - Q: Why are my watermelon vines growing but not producing fruit?
A: This could stem from poor pollination, too much nitrogen, or insufficient sunlight. Adjust fertilizer, ensure pollinator plants, and maximize sun exposure.
Conclusion: Grow Your Own Mini Watermelon Seedless Success! 🌈
Growing mini watermelon seedless varieties is a delightful way to bring summer sweetness to your garden, no matter the size of your space. From selecting the perfect variety to mastering pollination and harvesting at peak ripeness, this guide has equipped you with expert-backed strategies to achieve a bountiful harvest. Whether you’re a beginner or a seasoned gardener, these compact, flavorful melons are within your reach with the right care and attention. Start planning your watermelon patch today, and share your growing journey in the comments below—we’d love to hear your success stories! With a little patience and these tips, you’ll be savoring homegrown, seedless mini watermelons all summer long.