
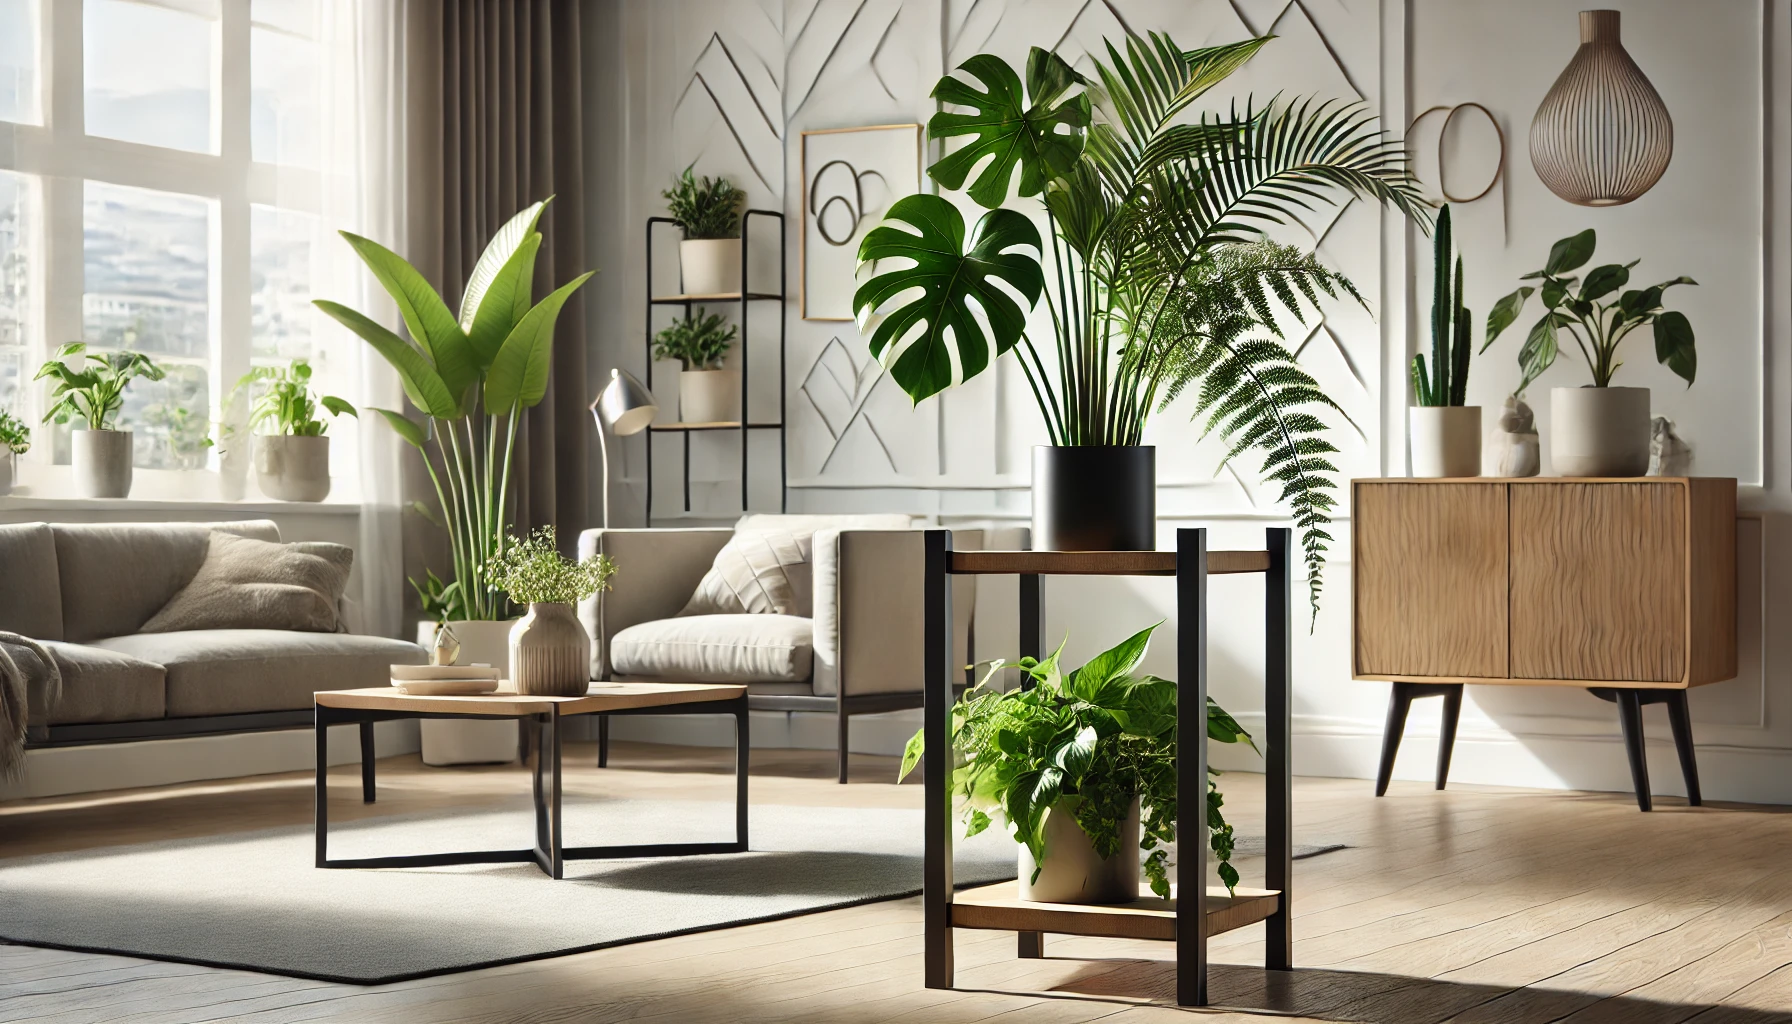
A beautifully crafted modern plant stand DIY project can instantly elevate your indoor or outdoor space, adding both function and style to your décor. Whether you’re a seasoned DIY enthusiast or a beginner looking for a creative weekend project, making your own plant stand is a rewarding experience. It’s a great way to showcase your greenery. Not only does a stylish plant stand enhance the beauty of your plants, but it also helps optimize space. It improves air circulation around them as well. In this step-by-step guide, we’ll walk you through everything you need to create a sleek, modern plant stand that complements any home aesthetic.
Materials and Tools Needed 🛠️🌿
Before you start your modern plant stand DIY project, gathering the right materials and tools is key. It will make the process smooth and enjoyable.The right choices will ensure your plant stand is sturdy, stylish, and long-lasting.
📌 Materials:
✔️ Wood or Metal: Choose solid wood like oak, pine, or birch for a warm, natural look. If you prefer an industrial or minimalist design, metal pipes or rods work well.
✔️ Screws & Nails: Use durable screws to securely join the pieces together. If working with metal, opt for appropriate fasteners.
✔️ Wood Glue (Optional): It helps strengthen wooden joints for added stability.
✔️ Sandpaper: Smooths rough edges, ensuring a professional finish.
✔️ Paint, Stain, or Sealant: Customize your stand’s look and protect it from moisture and wear.
🔧 Tools:
🔨 Saw: A hand saw works for small projects, but a power saw speeds up cutting for precision.
📏 Measuring Tape & Pencil: Ensures accurate dimensions for a balanced stand.
🪛 Drill & Screwdriver: Essential for securing joints firmly. If using metal, a drill with a metal bit is recommended.
🖌️ Paintbrush or Roller: For applying stain, paint, or sealant smoothly.
🔧 Clamps (Optional): Helps hold pieces in place while assembling for better accuracy.
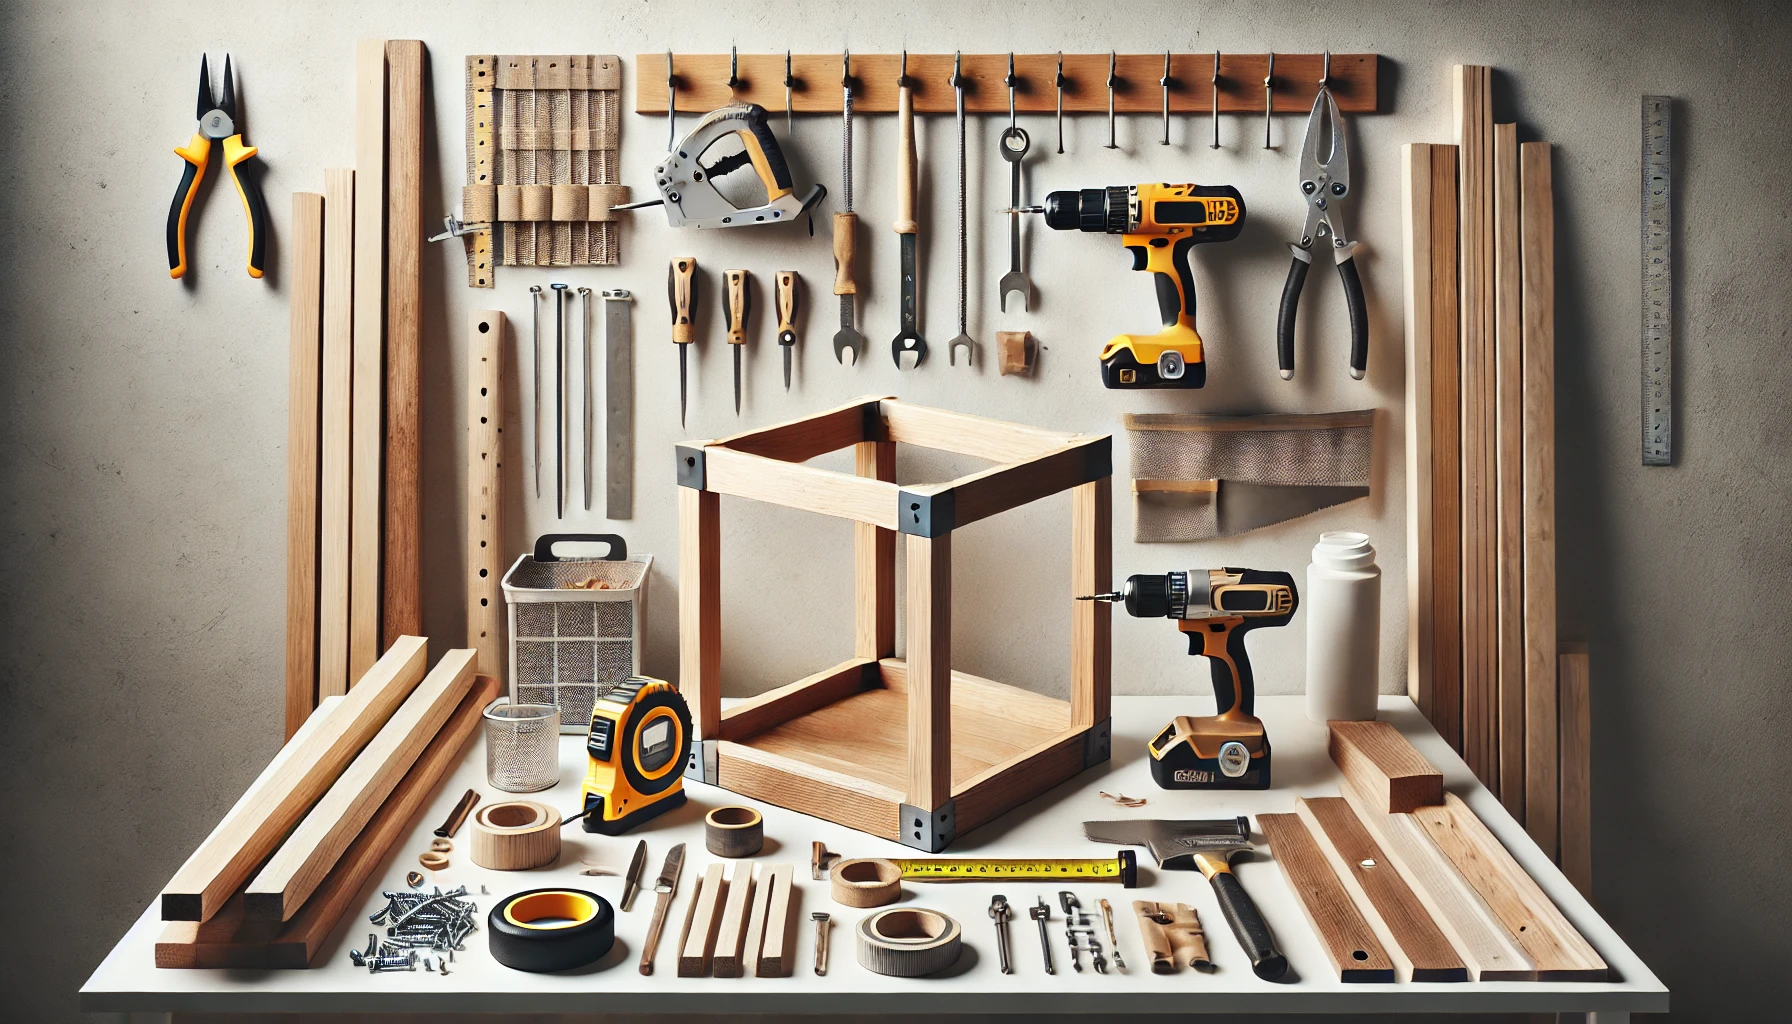
With these materials and tools ready, you’re all set to create a sturdy and stylish modern plant stand! 🎉 Let’s get building! 🚀
Choosing the Right Design for Your Space 🏡🌿
Picking the perfect modern plant stand DIY design isn’t just about looks—it’s about functionality too! The right stand should complement your space, fit your plants’ needs, and enhance your home décor. Here’s how to choose a design that works best for you.
✨ Consider Your Space
📏 Small Spaces: If you have limited space, go for vertical or wall-mounted stands to save floor space while displaying multiple plants. Tiered stands are also a great choice!
🏠 Large Rooms: A low, wide stand or multi-tiered setup can serve as a statement piece, drawing attention to your plant collection.
🌞 Outdoor Areas: If placing your stand outside, choose weather-resistant materials like treated wood, metal, or coated bamboo to prevent damage from moisture and sunlight.
🎨 Pick a Style That Matches Your Décor
🖤 Minimalist: Clean lines, simple shapes, and neutral colors—perfect for modern interiors.
🌿 Mid-Century Modern: Wooden stands with sleek, angled legs add a vintage yet timeless charm.
🔲 Geometric: Stands with unique hexagonal, ladder, or triangular designs bring an artistic touch.
🏗️ Industrial: A combination of metal and wood gives a rustic, urban look that pairs well with loft-style homes.

🌱 Choose the Right Size & Height
📌 For Small Plants: Low, tabletop, or floating stands keep smaller plants visible and accessible.
📌 For Tall Plants: Elevated or pedestal-style stands help display large plants beautifully without overwhelming the space.
📌 For Multiple Plants: Go for a multi-tiered or modular stand to showcase different plants at varying heights, adding depth to your décor.
By choosing the right plant stand design, you’ll not only create a stylish display. You’ll also ensure your plants thrive in the perfect setup. 🌟 Ready to build yours? Let’s get started! 🔨✨
Step-by-Step Guide to Building a Modern Plant Stand 🔨🌿
Now that you have your materials and design ready, it’s time to get hands-on! This step-by-step guide will walk you through creating a sleek and sturdy modern plant stand, tailored to your space. Let’s dive into the fun part of your modern plant stand DIY!
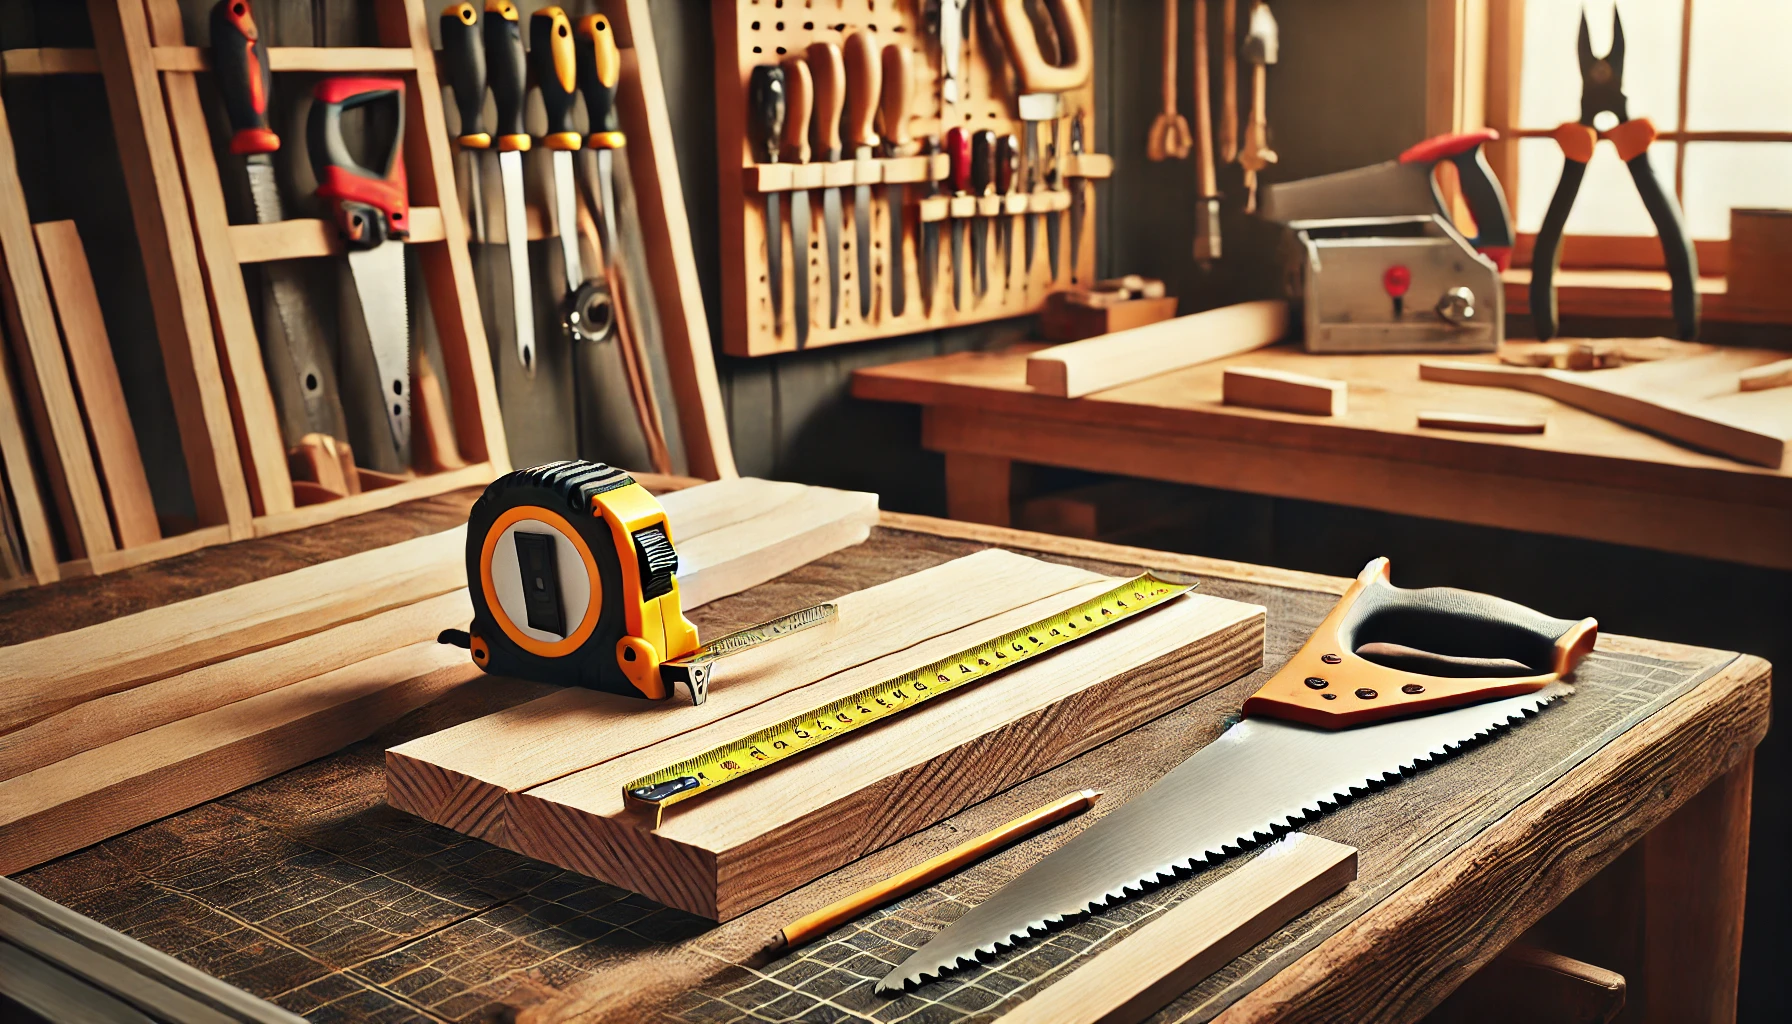
🛠️ Step 1: Measuring and Cutting the Materials
📏 Measure with Precision: Start by carefully measuring your materials. Use a measuring tape and pencil to mark the spots where you’ll cut. This ensures all pieces are the correct length and fit together perfectly.
🪚 Cutting the Materials: Whether you’re using wood or metal, take your time when cutting. For wood, a hand saw or power saw works great, while metal requires a hacksaw or metal cutter. Ensure each cut is straight and even for a professional finish.
🛑 Safety First: Remember to wear gloves, safety goggles, and a dust mask when cutting to protect yourself.
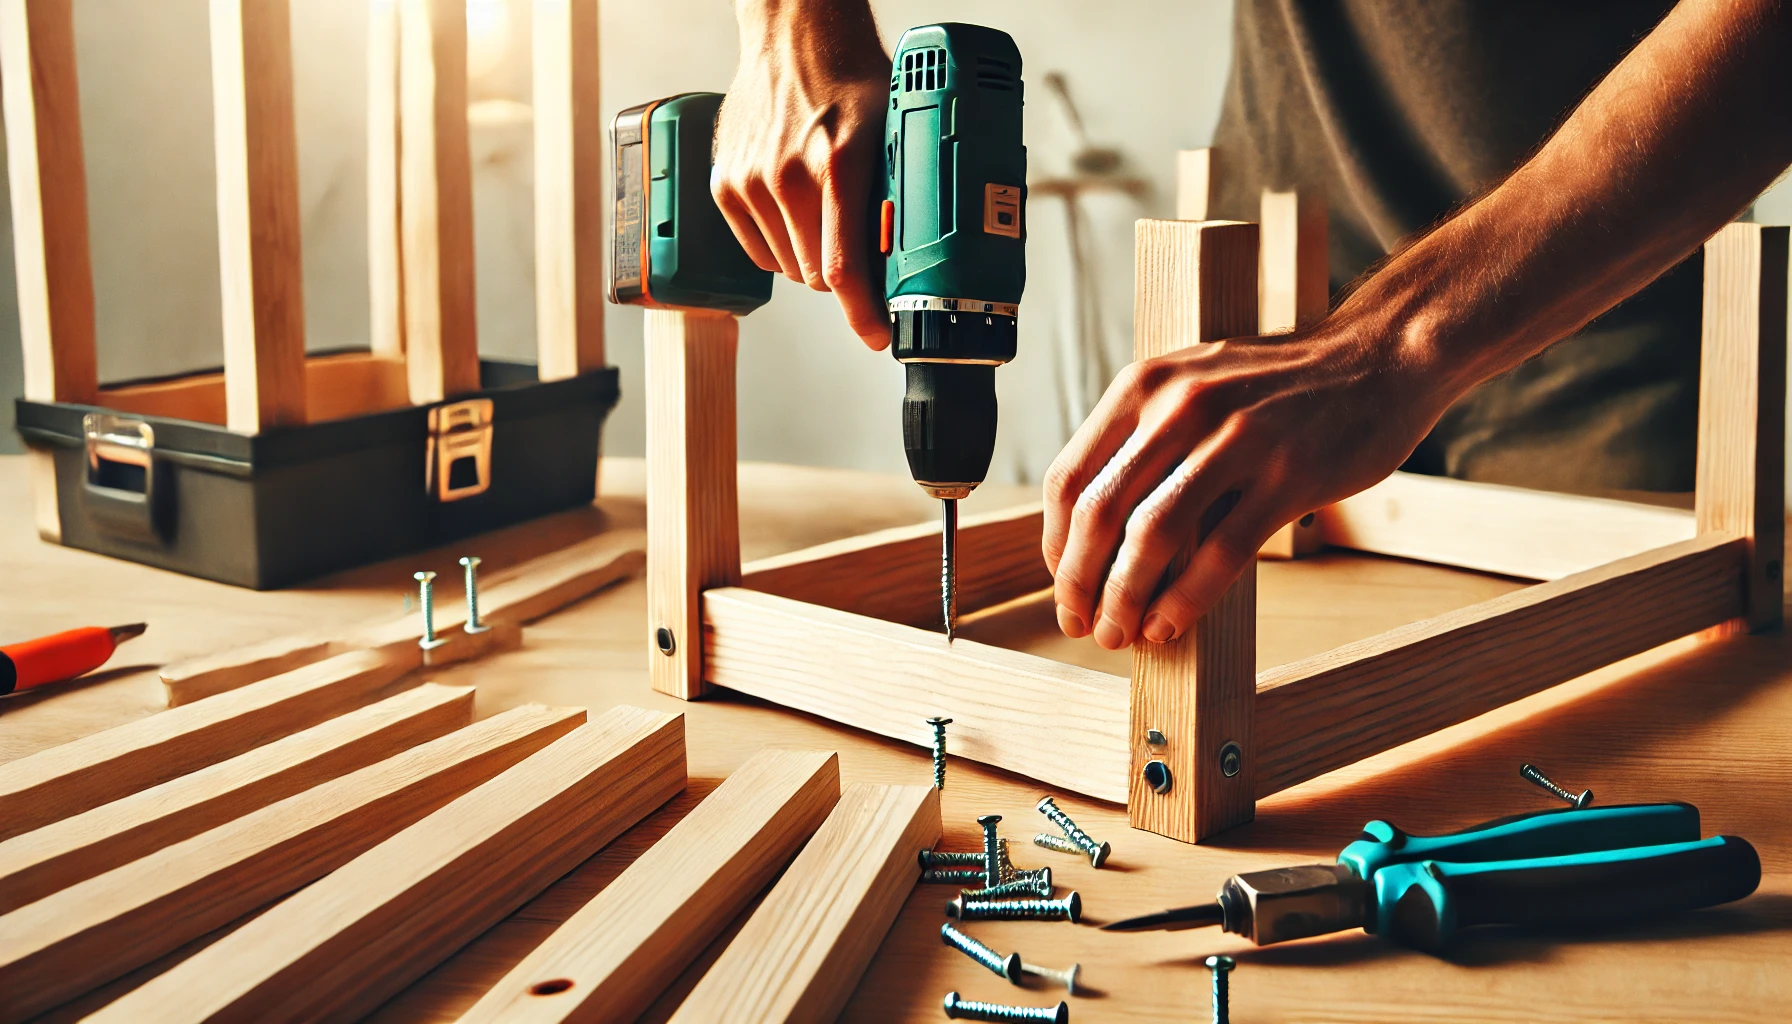
🔩 Step 2: Assembling the Frame
🛠️ Dry Fit Your Pieces: Before you start securing anything, lay out your cut pieces to get a feel for the structure. This way, you can make any necessary adjustments.
🔗 Attaching the Parts: Begin assembling the legs, supports, and any additional features. Use screws or nails for wood. Wood glue can add extra stability to joints. For metal, use appropriate fasteners, making sure each connection is tight and secure.
🛞 Check for Stability: Once all parts are in place, give the stand a quick shake to check for wobbling. If needed, adjust or add additional supports to ensure stability before tightening everything.
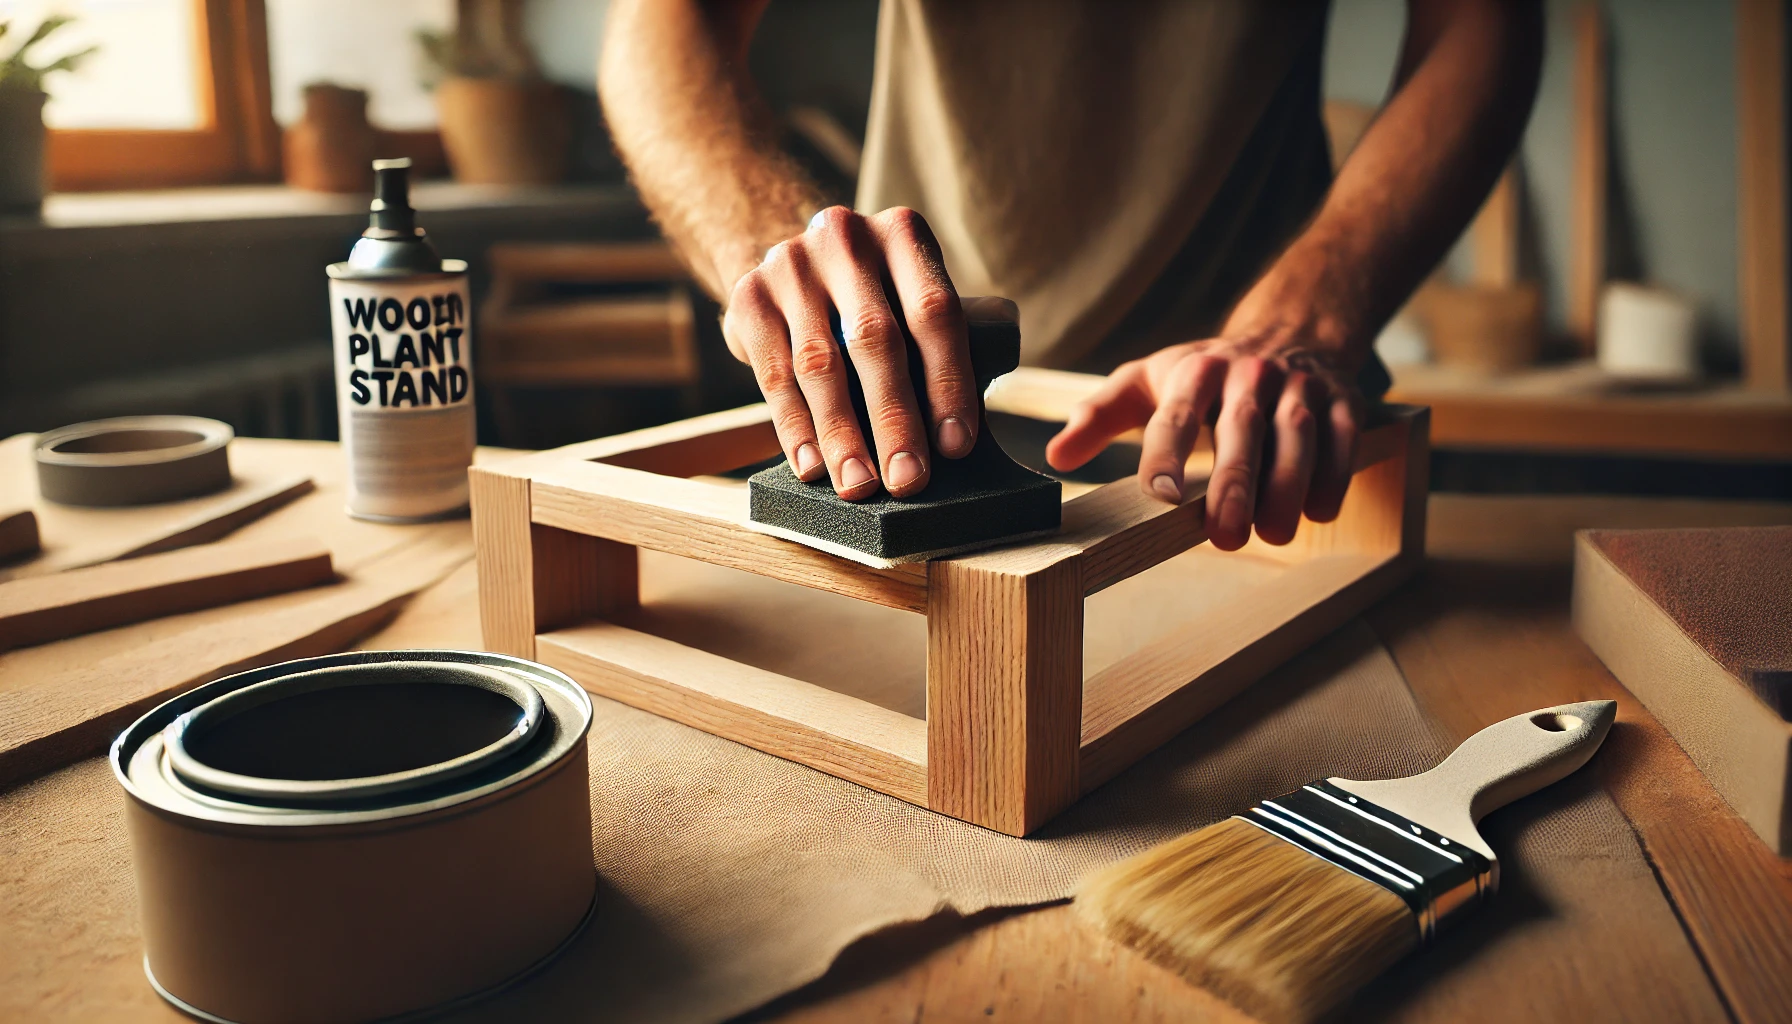
🎨 Step 3: Sanding and Finishing
🛠️ Smooth the Edges: After the frame is assembled, take sandpaper to smooth any rough edges or surfaces. This will give your plant stand a clean, polished look. For best results, use medium-grit sandpaper, followed by fine-grit to smooth out the surface.
🖌️ Painting or Staining: Now it’s time to add some color! Choose a paint or stain that complements your décor. Apply an even coat with a brush or roller, ensuring all areas are covered. Allow it to dry thoroughly.
🛡️ Seal the Finish: If your stand is for outdoor use, or you want extra durability, apply a clear protective sealant to prevent water damage and wear over time.
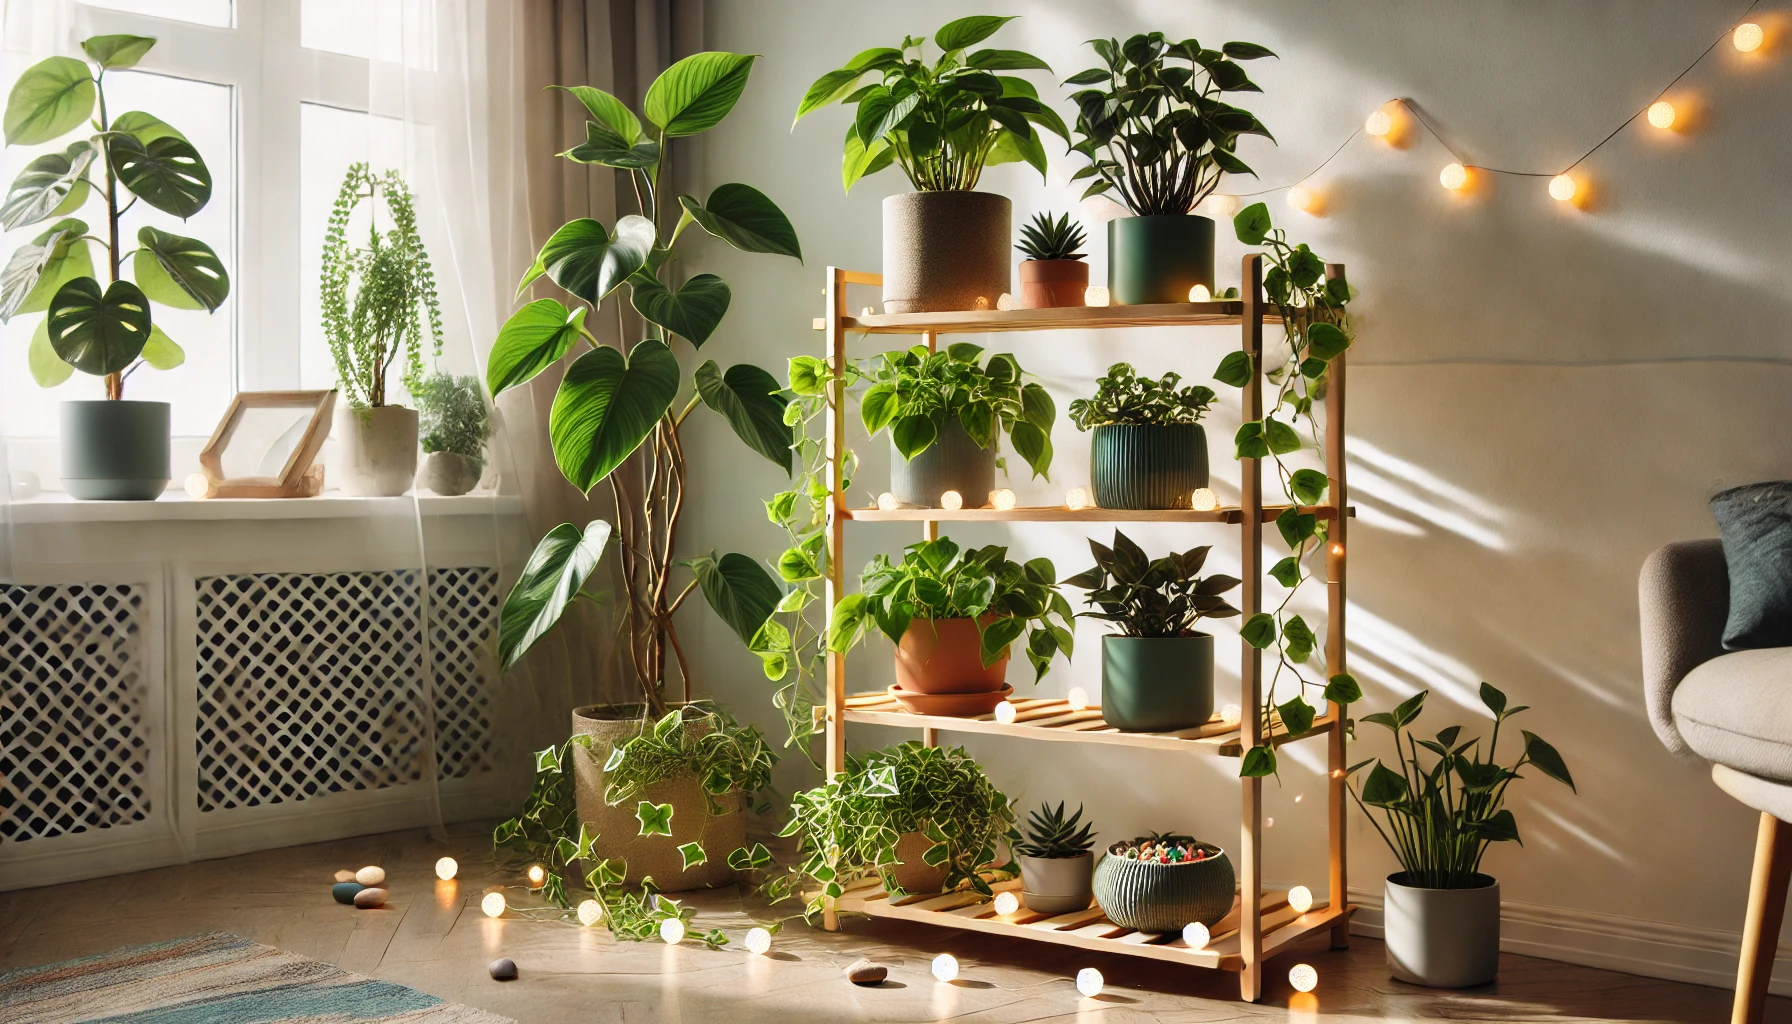
🌿 Step 4: Styling and Placing Your Plants
🏡 Pick the Right Spot: Position your plant stand in an area where your plants can thrive, whether it’s by a window for sunlight or in a cozy corner.
🌱 Select Plants that Fit: Depending on the design of your stand, choose plants that suit the size and style. Tall stands work best for trailing plants like pothos or ivy. A wider stand is perfect for larger statement plants like monstera or fiddle-leaf figs.
🎭 Add Personal Touches: Finish off your stand with small decorative touches such as colorful pots, pebbles, or fairy lights. These add flair to the overall look. Let your creativity shine through!
And there you have it—your modern plant stand DIY is now complete! 🎉 With just a few simple steps, you’ve created a stylish and functional plant display that will elevate any room in your home. Enjoy your new piece of décor and watch your plants thrive! 🌿✨
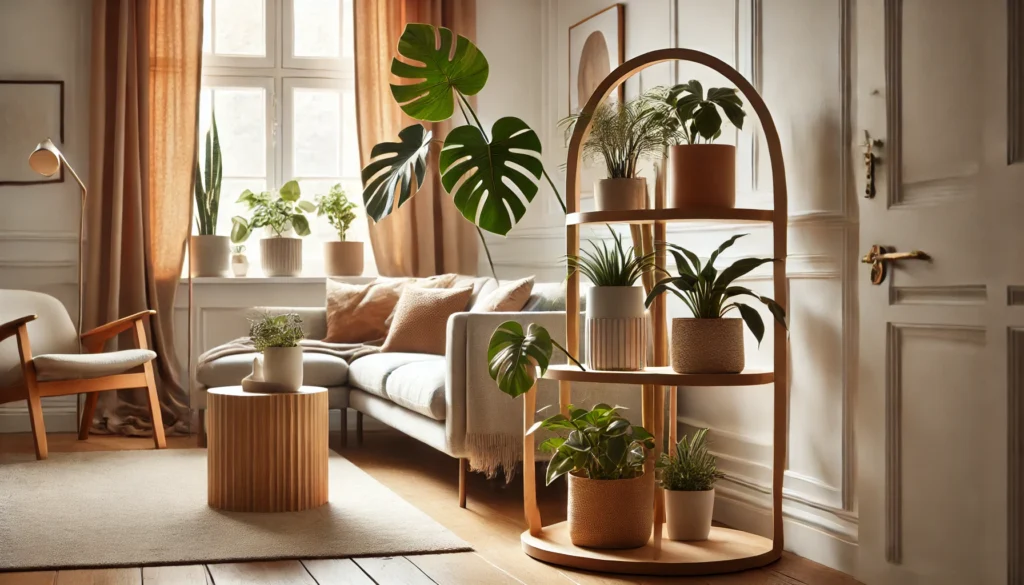
Decorating and Styling Your Plant Stand 🌿🎨
Now that your modern plant stand DIY is complete, it’s time to make it truly shine! Styling your plant stand can elevate the overall look and create a beautiful focal point in your space. Here’s how to decorate and arrange your plants for maximum impact.
🌱 Choose the Right Plants
📏 Consider Plant Size: Select plants that complement the size of your stand. Tall stands look great with trailing plants like pothos, ivy, or cascading ferns. For wider stands, choose larger plants like monstera, snake plants, or palms to fill out the space.
🌞 Light Needs: Make sure the plants you choose suit the lighting in your room. Some plants need bright, indirect light, while others thrive in lower light conditions.
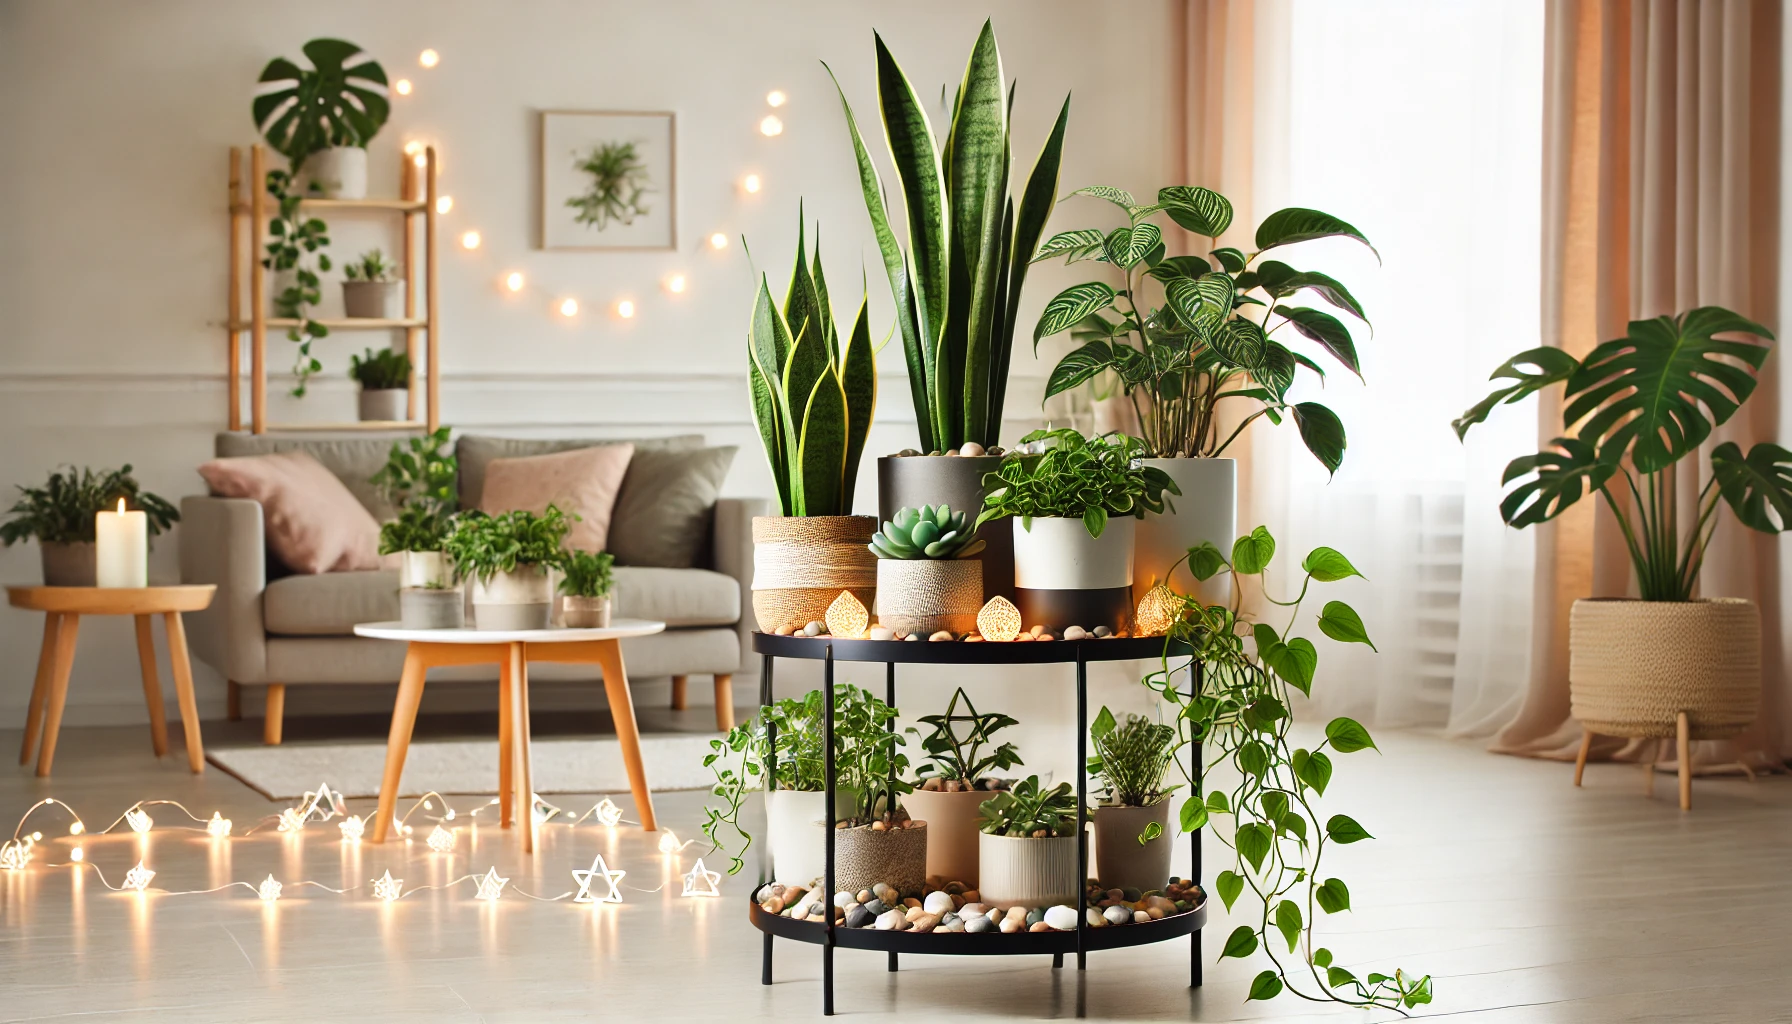
🎨 Choose Stylish Pots and Planters
🪴 Matching Pots: For a cohesive look, select plant pots that match your stand’s style. Minimalist stands pair well with sleek, neutral-colored pots. Mid-century or industrial designs look great with ceramic or metal containers.
🌈 Add Personality: Don’t be afraid to experiment with different textures, colors, and materials for your pots. A mix of textures—such as terracotta, ceramic, and woven baskets—adds depth to your display.
🛋️ Style Around the Stand
🏡 Placement: Position your plant stand where it can make an impact, such as near a window or in a corner of the room. If you have multiple stands, stagger their height and size to create an interesting display.
🎭 Add Decorative Accents: Incorporate small decorative touches around your plant stand. Think of adding pebbles or stones at the base of the pots. You can also use fairy lights for a whimsical touch or small sculptures to complement the natural aesthetic.
🌿 Layer and Arrange for Visual Appeal
📊 Vary Heights and Sizes: Mix taller and shorter plants to create a visually dynamic arrangement. If your stand has multiple levels, arrange plants on each tier according to their size. Consider their growth habits as well.
🎨 Create a Balanced Look: If you’re arranging multiple plants, try to balance the colors and textures. Place plants with bold leaves next to more delicate ones, or pair plants with contrasting foliage (e.g., dark green leaves with light-colored flowers).
✨ Final Touches
🖼️ Match with Room Décor: Ensure your plant stand’s styling ties in with the rest of your room’s décor. A modern, geometric stand pairs well with contemporary furniture. A wooden stand complements rustic or boho interiors.
🪞 Mirror the Design: If your room has other plants, try to match their style with the plant stand. This helps create harmony throughout the space.
By following these simple styling tips, your modern plant stand DIY will not only hold your plants. It will also enhance the overall ambiance of your room!🌟 Get creative, and let your plant stand be a statement piece that brings life to your home. 🌱✨
Common Mistakes to Avoid in Your Modern Plant Stand DIY ❌🌿
Even with the best intentions, it’s easy to make a few missteps during your modern plant stand DIY project. Avoid these common mistakes to ensure your plant stand is sturdy, stylish, and functional!
🚫Choosing the Wrong Materials
🛑 Why it’s a mistake: Using materials that aren’t durable or suitable for your stand’s purpose can lead to instability. It can also cause wear over time. For example, untreated wood can warp, and low-quality metal can rust quickly.
💡 Solution: Choose strong, weather-resistant materials for outdoor stands. For indoor stands, select sturdy wood or metal that can support the weight of your plants.
🚫Not Measuring Correctly
🛑 Why it’s a mistake: If you don’t measure your materials or space properly, your plant stand may turn out too large or too small for your plants or room.
💡 Solution: Double-check all measurements before cutting. Always measure twice and cut once! Take into account the size of the plants you plan to place on the stand. Also, consider the space available in your room.
🚫Overloading the Stand with Too Many Plants
🛑 Why it’s a mistake: Trying to fit too many plants on one stand can lead to instability, tipping, and overcrowding. This makes it harder for each plant to thrive.
💡 Solution: Limit the number of plants per stand based on its size. Give each plant enough room to grow and spread out. This will ensure good airflow around them.
🚫Skipping Sanding and Finishing
🛑 Why it’s a mistake: Leaving rough edges or unfinished surfaces can make your stand look unprofessional. It can also cause it to wear down faster.
💡 Solution: Don’t skip the sanding process! Sand the stand smooth. Then finish with paint, stain, or a protective sealant to enhance its durability and appearance.
🚫Forgetting to Consider Light and Water Needs
🛑 Why it’s a mistake: Placing your plants in the wrong spot—either too much or too little light—can hinder their growth. Plus, some plants need better drainage than others.
💡 Solution: Ensure your plant stand is in the right location for your plants’ light requirements. For plants that need good drainage, choose pots with drainage holes. Alternatively, add a layer of rocks in the bottom of the pots to prevent water buildup.
🚫Using Too Many Decorative Accents
🛑 Why it’s a mistake: Overloading the stand with too many decorations can make it look cluttered. It can also distract from the beauty of the plants.
💡 Solution: Keep it simple! Let the plants be the main focus and use minimal accents to enhance, not overpower, the display. A few well-chosen decorative touches are all you need.
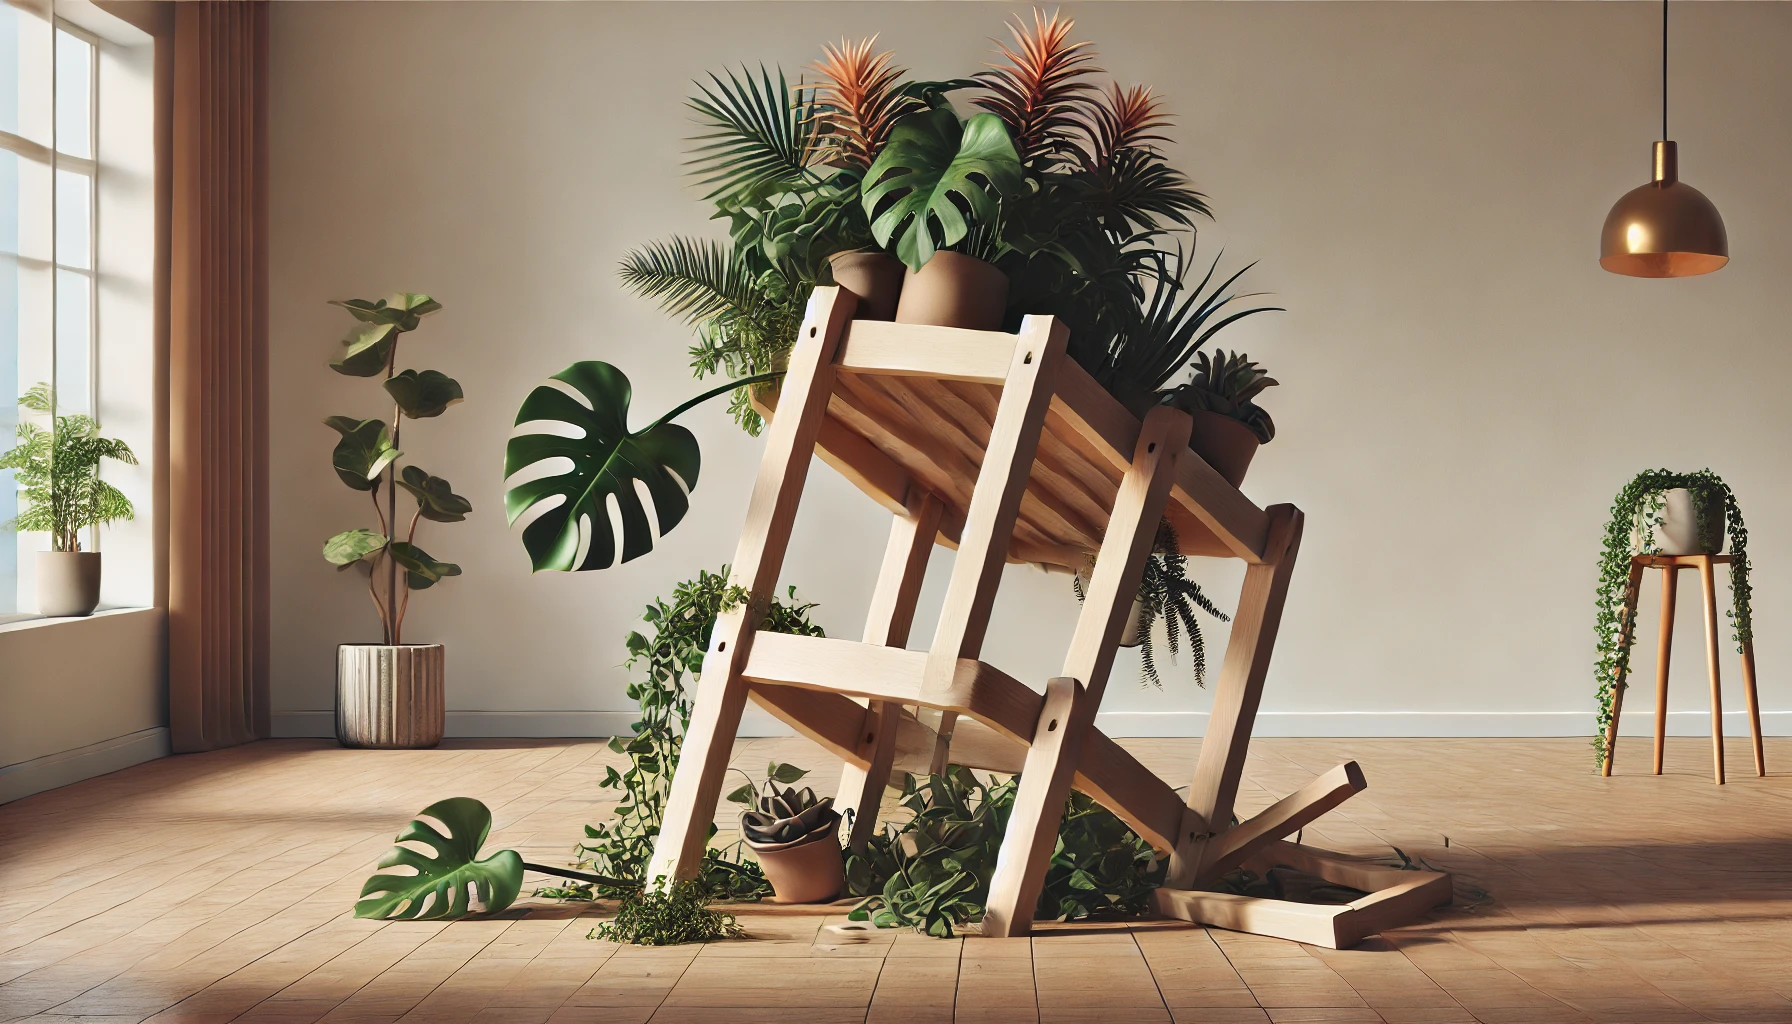
🚫Not Checking Stability Before Finalizing
🛑 Why it’s a mistake: Failing to check if your stand is secure and balanced can lead to accidents, like your plants tipping over.
💡 Solution: Before finishing, test the stability of the stand. Make sure all parts are firmly attached. Check that it doesn’t wobble when you move it. You can always add extra supports for more stability.
By avoiding these common mistakes, your modern plant stand DIY project will be smooth, enjoyable, and lead to a beautiful end result. 🌿✨ Take your time, and remember—attention to detail will make all the difference!
Congratulations on completing your modern plant stand DIY project! You’ve created a stylish, functional piece that not only complements your home décor. It also provides a perfect home for your plants. By carefully selecting the right materials, design, and styling elements, you’ve added a personal touch to your space. This will stand the test of time.
Whether you’re a seasoned DIY pro or just starting out, building your own plant stand is a rewarding experience. In the end, it’s a great way to showcase your plants and personalize your space. Now, your plants will thrive in a display that reflects your unique style and creativity.
As you continue to care for your plants, remember that this stand isn’t just about décor. It’s about fostering a deeper connection with nature. 🌱 So, take a moment to step back, admire your work, and enjoy the beauty your plants bring to your home.
Happy planting, and stay creative! 🌟✨