
If you’ve ever tried growing a fast-growing, nutrient-packed tree at home, you’ve probably heard about moringa tree seeds. But while this powerhouse plant is celebrated worldwide for its versatility and health benefits, many beginners quickly discover that germinating Moringa seeds isn’t as simple as it seems. Poor sprouting rates, fungal issues, and soil mistakes often discourage new growers — but these problems are avoidable with the right knowledge.
Here’s the good news: once you understand how Moringa seeds behave and how to create the correct conditions, this becomes one of the easiest and most rewarding trees to grow, even for beginners. In this expert guide, backed by hands-on horticultural experience and proven cultivation methods, you’ll learn exactly how to select, prepare, plant, and care for Moringa seeds from start to finish.
Whether you’re growing Moringa for fresh leaves, shade, seed production, or simply as a drought-tolerant ornamental tree, this comprehensive, step-by-step guide gives you everything you need to succeed. Let’s dig in. 🌱
Understanding Moringa Tree Seeds: What Makes Them Unique? 🌰
A Quick Look at the Moringa Oleifera Tree
Moringa oleifera, often called the “Drumstick Tree” or “Miracle Tree,” is a fast-growing, drought-resistant species native to the foothills of the Himalayas. It thrives in warm, semi-arid climates and is now cultivated in tropical and subtropical regions around the world.
What makes Moringa particularly appealing to home growers?
- It can grow up to 15 feet in a single year under ideal conditions
- Its leaves are rich in vitamins, minerals, and antioxidants
- It regenerates quickly after pruning
- It tolerates poor soil better than most tree species
Yet despite its hardy nature as a mature tree, its seeds require proper handling to germinate successfully.
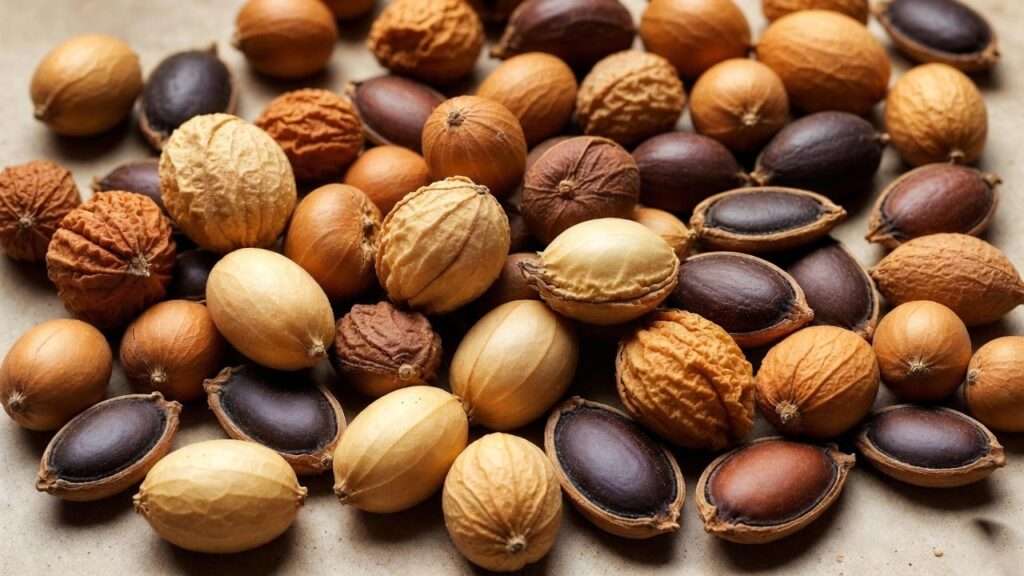
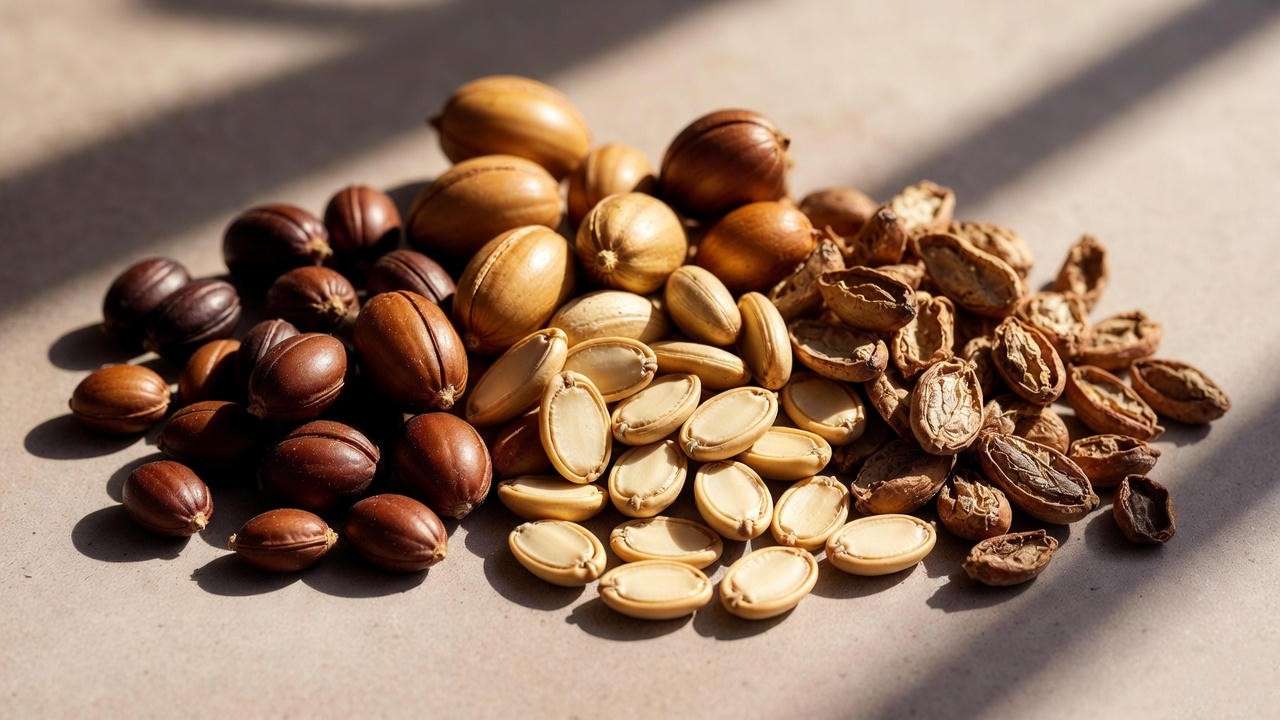
Anatomy of Moringa Tree Seeds
Each Moringa seed is enclosed in a papery shell with three distinctive wing-like structures. Beneath this outer layer lies a firm, oil-rich seed. This composition plays a major role in how the seed absorbs water — and why gardeners often soak or scarify them before planting.
Key traits:
- The seeds contain high natural oil content, which can slow water absorption
- They germinate best when fresh, ideally harvested within the last 6–12 months
- Hard shells can inhibit early sprouting unless softened
Understanding these traits helps improve your germination success rate dramatically.
How Long Moringa Seeds Stay Viable
One of the biggest mistakes gardeners make is using old Moringa seeds. Unlike many tree species whose seeds last years, Moringa seeds lose viability quickly.
Fresh seeds (under 1 year old): 80–90% germination
Older seeds (2+ years): Often drop to 20–40% germination
Very old seeds (3+ years): May fail entirely
Signs your seeds are still viable:
- They feel firm, not hollow
- They have no visible mold
- They have not been exposed to moisture or extreme heat
Choosing the Best Moringa Tree Seeds for Planting 🔍
Where to Buy High-Quality Seeds (What to Look For)
To grow a strong, disease-resistant Moringa tree, start with seeds from a trustworthy source. Look for:
- Freshly harvested seeds (ask for harvest dates!)
- Seeds stored in airtight containers
- Suppliers specializing in tropical or medicinal plants
- Organic or chemical-free growers
Avoid seeds that:
- Appear shriveled or dried out
- Have cracked or damaged shells
- Were stored in humid or very hot environments
Buying poor-quality seeds is one of the top reasons growers fail before they even begin.
How to Store Moringa Tree Seeds Before Planting
If you’re not planting immediately, proper storage is crucial. Moringa seeds should be stored much like culinary herbs: cool, dry, and dark.
Ideal storage conditions:
- Temperature: 50–68°F (10–20°C)
- Humidity: below 50%
- Container: airtight jar or sealed pouch
- Location: pantry, cupboard, or climate-controlled storage
Avoid refrigerators unless you live in a very humid climate; condensation can damage the seeds.
How to Prepare Moringa Tree Seeds for Germination 🌱
Should You Remove the Hard Seed Shell?
Moringa seeds can be planted with or without their outer husk.
Removing the husk:
✔ Increases water absorption
✔ Speeds up germination
✔ Reduces risk of fungal issues
Planting with the husk:
✔ Provides slight protection against insects
✔ Requires less handling
Many expert growers prefer removing the husk for more consistent results, especially in cooler climates.

Pre-Soaking Techniques for Faster Germination
One of the most reliable ways to boost germination is to soak your seeds.
How to soak Moringa seeds:
- Place seeds in a cup of warm, not hot, water.
- Let them soak for 12–24 hours.
- Discard floating seeds — they are often non-viable.
- Plant seeds as soon as soaking is complete.
This method softens the seed coat and allows the embryo to begin hydration.
Alternative Germination Techniques
1. Paper Towel Method
Useful for growers who want to monitor sprouting closely.
- Place soaked seeds in a damp (not wet) paper towel
- Seal in a plastic bag
- Store in a warm location (75–90°F / 24–32°C)
- Check daily
Roots often appear in 3–7 days.
2. Direct Soil Method
This is the most common method for warm climates.
- Plant soaked seeds in well-draining soil
- Keep soil lightly moist
- Provide full sun or warm indoor lighting
3. Water Germination (Use Sparingly)
Some growers place seeds in water until roots emerge, but this can cause rot if not closely monitored. Use only if you can track progress daily.
How to Plant Moringa Tree Seeds the Right Way 🌿
Best Soil Mix for Moringa Seeds
Moringa hates wet feet. Choosing the correct soil mix is critical.
Ideal soil characteristics:
- Loose
- Well-aerated
- Fast-draining
- Slightly sandy
- pH range: 6.0–7.5
Recommended DIY mix:
- 40% sandy soil
- 40% compost or aged manure
- 20% perlite or coarse coconut coir
Avoid heavy clay soils — they retain too much water and suffocate young roots.
Choosing the Right Containers or Ground Location
Moringa seedlings grow very quickly and develop long taproots, making container choice important.
If planting in containers:
- Use pots at least 12 inches deep
- Ensure multiple drainage holes
- Use fabric grow bags if available
If planting directly in the ground:
- Choose full-sun locations
- Avoid low-lying or waterlogged areas
- Provide spacing of 7–10 feet for future growth
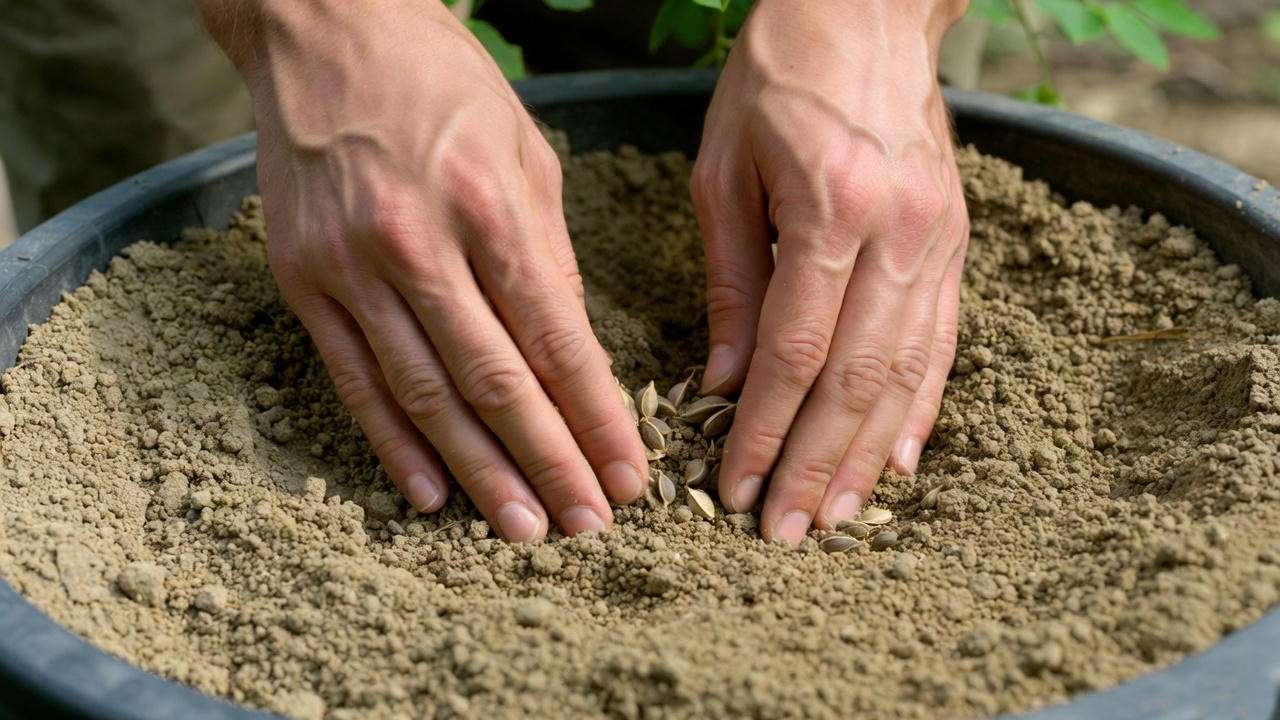
Step-by-Step Planting Guide
- Fill your pot or planting hole with well-draining soil
- Plant the seed ½ to 1 inch deep
- Cover lightly — avoid compacting soil
- Water gently until soil is lightly moist
- Place in a warm location with plenty of sunlight
Within 4–14 days, you should begin seeing sprouts under optimal conditions.
Optimal Light and Temperature Conditions
Moringa thrives in heat and sunlight.
Light:
- Minimum 6 hours of direct sunlight
- 8+ hours recommended for fast growth
Temperature:
- Germination: 75–95°F (24–35°C)
- Growth: 70–100°F (21–38°C)
In cooler climates, start seeds indoors or in a greenhouse.
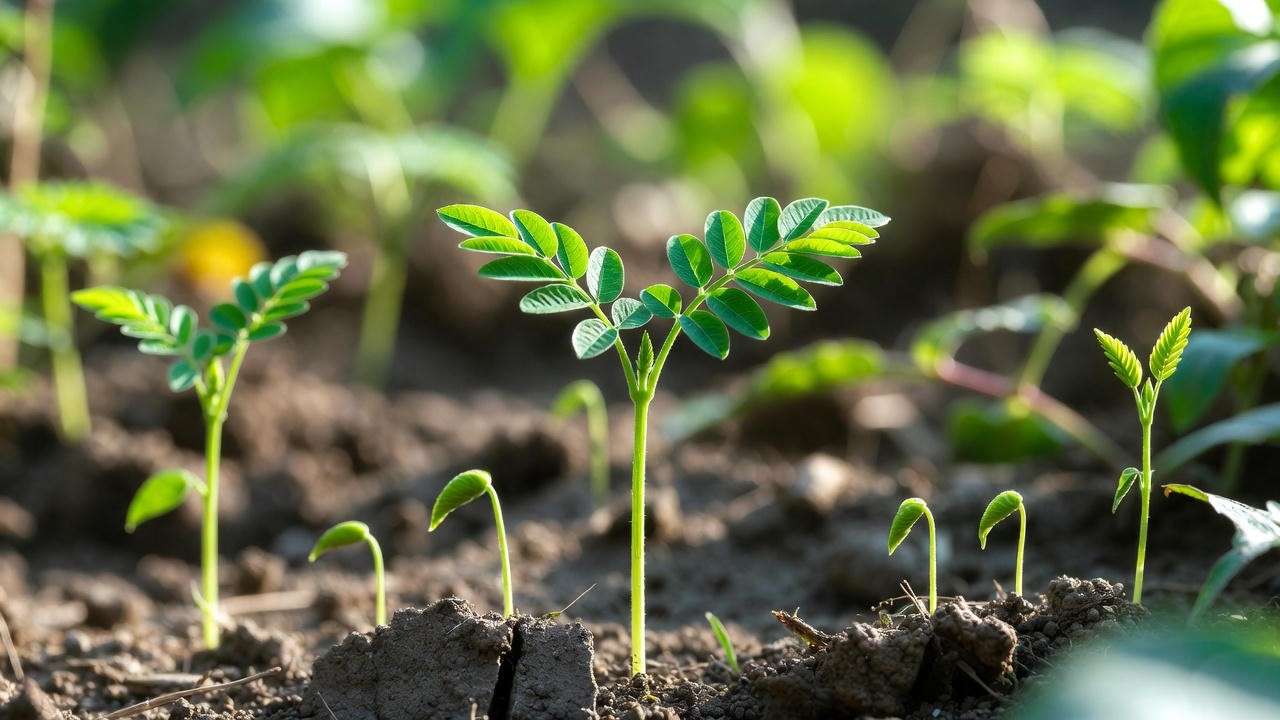
Germination: What to Expect and How to Support Growth 🌤️
Typical Germination Timeline
Day 1–2: Seeds swell after soaking
Day 3–7: Roots appear (faster in warm climates)
Day 7–14: Shoots emerge from soil
Day 14–21: Seedlings develop first sets of true leaves
Colder conditions may extend the process by several days.
Common Germination Problems and How to Fix Them
1. Seeds Not Sprouting
Likely causes:
- Old or dead seeds
- Soil too wet
- Temperature too cold
2. Mold or Rot
Often due to:
- Overwatering
- Poor ventilation
- Planting too deep
3. Seedlings Dying Early
Usually a result of:
- Waterlogged soil
- Fungal infections
- Lack of sunlight
Solutions involve improving drainage, increasing warmth, and adjusting watering frequency.
Caring for Young Moringa Seedlings 🌱💧
Once your Moringa seeds have sprouted, the next 2–4 weeks are crucial. Seedlings are delicate during this stage and need proper water, sunlight, and care to develop strong roots and sturdy stems.
Proper Watering for Seedlings
Moringa seedlings prefer a light but consistent moisture level. Overwatering is one of the most common causes of death during early growth.
Watering guidelines:
- Water only when the top 1–2 inches of soil feel dry
- Use a gentle stream to avoid displacing roots
- Avoid soaking the soil — Moringa roots rot easily
- In hot climates, water once daily but lightly
Signs of overwatering:
- Yellowing leaves
- Soft, mushy stem
- Soil that smells sour or is visibly wet
Signs of underwatering:
- Drooping leaves
- Dry, brittle stems
- Slow or stunted growth
Aim to keep the soil slightly moist — not soggy.
Sunlight Needs During Early Growth
Moringa is a sun-loving plant, but seedlings still need gentle acclimation.
During the first week after sprouting:
- Provide bright, indirect light
- Avoid harsh midday sun
After the first week:
- Gradually introduce 2–3 hours of direct sunlight
- Increase exposure daily until seedlings tolerate 6–8 hours
This “hardening off” prevents leaf scorch and helps seedlings develop strong, resilient tissues.
When and How to Fertilize
Moringa grows quickly and responds well to nutrient-rich soil — but over-fertilizing can burn young roots.
Best fertilizers for seedlings:
- Diluted fish emulsion
- Worm castings
- Light compost tea
Feeding schedule:
- Begin light feeding at 2–3 weeks old
- Use diluted fertilizer every 2 weeks
- Avoid chemical fertilizers until seedlings are 6+ weeks old
Moderation is key: Moringa prefers lean soil and thrives even in poor conditions.
How to Avoid Transplant Shock
Moringa develops a deep taproot very early — this root system helps it withstand drought but makes transplanting tricky.
To minimize transplant shock:
- Transplant when seedlings are 8–12 inches tall
- Move in the evening or on an overcast day
- Water the seedling lightly before and after transplanting
- Disturb the rootball as little as possible
- Plant in a deep hole with loose, airy soil
If possible, start seeds in their final location to avoid transplanting altogether.
Planting Moringa Seedlings Outdoors 🌳
Once your seedlings have strong stems and a healthy root system, it’s time to move them outdoors (if they aren’t already there).
Best Time of Year to Transplant
Moringa is sensitive to cold, so timing is everything.
Optimal transplant seasons:
- Late spring (after last frost)
- Early summer
In tropical climates, seedlings can be transplanted year-round.
Soil and Site Selection
Moringa thrives in hot, sunny, well-drained environments.
Choose a spot that has:
- Full sun — at least 6–8 hours daily
- Excellent drainage — avoid standing water
- Open space — Moringa can reach 10–20 feet in a year
- Wind protection — young seedlings can bend or snap
Moringa will grow even in sandy, rocky, or nutrient-poor soil, but loose soil promotes faster taproot development.
Watering and Mulching After Transplanting
Once transplanted, seedlings may droop for a day or two — this is normal.
After-care tips:
- Water lightly once daily for the first week
- After the first week, reduce to 2–3 times per week
- Apply a thin layer of mulch (avoid piling against the stem)
- Protect from heavy rain or strong winds
Mulching helps retain moisture but should be used sparingly to avoid rot.
Long-Term Care: How to Grow a Healthy, Productive Moringa Tree 🌿🌞
Once established, Moringa becomes one of the lowest-maintenance trees you can grow.
Pruning Techniques for Maximum Growth
Moringa grows vertically by default. Without pruning, you’ll get a tall, thin tree with sparse branches.
To encourage bushy growth:
- Prune when the tree reaches 2–3 feet
- Cut off the top 4–6 inches to encourage branching
- Repeat pruning every 6–8 weeks
- Remove dead or weak branches
Pruned trees produce far more edible leaves and remain easier to harvest.
Common Pests and Diseases (and Organic Solutions)
Although Moringa is naturally pest-resistant, certain problems can appear.
Common pests:
- Aphids
- Whiteflies
- Spider mites
- Caterpillars
Organic solutions:
- Neem oil spray
- Insecticidal soap
- Companion planting (marigold, basil)
Common diseases:
- Powdery mildew
- Root rot
- Leaf spot
Solutions:
- Ensure proper air circulation
- Avoid overwatering
- Prune infected leaves
Dry, warm conditions reduce most disease risks.
Watering and Feeding an Adult Moringa Tree
Once mature, Moringa becomes highly drought-tolerant.
Watering schedule:
- Water deeply once every 1–2 weeks
- Increase during extreme heat
- Reduce during rainy seasons
Feeding:
- Compost once or twice per year
- Liquid seaweed or fish emulsion during peak growth
Avoid heavy fertilization — Moringa prefers modest nutrition.
Harvesting and Using Moringa Leaves, Pods, and Seeds 🍃
One of the most rewarding parts of growing Moringa is the diverse harvest it provides.
When to Start Harvesting Leaves
You can begin harvesting once the tree reaches 3–4 feet tall.
Signs your tree is ready:
- Strong branching
- Large, bright green leaves
- Firm stems
Harvesting early encourages more branching and fuller growth.
How to Harvest Sustainably
To avoid stressing the tree:
- Pick only 30–40% of leaves per harvest
- Avoid stripping an entire branch
- Rotate harvest areas to allow regrowth
With proper harvesting, a single Moringa tree can yield fresh leaves every 4–6 weeks.
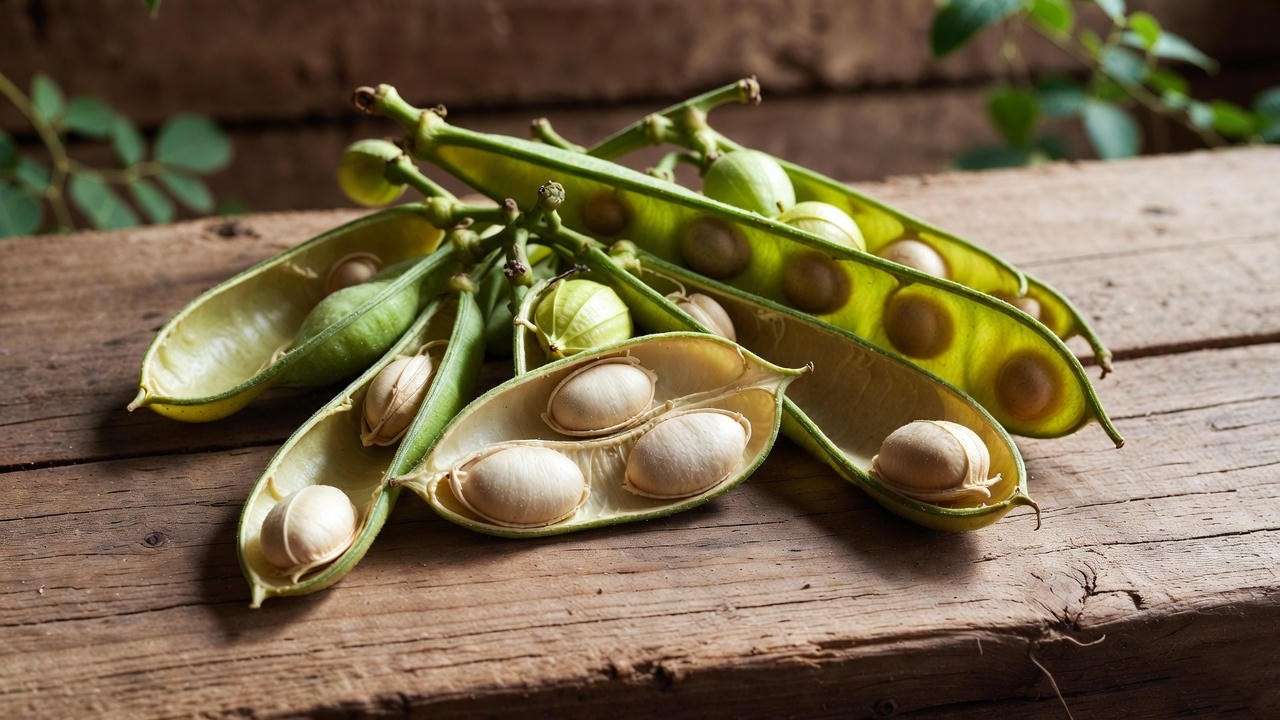
What You Can Do With Moringa Tree Seeds
1. Replanting
Your tree will eventually produce pods filled with fresh seeds — ideal for growing new trees.
2. Oil Extraction
Moringa seeds contain ben oil, a clear, highly stable oil prized for:
- Skincare
- Cooking
- Lubrication
- Herbal medicine
Pressing requires specialized equipment, but even small-scale extraction is possible.
3. Water Purification
Crushed Moringa seeds are traditionally used to clarify water — a natural, biodegradable method of sediment removal.
4. Compost and Soil Amendment
Spoiled or excess seeds can be composted to enrich soil nutrients.
Troubleshooting: Why Your Moringa Tree Seeds Aren’t Germinating ⚠️
If your seeds have failed to sprout, don’t worry — this is one of the most commonly asked questions.
Possible reasons for failure:
- Old seeds: Low viability after 12 months
- Cold soil: Below 70°F slows germination
- Excess moisture: Causes rot and fungal growth
- Poor soil drainage: Suffocates roots
- Planting too deep: Seeds struggle to emerge
- Using the wrong seed variety: Some types are less viable
How to fix it:
- Always buy fresh seeds
- Warm the soil using heat mats if needed
- Improve drainage with sand or perlite
- Reduce watering to avoid waterlogging
- Try pre-soaking to soften the shell
A few adjustments often make a dramatic difference.
Expert Tips for Growing Moringa at Home 💡
✔ Use large, deep containers to support long taproots
✔ Start seeds in warm weather for faster germination
✔ Prune aggressively to encourage branching
✔ Grow multiple seedlings at once to ensure success
✔ Protect young plants from heavy rain or wind
✔ Use sandy, well-draining soil for healthy growth
These advanced strategies are used by experienced growers to maintain strong, productive Moringa trees.
FAQs About Moringa Tree Seeds ❓
- How long do Moringa seeds take to germinate?
Typically 4–14 days, depending on temperature and moisture. - Can you grow Moringa indoors?
Yes, but it requires a bright grow light and a deep container. - Do Moringa trees survive winter?
They go dormant in cold climates. Protect roots with mulch or grow in containers. - Can I plant Moringa seeds without soaking them?
You can, but soaking speeds up germination and increases success rates. - How tall do Moringa trees grow?
15–30 feet in ideal conditions — but regular pruning keeps them manageable. - Can Moringa grow in poor soil?
Yes. It grows even in sandy or rocky ground as long as drainage is good.
Conclusion: Start Growing Moringa With Confidence 🌱✨
Growing Moringa from seed may seem challenging, but once you understand how moringa tree seeds behave — and how to create the proper conditions for sprouting — success becomes simple and reliable. This fast-growing, nutrient-packed tree is incredibly rewarding, whether you want a steady supply of fresh leaves, an ornamental addition to your garden, or a drought-tolerant shade tree.
With the right seed selection, soil preparation, planting method, and ongoing care, anyone can grow a thriving Moringa tree at home. Start with fresh seeds, follow the proven steps in this guide, and you’ll enjoy vigorous growth, abundant harvests, and the satisfaction of cultivating one of the world’s most remarkable trees. 🌿


