

Are you struggling to keep your Norfolk pine thriving indoors?  Whether you’ve just brought one home or are dealing with a less-than-healthy tree, Norfolk pine care doesn’t have to be complicated. These unique and beautiful trees can thrive in your home with the right attention and care. However, many people are unsure about the specific needs of Norfolk pines, leading to common issues like yellowing needles or stunted growth.
In this article, we’ll walk you through expert tips and easy-to-follow steps on how to properly care for your Norfolk pine. From lighting and watering to repotting and pest control, you’ll learn everything you need to help your tree grow strong and vibrant. Keep reading to discover the secrets to healthy, thriving Norfolk pines! 
What is a Norfolk Pine?
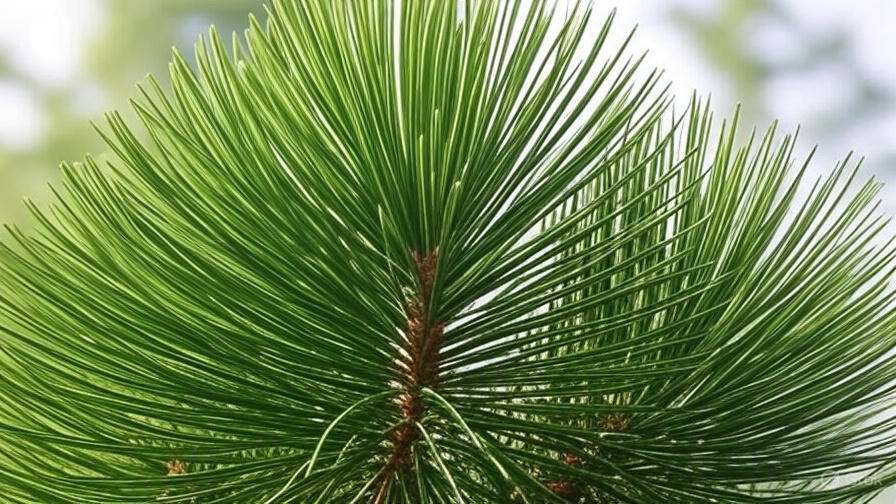
The Norfolk Pine (Araucaria heterophylla) is a stunning evergreen tree native to Norfolk Island, an isolated island in the Pacific Ocean. Despite its name, it’s not actually a true pine, but its striking, symmetrical shape and long, soft needles make it look like one! 
Key Features:
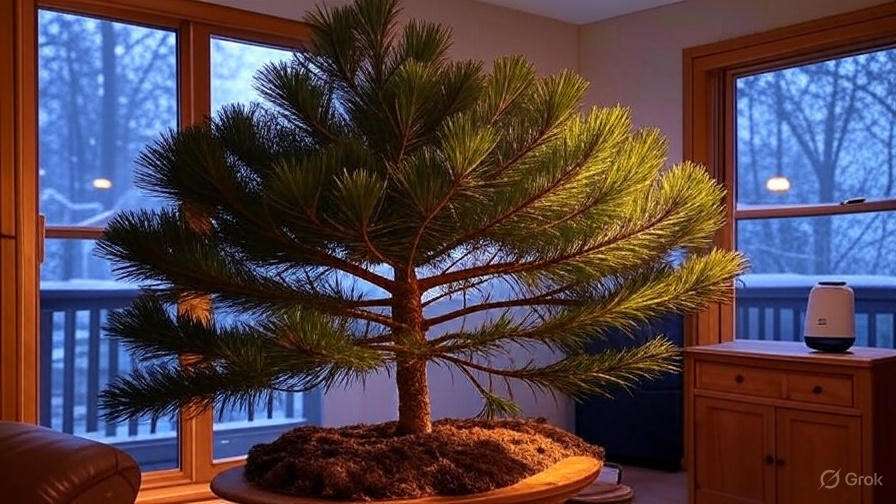
- Shape & Size: Norfolk Pines have a tall, narrow shape with horizontal branches that create a pyramid-like form. They can grow quite large outdoors (up to 200 feet!), but when grown indoors, they typically stay between 3 to 8 feet tall. Perfect for a cozy home or office space!

- Leaves: The long, needle-like leaves are soft to the touch, giving this tree a relaxed, tropical vibe. They’re arranged in whorls around the branches, contributing to its distinctive appearance.

- Growth: While these trees grow slowly, they can live for decades with proper care. In the right conditions, Norfolk Pines can thrive indoors, adding an elegant touch to your home decor.

This tree is known for its easygoing nature, but it still requires some attention to keep it happy. If you’re looking for a low-maintenance plant that adds charm and greenery to your home, the Norfolk Pine might be the perfect fit!
The Ideal Growing Environment for Norfolk Pines
Norfolk Pines (Araucaria heterophylla) are stunning indoor trees that can thrive with the right care and environment. Whether you’re growing one in a pot or in a garden, understanding their ideal growing conditions is key to keeping them healthy and thriving. Here’s everything you need to know about creating the best environment for your Norfolk Pine:
1. Light: Bright, Indirect Sunlight is Key 
Norfolk Pines love bright, indirect sunlight. While they can tolerate some direct sunlight, too much can scorch their soft needles. A spot near a window with filtered light is perfect. If you’re growing them indoors, make sure they get at least 6 hours of light per day. If natural light is limited, consider using a grow light to keep them happy.
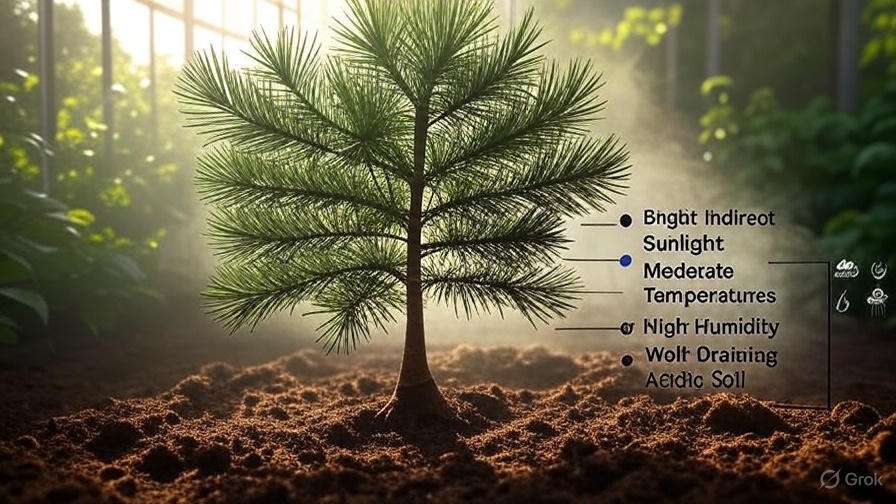
2. Temperature: Keep It Moderate 
These trees thrive in moderate temperatures between 60°F and 75°F (15°C to 24°C). They don’t like drastic temperature changes, so keep them away from hot or cold drafts, such as air conditioning vents or heaters. During the winter months, make sure the indoor temperature doesn’t drop too low—Norfolk Pines are sensitive to cold!
3. Humidity: Keep It Humid for Healthier Growth 
Norfolk Pines are native to humid coastal areas, so they love a moist environment. If your home is dry, especially during winter, increase the humidity by misting the tree’s needles regularly or placing a humidifier nearby. A pebble tray with water beneath the plant also works wonders for raising humidity levels around the tree.
4. Soil: Well-Draining, Slightly Acidic Soil 
Ensure your Norfolk Pine is planted in soil that drains well but retains some moisture. A good mix for Norfolk Pines is one that’s light and slightly acidic, such as a standard potting soil with added perlite or sand for drainage. Good drainage is crucial, as soggy roots can lead to root rot.
5. Potting & Repotting: Room for Growth 
Norfolk Pines grow slowly, but they will eventually need a larger pot. When choosing a pot, make sure it’s one that provides enough space for the roots to grow, with drainage holes to prevent waterlogging. Repot your tree every 2-3 years, preferably in the spring, to refresh the soil and ensure the roots have room to spread.
6. Space: Allow Room to Grow 
Although Norfolk Pines are slow growers, they can reach heights of 6 feet indoors and much taller in outdoor environments. Give them enough space to expand their branches and roots without feeling cramped. A well-spaced area will also promote healthier, fuller growth.
7. Air Circulation: Avoid Stagnant Air 
While Norfolk Pines enjoy humidity, they also need proper air circulation. Avoid placing your tree in a corner where air doesn’t flow freely. Proper ventilation helps prevent mold and mildew growth, which can harm the tree.
By following these simple tips, you can create an environment where your Norfolk Pine will thrive. A little attention to light, humidity, temperature, and soil conditions will go a long way in ensuring your tree grows beautifully and stays healthy for years to come!
How to Water Your Norfolk Pine
Watering your Norfolk Pine properly is crucial to keeping it healthy and thriving. This tree, while relatively low-maintenance, has specific water needs that must be met for it to grow strong and beautiful. Follow these simple guidelines to avoid overwatering or underwatering:
1. Check the Soil Moisture 
The first step in watering your Norfolk Pine is checking the soil moisture. Stick your finger about an inch into the soil. If it feels dry at that depth, it’s time to water. If it still feels moist, wait a few days before checking again. Overwatering can cause root rot, while underwatering can lead to yellowing needles.
2. Water Thoroughly, But Don’t Let It Sit in Water 
When you do water, make sure to water thoroughly so that the moisture reaches the entire root system. Allow the water to drain freely from the bottom of the pot. Never let the plant sit in standing water, as this can cause the roots to suffocate and rot. Ensure your pot has drainage holes to avoid this problem.

3. Frequency of Watering 
Norfolk Pines prefer moderate moisture. During the growing season (spring and summer), water your tree once a week. In cooler months (fall and winter), reduce watering to every two weeks. Always adjust based on how dry the soil feels—every home and environment is different!
4. Use Room Temperature Water
Always use room temperature water to avoid shocking the roots. Cold water can be a shock to the plant, while hot water can damage the roots. Lukewarm water is ideal for maintaining a healthy root system.
5. Humidity Matters 
Norfolk Pines thrive in a humid environment. If your home is dry, especially in winter when heaters are on, consider misting your tree lightly with water or using a humidifier nearby. This helps keep the tree’s needles vibrant and prevents them from drying out.
By following these easy steps, your Norfolk Pine will receive the right amount of water, contributing to its overall health and longevity. Happy gardening!
How to Fertilize Your Norfolk Pine
Fertilizing your Norfolk Pine is essential for promoting healthy growth, vibrant color, and strong branches. With the right approach, you’ll keep your tree thriving all year round. Let’s walk through the simple steps to get it right!
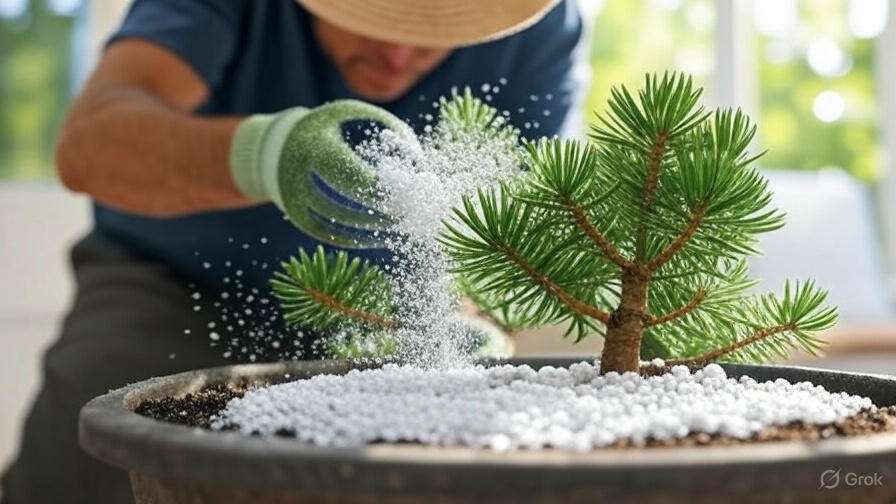
1. Choose the Right Fertilizer 
Norfolk Pines prefer a balanced, water-soluble fertilizer with equal parts nitrogen (N), phosphorus (P), and potassium (K)—look for a 10-10-10 or 20-20-20 formula. This ensures that your tree gets the nutrients it needs for healthy growth. If you’re looking for an organic option, seaweed or fish emulsion-based fertilizers work well too.
2. Time It Right
Feed your Norfolk Pine during its growing season, which is typically spring and summer. Avoid fertilizing during the fall and winter months when the tree’s growth slows down. Too much fertilizer during dormancy can harm your plant!
3. How Often to Fertilize
A good rule of thumb is to fertilize your Norfolk Pine once a month during the growing season. Over-fertilizing can lead to fertilizer burn, so stick to this schedule. You can even dilute the fertilizer to half strength if you’re concerned about overfeeding.
4. Apply the Fertilizer Properly
To fertilize, mix the water-soluble fertilizer in a watering can, following the manufacturer’s instructions. Water your Norfolk Pine thoroughly, allowing the fertilizer solution to soak into the soil. Be sure to water evenly to prevent any areas from being over-saturated.
5. Watch for Signs of Over-Fertilization 
If your Norfolk Pine’s needles begin to yellow or develop brown tips, it might be a sign of too much fertilizer. In this case, flush the soil with water to remove excess nutrients and adjust your feeding schedule.
6. Slow-Release Fertilizer Option 
If you prefer less frequent fertilizing, consider using slow-release granules. These release nutrients gradually over time, which can help maintain a steady supply of food for your tree. Apply them in the spring, and you’ll only need to fertilize a few times a year!
By following these simple steps, your Norfolk Pine will remain strong, vibrant, and a true centerpiece in your home. With the right care, your tree will thrive for years to come!
Pruning and Shaping Your Norfolk Pine
Pruning and shaping your Norfolk Pine is a great way to keep it healthy and enhance its appearance. While these trees generally don’t require heavy pruning, a little attention will help maintain their natural beauty and encourage strong growth. Here’s how you can care for your tree:
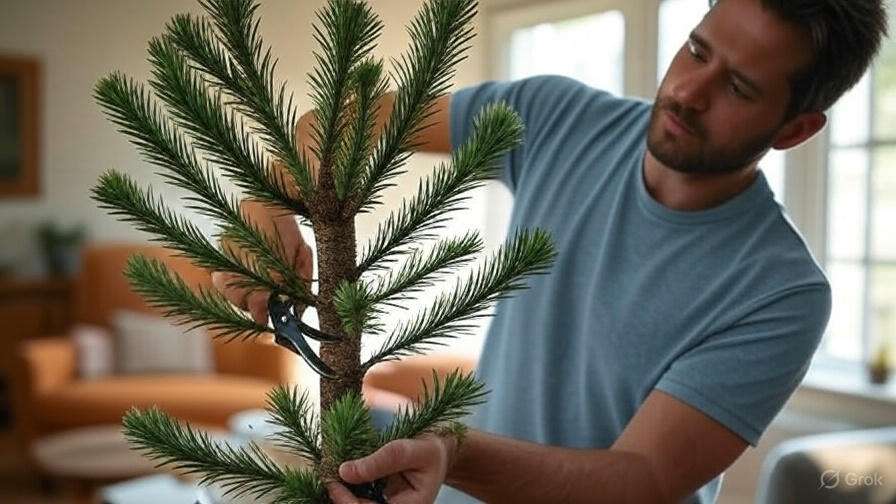
1. When to Prune
Norfolk Pines don’t need frequent pruning, but it’s a good idea to trim any dead, damaged, or yellowing branches. This keeps your tree looking neat and ensures energy is focused on healthy growth. The best time to prune is during the active growing season (spring to early summer) when your tree is most likely to heal quickly.
2. Tools You’ll Need 
For the best results, use sharp, clean pruning shears or scissors. This minimizes damage and reduces the risk of introducing disease. If you’re cutting thicker branches, consider using a small saw.
3. Pruning Technique 
- Remove dead or damaged branches: Cut them off at the base, as close to the trunk as possible. This prevents any decay from spreading to healthy parts of the tree.
- Shape your tree: While Norfolk Pines naturally grow in a symmetrical, pyramid shape, you can lightly trim to maintain its form. Focus on cutting back any excessively long or unruly branches to preserve its natural look.
- Don’t over-prune: Norfolk Pines are slow growers, and cutting too much can hinder their progress. Only remove what’s necessary for health and aesthetics.
4. Encouraging Healthy Growth
If you want to encourage more compact growth, pinch back the top growth (the tip of the central stem). This can promote more side branches and help your tree stay fuller, rather than getting tall and spindly.
5. Handling Pests and Diseases 
While pruning, it’s a great opportunity to check for pests like spider mites or scale insects. If you spot any, treat your tree promptly with an insecticidal soap or natural pest control methods to prevent future problems.
6. Post-Pruning Care
After pruning, keep your Norfolk Pine in a location with bright, indirect light and ensure it has the right amount of water. Avoid fertilizing immediately after pruning; give your tree a couple of weeks to adjust before adding any nutrients.
Bonus Tip: Shaping Over Time 
For a more sculpted look, prune a little each year. Over-pruning all at once can stress the tree, but gradual shaping helps maintain the Norfolk Pine’s elegant silhouette while keeping it strong.
By following these simple tips, you’ll keep your Norfolk Pine looking its best without compromising its health. Pruning and shaping are easy ways to show your tree some love and ensure it thrives for years to come!
Common Problems and How to Solve Them
Caring for a Norfolk Pine can be incredibly rewarding, but like any plant, it can experience a few hiccups along the way. Here are some common problems and simple solutions to help keep your tree healthy and thriving:
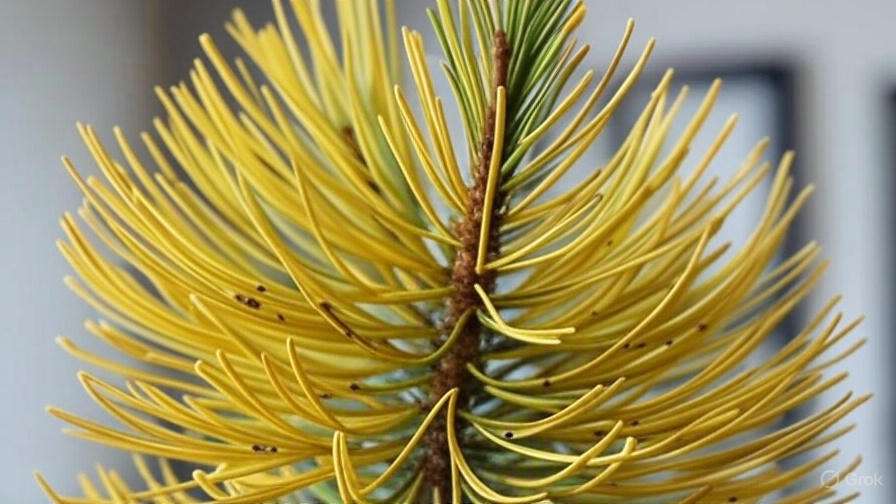
1. Yellowing Needles 
If your Norfolk Pine’s needles are turning yellow or dropping off, it could be a sign of several issues:
- Overwatering: Too much water can lead to root rot. Make sure the soil is well-draining, and let the top inch of soil dry out before watering again.
- Underwatering: On the flip side, underwatering can cause yellowing. Ensure you’re watering the plant consistently, but not too frequently.
- Low humidity: Norfolk Pines love moisture in the air. If your home is dry, consider misting the tree regularly or placing it on a humidity tray.
2. Brown Tips on Needles 
Brown tips on Norfolk Pine needles are often a sign of:
- Low humidity: Norfolk Pines thrive in a humid environment. Use a humidifier or group your plants together to increase moisture around the tree.
- Too much direct sunlight: While Norfolk Pines like bright light, too much direct sun can scorch their needles. Try moving your tree to a location with indirect sunlight or filtered light.
- Salt buildup: If you’ve been using hard water or fertilizers, minerals can accumulate in the soil. Flush the soil occasionally with water to remove excess salts.
3. Leggy Growth or Sparse Branches
If your Norfolk Pine is becoming tall and spindly with few branches, it may not be getting enough light:
- Solution: Place your tree in a brighter spot where it gets at least 6 hours of indirect sunlight a day. If natural light is limited, consider using a grow light to supplement.
4. Pests and Insects
Norfolk Pines are generally pest-resistant, but they can still attract insects, especially spider mites or scale insects.
- Solution: Regularly inspect your tree for signs of pests. If you spot any, wipe the affected areas with a damp cloth or use insecticidal soap. For a natural solution, neem oil works wonders for many pests.
5. Too Much Fertilizer 
Over-fertilizing can harm your Norfolk Pine, causing weak growth or brown spots on the needles.
- Solution: Fertilize your Norfolk Pine only during the growing season (spring and summer) and use a balanced, diluted fertilizer. Avoid fertilizing in the fall and winter when the tree is in its dormant phase.
By addressing these common issues early, you can keep your Norfolk Pine strong, healthy, and looking beautiful. Regular care, attention, and a little patience are all you need to watch your tree flourish!
Winter Care for Norfolk Pines
Caring for your Norfolk Pine during the winter months can be tricky, but with the right knowledge, your tree will continue to thrive even when the temperature drops. These tropical beauties need special attention to stay healthy in the colder seasons. Here are some practical tips to ensure your Norfolk Pine is well cared for during winter:
1. Keep Your Norfolk Pine Warm
Norfolk Pines are native to tropical climates and don’t tolerate the cold well. During winter, they need a warm environment to stay healthy. Ideally, keep them in a room with temperatures between 65°F to 75°F (18°C to 24°C). Avoid placing them near drafty windows, heaters, or fireplaces, as sudden temperature changes can cause stress.
2. Humidity is Key
Winter air can get dry, which isn’t ideal for your Norfolk Pine. These trees love humidity, so it’s important to maintain moisture in the air around them. Use a humidifier in the room or place a tray of water near the tree. Alternatively, mist the tree lightly with water once or twice a week. This will help prevent browning of the needle tips.
3. Limit Watering 
In winter, Norfolk Pines go into a semi-dormant state and need less water. Overwatering can lead to root rot, which is a common issue during the colder months. Only water when the top inch of the soil feels dry. Make sure the pot has good drainage, as standing water can harm the roots.
4. Provide Plenty of Light
Even though it’s winter, your Norfolk Pine still needs plenty of light to stay healthy. Place it near a bright window where it can get indirect sunlight. If natural light is limited, consider using a grow light to supplement. Avoid placing your tree in a dark corner, as insufficient light can cause the tree to lose its vibrant green color.
5. Watch for Pests 
Winter conditions can stress your Norfolk Pine, making it more susceptible to pests like spider mites or mealybugs. Regularly inspect your tree for any signs of infestations, such as discolored or damaged needles. If you spot any pests, gently wipe the leaves with a damp cloth or use an insecticidal soap.
6. Avoid Fertilizing 
During the winter months, Norfolk Pines are not actively growing, so they don’t need fertilization. In fact, feeding them while they are dormant can cause harm. Wait until spring to start feeding again, when the tree begins its growth cycle.
By following these simple steps, you can ensure that your Norfolk Pine remains healthy, happy, and vibrant throughout the winter. Stay consistent with the care routine, and your tree will reward you with lush greenery for years to come!
Conclusion
Caring for a Norfolk pine tree is a rewarding experience that can bring natural beauty and elegance to your home. With the right environment, proper watering, occasional pruning, and the right care during each season, your Norfolk pine can thrive and remain a stunning focal point in your space.

By following the tips and tricks shared in this guide, you’ll not only ensure your tree grows healthy and strong, but you’ll also enhance its natural beauty, making it a true statement piece in your indoor garden. Start implementing these essential Norfolk pine care practices today, and watch your tree flourish with vibrant, healthy growth year-round.
Now it’s time to give your Norfolk pine the care it deserves. Happy gardening!